Gridsters · Mini-quilt · stitchery

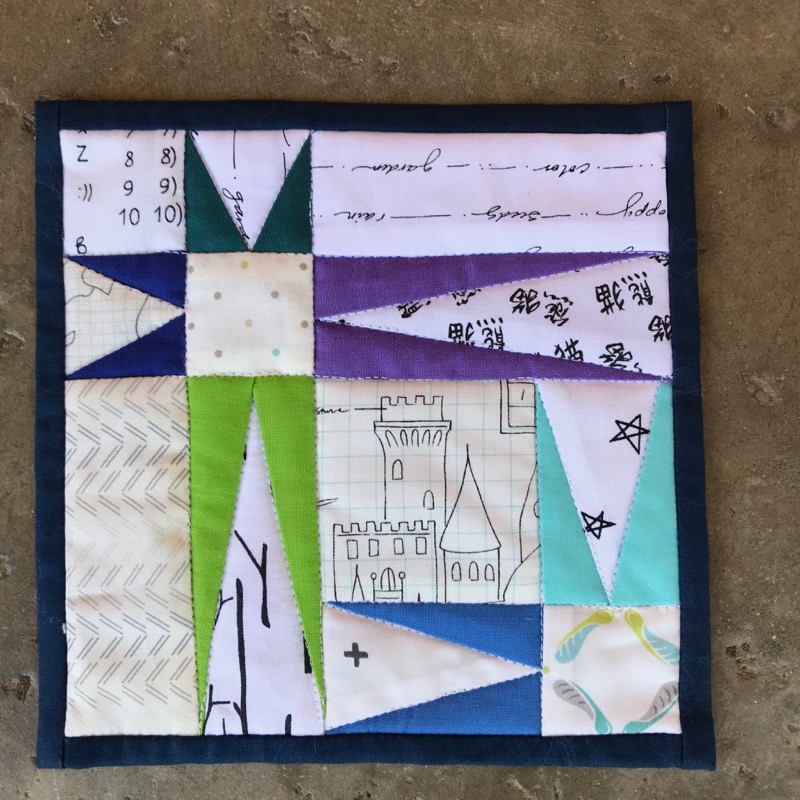
Starry Sky Mug Rug

Starry MugRug_4
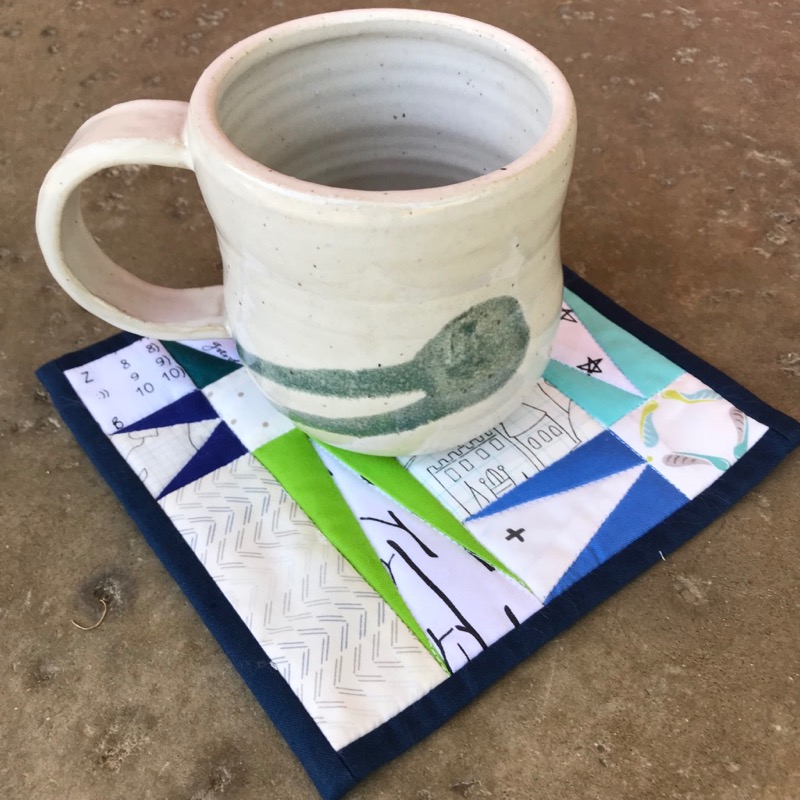
Starry MugRug_3

This summer, my niece Abby, let me have one of her hand-thrown mugs, of which I was thrilled to get (I love hot chocolate).  I meant to send her a little quilted mug rug in return, but that project seemed to get stalled for one reason or another.  But last week, I decided not one more thing would be done until I finished it and sent it off.  (Sometimes you just have to give yourself a little talk.)

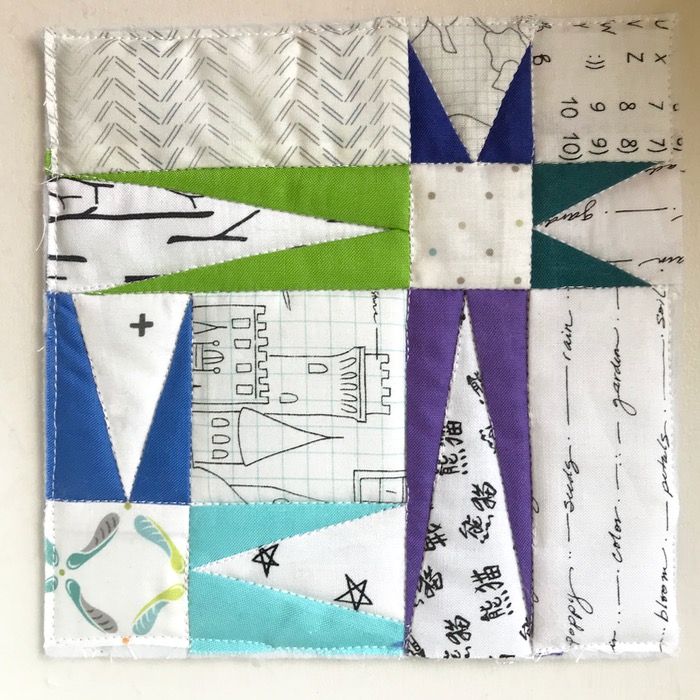
I used the Starry Sky block pattern, by Kylie Kelsheimer (a downloadable pattern from Craftsy).  In this new version of her pattern, she has three sizes, and the 6″ size is perfect for a mug rug.   Note:  It has been taken down from Craftsy/BluPrint.

UPDATE June 2019: The pattern is now up on PayHip, in three sizes.
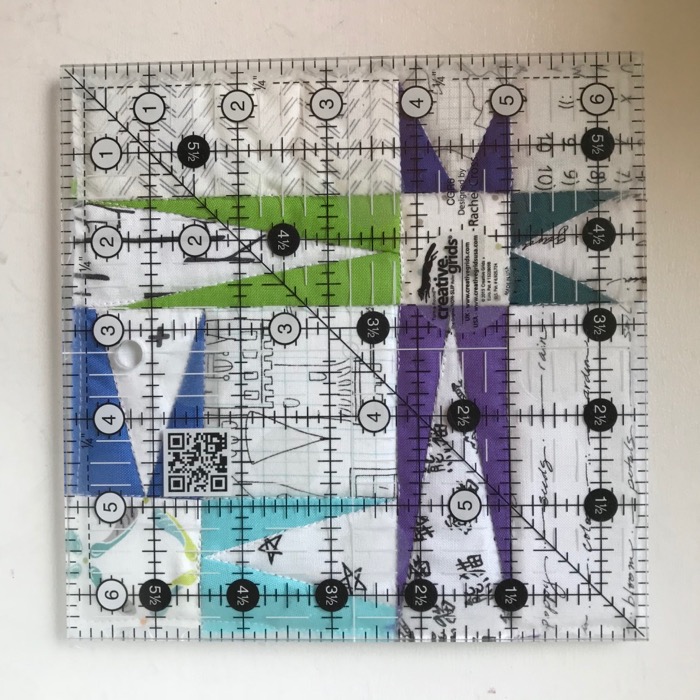
Starry MugRug_1
Starry MugRug_2

My niece likes to go hiking, and lives up in the Northwest, so I used colors of purple mountains, green hills and aqua-and-blue waters.  I bound it in navy.
Starry MugRug_5

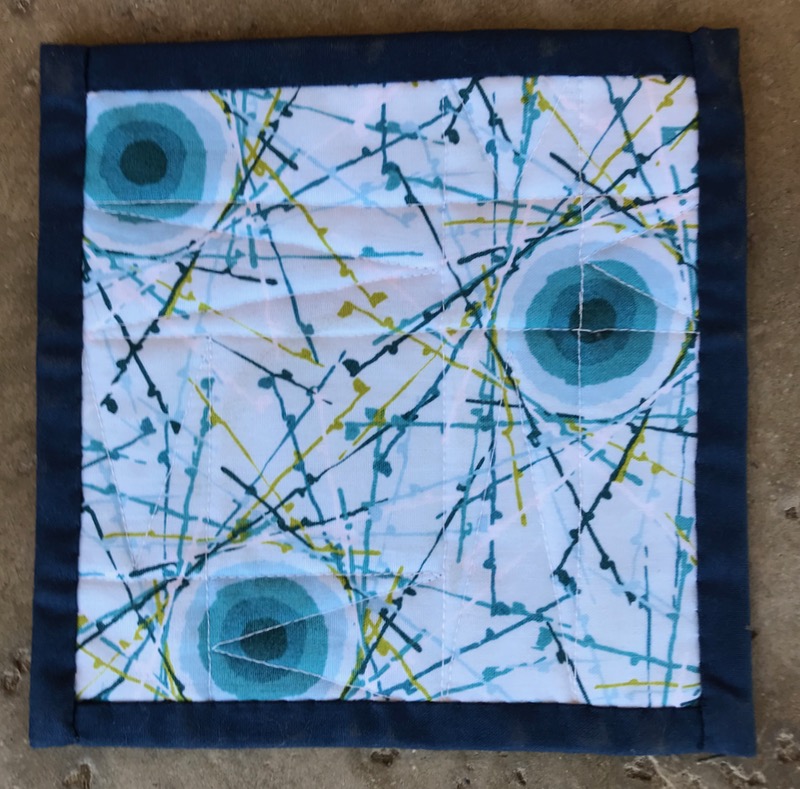
I used an agate-stone looking print for the back, one of my favorites lurking in my stash.

It took me a couple of hours from start to finish.  It’s a paper-pieced pattern, so all the star points are sharp and it goes together easily.  I kept a photo of the block near me when putting the pieces together, to keep myself straight.

Screen Shot 2018-10-05 at 8.21.21 PM.png

I listened to the latest Bruno, Chief of  Police book, The Resistance Man, and that kept me going.  Then I ran it to the Post Office, and off it went.  I hope Abby likes it.
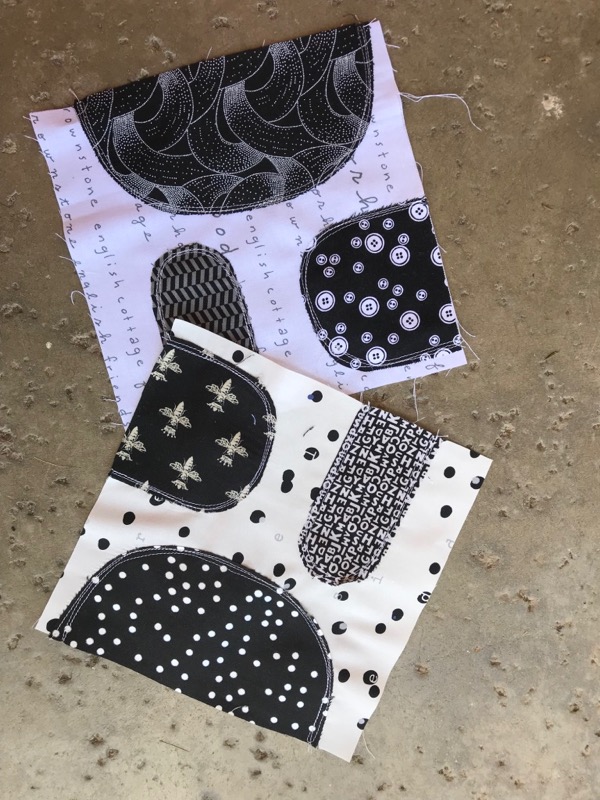
Sept18_Simone_Gridsters.jpg

A couple of days before I’d made Simone’s blocks for the Gridsters Bee, a wee bit late, but she forgave me.
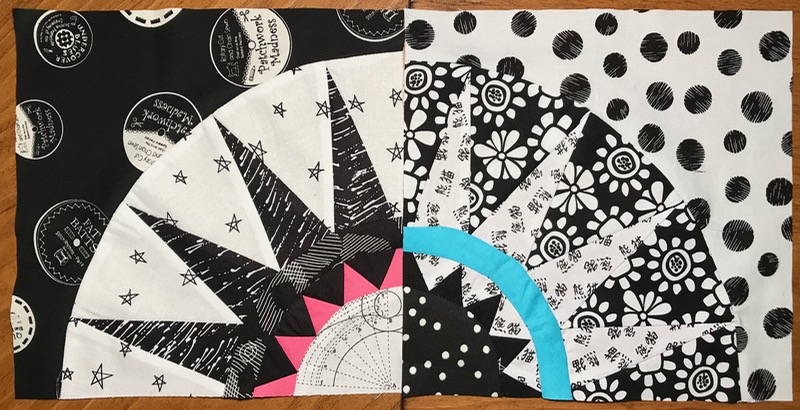
Oct18_Joan_Gridsters.jpg

And then I got right on October’s blocks for Joan, for the Gridsters Bee.  She asked for a black-and-white New York Beauty block, with a touch of solid color.  Hope she likes these.
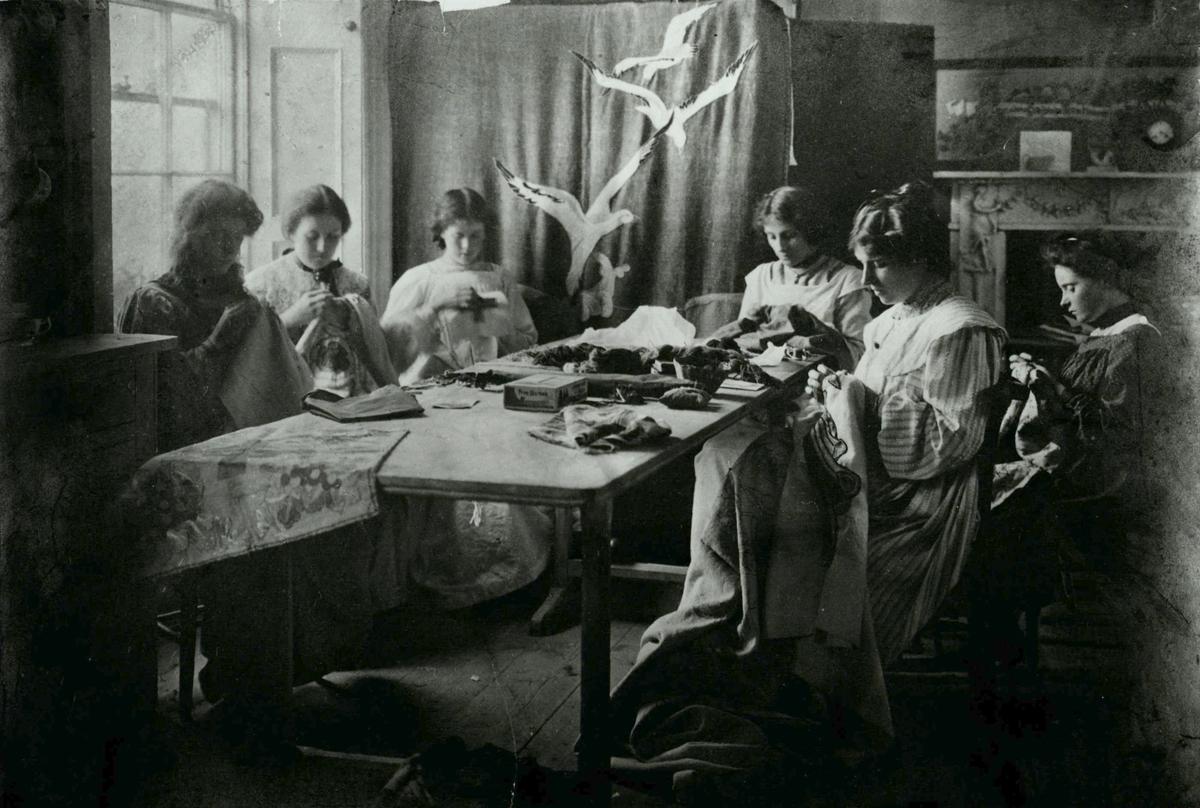
Irish Women Sewing.jpg

I liked this old photograph of women sewing, found on the website for the National Gallery of Ireland, reminding me of my travels (I’m finally over the jetlag).
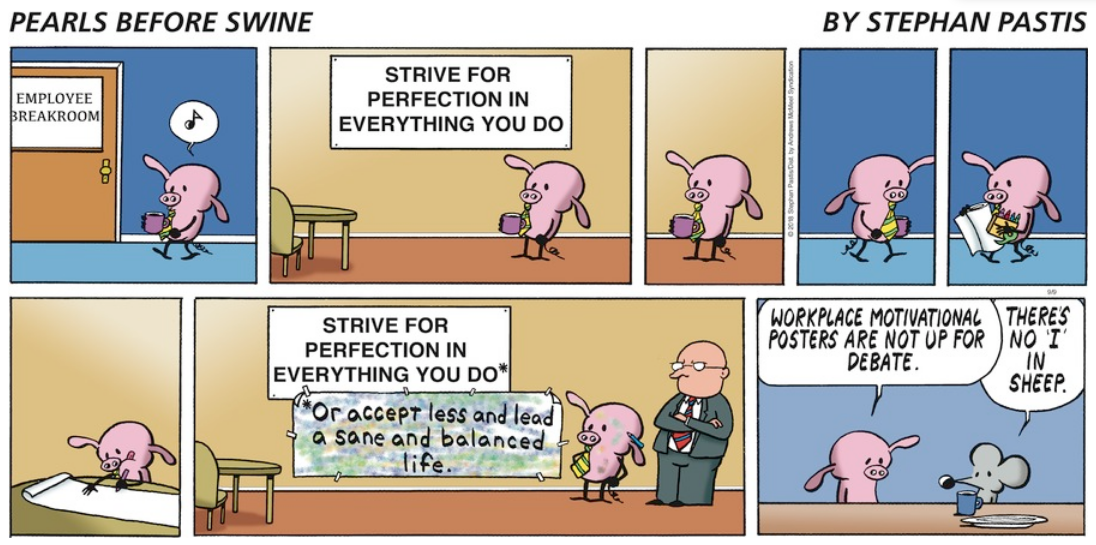
Perfection vs Good.png

Here’s your reminder: the perfect is the enemy of the good, Stephan Pastis style.  As some long-time readers know, I believe in this quote and used to keep it on my syllabi when I was a teacher.  Sometimes it’s good to just be *good,* and not strive for perfection.  Hope that idea helps you “lead a sane and balanced life.”

Mini-quilt · Quilts

Spring Mini Quilt-on-a-Frame

ACK!!  It was 93 degrees today!!

Mini Quilt Spring 18_4

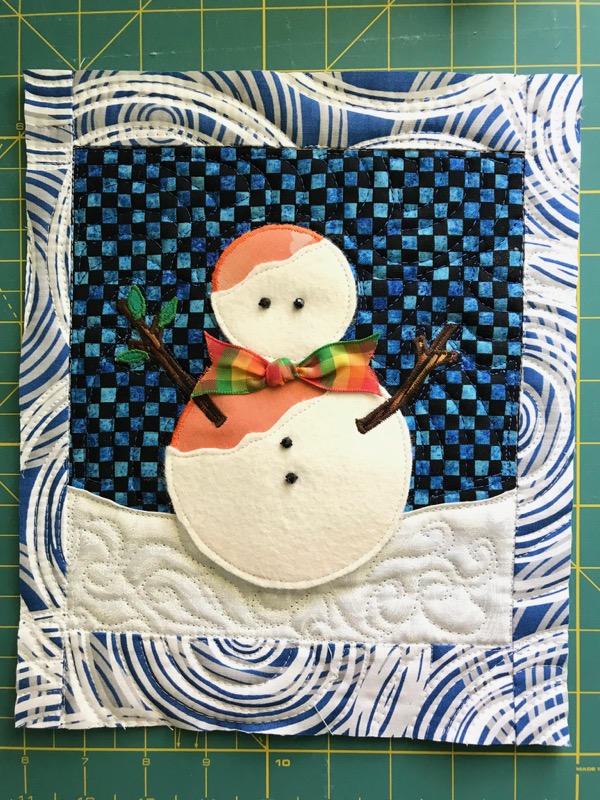
My snow-covered Orangeman (or Snowman, made of oranges) has his arms thrown up in amazement/horror.  While Rachel and Carol show snow days on their IG feeds, we are already burning up out here.  My newly planted zucchini and spaghetti squash plants are wilting, and it’s only April.

The origin of this mini quilt (tutorial is here) started when I first moved here, and commuted an hour to the Orange County Quilt Guild.  We had a block swap, and the theme was snowman, and since I was a newbie, I think I got all the rejects.  Except this one…which was my own (I made one for myself).  One snowman block was a zig-zagged stitched pair of stacked circles, with two hot-glue-gunned twigs for the arms, and dots of makeup for the coal and eyes.  Yes, I threw that one away.  But in looking for another project in my Orphan Blocks Box, I found this one, and turned it into a Mini-on-a-Frame quilt.

Mini Quilt Spring 18_1

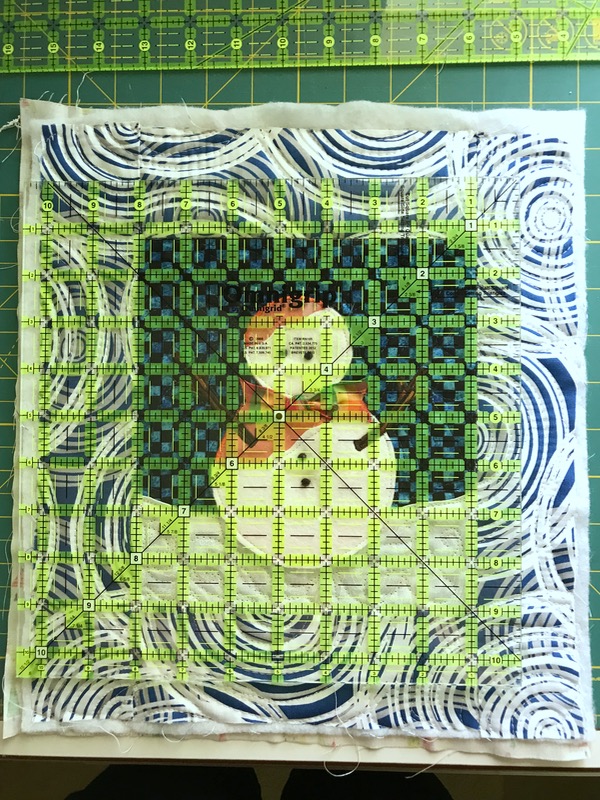
I bordered it with those fabulous swirls, quilted it and trimmed it up).

Mini Quilt Spring 18_2

Mini Quilt Spring 18_3

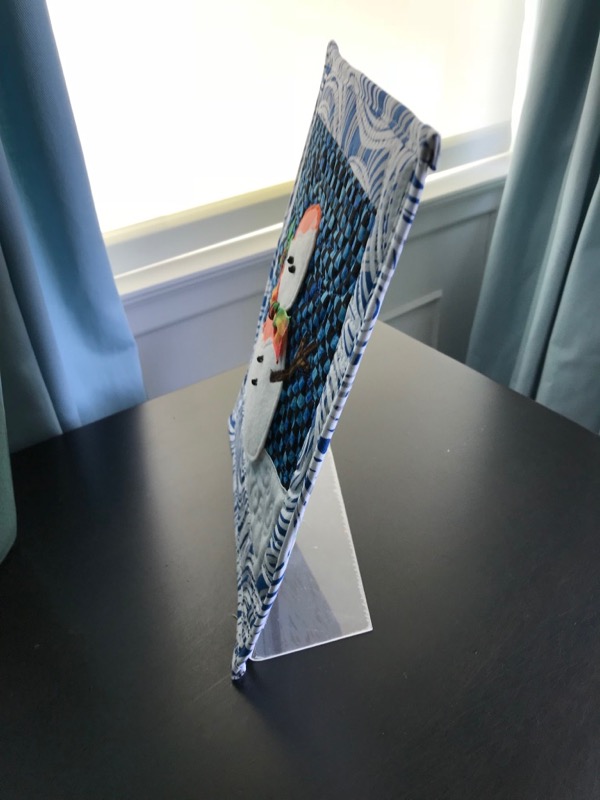
I backed it, and slipped it on its stand.  Now I’m up to four of these mini-quilts-on-a-frame.  Given the success of this one, I may turn other orphan blocks into bits of art to be displayed!

tiny nine patches

PS: Swirl fabric is by Valori Wells, “Marks,” design #16354–by Robert Kaufman.  A young mother in church yesterday asked me if I bought fabric for a single project, or if I bought it when I feel like it.  This purchase was obviously the latter.

Mini-quilt

Mad for Solids 2018…Voting Time!

March Madness 2018 FB Header

Basic RGB

Today is the day!  I’m over there on the right in Game 6, paired with the ever-lovely Rene.

Northern Lights_circular

The name of my Painter’s Palette Solids bundle is Northern Lights.  Because why?  Because I’ve always wanted to see the Northern Lights, and because we watched a movie about surfing in Iceland, and well, because:

Northern Lights_pix

So, if you like the colors of the heavens in the photo above, and feel like you want to vote to send me to the next bracket, head here:

•  Paintbrush Studios Blog
•  Paintbrush Studios on Instagram
•  Paintbrush Studios on Facebook

Voting begins at 6 p.m. CDT [Central Daylight Time, or UTC -5] on March 23rd (today) and goes through to tomorrow at 6 p.m. CDT.  I’ve timed this post to hit a bit early in the day, so please wait until the Paintbrush Studio posts go live to place your vote.

March Madness 2018 FB Header

You Can Be A Winner

More information on how you can be a winner is on found on a previous post. So here’s my story about this fabric and why you’re going to want some.  I was at Guild on Tuesday night.  In Show and Share, I showed my Improv Appliqué quilt that I’d demo-ed at QuiltCon.  My seat mate, Angie, commented that the borders “were like black velvet,” so rich and saturated was the color.  And that’s how everyone reacts when seeing these fabrics.

I participate in these little contests for one reason only: I love these solids and want them to be everywhere, on everyone’s stash and retail shelves.  Come and join us in using Painter’s Palette Solids!

Northern Lights_horizontal


I’ve been playing around in QuiltPro and making blocks with these colors.  If I head to the next bracket, I’ll have a mini quilt to show.  So, thanks!

PBStudios Mad for Solids.jpg

Christmas Quilts · Free Download · Free Quilt Pattern · Mini-quilt · Quilts

Tiny Tree and Teeny Trees

Tiny Trees

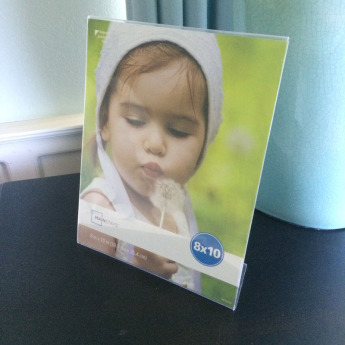
I’m decorating for Christmas and wanted to change out my Tiny Quilt from Autumn to Christmas, but then got wondering how a teeny-weeny quilt would look, so got busy.  These little quilts fit onto plastic picture frames:

I have two free patterns for you here, but please remember the drill: Don’t print off umpteen for your next class, or guild meeting swap or your mother.  Please send them here to get their own pattern.

The teeny tree (4×6″) pattern is in this downloadable PDF file: Teeny Christmas Tree quilt

Updated, one-page version (2021): Teeny Christmas Tree quilt

The tiny tree (8×10″) pattern is in this downloadable PDF file:Tiny Christmas tree quilt

As you can see from the samples I made up, I play fast and loose with some of the placement of pieces, really using them more as a guideline for cutting, than anything else (although I did cut out the tree exactly).

Tiny Tree_1

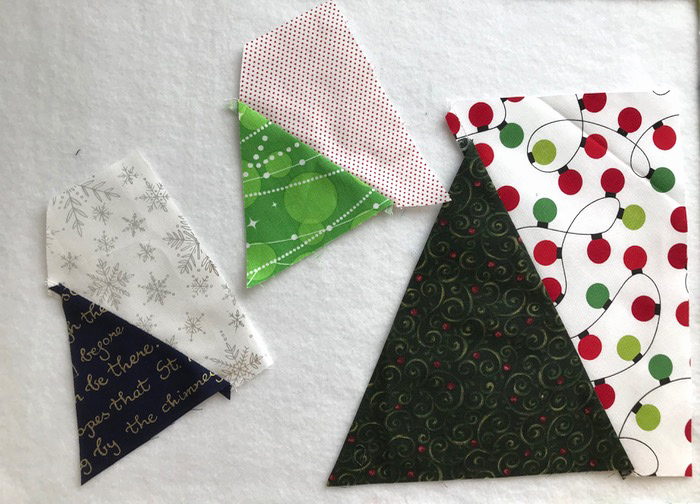
Cut out all the pieces for the pattern you’ve chosen.  As I noted above, sometimes I used the pattern (shown here before I added the labels) as sort of a general guidelines.  You need an accurate tree, and a nice straight edge where you’ll sew it to the tree (the diagonal line in the photo, above).Tiny Tree_2

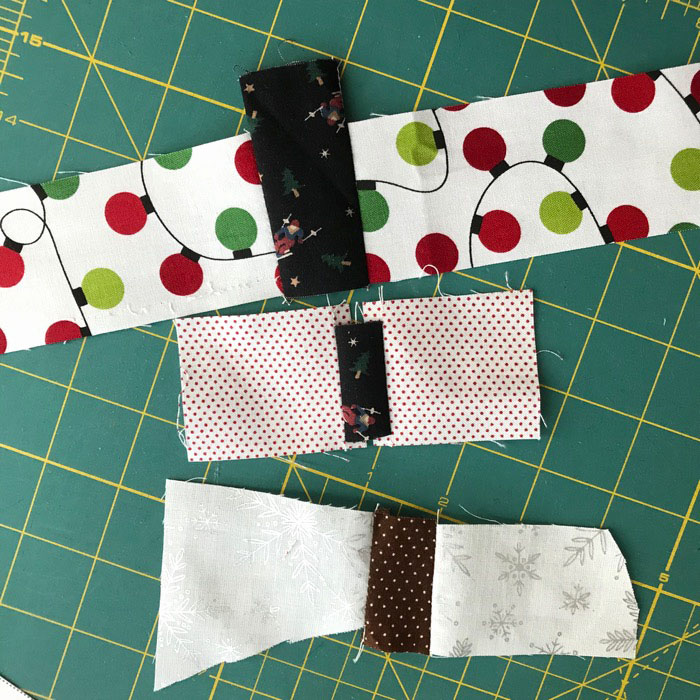
I sewed the “sky” pieces to the sides of the trunks then trimmed the edge that would attach to the tree.  More detailed tutorial is also on my OTHER Christmas Tree block tutorial, which is sized somewhere in between these two tree sizes. (I should open up a Christmas Tree lot with all these patterns.)Tiny Tree_3

Sew the “right” side onto the tree.  Make sure you keep the marked top triangle point pointing upwards.

Tiny Tree_4a

Trim any stray areas (above), then add the other side.

Tiny Tree_5

Straighten out the bottom of the tree assembly.  Center, then sew on the tree-trunk unit, pressing seam towards tree (so it looks like the trunk is under the tree).Tiny Tree_6a

Now to add the snowdrifts on the little tree.  On the left, I sort of place that wedge-shaped piece, determine the angle but flipping it up and down (on the right).  When I have the angle I like, flip it back up so right sides are together, and stitch along the upper edge.  Trim.Tiny Tree_6b

Repeat for lower snowdrift.  Trim excess.

Tiny Tree_7
For the bigger tree, I added on 2″ strips to frame the tree.  It needed something to jazz it up, so I got rid of the bottom strip on the pattern and just used strips all around.Tiny Tree_7a

Layer with batting and backing and quilt.  I did a meander in the sky area around the trees, then some straight lines in the snowdrift on the teeny tree, and some straight lines in the frame around the bigger tree:

Tiny Tree_8a

I also quilted some swirls in the center of the tree.Tiny Tree_8b

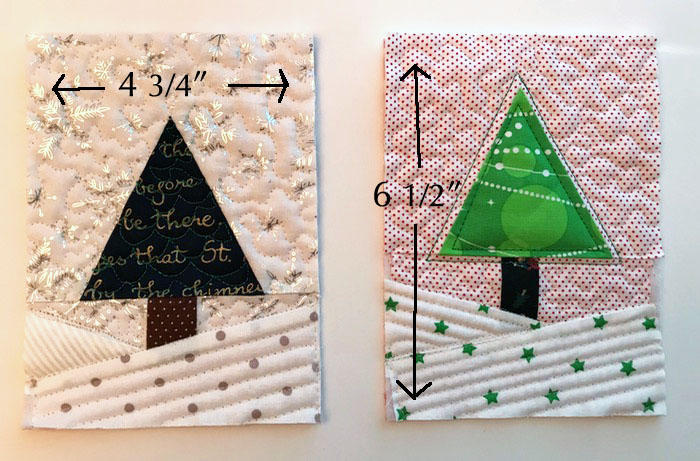
Time to trim.  The teeny trees trim to 4-3/4″ by 6-1/2″ and the larger tree is trimmed to 8-3/4″ by 10-1/2.”

Tiny Tree_9

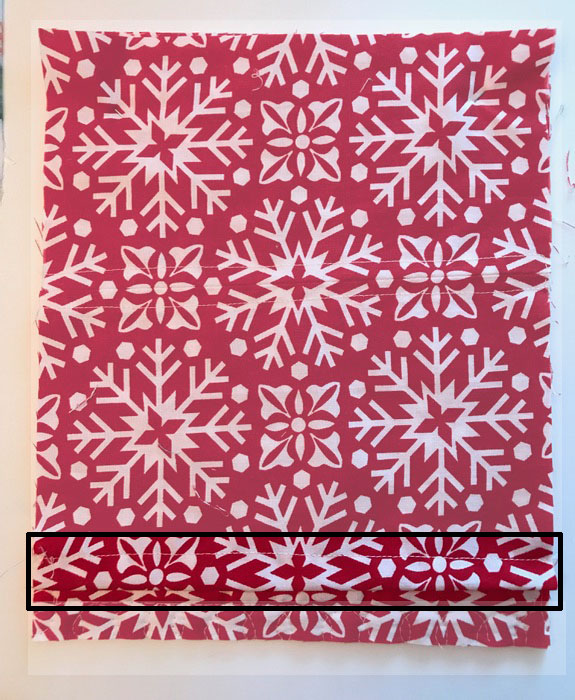
Make a sleeve for the back by cutting a piece the same size as the quilt top, but then hem the lower edge, turning it up twice and top-stitching.  I know it’s hard to see in this print, but again, feel free to check out the other tutorials of tiny quilts.Tiny Tree_10a

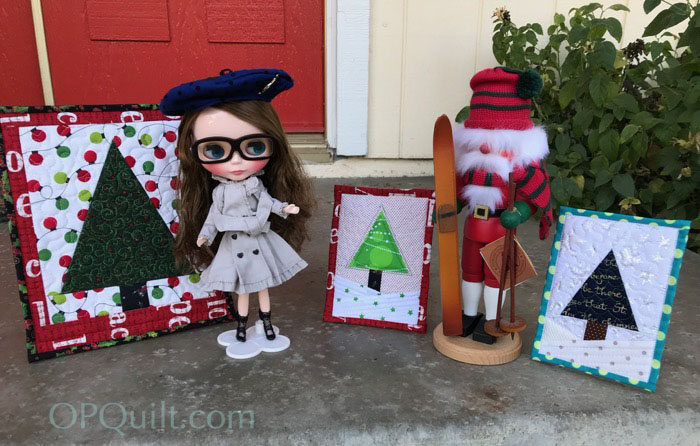
I brought out my Blythe doll and one of my husband’s nutcrackers to pose by the quilts.

Tiny Tree_10b
Tiny Tree_110c

Looks like Blythe has the hots for the Santa skier. And here I thought she’d go for the more traditional guy:

Blythe and King

He does look a little formal.  Hmmm.  Evidently not her type.

Okay, that’s enough–I’m off to sew!

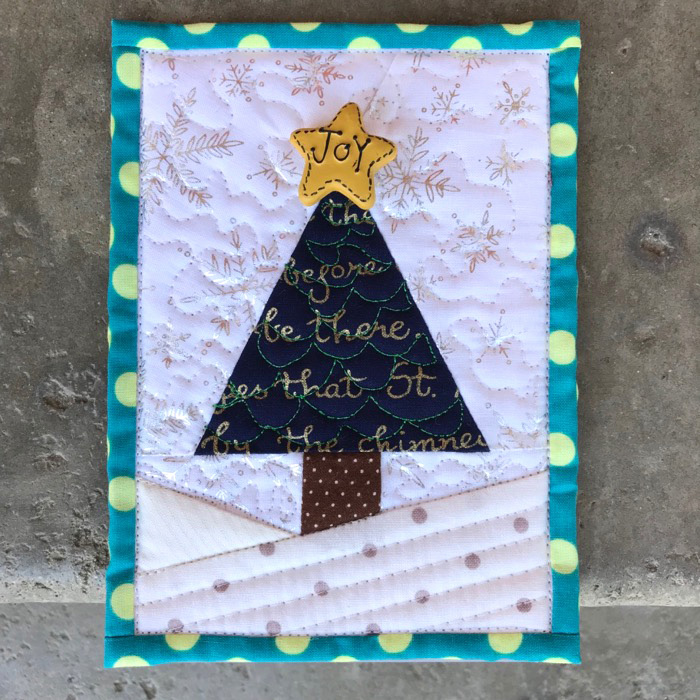
(Buttons added!)