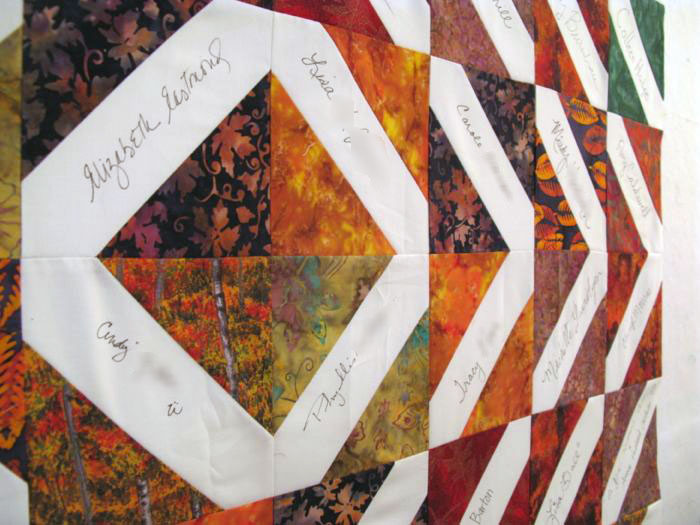
I’ve done several types of signature blocks, so thought I’d update my tutorial on how to make a signature block for friends. The basic kind I make (L) is a small block, that the people in the Bees I participate in, send with their blocks. The larger size (R) is suitable for a friendship quilt, which we made for our friend Lora when she moved away.
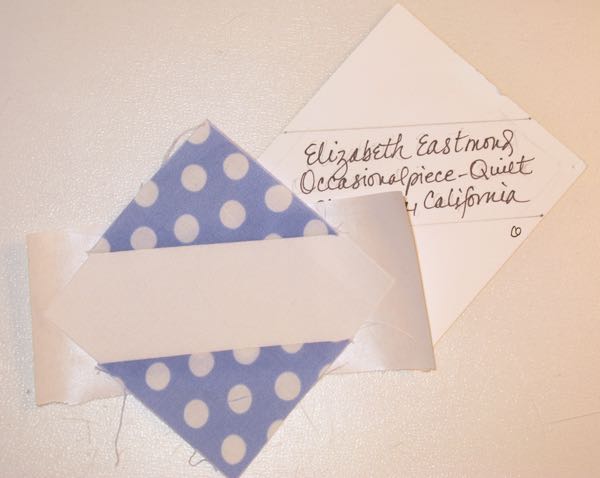
Cut one white, or light, 3 1/2″ square and two 2 1/2″ squares. I like to use the fabric that was in my block that I sent. (Click on any circle to enlarge it.)
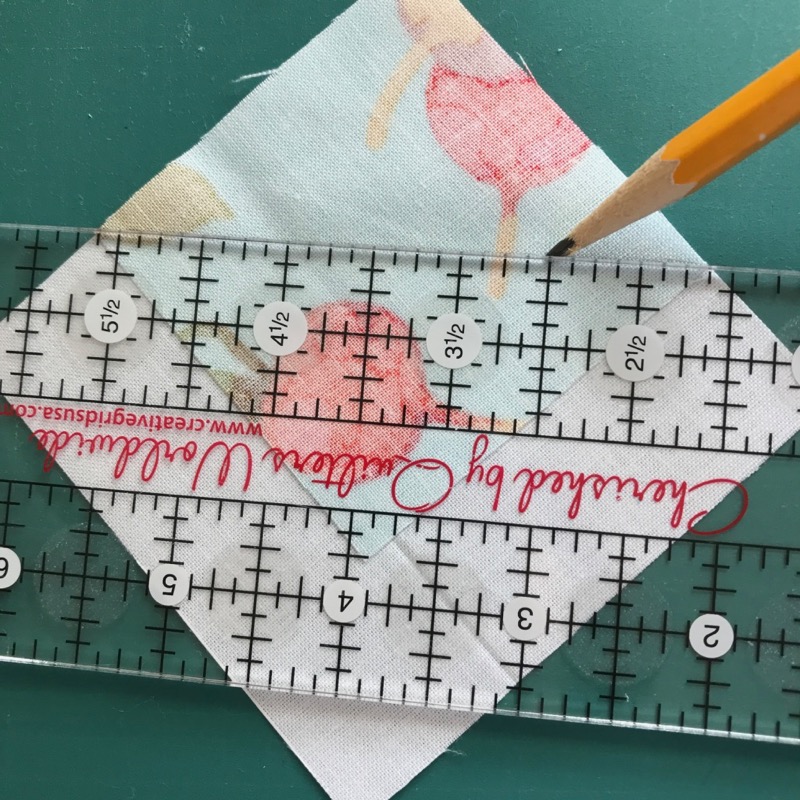
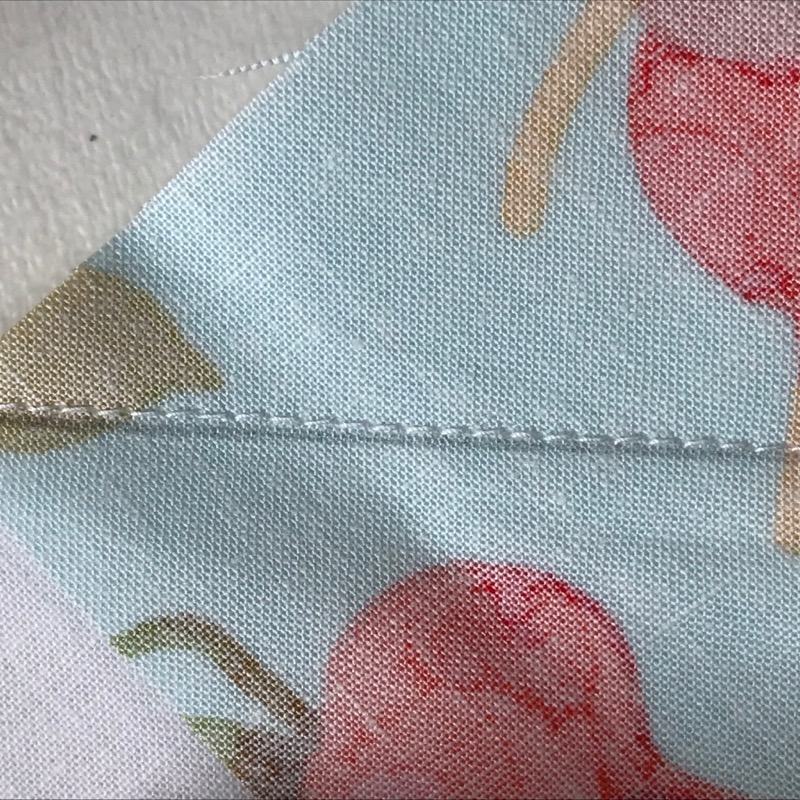
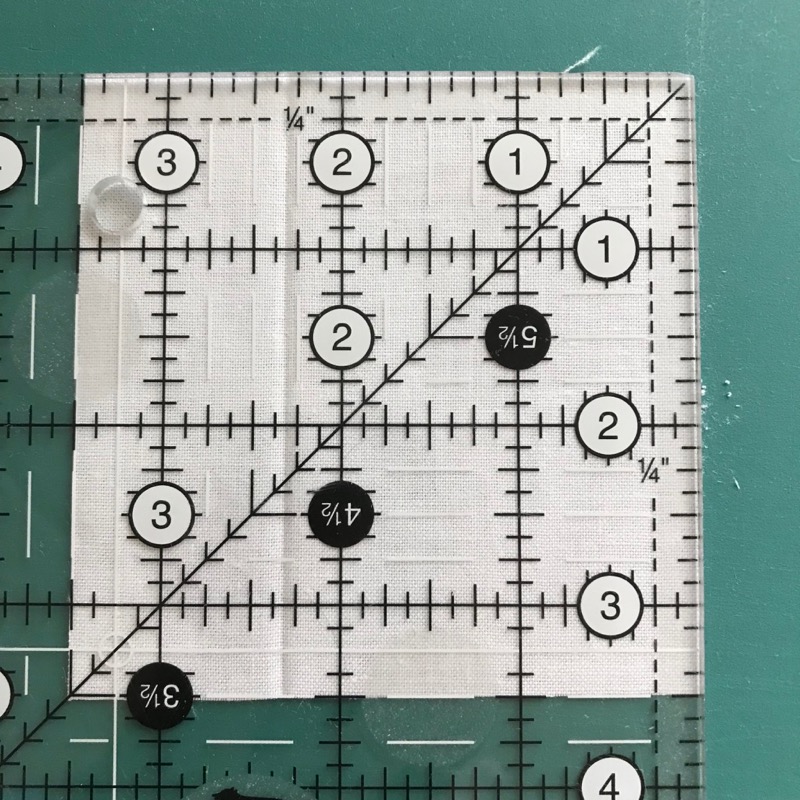
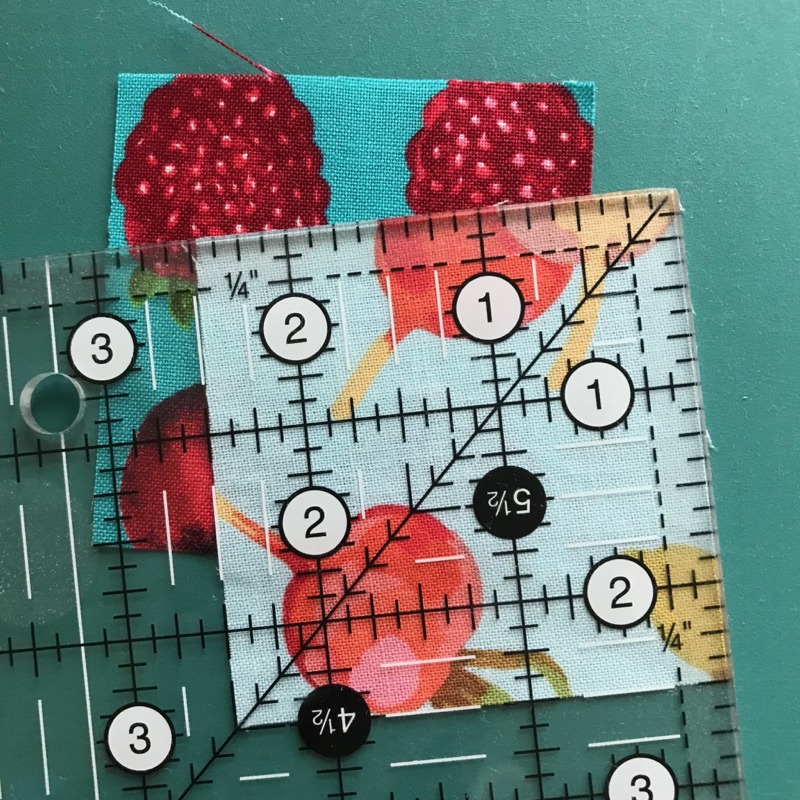
Place the smaller block on the top of the larger block, aligning corners, right sides together, and draw a diagonal line. Stitch one-to-two threads away from this line, towards the corner. This is the same technique used when making snowball blocks, in order to give room for the fabric to turn over the stitching line. Trim off the excess corner, leaving 1/4″.
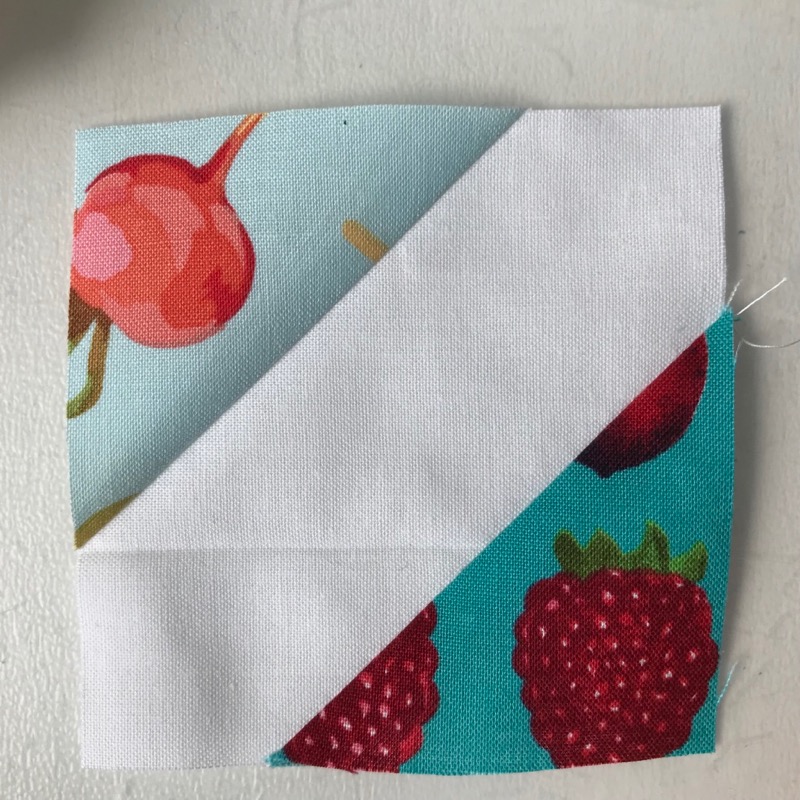
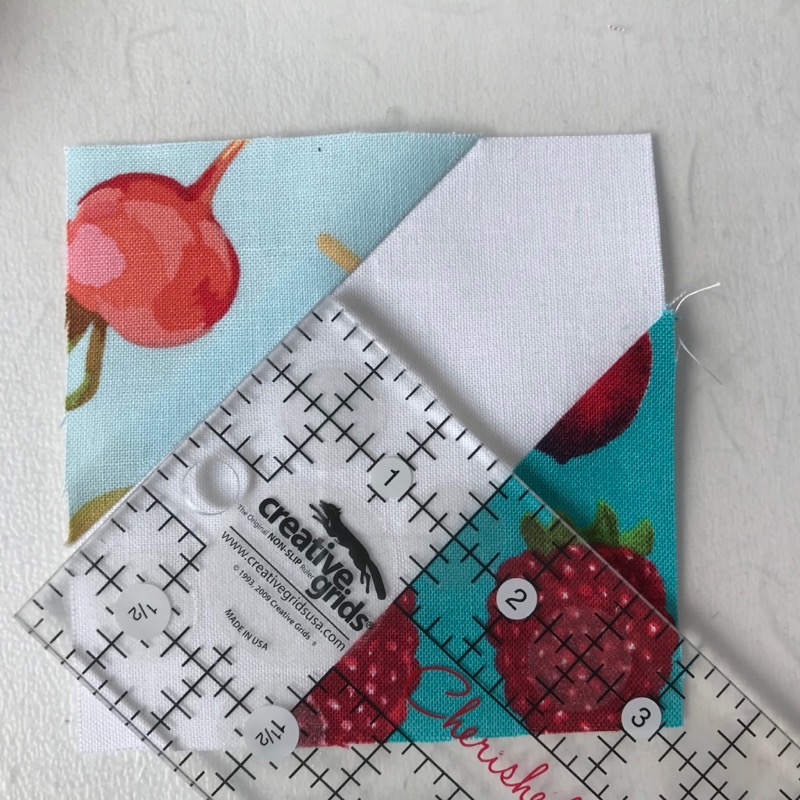
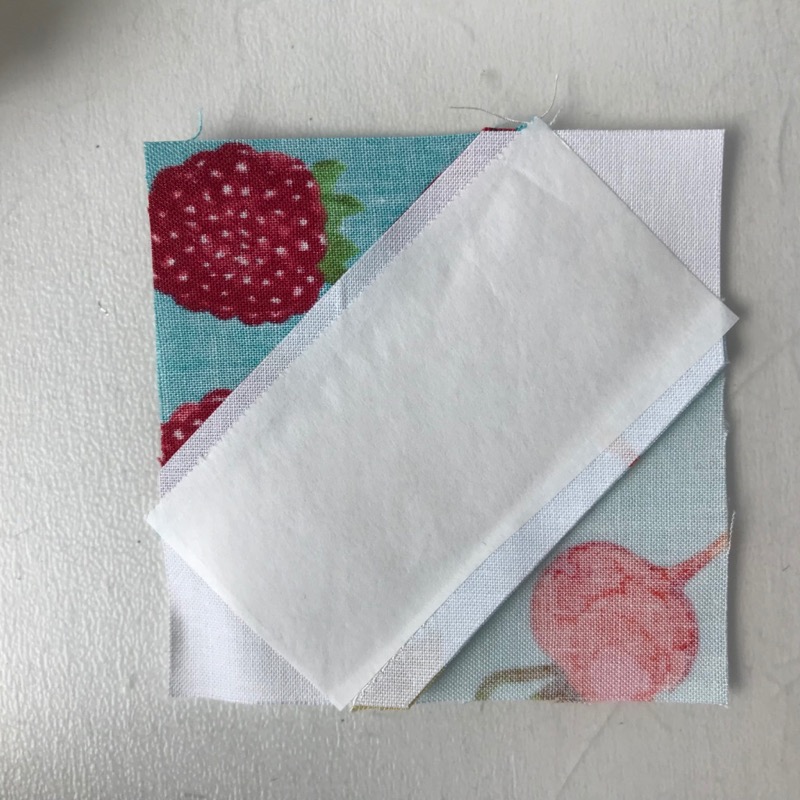
In Circle 1, I’ve trimmed away the excess fabric and pressed the block. The center should measure about 1 1/2″ wide (Circle 2). In the last circle (seen from the back), I pressed a scrap of freezer paper, shiny side down, to the wrong side of the white strip in order to stabilize the area where I’ll be writing.
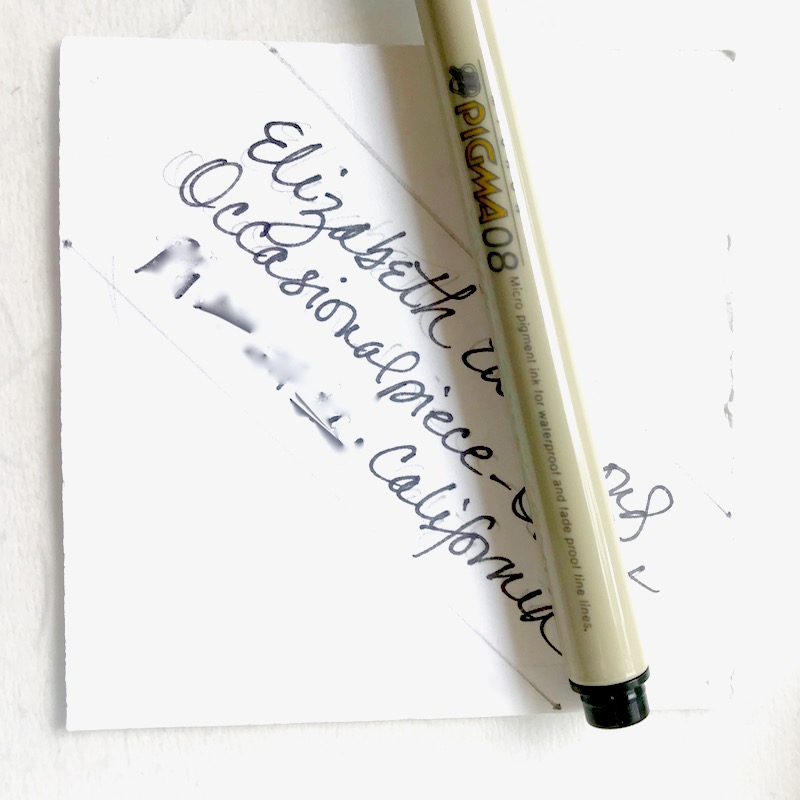
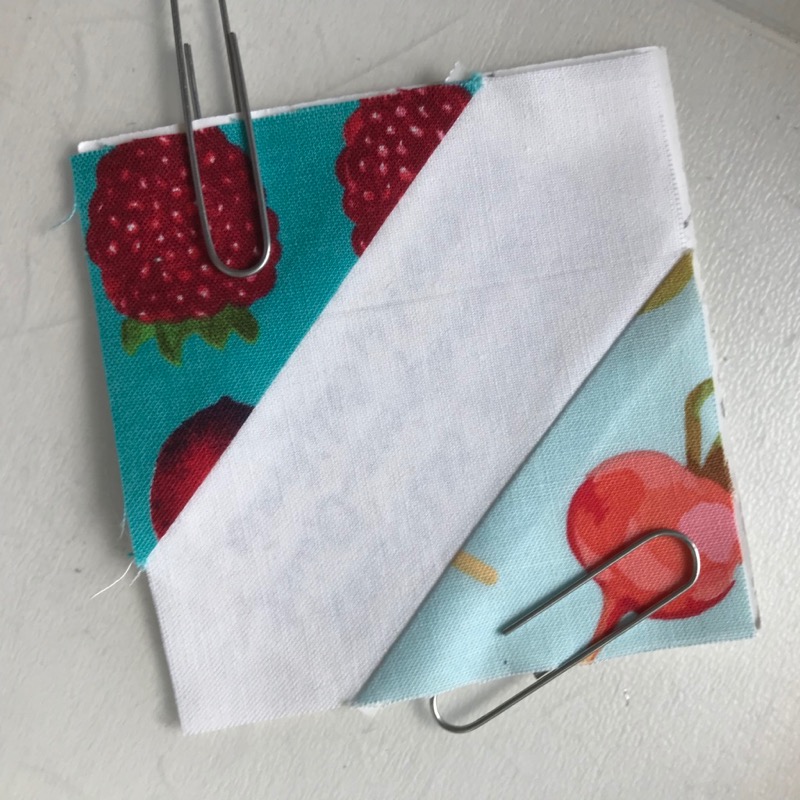
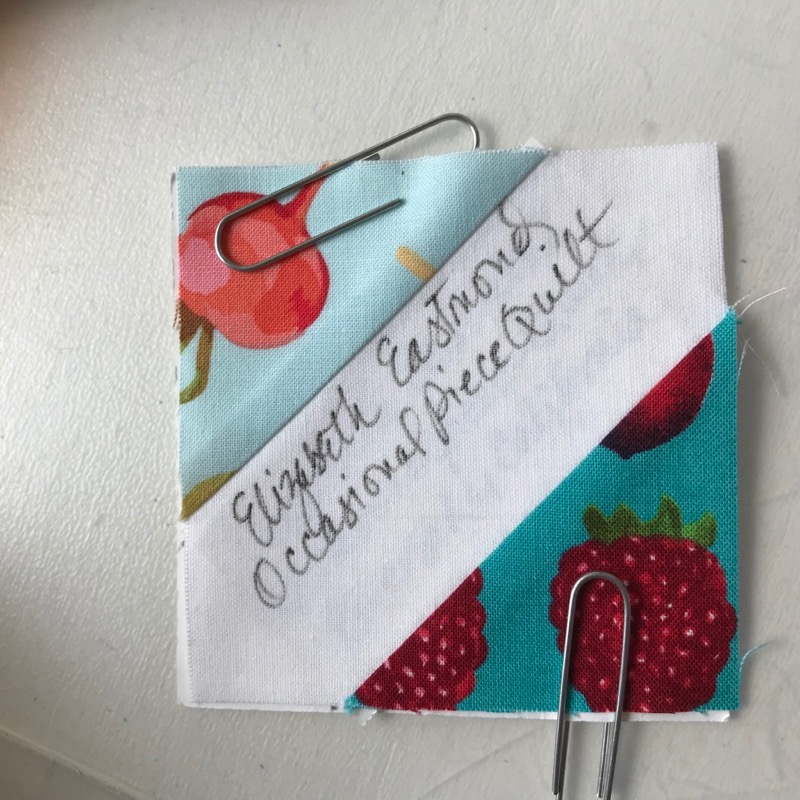
I’ve made myself a card that I place underneath the white area, to help keep my writing aligned; I use paper clips to keep it in place. I use a Micron Pigma 08 pen to write.
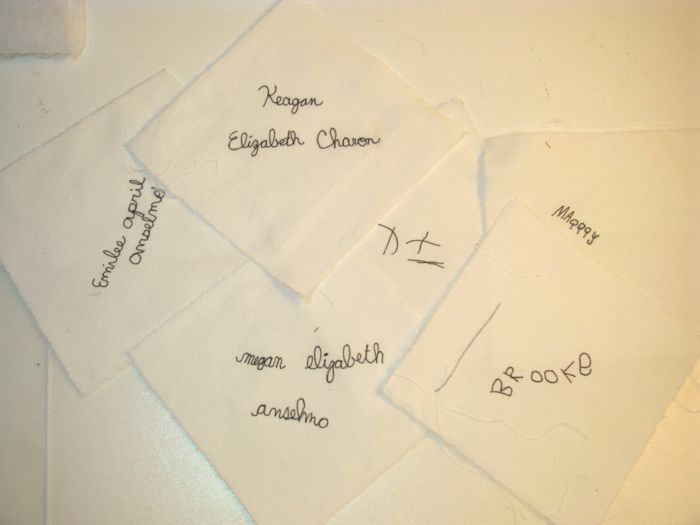
What to write on a Signature Block that is included with bee blocks? In our bee, we suggest: Name, IG name, the date (in smaller writing) and the city where the quilter lives.
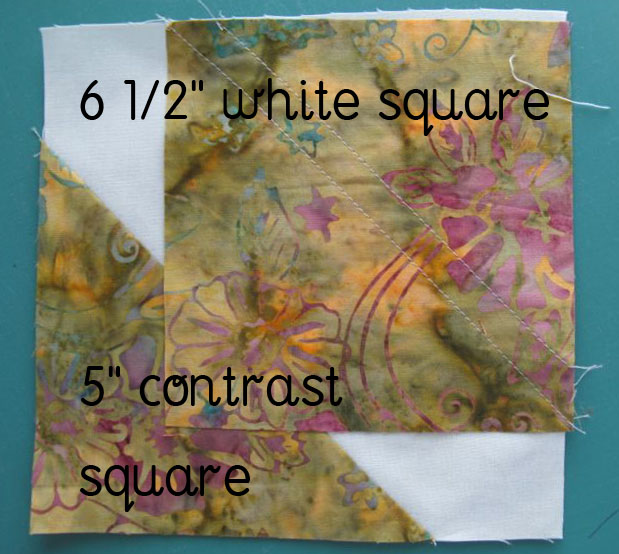
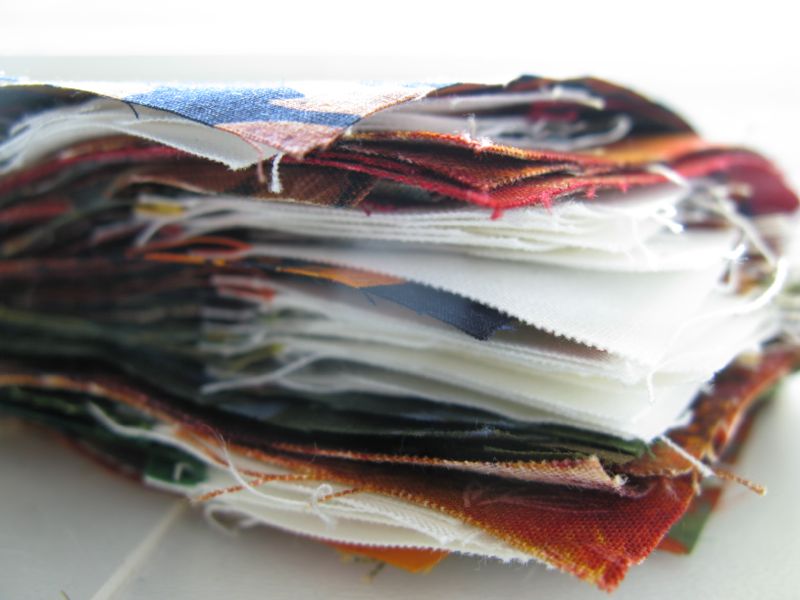
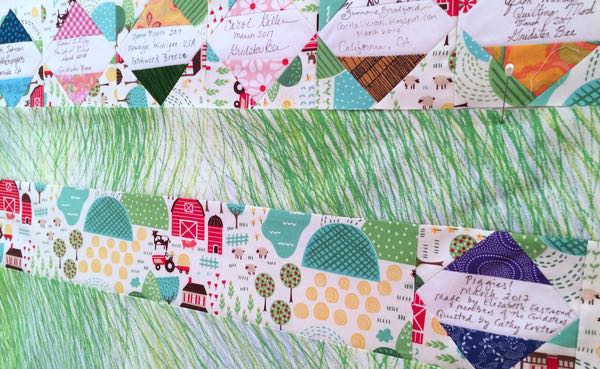
When making the larger signature blocks (quilt shown above), I used a 6 1/2″ white square and a 5″ contrast square. It gave a good amount of room for Lora’s friends to write their names. I did back every white part with strips of freezer paper, and collected signatures from all the church ladies to give her a good send-off. Many wanted to write a message, but we encouraged them to just leave a signature.
I’m sure you can see the double stitching on the corner. Because this was a larger block, I did two lines of stitching on those corners, 1/2″ apart, then cut right down the middle when I trimmed. That yielded a sweet-sized HST to use for other projects.
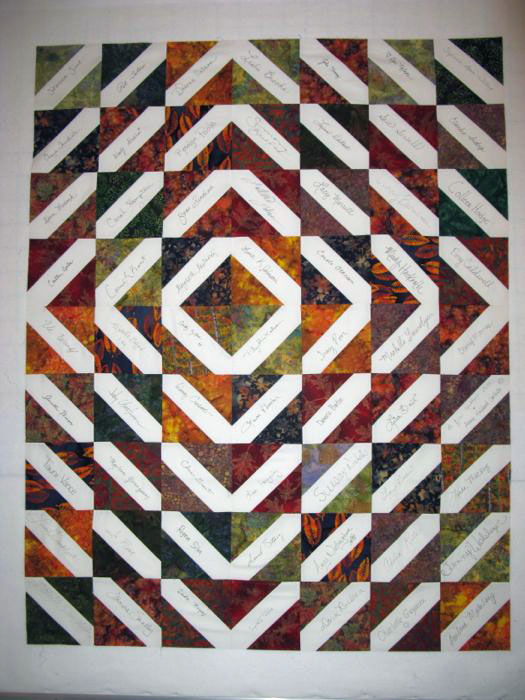
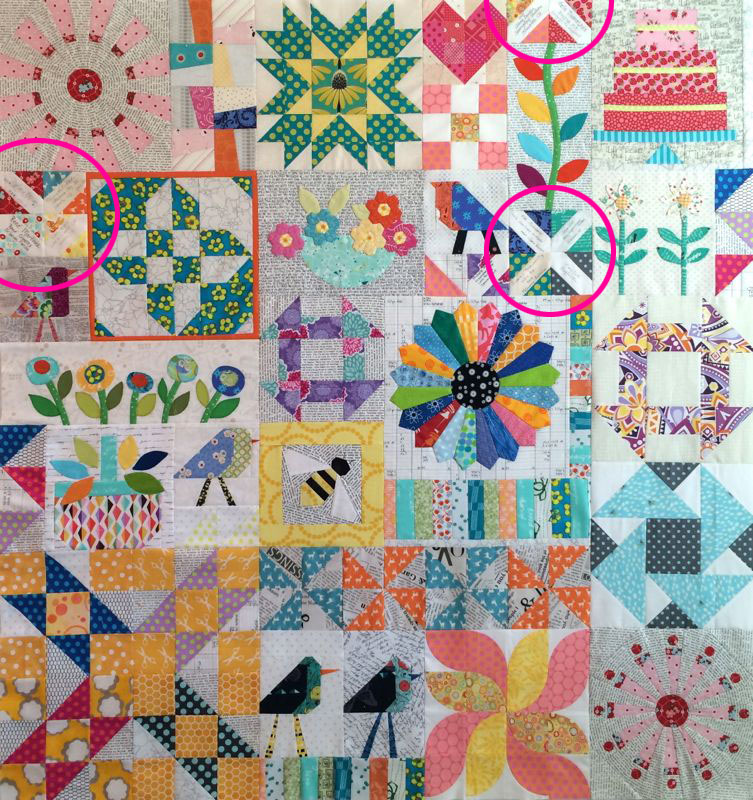
Some time ago, I made myself a signature quilt, collecting names of those who were significant to me at that time in my life. Some six years later, all these sweet granddaughters who signed a block (above) have grown up.

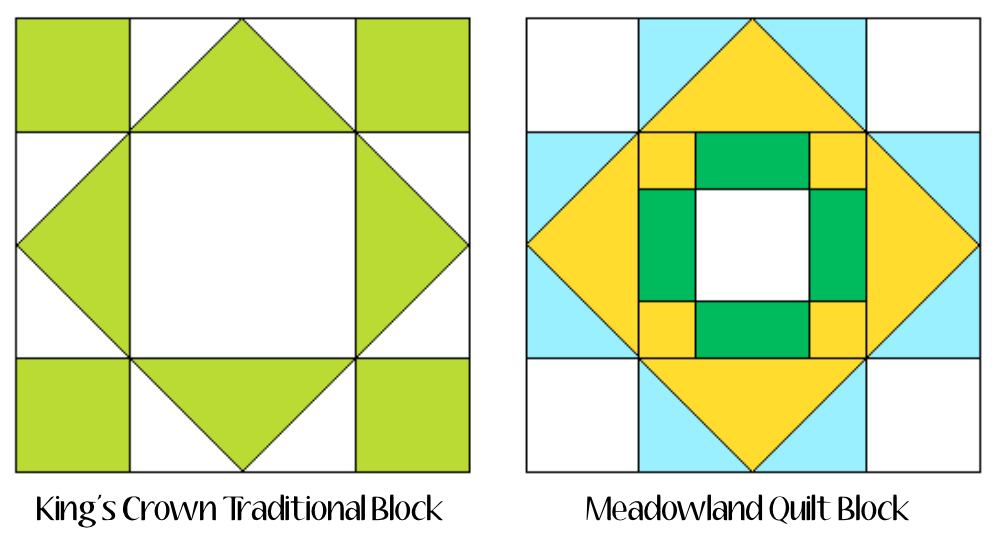
In this case, I used the center of the King’s Crown Block (also the basis for the popular Meadowland block that is currently all the rage; see below), sending around white blocks of fabric backed with squares of freezer paper all over the country, asking them to write their names in pencil (which I later traced over with my Micron Pigma 08 pen).
However or whatever your need for signature blocks are, I hope these tips are helpful!


Discover more from OccasionalPiece--Quilt!
Subscribe to get the latest posts sent to your email.

Nice update on the signature blocks. Instead of freezer paper, I use a sandpaper board to stabilize for writing.
Your bee block quilt is fantastic. All of the blocks are so interesting and I love the grandchildren’s blocks. Those are treasures.
Fantastic tutorial, Elizabeth. It never hurts to have so many great visual examples to share!!
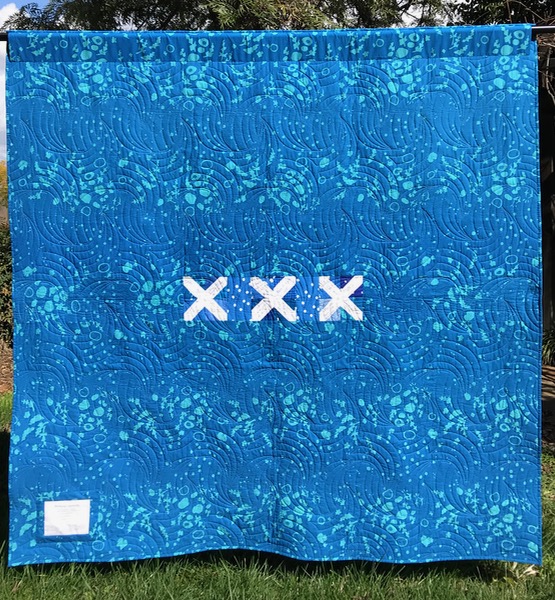
Such a good overview of label possibilities! Of course, I like the one I consider the “easy one,” where you get the bonus HST. Love how you’ve worked yours into the quilt front, and the back. Most of all, it’s important to emphasis “label your quilts!” Sometimes I forget for a while, but then have a good catch-up, and feel better about doing so.
Well explained update on siggie block. Thanks!
I’ve been pondering what type of label to put on some gift quilts and this post is giving me an idea. Thanks.
What a great idea to put all this together in one place Elizabeth! Can you believe I haven’t labelled my Delilah quilt! I must remedy that this weekend!
Thanks for the ideas! I hadn’t thought of having grandchildren sign a block, but what a nice idea to record a moment in time.