Patterns by Elizabeth of OPQuilt · Red, White and Blue · Shine: The Circles Quilt

The Last of the Shine RWB Blocks: 22

Happy Birthday to this blog!
Fourteen years of blogging: writing, sewing, quilting, venting, writing-back-to-you, reading and I still love writing this. I still love reading your letters and with a few exceptions was able to write back to everyone. Like I said, there are a few exceptions, but I try to keep the conversation going, so comments are back on for this final post of Shine blocks.

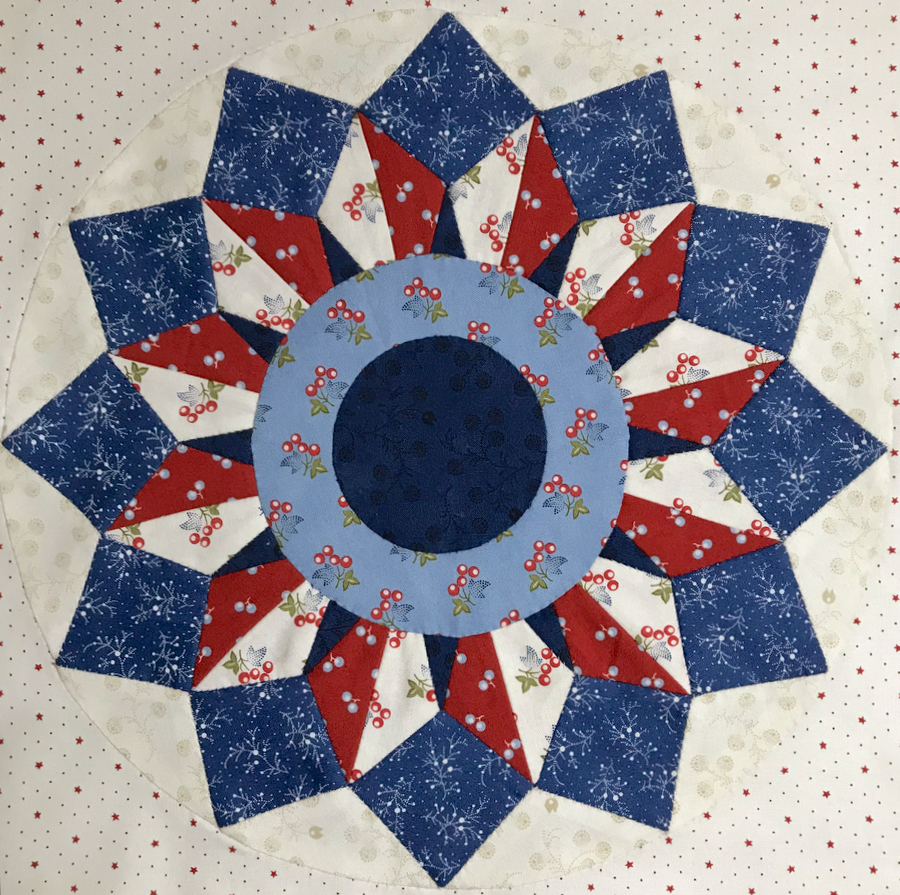
Block 22: Double Rosette

This block was very nearly infected with a virus, but I made some quick switches, and saved the quilt from this fate. It starts at the beginning when I choose fabrics, not always seeing the end from the beginning.
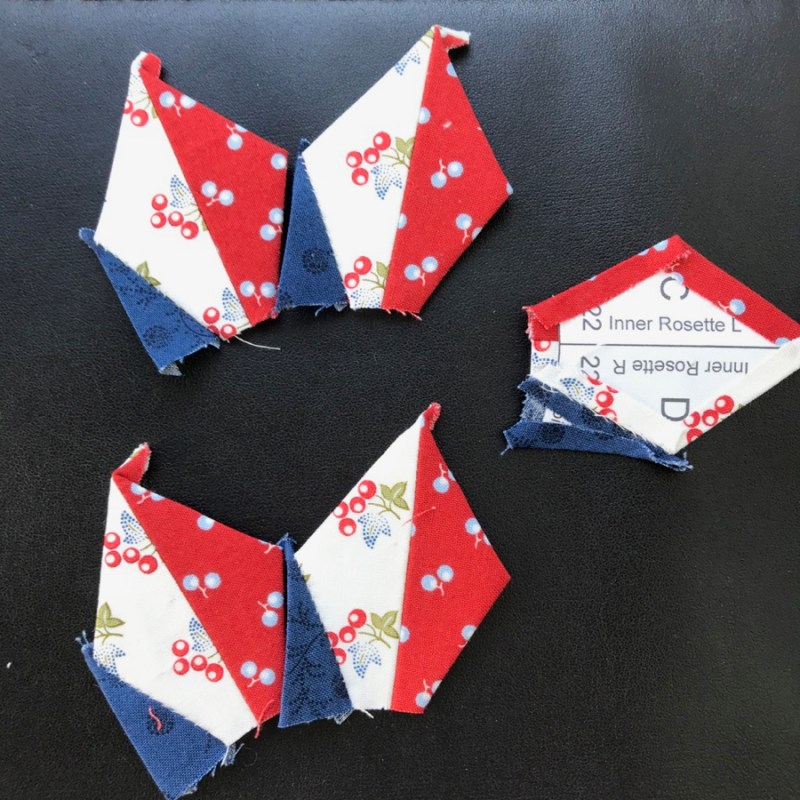
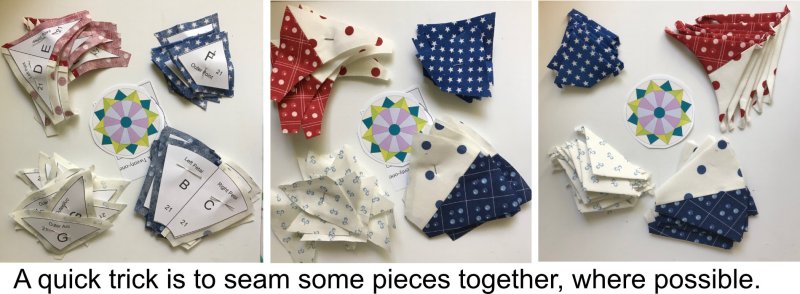
First up, attach the teensy little blue points to the large two-color points, already seamed using the quick trick I’ve mentioned before. But it’s easier if you work from the back, aligning the lower edge, taking a stitch to tack it together, then work upward to the point/shoulders of the two:

I never glue down that lower edge, so if you have, straighten it out, then you can see the bottom of the patterns. Take a stitch while you are looking at them. No, take two stitches.

After sewing one teensy point onto the same side of all the Inner Rosette units, repeat the process to sew two of these units together: work from the back, tacking the alignment into place. Sew the seam.
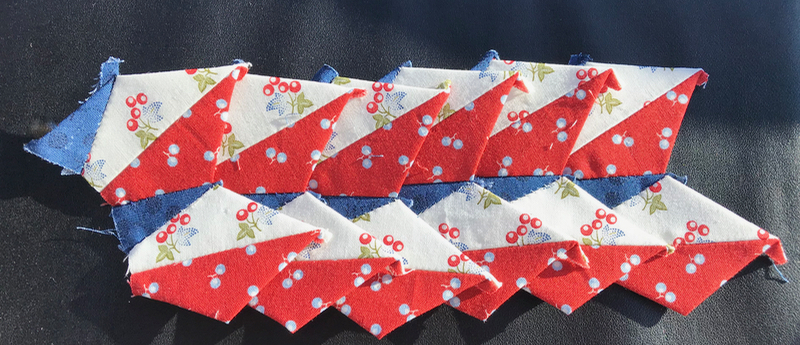
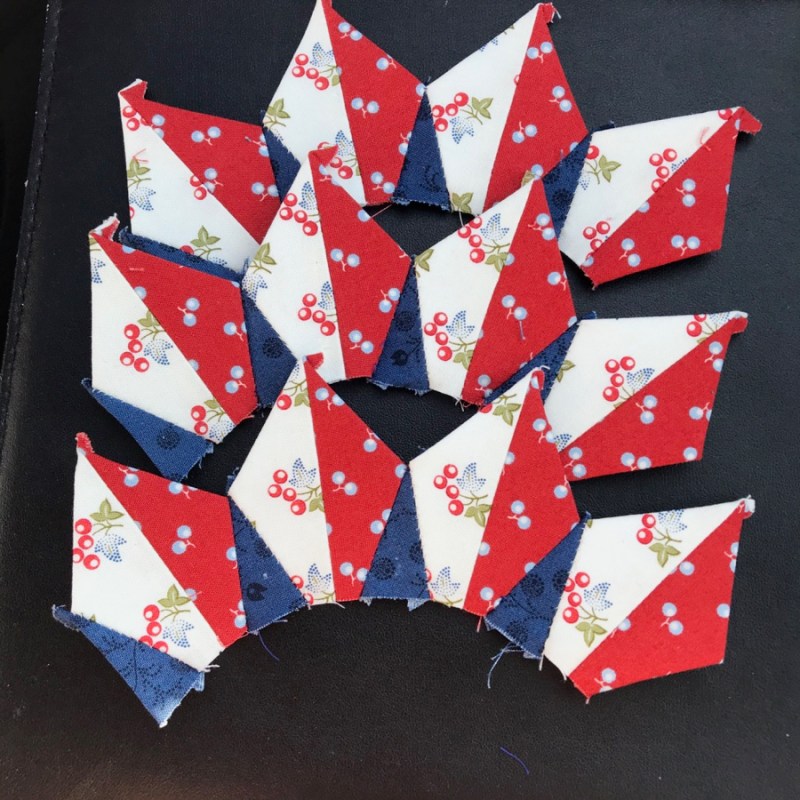
Twos, the fours. Notice that I sewed my little point onto the LEFT side of all the Inner Rosettes.
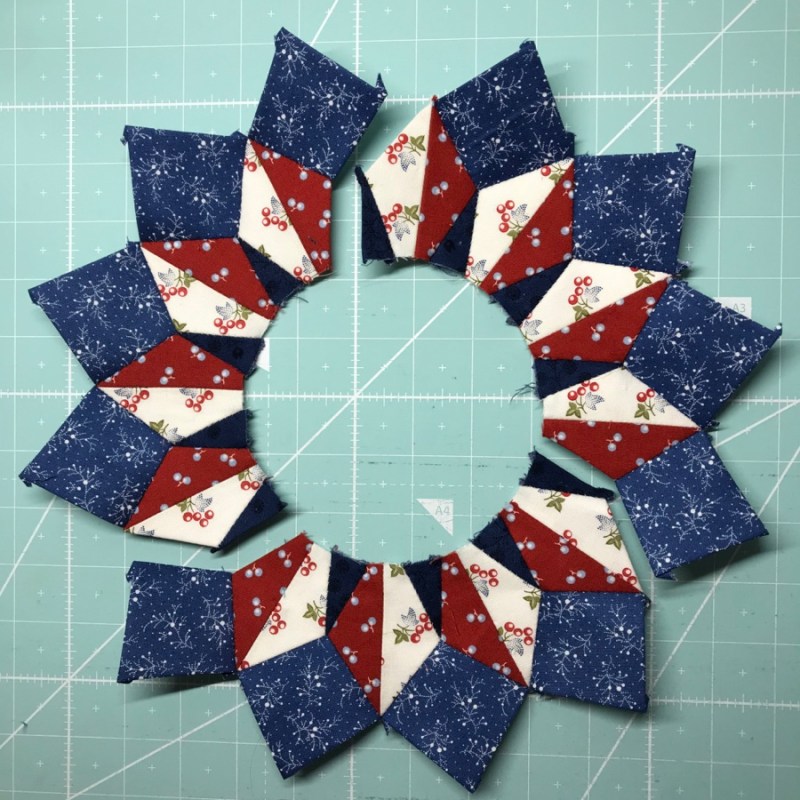
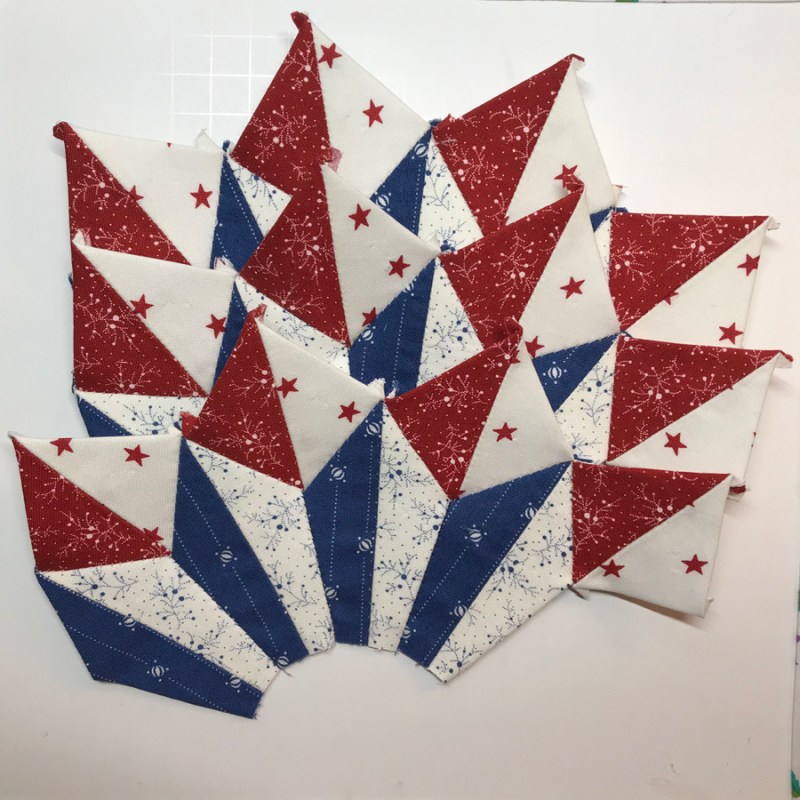
The blue diamonds went on, keeping the little blue dot pointing towards the center (I’ll show you that in a minute). It’s easier to add the outer sections if you are working in segments.
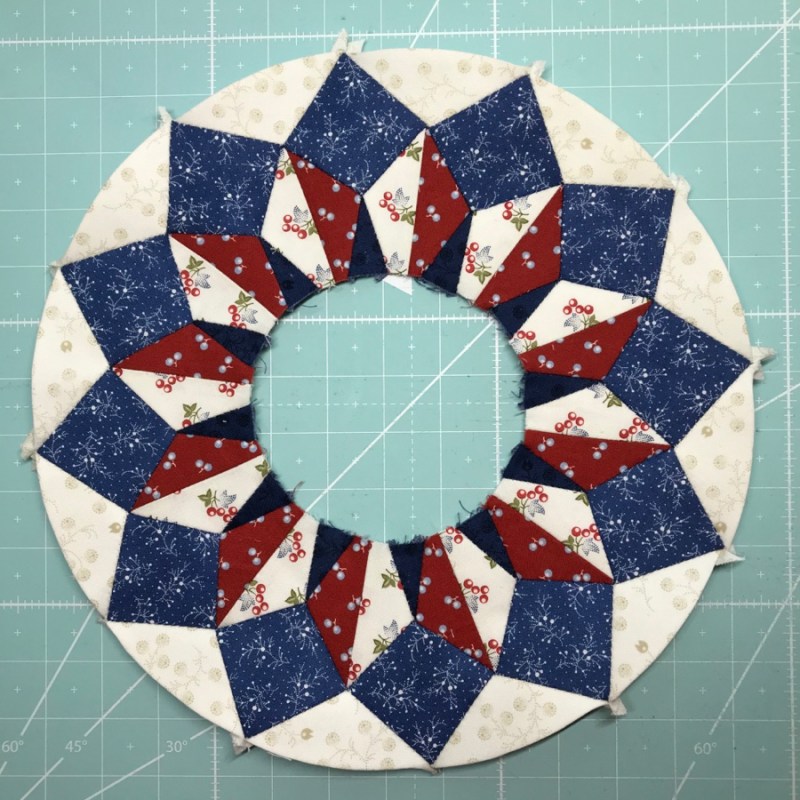
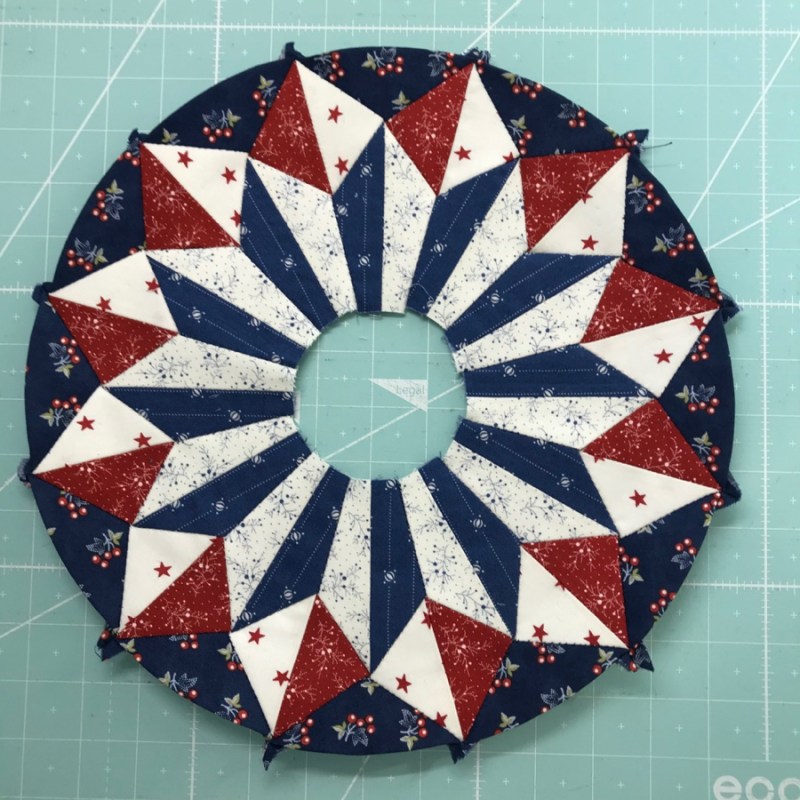
All the outer wedges are on, units are sewn together and it’s time to go hunting for a middle.

Because this circle is so much larger than my templates, I trace it on to the dull side of freezer paper, but also add a row of dashes at 1/8″ away from the circle and 1/4″ away. As I tell you on the pattern, it’s best to make your circle a little bit bigger.

I went to the ironing board and with the shiny side of the freezer paper facing upward, I tack it in four places with the tip of a hot (cotton setting) iron, kind of melting the shiny side of the freezer paper to hold the seam allowance in place.

I then work my way around, smoothing it into place. I will smooth out any bumps when I hand-stitch it down. Notice that the seam allowance is closer to 3/8″ — I will trim it down after it’s sewn to the larger EPP circle.

I measure from the edges to the center circle to make sure it’s evenly placed in the center.

And even now, I didn’t see what was happening with that blue polka dot against those teensy blue points.
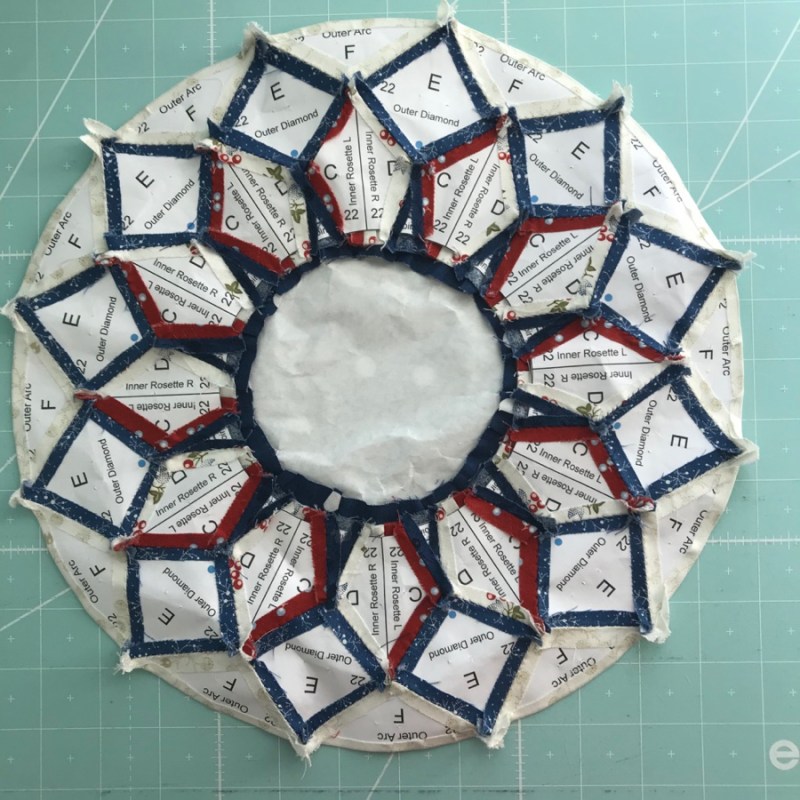
I carefully stitched the center circle on, flipped it over for its papers-in beauty shot. See the little blue dots in the Outer Diamond E piece? They are there to help you know which side goes towards the center.
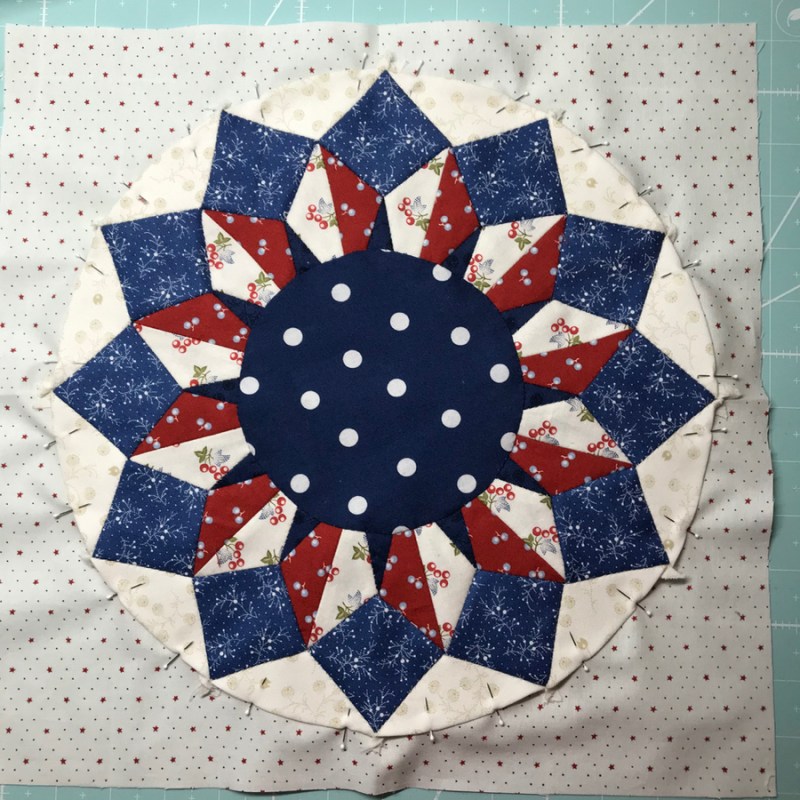
NOW I see it. It looks like a giant virus. This just won’t do.

I dithered about what to do for a day or two, then took off the center circle.

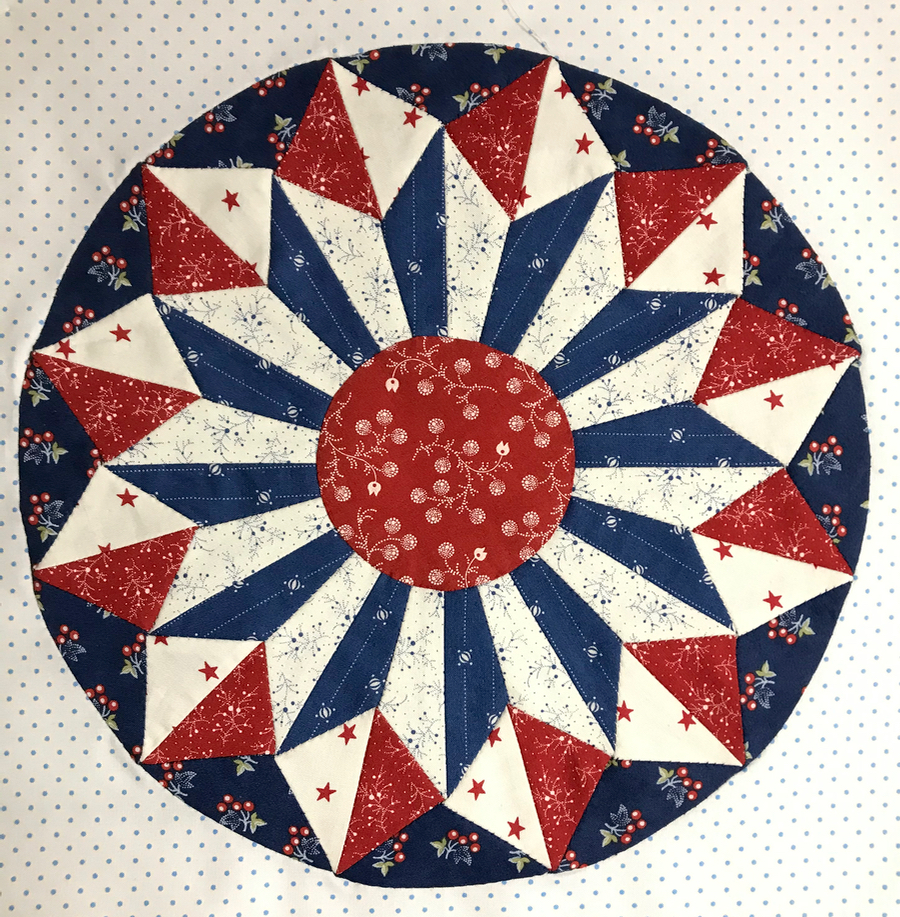
I replaced it with a medium blue center. But after another day, I added the final dark circle in the middle. I kept thinking I should dream up some more EPP for the middle, but frankly, I was kind of . . . done. And so I called the last block of the series, finished. (See the photo at the top for the final version.)

So, at this point, the Shine Blocks are all a family: The first sixteen, the second batch of ten, making 26 blocks out into the world. I love it when I see other people’s blocks, so I’ll leave you with Linda’s final block of her quilt.
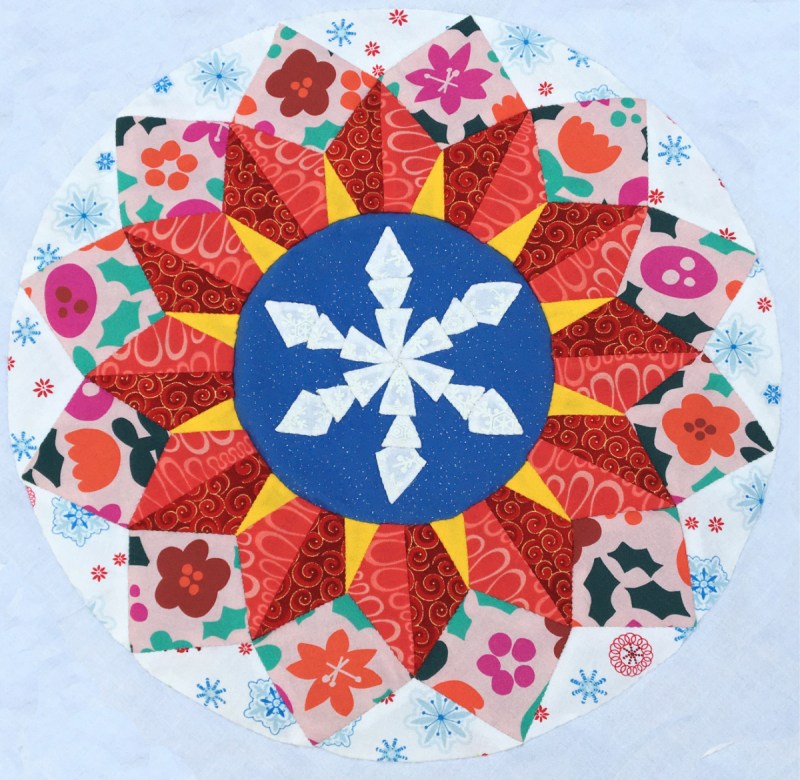
Shine on, everyone!
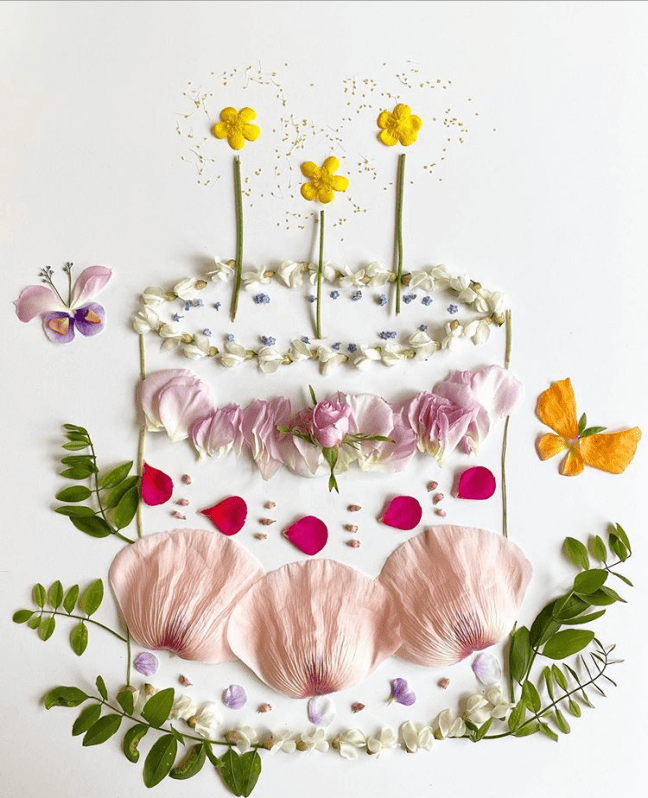
And Happy Birthday to me this week!
Illustration by @flora.forager

Because it’s my birthday this week, here’s a coupon code to get yourself a little present in my pattern shop!
The Fine Print: 25% off • Expires Saturday, January 9, 2020

Patterns by Elizabeth of OPQuilt · Red, White and Blue · Shine: The Circles Quilt

Happy New Year with Shine Block 20

This is the second of the three last posts for the Shine quilt done in red, white and blue, and these last three are all new blocks, found in the Nine More Blocks from Shine pattern in my pattern shop on PayHip. And yes, I know I put Block 21 before Block 20, but in spite of that I still think I’m doing pretty well these days. I have named this block Dresden Rosette, for every creation needs a name.

It all always starts with this, doesn’t it? I started Block 20 by doing the quick method of EPP, as described in the General Instructions: I pieced a couple of the fabrics together in strips, then laid out the pattern and cut/glued that to the paper. There are some tips in all the blocks, but I also think I did this in Block 19: Compass Star. Here I’ve paired up the Dresden-looking pieces:

The pairs were joined up to make a foursome, then the pieced diamonds were added to them, with one extra kind of hanging out there on the end.

Nothing prettier than a Dresden Rosette. But we’re not done yet. I’ve stitched the three sets together, but if you look at the photo at about 1-o’clock on the dial, you can see I’ve left one complete seam open. Trust me when I tell you it’s easier to sew the outer wedges on, if you have not sewn it into a circle.

Outer Wedges: On!
Final Seam: Sewn!
Now to hunt around for a middle…

Found the middle I wanted, and now am trying to decide between the two arrangements. You can which one I went for at the top of this post.

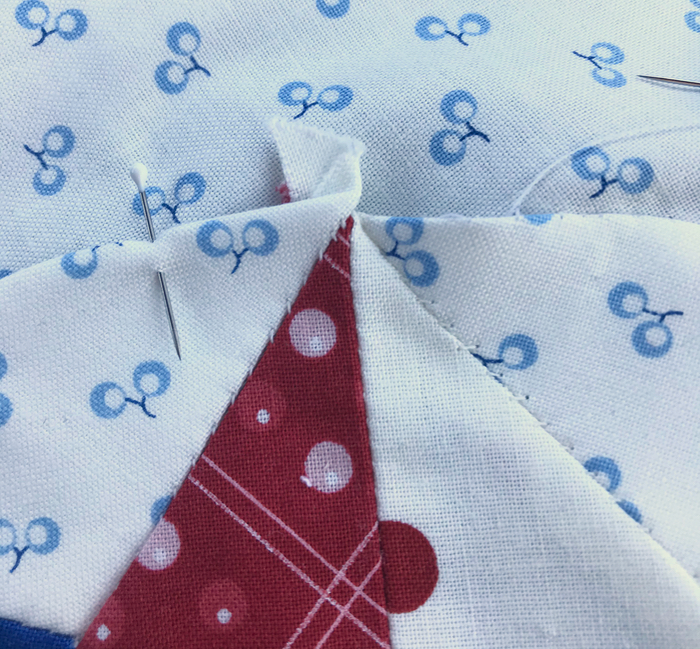
I’m sure you noticed all those little bits of seam allowances at all the tips. How do I handle those? Here’s three photos to show you. I first fold over and tuck under one side (#2), then fold and tuck under the second little bit (#3). Finally I stick a pin there, or quickly put in a couple of stitches.

Before
Photo #2
photo #3 (sorry about the color–I was outside and the sun shifted)

After it is all stitched down, I press. First I press from the top, then I set the circle on a well-padded surface, and really give some heat and steam to those protruding seam allowances. They usually fall nicely in line.

On onward to the last of the Shine Blocks. Again, I have turned off the comments for this post, too, as I’m doing them in such quick succession. My contact info is above in About Me, if you need to send me a note.

Gridsters · Patterns by Elizabeth of OPQuilt · Red, White and Blue · Shine: The Circles Quilt

Happy New Year with Shine Block 21

Something short and sweet for you today: how to make block 21. I’m posting these last few blocks of Red, White and Blue SHINE in quick succession, so others can these posts for references.

The going is quicker, so I swiftly moved from the above, to the layout below.

This is an easy block to start with, if you are just a beginning EPP-er. This block can be found in Pattern 121, the final nine new circles, and is available in my PayHip shop. The quick trick is explained in the General Instructions, as well as in other Shine Block instructions (on this website).

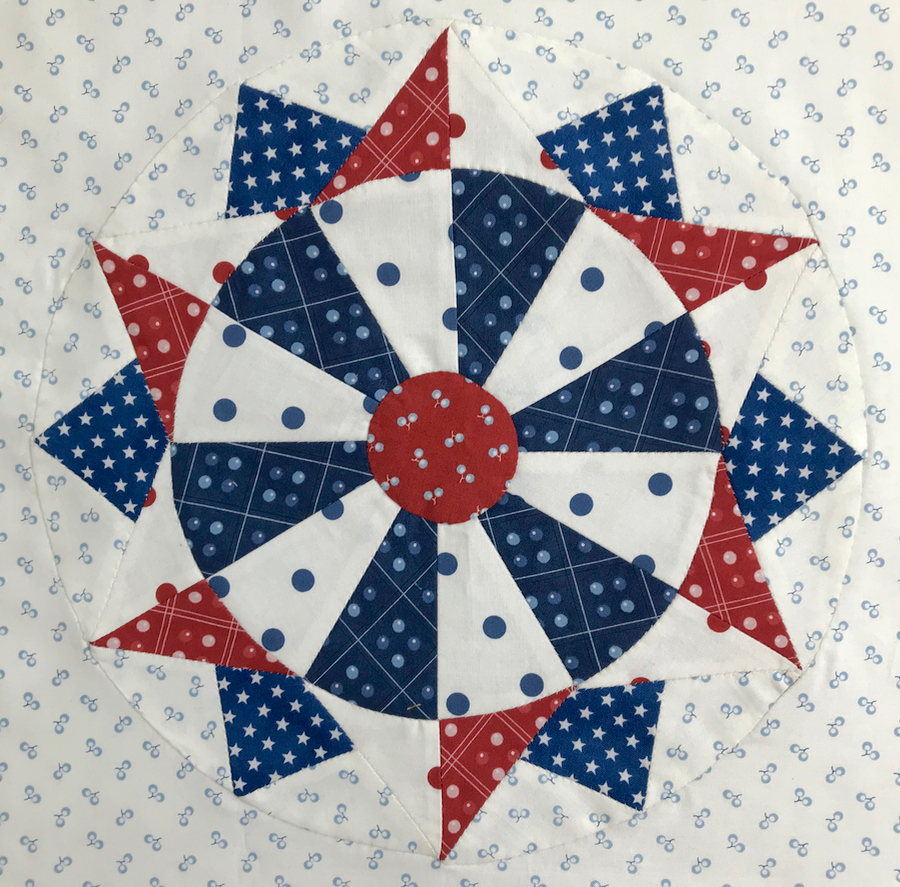
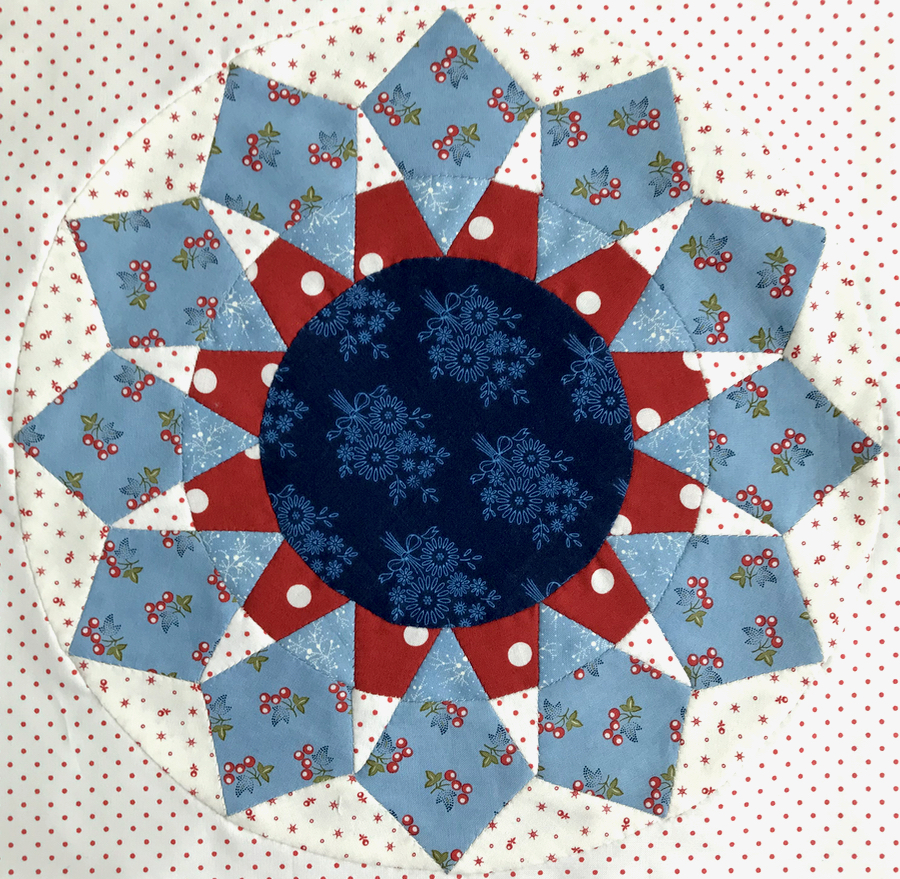
Follow the steps on the pattern. You can see I made the inner circle first, then added on the red/white star points. Then next is making the outer wedge-point-wedge units. Sew them in between the star points. Applique a small circle on the center. Appliqué the circle to the background square, deciding if you want the red/white star points UP, or the blue smaller points UP. You can tell from the first photo which one I chose.

We’ve just had Christmas, come through the bulk of 2020, and I thought a short and sweet post would be best. It’s touch and go as to whether I get the top finished by the Inauguration in January, but a girl can dream, can’t she?

In other news, I finished the feather for Jen in our Gridster Bee for December. She wanted organic-looking batiks for the feather part, and solid black for the feather’s shaft. You can see a whole bunch of the feathers here. The pattern was a free download from ZenChic designer Brigitte Heitland.

I have turned off comments for this and the next two posts, as I am finishing up the SHINE block construction information; hope you won’t mind. If you want to get ahold of me, my email can be found on the About Me tab, above.

Quilts · Shine: The Circles Quilt

Circles Blocks 17 & 18: Summer Day and Hip to Be Square

This post shows the general assembly order of two blocks:
#17: Summer Day • included in the SHINE: Finishing Pattern
#18: Hip to Be Square • included in the pattern SHINE: Nine More Blocks

Summer Day • Block 17

If you have not had a chance to look at the other blocks, please refresh your working knowledge of English Paper-Piecing and read through a few of the free tutorials on this website.

In addition, because this block is part of the Shine Finishing Instructions Pattern, this overview will be brief. All pieces and the block key are in that pattern are sold in my PayHip shop here.

In all cases, prepare your blocks. A good reminder for hand basting is found on the post for Shine Circles Block 2. A post to read for glue-basting (which is what I ended up liking the most) is on the post for Shine Circles Block 8.

In this block, prepare all the pieces by glue-basting, or thread basting down all the seam allowances around all the pieces.

Cactus Flower • Block 21

For block 17, found in the Shine: The Circles Quilt Finishing Instructions pattern, following the key printed there, stitch the Flower Petal to Flower Petal Base. Repeat until all units are complete.

Now stitch the Flower Tip C to Flower Tip Base B. Repeat until all units are complete.

Pair these up and stitch the Flower Petal Unit to the LEFT side of the Flower Tip unit. You should have 12 units, total. It will look like the illustration above. Join these together, again in pairs. You should have 6 units at that point. Join 3 of those units together, then repeat. It will be two halves of a circle.

Stitch in the outer wedges in between the flower petals. Shown below is one half of the circle with the wedges attached. Notice that how one wedge hangs over the edge at the top right, and how the lower left is absent a wedge. It will be attached to the other half, and overhang as in the existing example. From there, join those edges together to make a circle. Attach the center circle, and then attach the block to your background fabric. All instructions for those are either in the purchased patterns, or on the tutorials on this website.

And yes, I do swap out my thread colors to match my fabric if the contrast is high. For example, I would not use white thread on those sections where the red will be sewn to the blue.

After completing the EPP portion of this block, follow the instructions to appliqué it down to the background block, either in the pattern or on any of the free tutorials listed on the Overview Page.

Hip to Be Square • Block 18

This is basically a series of putting two pieces together, then two more, then adding the outer wedges and the center circle, then sewing it all to the background square.

In all cases, prepare your blocks. A good reminder for hand basting is found on the post for Shine Circles Block 2.

A post to read for glue-basting (which is what I ended up liking the most) is on the post for Shine Circles Block 8.

Most of the instructions for this block are found on the pattern, SHINE: Nine More Blocks, found at that link in my pattern shop.

Cactus Flower • Block 21

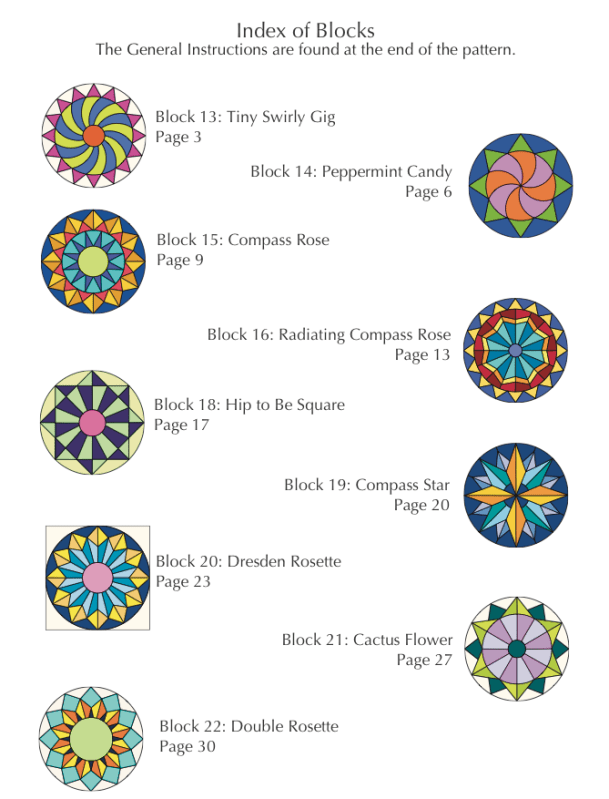
Here is the full index of blocks. Many are here on this website.

I offer two additional block patterns for sale in my pattern shop.

The first one above, Summer Day • Block 17 is a bonus block and is part of the pattern SHINE: Finishing Instructions.

The other pattern I offer as related to SHINE: The Circles Quilt is an additional set of blocks. It’s called SHINE: Nine More Blocks and is also in my pattern shop. Here’s the index:

Refer to the Overview Page on this website for all the free Shine Tutorials to make any blocks not listed here: An EPP Quilt: Circles.