It’s a big, fancy year for the United States, this 250th celebration of those men in white powdered wigs slaving through the heat of Philadelphia in 1776, trying to figure out how not to have a king, but something else. As Honest Abe Lincoln described it 87 years later, we wanted a government “of the people, by the people, for the people.” The three documents that were eventually crafted, the Declaration of Independence, the Constitution, and the Bill of Rights are known collectively as the Charters of Freedom. And so we celebrate this beginning.
We’ve done this celebrating before.
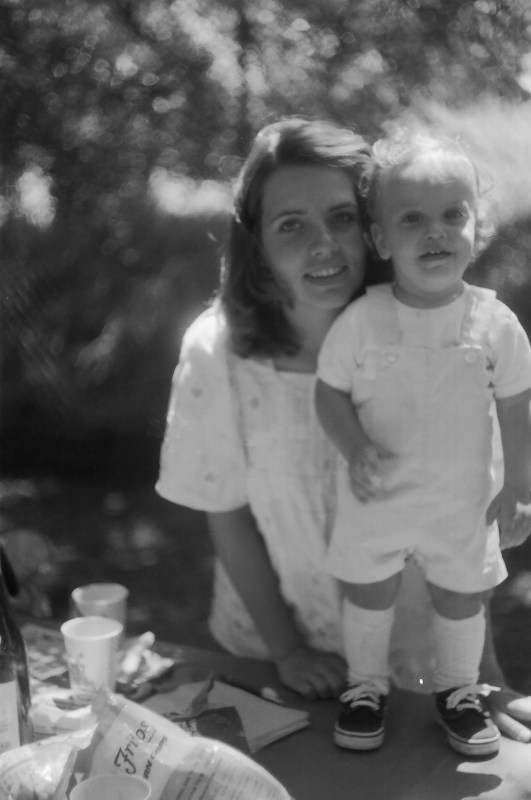
The first one I remember was in 1976, and it was the summer of the Bicentennial (200 years). This is about all I can recollect: a picnic with my toddler.
This year, the Semiquincentennial (250), that son will be celebrating the 4th with his family of five in another state, and hopefully they will remember more than a picnic.
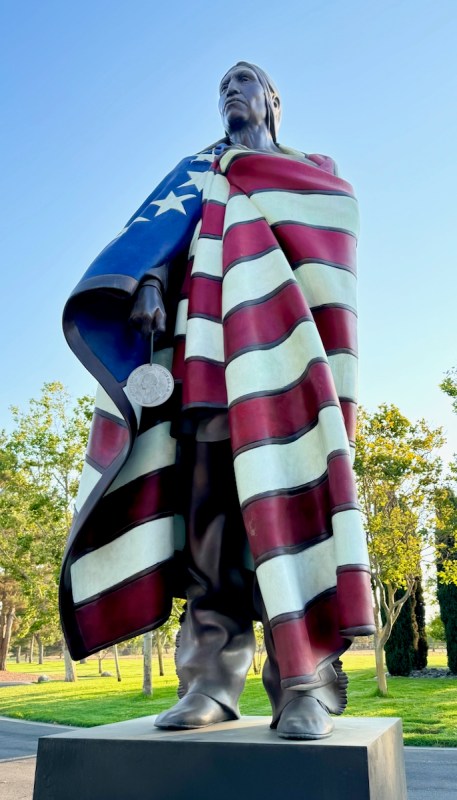
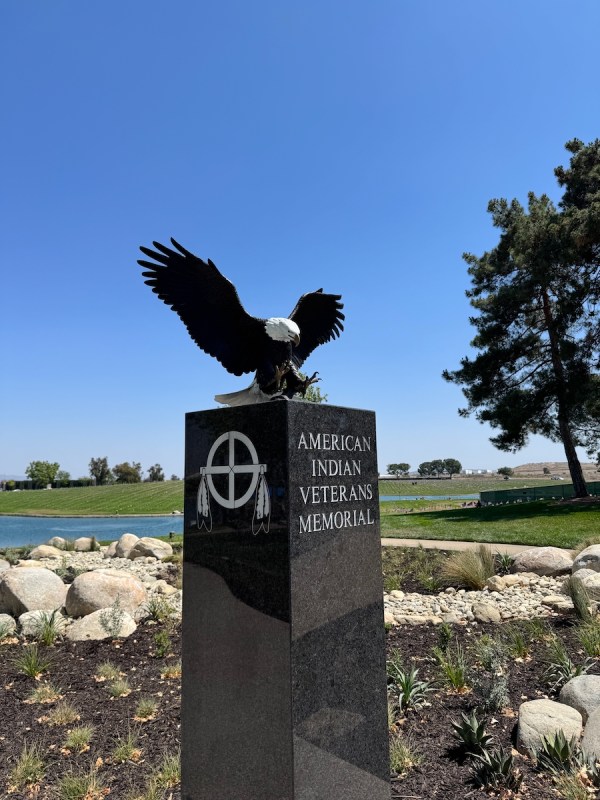
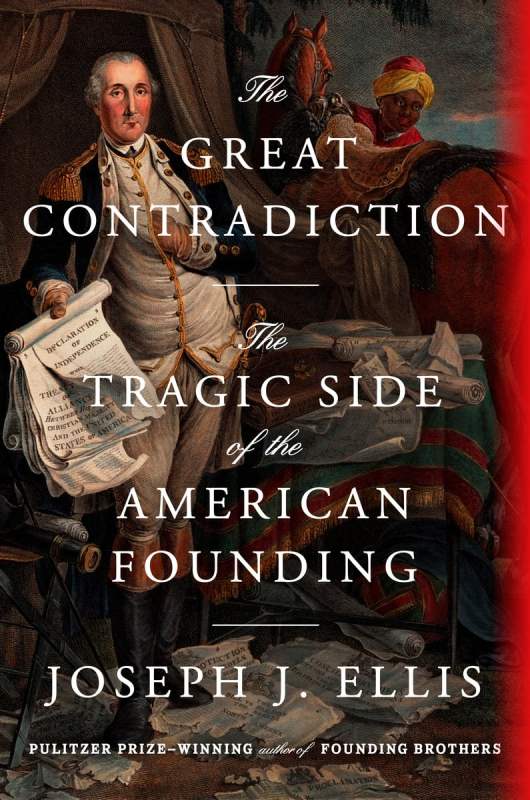
When starting a government, or a marriage, or a school, or any great endeavor, there might be some failures. According to noted historian, Joseph J. Ellis, author of The Great Contradiction: The Tragic Side of the American Founding, there were “two unquestionably horrific tragedies the founders oversaw: the failure to end slavery, and the failure to avoid Indian removal” (Kindle, p. 8). Ellis’ book discusses these contradictions, and we are still grappling with these today. Between 1500 and 1800, while “five times as many Africans as Europeans were carried to the New World” (ibid., 13), only a small portion of that diaspora was carried to North America, making us a predominantly white nation of interlopers on the Native Americans who lived here.
Those aren’t the only mistakes we’ve made.
Thomas Jefferson declared in The Declaration of Independence: “We hold these truths to be self evident, that all men are created equal, that they are endowed by their Creator with certain inalienable Rights, that among these are Life, Liberty, and the pursuit of Happiness.” This year, we celebrate that, but I do keep wondering: are we moving towards that beautiful idea, or away from it? And with all the examinations and navel-gazing, maybe we can acknowledge that we aren’t perfect as a nation, but that we generally are pretty amazing?
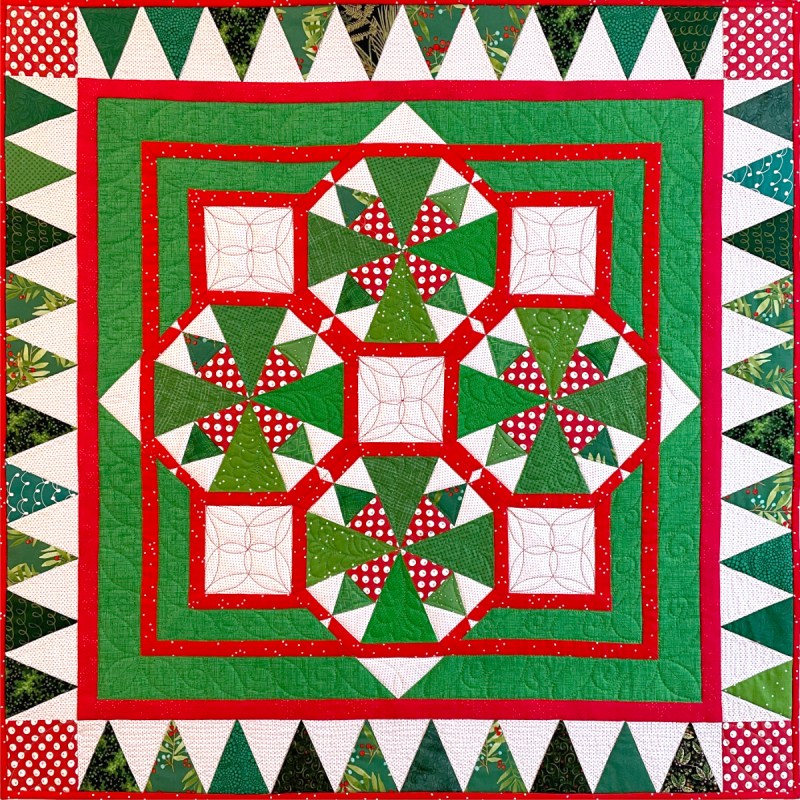
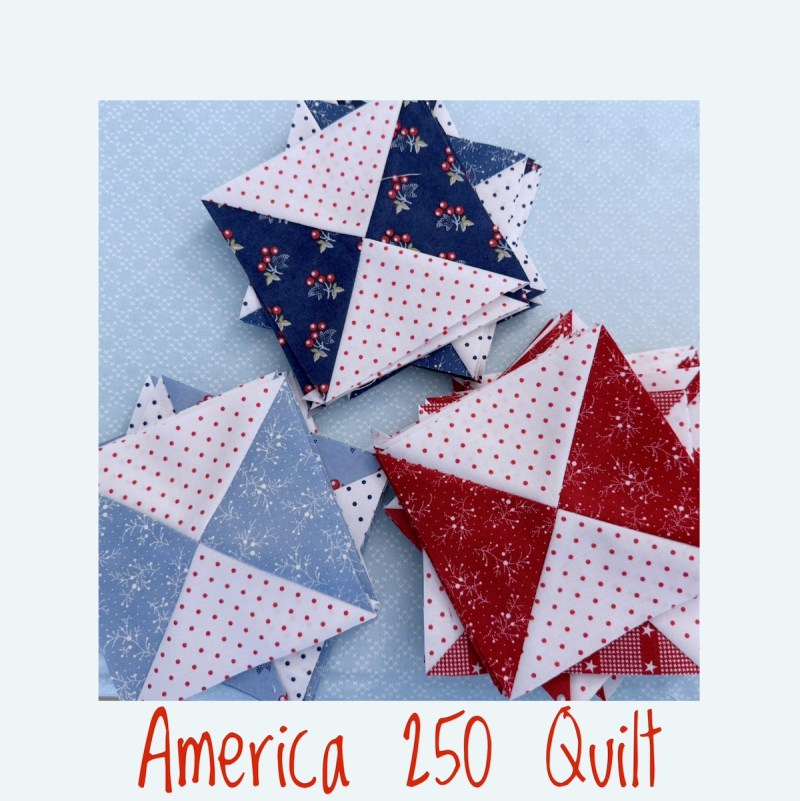
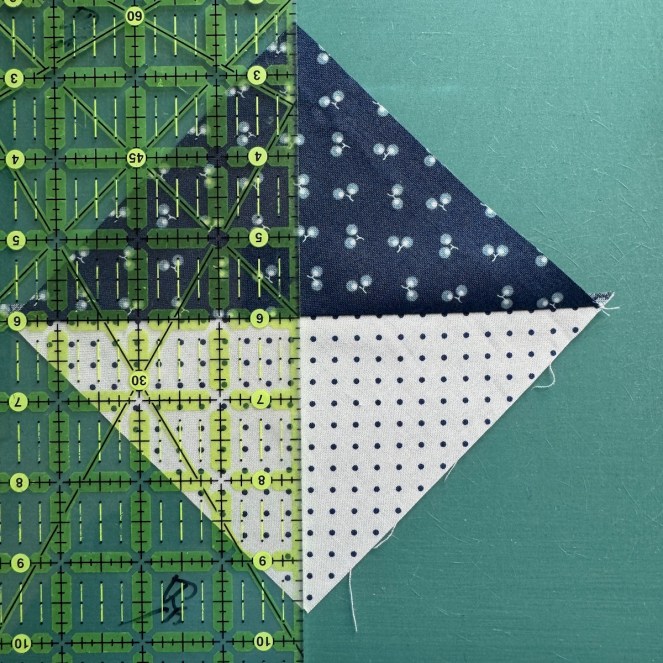
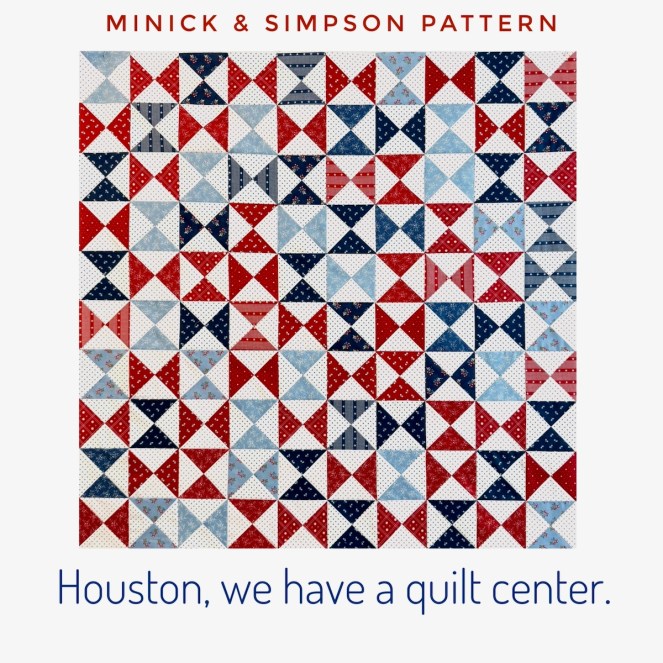
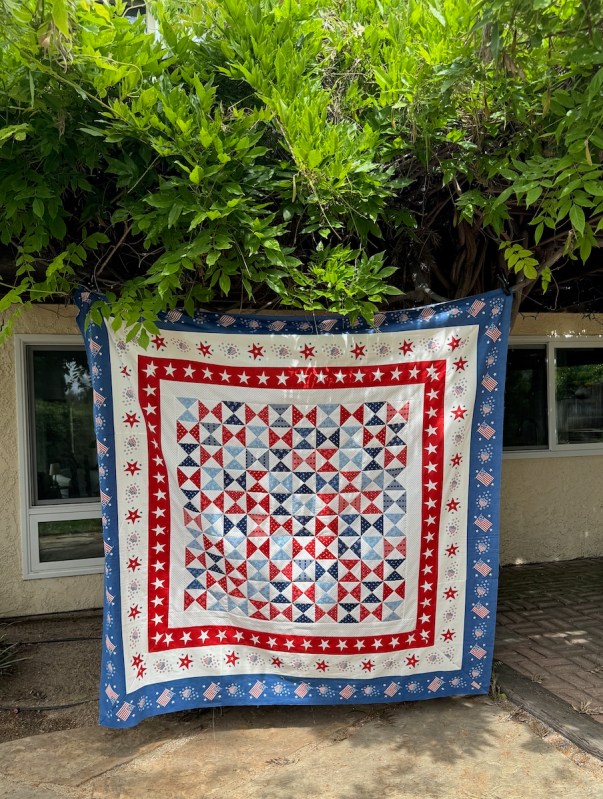
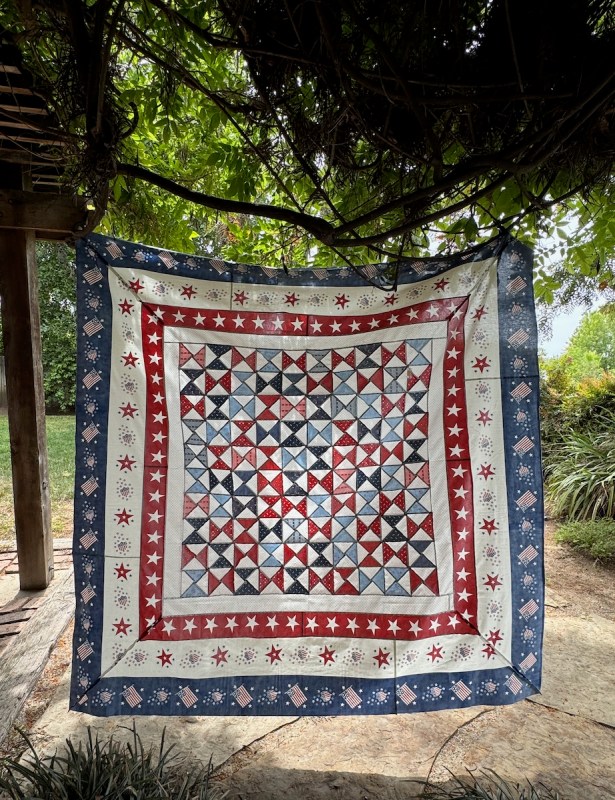
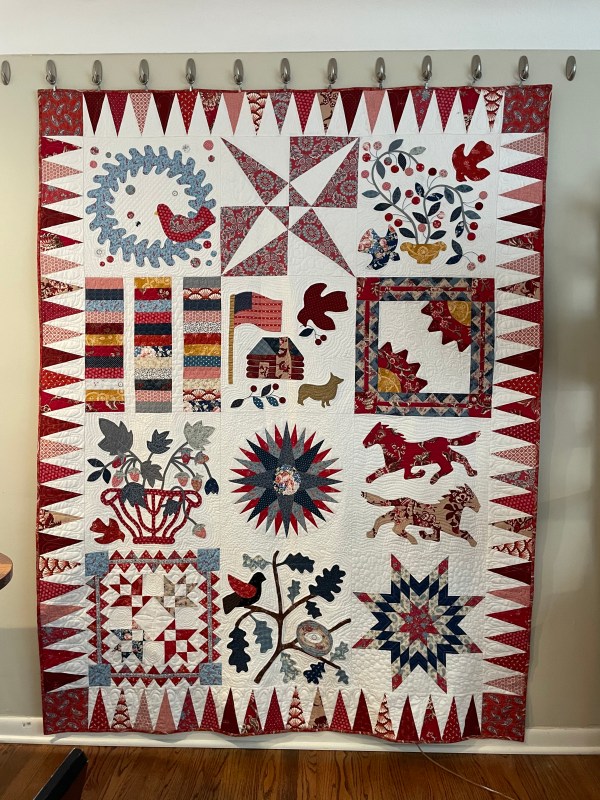
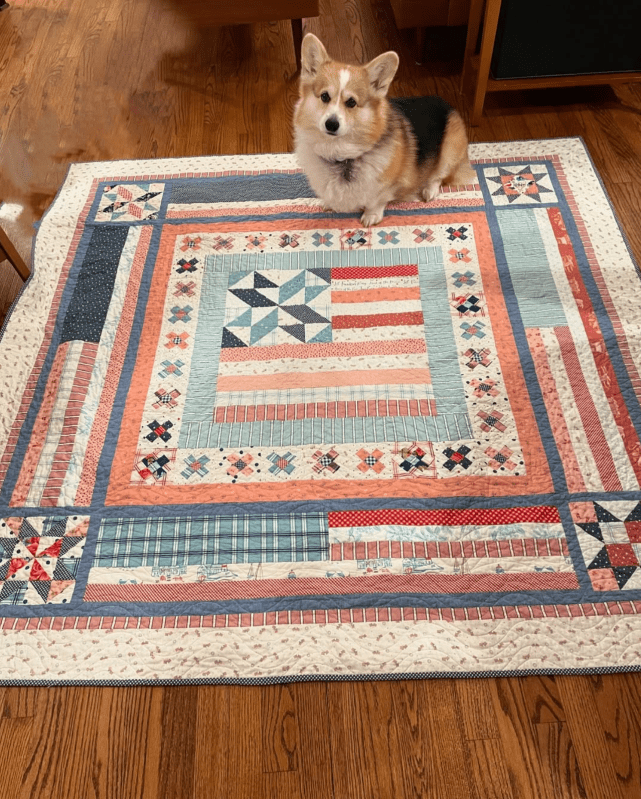
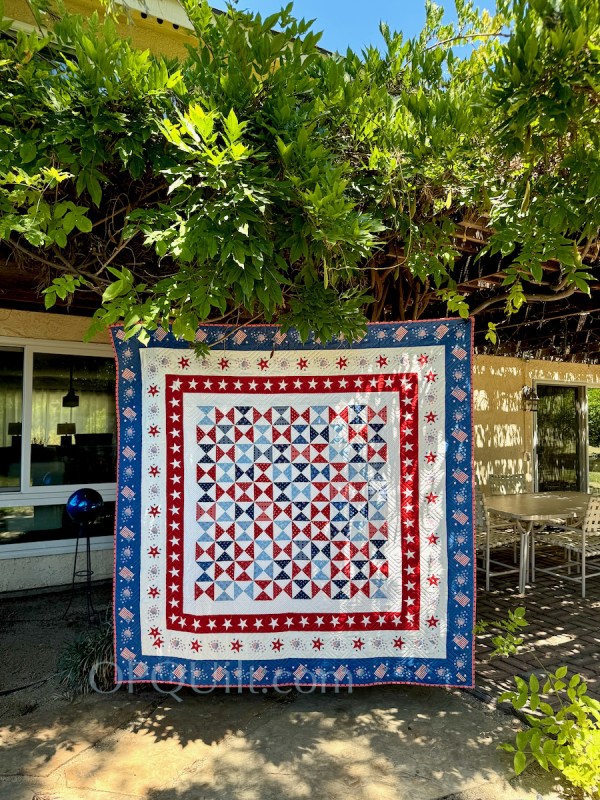
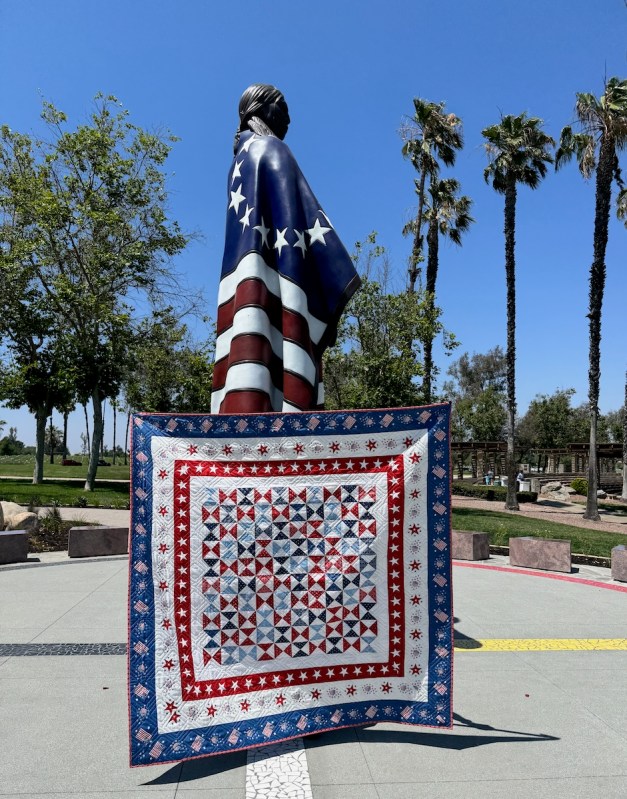
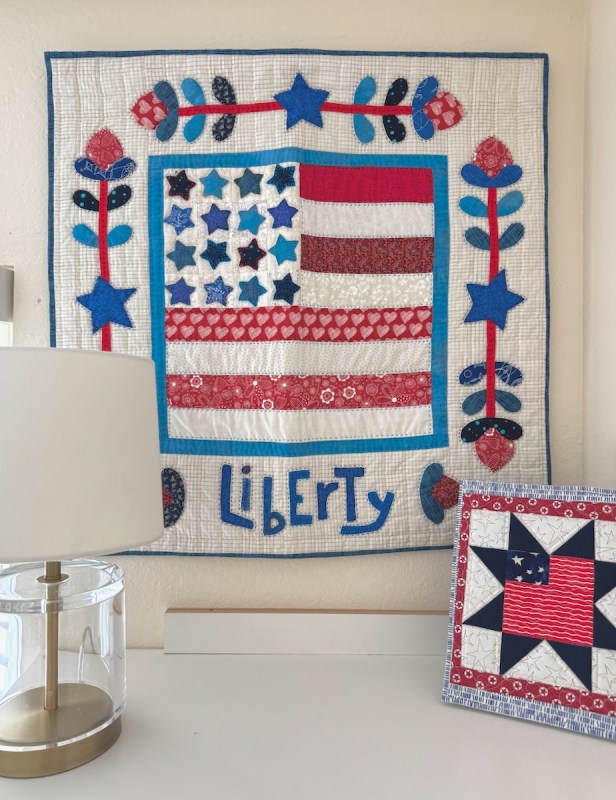
While I try to hold all these disparate thoughts in my tiny brain — for this 250th celebration, I made a quilt.

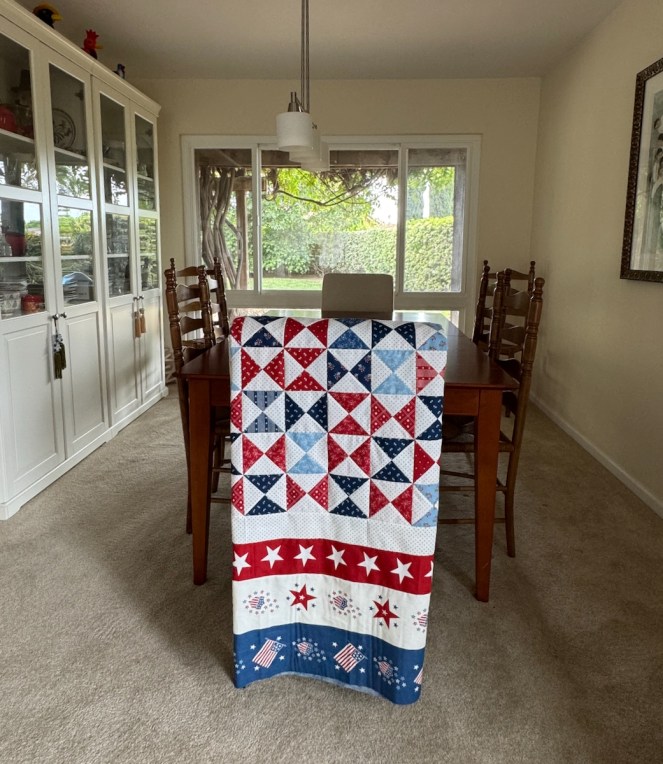
My childhood nickname was Betsy, so of course I loved this panel for the back.
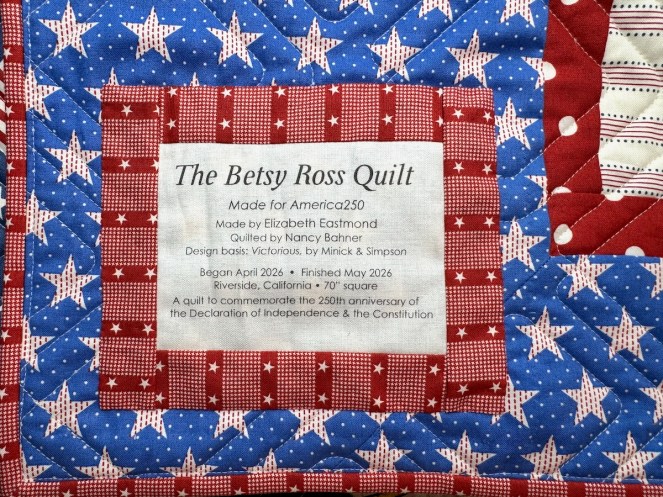
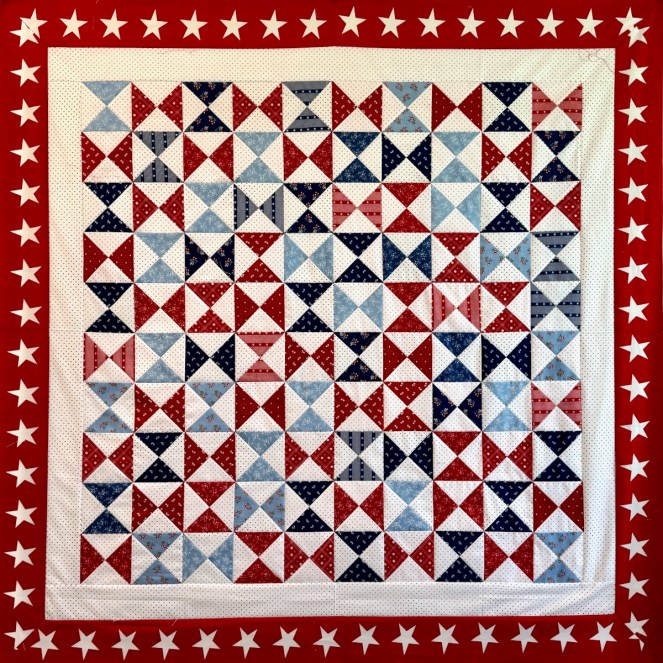
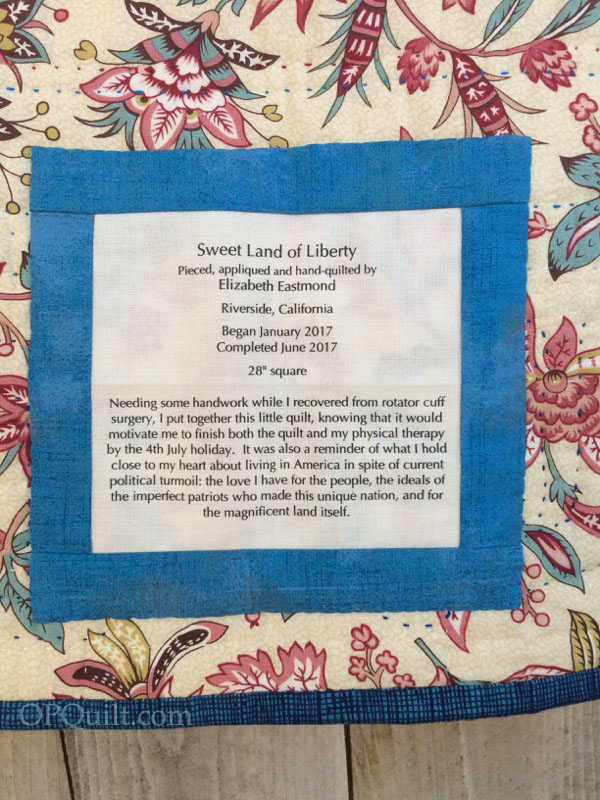
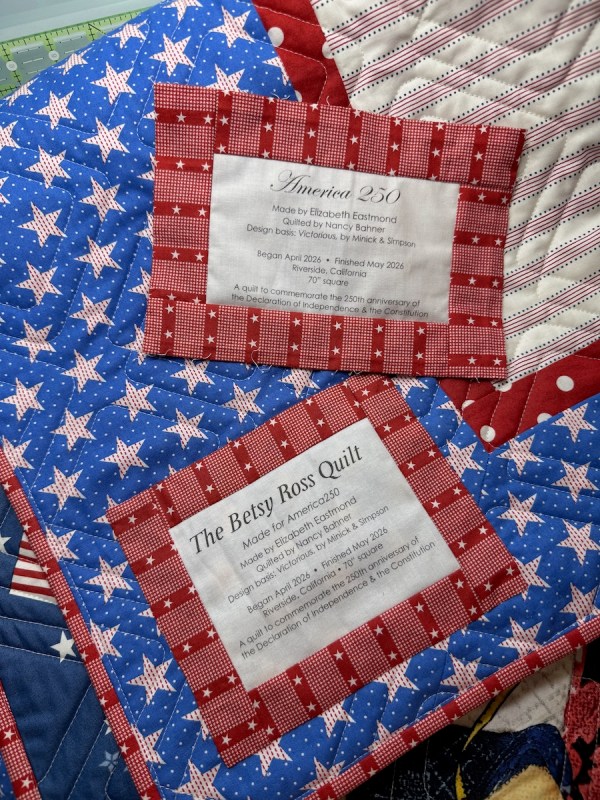
This is Quilt #317 and many of the details are on the label. I actually had a different title, but this week decided I wanted to call it The Betsy Ross Quilt. So I made a new label and took off the first one:

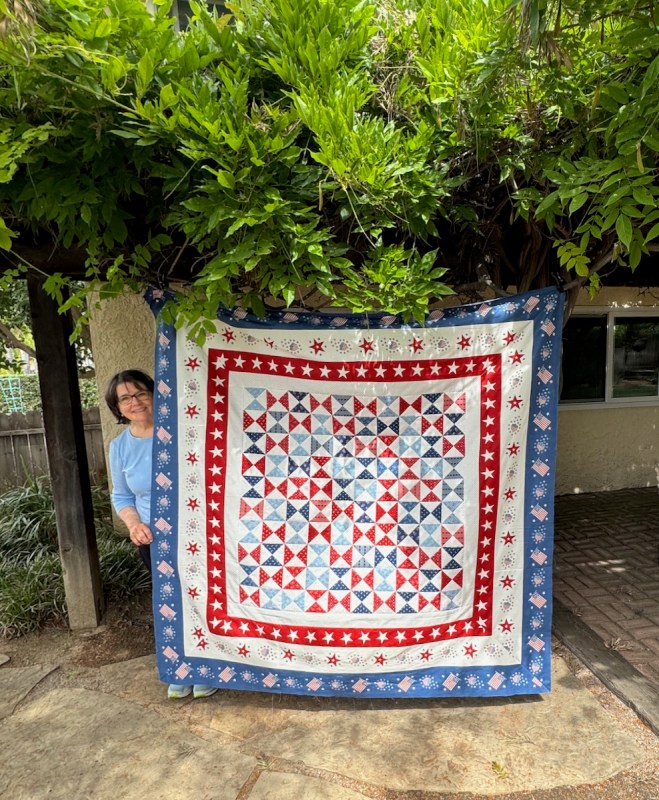
(Photography location scout and quilt holder is my saintly husband.)
So this year it will be probably a more contemplative celebration, given the tensions in our national dialogue. I like people on both sides of that dialogue, but my overriding desire is to see how we can care for each other — the people — rather than just going for power or for ruling over the populace. There’s a reason why those Founding Fathers eschewed the idea of a king, and I kind of think they knew what they were doing. The dialogue — fraught as it may be — will continue.
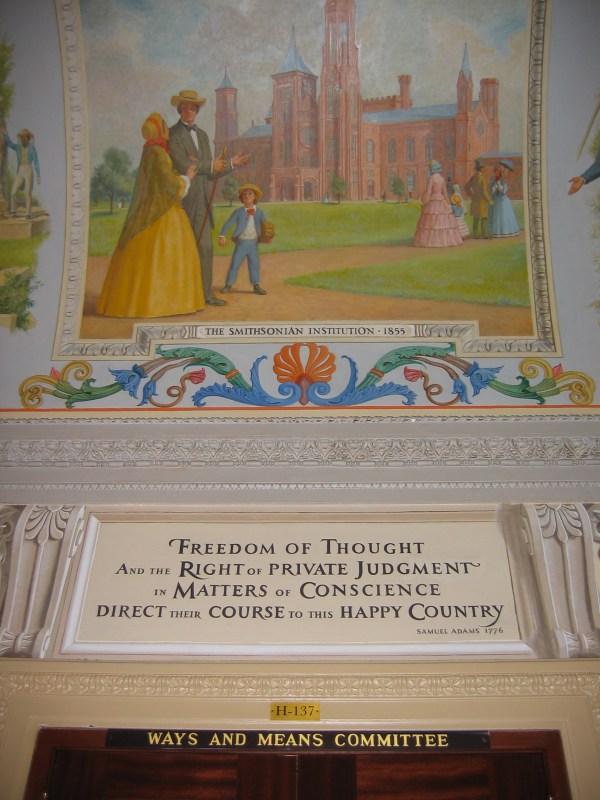
Samuel Adams, 250 years ago this year, was on to something:
Freedom of Thought and the Right of Private Judgment in Matters of Conscience, direct their course to this Happy Country.
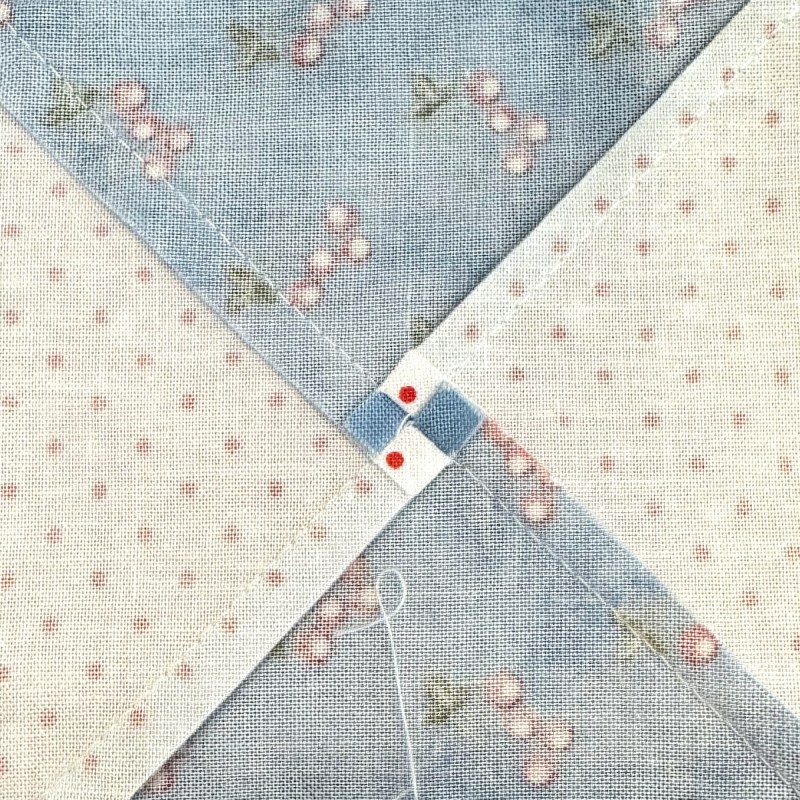
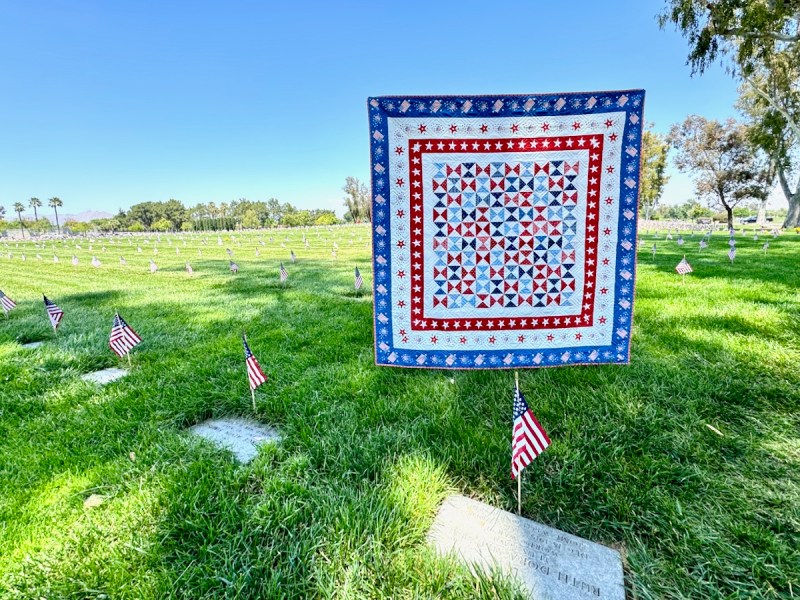
While I don’t have any great answers about how we make our way to that Happy Country, I just know I want us to keep trying. As a quilter, I honor that spirit of making mistakes, recognizing them and unpicking a few stitches in the process, so I’ve put out all my red, white and blue quilts around the house to jolly things up over here. To celebrate well.

I hope you do too.
Happy 250th Fourth of July!

Information on some of the Quilts
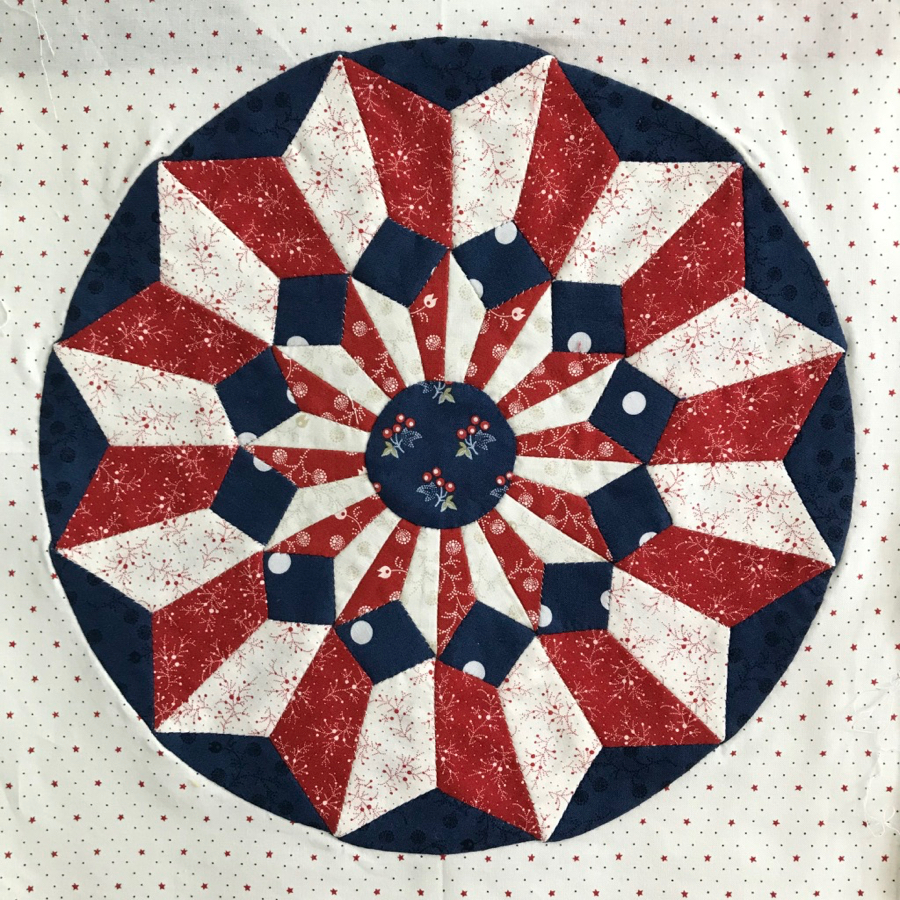
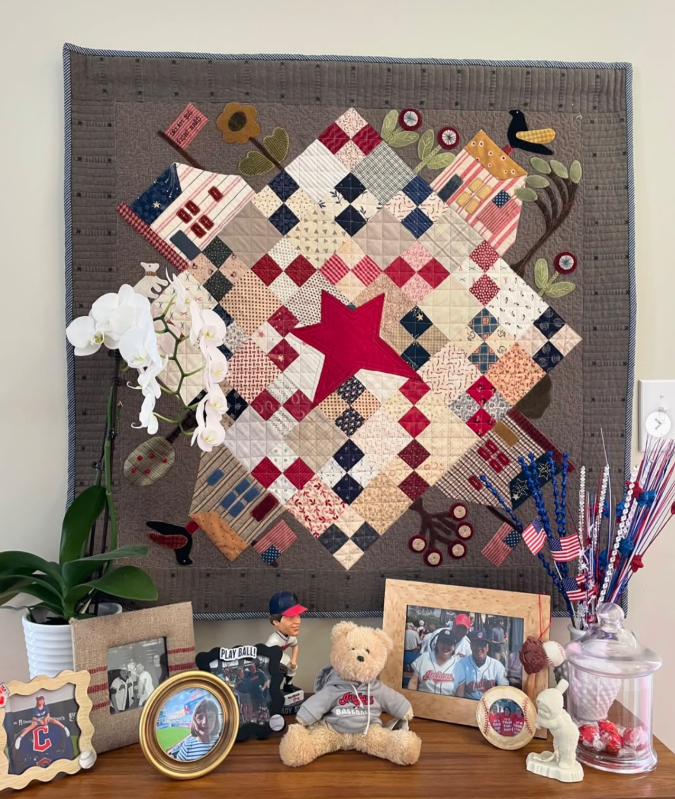
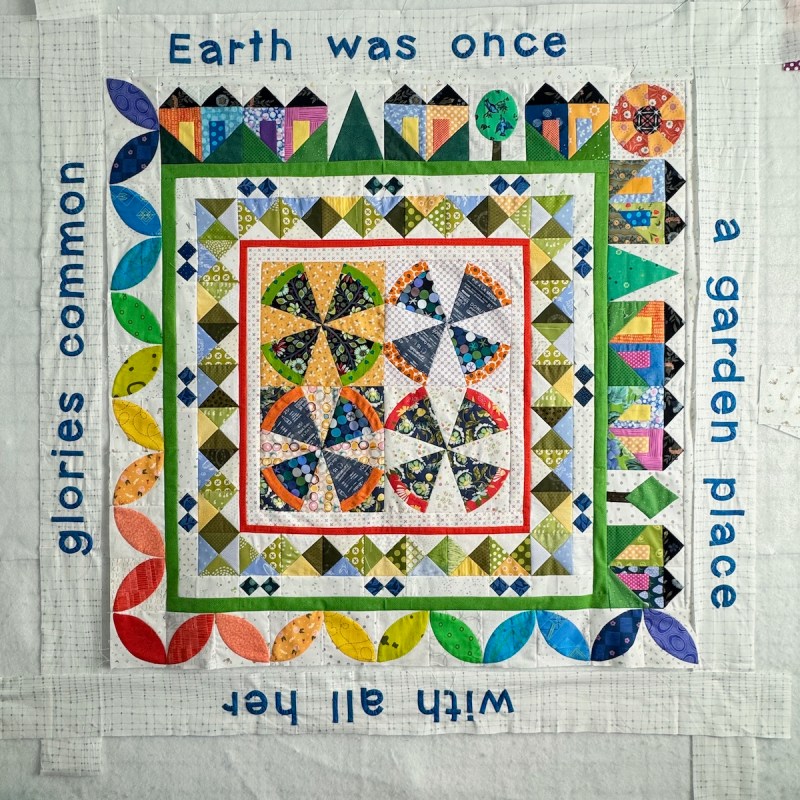
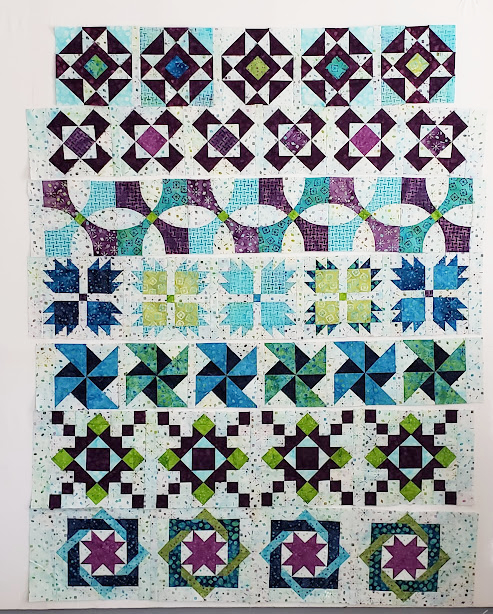
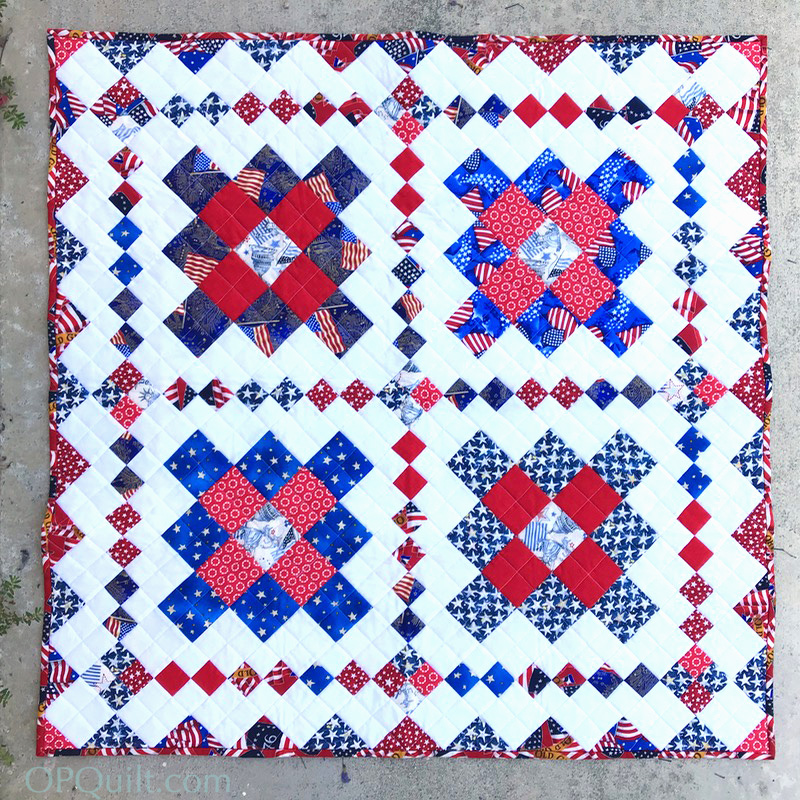
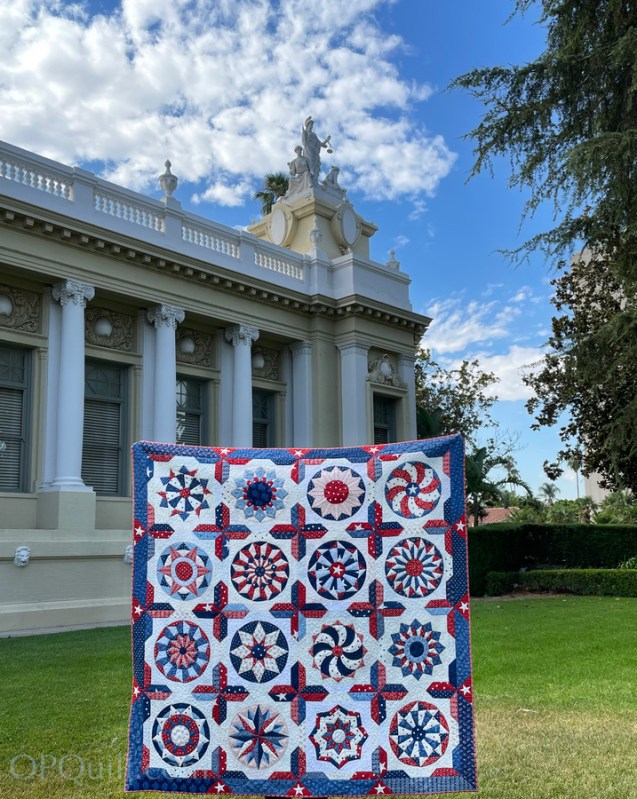
• The large quilt with EPP circles is I Hear America Singing. Most of the circles patterns are free here on the website.
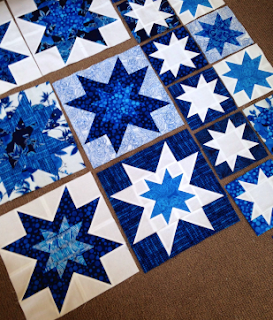
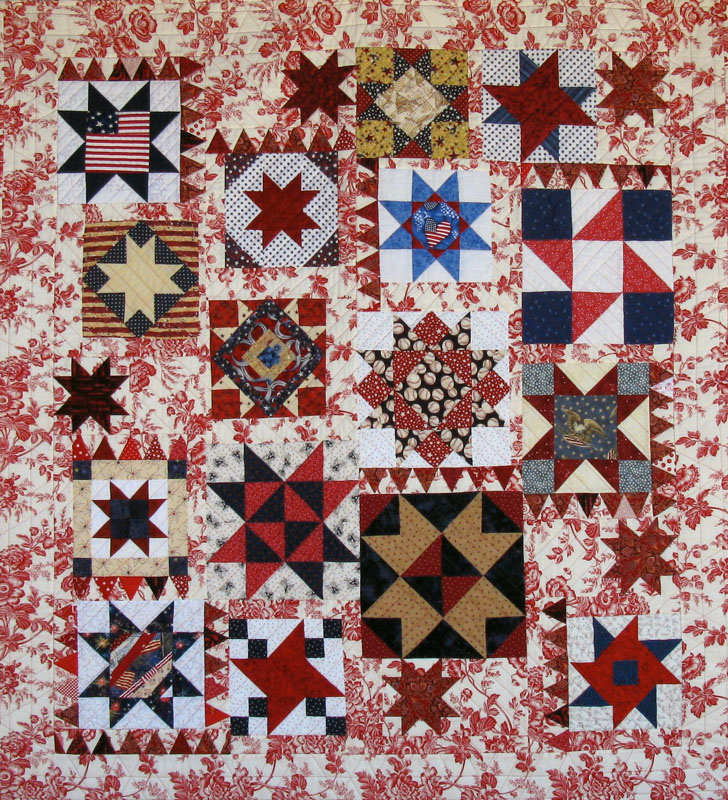
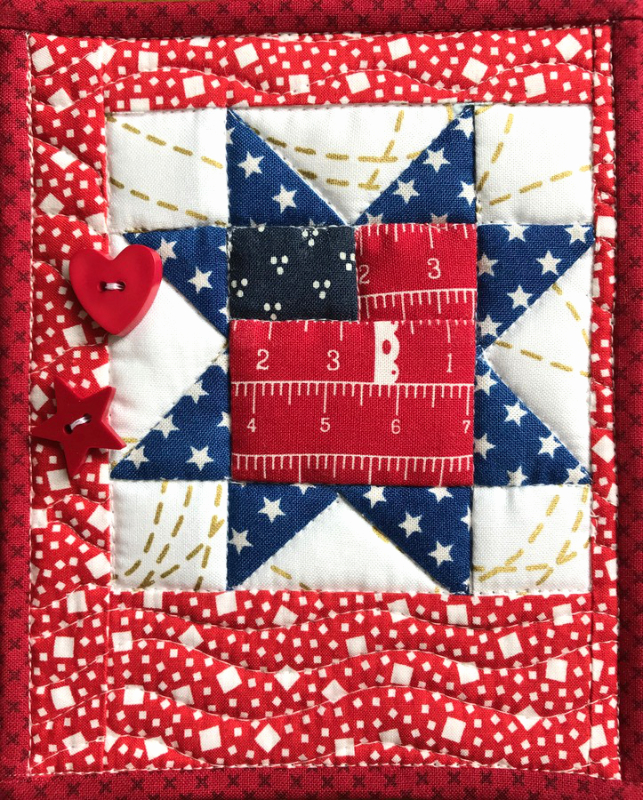
• Tiny Star free download of pattern (and instructions) found here: https://opquilt.com/2018/07/03/happy-fourth-of-july-2018/
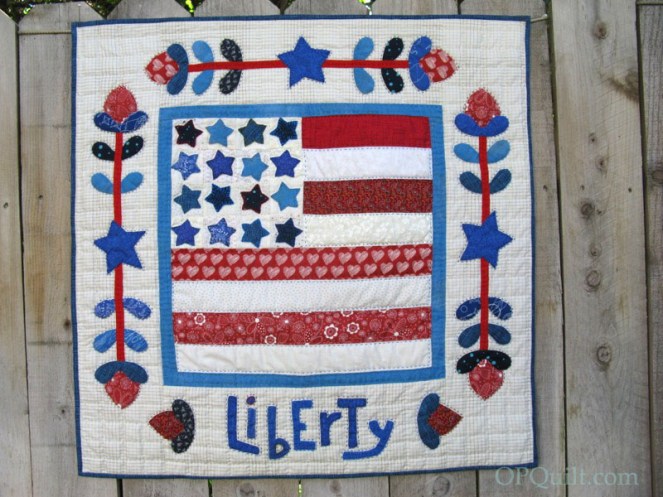
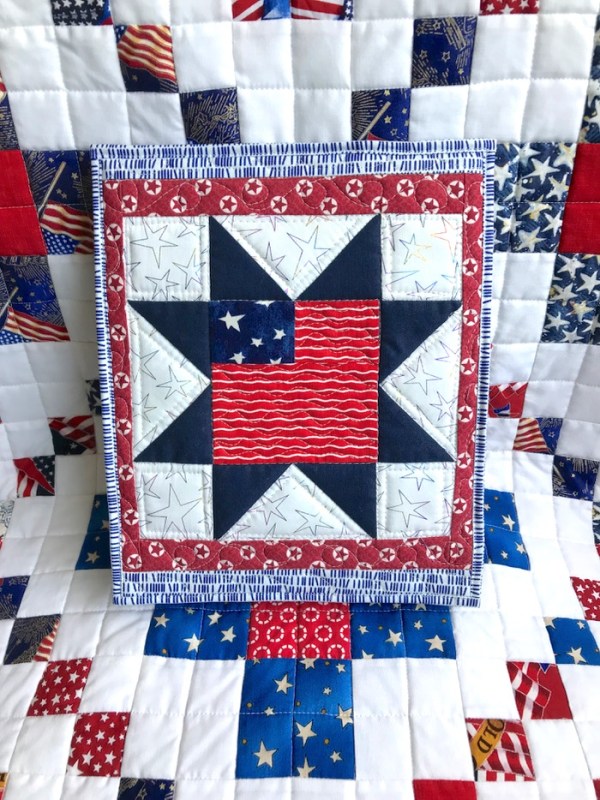
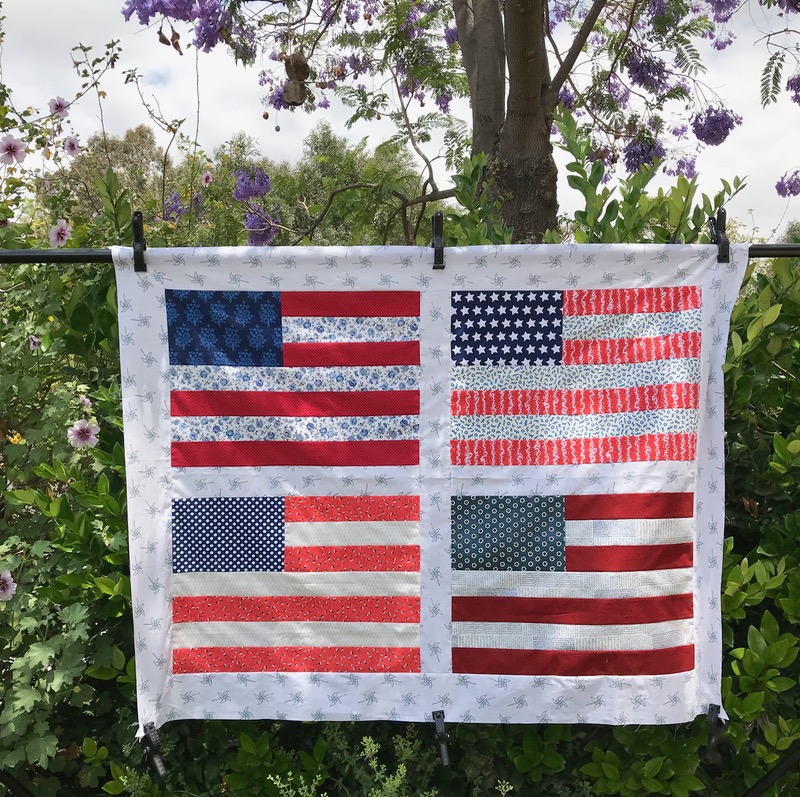
• The post about Betsy’s Creation, my version of the flag quilt, talks about America (of course), with a link to free download and instructions to make the quilt.
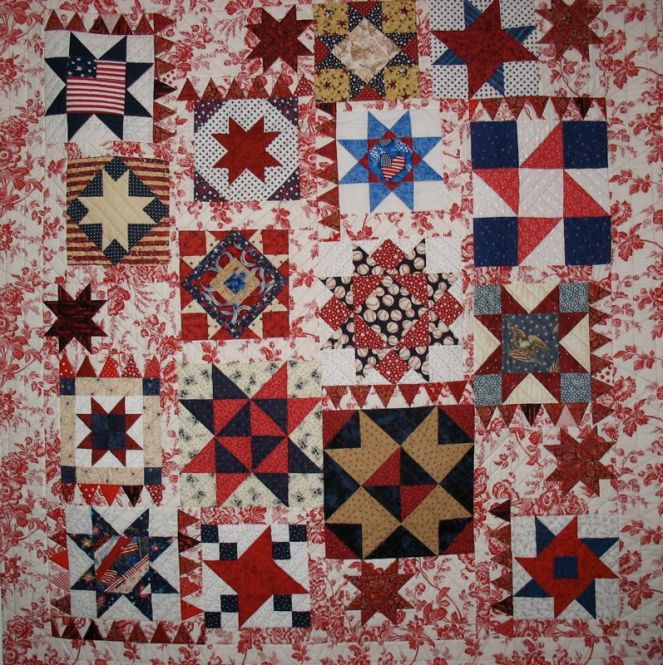
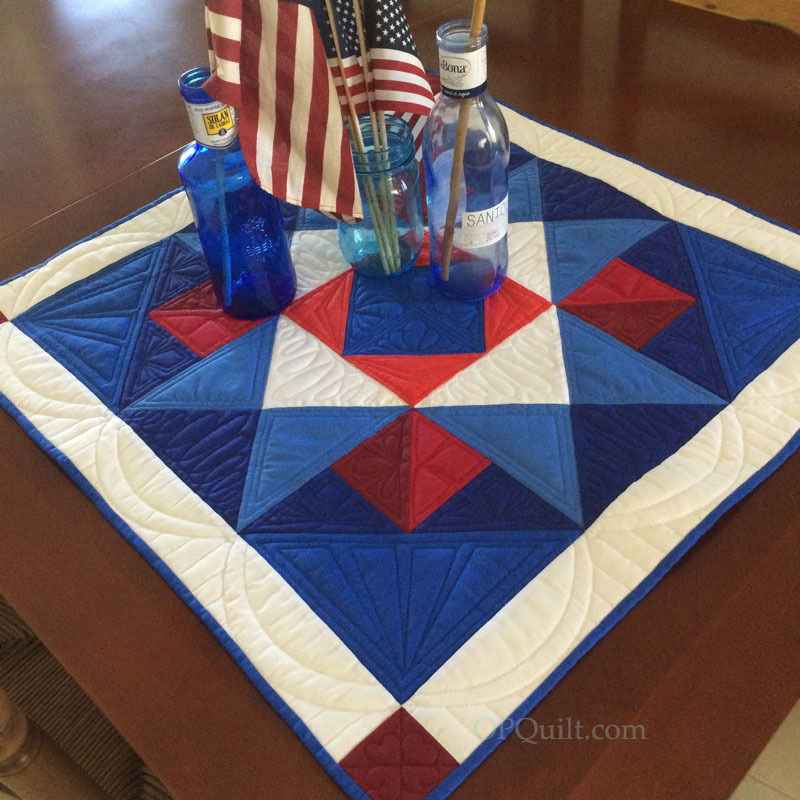
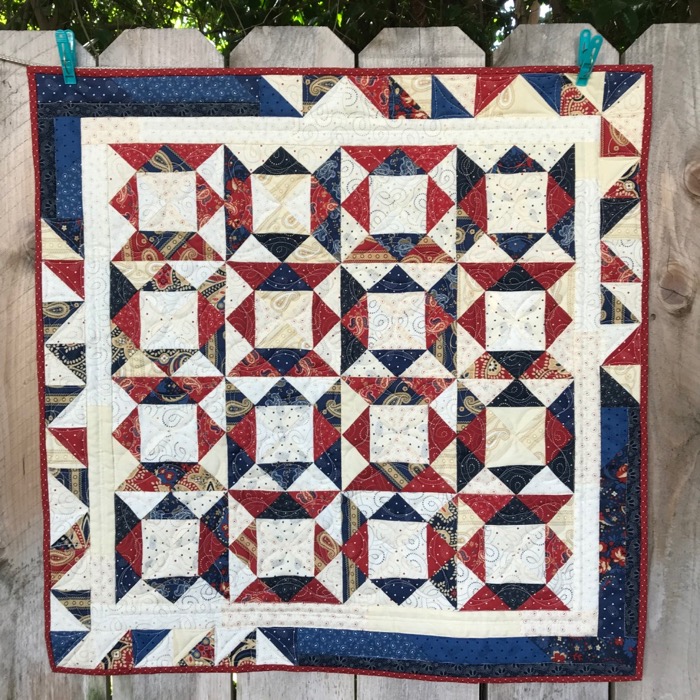
• Blog post about the star quilt (with flags in jars on top), has instructions and free download for that mini-quilt.

Monuments and Sights in Washington, D.C.
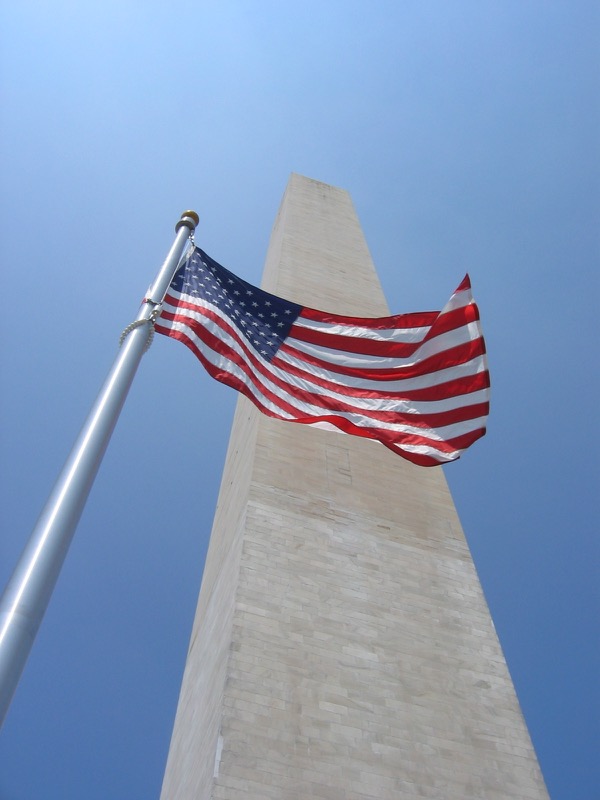
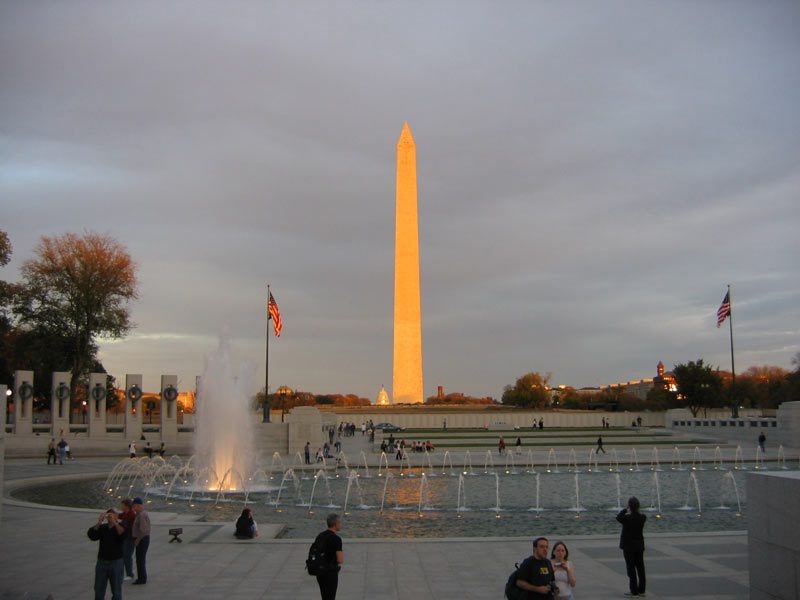
My husband once had a year-long sabbatical with the Department of State, and I got to know that beautiful city well. Here’s the George Washington Monument in November, when the late fall sunlight turns it golden, taken from the World War II Memorial.
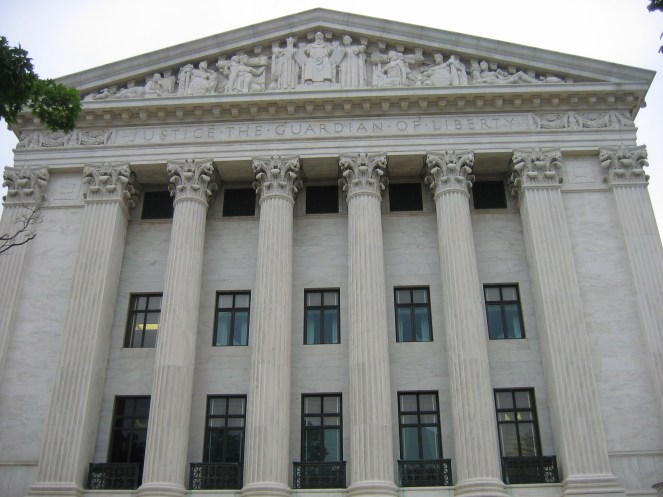
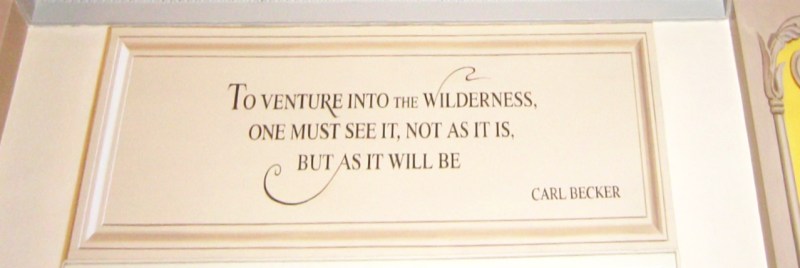
This quote, on the side of the Supreme Court, gets at that delicate balance between just being right vs. recognizing that our liberty needs to be guarded by justice.
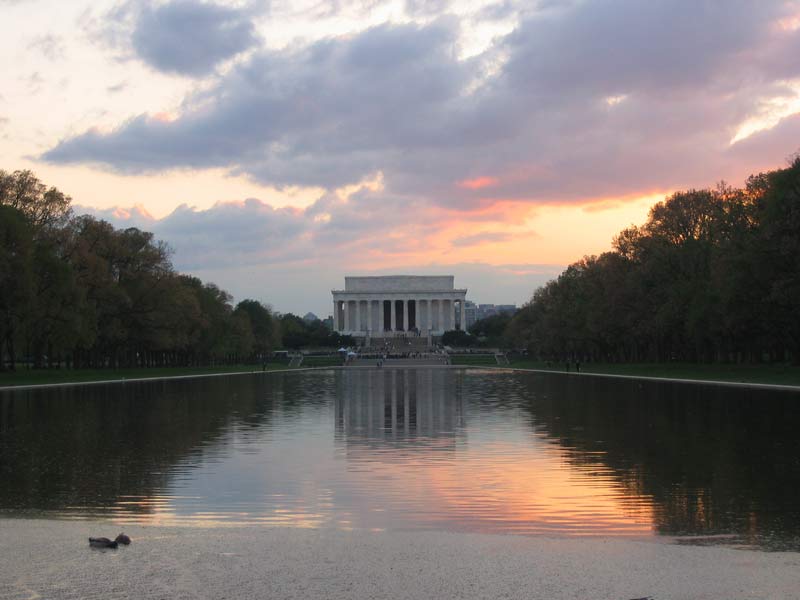
My favorite memorial of all was the Lincoln Memorial, especially when I could catch it at odd times, when all the tired tourists had gone home.
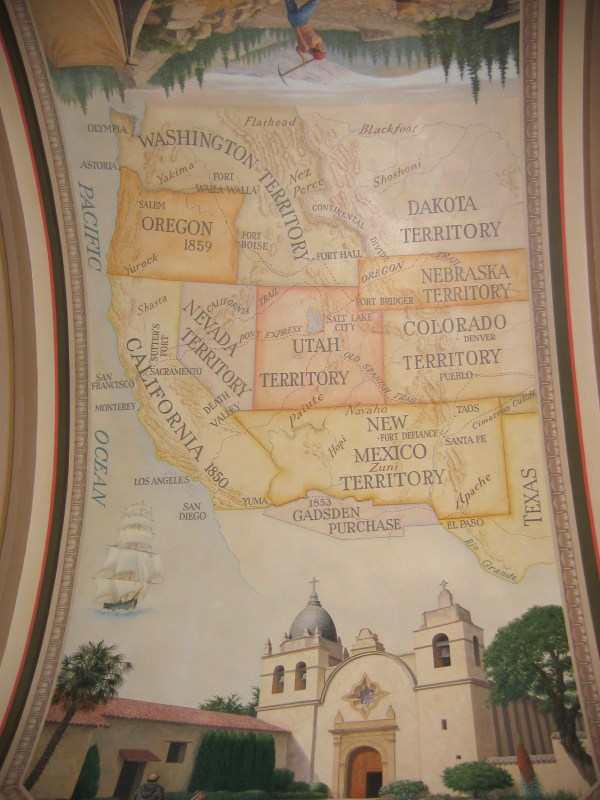
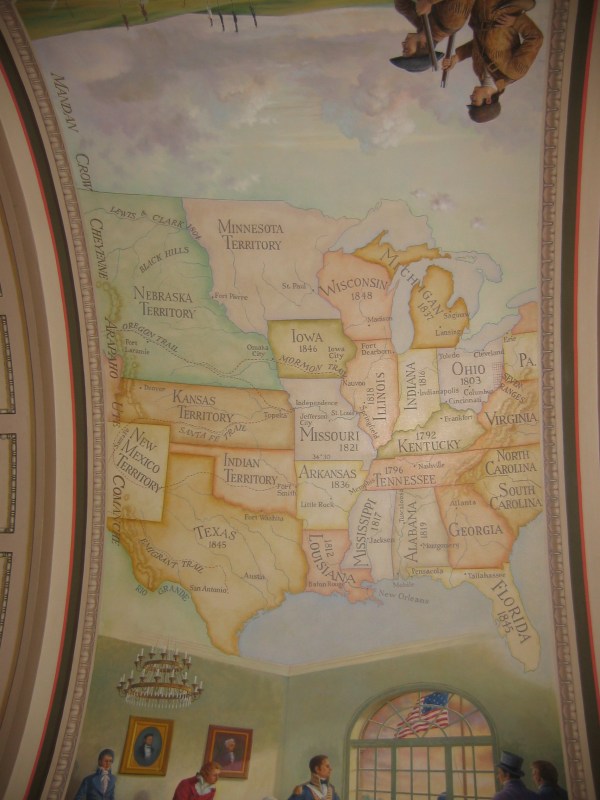
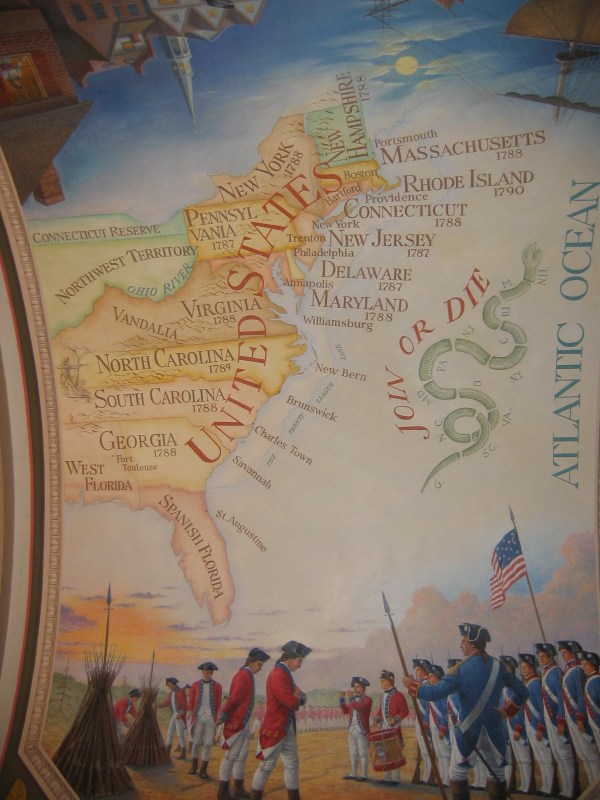
Below are some paintings on the ceiling of the Capitol Building (in addition to the Samuel Adams quote, above) that remind me how we stitched our country together: