Covid-19 Times · Shine: The Circles Quilt · Something to Think About

Christmasy Shine Blocks • Gloria in Excelsis Deo!

The sign on the door of my sewing room as I sew a special gift for my husband.

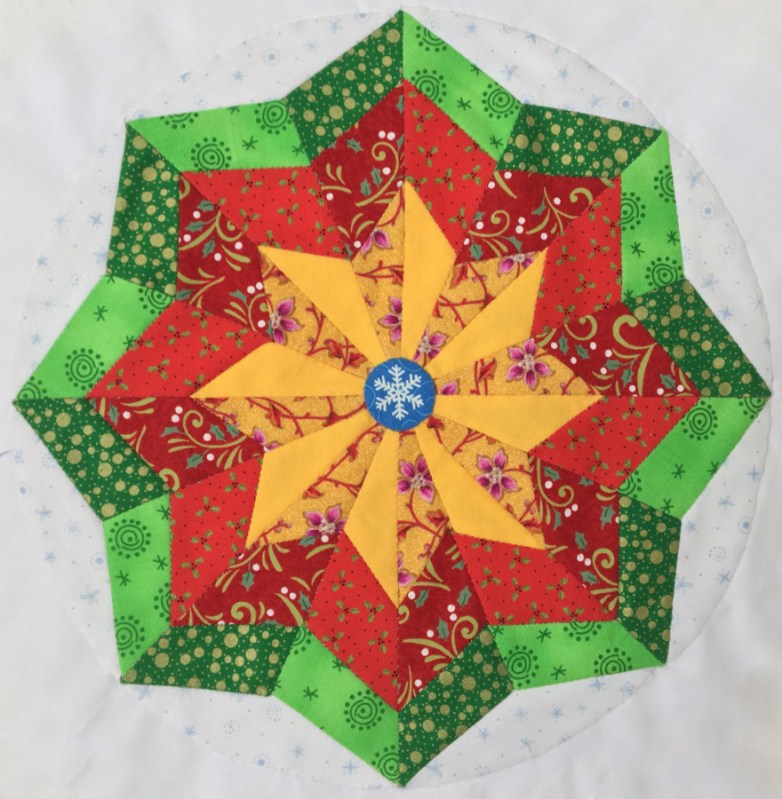
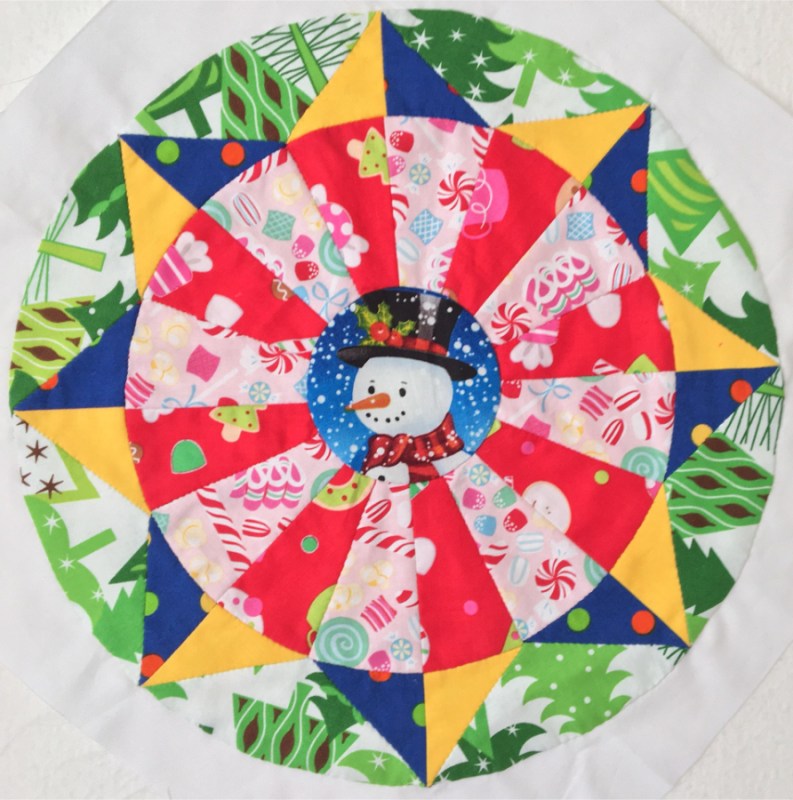
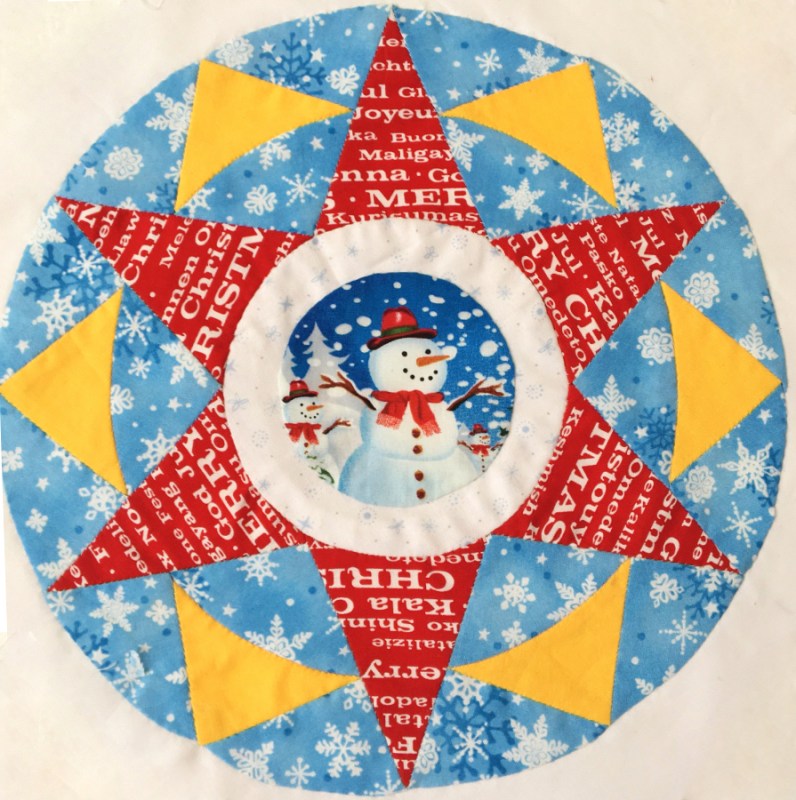
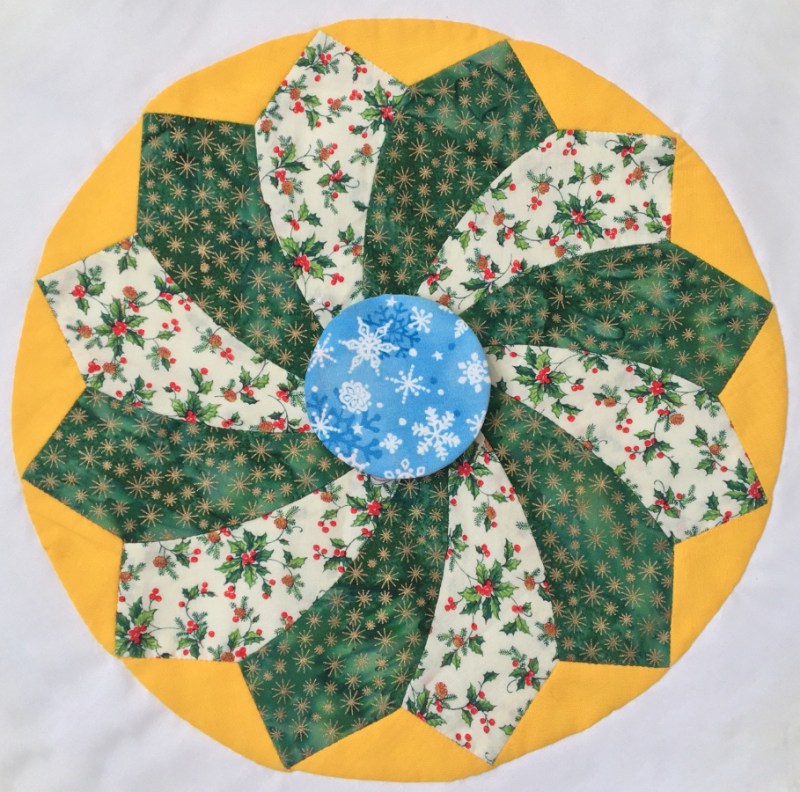
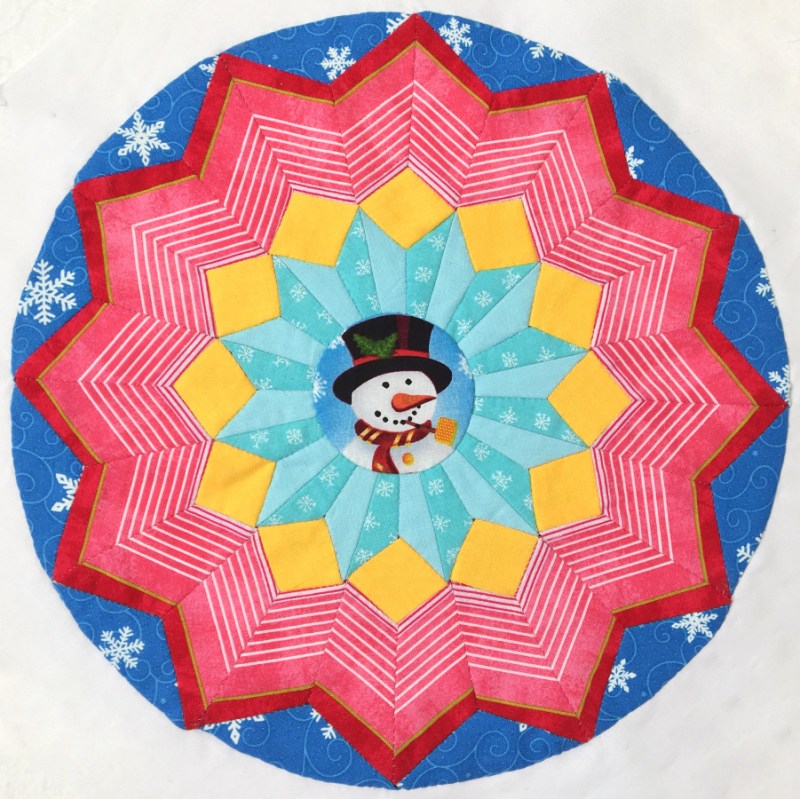
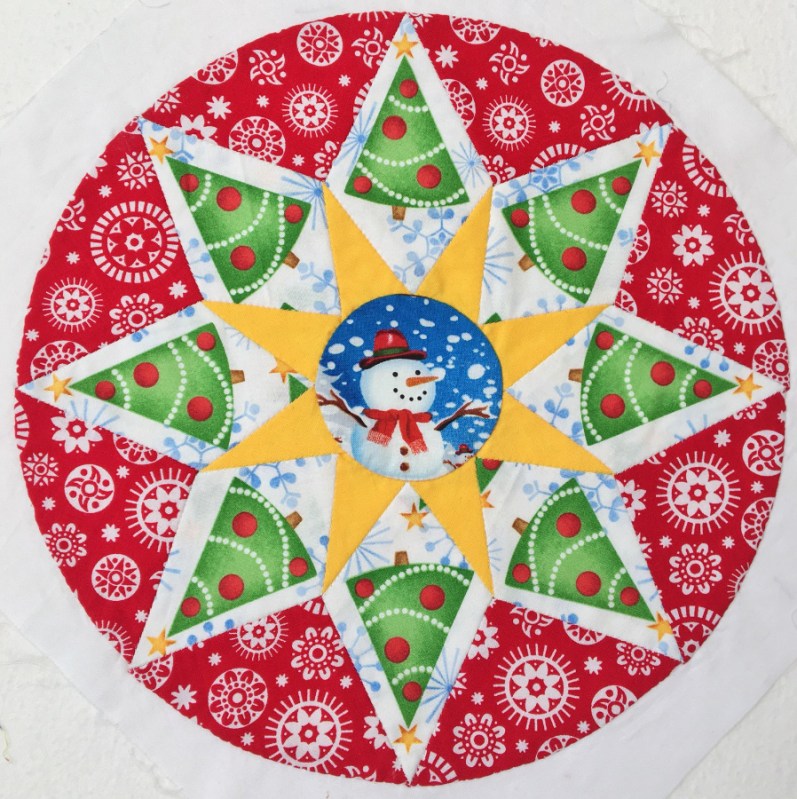
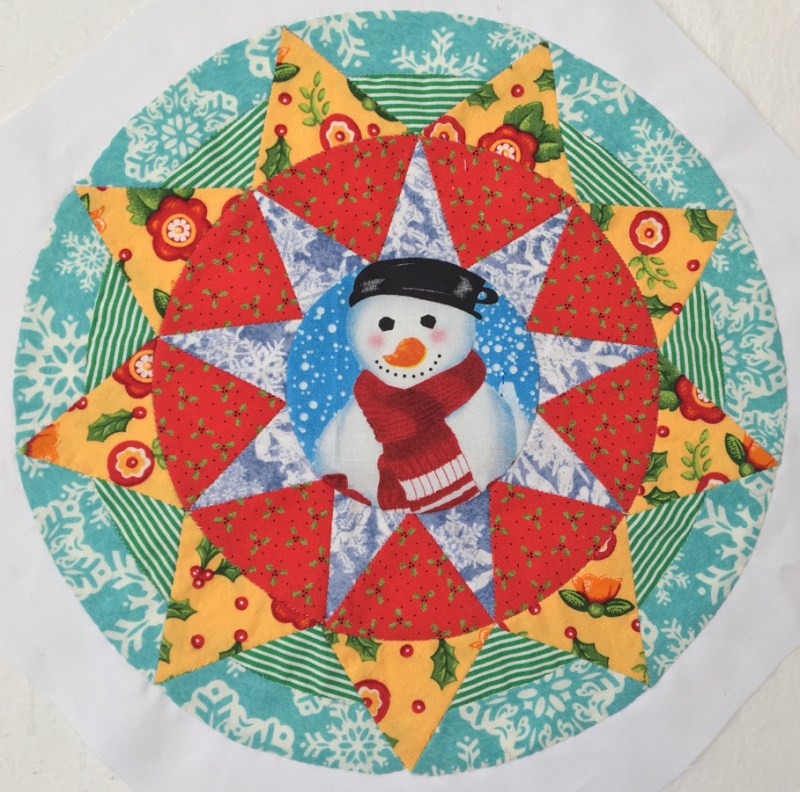
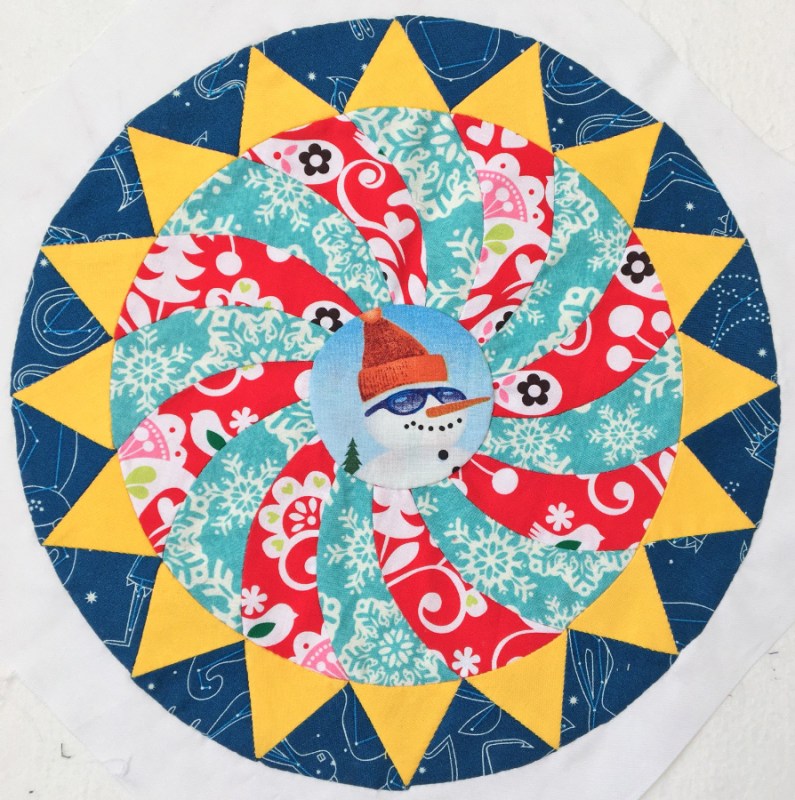
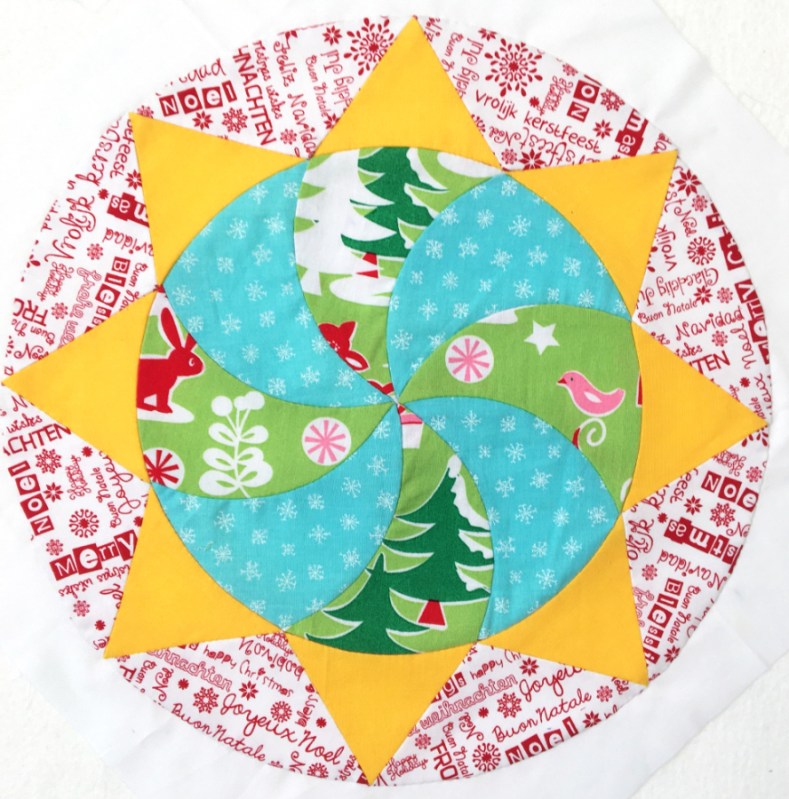
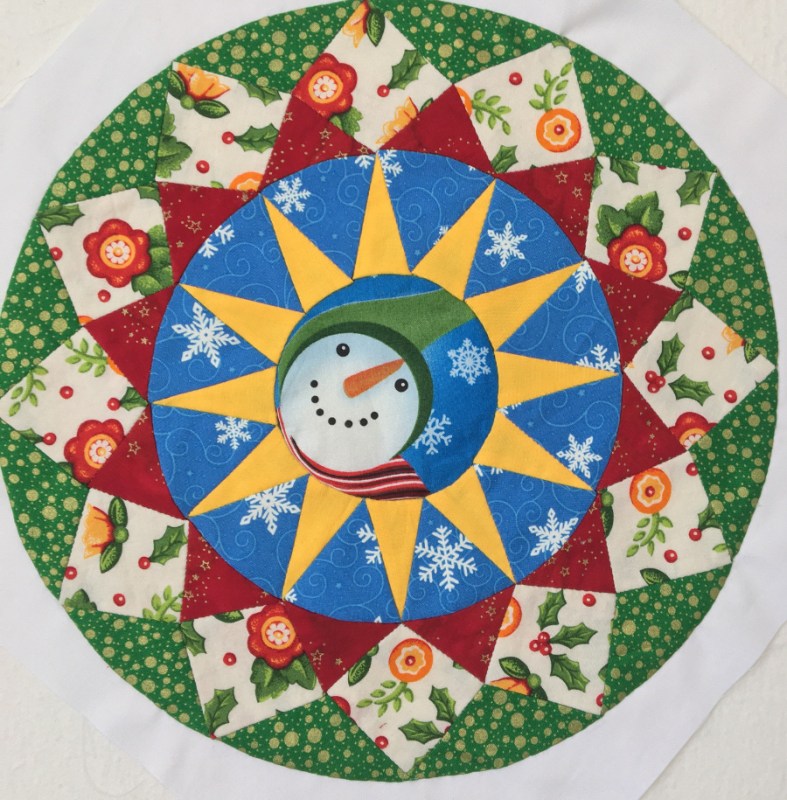
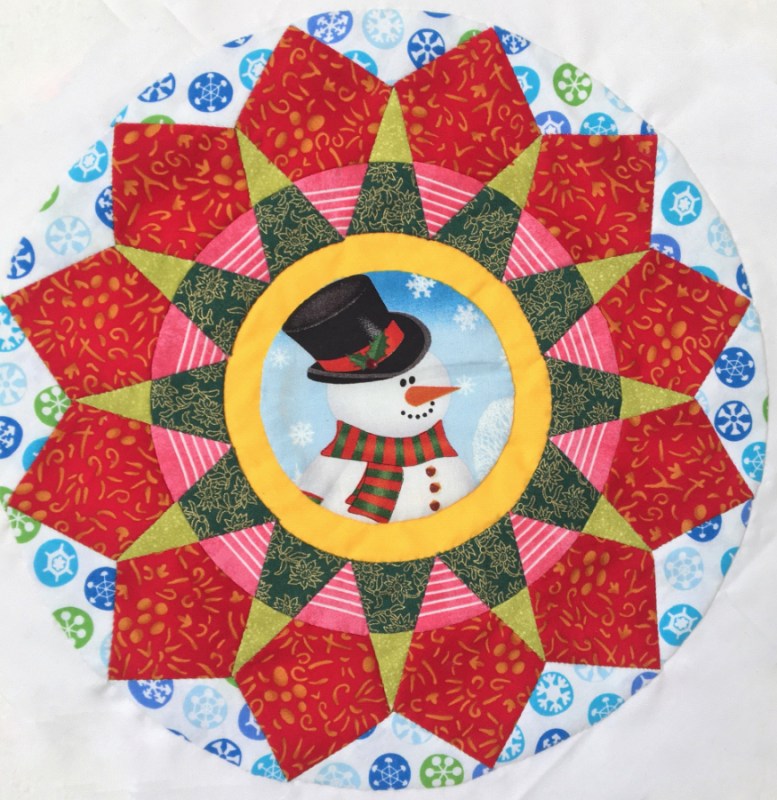
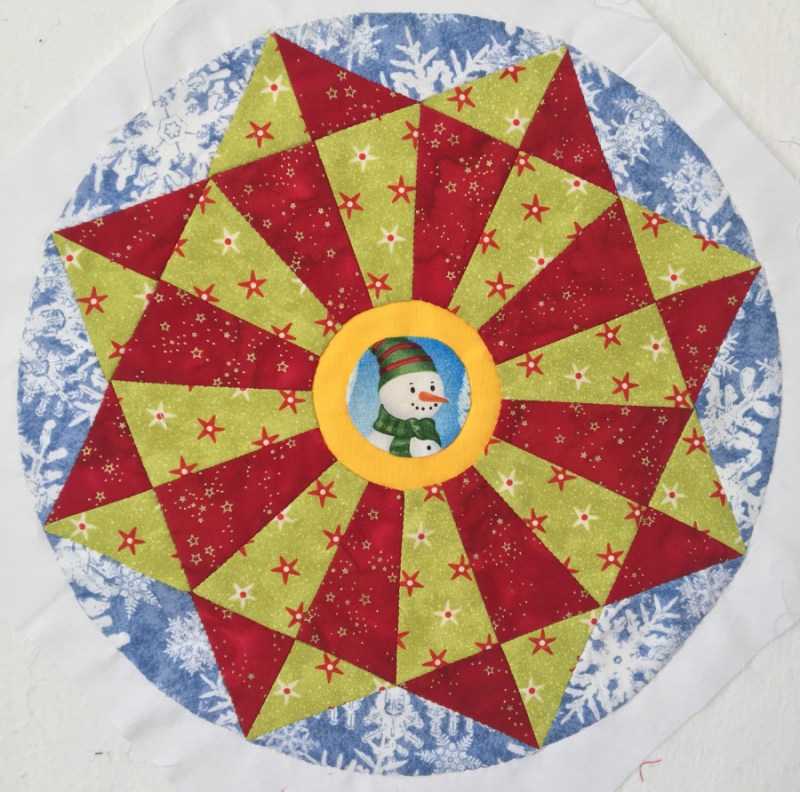
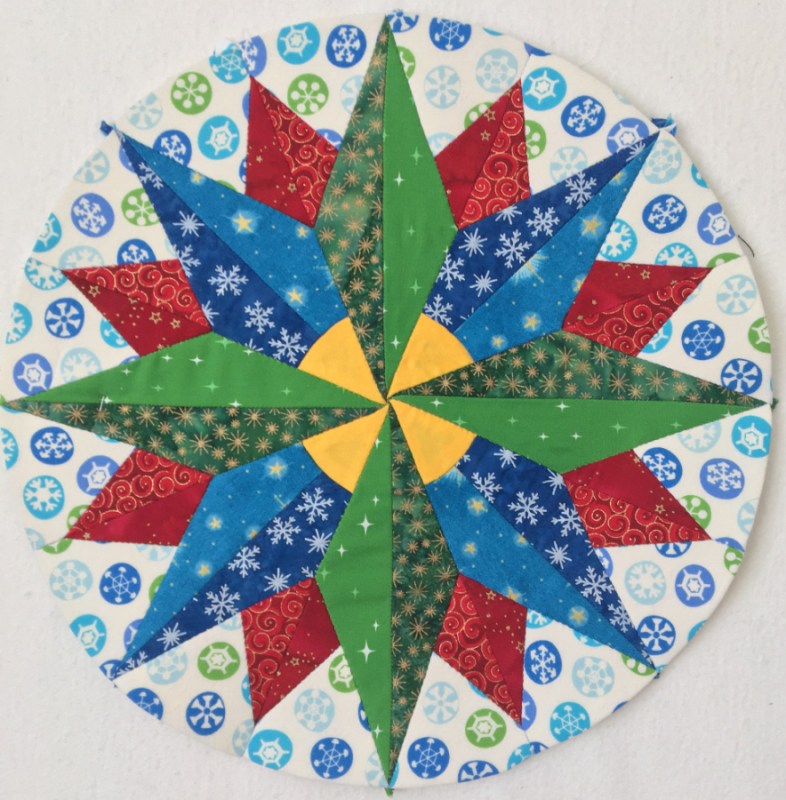
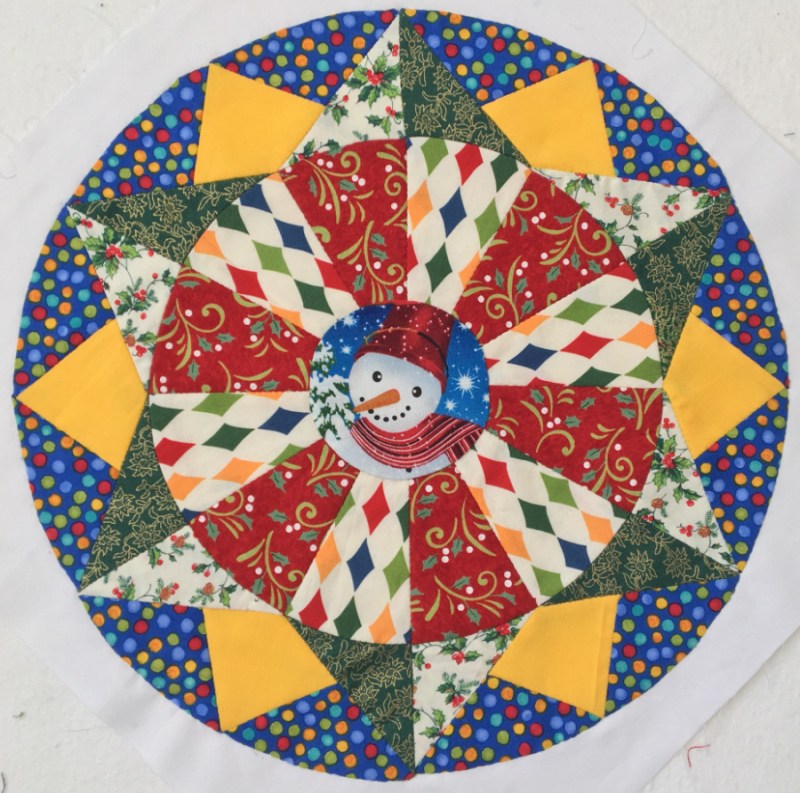
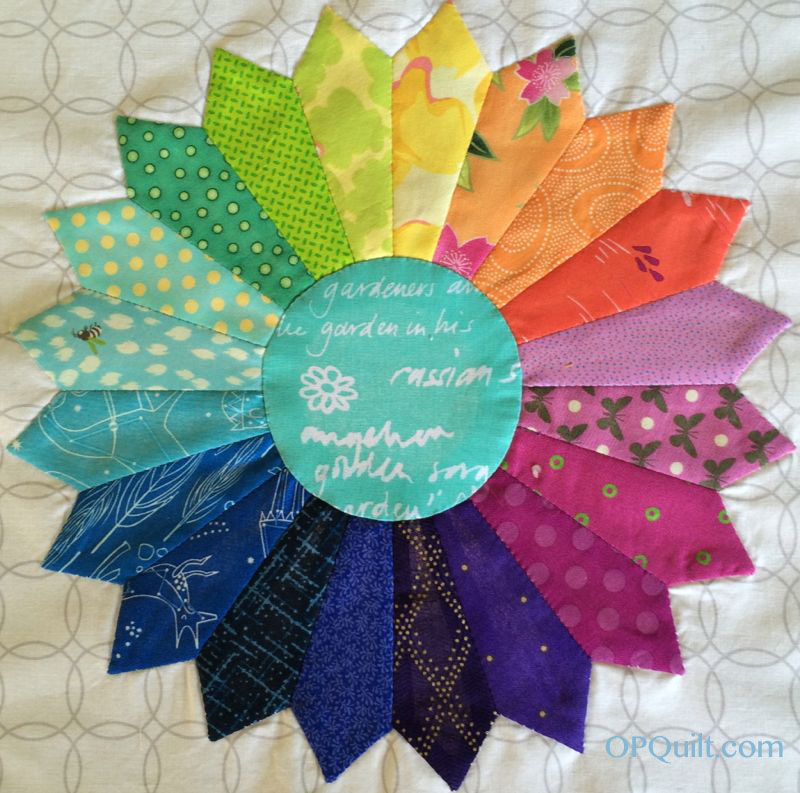
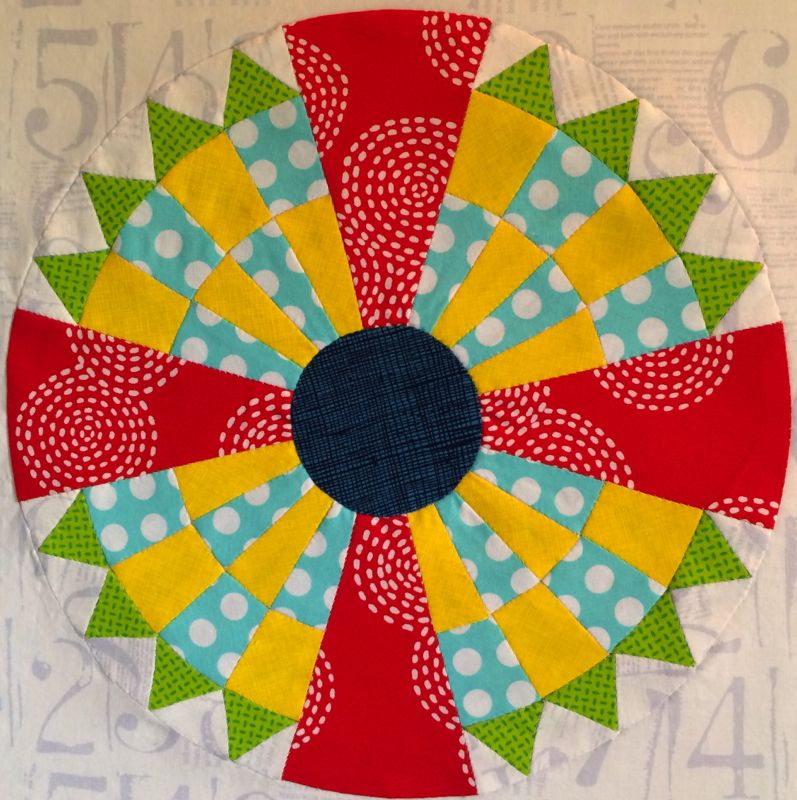
Okay, you just have to see the creativity of my friend who pattern-tested all the later Shine blocks — the last few I’ve been talking about. The originals, you are familiar with. Now I’m doing them in Red, White and Blue. But my friend Linda, of @lkhomework (she used to teach school before she retired), did them all in Christmas fabrics, and she has graciously allowed me to share them with you.
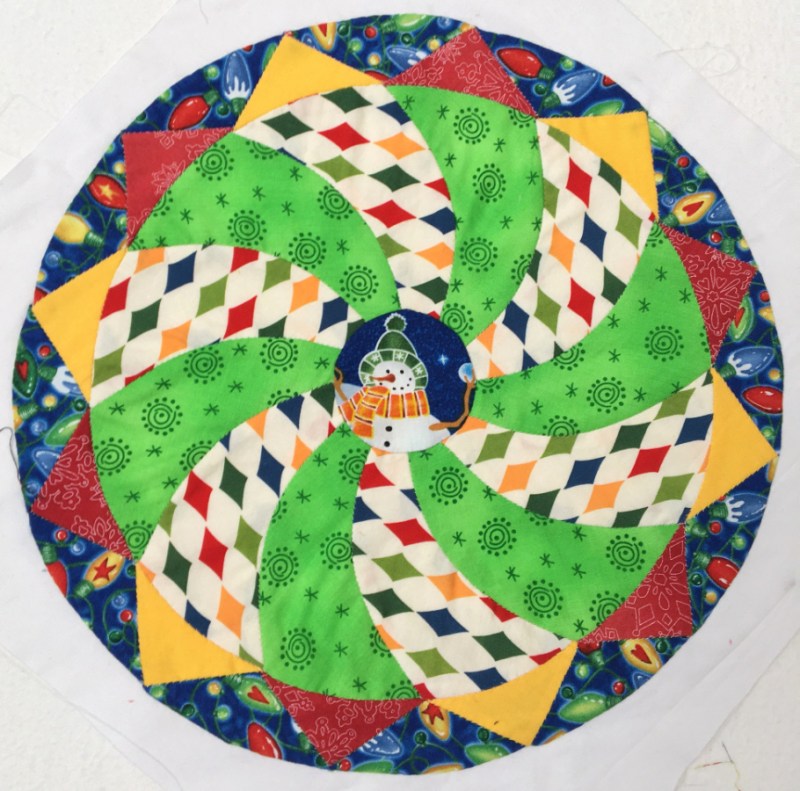
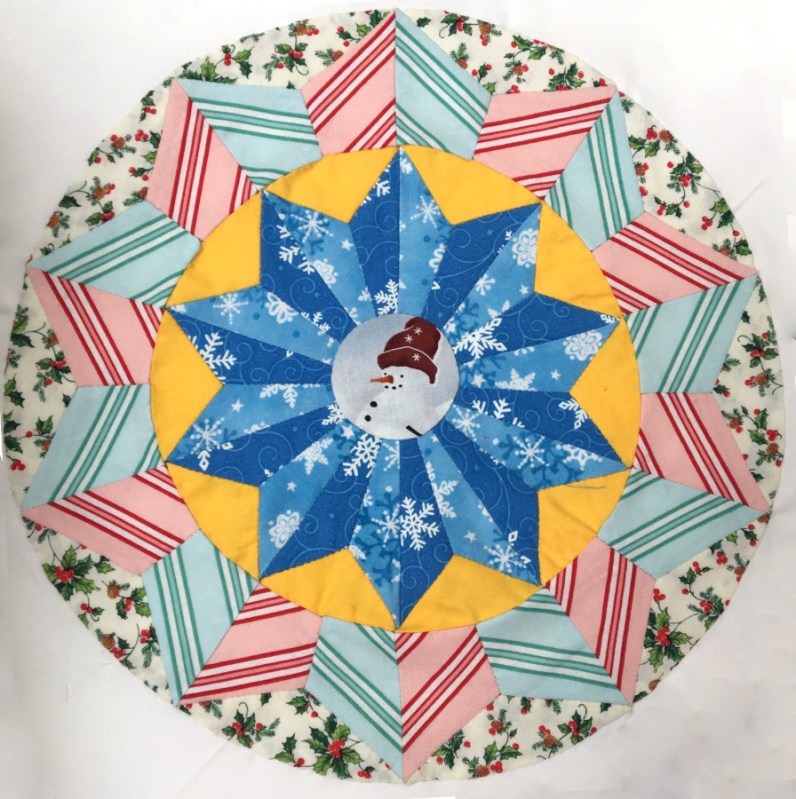
Such wonderful eye candy, perfect for Christmastime and to help get us in the mood for this very different season in 2020.
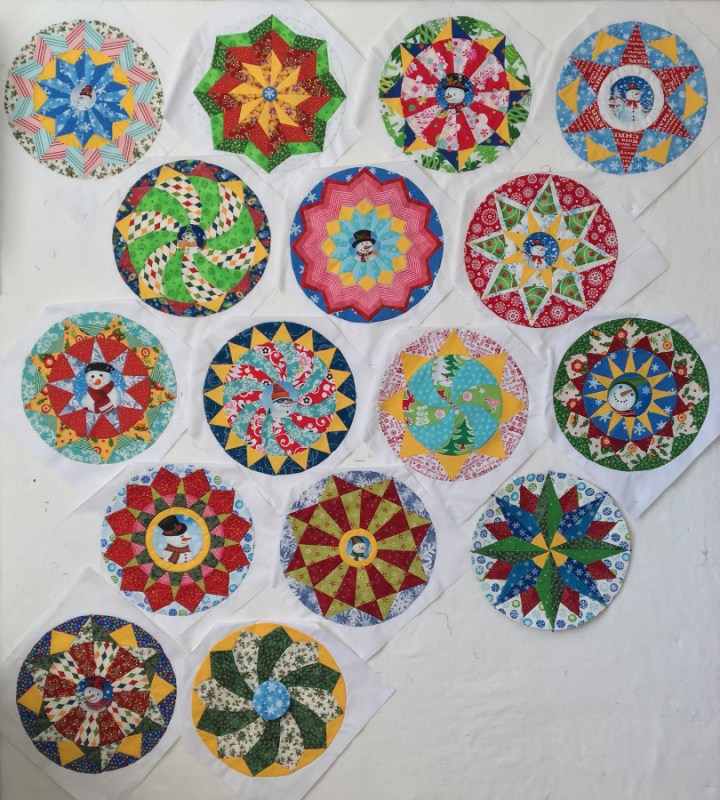
As you can see, she plans a diagonal set for her blocks.

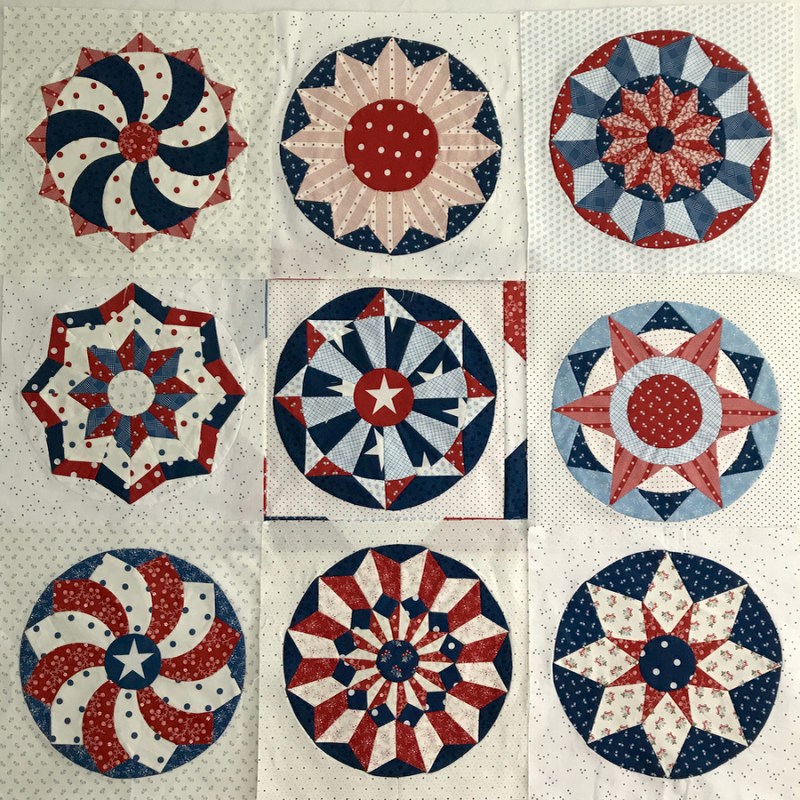
Yes, I realize I should have imprinted the number of the block before I posted them, but I didn’t. Here’s an index of them all, in mix of the original colors, illustrations and RWB:

Block #1, which is based on a traditional pattern, morphed into Block #7. Linda used both of these variants to great success. I think her quilt is going to be just fabulous!
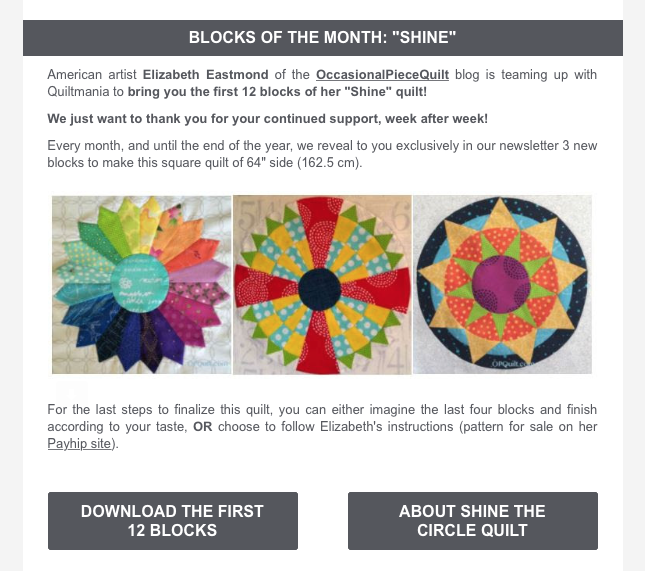
And today the December QuiltMania newsletter was published, and with this, their series of my SHINE: The Circle Quilt blocks ends. The first 12 blocks can be downloaded by subscribing to their free newsletter; they will send you the link (details here). They will live at QuiltMania until early 2021, when they will come back home here to stay. I’ve enjoyed sharing them with QuiltMania, and feel like those scary disorienting days of covid are behind us, when I first made the offer to QM for them to use my patterns, in order to do my own little part to help keep interest in their excellent publications.

More than other years, I find this Christmas to be such a mix. I wrote on Instagram about seeing someone contemplating a jump from a freeway overpass. I had just come from visiting a friend who had successfully completed her initial phases of a stem cell transplant, the cells giving her another chance at life, and I’ve thought about these two contrasting experiences for days.

She, working so incredibly hard to keep life, to beat her disease, putting up with all manner of incredibly painful and difficult treatments and procedures. And then to see this young man who appeared to have cut open the chain mesh fence that shields our overpasses from just such desperate decisions. Our traffic was slowed, and as my car neared the bridge, I could see the man clutching the fence, holding on, having given himself a second chance as the fireman secured a belt around him, preserving his life. It was a different kind of second chance than my friend fighting cancer. Hers, a grueling year-long journey. His, a reconsidering of a tragic decision in a split second.

And so our year continues with such contrasts: thousands of people dying from the pandemic, while we turn inward to try and find the joy and the happiness, aware that just around the corner, ennui and disease and depression await. It’s a dance in the best of times, but made so much more complicated this year with its seemingly endless conveyor belt of tragedy. With hearts so tender, Christmas sewing is a tonic: the snowmen and Santa, the holly and ivy, the red and green, patchwork and stockings and gifts and delights.

And so I rejoice in Christmas.

I light the candles on our kitchen table and set out the soup. Over dinner, my husband and I (a covid-bubble of two) talk over the news, before moving on to the detritus of our day. I relish the lights, delight in the sight of our miniature tree and my husband’s nutcrackers, all anchoring symbols of familiarity, grounding us and keeping us tethered.

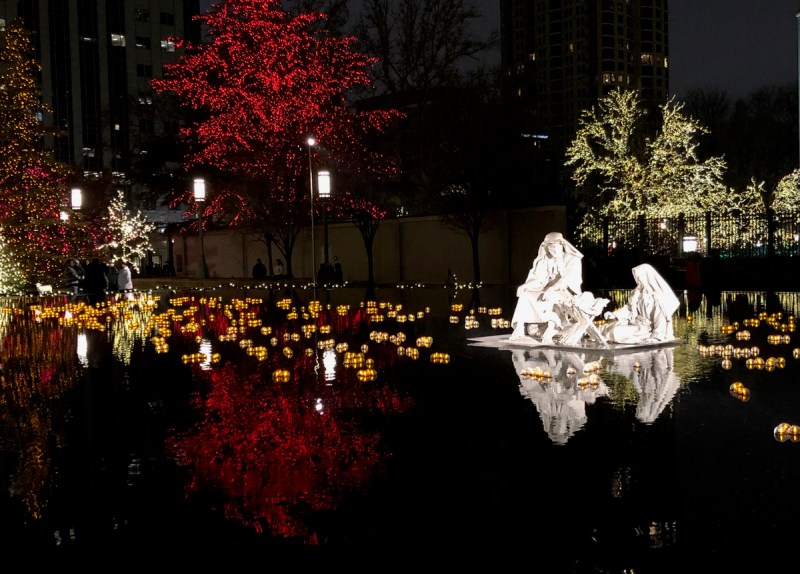
I rejoice in carols: a favorite song can move me to tears, so close to the surface are the emotions of this season. I might post again before the year is out, but you may be too busy to respond; it’s less than two weeks until we close out the official holiday of lights and gifts and slide on into the new year. To wish you all the best as you make your way to 2021, I leave you with one of my favorite songs of Christmas (click on the link to listen). Sing along and enjoy!

Shine: The Circles Quilt

SHINE: The Circles Quilt with QuiltMania • Final Group

My original Shine quilt had sixteen blocks, done in multi-color fabrics, a bright and sunny quilt. I built them one-by-one, drawing them on paper at first, and had them free here on my website. When QuiltMania and I agreed to collaborate (complete details in this post), I pulled them from the website, with the caveat that I wouldn’t release them until March 2021. But today, I have for you again, a new free EPP pattern, as well as news of an updated pattern.

First, the final three blocks from the collaboration, first in the original, and then in the red, white and blue. (I like the changes all except one: it’s a real oddball in RWB. I’ll bet you’ll spot it right away.)

Shine Block #10, original
Shine Block #10 in Red, White and Blue
Shine Block #11, original
Shine Block #12, original
Shine Block #10, in Red, White and Blue

I’m sure you spotted it: that Dresden, Number 10. I’ve got to re-do all the white blades, but at the time I didn’t have any extra fabric from the original Minick and Simpson line I’d chosen to work with. Since then, I’ve added a few more pieces from various lines, and I can now re-do that block.

Shine Block #17

And this time around, I just wasn’t feeling the love for Circle #10, so that’s why I made Circle #17, which is a bonus block for the newly reworked Finishing Pattern. An overview of the complete set of new blocks can be found on the Shine page, here.

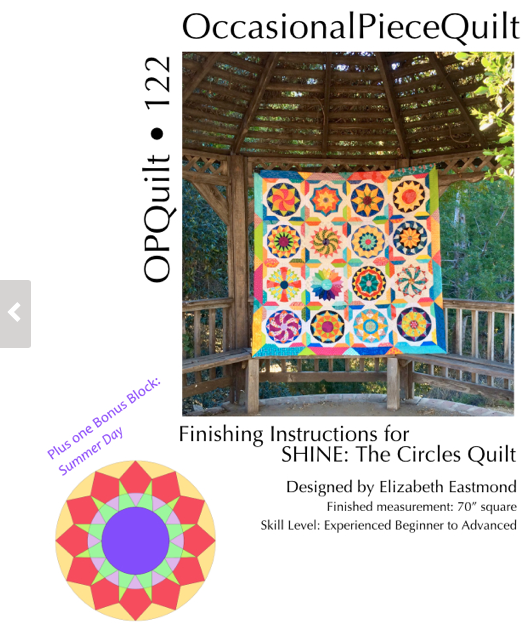
Here’s the front of the newly re-done other Shine pattern.

I originally had this as a free download for the first part of December 2020, and many of you took that opportunity to get a free block. You can now find this in the Shine EPP blocks pattern, listed above. I hope you enjoy making this.

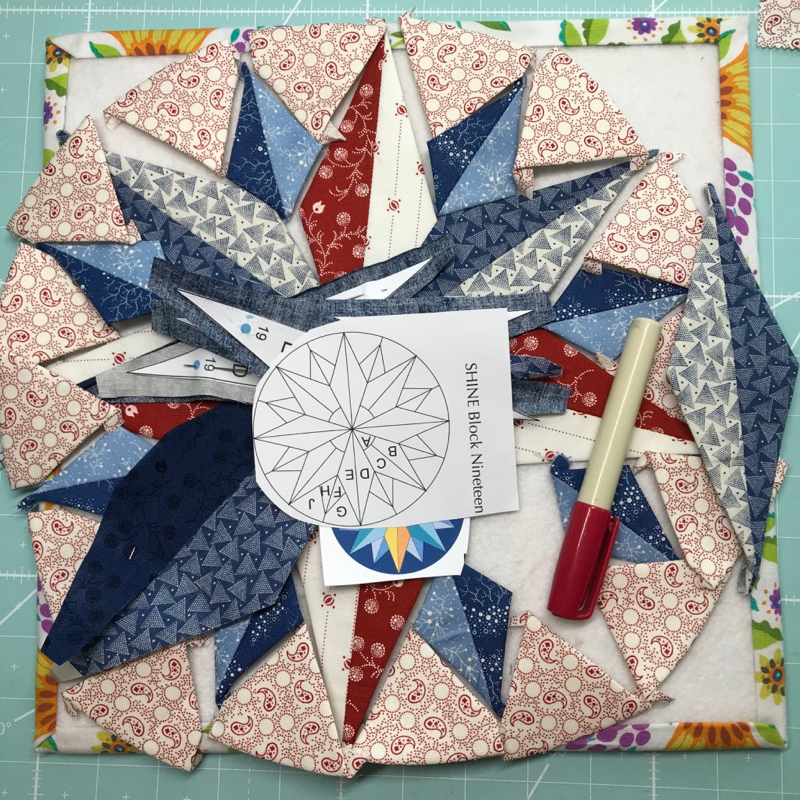
All the pieces laid out. If you are just starting on this EPP journey, there are a lot of tips and hints given in all the original block pages, and just quickly reading through them you’ll see I always keep a line drawing of the block along with a color representation with all my prepared pieces.

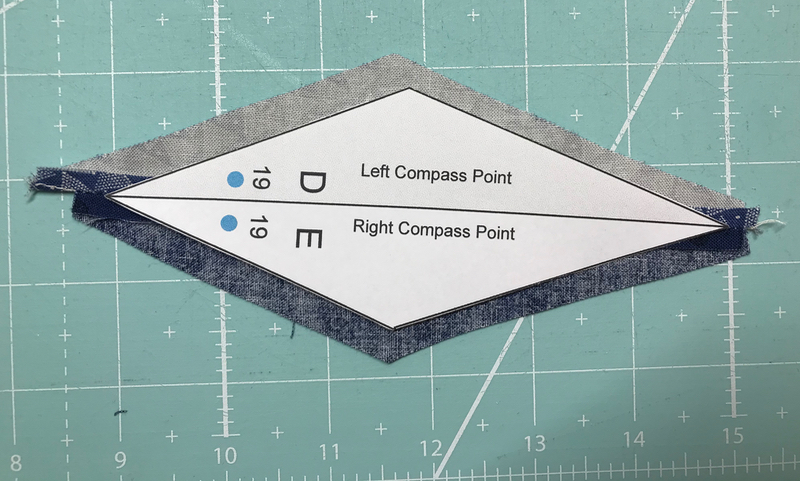
I use the quick trick found in the General Instructions in the Nine More Blocks Pattern, and seam some of the two-part pieces on the sewing machine. Then I lay out the pattern piece and randomly cut around it, trying to maintain a fat quarter-inch seam allowance. The blue dots on the pattern remind you which way to place this (dots are nearer the center), as it is slightly asymmetrical.

Because those narrow tips will be sewn into a tight space, I really trim down the seam allowances at the tip.

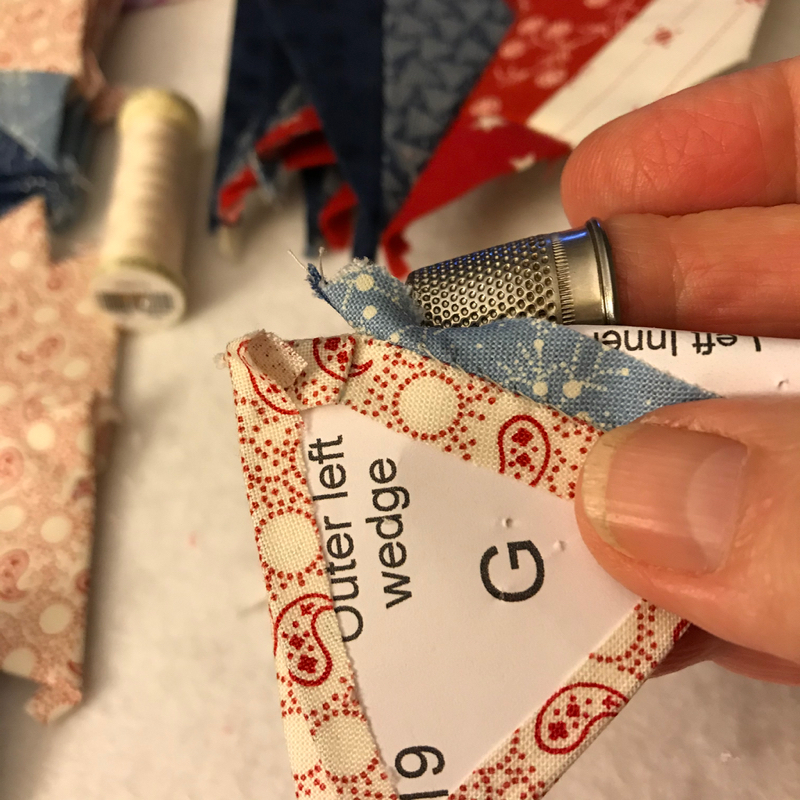
I swab on a line of glue with a 1/4-inch glue stick, as I like working with the pen shape (you can see it resting on the first photo in this series), but a regular school glue stick works just fine, too. Just don’t glob on too much glue. After laying down the glue, I carefully fold it over, as my pieces are printed out on 24-lb. paper (a little heavier than regular printer paper), not cardstock (although I suppose you could use cardstock, if you want to).

First iteration. I don’t like the look of the bigger blades — too wimpy.

I like the darker fabrics used in the big blades, but now the slices of circle in the center get lost.

Okay, now we’re rolling. I occasionally do have to swap out some pieces, but not often (it’s a little harder to gauge color and value when only working in red, white and blue).

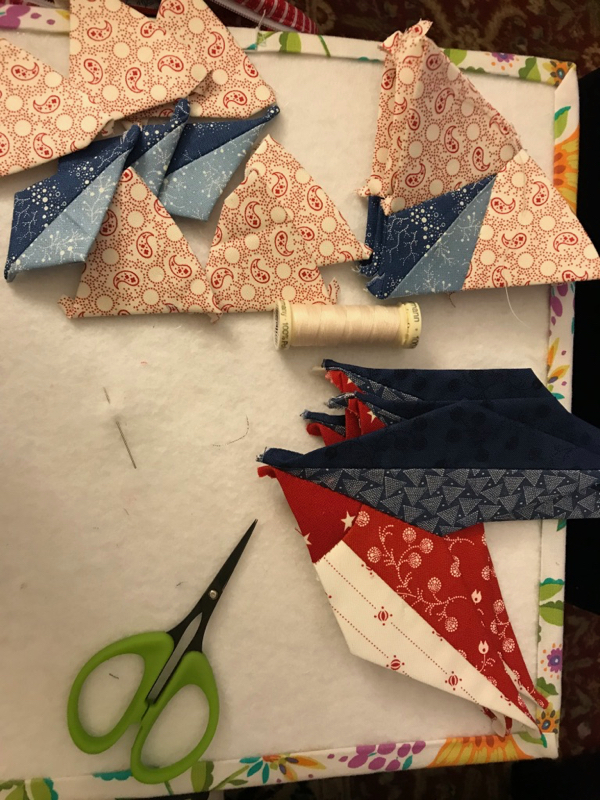
I sewed the circle slices onto the bottom of the shorter blades, then sewed each of those to a companion blue-bladed pair.

I then started sewing the inner wedges together. This is my typical night-time EPP photo, as I like to hand-stitch while watching TV at night. I used the shortcut trick also on those smaller two-toned blue triangle pieces. Then, keeping track of which side goes where, I am now sewing on the side pieces in light red/white.

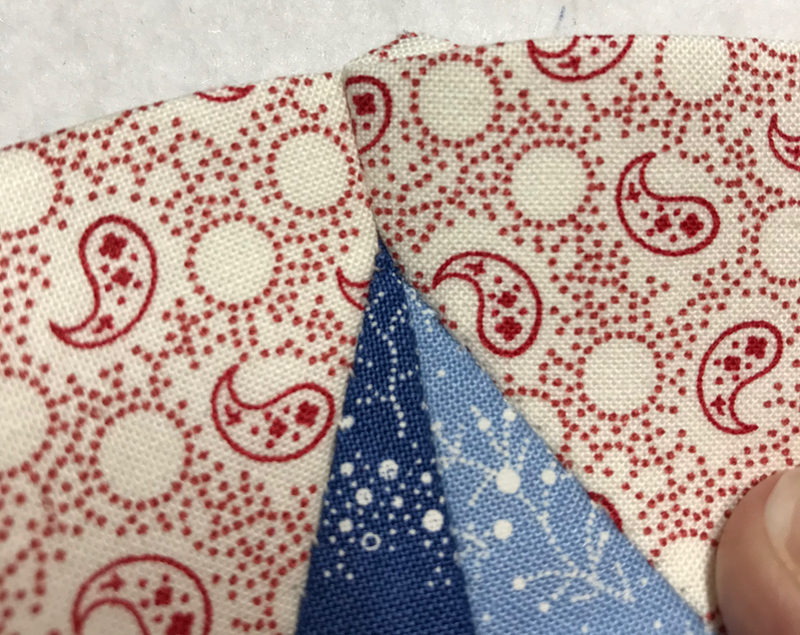
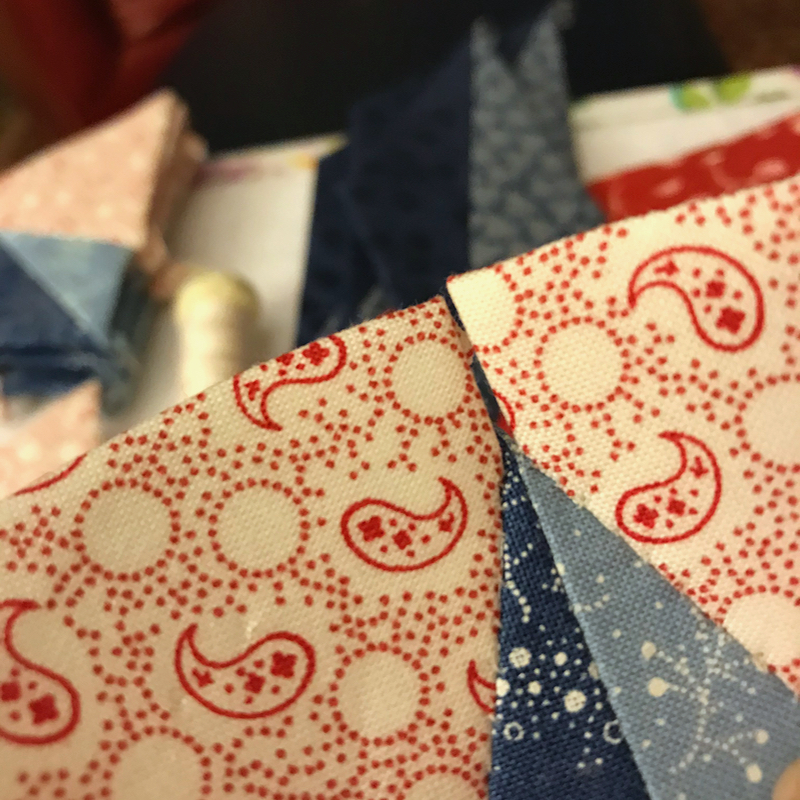
With the two side pieces on, I check to see if there is a gap. This one’s perfect with the edges lining up, but the next example will show you where I’ve been getting a gap:

But I just sewed that little seam together anyway. A sixteenth of an inch gap will flex just fine once you get those papers out. But leave them in at this point!

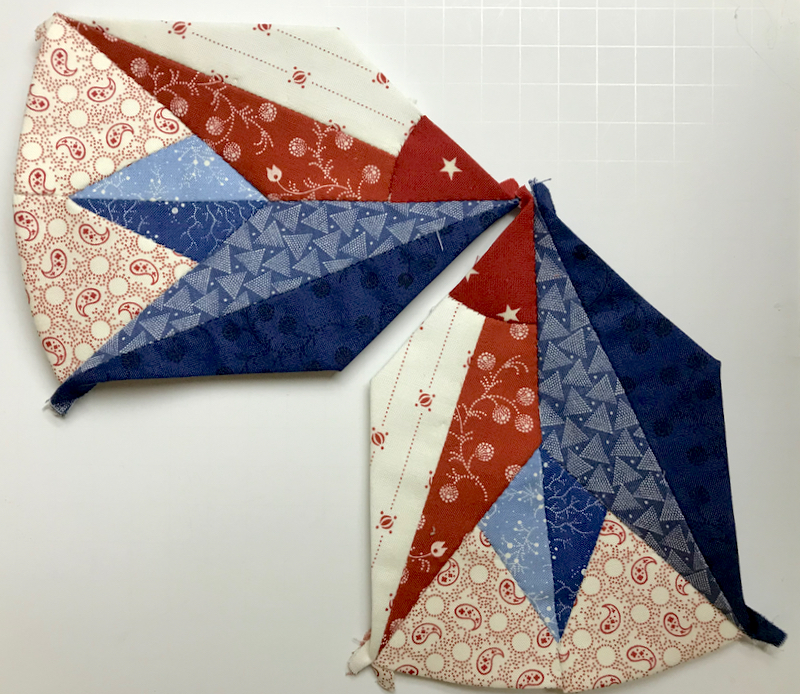
I fold the wedge unit with right sides together, and whipstitch that 1/2-inch seam closed.

I like to keep laying it out to check how I’m doing. I’m doing fine, so I keep going.

Time to sew the wedge units in-between a red point of the star and a blue point. Start at the top of the point, lining up the units, RST, and sew down into the valley. Take an extra stitch, re-fold and re-line up the pieces, and sew back out of the V-shaped valley.

Two done.

I sewed them together. What color of thread do I use? On this seam, I sewed from the blue side, with the white/red side behind it, meaning, when I hold the two pieces together, the blue is nearest me. And then, because of the way I stitch, I used white thread. What kind of thread do I use? A fine one, either cotton or polyester, whatever will get the job done. Don’t use cheap thread, either, as it will twist and knot and drive you crazy. I always use my friend Rachel’s soft beeswax thread conditioner, as it helps the thread behave (and your hands will thank you as they become nice and soft!).

All four done. Now to sew those together, then sew their wedges in between.

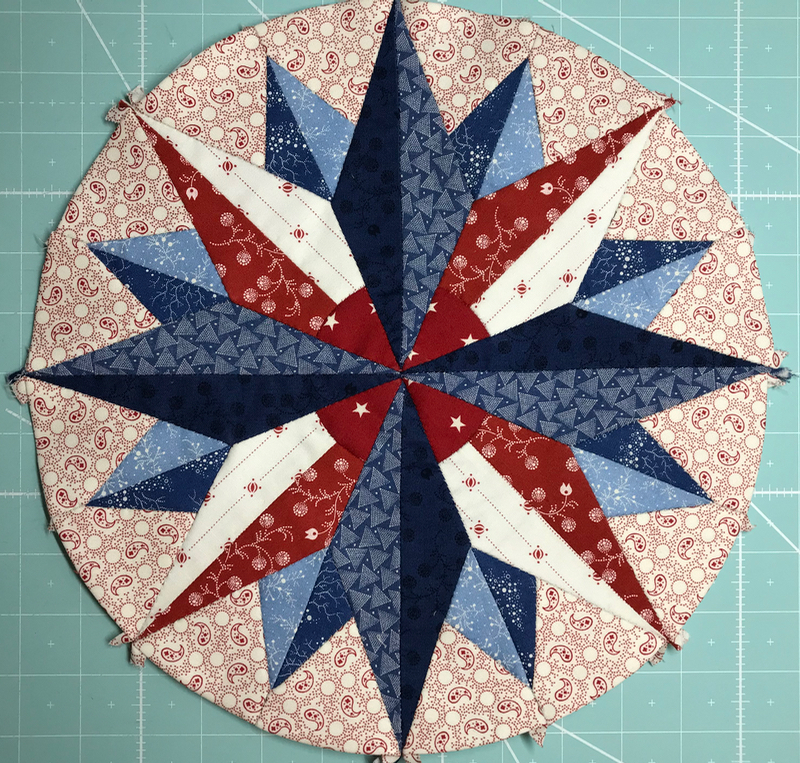
All done! I love a good from-the-back EPP picture. I will now remove the innermost papers, but keep anything on the outer ring, as I need them for the next step. Sometimes I will press the block before removing the papers, if I remember.

I carefully pin it to the background, then sew with an invisible appliqué stitch. I have tips and trick for dealing with the seam allowances in the earlier pattern posts, but basically I fold them carefully to the inside, then keep stitching. There are more photos, earlier, if you need them.

Now I will for sure press the block, but only on a padded surface (my ironing board is really well padded), letting the seam allowances sink into the padding. I use Flatter as a pressing aide as it is starch-free, and I use a bit of steam to help settle down all the pieces into each other. If you have a wild and wooly seam allowances from one of your blocks, it’s okay to trim them now, but only a bit. If you trim too closely, you’ll compromise the strength of your block.

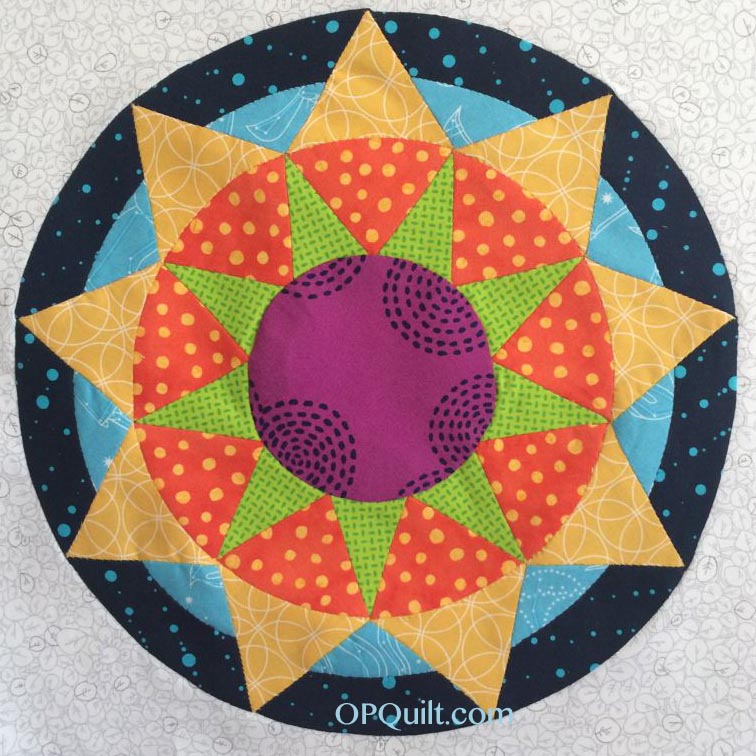
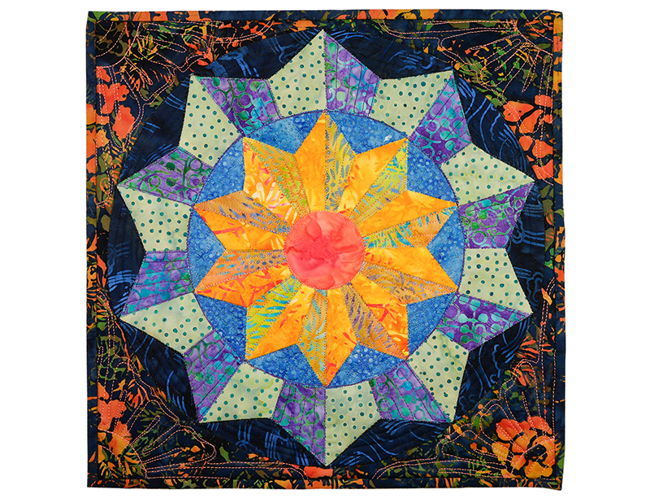
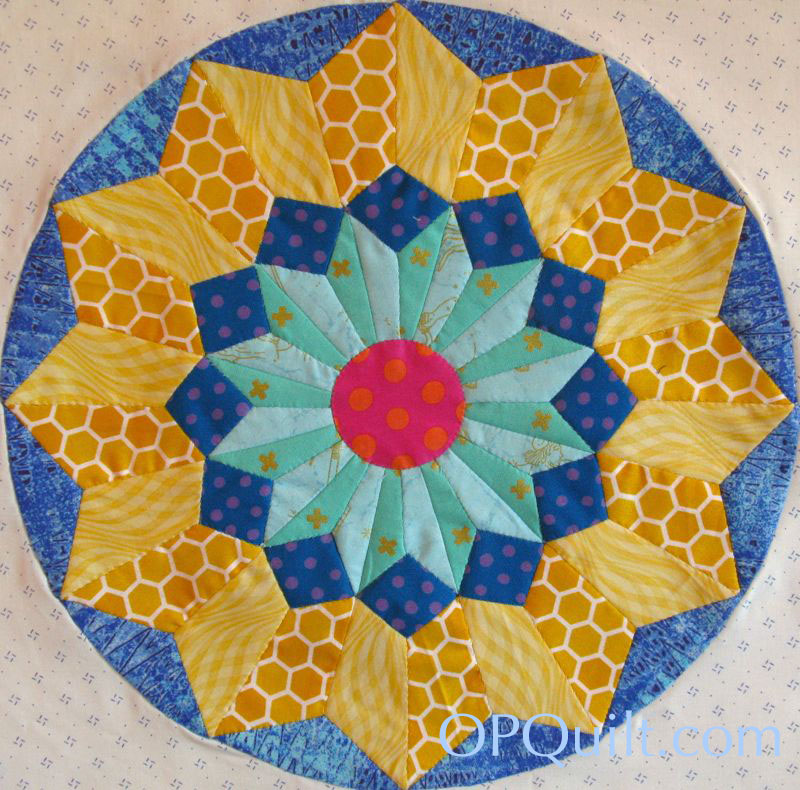
In the original illustration, the colors bring a dimension that I can’t get with the red, white and blue: the wedge points sink into the background and the bigger points come forward. Have fun choosing colors for yours and making one of my Shine blocks!

Patterns by Elizabeth of OPQuilt · Red, White and Blue · Shine: The Circles Quilt

Shining my way through this season

This is my reaction to the election fol-de-rol. Actually it’s my granddaughter Maddy’s, when she was just born (she’s soon to be 12 this year!). I’m totally patriotic (witness all my RWB blocks) and love the election itself–going to vote, feeling a unity among all Americans as we do our civic duty. It’s just the other stuff — the having to board up windows, the chants (count the vote! stop the count!), the lies, the attempts to cast doubt on the election, the lack of patience for the vote-counting — that gives me a chance to imitate Miss Maddy on a regular basis. By the time you read this, it may well be all over. Or not. Onward.

QuiltMania and I have been collaborating on releasing the Shine blocks, all newly refurbished. They usually do them on the first Friday of the month, which is upon us, so I try to time it and have a post. There’s a tab, above, for Shine, but to get the free patterns, you’ll need to subscribe to their newsletter. I have been remaking them in Red, White and Blue (told you I was patriotic!) to give them a fresh look.

Op #3, made by Susan Hilsenbeck

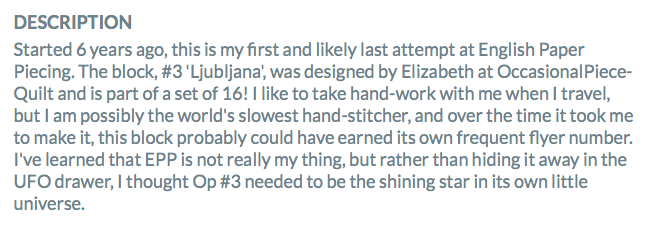
But before we get to that, I wanted to show you Susan Hilsenbeck‘s block. She chose a Shine block for her SAQA Auction Quilt for 2020, and titled Op#3. I love how she chose the colors, the fabrics, and that quilting is a WOW. Really fun. Her artist’s statement is below:

Now, onto the new blocks!

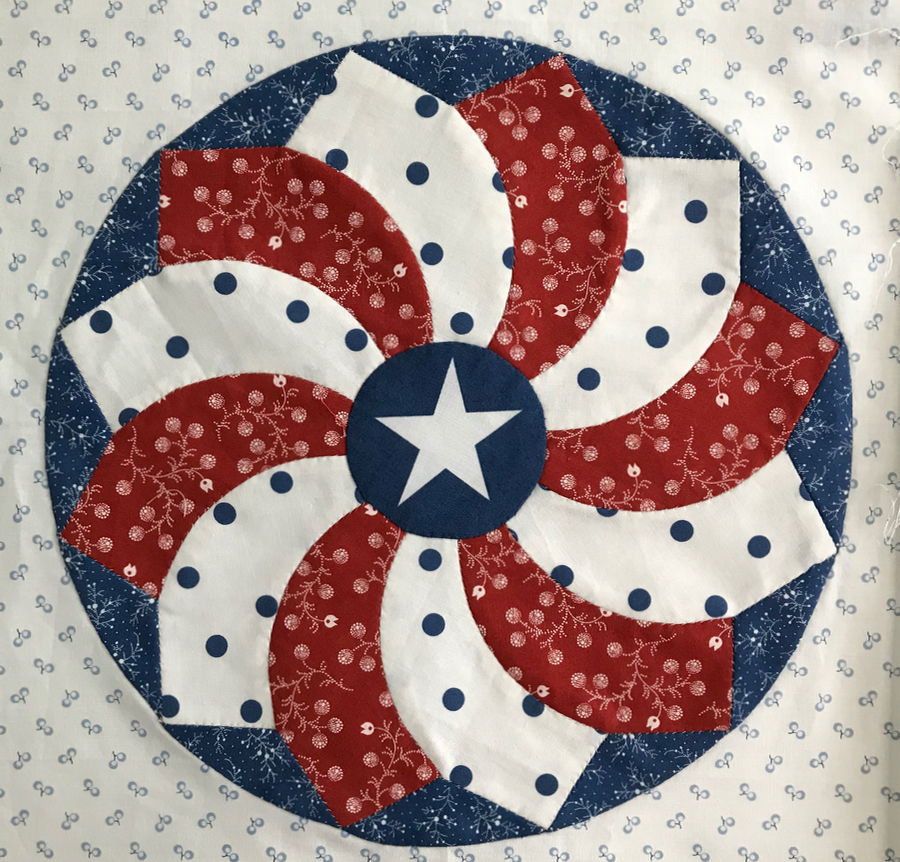
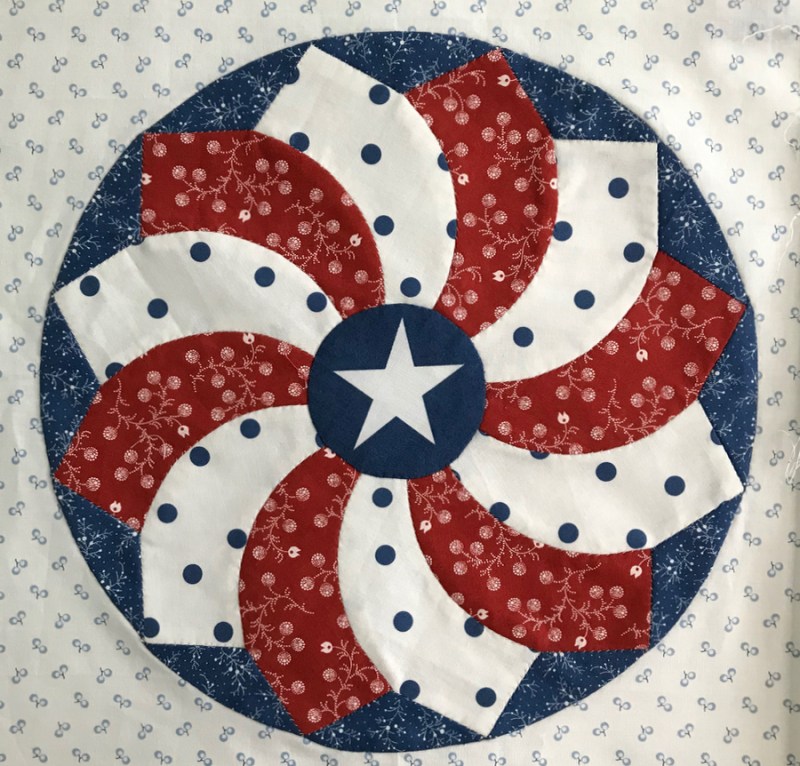
Shine Block #7, RWB
Original Shine #7 block

This one’s a little different looking than the original. I flipped it to swirl a different direction, and instead of making the points separate, I kept them attached to the swirl, so they were both all from the same fabric.

Original SHINE #8
Shine #8, Red, White and Blue

This RWB version challenged me, as there are many places to use color and it’s a bit challenging to use just three colors. I have since found more lines of fabrics that will work with my original set, so I have more choices now.

Original SHINE #9 block
SHINE, Block 9 in Red, White and Blue

I think I like the RWB version better than the original. Okay, here are the original nine blocks:

Original SHINE blocks, 1 through 9
RWB SHINE blocks, 1 through 9

So, if you’ve been following along, and are getting the QuiltMania newsletters, you’ll have Blocks 1-6. The next three should drop tomorrow. Here’s a link to where you can sign up for the newsletters in order to get your SHINE blocks. If you don’t have Blocks 1-6, I’ve been assured that if you write to them, they will send you the links for them.

I’ve written two other individual block patterns, one of which has been added as a bonus block to the Finishing Instructions (which includes that sashing you see peeking out of the middle block, above). The other is being field tested right now by my friend, Linda, who is making her Shine blocks into a Christmas quilt.

I’ve got a couple more in the works, to be added to the Final Four blocks pattern that is up on PayHip.

But first, I’m going to be a guest tonight at Acacia Quilt Guild in Buena Park, California. Our workshop is Triad Harmony, which will be held on Saturday, live-online style. The organizer asked me to pass on to any of you that there are some openings left, if you’re not busy Saturday and want to jump in. Just leave me a note on this post, and we’ll get you set up. So far, I don’t have this on my teaching schedule in the future, so it may be the last time I teach it for a while.

More pumpkins. Well, I actually have thirteen, but who’s counting now?

They are. I’m happy to wait.

Red, White and Blue · Shine: The Circles Quilt

SHINE: QuiltMania Collaboration, part 2

When I searched this morning in Google for how many days until the United States Presidential Election, the questions it prompted me for were these:

So, if we are going to have a zombie apocalypse, let’s spend our remaining days doing some quilting. (By the way, it’s 32 days until the election, as of today.)

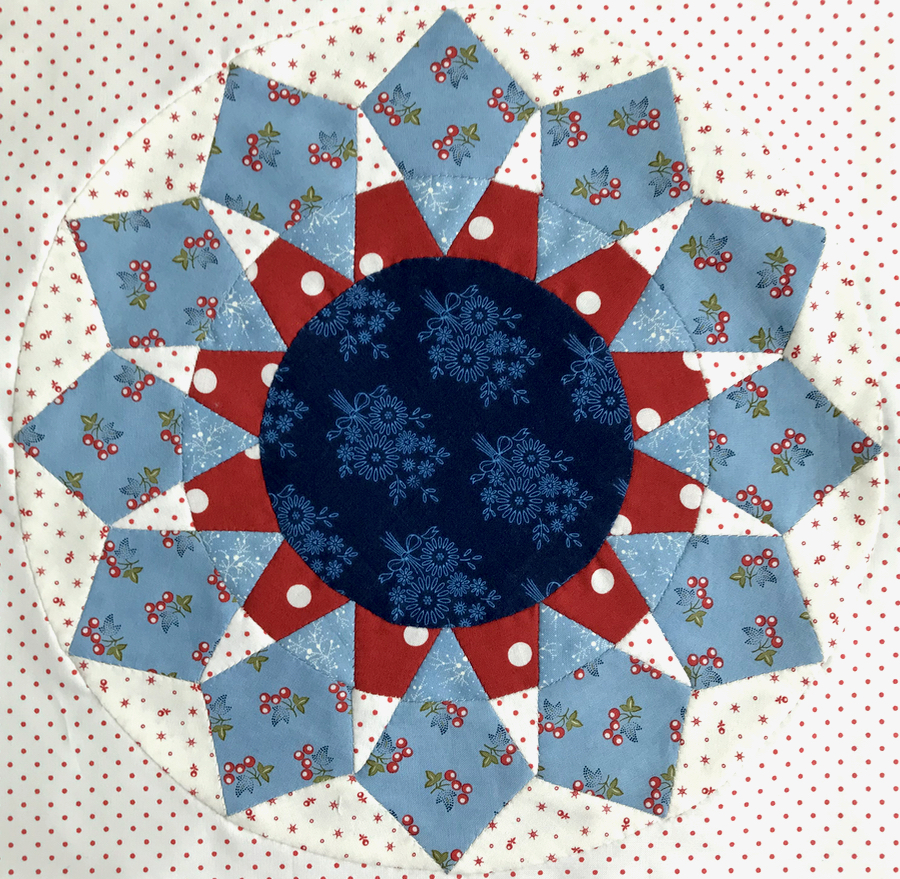
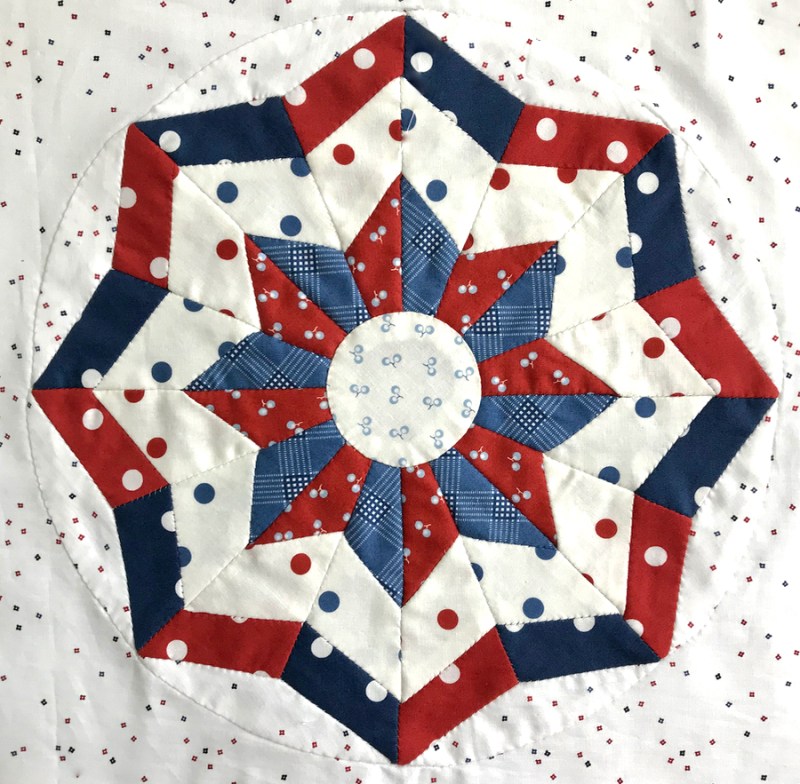
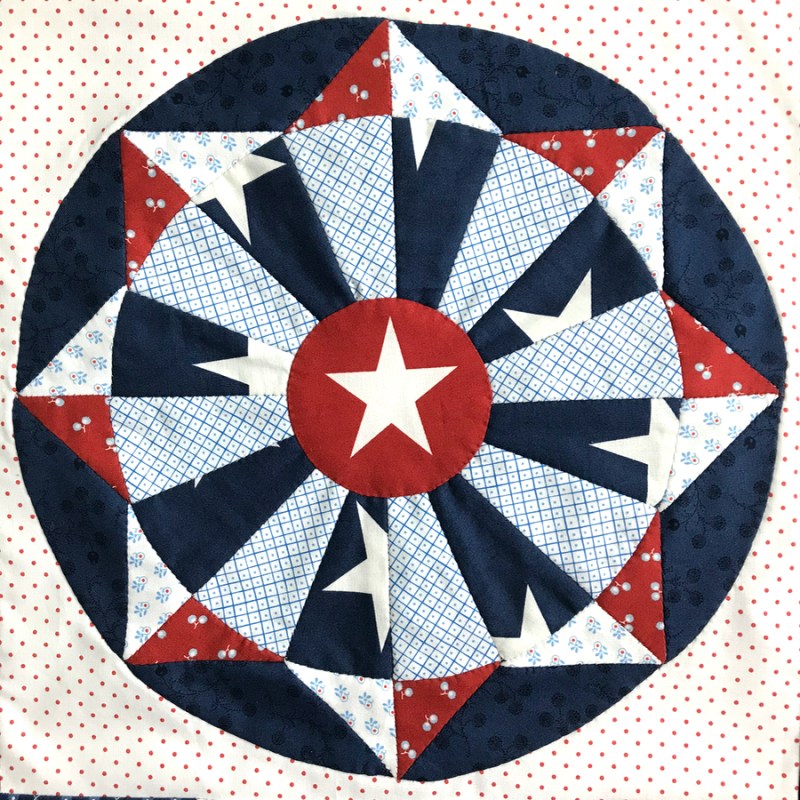
QuiltMania and I have collaborated on releasing revised versions of quilt blocks for Shine: The Circle Quilt, and they have released the next three blocks, if you are a subscriber to their newsletter (sign up here). Many thanks to QuiltMania for this collaboration–I’m enjoying re-working the blocks in Red, White and Blue.

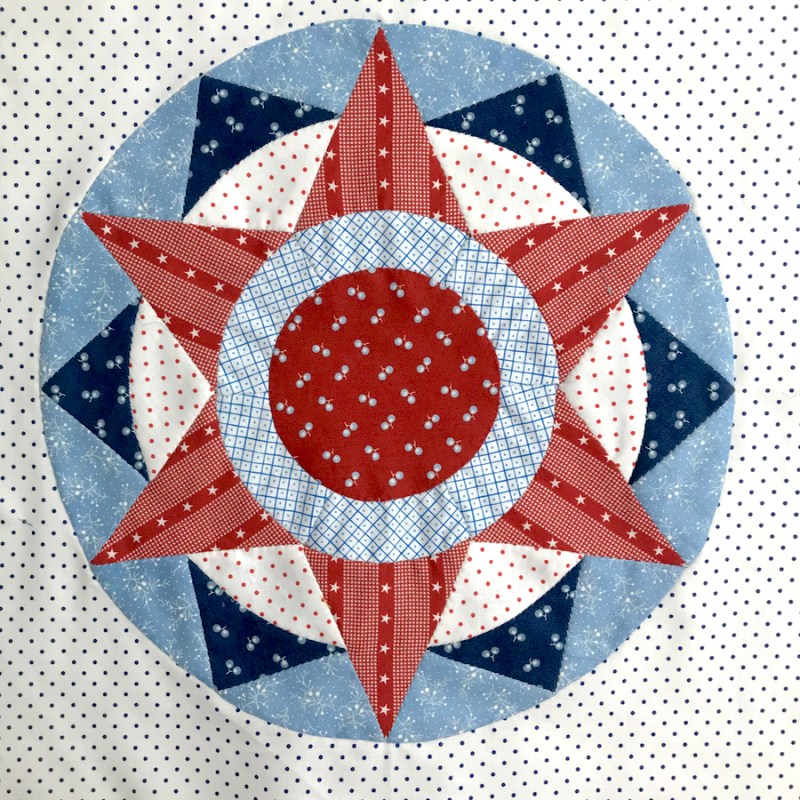
Block Four: Red, White and Blue version
Block Five: Red, White and Blue version
Block Six: Red, White and Blue version
Blocks 1-6, RWB

I bordered that block to check for my Quilt Finishing Pattern, and then didn’t want to take it off for the picture. Soon, all of them will have their borders. I know these fabrics look a bit moody — but this line of Minick and Simpson that I’m using, augmented with a few more bits of Moda and M & S’s most recent line of fabrics — really is appropriately red, white and blue.

Block Seventeen: Red, White and Blue version

I’ve also worked up a new block, that is included in the Quilt Finishing Instructions as a freebie: Block Seventeen. I working on another new one, which will find its way in the panoply, as a freebie for the Finishing Pattern? Still working out the details, arriving hopefully before the Zombie Apocolypse.

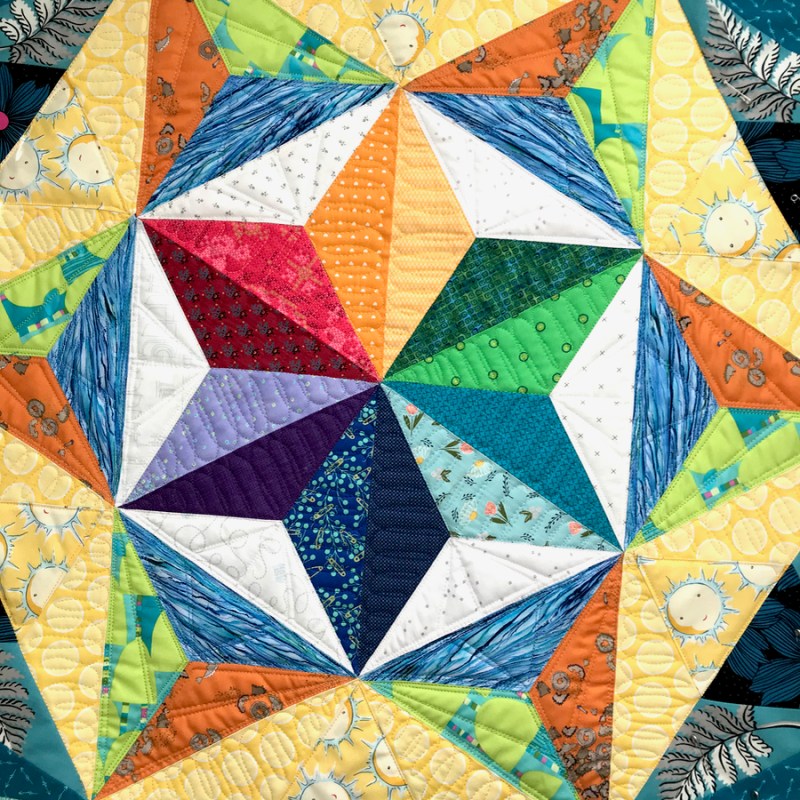
I will be teaching Triad Harmony for the Coastal Quilters Guild of Santa Barbara next week, and while I have two of these wall hangings finished, I wanted to try it scrappy. As is always the case, I discovered some old favorites (the silvery leaves and the happy sun faces) and some new favorites (the plaid border) lurking on my shelves.

I’m currently quilting it, but stopped last night when I got to the borders. It was late, the book I was listening to got to a stopping point, and I was stumped by how to quilt the final section. Finding ideas of how to quilt something is always a challenge, but I’ll get back to it today.

My lecture with the Coastal Quilters is Thursday night, and I need to have this quilt ALL done by then. I’ll make it, as long as — you know — those zombies don’t show up.

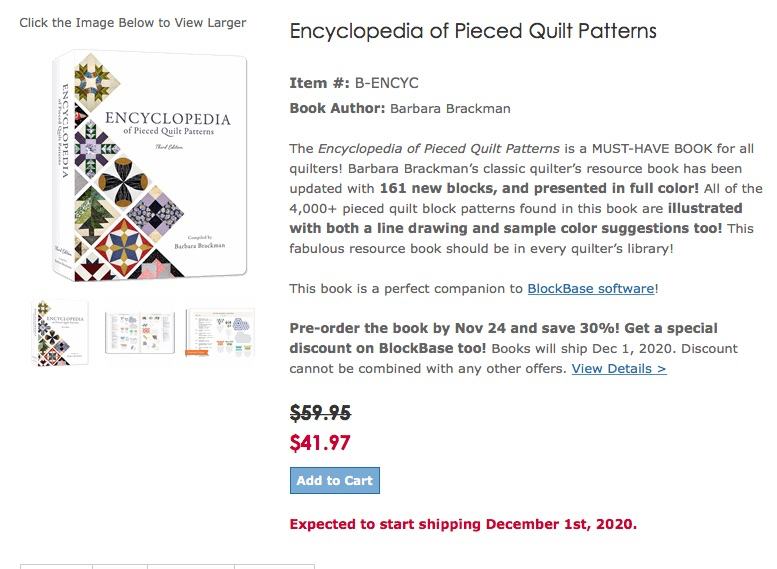
Finally, this really great news. As many of my long-time readers know, I’m a huge fan of this book, but sadly it has been out of print for a long time. I was contacted by the new publishers, Electric Quilt, to provide a blurb for the new edition. You may see my words in their advertising, but the exciting thing was I was able to get a glimpse of the new edition and I was blown away! It’s a huge improvement to the original (although that will always be my first love). I just wanted to give you a heads up that they are having an introductory price that you may want to take advantage of.
I have had days like this — we all have — but with sewing my red, white and blue blocks, thinking up quilting motifs for borders, being pulled along by great fiction, and hanging out with friends like you: it’s all good. Yes, I take it day by day, but the whole concept of quilting is one of looking forward: from purchasing the fabric, to cutting, to stitching then quilting, to sewing that label on. We quilters are good at this.

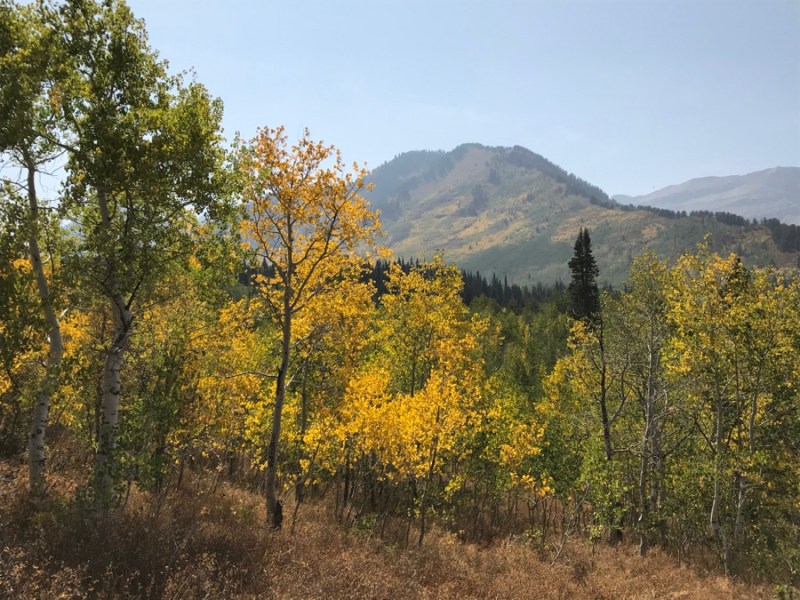
Utah’s golden Aspens

Happy stitching!