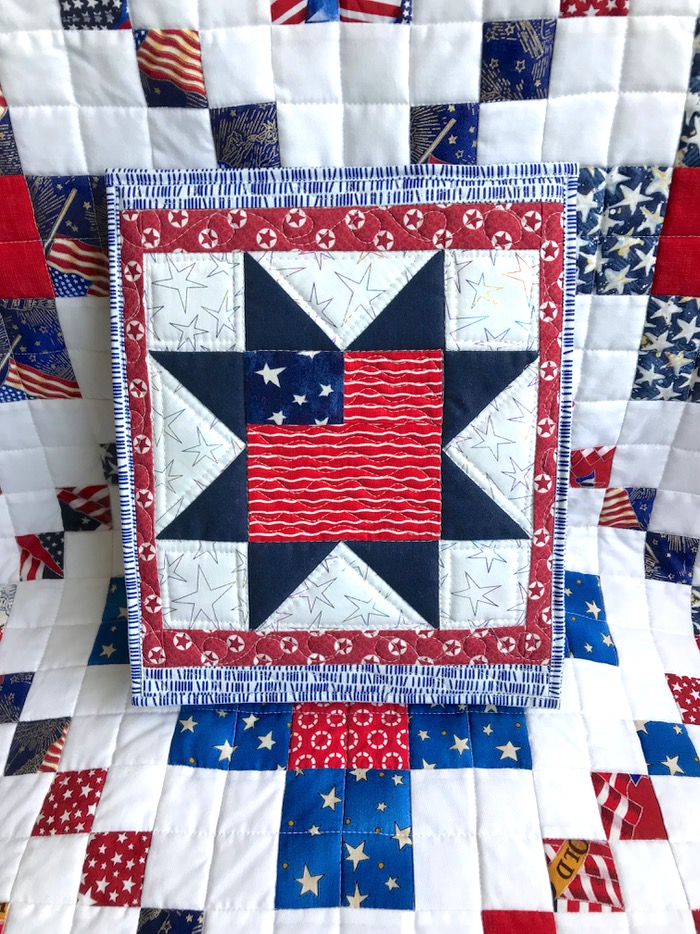
To honor the 4th of July, I stitched up another tiny quilt. I love being patriotic, as the meaning has a sense of loving America and its peoples, the history and the early settlers, and those who set up the government in 1776. It helps that my nickname in my childhood was Betsy, but I do love the red, white and blue.
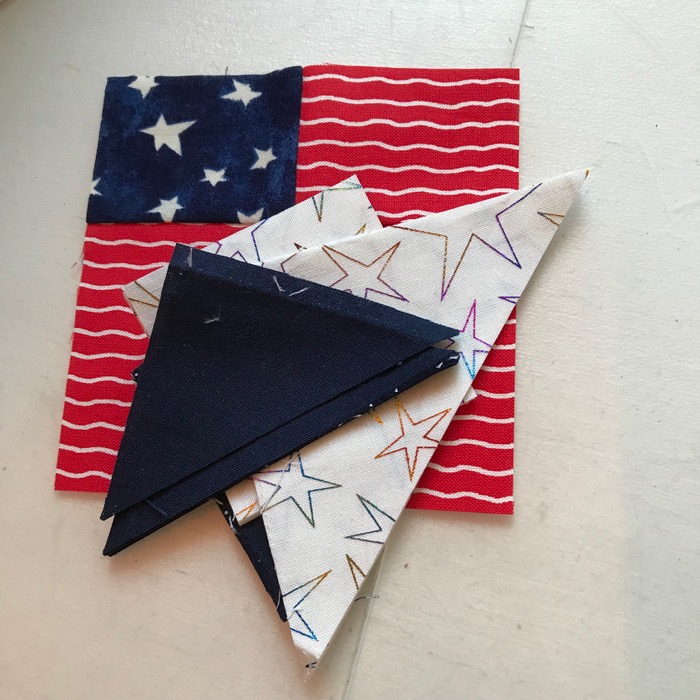
I went through my Orphan Quilt Blocks box, found one that wasn’t being used, and smallerized it, using this PDF pattern to cut it out: Fourth July Tiny Quilt Star Center
I put on two borders, quilted it (so fast because it’s so small) and put a single-thickness binding on it (cut your strip 1-1/2″ wide), gluing down the back binding and top-stitching it down. It is one of those quilt projects you can take at full throttle–no fussy cutting or intricate piecing. Put your pedal to the medal and crank out a 4th of July star tiny quilt!
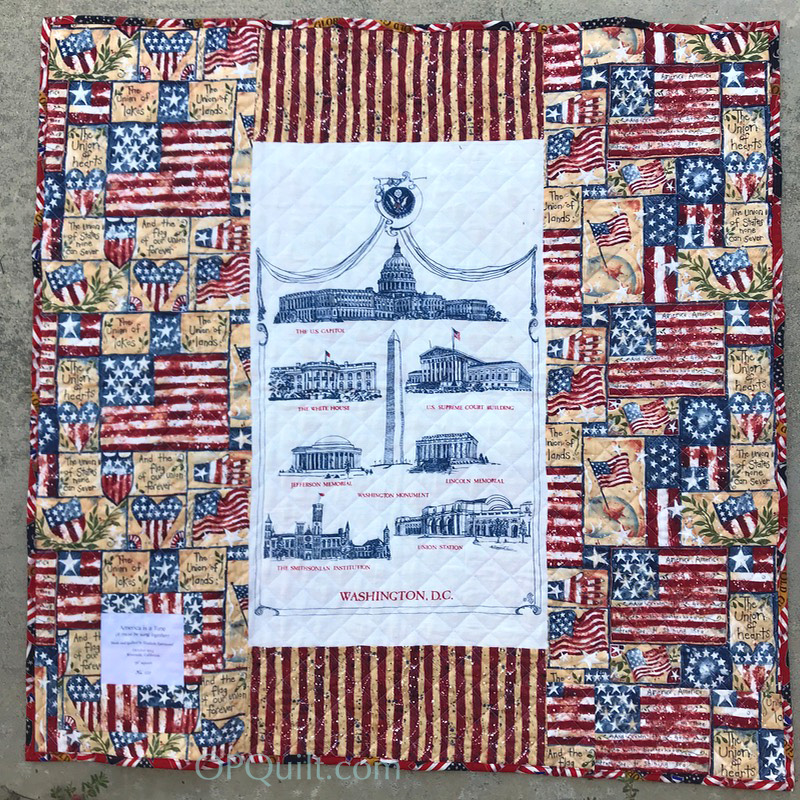
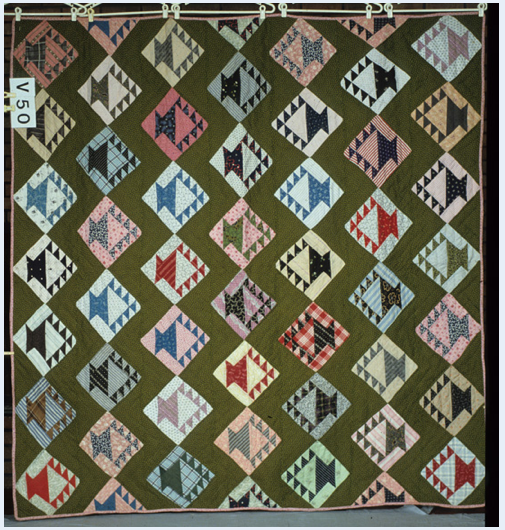
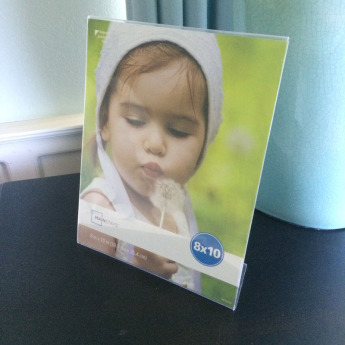
It slips over the back of one of those cheezy plastic stand picture frames (under 2 bucks at Walmart). [More on the quilt underneath it at the end of the post.]
I made the quilt above quilt five years ago at the same time we had a government shut-down, and I was moaning about government needing to behave itself then. I now look back on that particular chaos with a wistful glance; would that we had that steadiness now!
Yet, I still believe that America is a Tune, and that we must figure it out — sing it — together, no matter how painful things are. After reading the book Hamilton, I value what those early fathers of our country (and mothers, too) must have faced and appreciate how much work they did and how inspired they were to come together and get the framework off the ground.
I belong to an online bee called the Gridsters, and February is my month to choose a block that my beemates make for me. You can find all our work on Instagram, using the hashtag #gridsterbee.
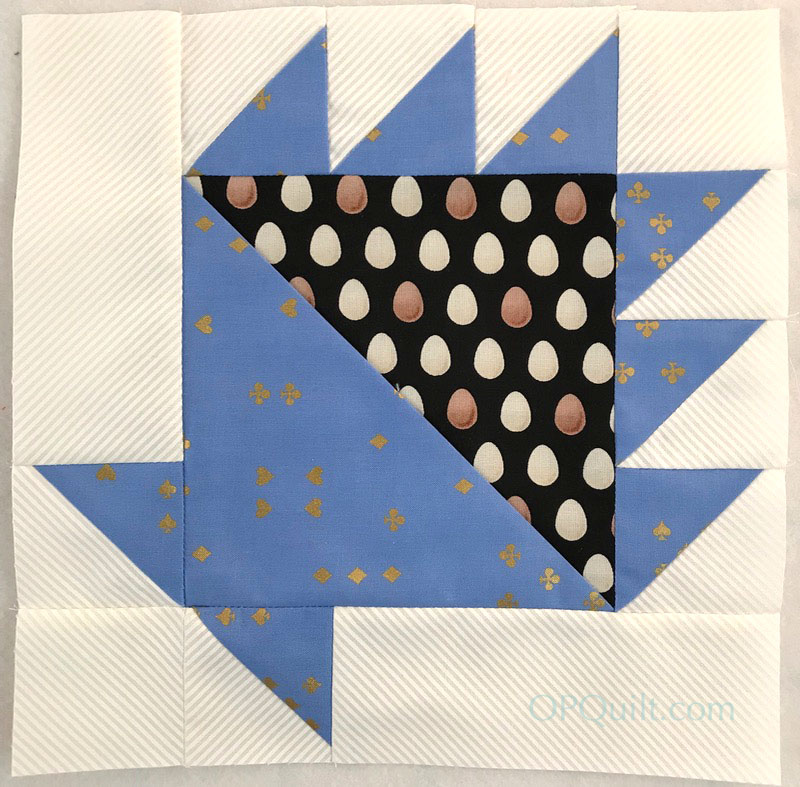
I chose a basket block.
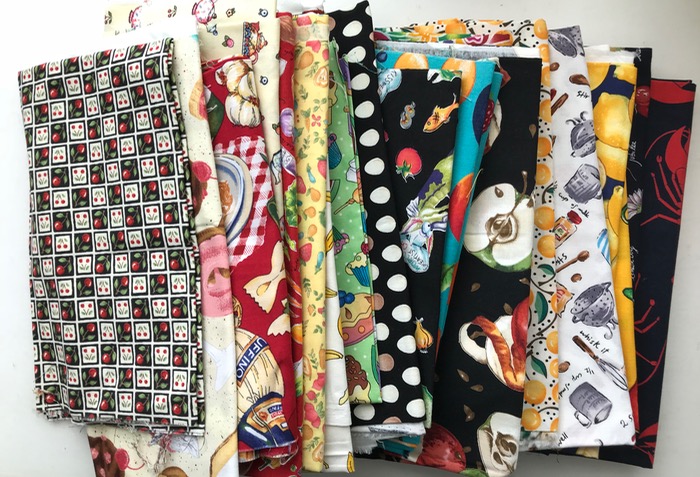
I also have been saving food-themed fabrics forever for a basket block quilt with the baskets full of food beginning at least a couple of decades ago, and continuing as I picked up a food fabric here and there.
I was also inspired to make basket blocks by Barb, of Fun With Barb and Kelly of Pinkadot who decided to do it together; their tutorials are on each of the links, above. I upsized the basket block to 10 inches in size, so the making would go faster. (You’d think with all the quilts in this house, I would have enough twin-sized, but I don’t, so I’ve already decided that’s the size it will be.)
If you want to join in with me, or Barb and Kelly, in making baskets, I’d suggest we follow their request to tag our Instagram photos with #basketswu [Baskets Sew With Us]. (Gridsters please tag them also with #gridsterbee.)
For the Gridster Bee
I’ve sent you some food fabrics; please use those for the A section of your blocks. I don’t care what you use for the basket–it can match, it can contrast, it can coordinate, it can clash–choose what you think creates the look you want. You can use small scale prints, large prints, florals, novelties, checks, whatever.
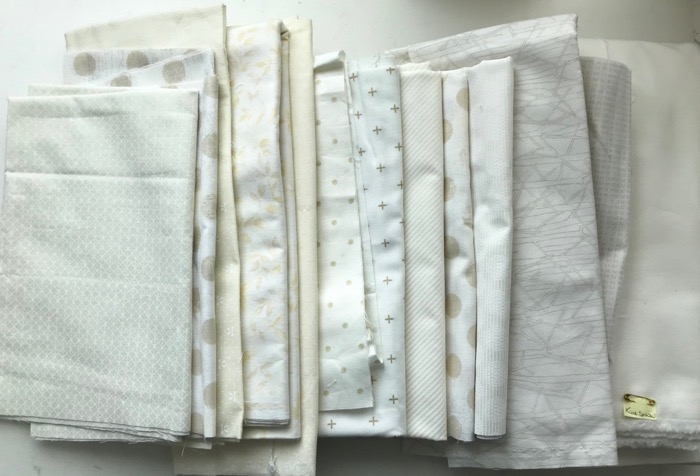
For the low-volume background, use these types of fabrics:
They are a range of creamy-toned fabrics, without strong secondary designs.
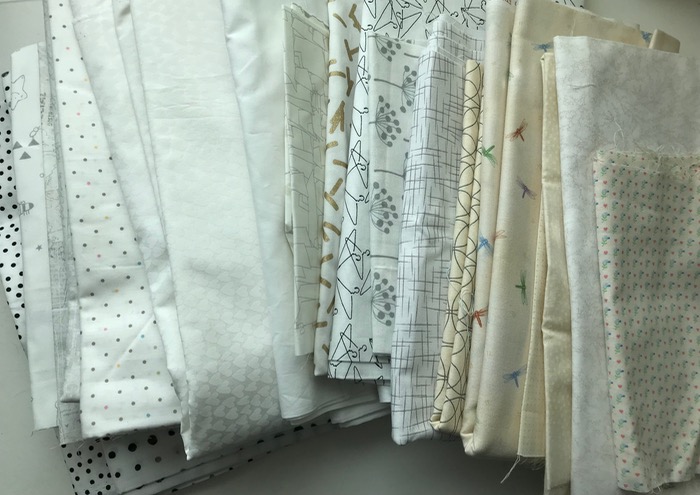
Avoid these types:
Solid in creams is okay, but avoid white, grey, tan, beige, white-on-white (I really don’t like beige for this quilt, but understand the limitations of our stashes–just do your best). Many of the above fabrics have strong motifs and patterns, so reject those too. Basically, I want the background to recede without being dull or same-same.
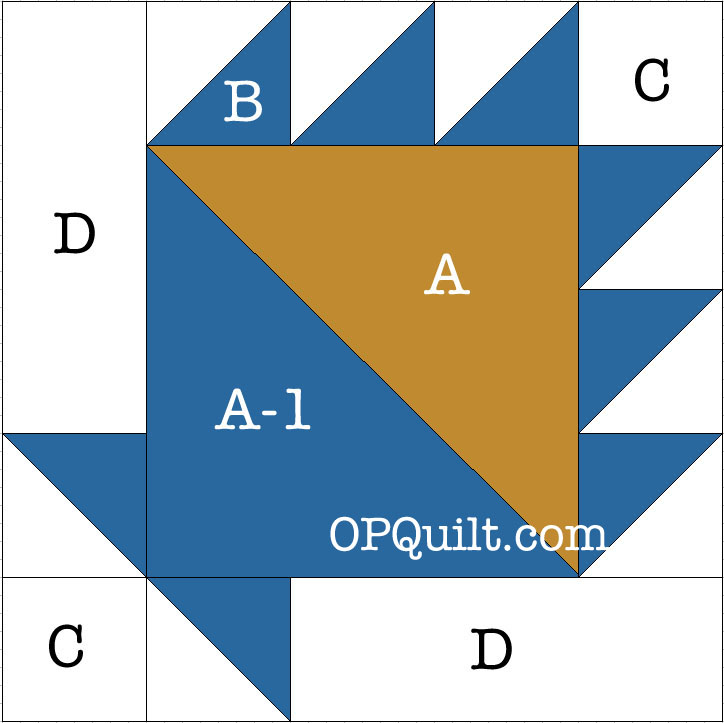
Basket Tutorial
Not to size, for reference only–please use the PDF link below.
Here’s my cutting sheet for this tutorial, in PDF form, but the usual requests apply here–don’t print off a million copies for your mother and your friends, but please send them here to get their own: Basket Block 10 inch_OPQuilt
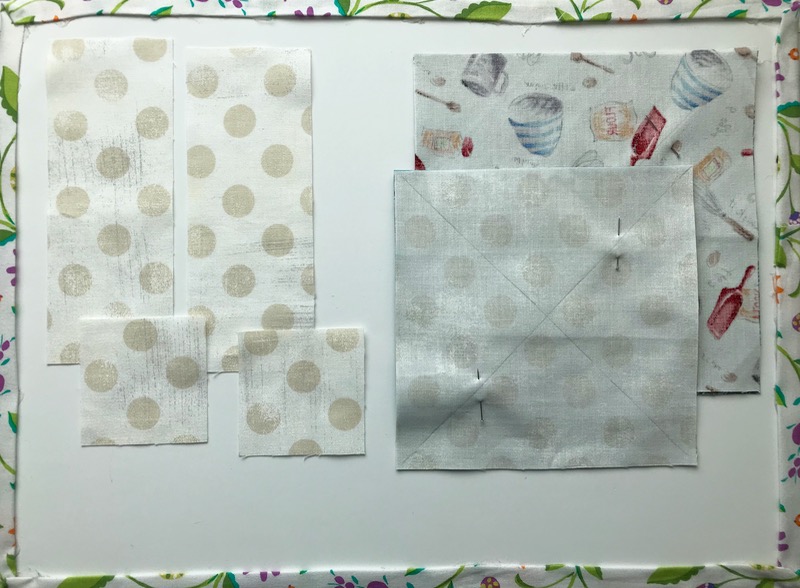
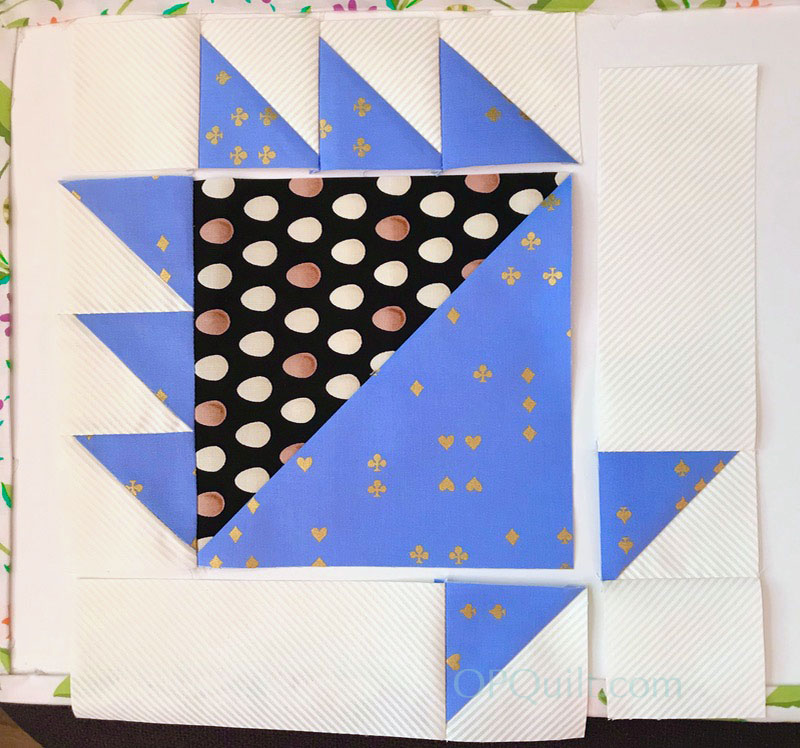
All my basket pieces laid out.
First, make the Half Square Triangles.
[Background: One method is from Alyce, and she has a nice chart if you want to figure out your own eight-way Half-square Triangles. However, I also have a different chart on this post which came from Jeni Baker, who encourages the use of a bigger initial square. That means for us (and especially if you like to trim your HSTs) you would begin with a 6″ block, which is what I’ve specified on the cutting chart. BTW, her book on triangles is a good one to have in your library. ]
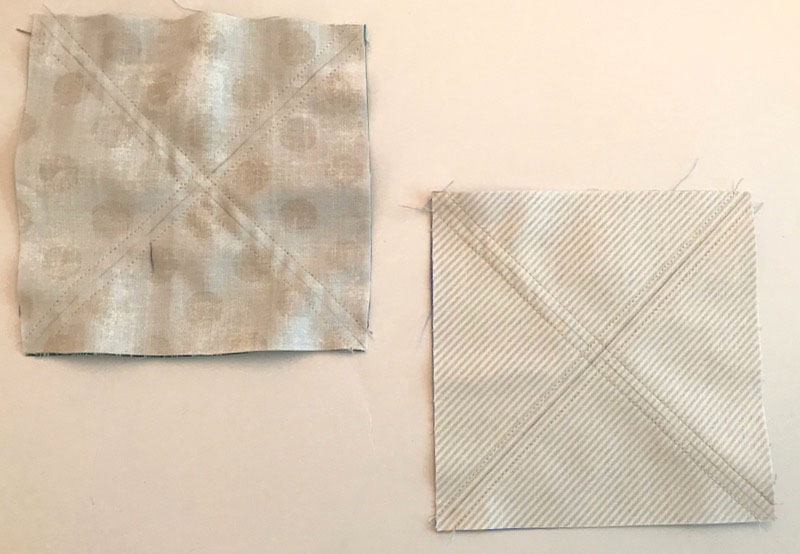
Place one 6″ background square and one 6″ basket square right sides together. Mark two diagonal lines, and sew 1/4″ on either side of the marked lines. On the left is the pieces with the sewn diagonals. Press it flat to settle down the wrinkles, which you see on the right.
I moved mine apart to demo this; leave yours close together.
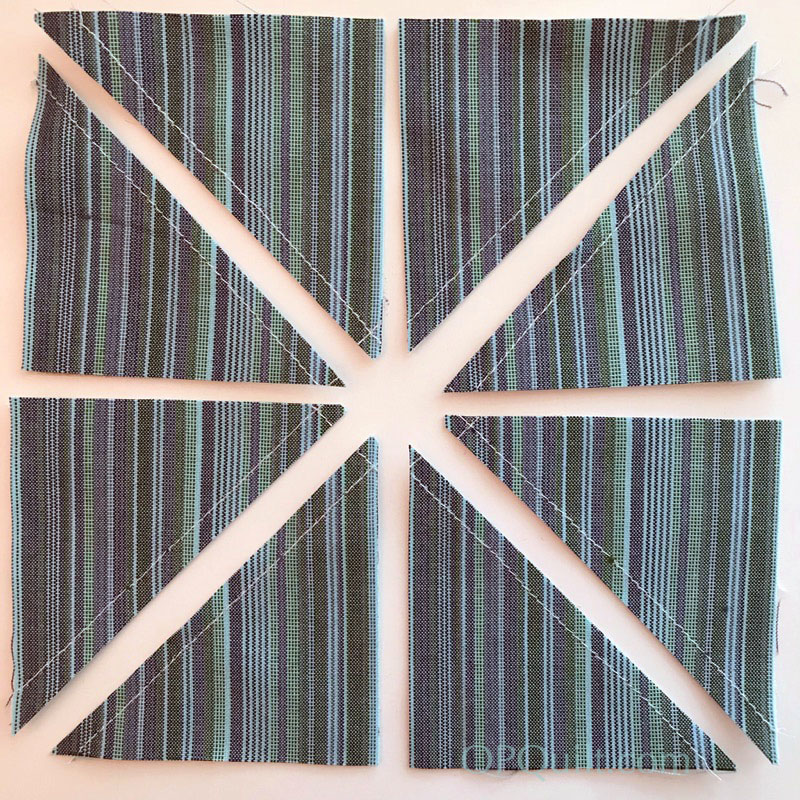
Cut on marked lines. Now without moving your squares, cut on mid-lines, crossing the centers, as shown below. Press, with seam allowance to the dark side, trimming out dark fabric, if necessary, so it doesn’t show through. Trim to 2-1/2″ inches square.
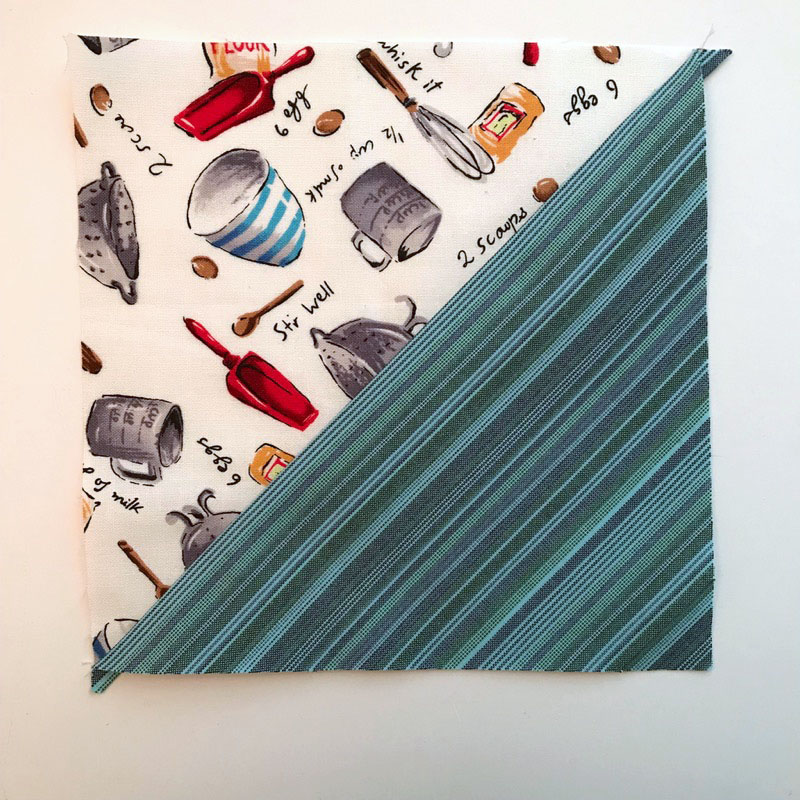
Make center half-square triangle (piece A-1): Place a food fabric (measuring 6-7/8″ square) onto a basket square (same size), drawing a diagonal line, then stitching on either side of that line. Press, then cut on marked line, then press towards the basket. You’ll have an extra center to toss into your Random Patches Box. (You do have one of those, don’t you?)
Press seam allowance ALWAYS towards basket, to give that dimensional look that something is IN the basket. Now trim that center to 6-1/2″.
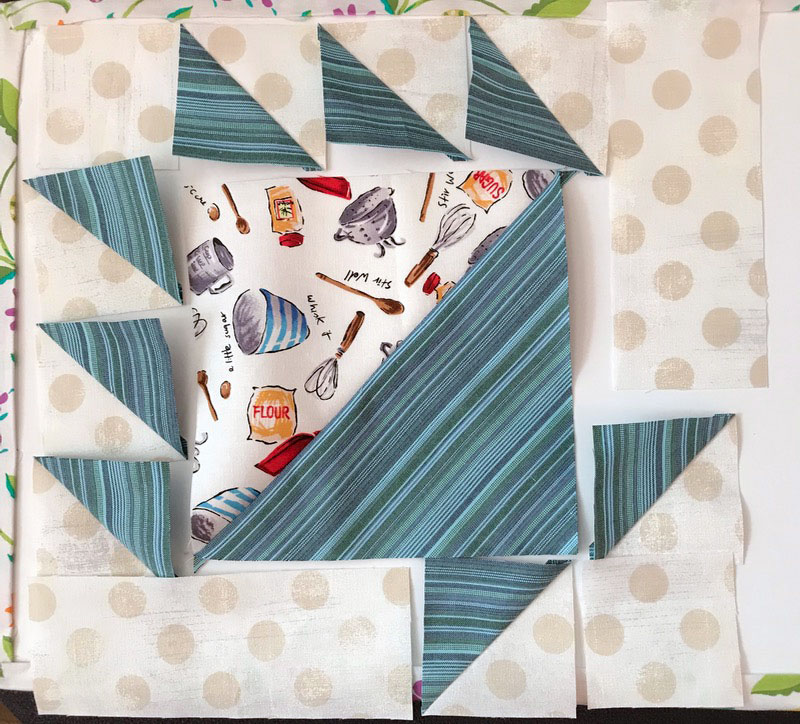
Here are all the pieces, laid out. I chose a stripe to demo, so you can see the direction the stripes go. If you use the eight-at-a-time half-square triangle method, you’ll have no problem getting the stripes in the small half-square triangles go the direction you want. Yes, I did cut the 6-7/8″ square (basket) on the bias, so I could have the stripes go across the unit.
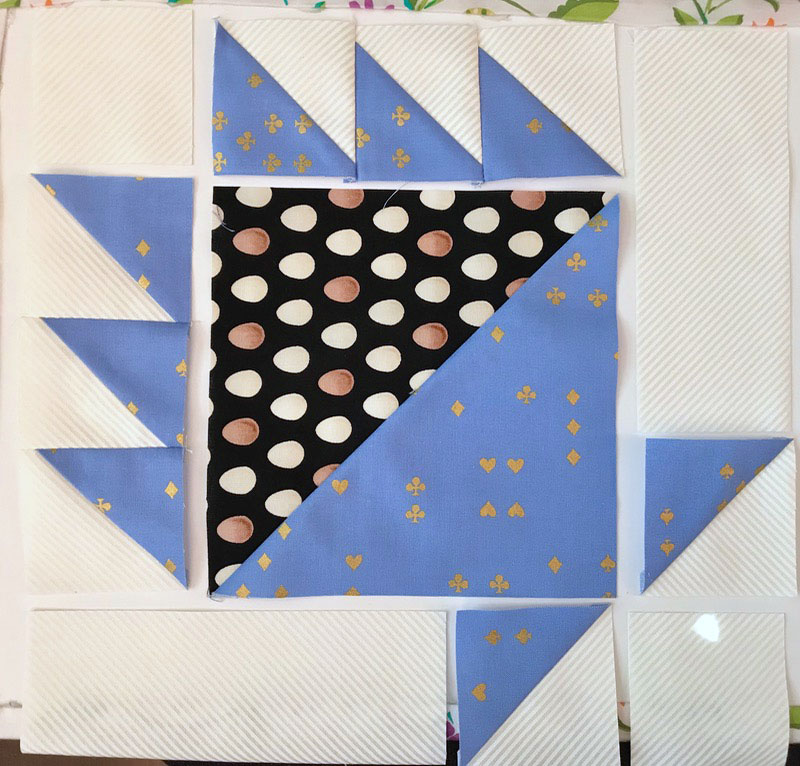
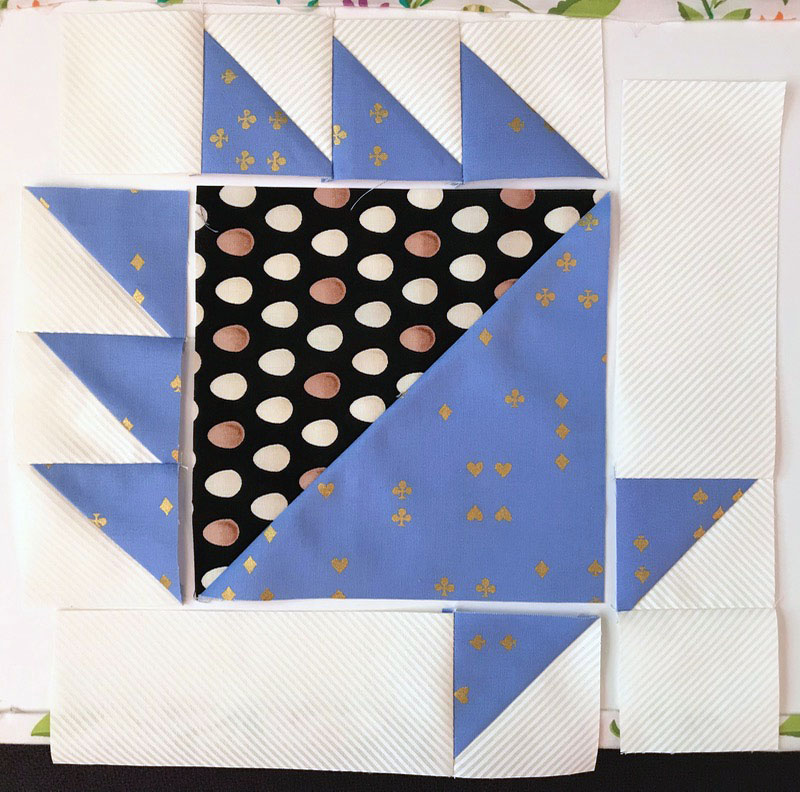
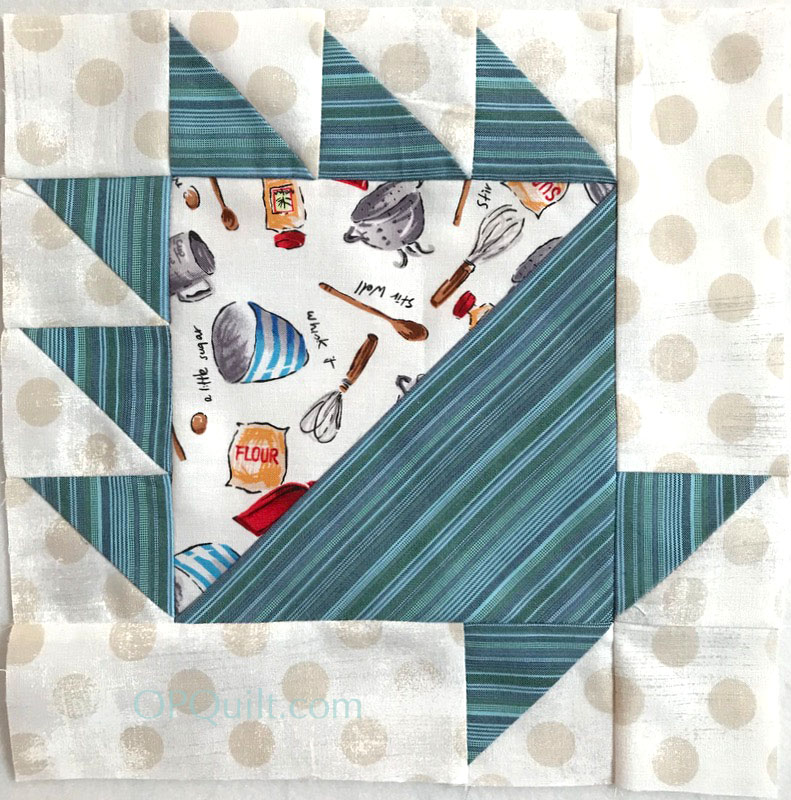
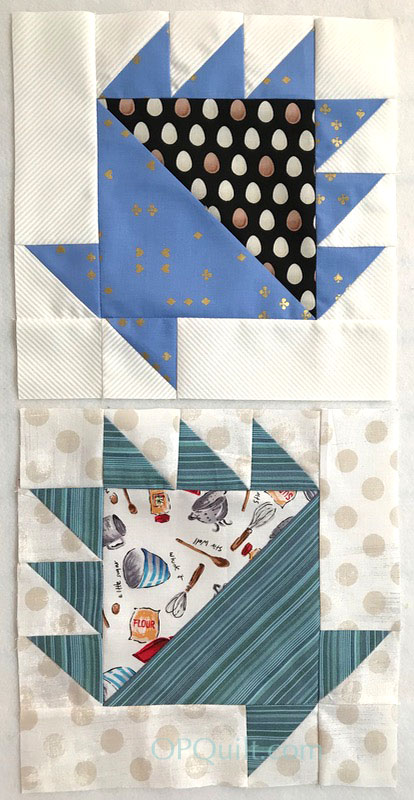
I made two blocks at once; one had a light center, and one had a dark center.
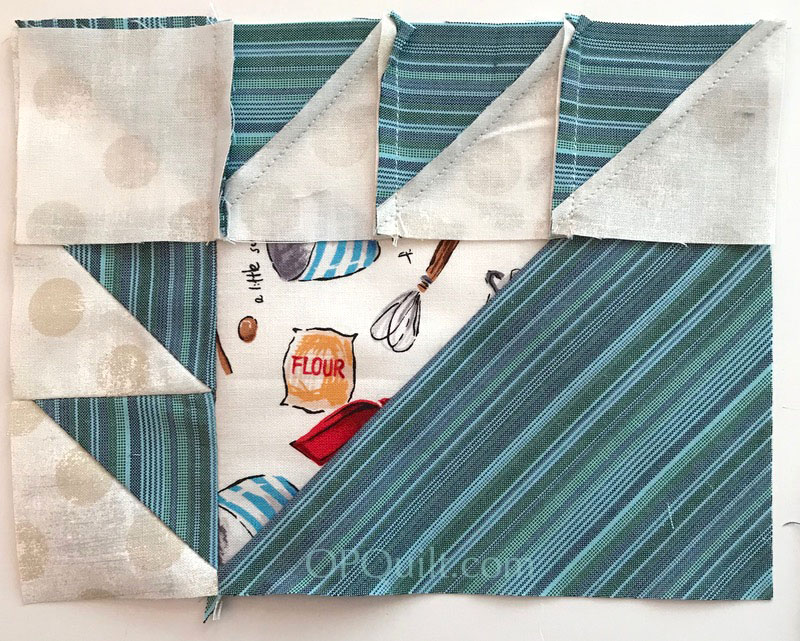
Stitch together the three small half-square triangle pieces; press in the direction they want to go, which is usually toward the flat triangle piece.
Stitch one 2-1/2″ block onto one unit (shown in upper left corner). It helps to arrange your square as you go, so you get everything all sorted out right.
Sew the first three-unit “basket handle” to the center HST, as shown on the left. Press seams away from basket, even though they don’t want to go there, again to preserve the illusion that something is in your basket.
Sew the second three-unit “handle” with the C square to the center unit, as shown. I pressed the square C-block toward the three-triangle unit so that the seams would nest neatly when I arrived at this step.
Create basket stand by sewing one of your small HST to the D-rectangle. Pay attention to which direction the triangles are going. Stitch this first unit onto the basket.
Repeat with second HST and D-rectangle. Sew ONE of the C (2-1/2″ squares) to ONE of the basket stand units. Stitch this onto the existing basket.
And you are done!
There are lots of fun ways I can finish this basket quilt:
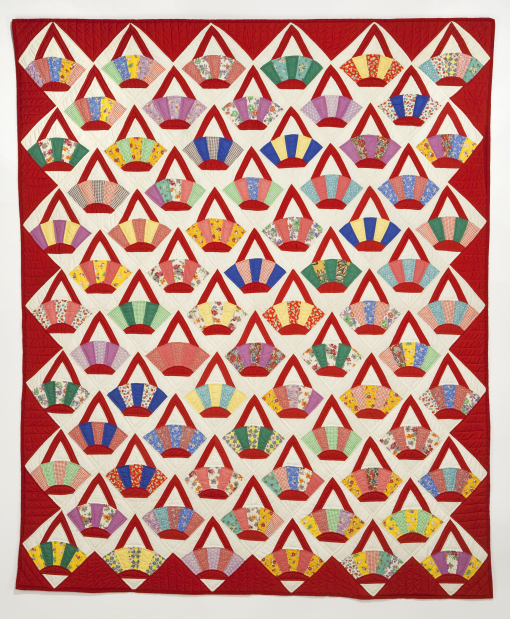
I like this setting, with all those energetic chevrons in between the baskets.
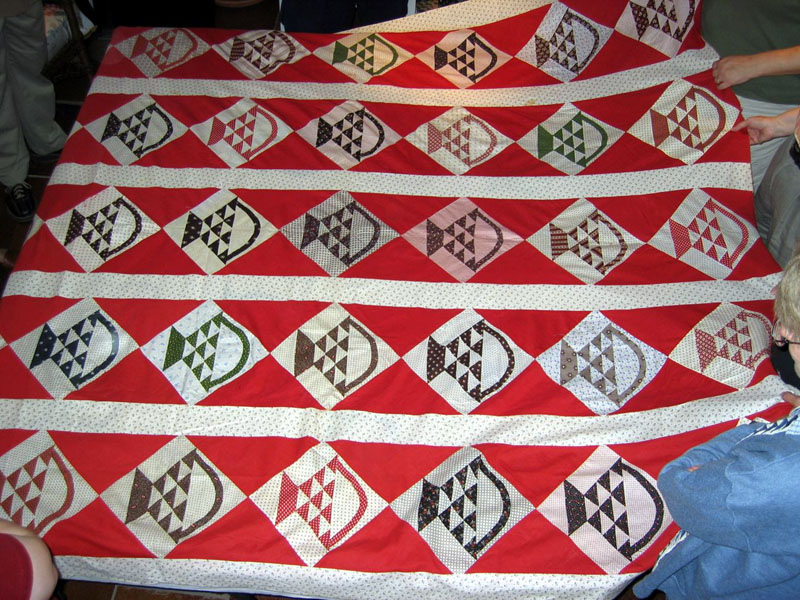
Looks like red is a pretty popular color for setting these blocks. I have more basket ideas on my Pinterest site, if you want to see more block settings. (I’ve been collecting these ideas for ages.)
Thanks to the Gridsters for making me baskets this month, and I hope you all have fun making a few for yourselves.
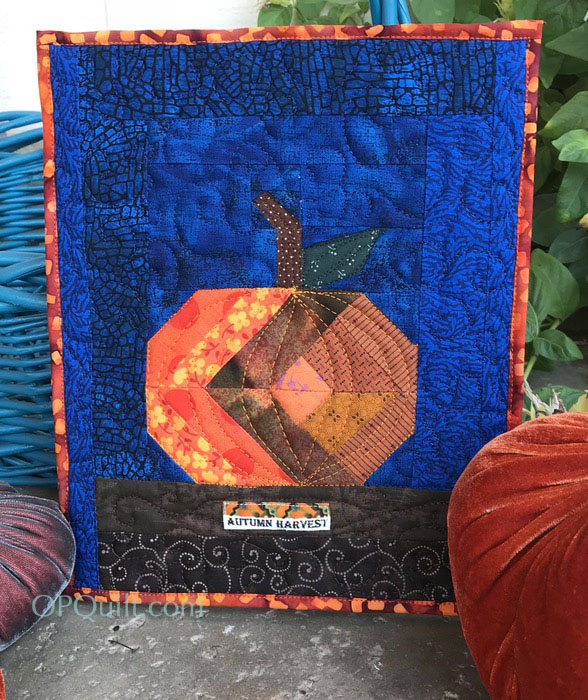
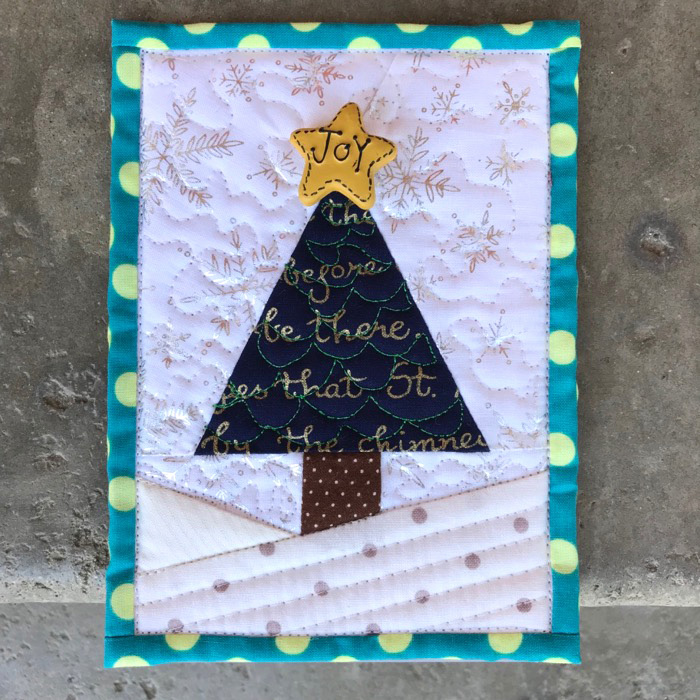
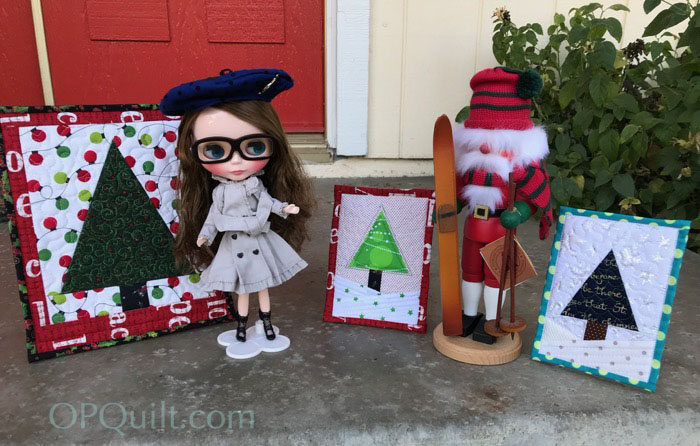
I’m decorating for Christmas and wanted to change out my Tiny Quilt from Autumn to Christmas, but then got wondering how a teeny-weeny quilt would look, so got busy. These little quilts fit onto plastic picture frames:
I have two free patterns for you here, but please remember the drill: Don’t print off umpteen for your next class, or guild meeting swap or your mother. Please send them here to get their own pattern.
As you can see from the samples I made up, I play fast and loose with some of the placement of pieces, really using them more as a guideline for cutting, than anything else (although I did cut out the tree exactly).
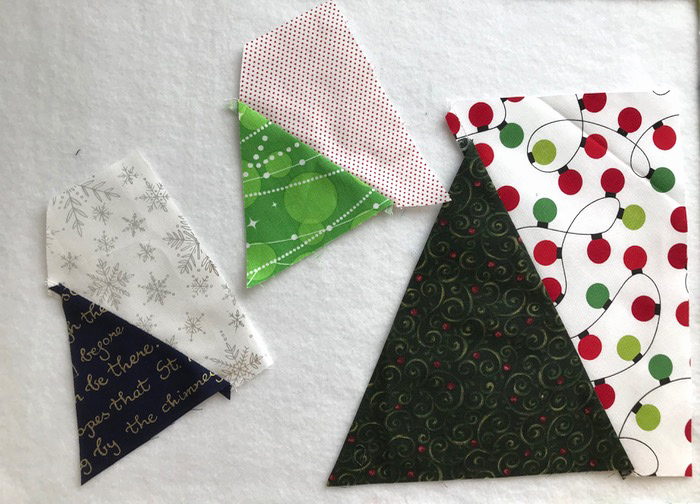
Cut out all the pieces for the pattern you’ve chosen. As I noted above, sometimes I used the pattern (shown here before I added the labels) as sort of a general guidelines. You need an accurate tree, and a nice straight edge where you’ll sew it to the tree (the diagonal line in the photo, above).
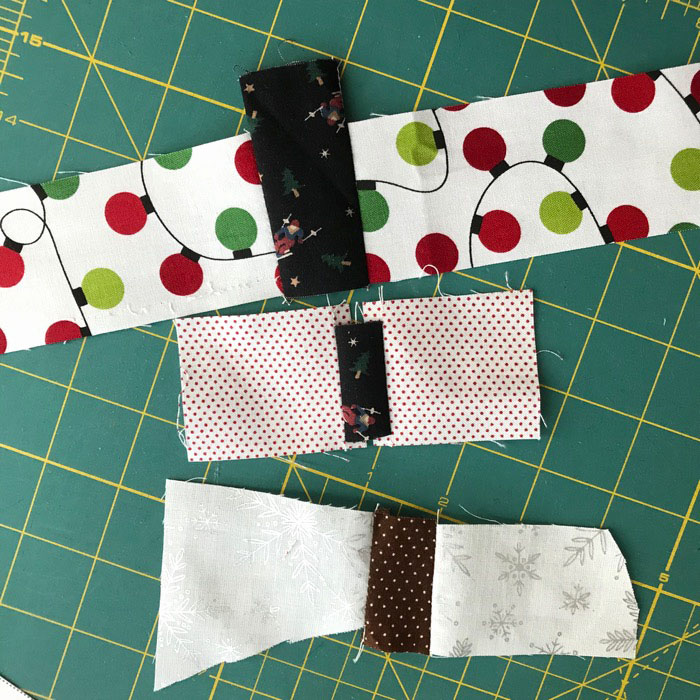
I sewed the “sky” pieces to the sides of the trunks then trimmed the edge that would attach to the tree. More detailed tutorial is also on my OTHER Christmas Tree block tutorial, which is sized somewhere in between these two tree sizes. (I should open up a Christmas Tree lot with all these patterns.)
Sew the “right” side onto the tree. Make sure you keep the marked top triangle point pointing upwards.
Trim any stray areas (above), then add the other side.
Straighten out the bottom of the tree assembly. Center, then sew on the tree-trunk unit, pressing seam towards tree (so it looks like the trunk is under the tree).
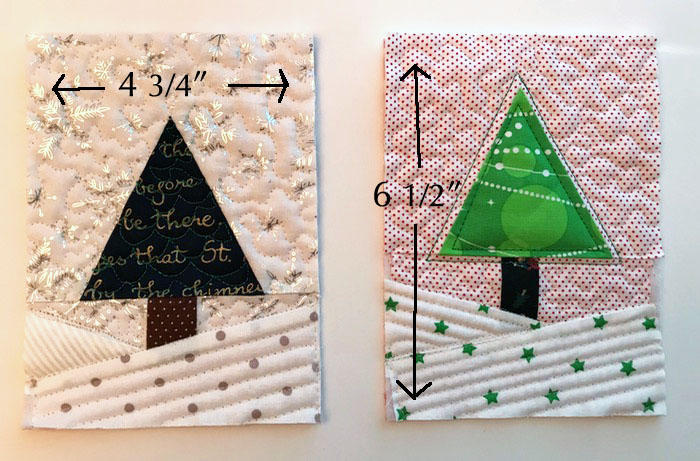
Now to add the snowdrifts on the little tree. On the left, I sort of place that wedge-shaped piece, determine the angle but flipping it up and down (on the right). When I have the angle I like, flip it back up so right sides are together, and stitch along the upper edge. Trim.
Repeat for lower snowdrift. Trim excess.
For the bigger tree, I added on 2″ strips to frame the tree. It needed something to jazz it up, so I got rid of the bottom strip on the pattern and just used strips all around.
Layer with batting and backing and quilt. I did a meander in the sky area around the trees, then some straight lines in the snowdrift on the teeny tree, and some straight lines in the frame around the bigger tree:
I also quilted some swirls in the center of the tree.
Time to trim. The teeny trees trim to 4-3/4″ by 6-1/2″ and the larger tree is trimmed to 8-3/4″ by 10-1/2.”
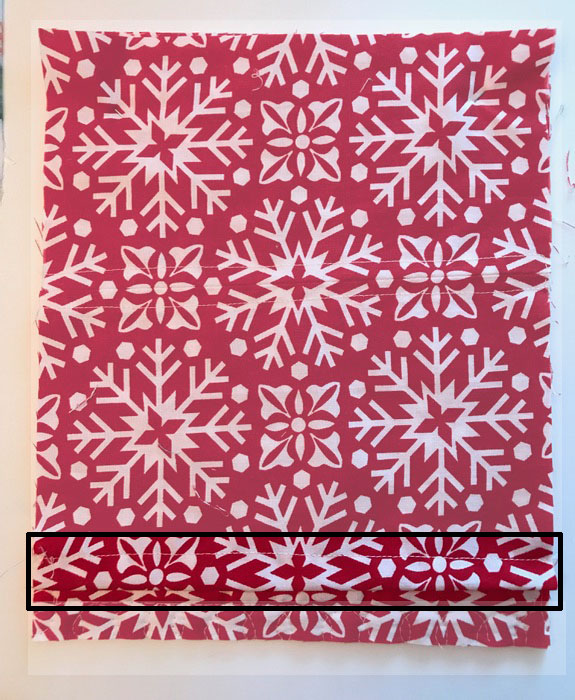
Make a sleeve for the back by cutting a piece the same size as the quilt top, but then hem the lower edge, turning it up twice and top-stitching. I know it’s hard to see in this print, but again, feel free to check out the other tutorials of tiny quilts.
I brought out my Blythe doll and one of my husband’s nutcrackers to pose by the quilts.
Looks like Blythe has the hots for the Santa skier. And here I thought she’d go for the more traditional guy:
He does look a little formal. Hmmm. Evidently not her type.
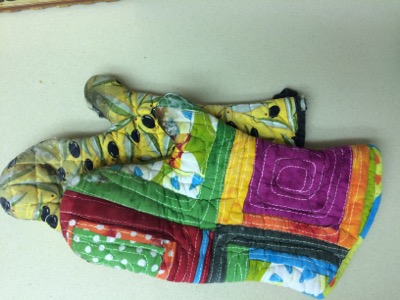
It was time. When I last made hot mitts, it was 2013 and now, many hot pans later, I was in desperate need of new hot mitts. Scary picture of old mitts, below.
I made it really small so you wouldn’t faint.
DON’T DOWNLOAD THIS for pattern!
So I looked up my tutorial about when I first made these oven hot mitts. I printed out the pattern at 100%, checking that picture of the ruler to make sure it matched 1″ on a real-life ruler. I taped the two parts together (shown above…again DON’T use that photo as your pattern!–refer to the tutorial), and set them aside.. Layer up the fabrics, according to the directions in that original post.
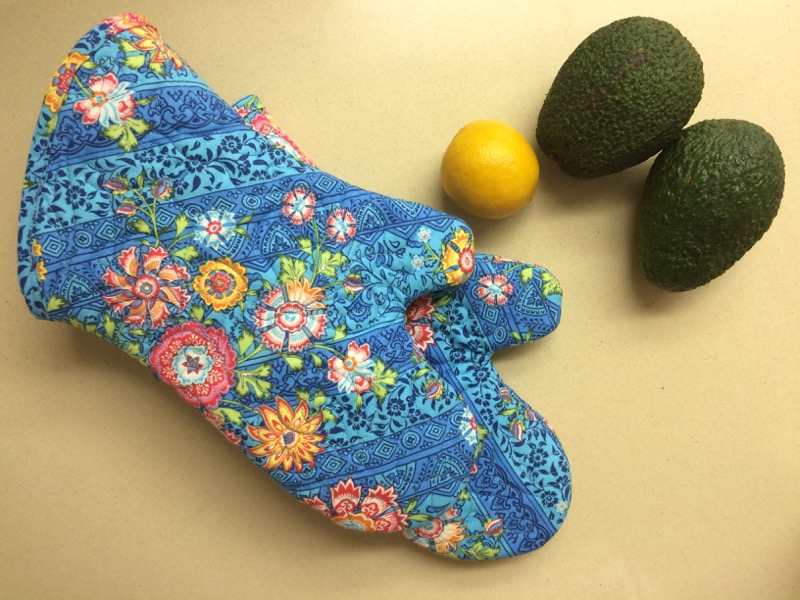
I chose my thread, using a variegated So Fine for the Amy Butler floral, and quilted the fabric layers together by just scribbling and swirling all over it. I’ve also used my walking foot and done straight lines. It really doesn’t matter what you do; just get those layers secured together.
I cut out enough for two mitts: that’s four hand-shaped pieces. Remember to reverse the pattern when cutting a pair (as shown in the top photo). Then it was make bias binding time.
I followed the instructions, as before (old picture, above), but if you need a more detailed refresher on how to make bias tape, head here, to the Dritz website.. (Or download their PDF file here, if that link doesn’t work: dritz-tutorial-how-use-bias-tape-maker)
I now have some handy-dandy new hot mitts. Reminder: they are a little big until you wash them a couple of times. I built in that shrinkage to the pattern.
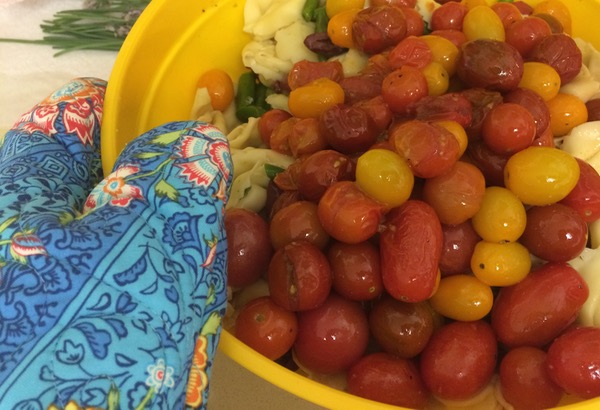
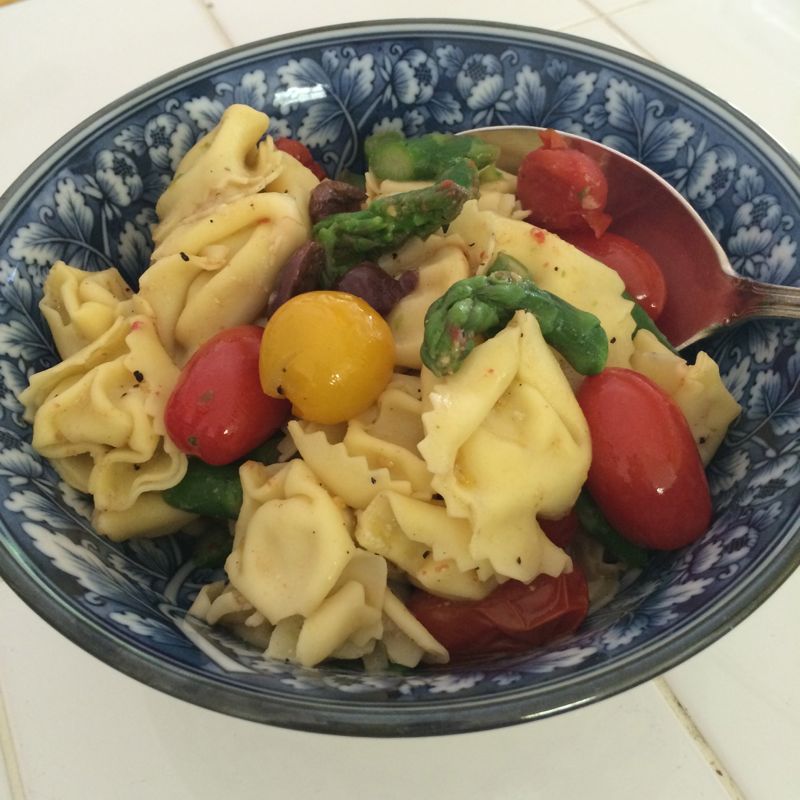
Mitts in action. Recipe is my go-to Summer Pasta Salad, found on ElizabethCooks.com, my recipe blog (see below).
Now I can cook in style.
The ongoing OPQuilt Summer Book Giveaway is still going on: you get a new book and I get more shelf space in my sewing room.
Here’s the total stack of books I’m giving away. The first two titles are lined out as they are all finished, and next up is the Denyse Schmidt book. I’ll let this one run until August 3rd, and will notify the winner by email. I’m letting you know what is coming up so you can either enter all the giveaways, or just the one you want. I’m still very happy to receive your comments, though! This week’s Intentional Piecing has been given, in accordance with the strict rules of the Husband Random Number Generator, to Andrea in Florida.
The penultimate Four-in-Art reveal for 2017 is coming up on Tuesday, with the Challenge of Stained Glass. Join us all then to see the quilts our group makes.
Leave me a comment below to enter the giveaway for this week.


















 I followed the instructions, as before (old picture, above), but if you need a more detailed refresher on how to make bias tape, head here, to the