Books · This-and-That · Tiny Quilts

Happy July 2019 • This and That!

Teeny Tiny Flag Quilt_3

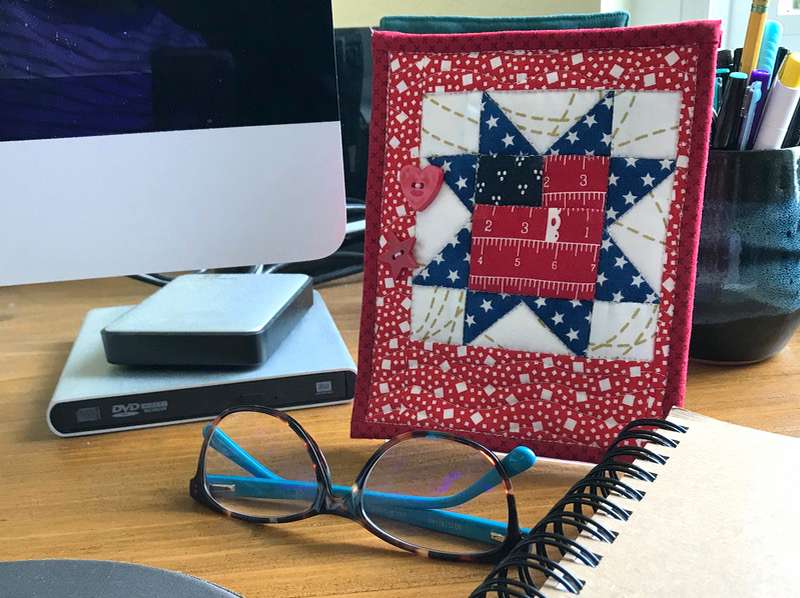
In this episode of This-and-That posts, I wanted to lead off with a little freebie for your Fourth of July: the instructions for a Teeny Tiny Flag quilt.  You can whip this up quickly, and it slips over a dimestore 4″ x 6″ acrylic frame.  I made one recently for a friend in the hospital: no flowers or balloons were allowed.  This brought some cheer to her stay as she loves red, white and blue.

Teeny Tiny Flag Quilt Illustration

I thought you might like the how-to’s, so download the PDF file (please re-download this new file–earlier this morning, there was a glitch):

Teeny Tiny Flag Quilt

I finished it off with some cute buttons.  For more Tiny quilts (and Teeny-Tiny quilts), visit the Tiny Quilts tab, above.

Sunday Best

Here’s a new favorite book of mine, Sunday Best Quilts, by Sherri L. McConnell and Corey Yoder.  Sherri and I have been friends for a while ever since we shared English assignments for the classes we were teaching, at two different community colleges in two different states.  I also appreciate her wonderful quilt designs, and have enjoyed her fabric lines (favorites are Bright Sun, Creekside and Front Porch).

I expect certain things out of books these days.  I’ve stopped buying everything that’s new as I was pretty burned out with what I call “vanity” books — a famous quilter gets a book and really, it was nothing new under the sun.  So now I am pretty selective about what I’ll add to my quilt library.  The book has to have 1) a new way of looking at familiar quilts, 2) a thorough (but not mansplained) direction section, and 3) great photographs, plus 4) the writing has to be pristine and readable, no small feat.

This book fulfills all four of those criteria. If you are looking for a new book to add, I can recommend this one.

Scissors and Negative People

Truth.

Guild Rummage Sale_3

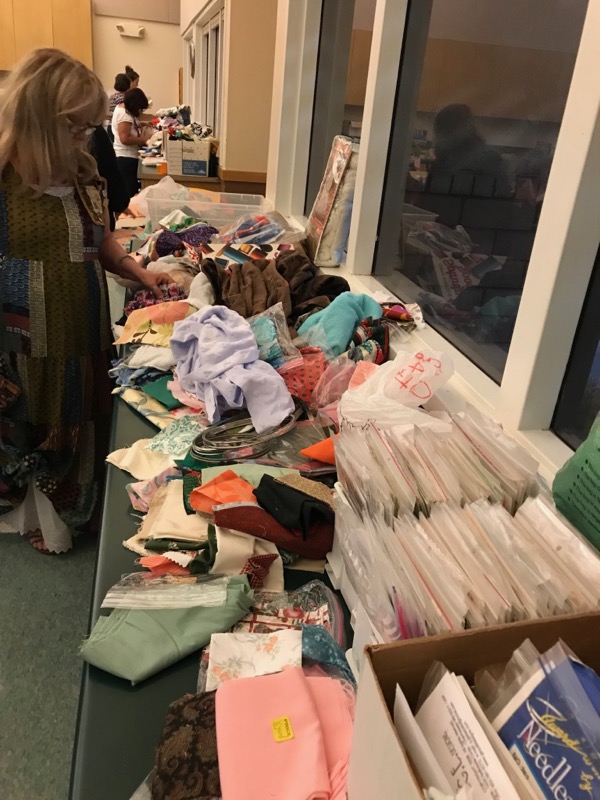
So our Guild had a rummage sale this month, well, really it was a Clean-Out-The-President’s-Sewing-Room/Garage sale.  Evidently people had been bringing her stuff for many years; husbands would call when their wives had moved to Assisted Living, and leftovers from classes all just sort of congregated in her garage.  Time for it all to go.
Guild Rummage Sale_2

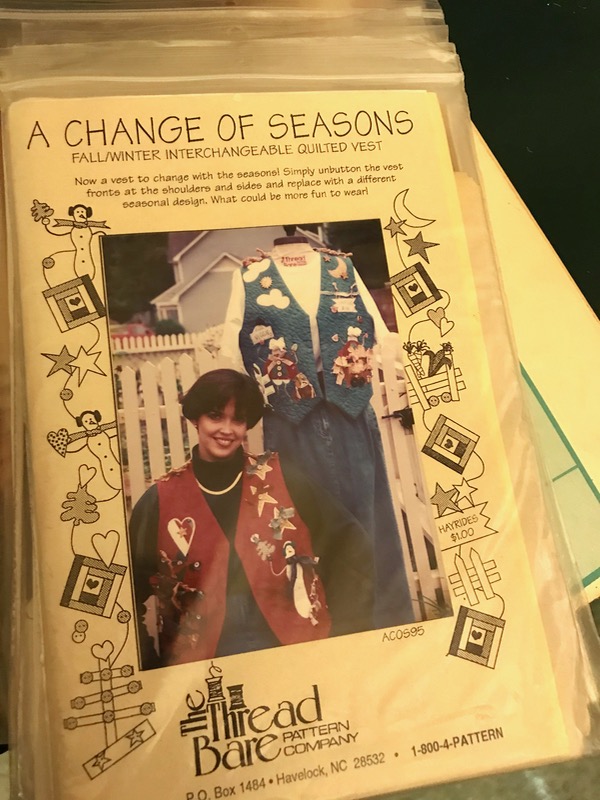
I am always fascinated by what quilters used to do Back in the Day.  Like these vests.  Did we really a) have haircuts like that, and b) dress like this?
Guild Rummage Sale_4

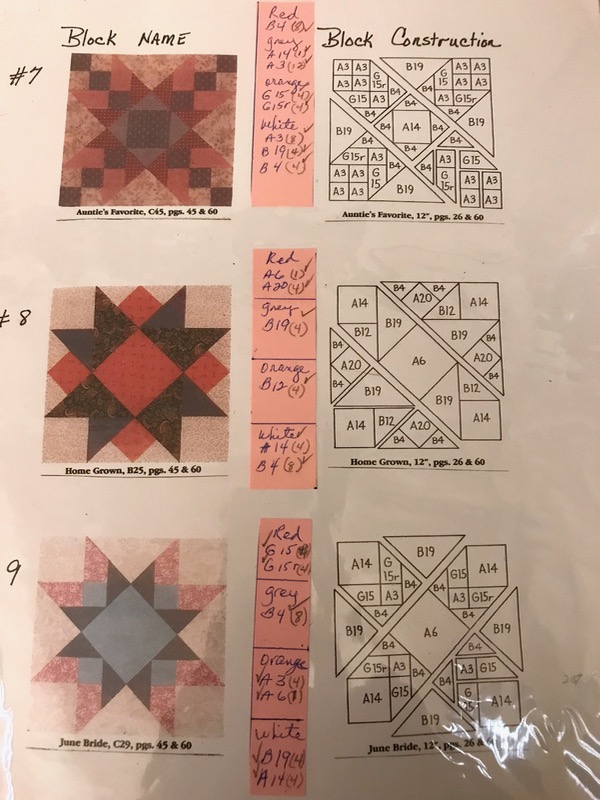
Another binder had templates with lots of code numbers on them, and then these illustrations.  I loved “Home Grown” #8, and think it would make a great block in a quilt.  No, I didn’t bring that one home.

Guild Rummage Sale_1

But I felt like I scored with this box of “vintage” magazines (really, they are just 20-30 years old–how is that vintage?).  I’d bought a few things here and there, stuffing my dollars in the Rummage Sale Jar, but at the end of the night, when so much was left, she said, “Take it all away!” So we did.

Ladybird Prep_2

I wanted to post some construction images from Ladybird, the quilt from the last post. At this point I was thinking: what am I doing? This was the quilting after the first day. I threw it on the spare bed and left it there for two days.

Ladybird Prep_3

Better.

Ladybird Prep_4

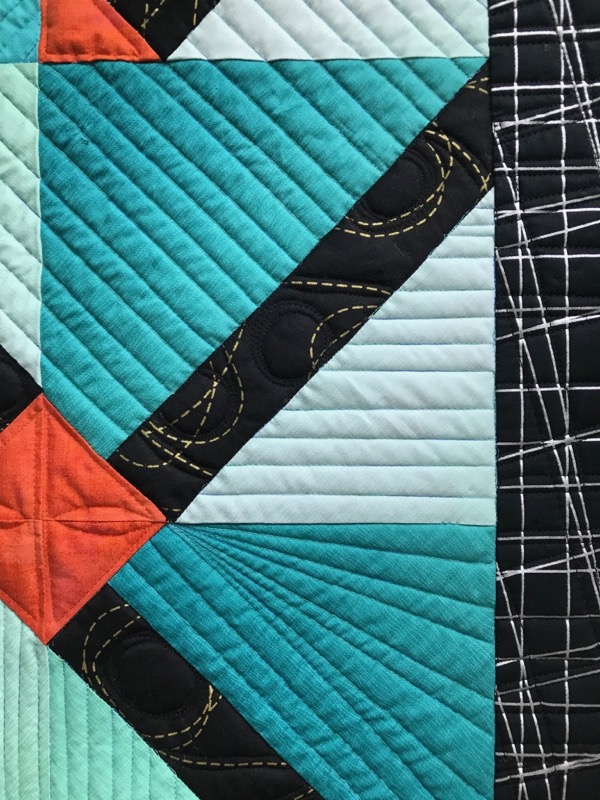
In the end, I was pretty happy with it, finding lots of ways to be creative with mostly straight lines.
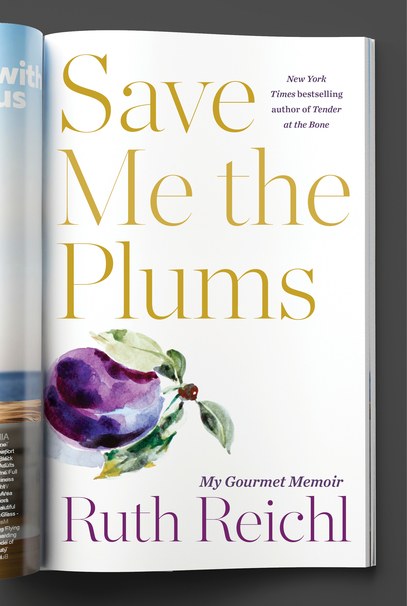
SAVE ME THE PLUMS -- cover

Finished this book.  I loved it and I’m not a New Yorker.

I had wanted to leave you with my larger flag quilt, all quilted and bound, but it didn’t happen.  So Happy Fourth of July, with a quilt top:

BetsysCreation_4thJuly

Long may it wave! (click to see it in action)
 

Free Quilt Pattern · Quick Quilt · Quilts

Bee Happy QAL Progress • June 2019

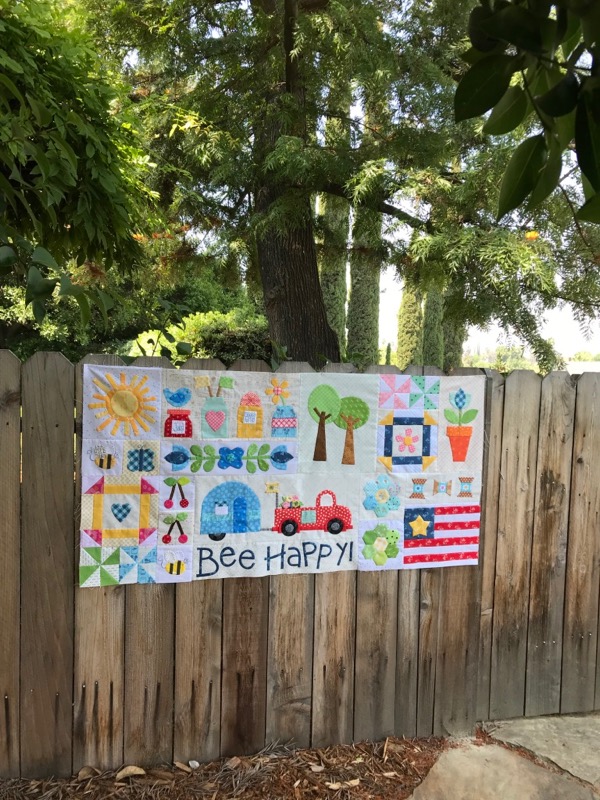
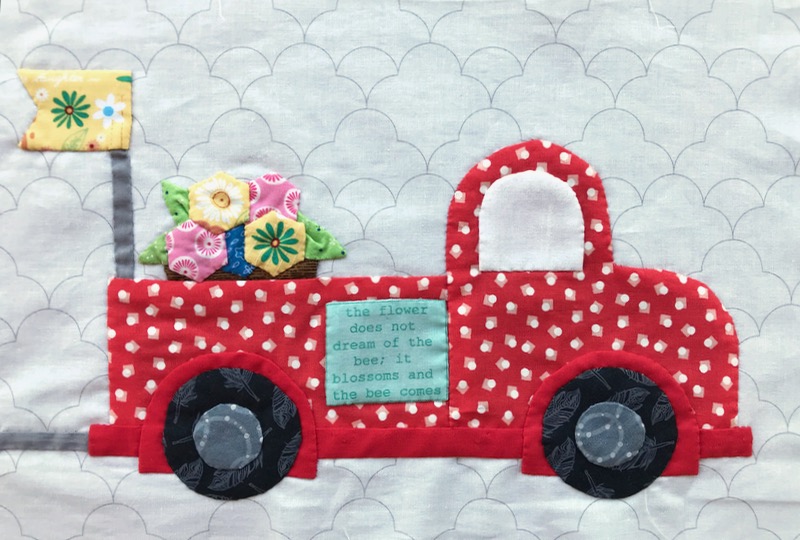
BeeHappy_June_1The wheeled devices in the So Very Cute Project I  lost my mind and decided to do are completed.  It’s nice to see it before it goes to a Time Out in my closet, so I can get some Real Quilting Work done.
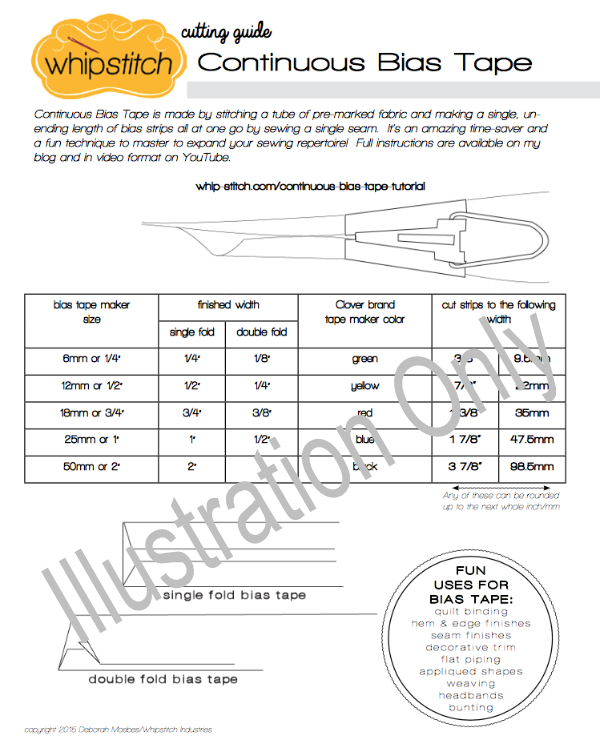
But before I tell you about the basket of flowers in the back of the truck, you need this chart from Whip Stitch:

WhipStitch Bias Tape Cutting Guide

Head to her website to read all about it, or download it here.  Trust me, you’ll want this, as the weensy little instructions with the Clover bias tape makers will drive you batty.

BeeHappySewAlong Logo.png

This is Lori Holt’s logo for this delightful project.  Notice the dog in the back of the truck.

BeeHappy_June_2

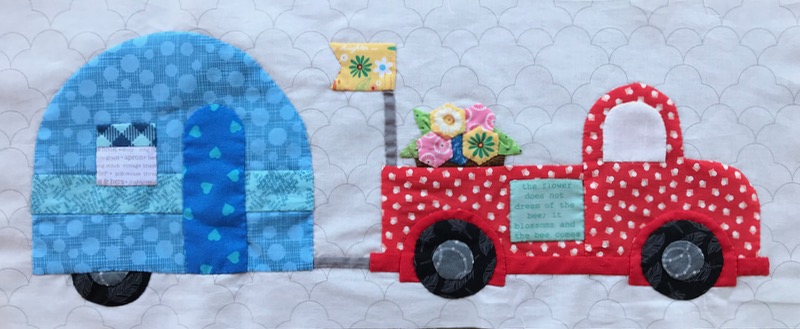
Notice how the people who live in my quilt realized that they needed the space in the back of the truck for hauling baskets of flowers.

Make 1/2″ mini-hexies for the flowers, fussy-cutting a couple. Cover some triangles, sized in relation to the flowers, then give each a pleat in the lower edge before sewing them on.  I used three “leaves” and five flowers.  I used the lower edge of piece D8 as a pattern for the basket, then turned it upside-down to get the wider edge at the top.

BeeHappy_June_3

It is really dense in that section, with the layering of fabric.  I’m one who cuts away from the back whatever I can to lighten it up for quilting:

BeeHappy_June_6
one more wheel to cut out
BeeHappy_June_7

The Guidesheet for this week can be found in the tab above, Bee Happy Tutorial Sheets, under Projects for 2020.
See you later, Bee Happy-Sew-Along-gator!

LadybirdQuilt_June13

I’m still working on this quilt, which I call Ladybird, because it reminds me of a ladybird beetle (sometimes called a Ladybug).

IMG_E6529

I finished the first book (long, but good) and am now onto another:

SAVE ME THE PLUMS -- cover
IMG_6832

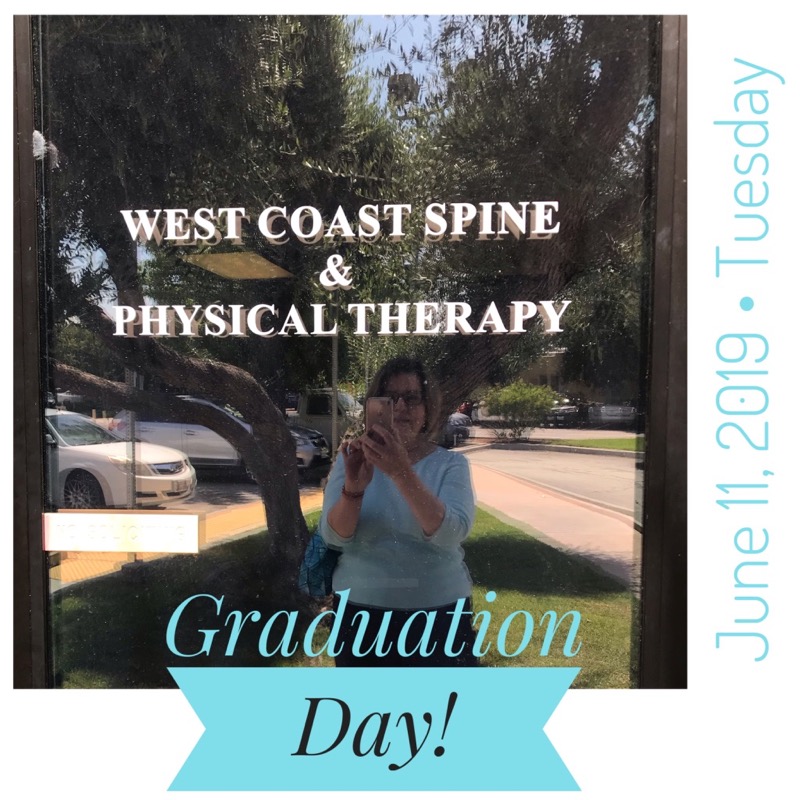
And this happened. Yes, no more PT. Now I’m getting ready for my project for tomorrow, Flag Day, the day when we find our rolled up flags in the front hall closet, and hang them out front, a prelude to the month of July, when it’s all red-white-blue all the time.

Betsys Creation Wallhanging

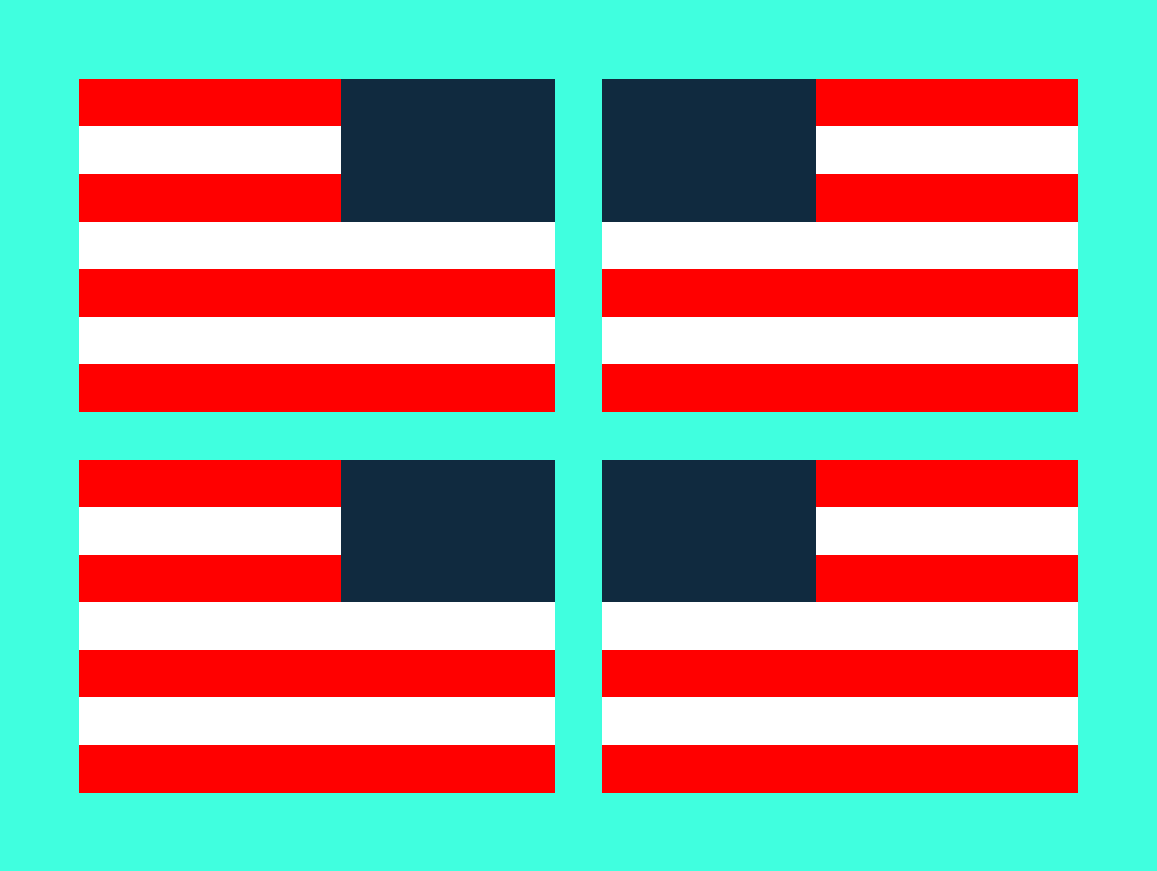
Okay, my wannabe flag quilt morphed into this flag-like wall hanging.  I say flag-like, because I read one Instagrammer say that she had to make another less flag-looking quilt because her family didn’t want to lay hers on the ground for picnics.

Flag wall hanging
Another version

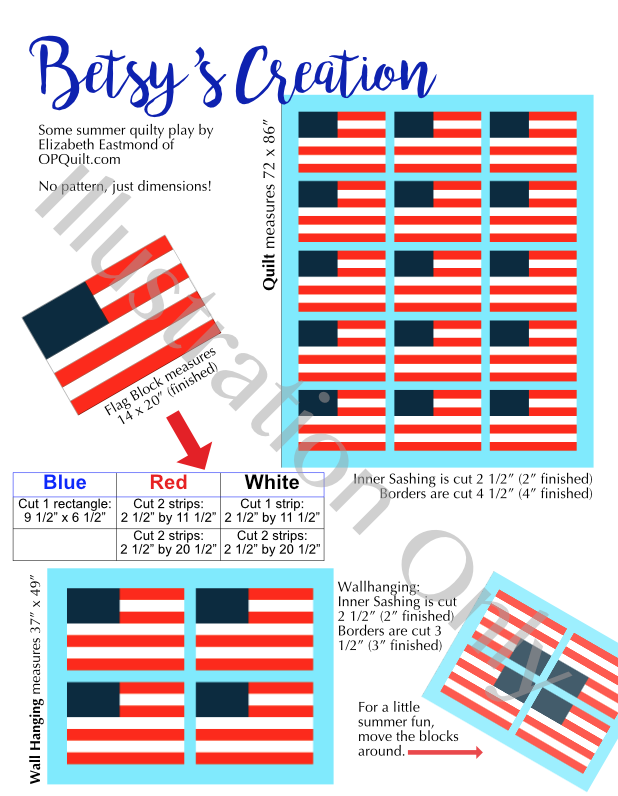
I opened up my QuiltPro program, guessed out the proportions and figured it out.  There is no pattern in my worksheet, because I do assume that you’ll figure out how to make this, if you really want to.  Again, if either of my arrangements bother you, make one that you like.  I was inspired by a lot of what I saw on this post from Quilt Inspiration, where you can find lots of free flag and flag-like quilts for your patriotric needs.
BetsysCreation_Illustration.png

Here’s my worksheet, with all the dimensions, in a downloadable PDF file:
Betsy’s Creation_OPQuilt I named it after the original creator of the flag: Betsy Ross.

Happy Flag Day!!

Vintage Flags.png
Free Quilt Pattern · Gridsters

Scrappy Radiant Star

scrappy radiant star_1

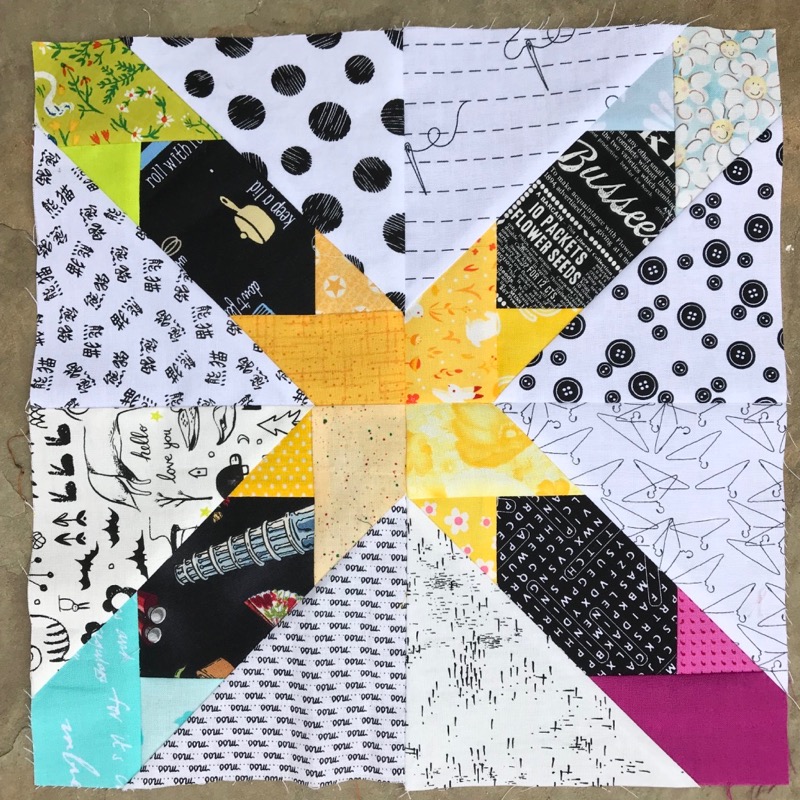
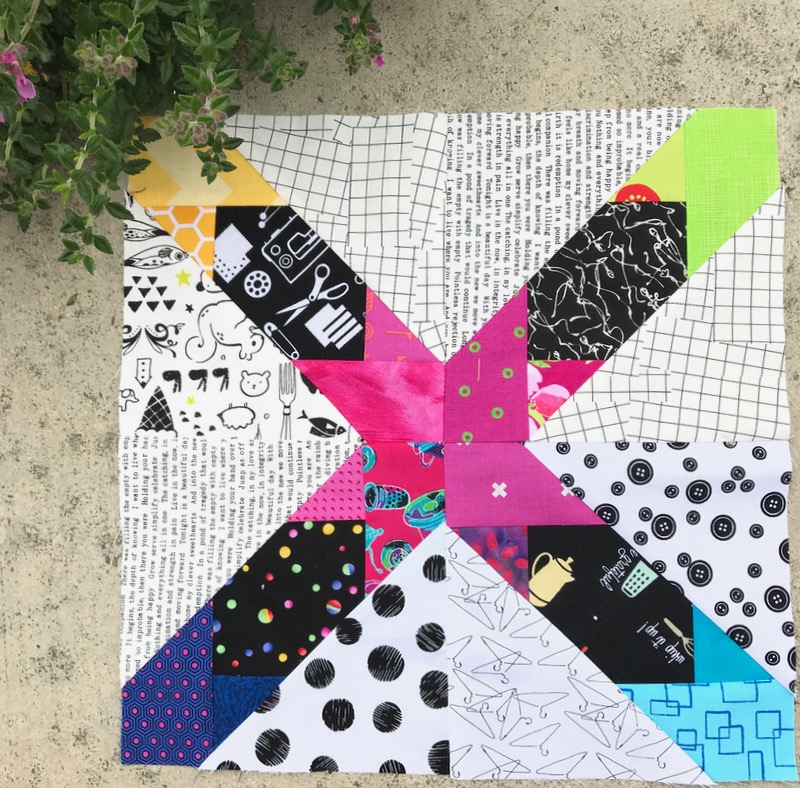
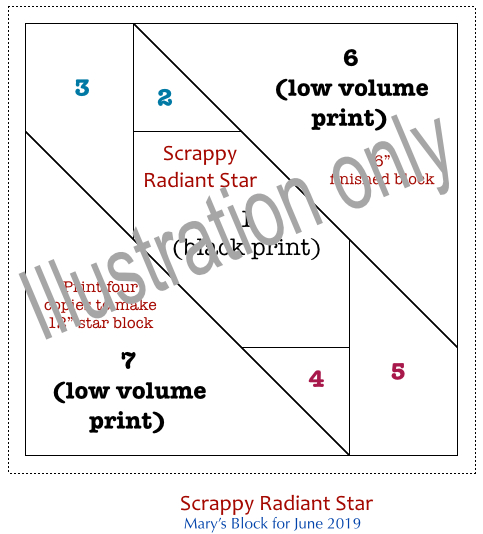
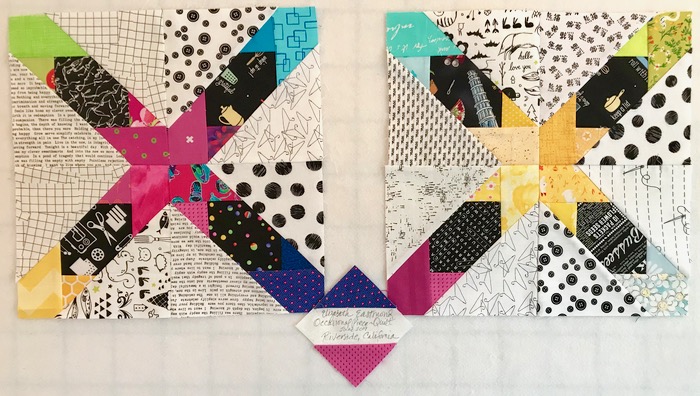
Mary, of NeedledMom, chose this block for her June turn as Queen Bee of the Gridsters.  Originally found on Wombat Quilts website as a free illustration, I redrew the block to Mary’s specified 6-inch (finished) size.  Four of these blocks are put together to make Mary’s larger 12-inch block.

scrappy radiant star_2

Scrappy Radiant Star Illustration

Click on the download PDF file here:

Scrappy Radiant Star

You’ll need four copies to make one 12-inch block, as shown below:

scrappy radiant star_4
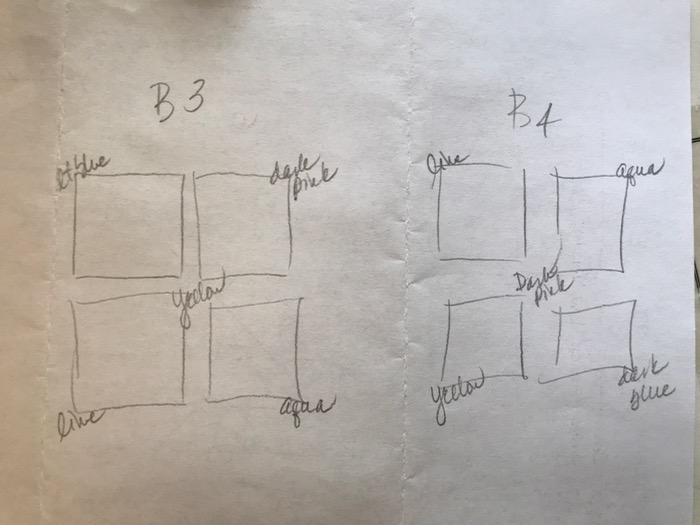
sketch I made to keep the colors organized

Notice there are FIVE colors per Mary’s larger block.  Four corners have the same color, which when sewn together make that center star.  But in looking at the way she designed it, the colors are to be distributed throughout the quilt.  You can see her initial thinking about this version on this blog post (where you’ll also get a glimpse into her gardens and cooking.  I love reading her blog).

Peek Marys Chart
Just a peek–download below.

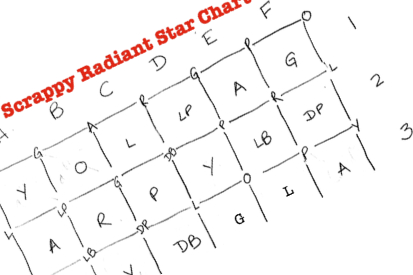
Mary gave me permission to post the chart she drew up to keep her ideas straight.  You can download this as a PDF:Mary’s Chart_ June Gridster Bee

You can see that she’s diagrammed the main stars (in the center), and the secondary stars in the corners.  We Gridsters each chose two blocks, identifying our choices using her coding on the sides and are now sending them to her.

scrappy radiant star_5

To further my tributes to Mary today, I’m making her bread recipe to go with my version of Italian Wedding Soup.

Have fun making these blocks!

Totes and Purses

Frida Kahlo Tote Bag Tutorial

Frida Bag_1

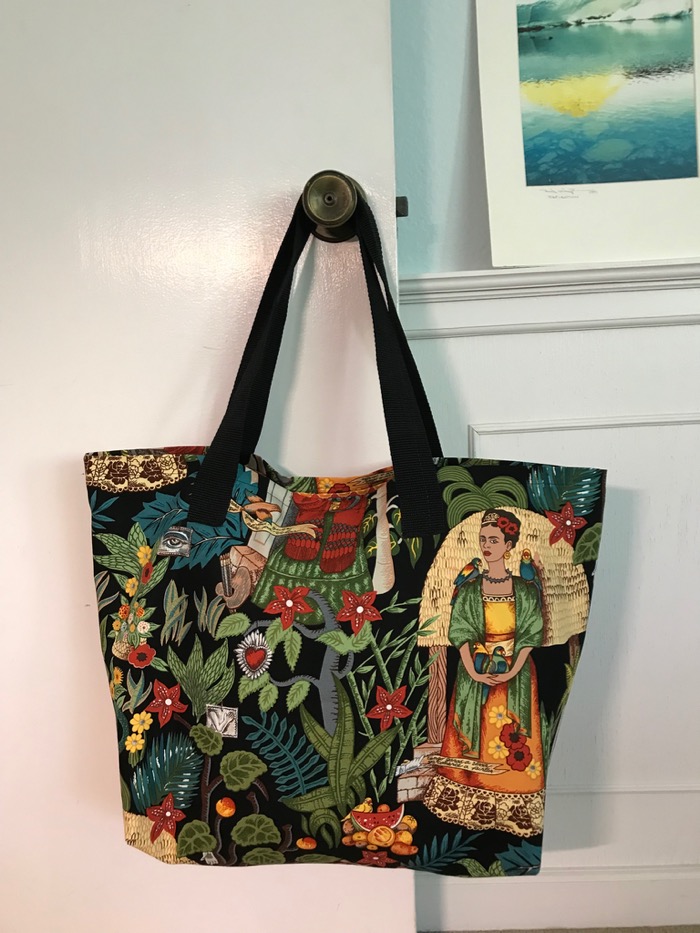
I recently had two birthdays to celebrate, that are near each other in the calendar.  I cut up my precious Frida Kahlo canvas fabric (made by Alexander Henry), yielding two bags from one yard.

So I wrote a little tutorial, for everyone should know how to make a bag out of fabric.  Hope this helps.

Frida Bag_Fabric Cutting

Do the same cutting with your chosen lining, trimming 2″ off the upper edge of the lining, as you want the lining to be slightly shorter than your Frida fabric.

Keeping Frida on her feet, seam the selvage sides Right Sides Together (RST), and then sew across the bottom.

Sew the lining bag sides, then across the bottom seam BUT LEAVE A 7″ OPENING IN THAT SEAM at the bottom of the bag.  You’ll need an opening later in this construction process, and leaving the bottom seam with a gap will later allow you to turn the bag.

Frida Bag_2

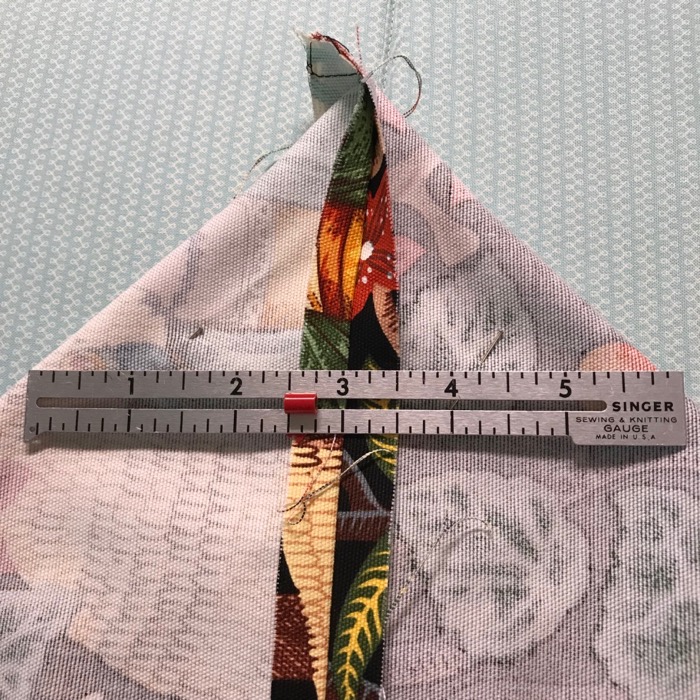
To make the bag have a flat bottom, you’ll line up the bottom seam with the side seam (where there wasn’t a seam, I pressed the side edge with my iron).  When you get them lined up, pin.  I went for a six-inch bag bottom, so I lined up the middle of my ruler along the seam, and drew a line.

Frida Bag_2a

You can see the faint pencil line here, on the lining. This is from the folded side of the bag, and you can see the ironed crease in the side, heading up to the point.

Frida Bag_2b

Stitch along that line, then 1/4″ away from that line, into the peaked corner.

Frida Bag_2c

Cut off the excess, leaving 1/4″ seam allowance.

Frida Bag Illus_2

Frida Bag Illus_2a

Frida Bag Illus_3

Matching the edges, stitch around the top of the bag using a 1/2″ seam.  Turn inside out through opening on bottom.  Line up the bottoms of the bag and lining, allowing the Frida fabric to roll over into the inside:

Frida Bag_3

I pressed the seam towards the lining fabric, into the bag.

Frida Bag_3a

Stitch in the ditch, just above the fold of the lining, using thread that matches the Frida fabric.

Frida Bag_3b

Stitch the opening in the lining bottom closed, by topstitching the two edges together.  It can also be done by hand with tiny stitches.

Frida Bag_4

Time for handles.  On the front of the bag, find the center (matching up sides).  Mark with a pin.  Each bag handle is placed 3-1/2″ from the center.

How long to cut the webbing?  It depends on your use and how tall you are.  I wanted these to go over my shoulder, yet stay off the ground when using the handles to carry, so after pinning it at different heights to try it out, I finally cut two pieces of webbing 27-1/2″ each.

Pin them to the bag, making sure each handle stays on the same side of the outside.  In other words, don’t attach one end to one side of the bag and one end to the other.  The bag handles should be attached the same side of your bag (otherwise it won’t open widely).

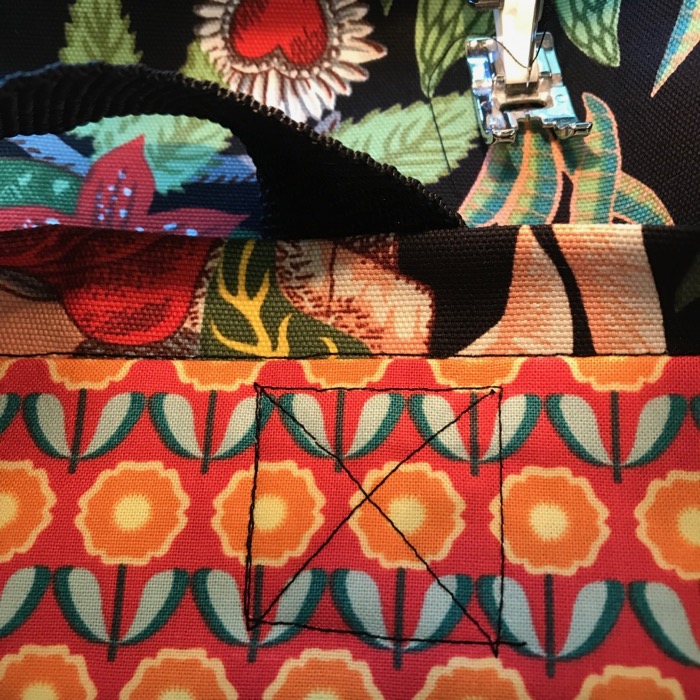
I placed the handles lower than the top edge of the bag, leaving an inch free.  I then sewed them down with a cross-in-a-box design:

Frida Bag_4a
Back, showing the stitching pattern for handles.
Frida Bag_5

Done!  I marked one side of the bag, so the user can find the “front” easily.  One has Frida’s Garden selvage label (shown above).

Frida Bag

The other one has a woven ribbon that says Ahali, which means “family relations.” (It’s for my sister.)

Now you have a quick tote, that is perfect for everyting, and because it’s lined, it’s sturdy and looks neat.  It took me a couple of hours from first cut, to this photo, for both bags, but having done this multiple times, I’m kind of fast at this sort of thing.  My grocery sack tutorial is a similar bag, but unlined. That site has a downloadable instruction page, if that works better for you.

tiny-nine-patches

I wanted to close out this post with a couple of photos from two women who attended my workshops.  It’s always a delight to see how others interpret the pattern.  If you have made one of my patterns, don’t hesitate to send me an photo!  You can also tag me on Instagram: @occasionapiecequilt.

Sheri MSquare
Merrion Square, version by Sheri
Charlotte HomeSHome
Home, Sweet Home, version by Charlotte