Sometime back I wrote about the Mid-Century Modern Bee and all the talented quilters there. I also mentioned my friend Anne of SpringLeaf studios and how she is a pattern designer and maker. This week she is having a giveaway of two of her patterns, and I thought you’d want to know.

The first one is Matrix, a beautiful quilt using bold and bright colors as well as soft-toned grays. It’s fun to make and easy too. Head to Anne’s blog to leave a comment and enter her giveaway for this pattern and where you can see other versions of this quilt (she is very thorough). Hurry! for the giveaway for a downloadable PDF version closes soon. You can also buy this in her Craftsy shop if you want (info is on her blog).
 The other quilt pattern she is releasing is Offset. Our group test-drove block patterns for her in the early stages of development, so it’s fun to see both of these patterns. Head over to her Offset Giveaway to leave a comment and enter your name to win one of her patterns.
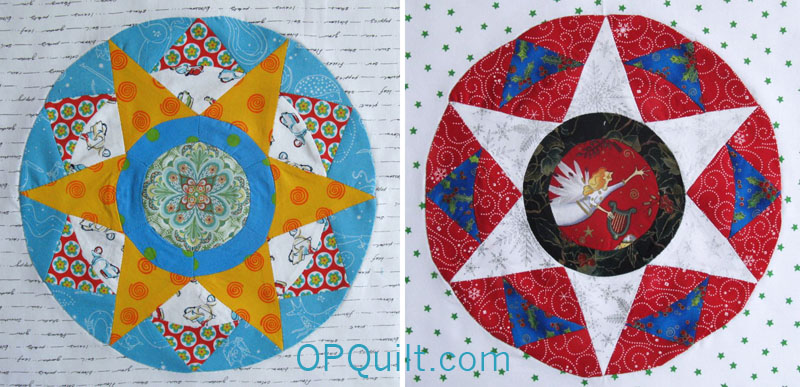
 I’ve sewn Anne’s patterns before and she is a ‘cut above’ in the pattern designing market. She writes clearly and makes her illustrations easy to follow with clear directions. I also like the “extras” she puts in her patterns, and it was from her pattern Facets that I finally perfected the miter when I end my binding. Again, you need to hurry! to get in on the giveaway–head over to SpringLeaf Studios and have a look around!