Maybe there is more of the magical in the idea of a door than in the door itself. It’s always a matter of going through into something else. But
while some doors lead to cathedrals arching up overhead like stormy skies and some to sumptuous auditoriums and some to caves of nuclear monsters
most just yield a bathroom or a closet. Still, the image of a door is liminal, passing from one place into another one state to the other, boundaries
and promises and threats. Inside to outside, light into dark, dark into light, cold into warm, known into strange, safe into terror, wind
into stillness, silence into noise or music. We slice our life into segments by rituals, each a door to a presumed new phase. We see
ourselves progressing from room to room perhaps dragging our toys along until the last door opens and we pass at last into was.
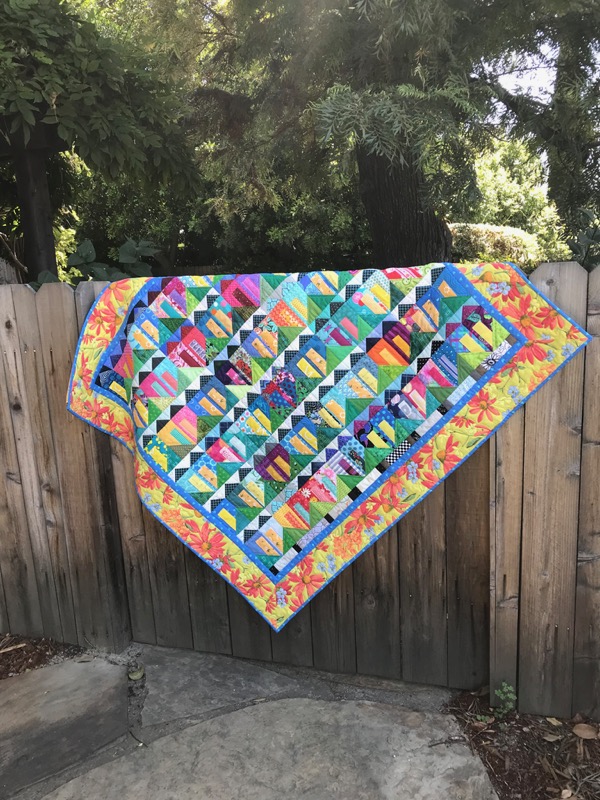
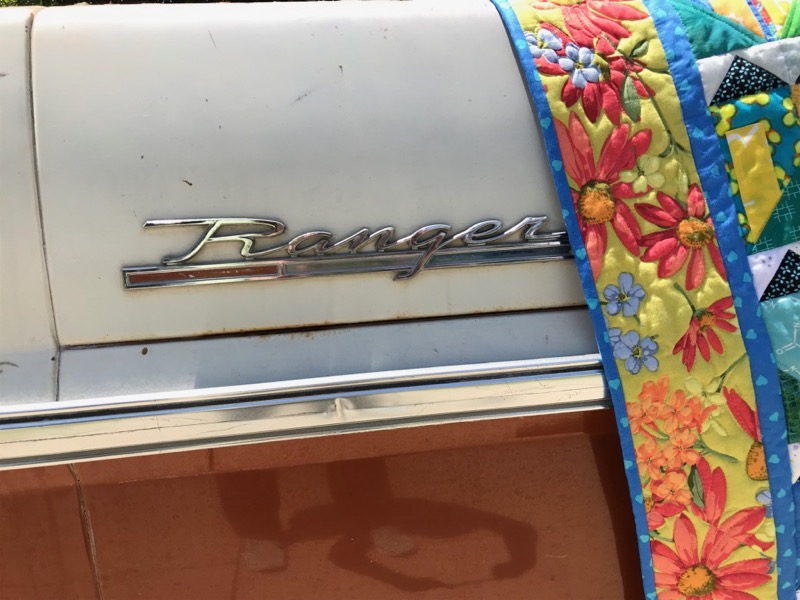
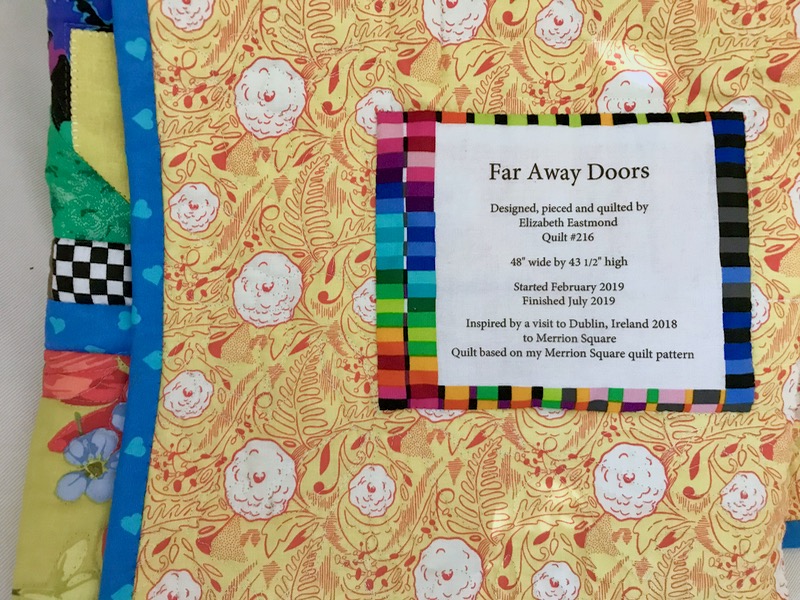
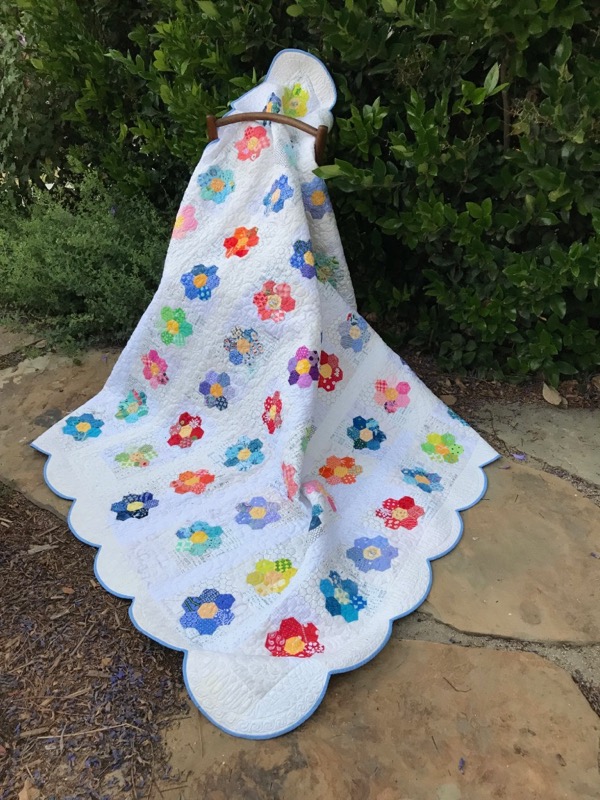
Far Away Doors Quilt No. 216 • 49 1/2″ wide by 43 1/2″ tall Some blocks sent to me by the Gridsters Bee
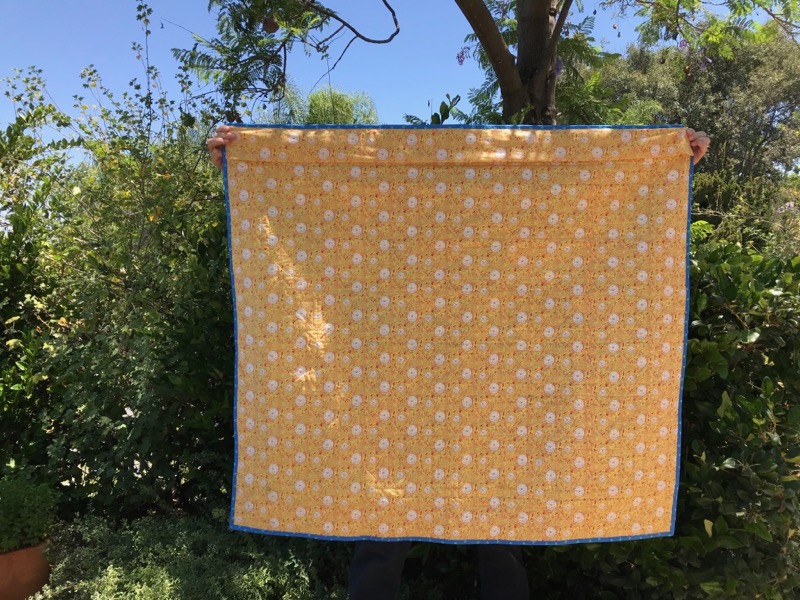
Finished!
I originally named it “Home-keeping Hearts” but that was just its milk name as it had just been born and I was in a cheezy mood of Hearts and Deep Meanings and All That. Marge Piercy said it best about doors, even quilty ones inspired by far away doors from Dublin, Ireland:
“the image of a door is liminal, / passing from one place into another / one state to the other, boundaries // and promises and threats. Inside / to outside, light into dark, dark into / light, cold into warm, known into / strange, safe into terror, wind // into stillness, silence into noise / or music.”
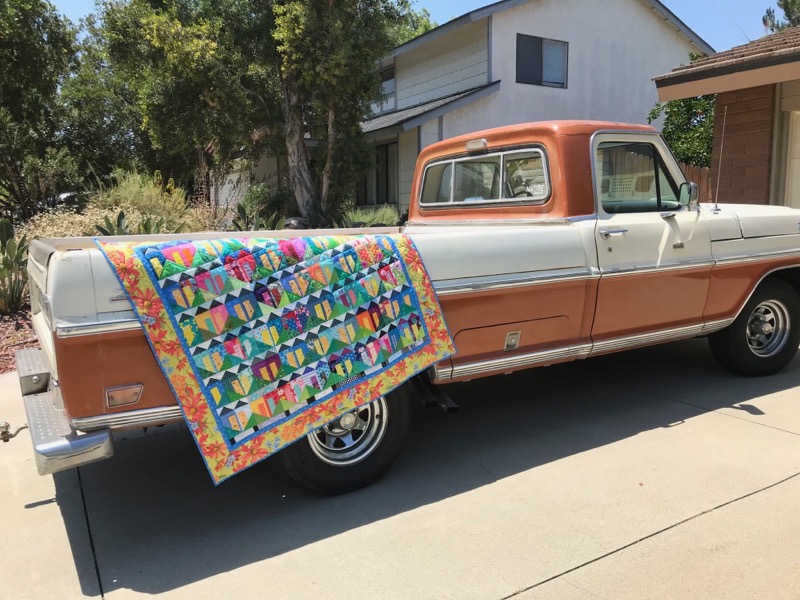
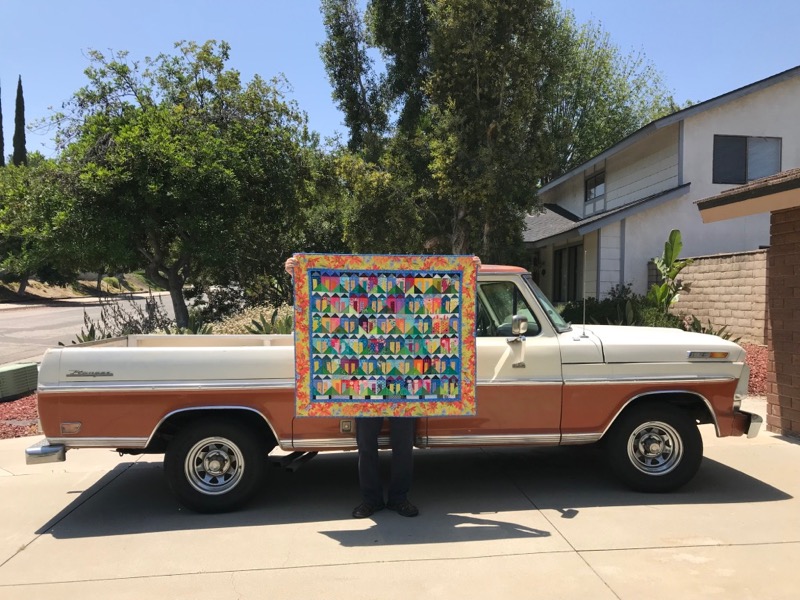
The photograph on the truck? It went like this: on our way to get some Vietnamese bùn châ for lunch, we trekked down to our newest neighbors’ home to ask if we could please pose the quilt on their cool car, and so I knocked on their door and it opened to a crying baby in the other room and a smiling baby in his father’s arms and good-natured parents, owners of a new-to-them truck and the mother’s name was Genesis and the father’s name was Nate and we introduced ourselves and they said yes, of course, and then they headed back inside because it was about a hundred degrees outside, as they smiled and waved and shut the door behind them, the lovely music of a home with a young family and a Ford Ranger just made for quilt posing.
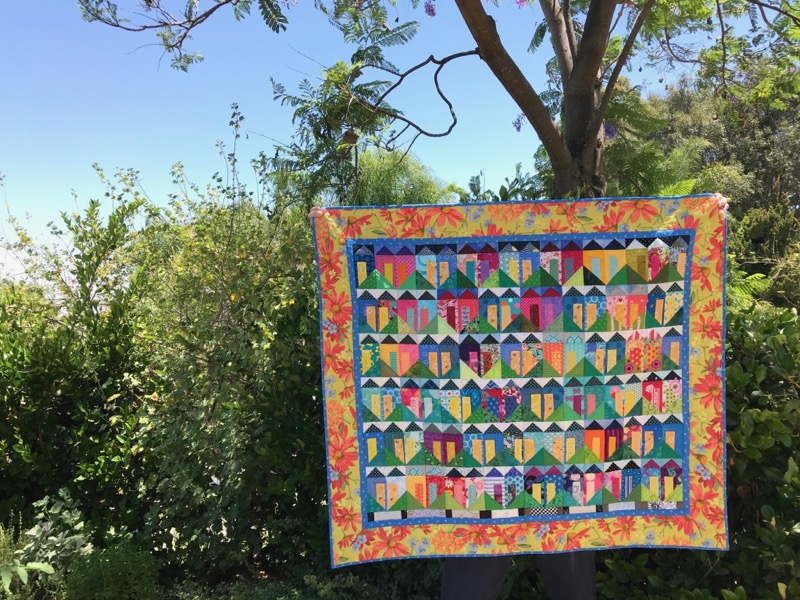
And so, this variation of Merrion Square is finished. I pass out the how-to sheet as a freebie when people take my Merrion Square classes, so hopefully you’ll be in one soon. Check my schedule to see if there’s a workshop near you.
And finally, many thanks to all who entered the giveaway for the ruler. The winner has been notified by email and I’ll get the ruler off to her this week. I am leaving the post up because there are so many great responses to my question. You are all a significantly talented and experienced group of quilters — thank you for your ruler advice!
When I teach,often there seems a disconnect between what rulers students have and what rulers they need. So I thought I’d write a post talking about the basics that I wish everyone could have. [And while I’m at it, rotary cutters need a mention, too. The largest I’d recommend in a classroom size is 45mm, for a variety of reasons. I think the larger ones are less helpful, and sometimes even dangerous.]
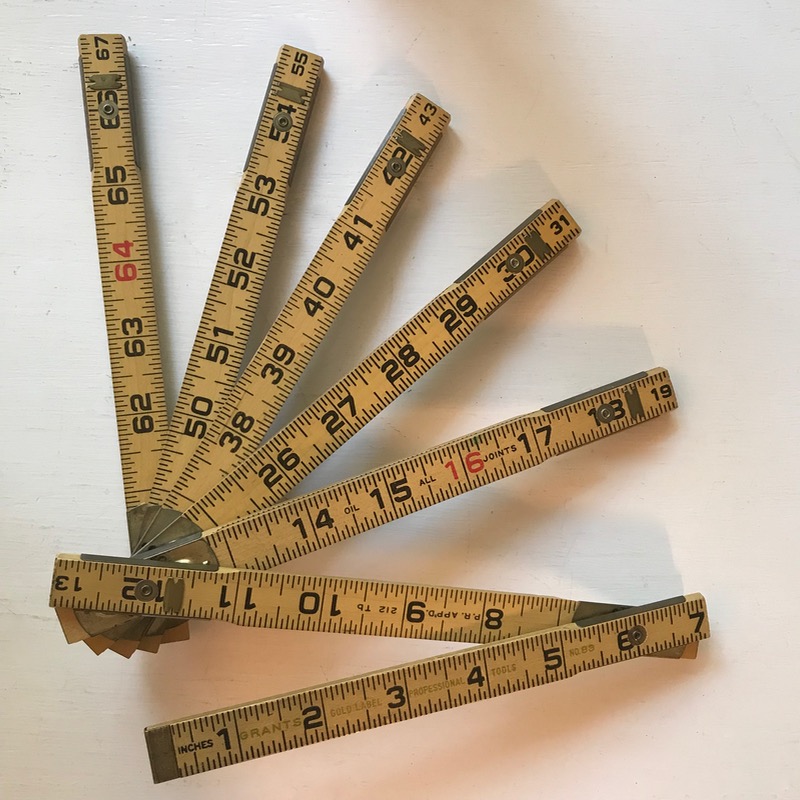
I use this folding carpenter’s ruler when measuring the width and length of quilts.
I got started on my ruler fetish honestly, when a mild-mannered shop owner named Carolyn hosted weekly class based on making a sampler quilt. And every week, she’d hold up a new ruler saying that we needed this to make the block that week. My friend Leisa and I would exchange glances, knowing that Carolyn was a Ruler Enabler of the Worst Kind: she made it so necessary, that you just knew you couldn’t go on without it. Because of this, I’ve used a ton of different rulers, and have two drawers and bin full of those plexiglass gridded items.
Tips:
Please don’t buy the cheap rulers. Take your time to accumulate these, and buy sturdy rulers, as too thin rulers can warp out of shape.
Buy rulers that have some sort of coating on the back, preventing slippage.
Please buy rulers that have accurate measurements on them, and enough gridlines on them.
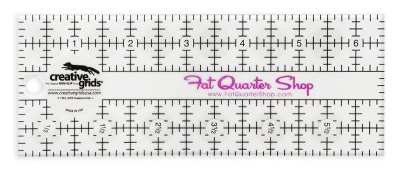
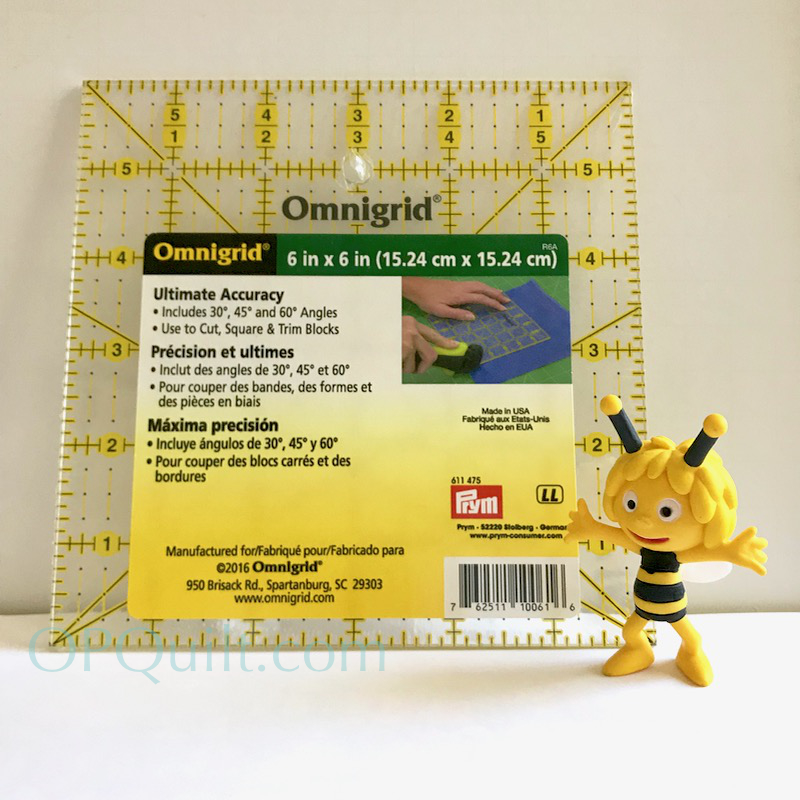
I am not partial to any one brand, but I did notice that most of my rulers seem to be from Creative Grids, Omnigrid, and Olfa.
I wish every student, every quilter had these basics:
6″ x 24″ ruler
What it’s used for: large initial cuts off yardage, long narrow cuts of yardage
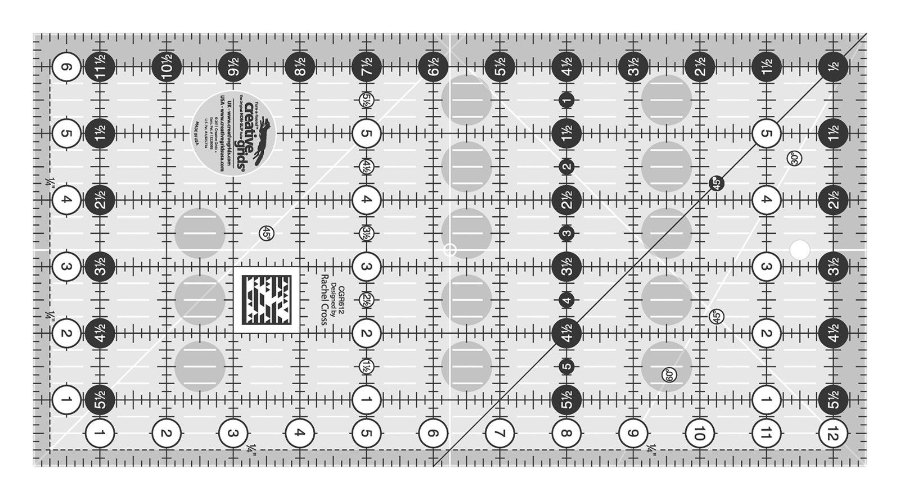
6.5 x 12.5″ ruler
What it’s used for: when working in a smaller space (some classrooms are beyond tiny, and some of our sewing spaces are too), it’s useful to fold the fabric to get the longer cuts. Also good for truing up smaller parts of blocks. Good for even-ing up sewn sections.
Caveat: some people hate having that extra 1/2″ on the edges of their ruler. I got used to it and appreciate it, but for some, it can be distracting.
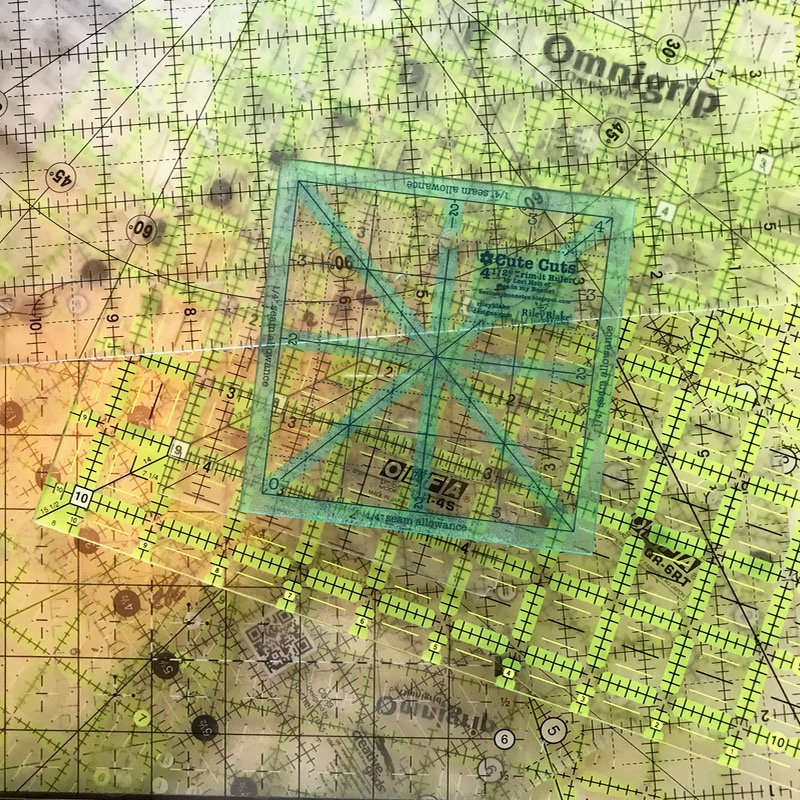
Small square ruler
With this size, you can rule the world. You don’t need specialty Flying Geese rulers, if you know how to use this. The small one is easy to flip around, when truing up blocks, and easy to use to cut smaller shapes, when scrap sewing.
Square rulers, ranging from 6.5″ – 9.5″ – 12.5″
What it’s used for: I use the 6.5 the most, as I believe in truing up sections of a block before sewing it together. But the other sizes are great for truing up larger blocks, helping you trim your corner of quilt borders evenly. One day I even purchased a 16.5″ gigantor square ruler, and believe it or not, I do use it more than I thought I would.
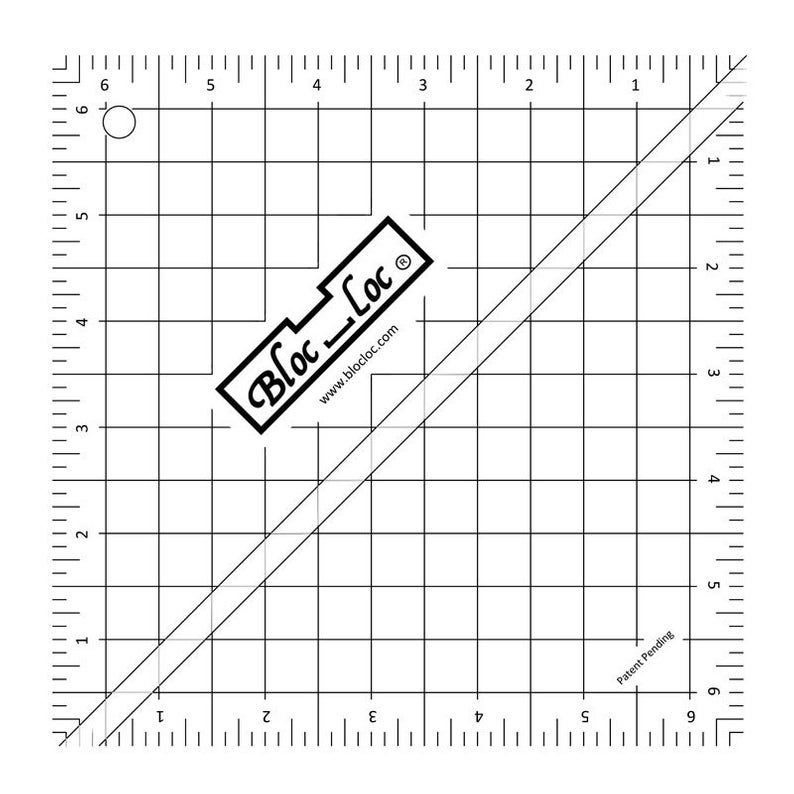
Bloc-Loc ruler for trimming up Half Square Triangles
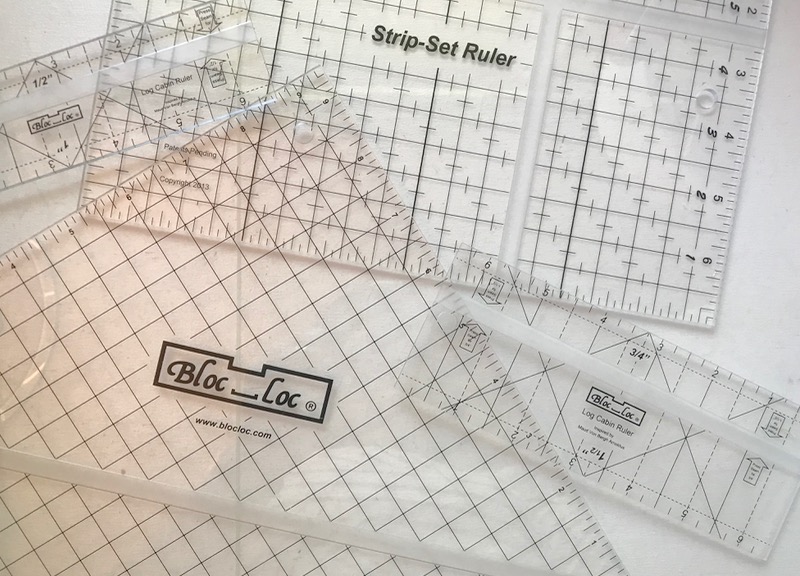
What it’s used for: Keeping your sanity when truing up HSTs. They are expensive and I rarely see them on sale. I’d start with a 6.5″ BlocLoc and invest from there. Here are some of the others I’ve picked up over the years:
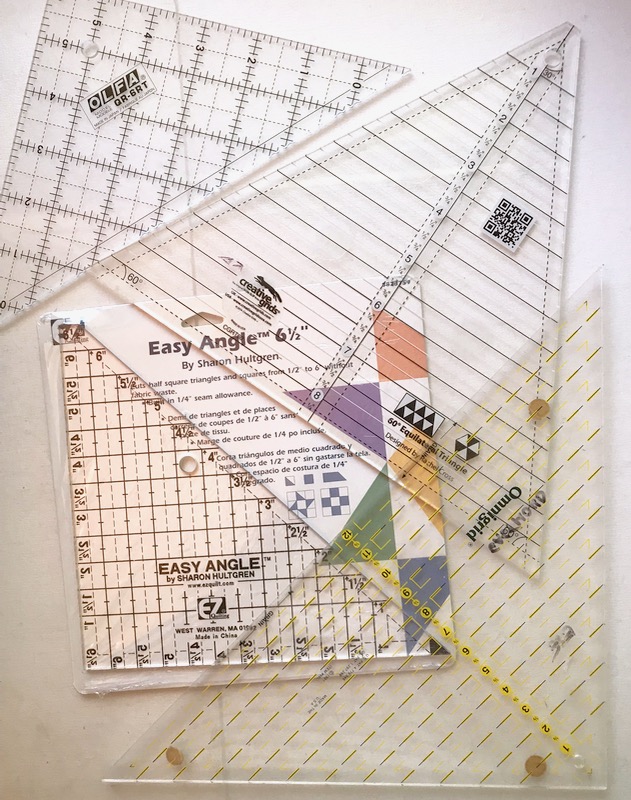
Specialty Rulers I think should be in your stash:
A few of my angle rulers
30-60-90 ruler
Some times, for some patterns, you need one of these, like when you make Annularity.
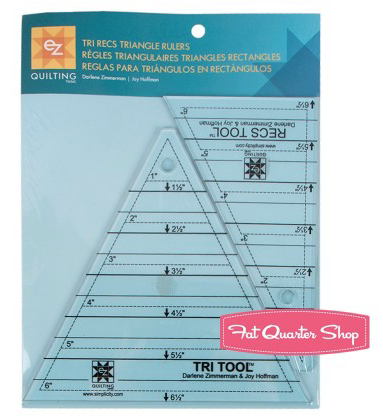
Tri-Recs ruler
If you are a traditional quilter, or jump in on one of Bonnie Hunter’s Thanksgiving Quilt-A-Longs, you may find yourself needing one of these one day.
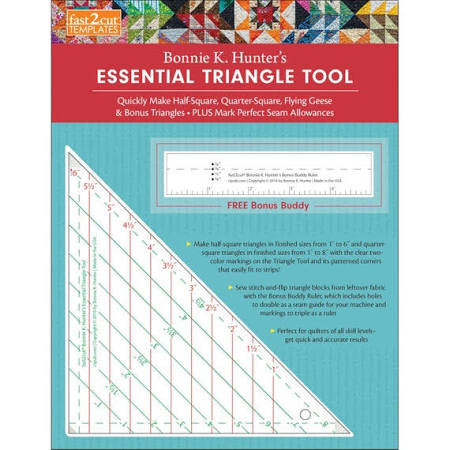
Bonnie Hunter’s Essential Triangle Ruler
I only purchased this because she said I would need it. Since then, I ‘ve used it a ton of times in making triangles, and now I consider it one of my go-to rulers.
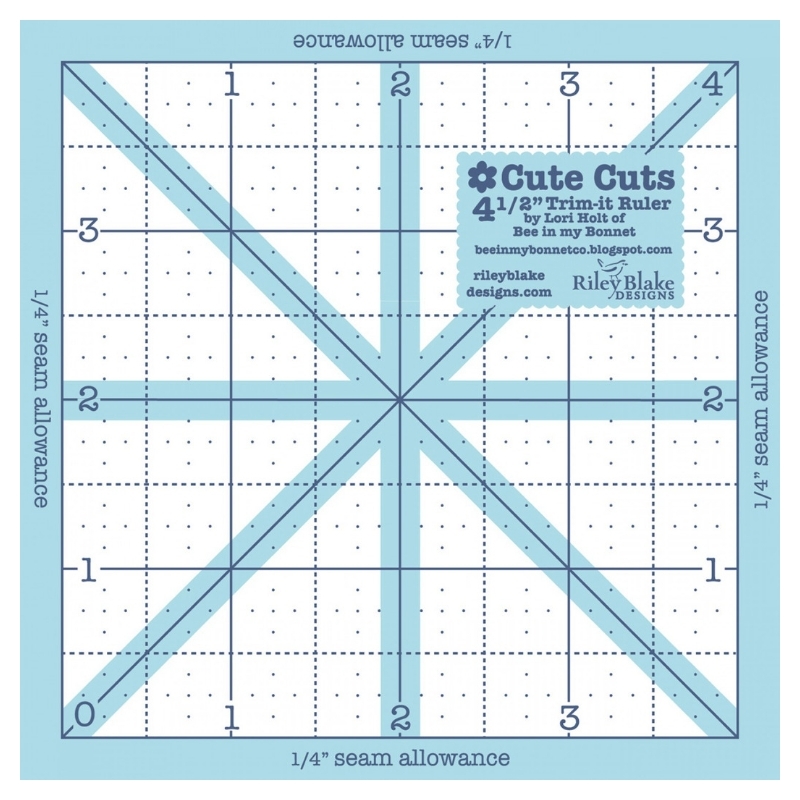
Lori Holt’s 4.5″ Trim Up Ruler. Careful. You can go broke on these, as she has them in every size from newborn to old age. I have only the 4.5″ and the 8.5″ But what makes these unique is that is is a form of a “centering ruler,” a tool I had to purchase when I studied Clothing and Textiles in college (and which I still use today).
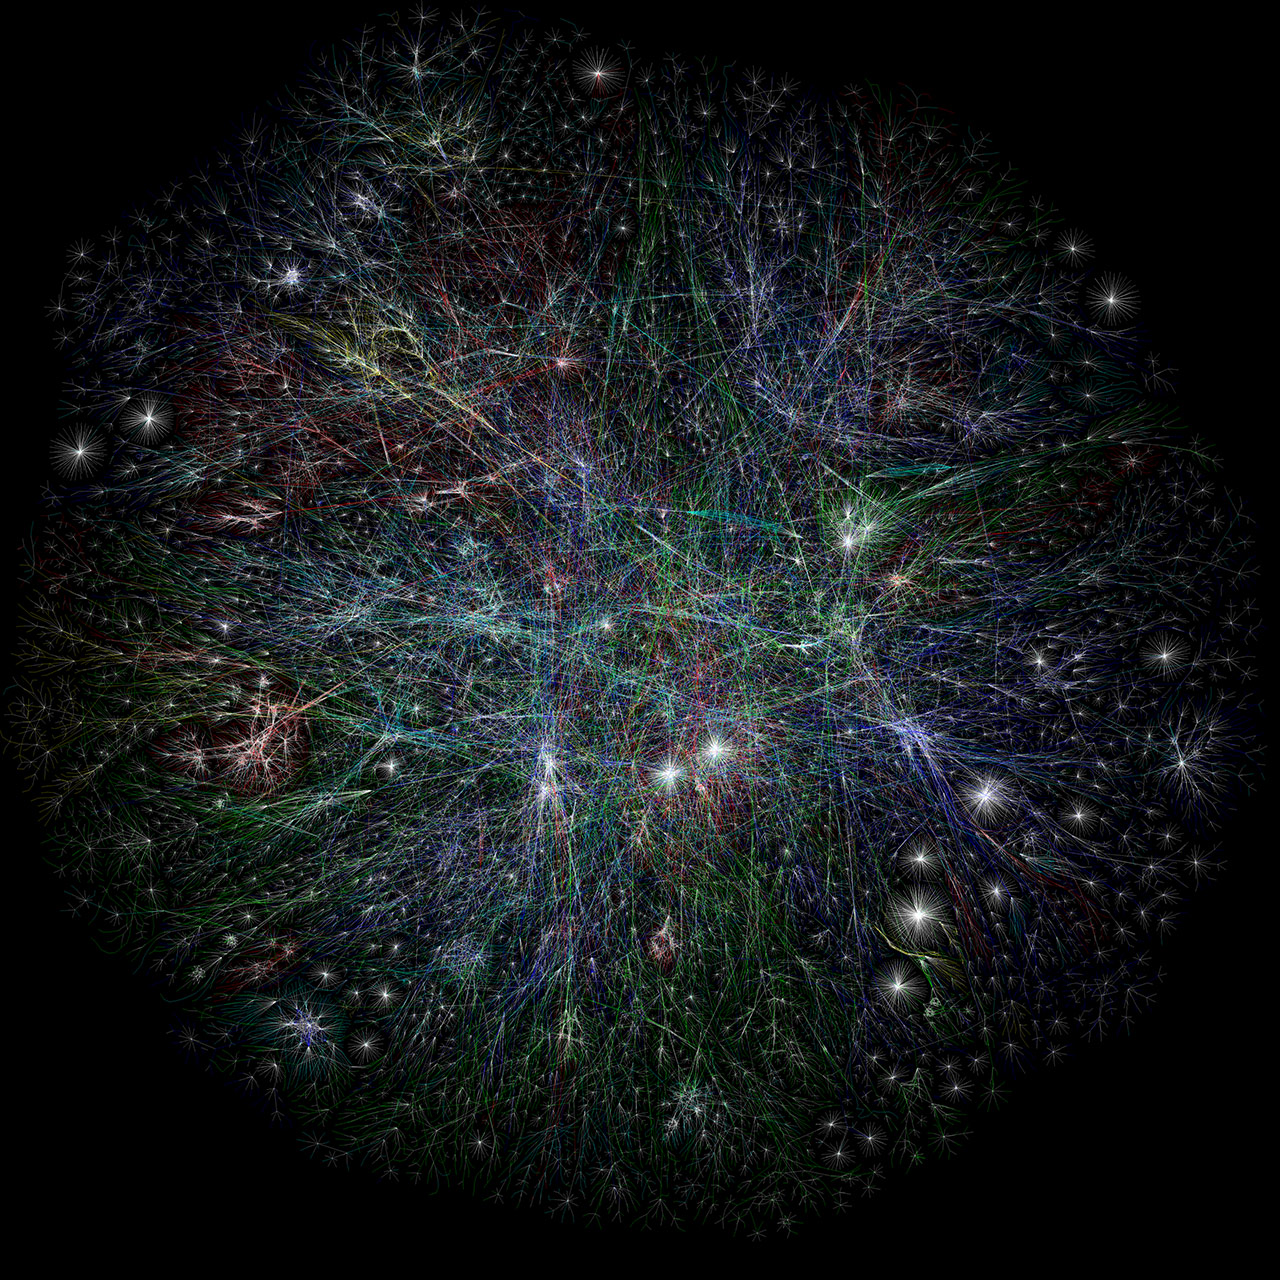
classic visual map of the internet, image can be attributed to artist Barrett Lyon
Lately I’ve been irritated by the Internets. And by blogs, although I’m someone who still reads them, someone who still writes them, and still thinks the longer form is useful.
This post is divided into parts.
All is not well in Blogland, and like the song from Music Man where he sings about Trouble and it means the new billiard table in town, our trouble is the concept of “monetize.” It can be lucrative to place ads on blogs, and I have no problem if a blogger wants to make some cash. Money is always good, and hey, it’s their blog.
But I do get irritated when some of the ads have positively gotten out of hand, so much so that ads pop up on top of pictures, intrude on the blogger’s writing, and blink and pop across content. Some of the ads are disgusting (see below for examples), with that creepy crawly worms thing the worst. Because of this, I had stopped reading some blogs, but in the end, I liked the quilter and what they did, so had to find new ways to read.
Using a Reader to read blogs
So I started by using a reader. I subscribe directly to some blogs, and their post notifications come directly into my emailbox. But I don’t want all my blogs to come there. A reader will gather all your reading into one list, and can categorize the blogs (I read both ways). One well-known reader in quiltland is Bloglovin’ but I have moved over to Feedly.com.
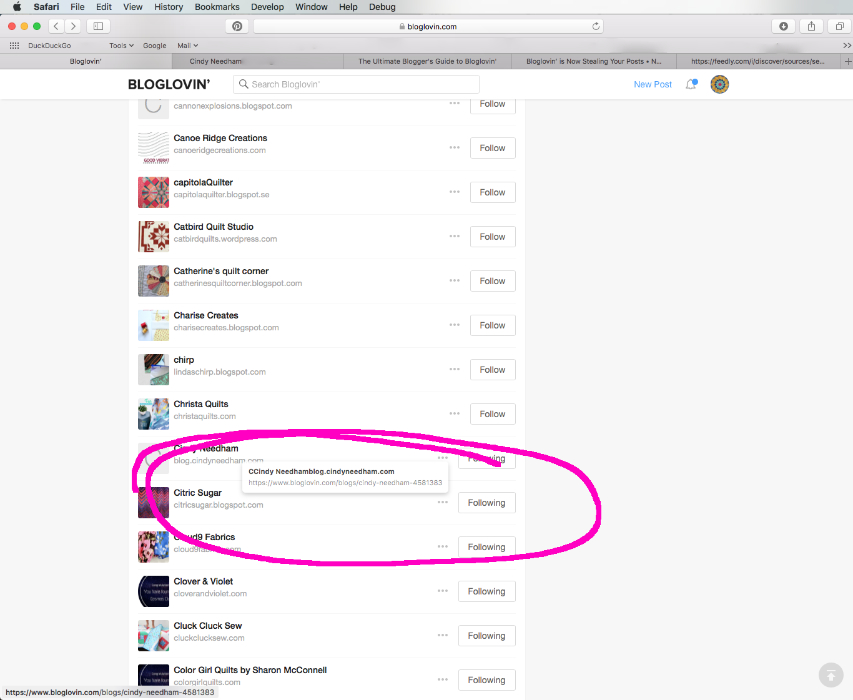
I used to use Bloglovin’ a lot, but I found it frustrating at how many clicks I had to use to get the blog to leave a comment (I love a good conversation). And then I started noticing this:
They won’t send you to the blog, they send you somewhere in their universe, which as a blog writer, is not helpful news. It means a reader might might never actually visit a blog, to see the layout, the way the blogger has designed their space. Some writers believe that Bloglovin’ has taken content (without permission) for their in-house blog, broadcasting it on their website. The blogger-who-wrote-it will not see any of these comments. Yes, this has happened to me, and frankly, it’s kind of weird, like somebody stole my content. They will link back to me, but it’s after the fact, so that if I’m not on top of it backstage, I will never know it happened.
So I said, I’m done, and left them for Feedly.
opening pages
I never log in with Facebook, instead setting up an account using my email.
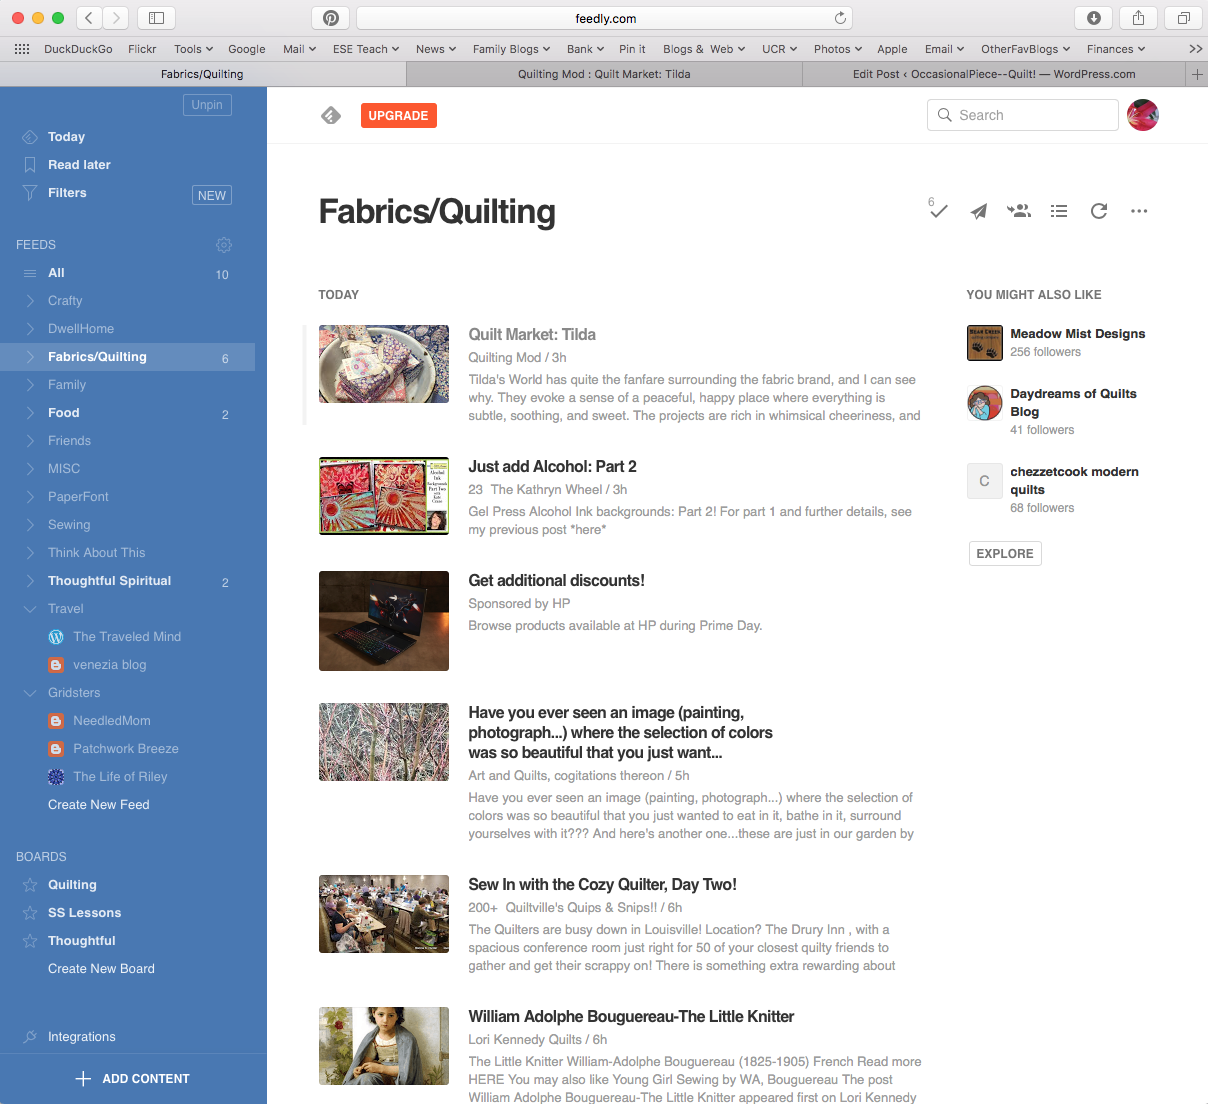
This is what I see when my Feedly page pops up, with the category Fabrics/Quilting highlighted. I chose the magazine view, but you could also choose a list view. It allows me to read the first few lines of any blog post, and then decide if I want to expand it. I find I am actually reading more of my colleagues’ posts this way, as I also don’t lose them in the deluge of emails.
The blogs I added (see the very bottom left: +ADD CONTENT to add the blogs you want), I arranged by categories. The numbers show the unread blogs.
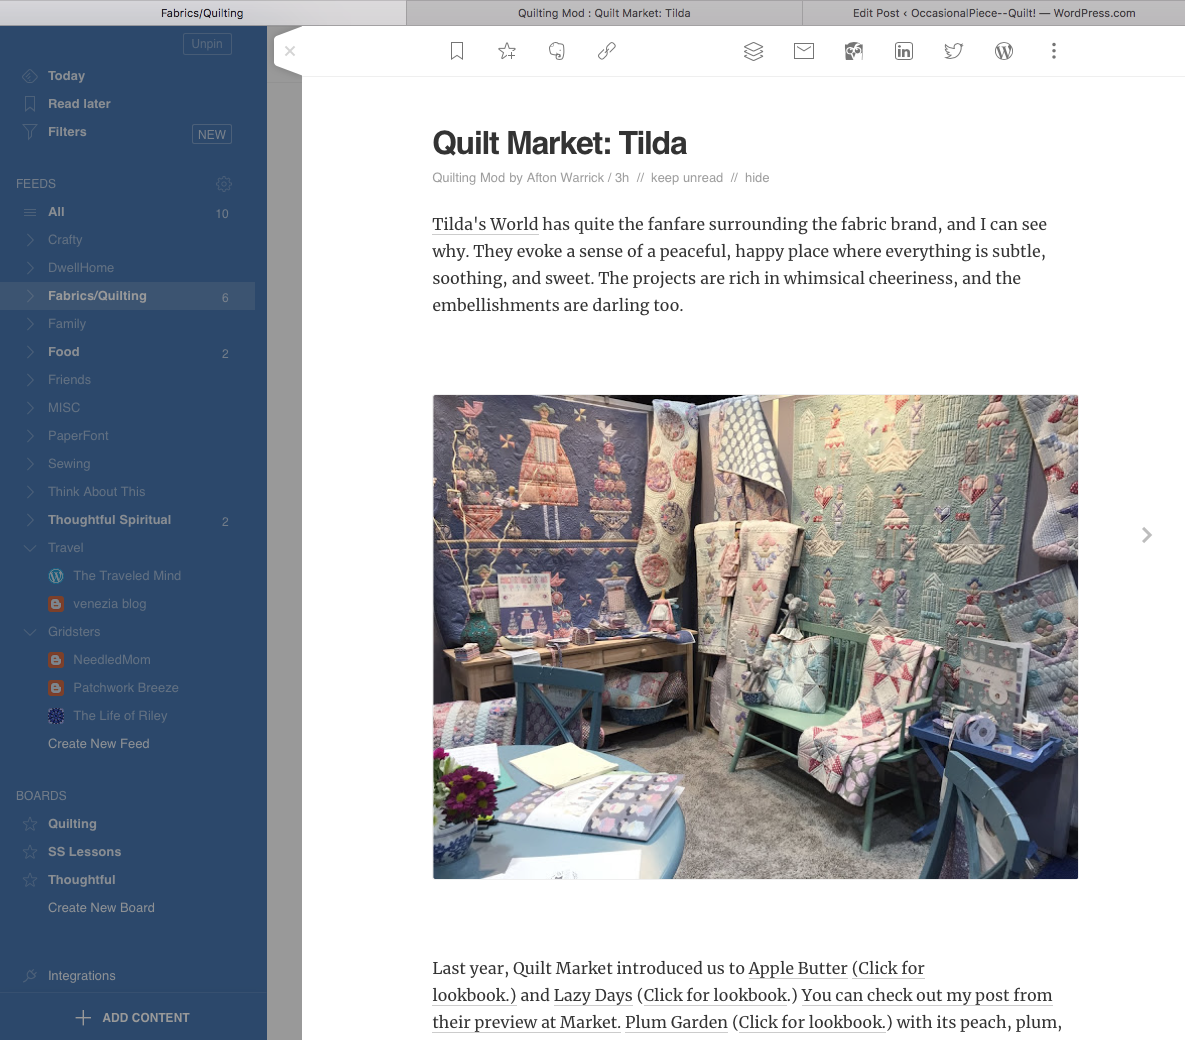
Here’s Afton’s Quilting Mod, as an example. I clicked on it from my list and the full blog shows up. I scroll through and read it, then decide I want to leave a comment.
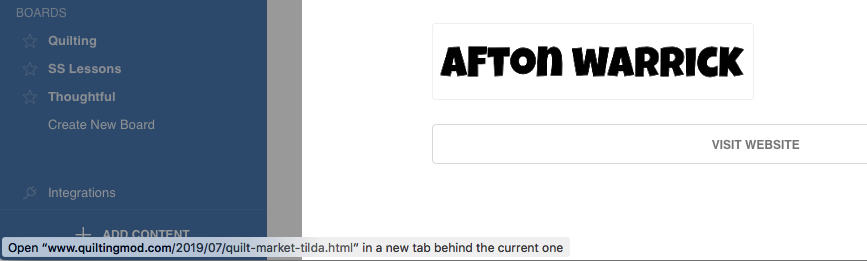
At the bottom of the page, I click on VISIT WEBSITE, and I’m sent to her blog in a new window in a new tab (although this preference can be changed). Notice the address that shows up in the lower left — I’m referred directly to Afton’s blog to leave a comment, a real plus.
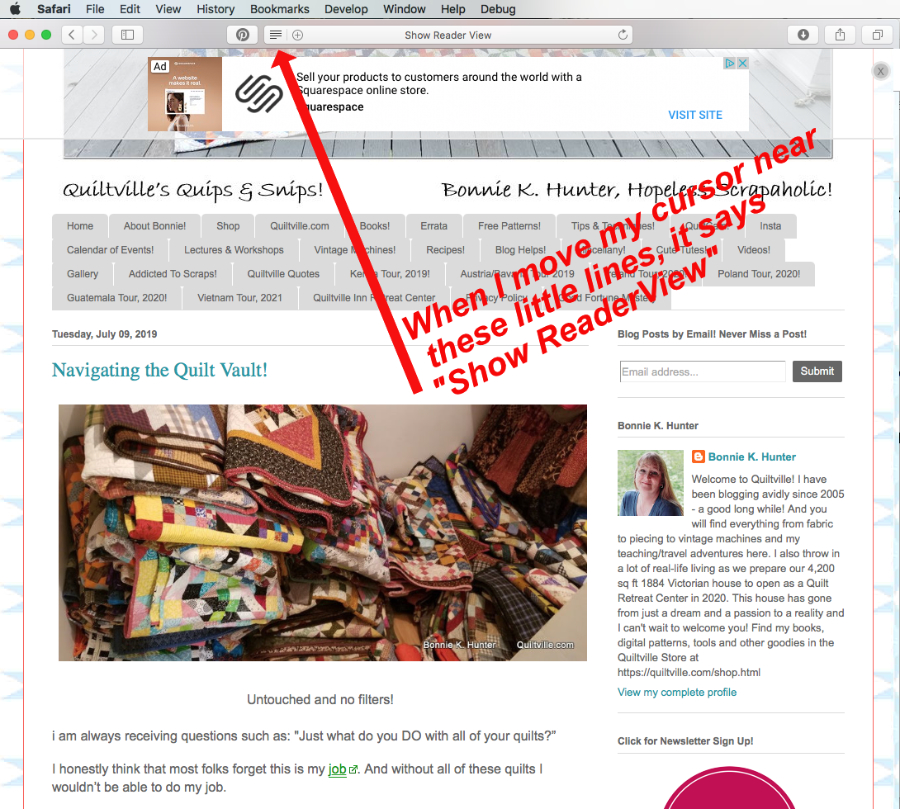
Using the Reader View in your browser to make posts easier to read.
Sometimes I’m not in my Feedly, and have clicked on one of my ad-filled blogs. So I use the Reader View. Safari has always had this, and now Firefox has it too. First, Safari.
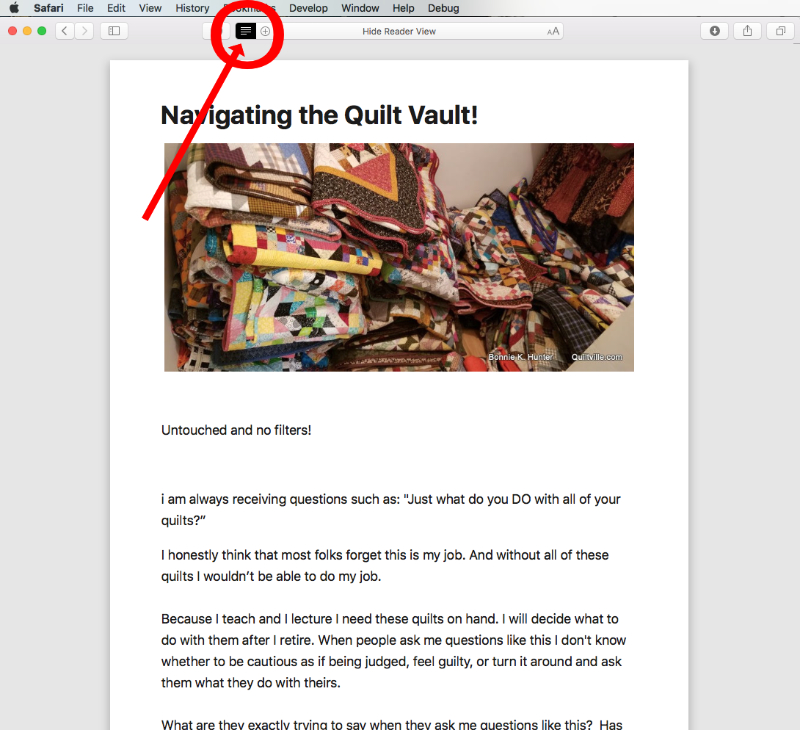
There is an icon of stacked documentson the left in the address bar.
Click on this, and you’ll be taken to the above view (compare them). All you are getting is the writer’s content, plus their photos. All animations, ads, colors, and videos are removed (although you will see placeholders for them). Click on the stack icon to go back to their website.
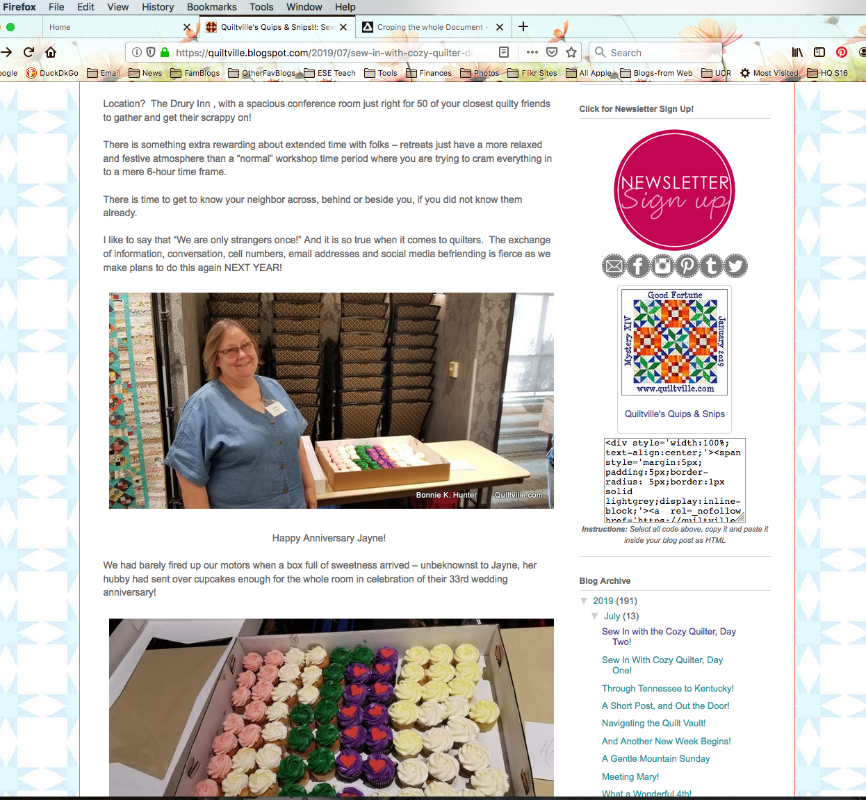
I just downloaded the newest version of Firefox. Above is the webpage without the Reader View.
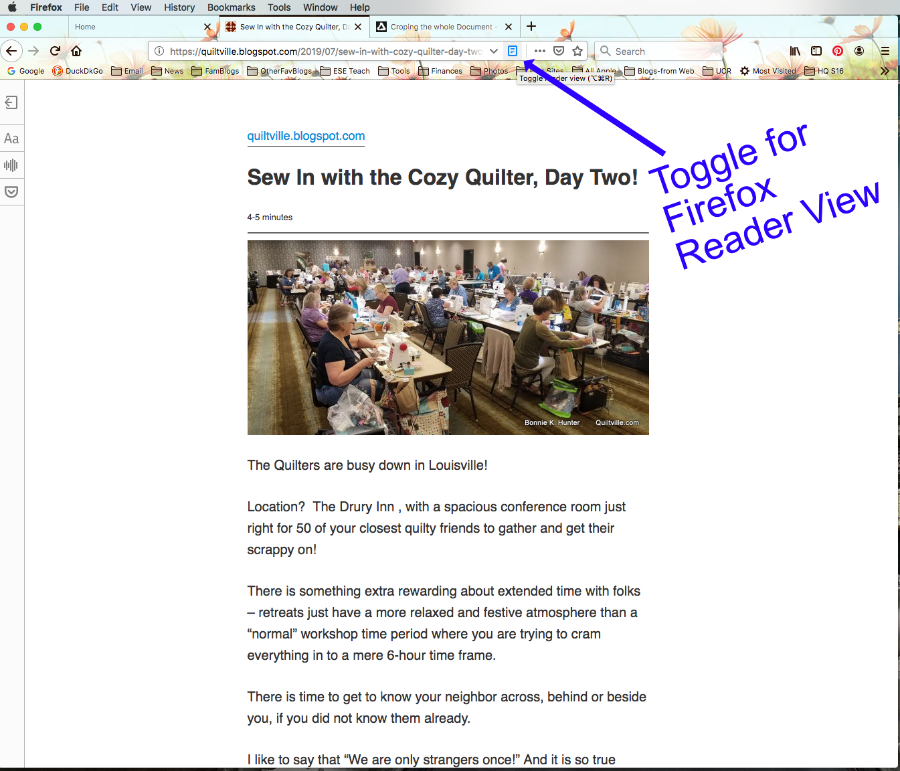
The webpage with Reader View. Click on the little grey page icon on the right of the address bar to be taken to their Reader View.
See also those little greyed icons at the upper left? Those are also new. I’m quite interested in the third one, the soundwave icon. My mother is mostly blind, and now I can now have my Dad set up the webpage for her in Reader View and it will read it to her. Hooray for easy accessibility for webpages!
Ads placed to drive the blog writers to pay. It worked!
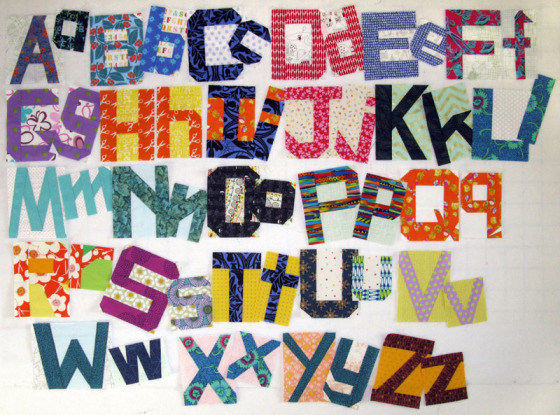
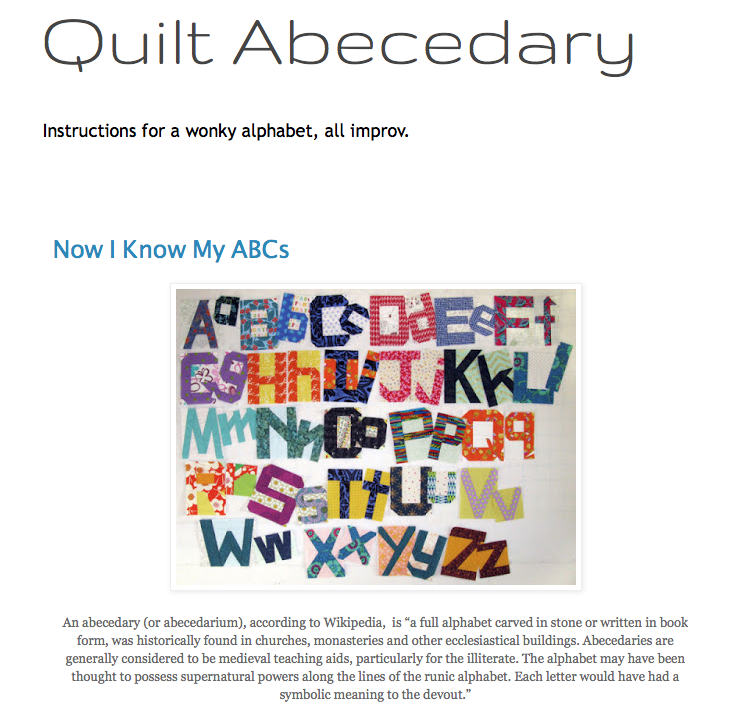
I’d developed an alphabet of improv letters when I ran the Spelling Bee blog some time ago.
Knowing that if I put them down somewhere in my Sewing Room, they would disappear, I documented how I made them and put them up on a blog. For a while, WordPress and I had a bargain: they could put up an ad on the bottom of my post, and I’d keep using their stuff for free (I had converted this blog over to a paid blog some years earlier).
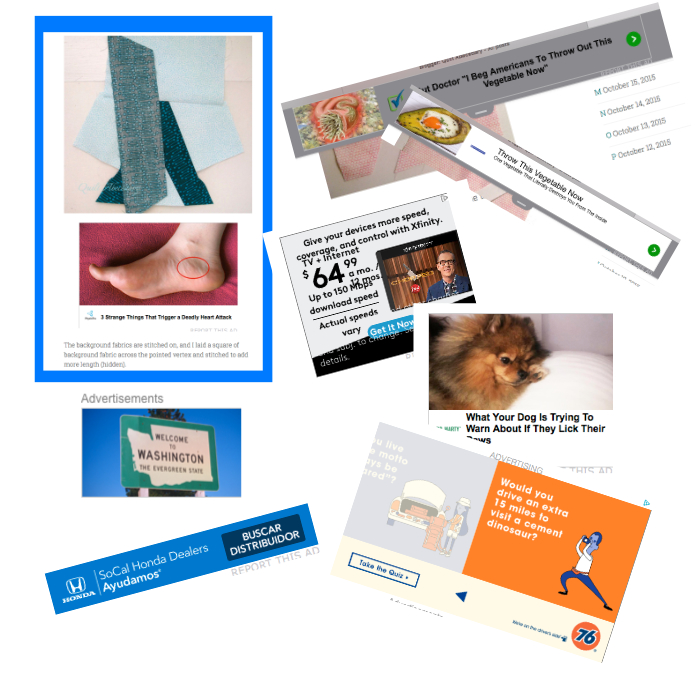
Then I started seeing this:
The dreaded creepy crawly ads I hated were now in between my text, obliterating the the instructions for my wonky and fun letters and words (see the one in the box in the upper left). I didn’t want to pay a yearly fee to have them keep the ads out (and I suspect — just a little — that some of the more obnoxious ads were designed to encourage me to pay), so I did the next best thing: I moved the entire blog.
It’s now back in Google’s arms at: https://quiltabecedary.blogspot.com. I have links from this blog, above, so you don’t have to remember the address. But if you ever need some wonky improv letters and words, don’t forget that it’s there.
White I spend a lot of time on Instagram, I still think that there is a place in our lives for blogs: it’s where we put up tutorials, we comment on the state of the world, we have space to write about quilts and things that interest us (by the way, congratulations if you made it this far). I don’t want to see blogs go away, so I hope this post will make your reading easier.
NOTE: If you want to start making your own Feedly list, I’ve put just about all the blogs I read way below, in the footer, but like anything, it’s a work in progress and subject to change. I update it about every quarter.
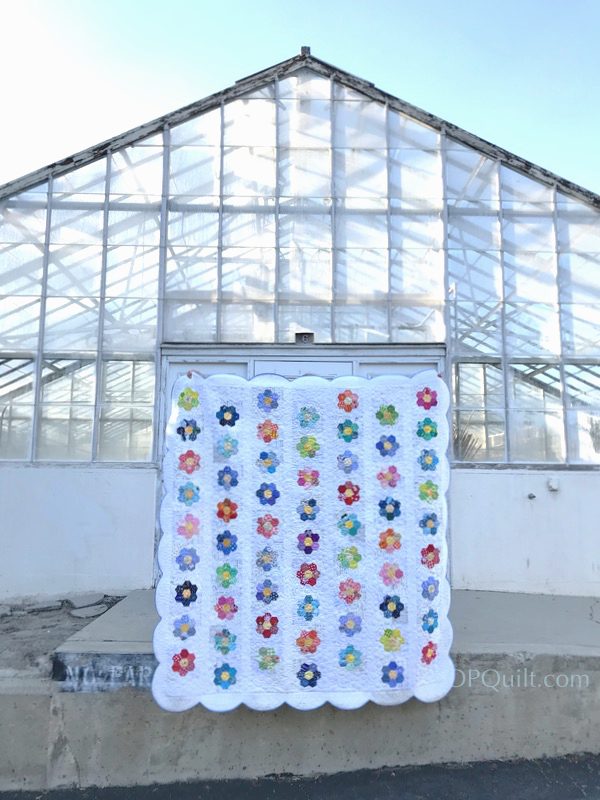
One of the challenges of finishing a quilt is figuring out where to photograph the thing. So one night last week my husband and I went over to University of California-Riverside (UCR) to find some places that would set off the two quilts I was toting around.
I’d originally thought about the Botannic Gardens, with all their lush greenery and wooden benches; I’ve snapped photos in this place before, and Field Flowers, with its scalloped edges is so old-fashioned looking I wanted to head there. It was closed. As we walking back to the car to leave, I spotted this old greenhouse. UCR is noted for its agricultural emphasis, as we breed a lot of the oranges you are eating now (Cuties, anyone?). This greenhouse seemed the perfect place, for my husband, with three broken ribs, to be able to hold up the quilt. (By the way, he has a Qh.D: a doctorate in Quilt Holding.)
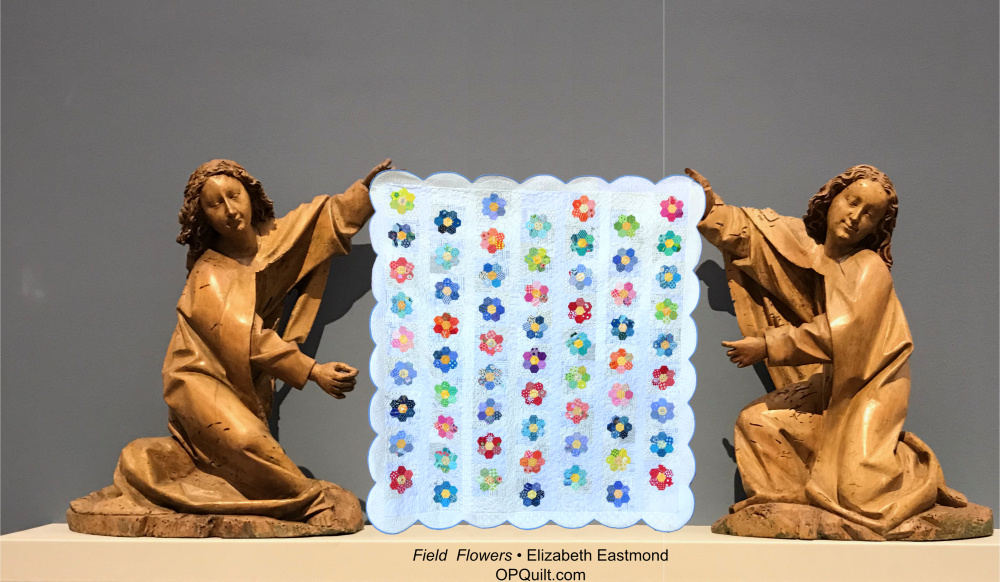
I also recruited two bystanders from the museum in Berlin to help me show off Field Flowers. Although their expressions are a little wooden, they held it in place without moving, so I was able to get a good photograph.
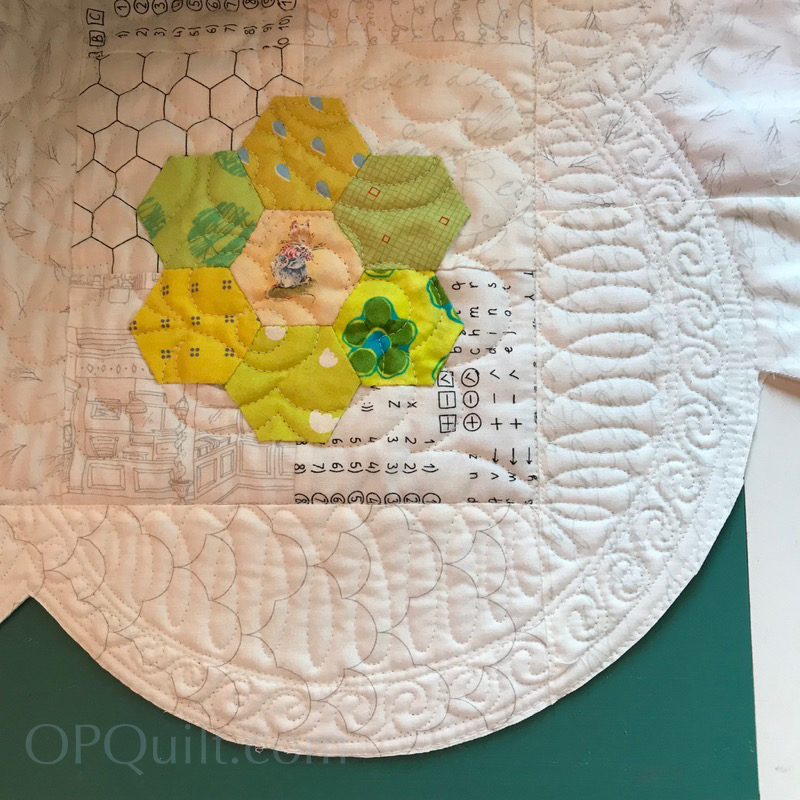
The center of this quilt was quilted by my regular quilter, Cathy of CJ Designs. She left the basting in the borders and then turned it over to me to finish up those scalloped edges. Since the pattern is by Sherri McConnell of A Quilting Life, I knew she’d have good ideas of how to finish the quilt, so I pretty much mimicked what her quilter did. More information about the pattern can be found on *this post.*
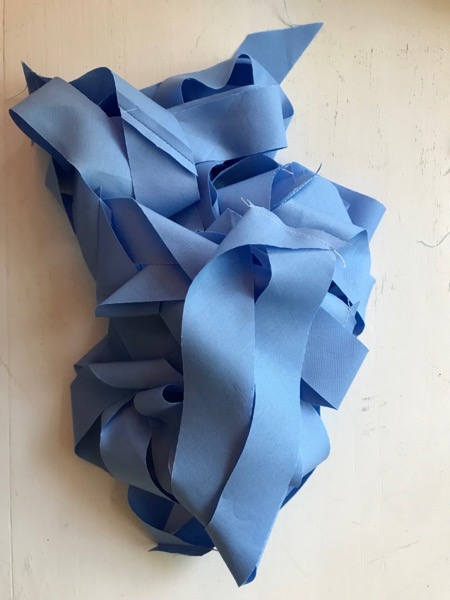
I followed Sherri’s directions for cutting bias binding, but used a 20-inch square as I’d added more hexies to my quilt. I needn’t have, as her directions would have provided enough length.
The single fold binding went smoothly around each curve, and didn’t add too much bulk.
Earlier that day, we’d gone over to Gless Ranch, a local purveyor of oranges, as they had old farm equipment around their property, and lots of (newly trimmed) orange trees:
Still my favorite place.
When we got home, I noticed it had gotten dirty from traipsing around, so threw it in a cool-water wash with a couple of color catchers (first invented in the UK, by the way), and dried it until almost dry on a low heat. Like all other quilters everywhere, I love how the washed quilt looks (although I also like unwashed quilts). Lay flat to dry, so there is no transferring of ink to other damp spots. (As me how I know this.)
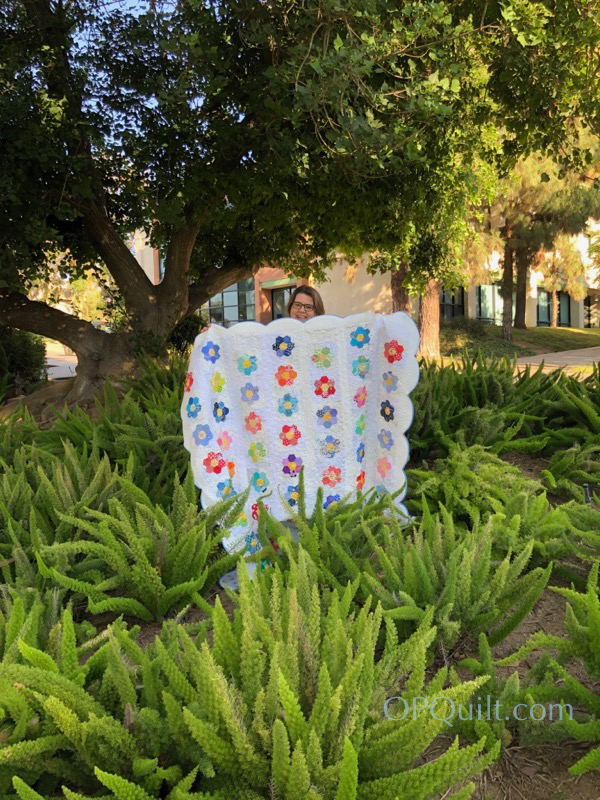
Me, standing with Field Flowers in a field of ferns.