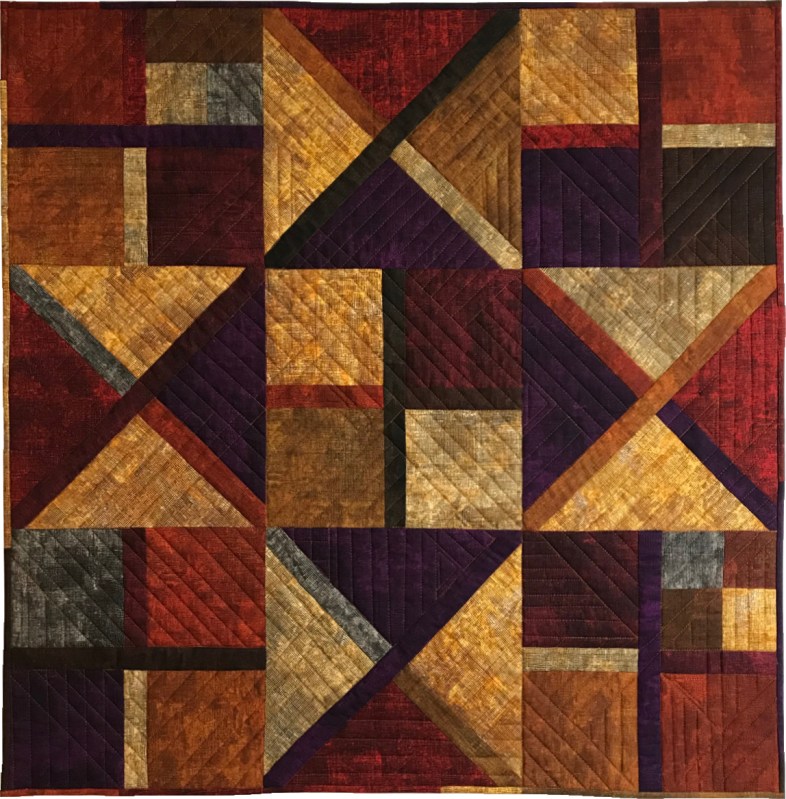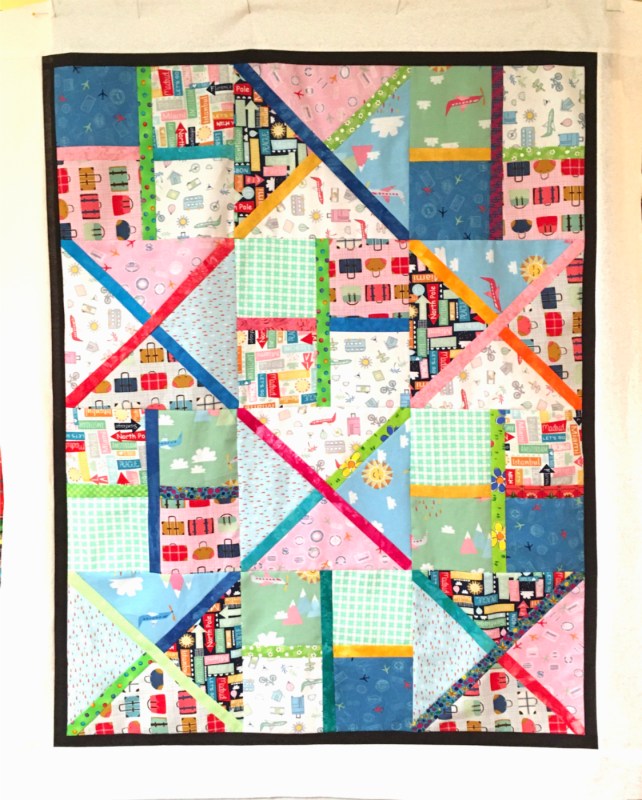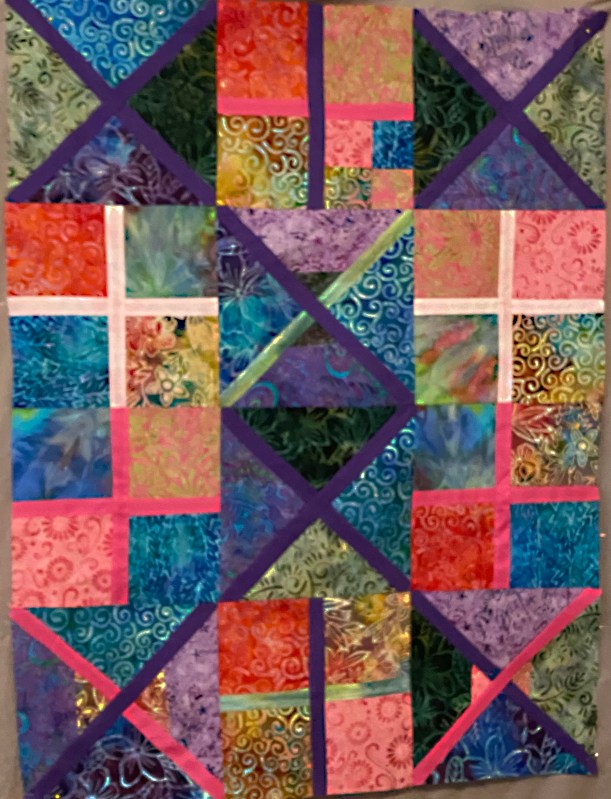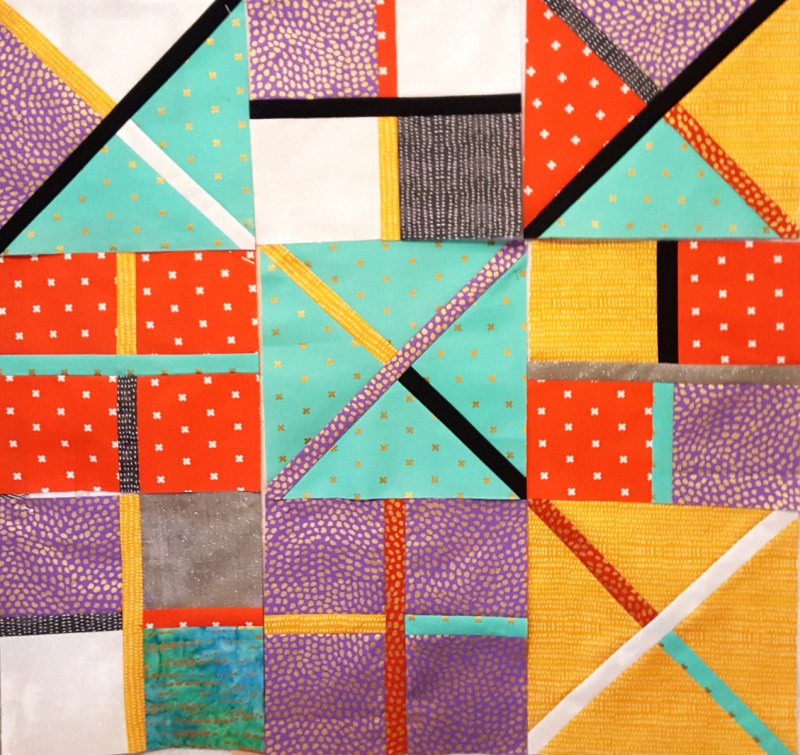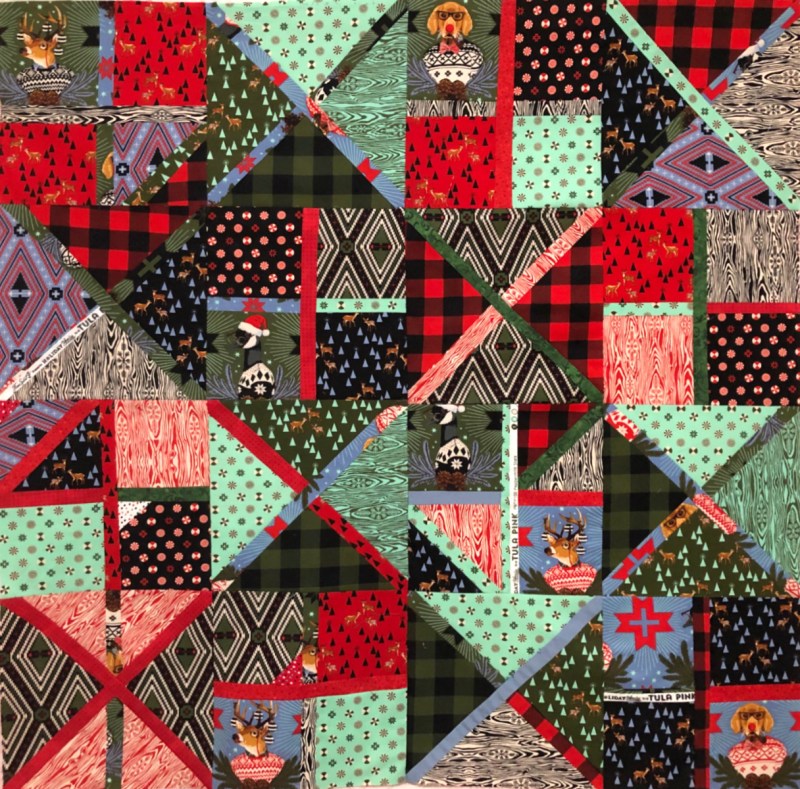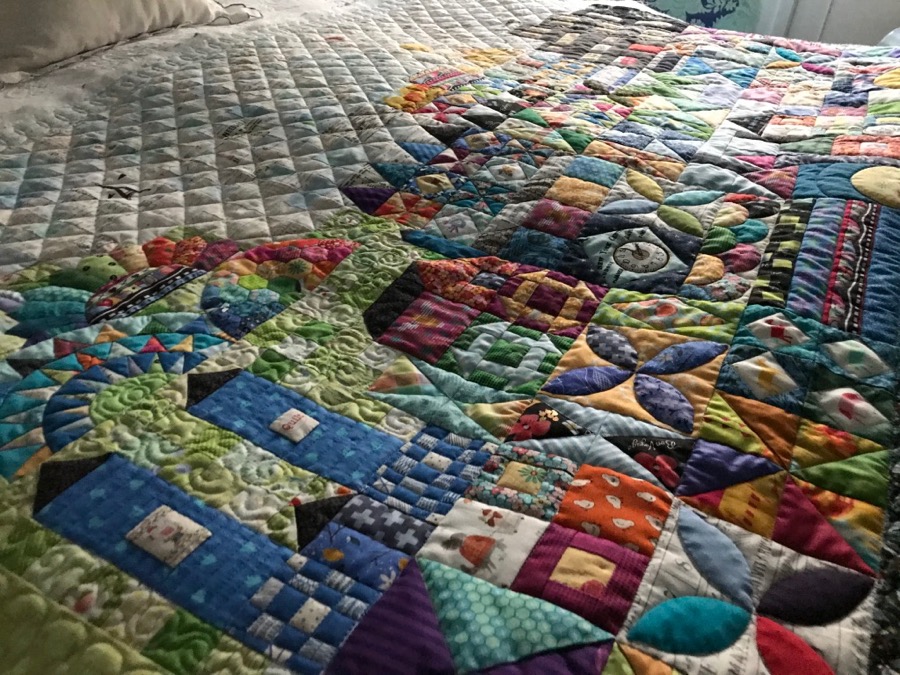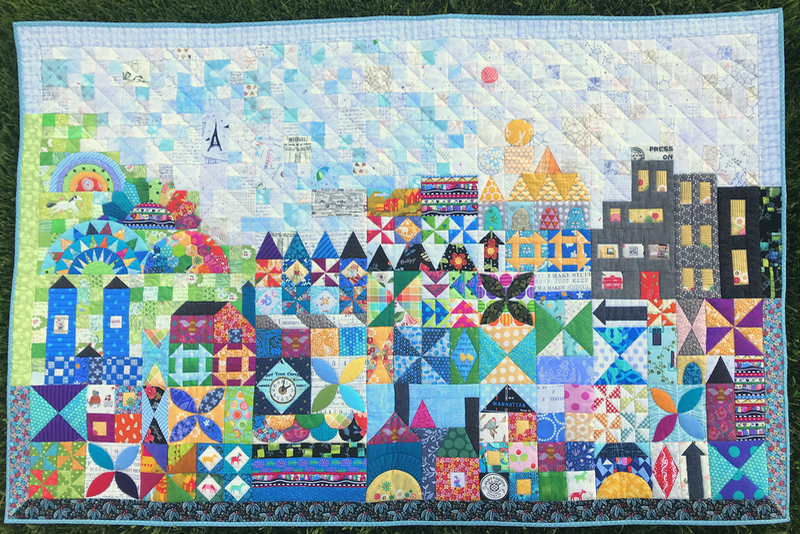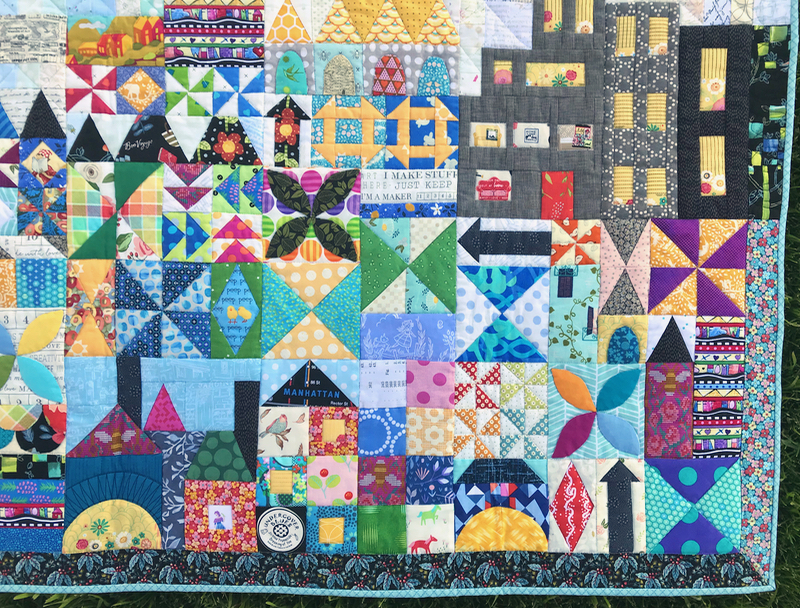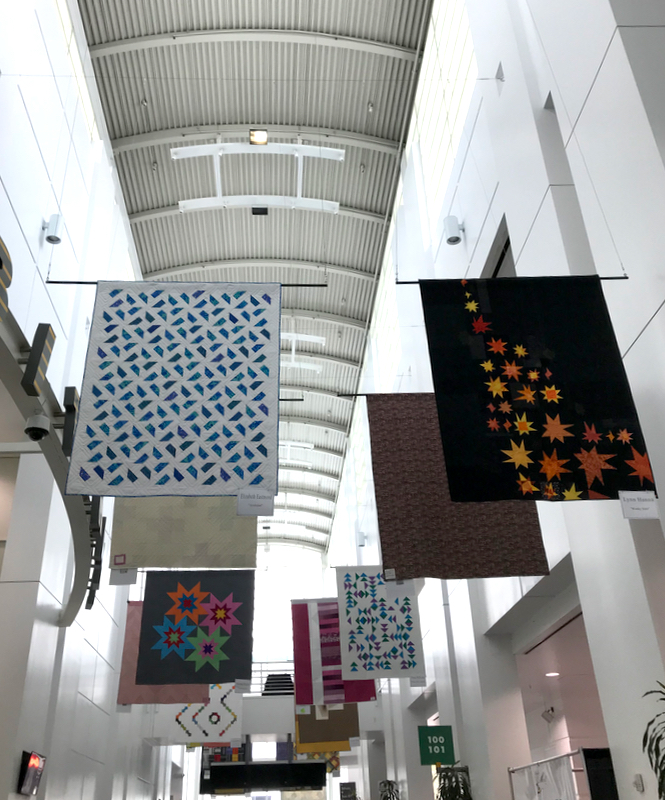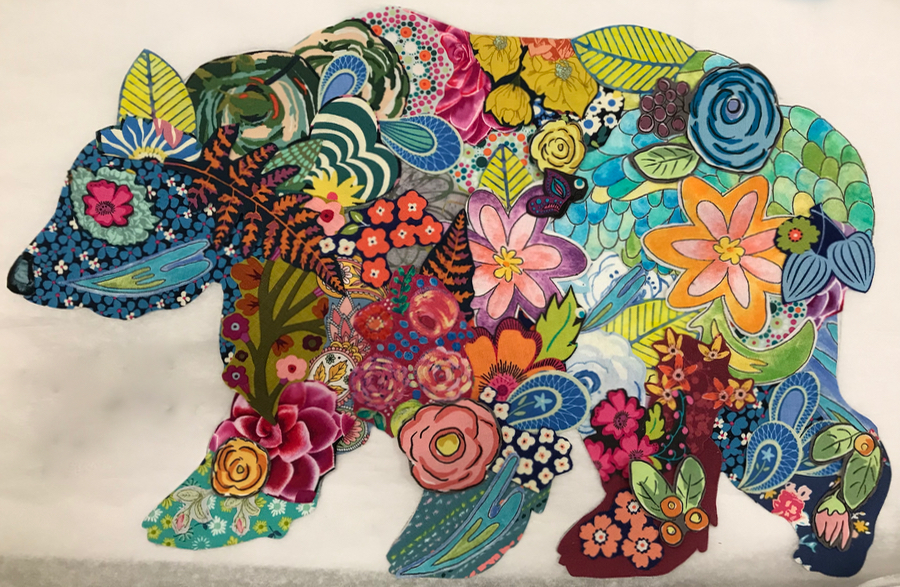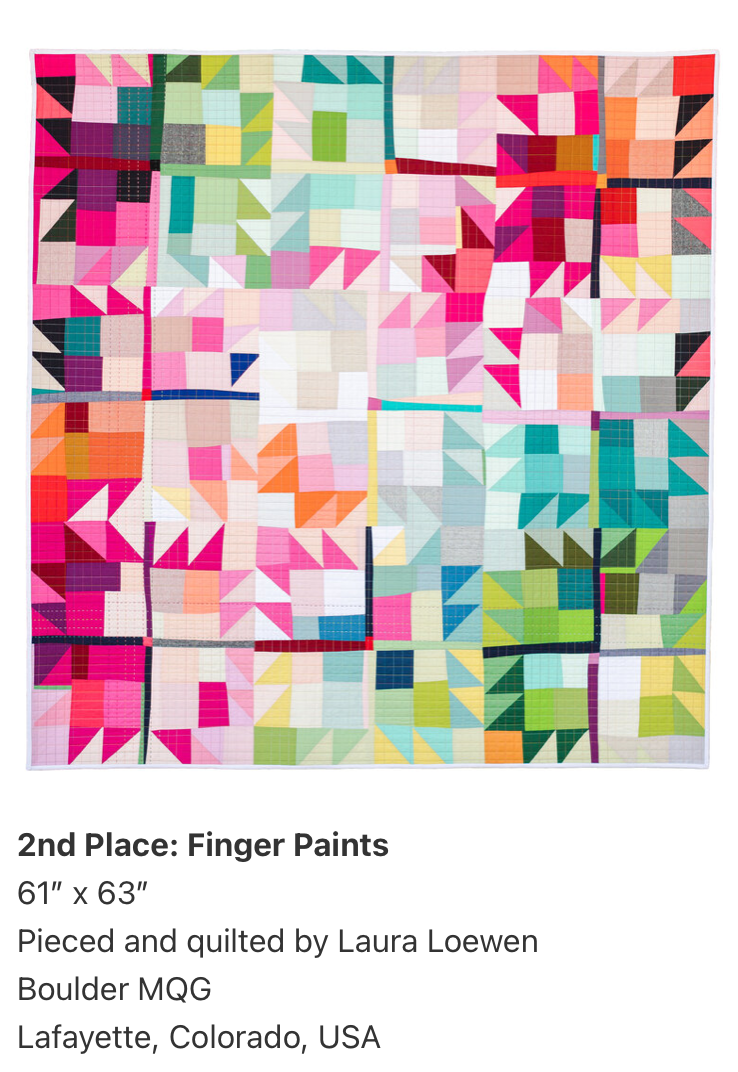
I saw this online and immediately jumped. This was one of my favorite quilts at QuiltConTogether, and yes–I’ll take one for myself.
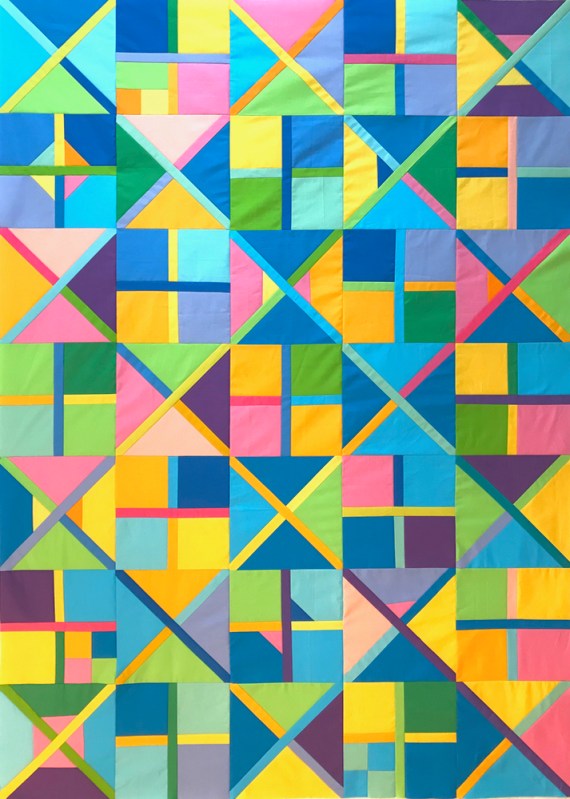
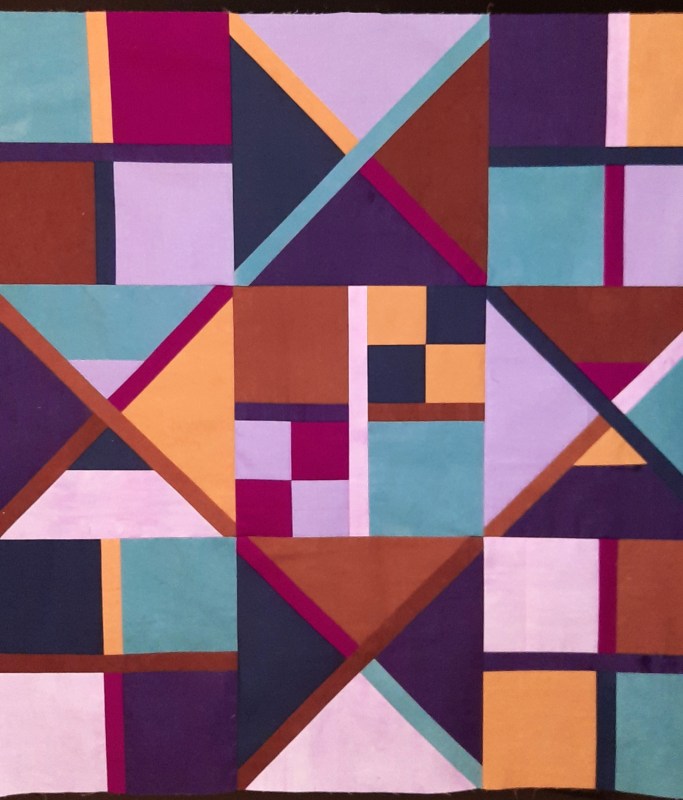
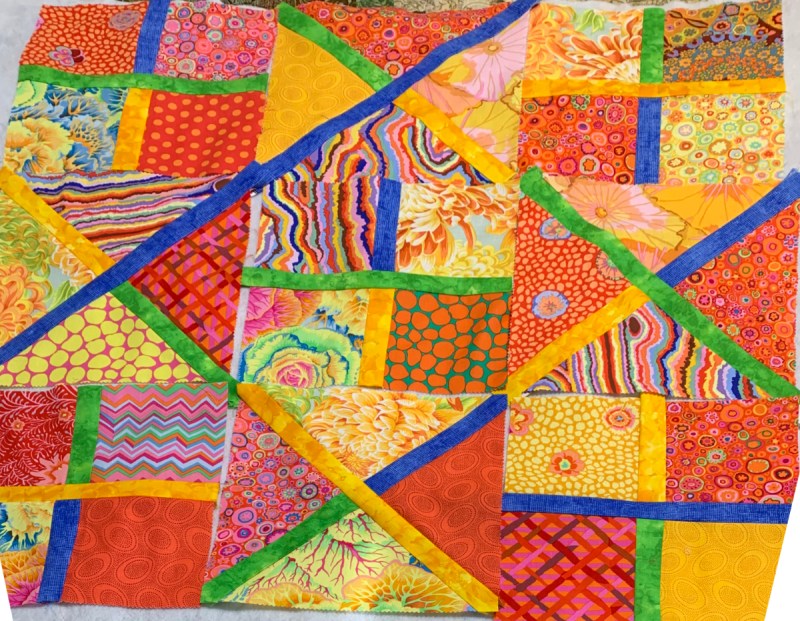
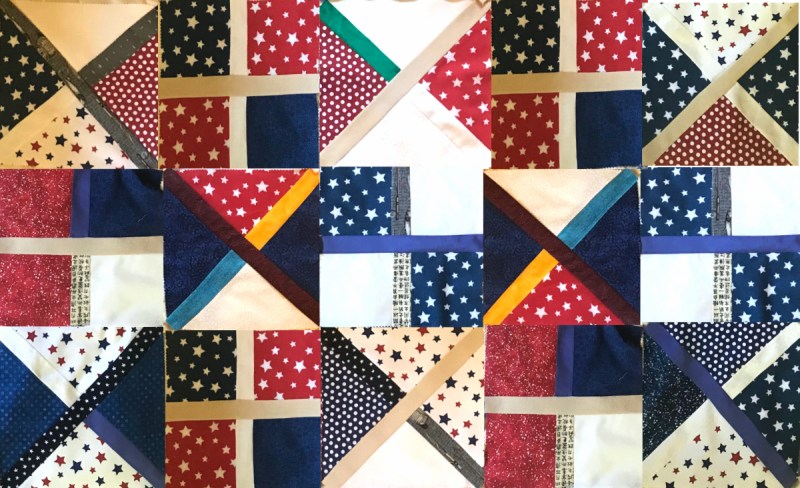
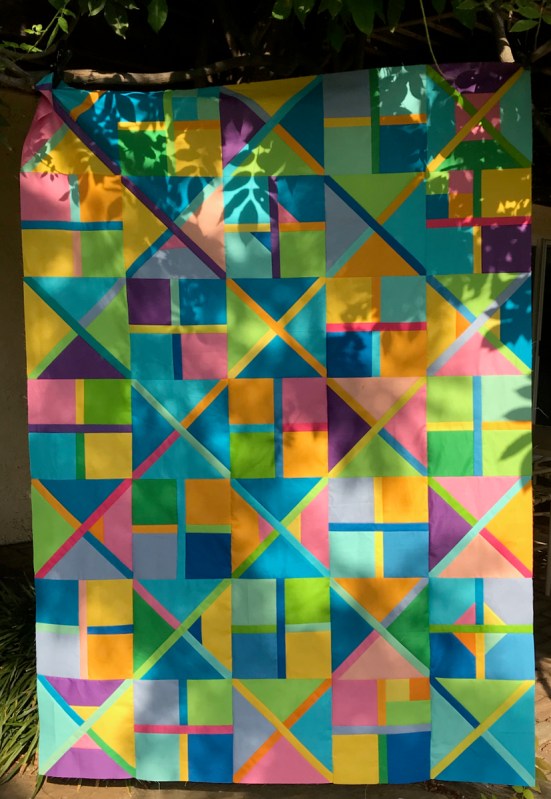
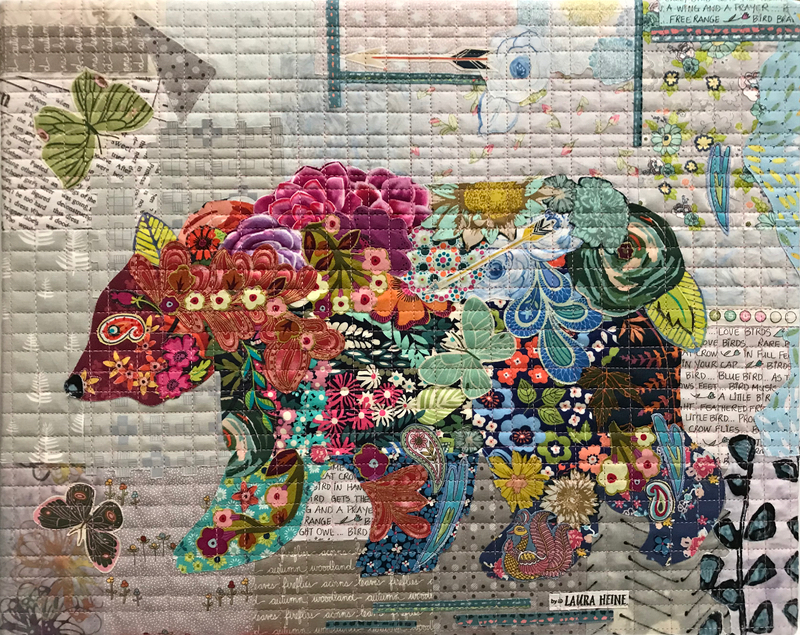
These two quilts, Finger Paints and Cindy’s Delta Breeze, are definitely cousin-quilts, but oh-so different and I’ve had Delta Breeze on the mind for like a 100 years. And the fabric all chosen and set aside in the cupboard, but I can always use another quilt that combines style and color and cool ideas.
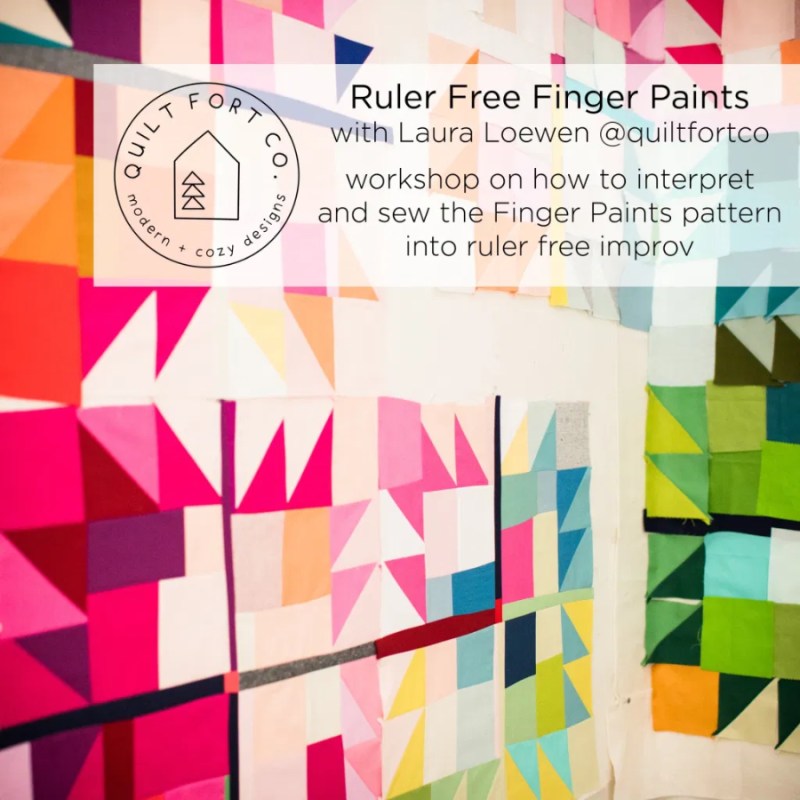
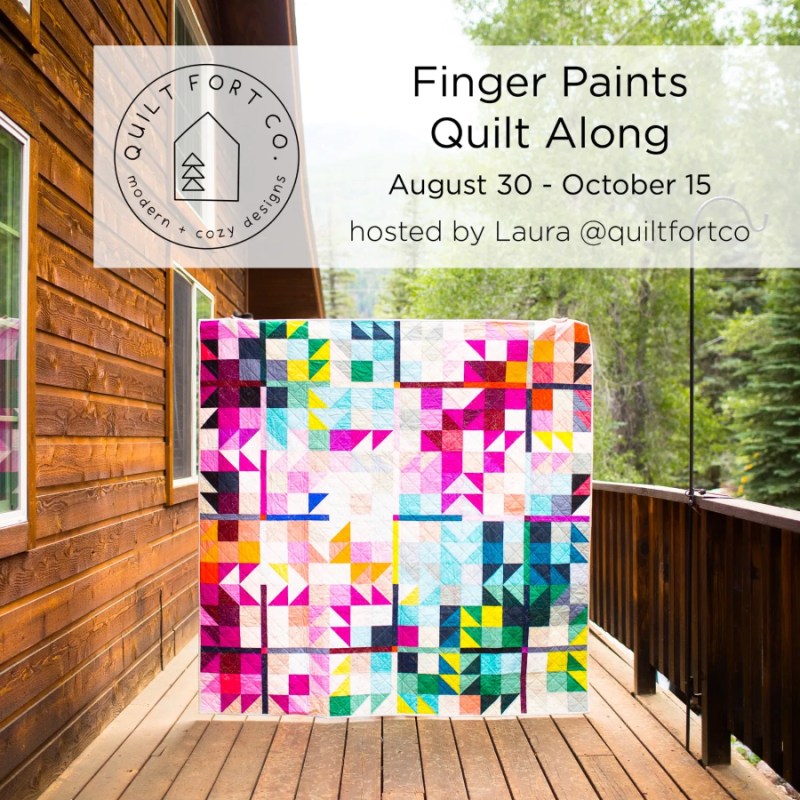
Laura Loewen is a relative to another favorite online friend (the Medallion Queen!). Laura has two versions of this quilt: one made straight up, with rulers, etc. and one that is a bit more improv. I decided to jump on the improv class, so am signed up for August 28, Saturday. If you are in that class, come and sit by me! I’m kind of shy as we’ve been in the house like forever, and I don’t quite know how to deal with real people anymore, but I’m sure you know what I’m talking about.
I’m a Painters Palette Solids gal, and Laura doesn’t list these fabrics, so I set out to figure out my colors. Long ago I grabbed one of Paintbrush Studios’ charm packs with all the colors, broke it apart and wrote the number of the color on the small square. But I also wrote another number: one referring to the column on the fabric swatch chart, so I could find them easily. I never understood everyone who cut up their color charts (I mean, I understood why they said they did it, but didn’t understand how it would be easier to find colors), but this system works for me.
(And you can win a complete set of Painters Palette charm colors at the end of the post, if you are a Painters Palette user, or want to be.)
So here’s three photos, showing my chosen colors. You can’t see the Black, but it’s written in pencil beside it: 004. And a quick tip: if you go to Pineapple Fabrics and want to order your Painters Palette Solids, just type in 121- and then the color number in the search bar. It finds it a LOT faster than wading through their menus. (So Black would be 121-004 in the search box.)
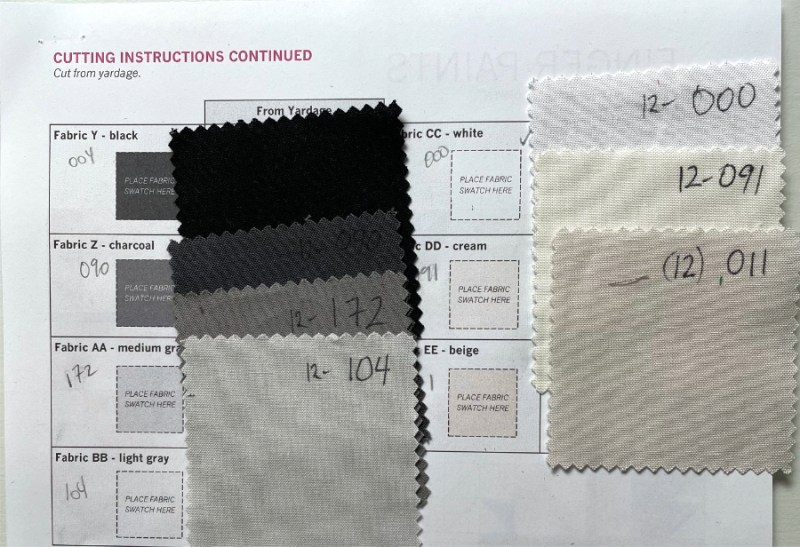
The neutrals. I laid the squares over Laura’s cutting instructions so as not to give away any info from her pattern. Again, if you can’t see the number written on the swatch, most are in pencil beside the colored square in her pattern.
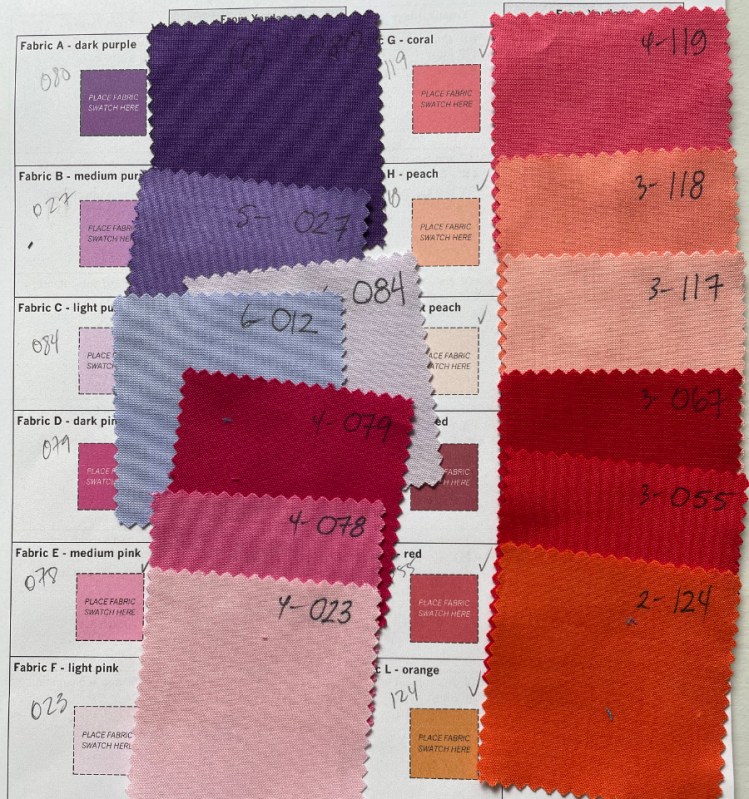
Purple is 080. I couldn’t decide on Fabric C–it calls for a light purple and I have two that could do that: a light pinky lavender (084) and a periwinkle lavender (012). I’m holding off on cutting until I see where they go and what will work. Since I think this is sort of the warm colors, it may have to be 084 vs. 012.
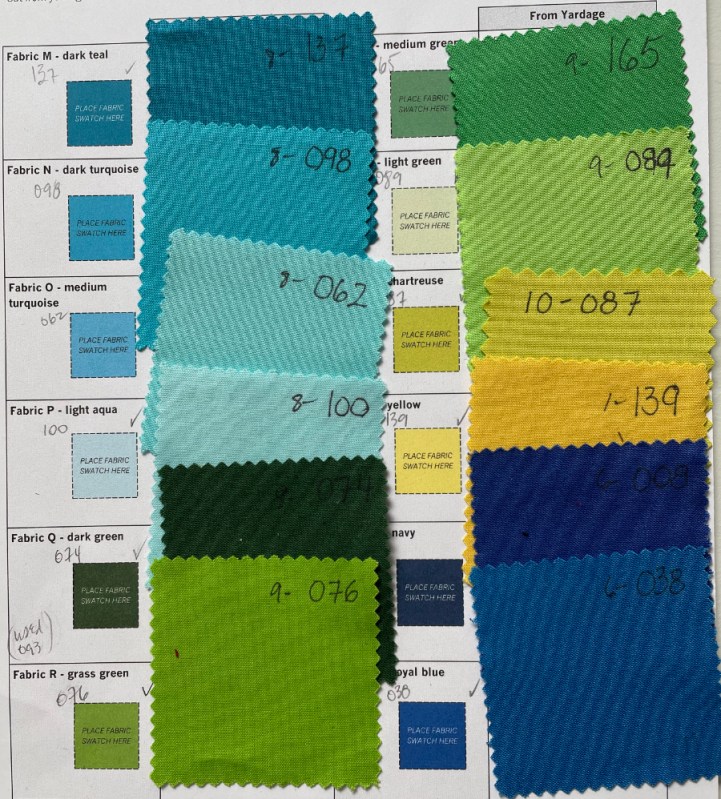
Sorry–navy is hard to read, too: It’s Fabric W: 008; Dark Green is 074. I went back and forth on the navy, as to me that color is a bluey-black, but in her original quilt, the color appears much brighter. (The quilt on the cover of her pattern is made up in different fabrics than her original, shown below.)
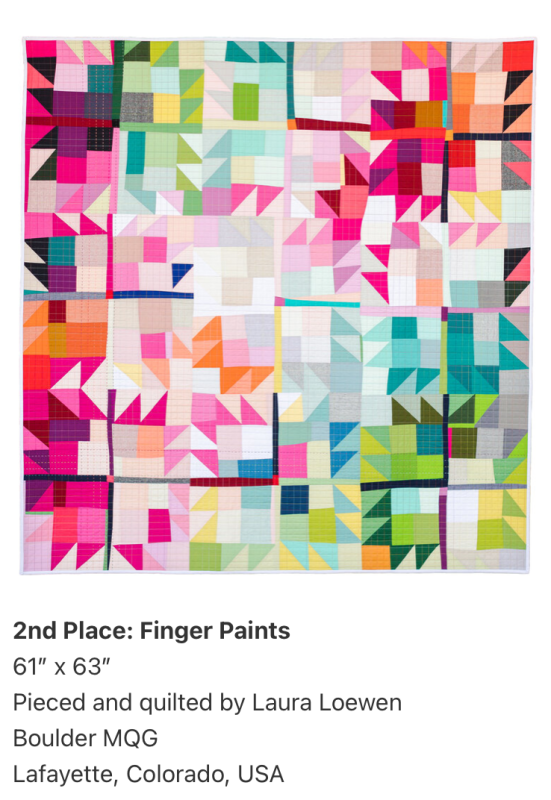
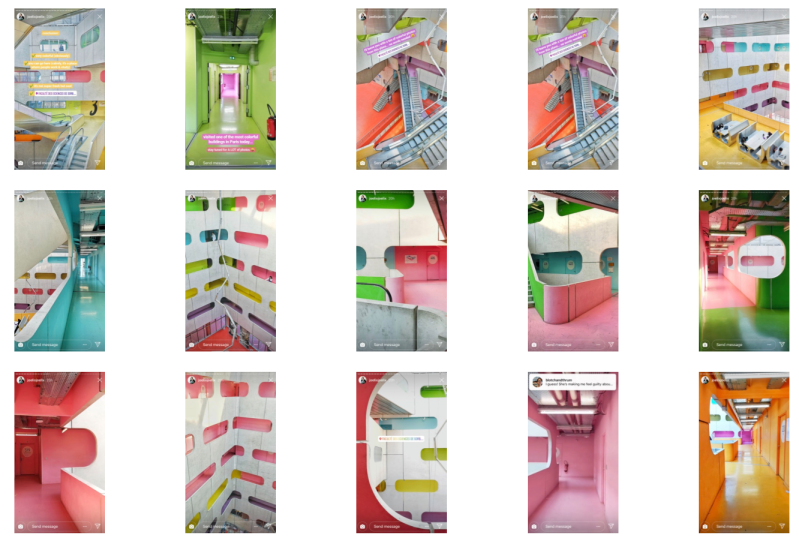
This is a screenshot from the MQG Website, showing all the award winners from QuiltConTogether 2021, if you want to go and look at the rest. I love what Laura wrote on her blog about creating this quilt: “I had been in a sewing rut, as many of us found ourselves mid-pandemic, and I knew I needed a splash of color and playing with fabric to get back into sewing. I decided on a simple bear paw quilt block but wanted to put a modern spin on it with improv piecing.”
While I did notice that she pressed open all of her seams, I don’t know if I can follow her down that rabbit hole. We’ll see. I’m a press-to-the-side sort of person, because I like the dimension.
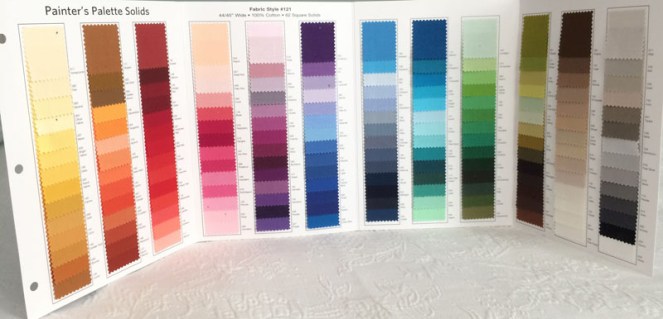
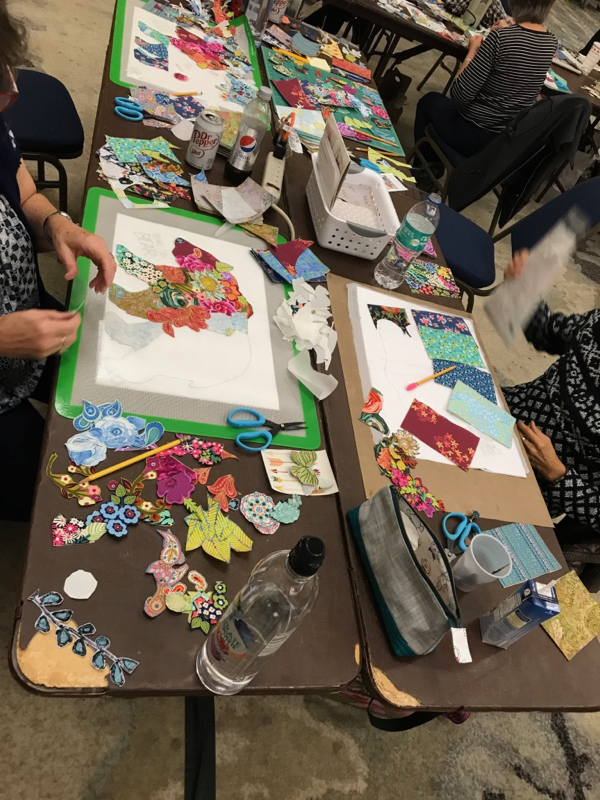
Here’s an IG quick movie to show you my mess when I was choosing. Above is my version of the Painter’s Palette Solids color card. Because I’ve been collecting solids for a while, I only had to buy two more colors from Pineapple Fabrics. Hooray for sewing from the stash. (Hooray for collecting!)

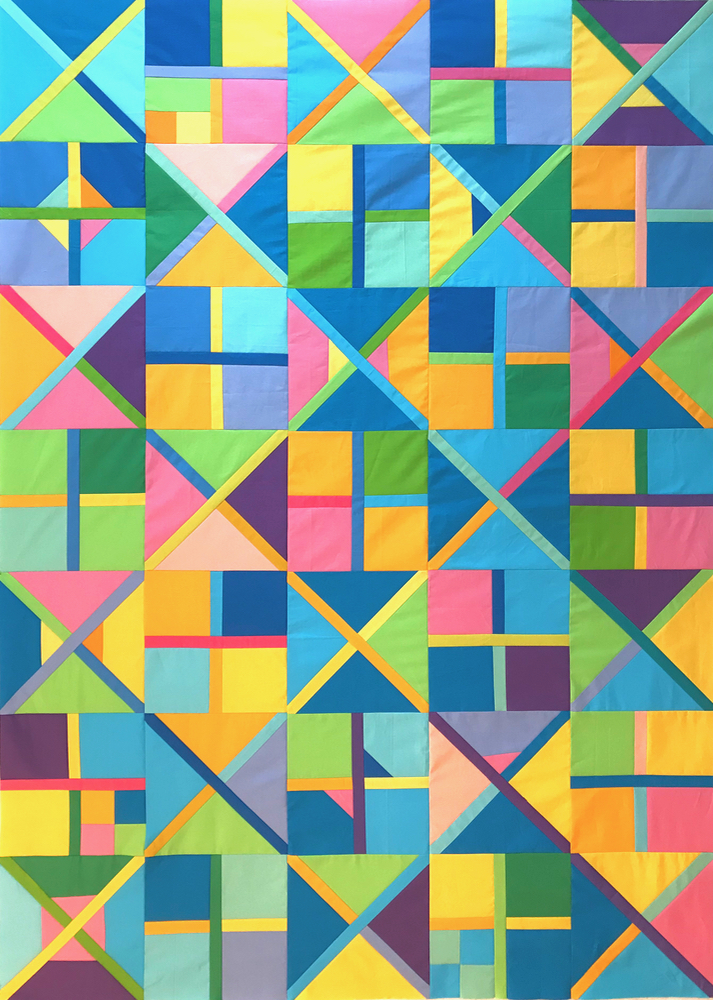
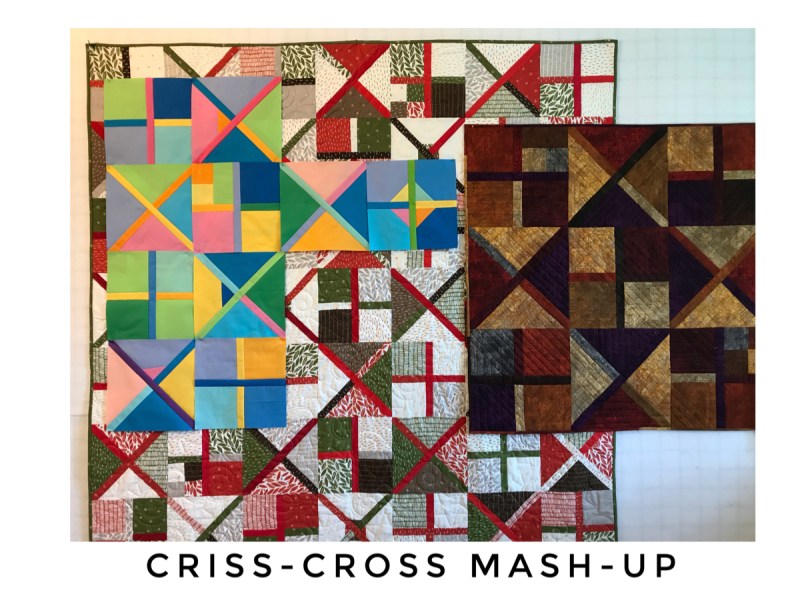
This is my Criss-Cross Color pattern. Obviously I like this sort of quilt! Now to get busy on cleaning up the sewing room. We cleared out a lot of my stuff out of the guest room because — oh, gosh — we had guests, and I need to finish cramming stuff onto shelves organizing to get the detritus off the floor.
UPDATE: Giveway closed. Thanks for entering! If you want to enter the giveaway for the charm-packs-color swatches, mention it in your comment below. (Domestic USA only.)
Happy Quilting!