I’ve been thinking a lot about Push, and Pull.

The terms are popularly used when discussing how we interact with the internet. We receive Push Notifications, which means that someone, somewhere is sending us information or things that can be helpful. Or not. We can choose where we go, pulling information to us in terms of blogs (like this one, thank you). We can also pull information from bank sites, news sites, school and medical sites so we can gather information or read for pleasure.
We are familiar with push-pull in our own lives, aside from the internet. For example, when I go to a Guild meeting like I did this week, and have to show up early to set up the book sale, take minutes, make sure the substitute photographer is squared away (because the regular one didn’t show up), serve on the Nominating Committee (hallelujah — we got our President-Elect!), it is a push because NONE of those jobs are what I officially do (I run the website). Some activities in our lives are push-pull: volunteering, for example. Or paying attention to the weeds in the garden because you want to plant flowers.

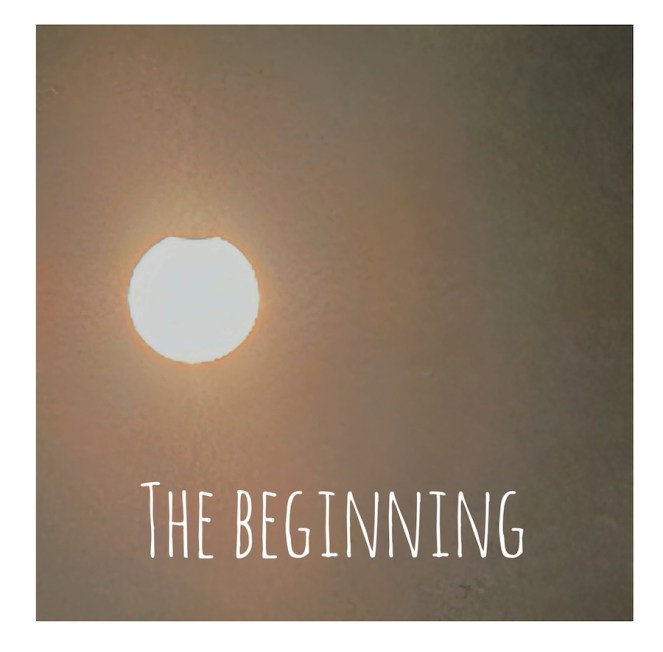
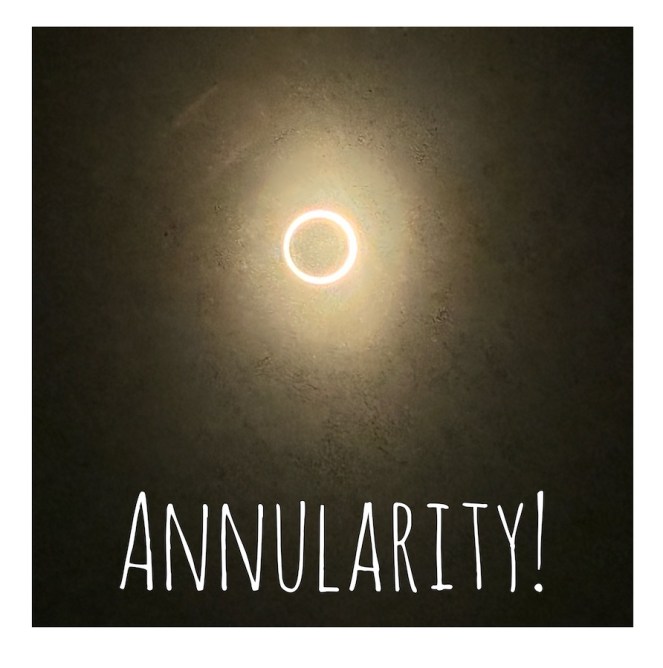
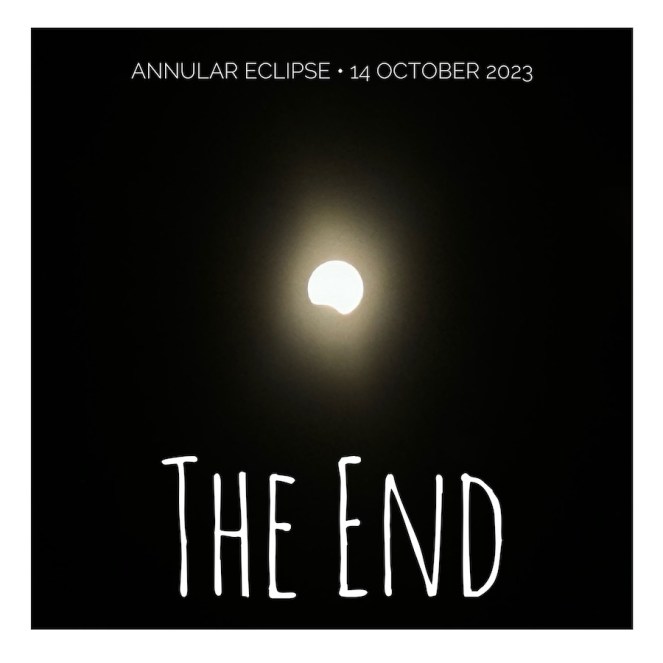
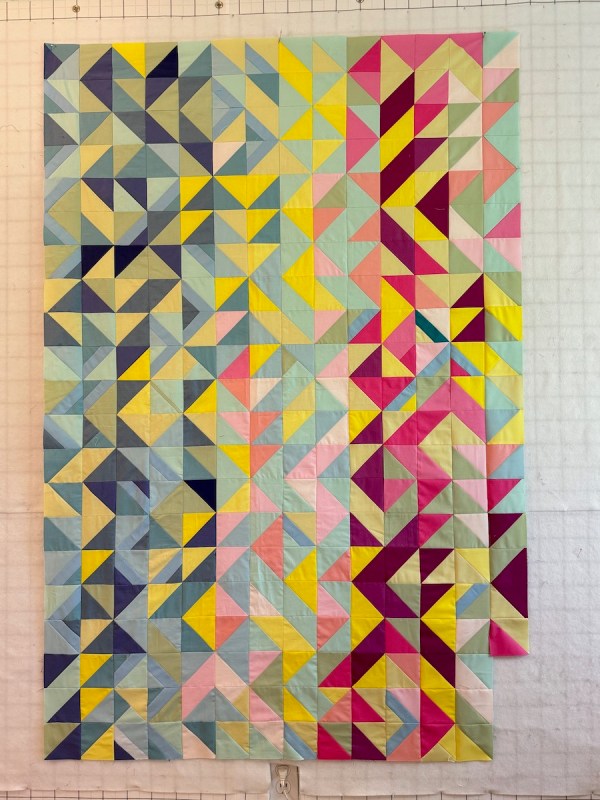
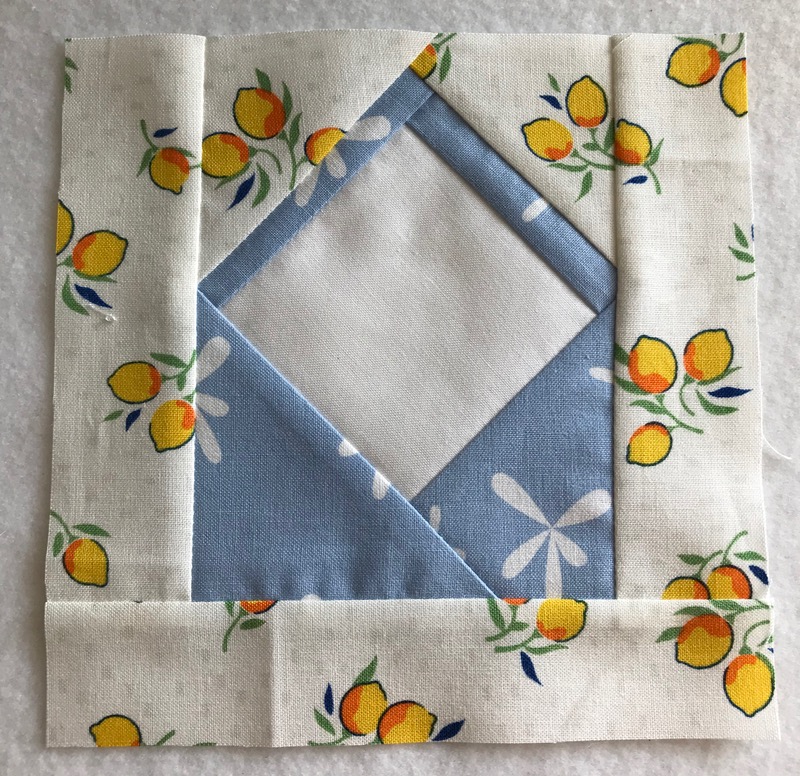
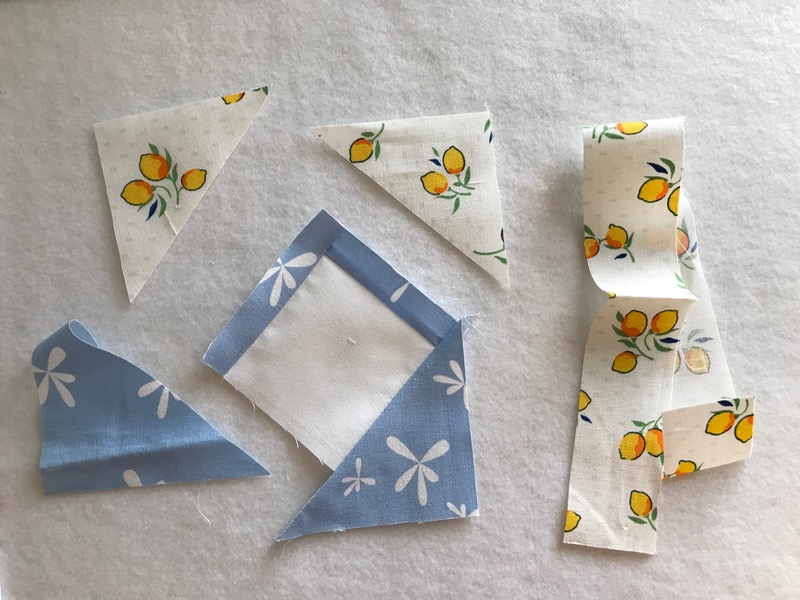
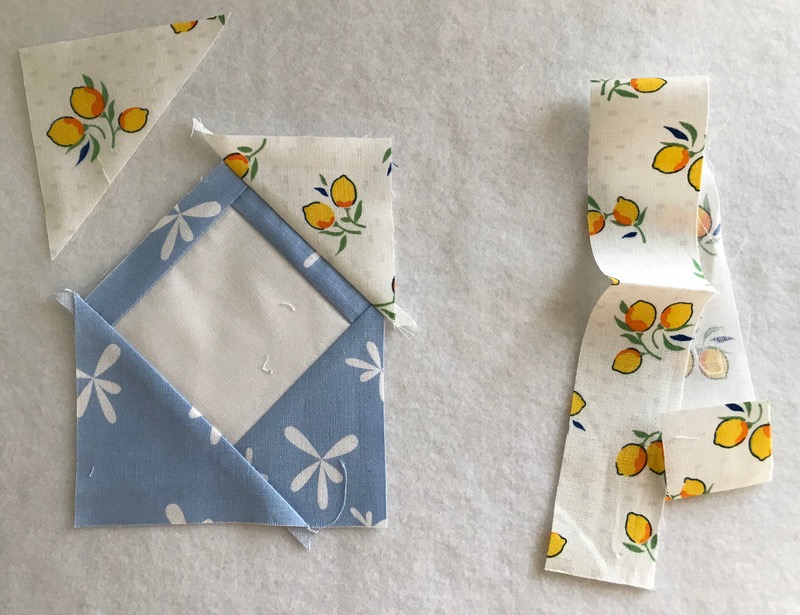
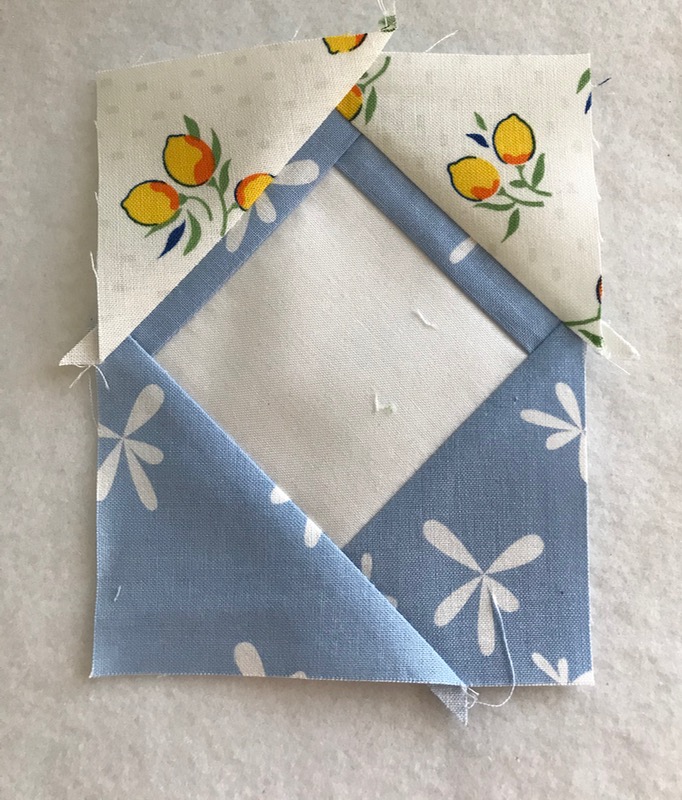
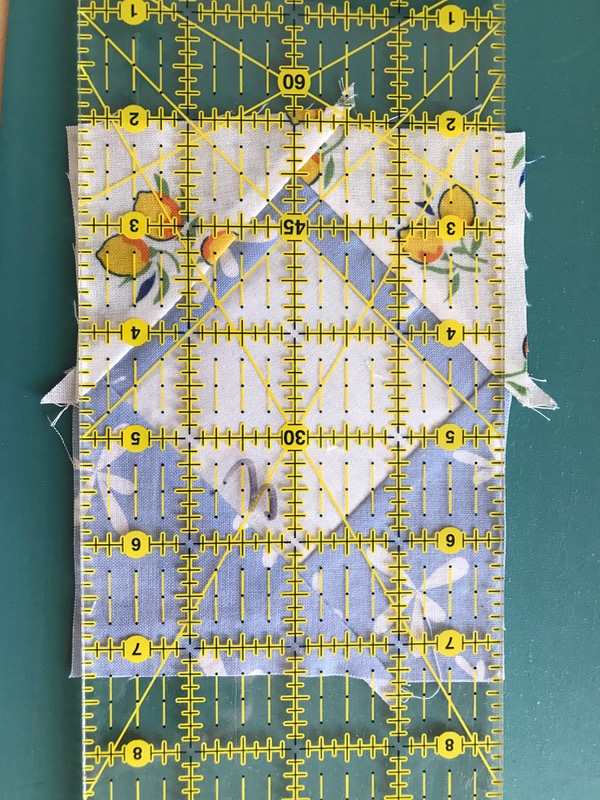
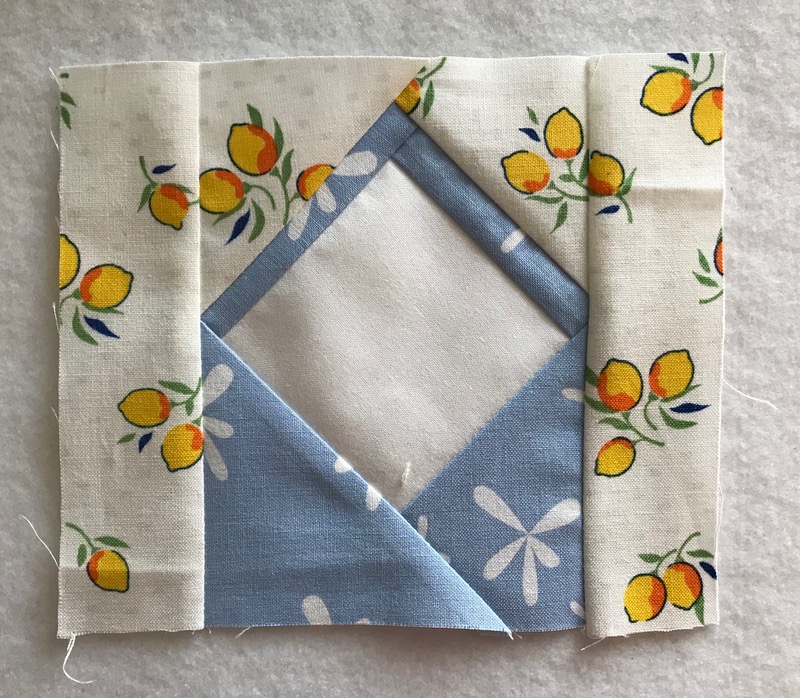
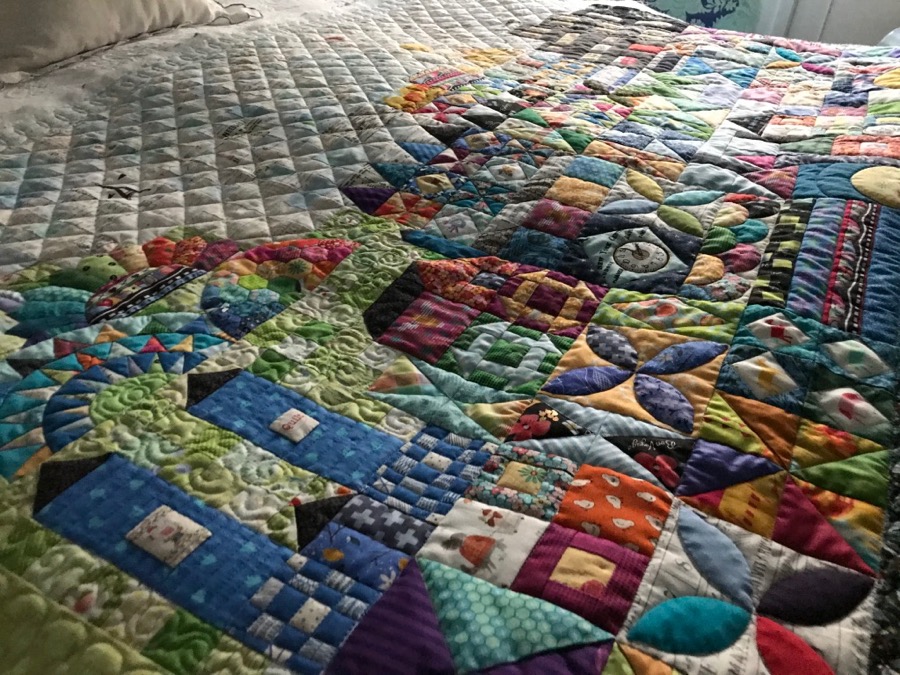
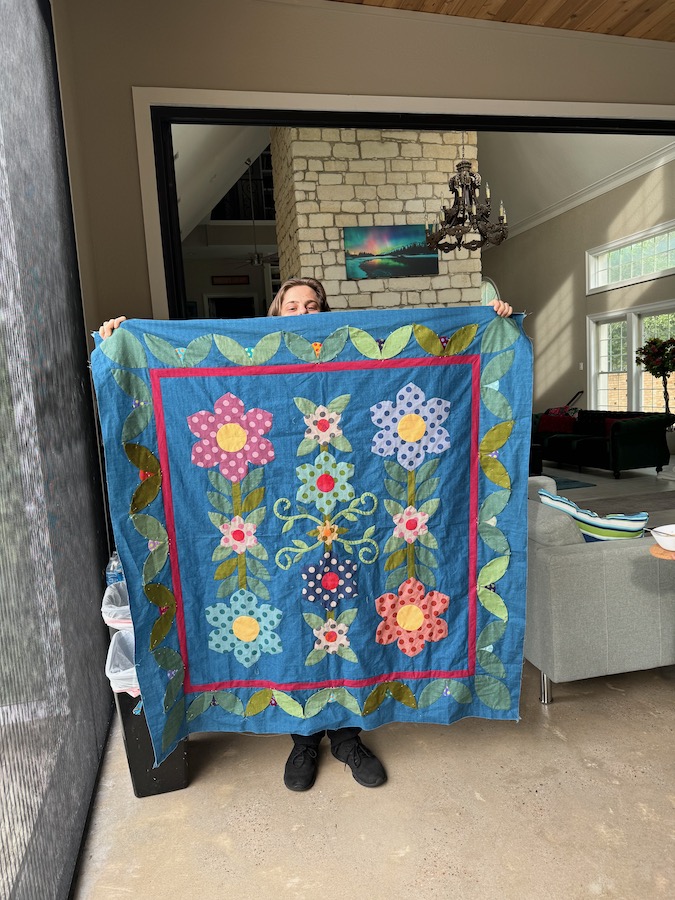
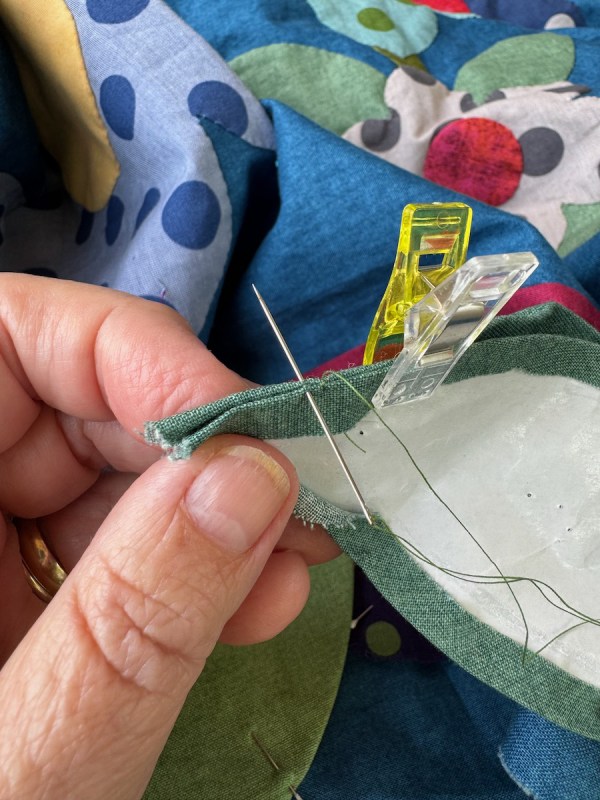
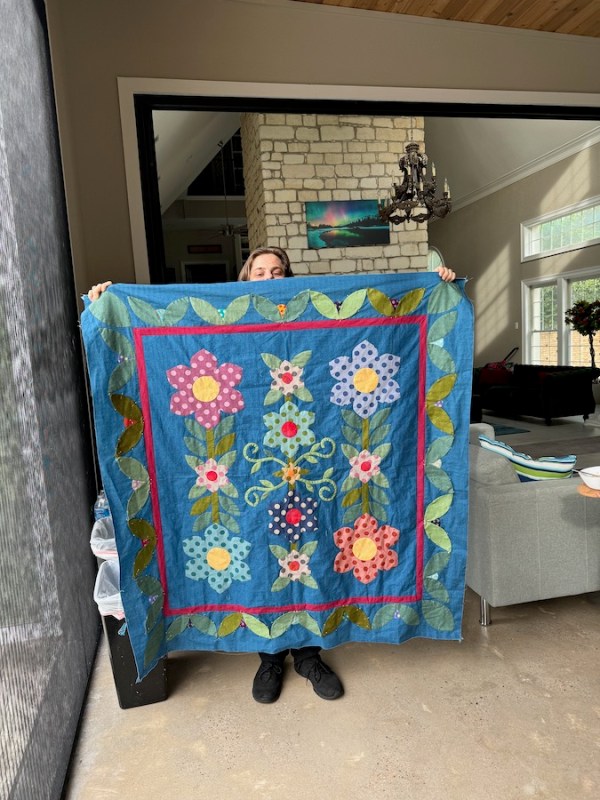
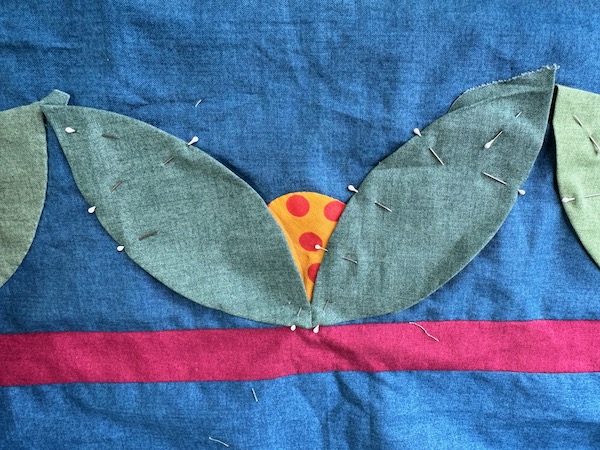
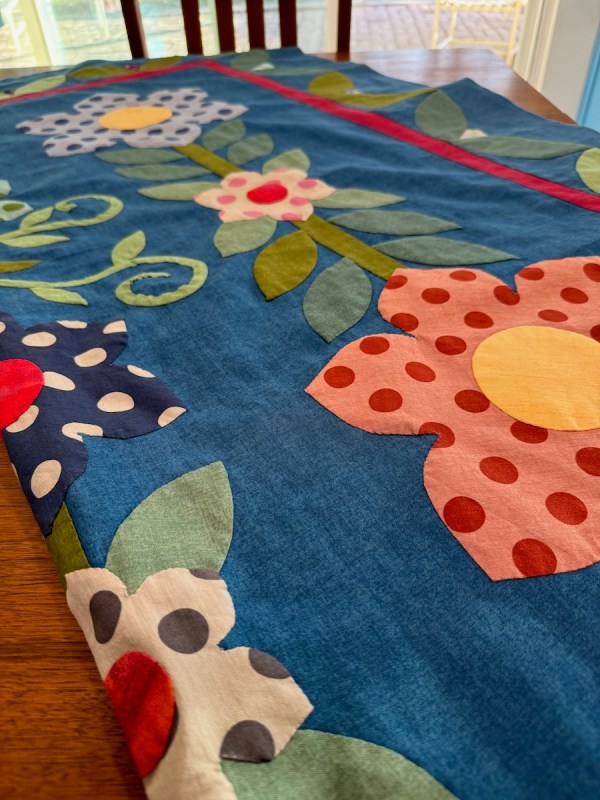
But if I can plan an appliqué project, take a 3300-mile road trip visiting family (and grandson Alex, below) and enjoy time with my husband, I’d call it mostly a pull.
This idea of push-pull on the internet was discussed in a radio interview of Kyle Chayka with Ezra Klein. During their discussions about the nature of the internet these days, as well as Chayka’s newest book, Filterworld, I became interested in this idea. What is pushed onto me, and how does it affect how I feel about the quality of my life? And what is the effect of all that pushing? Chayka feels like it changes how we view things on the internet, and why — perhaps — our eyes glaze over quickly:
CHAYKA: “I mean, most of the encounters we have with culture online are pretty bad, I think. We do have much more choice in what we consume and all of these other possibilities surround us. But what we lack is that kind of museum-like experience or movie theater-like experience where you do have to sit with something and think about it and puzzle your way through it without flipping to get an answer.”
EZRA KLEIN chimed in: “And the problem with the push internet is it’s not really under your control, right? It’s about what the force pushing is doing. But as that became bigger, people stopped doing the things that allowed the pull internet to exist. There aren’t so many blogs anymore. Not none, but there are fewer. People put their effort — because it’s the easier way to find audience and eventually to make a living — into the algorithmic spaces. And so there’s simply less of this other thing there to explore.”

CHAYKA: “I think a feeling I’ve been having a lot lately is that scarcity is often what creates meaning. When you’re surrounded by infinite possibilities, when you know around the next corner is another video that might be funnier or more to your liking, you’re never going to sit with the thing that’s in front of you. You’re never going to be forced to have the patience, or the fortitude maybe, or the kind of willpower to fight through something and figure out if you truly like it or not.” ~ Kyle Chayka
Sitting with the thing in front of you.
Museum-like experience.
Algorithmic spaces.
Push is not under our control.
Scarcity creates meaning.
Puzzle our way through it.
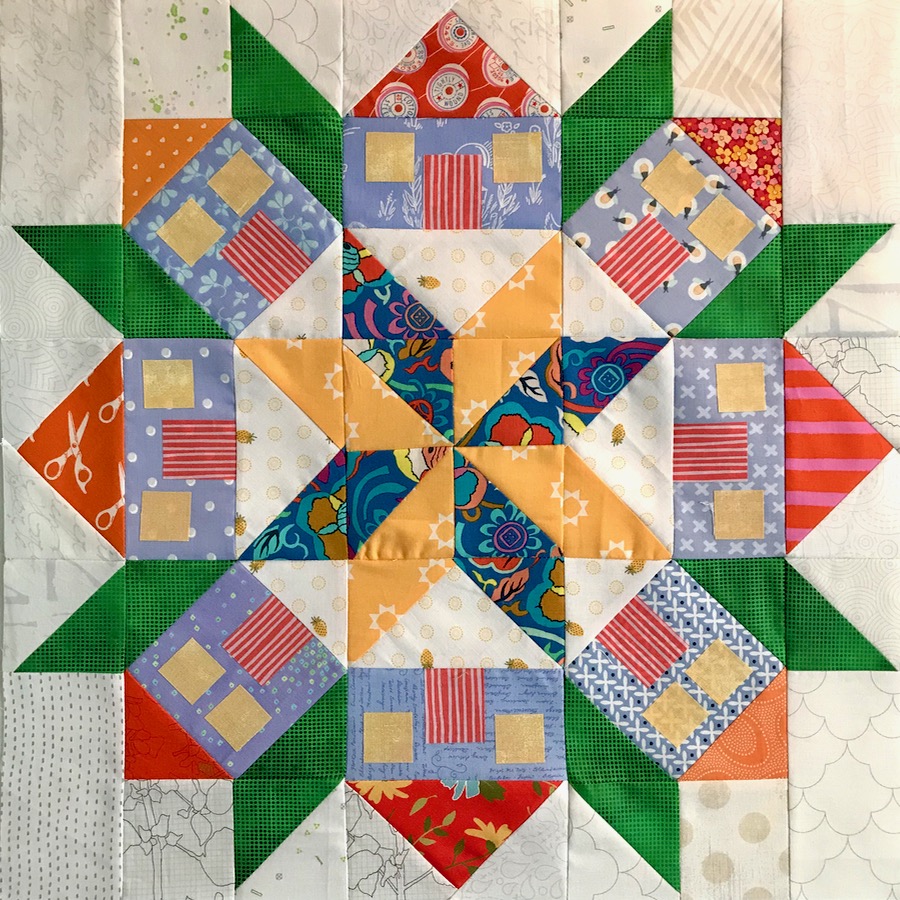
How much of our life is a “push” experience? How much of our activities and interests are “pull”? Do we value our time at the machine, or with cloth, or with the needle because it is a “scarce” activity? Or because we had the patience and stick-to-it-iveness to finish the stitching, the quilting, the cutting?
I guess it could be both. I guess it could be all.

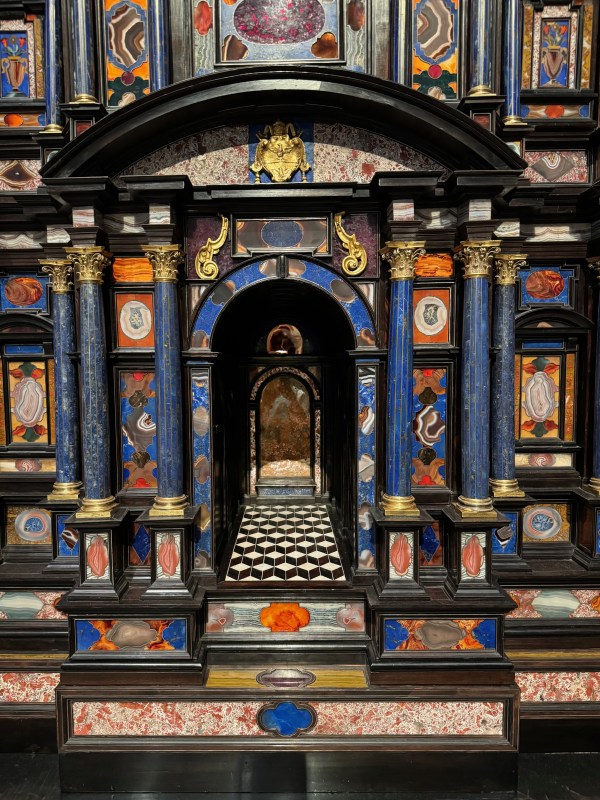
Final image: Made in the 1600s for one of the popes, this smallish curio cabinet is a classic example of sitting with the thing in front of you until it is finished. Although I have to admit that if I were the cabinet-maker on the other side of the centuries, it might be feeling like a push. And that’s how it goes, right? I saw this in the Getty Museum in March.