Mini-quilt · Quilts · Tiny Quilts

A Tiny Quilt for Summer

Tiny Sailboat Quilt_on frame

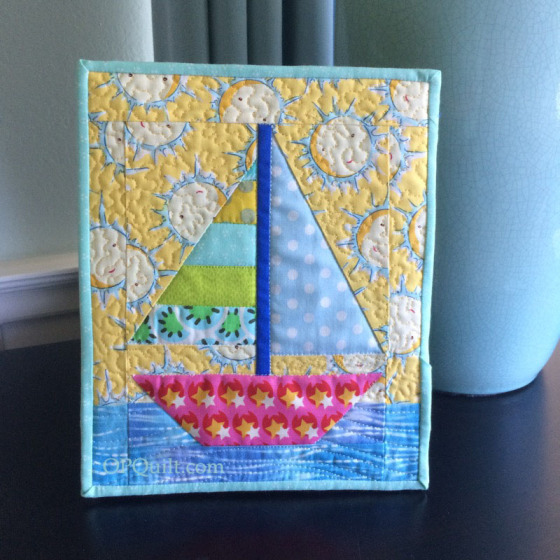
Tiny Sailboat Quilt_front on frameI made this for an exchange at my Guild Night, but then my daughter and her family came into town and I didn’t go, so now I have my own little quilt.

It has its own stand, and it’s easy-peasy to make.
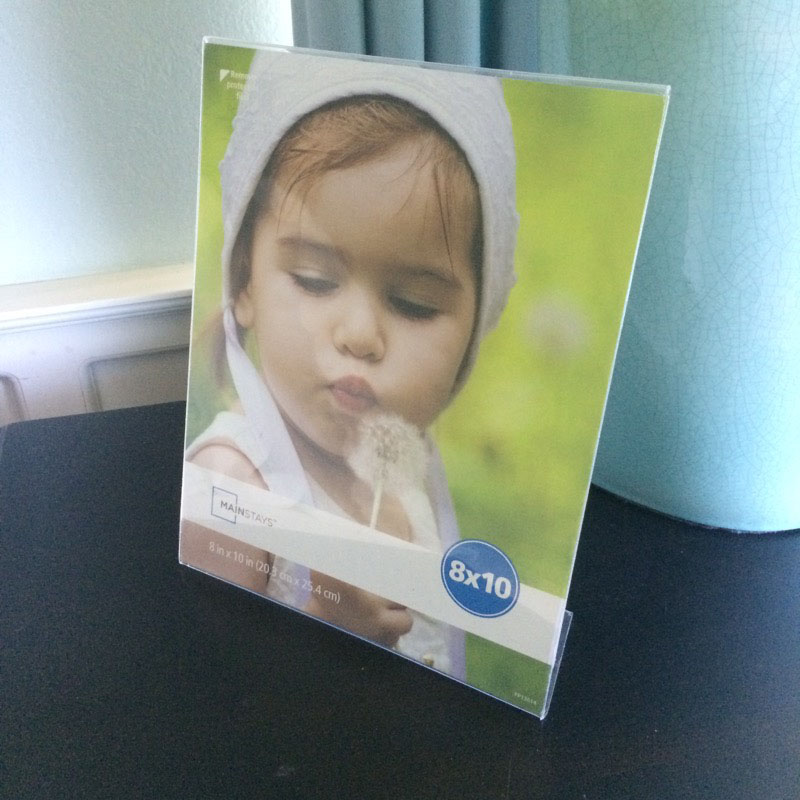
Acrylic Frame

First, buy one of these.  They used to be more durable, but this is cheap-cheap-cheap and it works.
Tiny Sailboat Quilt_1

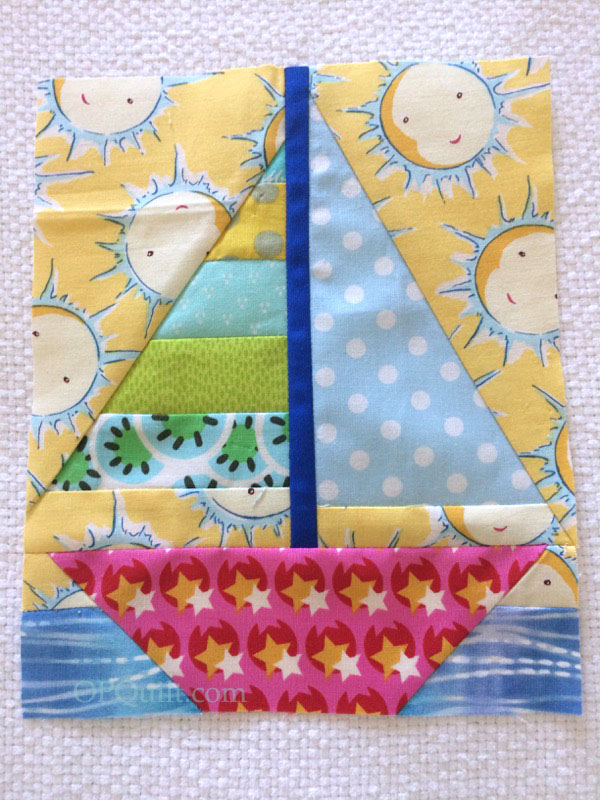
Make yourself a sailboat.  I pieced the sail on the left first before sewing it into the mini-mini-quilt.  Here’s the templates in a PDF file (be sure to set your printer to 100% before printing): Tiny Sailboat  And if you like to foundation paper-piece, here it is again: Tiny Sailboat PaperPiece Pattern

Tiny Sailboat Paper Piece

If you are using the foundation paper-piece, cut the pattern into three pieces, as shown by the red lines, being sure to mark it somehow with seam allowances. (I use a colored pencil and draw it along the line before cutting it apart to remind me it is NOT a cutting line, but a seam line.)
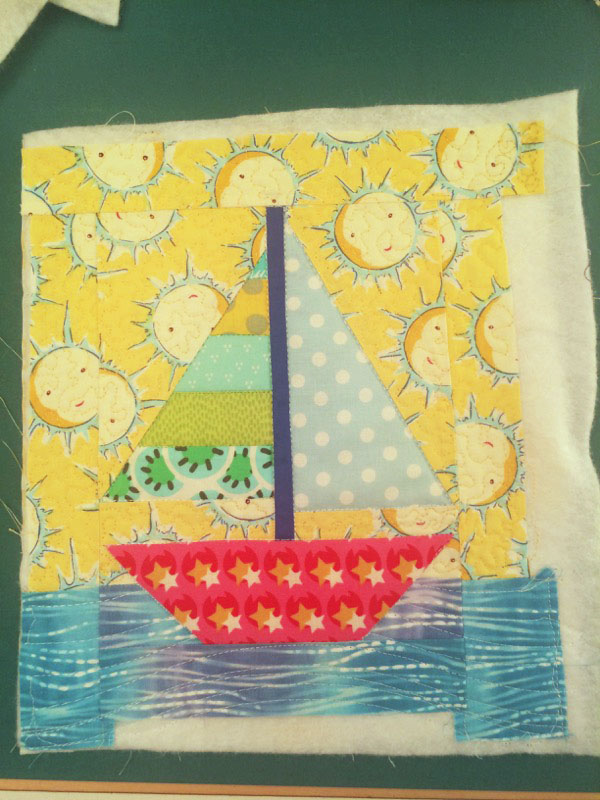
 

The little sailboat finishes at 6 1/2″ by 8″ which isn’t big enough for the frame.  I added the sunshiney fabric on three sides, seaming a bit of “ocean” fabric on the sides to keep the horizon line.  I also added ocean fabric to the bottom, so now my little boat is afloat.
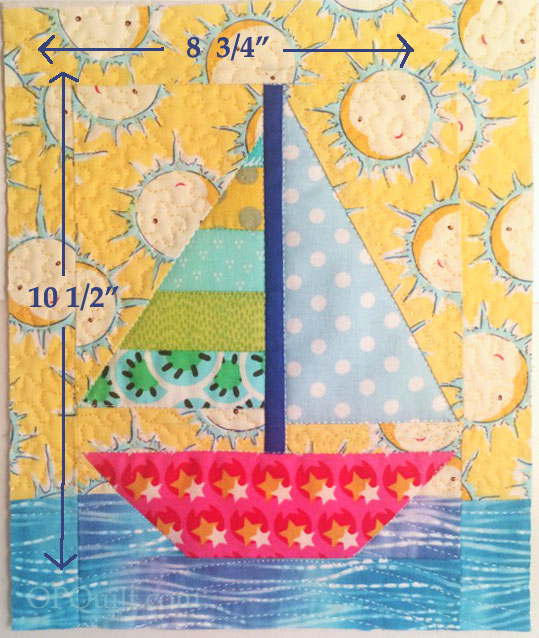
Tiny Sailboat Quilt_cut to size

Quilt as desired (curvy waves in the ocean, straight lines outlining the sailboat and sails, and stippling in the sunshine), then trim to the above size: 8-3/4″ by 10-1/2.”
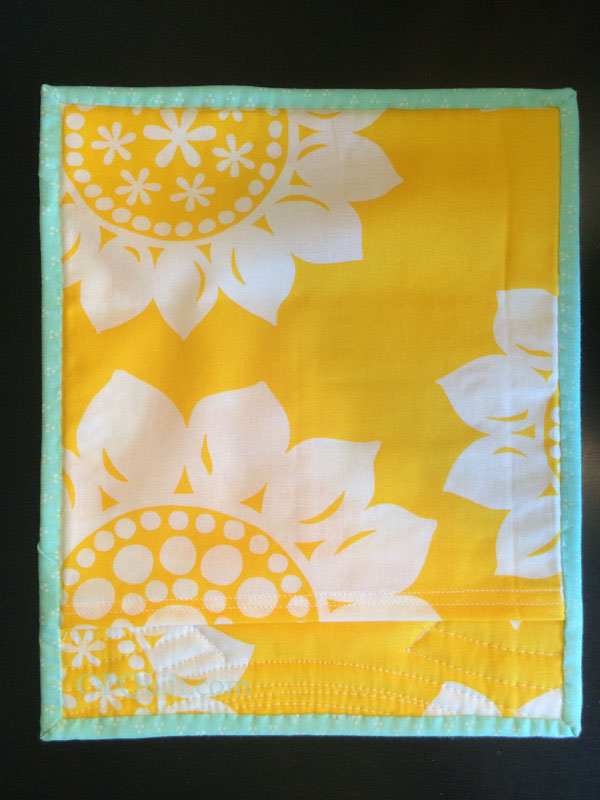
Tiny Sailboat Quilt_back

Make the sleeve: Hem one short edge of a piece of fabric cut to 8-3/4″ by 9-1/2″ and place it wrong-sides-down on the back of your mini-mini quilt.  Pin in a couple of places.

Cut strips of binding 1 1/4″ wide, seaming if necessary to get the desired length.  Stitch the binding from the front, right-sides-together, then turn the back, tucking under the raw edge.  Hand-stitch closed.

Tiny Sailboat Quilt_front on frame

Our guild does these a couple of times a year, creating a changeable scene for your home.  I’ve previously hung minis on a wall, but I’m really liking this quilt-on-a-stand idea.
200 Quilts · Chuck Nohara · Mini-quilt · Quilt Patterns · Quilts

Early-May Accomplishments

Gidsters May Bee

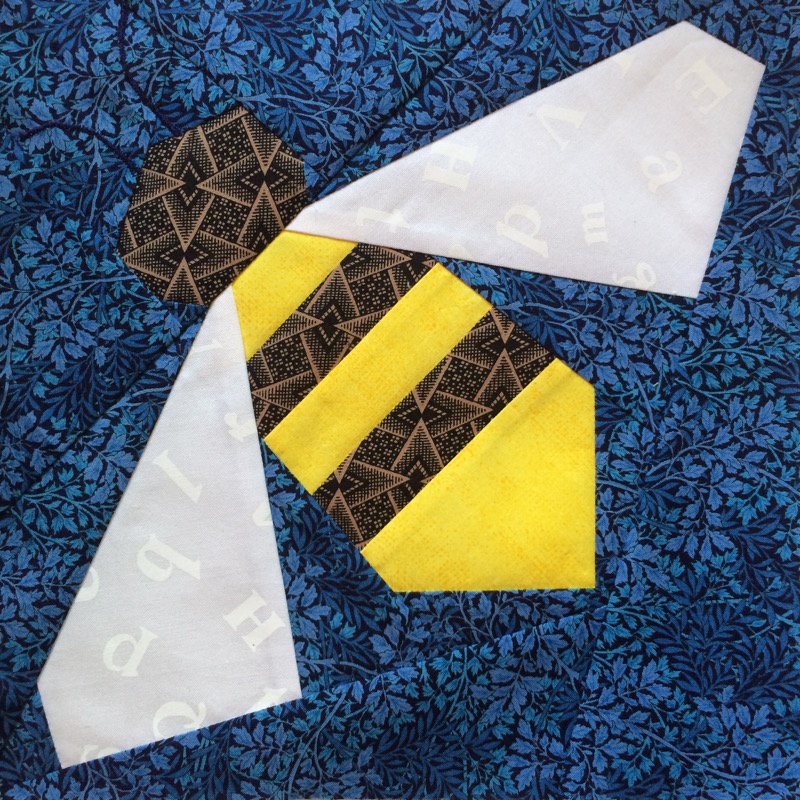
I finished my Gridsters Bee block for Rachel.  She asked for buzzy bees, as she is a beekeeper in the Midwest.  Her tutorial is *here,*  as well as links to her pattern, but I didn’t cut apart the pieces.  I just straight paper-pieced the thing, then joined the head section to the body section.  We blew up the basis 6″ pattern to make 10″ finished bees.  I can’t wait to see what she does with them all.

Chuck Nohara May17_1

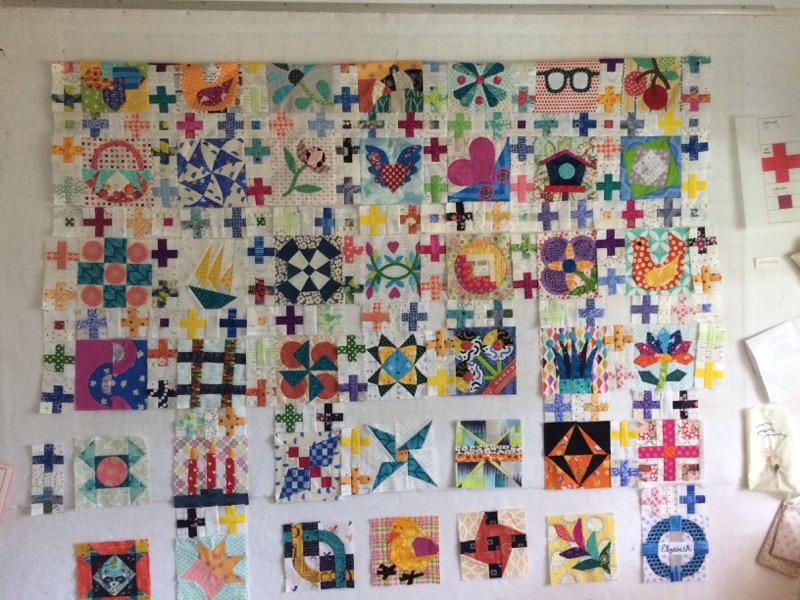
This is beginning to feel like the never-ending quilt.

I’m making small (2-1/4″ finished) plus sign blocks to go in between all the Chuck Nohara blocks that Susan and I made together last year.  Our blocks are 6″ finished, so after I worked out the measurements, I drafted a pattern for the sashing.  Here is the PDF: Chuck Nohara SashingFinal

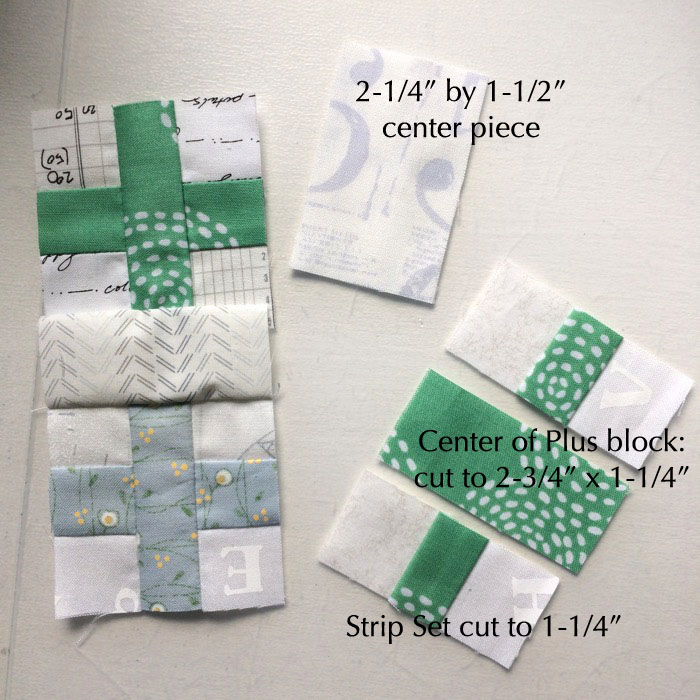
I started the plus blocks by cutting strip sets (2 low-volume and 1 bold), then seaming the two low-volume onto the bold on either side. Cut those across the strip set into 1-1/4″ wide strip pieces.  These pieces are both the a) top and bottom of your plus block, and b) the center of the “dot” block, shown in the intersection of the sashing, above

ChuckNohara_plus assembly

I then cut matching pieces of fabric into 1 -1/4″ x 2-3/4″ bits.  I sewed a matched set of two strip-set-blocks, one on top, and one of the bottom to make a “plus.”  Then I sewed 1 -1/4″ x 2-3/4″ pieces of low-volume on either side of a “dot” to create the mini block that is at the intersection.

Then the low-volume center piece, in between the two plus blocks, measures finished  at 2-1/4″ by 1-1/2″ (so cut 2-3/4″ by 1-3/4″).

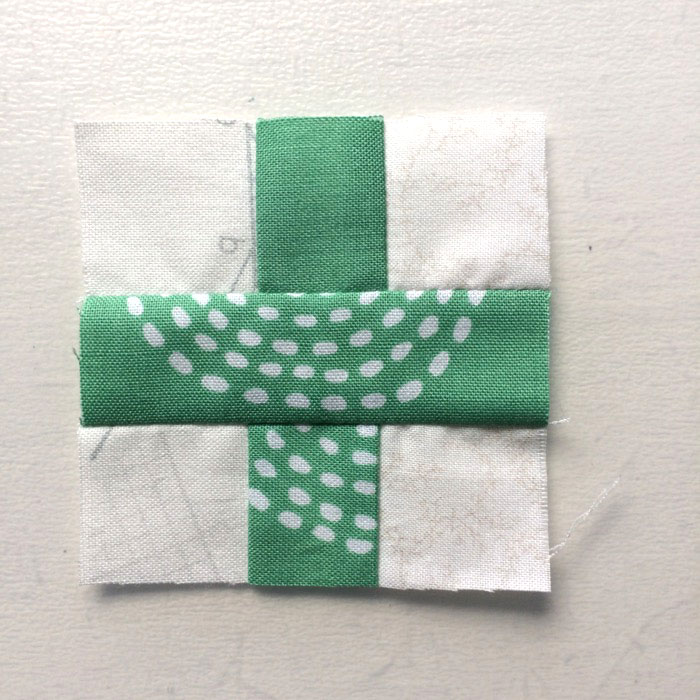
ChuckNohara_plus block

The “plus” and “dot” units finish at 2-1/4″ square, so trim them to 2-3/4″ square (size before sewing).

Sew two “plus” units on either side of the low-volume center piece.  Arrange them all around, then sew the row with the blocks and plus-units first:

ChuckNohara blocks row

Then I sewed the “dots” and plus-units together:

ChuckNohara blocks row2

And then I finished sewing them all together:

I’m now trying to figure out the borders.  After all the piecing I did for the sashing, I can guarantee you it won’t be like the borders Chuck Nohara showed in her book:

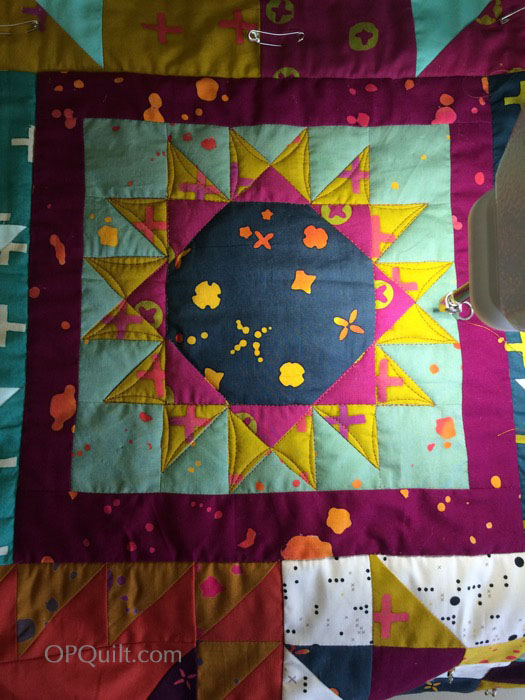
I’ve finally progressed to the place in my physiotherapy (I like the way the Australians say it, as we just call it “PT”) where I could try out my Sweet Sixteen quilting machine again.  After 3-1/2 months.  It took me a while to get the thread tensions balanced, but then was I able to get going on my quilt from the Traveling Threads Bee, made of Alison Glass fabrics (with a few others).

Bliss.  This block, from Toni of HoosierToni, is coming along nicely.  I’m limiting myself to 30 minutes/session so I don’t break my surgery (my one big fear in life).

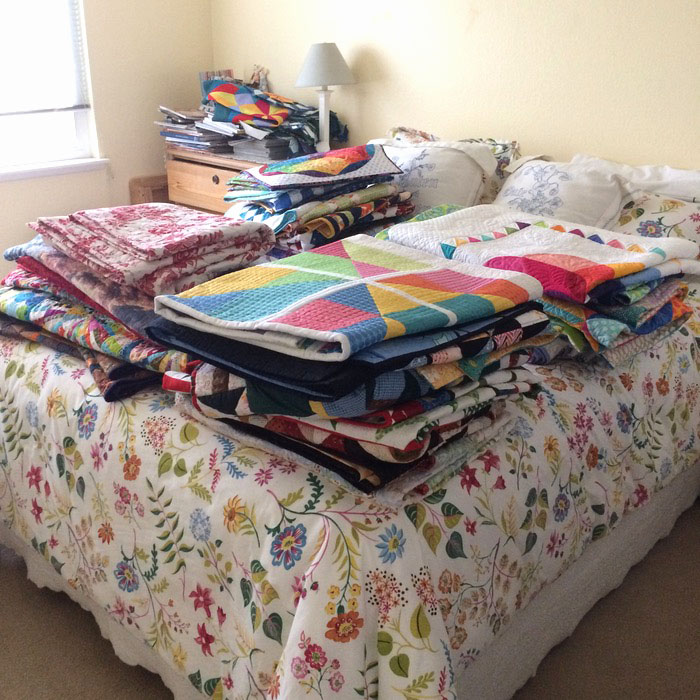
Lastly, you are all invited to our Raincross Guild Meeting this coming Tuesday, May 16th (6 p.m.), where I’ll present a trunk show of my quilts–well, only 25 of them.  My husband helped me get them from our closets, walls and cupboards, so I can decide the order and what to say.  I just clicked over to the Guild’s website, and in true humbling fashion, I’m not even listed.  But Latifah Saafir is, on the day I’m supposed to teach a class for the Guild, too.  What will I be teaching?

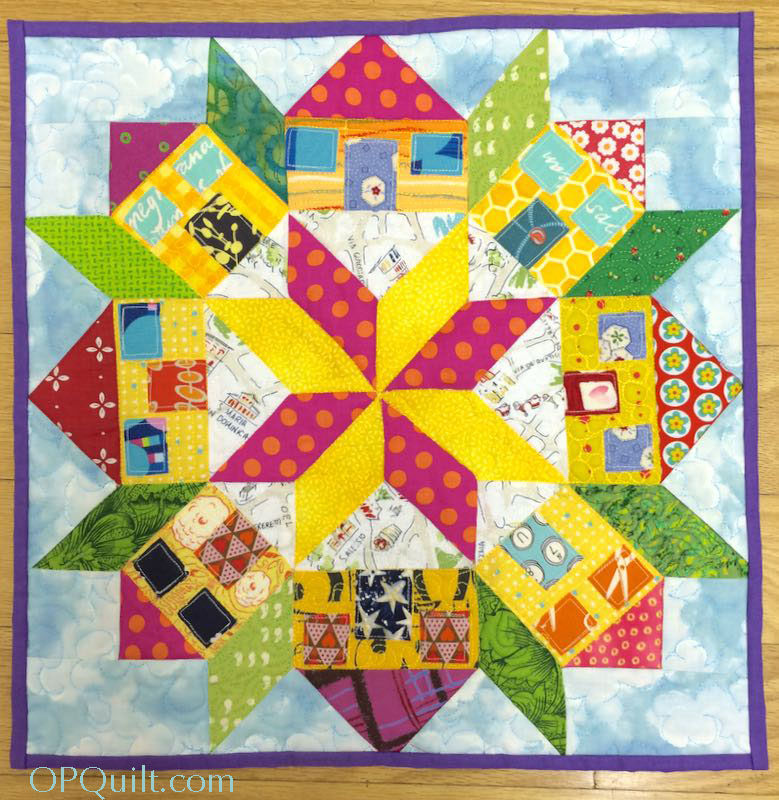
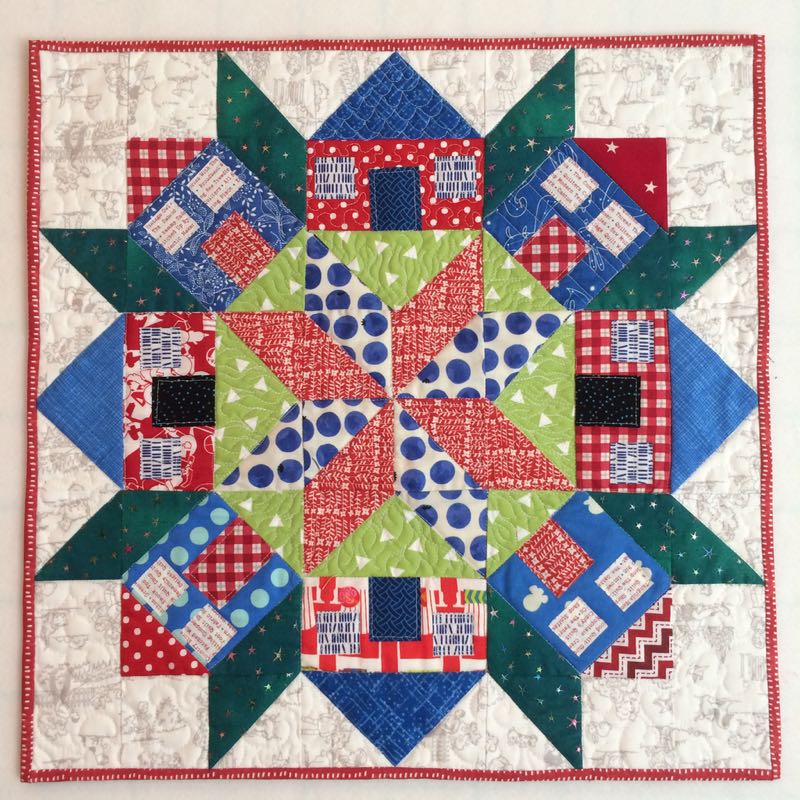
My Home, Sweet, Home mini quilt.  I think they have a few openings, but I’m not sure.  I’ll be emailing the class members prep instructions, that if they complete them, they will finish their quilts in class.  That’s June 3rd, from 9 a.m. -2 p.m., with a 30-min lunch break (bring your lunch).

Last time I taught this class, I was able to snap a photo of three Home Sweet Home quilts. They look awesome!  Patterns are for sale in my Craftsy shop, just in case you aren’t able to attend that day.

Happy Quilting!

Free Quilt Pattern · Mini-quilt · Quilts

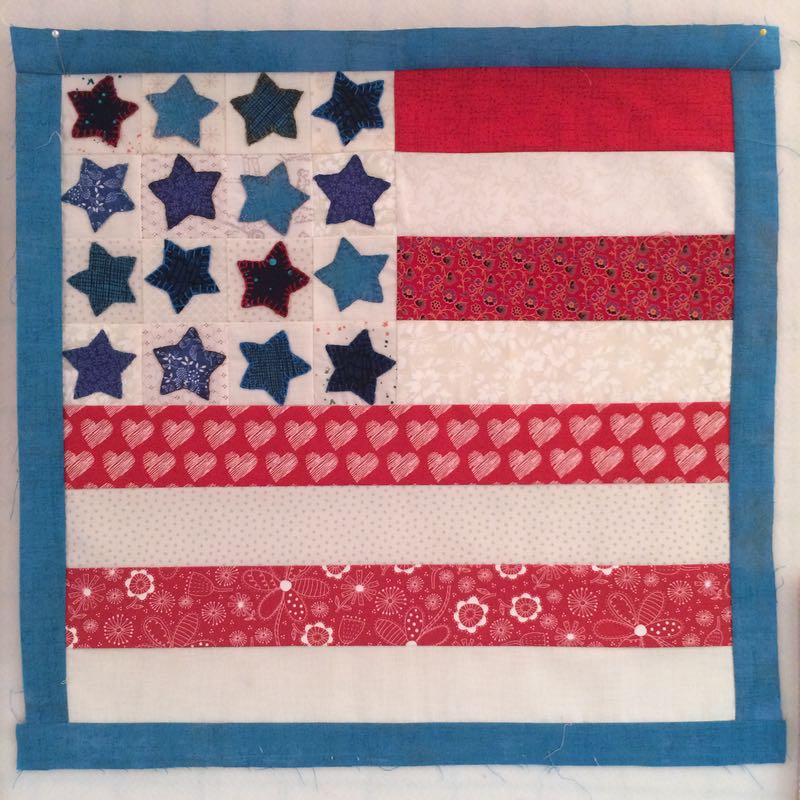
Liberty USA Mini Quilt, 1 (along with some “slow quilting”)

liberty-usa-quilt1_stars

liberty-usa-quilt2_sewing-stars

I have always wanted a patriotic mini-quilt, so before surgery, I prepped up these little stars, fused them down to 2 1/2″ squares of fabric and stitched them together in a block.  I figured I could stitch on them while healing.  I would use some of those pearl cottons I’d collected while doing Oh! Christmas Tree, and blanket stitch around the shapes.

liberty-usa-quilt3
liberty-usa-quilt4

The first day, all I could stitch was ten minutes.   I came back to it a week later and over a few days, finished them up. Now what?

liberty-usa-quilt5

I taught my husband how to rotary cut, and we got some stripes together (short is 8-1/2″ x 2-1/2″; longer is 16-1/2″ long x 2-1/2″).  I swapped out my big machine for my teeny Featherweight, and stitched them together, one-handed.  At my first check-up the doctor gave me the go-ahead to do stitching, as long as I wore my sling, saying it would be “therapeutic.”  Oh, yes.

liberty-usa-quilt6

Putting on these scissor-cut  1-1/4″ borders was not easy (finish at 3/4″).  I’m so used to man-handling the fabric for speed, I’d forgotten how to slow-stitch, or slow-quilt, or whatever you want to call it.  Before, I would grab the strip in front and in back and put some tension on it, floor my foot pedal, and force that fabric into place.  Since I only have one hand available to help guide it through the machine, this wasn’t going to work.

liberty-usa-quilt7
liberty-usa-quilt8
liberty-usa-quilt8a_word

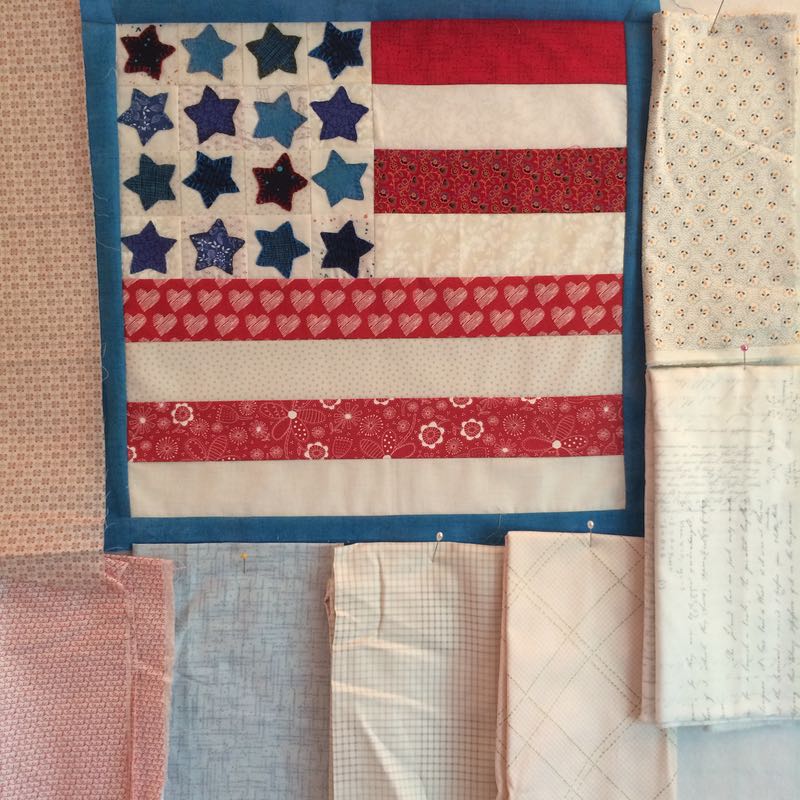
Auditioning the next border, with the realization that there is no driving, either, so no running to the fabric store if I don’t like what I have.  I scissor cut the borders, laid out the little mini quilt face-up on the ironing board, and gave it a good press and smoothed it out.  Next I laid the border face-down on top, and again pressed it.  Since I can’t force these pieces together, I have to coax them.  I pinned them together in many places, and fed the seam slowly through the machine.  Flattest border I ever put on, with no puckers anywhere.

liberty-usa-quilt10

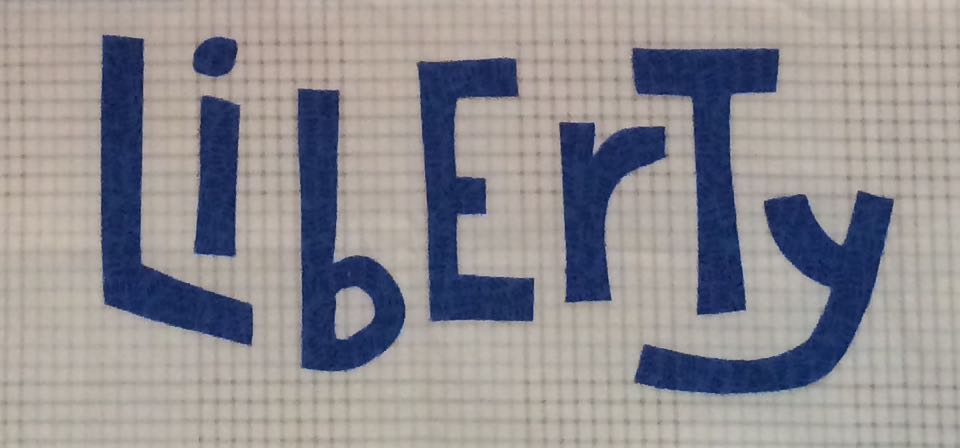
I had an old printout from the internet (couldn’t find the source when I went back to reference it) that had this word,  so I drew two lines, 5″ apart, then another guideline 1″ inside the top and bottom and freehanded the letters. I fused them on to the quilt.  They are about 5″ tall overall, as that outer border was 6″ scissor-cut.

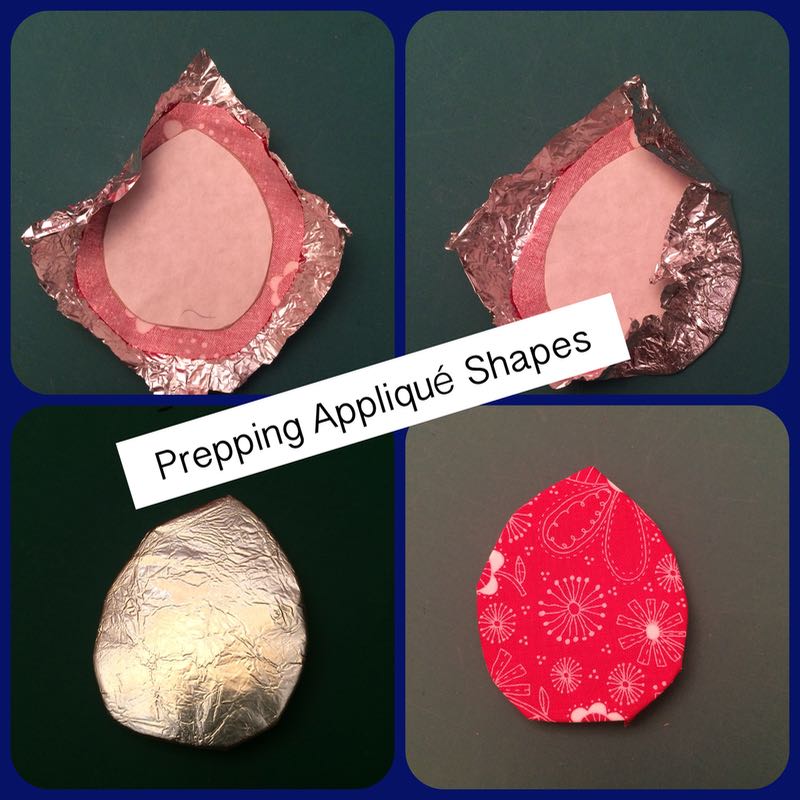
I sketched out a bud, figured out some leaves.  I drew joined leaves, inspired by my love of samaras, or those joined helicopter seeds from maple trees, but also inspired by this photo [PDF of pattern is at the end of this post].  Above, I am trying Sarah Fielke’s method of prepping up shapes for appliqué.  It worked fairly well.

liberty-usa-quilt11
liberty-usa-quilt11a

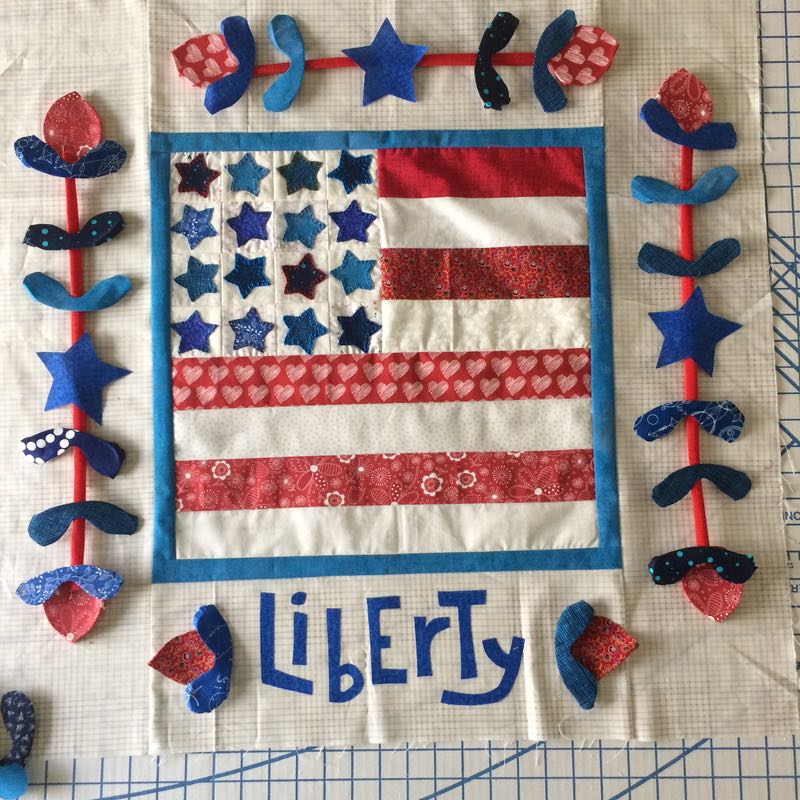
I laid out all the parts: leaves, byds (small and large), tubing for stems and more cut stars (on the pattern sheet), trying to decide if I like two leaf sets next to the word Liberty, or one.  I’ll appliqué or blanket stitch down everything…then decide.  Since I work in small segments of time, and ever so slowly, I might make my goal of July 4th.   Here’s the pattern sheet in a PDF document.

Please be sure to set your printer’s settings to 100% so the large star will measure 3-1/4″ where noted. It contains: large flower bud (top and two sides), small flower bud (next to Liberty), joined leaf shape and the large star.  You can either shrink this star for the 16 stars in the central star section, or look for a star online that will measure about 1-3/4″ to 2″ across.

liberty-usa-quilt12
My set-up is a pattern-cutting board laid out on the extra bed, a chair pulled up to it.

Keep stitching, however s l o w l y !

200 Quilts · Four-in-Art · Mini-quilt · Quilts

Deconstruction of Shimmery Tunnel of Memories • Four-in-Art Feb. 2107

4-in-art_3button

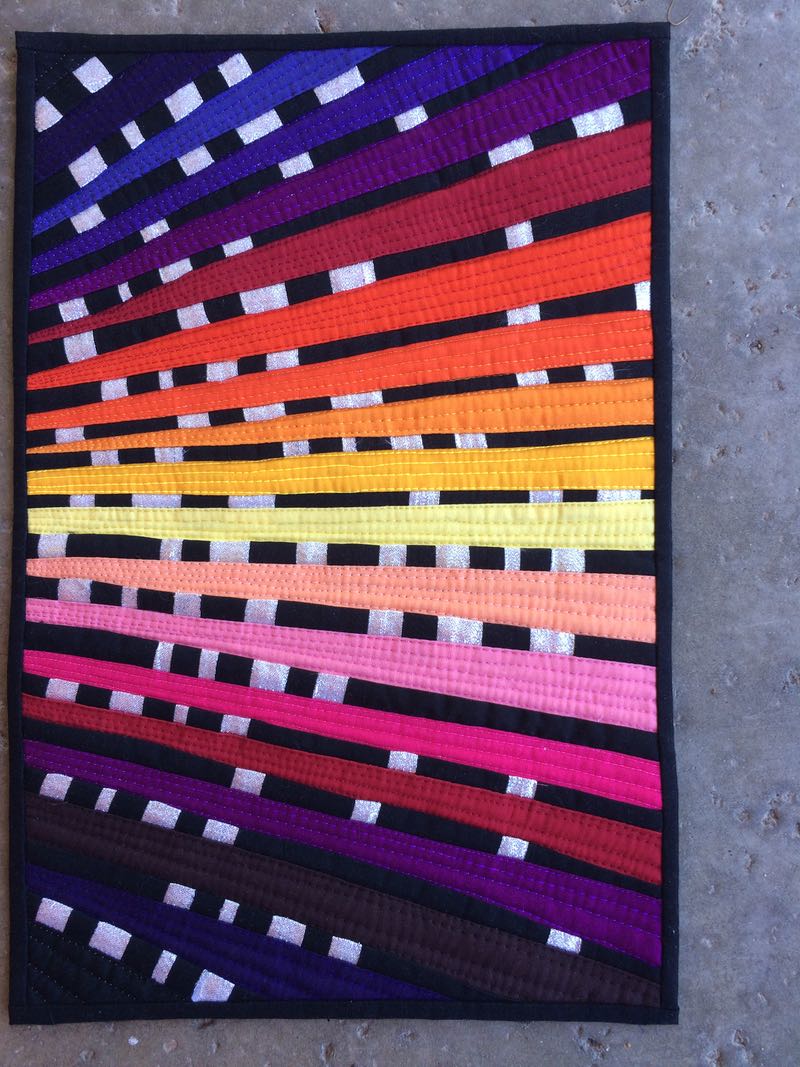
This is the deconstruction post for my recent Four-in-Art Challenge of Shimmer.

shimmerytunnelmemories_front

First off: what a lame title.  I had another name picked for this (“Multiverse Snapshot”) which is a much cooler name, but I’d forgotten that I had chosen it, and instead on the label put this blathery clichéed title.  Now that you know how I really feel about it, I’ll tell you how I put this together. (And no, I’m not making another label.)

shimmerytunnel_1

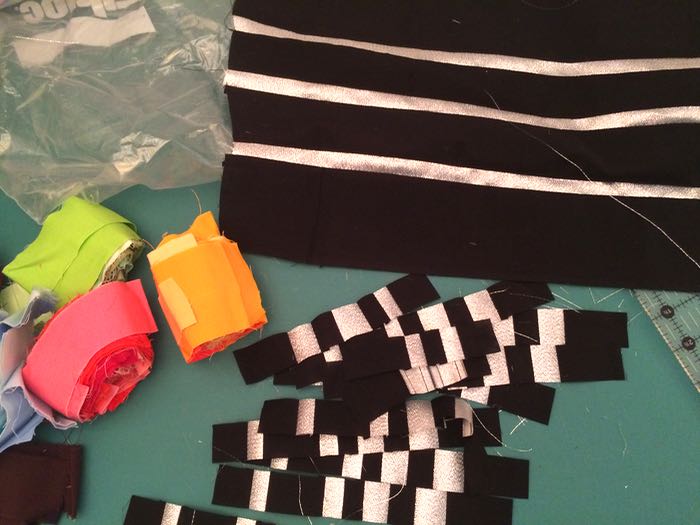
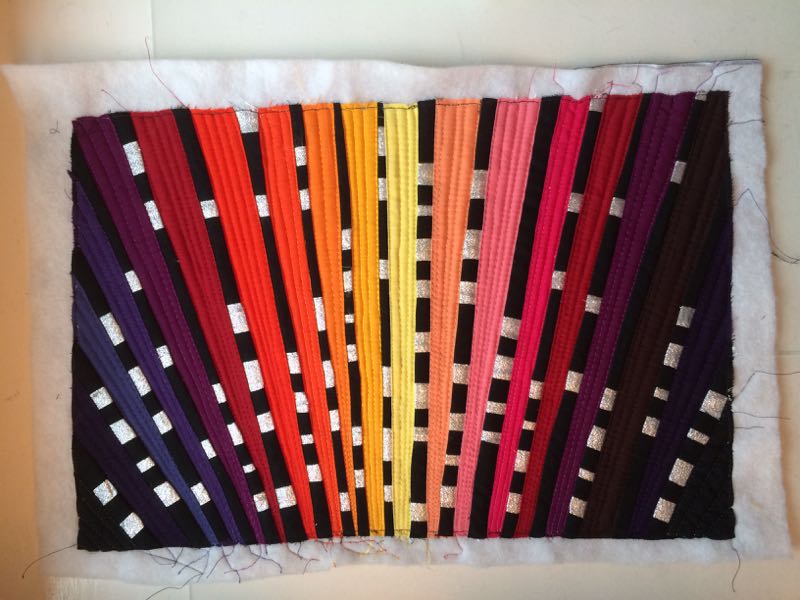
I wanted to recreate the little specks of light from Multiverse (see previous post), so cut strips of silvery metallic fabric.  This is leftover fabric from my friend Lisa’s American Flag project (a flag the size of a basketball court); she rescued me when I couldn’t find my own lamé in my sewing room. Just for the record, that stuff is a challenge to work with: the strands kept going off on their own, as you can see above.shimmerytunnel_2

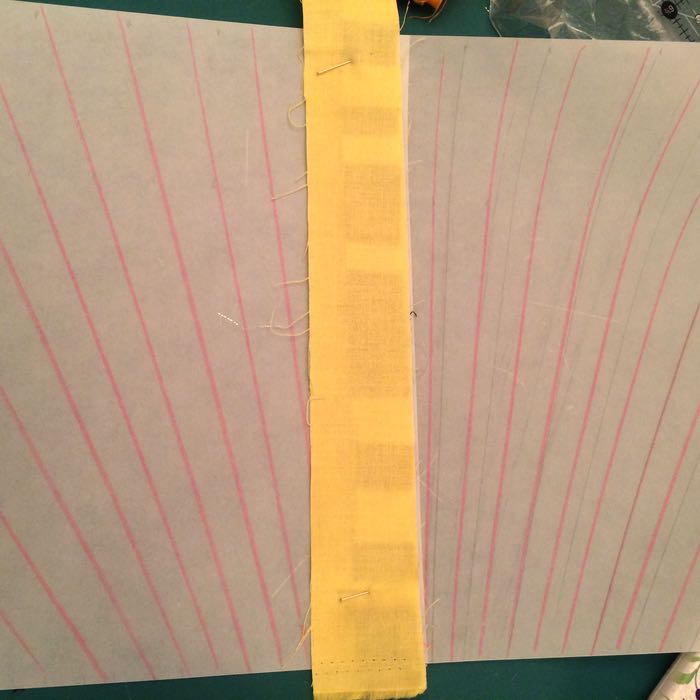
I wanted the vantage point to be off the piece, so I drew a dot on a post-it note off the paper, but when that didn’t prove to be a far enough vantage point, I went further to the left, making the radiating lines in red pencil.shimmerytunnel_3

I had some strips of solids leftover from this quilt, and put them into use.shimmerytunnel_4

After sandwiching the silver/black fabric, I cut it into narrow strips.shimmerytunnel_5

I seamed a couple of those strips end-to-end, laid the resulting longer strip in the center, and chose a bright solid to lead off the piece, and stitched down one side.  I went back and forth between doing this piece in a series of gray and black fabrics vs. rainbow, but knew that I didn’t have a wide enough range to get the effect of Multiverse, so changed it up to a muted rainbow.shimmerytunnel_6

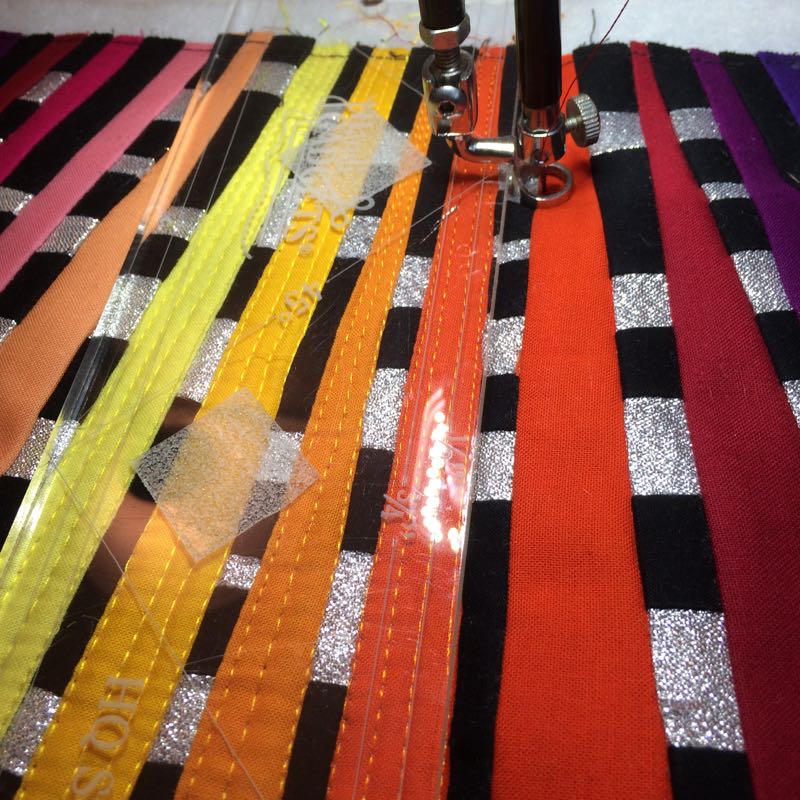
I pinned it on, flipped it over and sewed on the drawn lines, for the most part.  Sometimes I went narrower, but used these lined to keep the correct angle going.shimmerytunnel_7

A good beginning.  You can see by the red cast of this photograph that I’m sewing at night.

A lot of times I’m tired at the end of the day and don’t want to sew, but then I say: “What do I want to have done before I go to bed tonight?” and head back into the sewing room.  Often just working for ten or so minutes will engage me enough to keep going at it for at least an hour.

I was feeling a lot of pressure to get this sewn up ahead of time, because I knew that I would have had a surgery when this posted (it happened about a week ago: a repair to a severed tendon on my rotator cuff) and I knew I’d be unable to complete this, or any sewing at all, for some time.shimmerytunnel_8

But hopefully it will be good to get the pain gone (cause is referenced here) and my shoulder back in working condition.shimmerytunnel_9

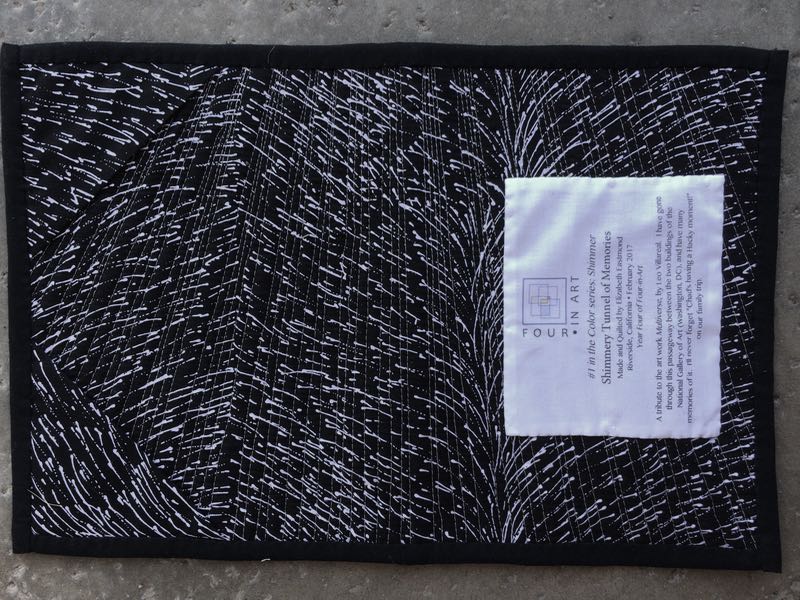
I almost like the back better than the front.  If I had any creative guts at all, I would have gone with this.  My professor in my digital art class once told me: “You have a problem with tidiness in your art.”  Yep, I’m all about the tidiness, as long as you don’t look at my garage.  Or sewing room.shimmerytunnel_10

I stitched around the outside edge to stabilize it, and went to bed.shimmerytunnel_11

After thinking it over and drawing all sorts of fantastical loopy lines on scratch paper, I went linear, quilting on the cottons, not that silvery shredding lamé.shimmerytunnel_12

Done.

simmerytunnel_13

I backed it with this new piece of fabric, “Dropping Seeds” by Roseanne Morton.  Okay, I want this fabric in ALL colors; it’s terrific.  I chose a simple black very narrow binding, and did my usual two squares-folded-on-the-diagonal-and-sewn-into-the-top-corners for how I’ll hang it.  (I put a dowel cut to size in those “pockets” and suspend the piece on a pushpin or nail.) Happy Shimmering!

Next quarter’s challenge, due May 1st,  is Light in the Darkness.