100 Quilts · 300 Quilts · Quilt Finish

Christmas Criss-Cross Finished

Christmas Criss-Cross_1

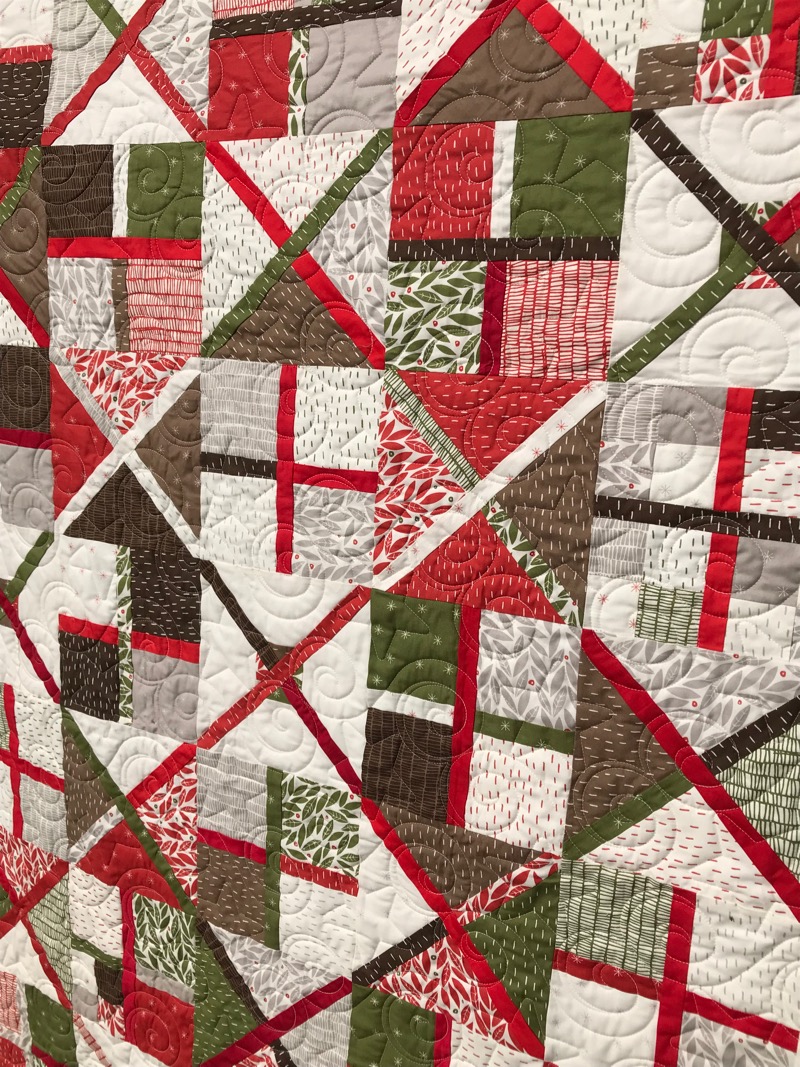
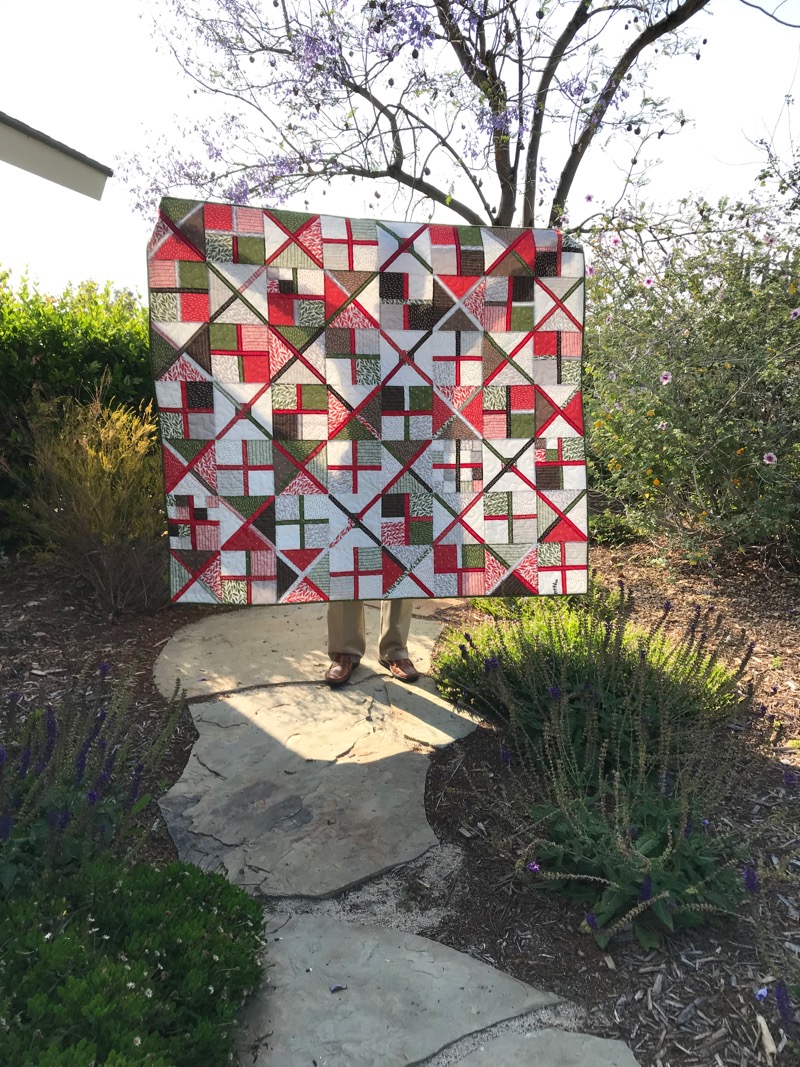
Christmas Criss-Cross, June 2019
Quilt #219 • 60″ wide by 66″ tall
Christmas Criss-Cross_2
Christmas Criss-Cross_3
Christmas Criss-Cross_4
Christmas Criss-Cross_5

I started this for the 20th anniversary of a small quilters group I’d participated in, as we were given mini-charm packs of this print.  Of course, that only got my toes wet, as I soon ordered a Layer Cake.  Then yardage.  Then backing.

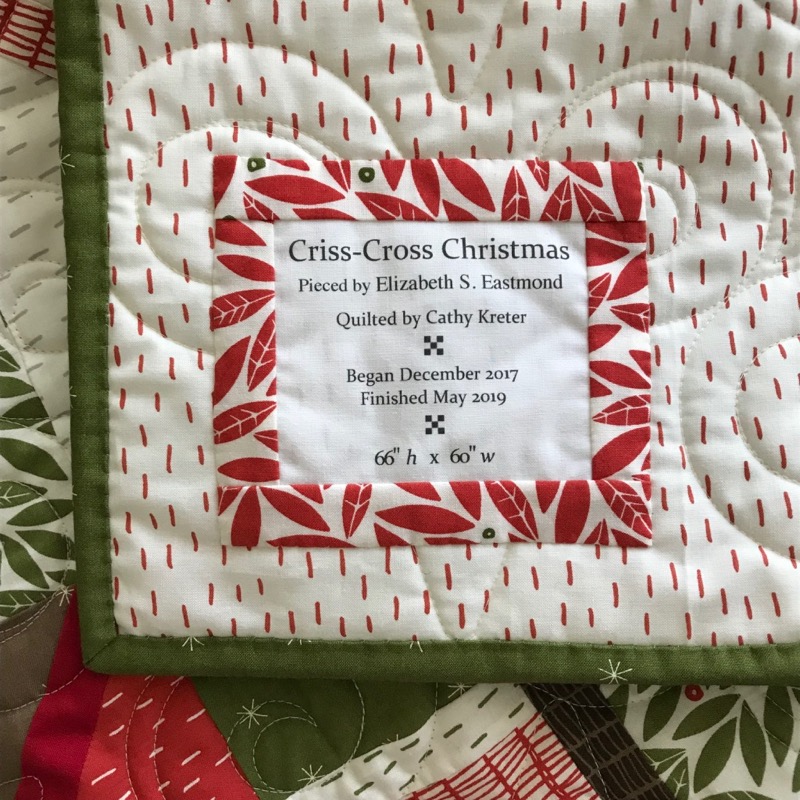
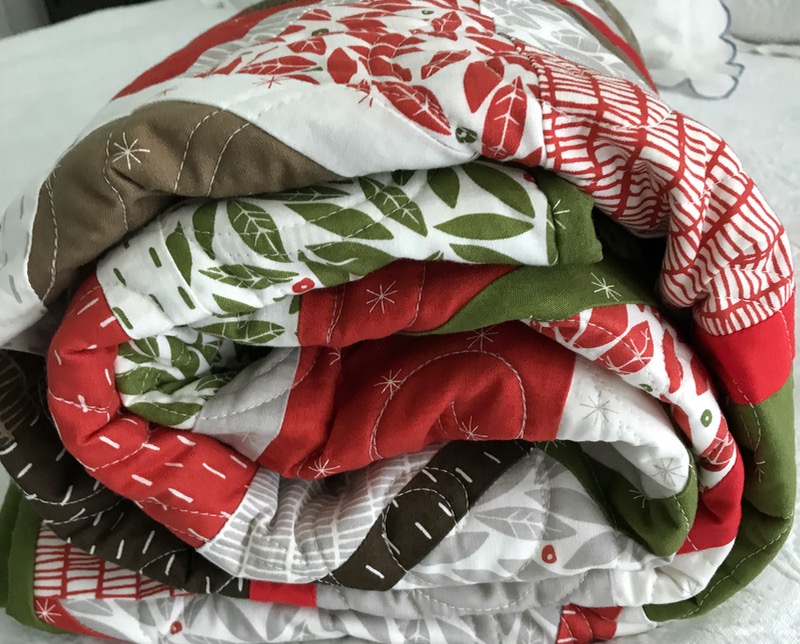
My quilter, Cathy Kreter, finished this up quickly and I put the binding on this past month (so, while I finished 12″ of the binding in June, technically it was finished in May, when I sewed the label on).
Christmas Criss-Cross_6

It will be hanging out in my closet, waiting for the holiday season to arrive, a nice lap-sized quilt to use when watching all those holiday seasonal specials.  It doesn’t require a Quilt Ph.D to make this.  I walk you through the steps on an earlier post.  There are many variations of the block in my reference book, but I can’t give you a name for the block outright, as there are two basic blocks in this, both four-patch variations: one is cut on the diagonal and one on the straight.

Christmas Criss-Cross_7
tiny-nine-patches
Get to Work Book 2019

In other news, my Get to Work Planner arrived and this time I ordered the elastic band to put on my old one, as I tape in all sort of things and the book has kind of expanded.

ESE Utlity Quilt_1

Recently I had an interesting letter in my emailbox.  A young professor asked if he could use the image of this quilt in a project he was working on for his English class.  Since I’d taken it in to my class when I taught the short story Everyday Use, I quickly acquiesced.ESE Utlity Quilt_2
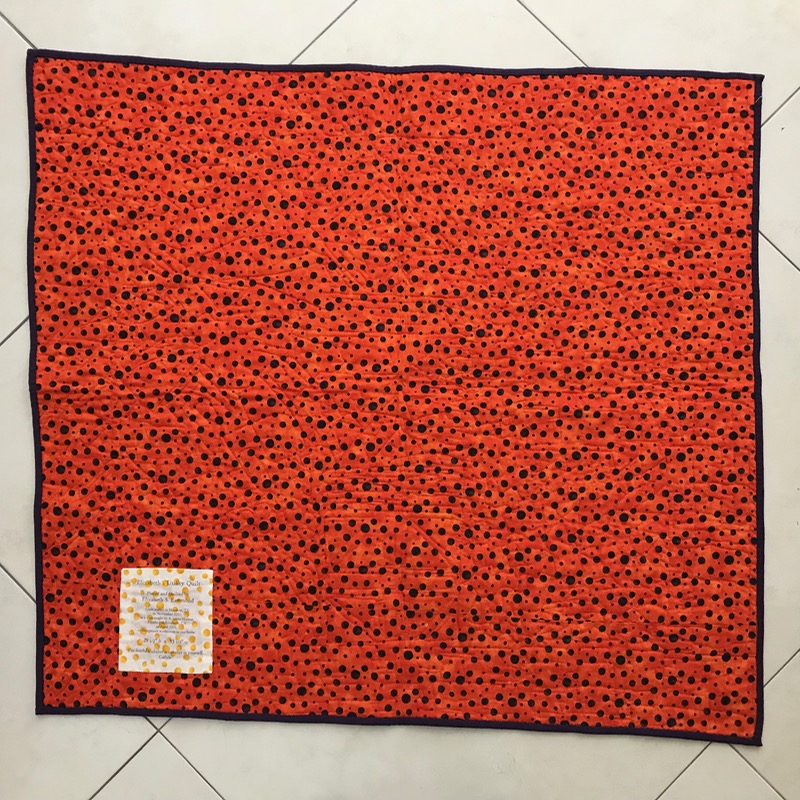
Yep, it’s pretty wonky.  It was designed that way in a class I took with Roberta Horton in Houston, eons ago.  I treasure the quilt for that reason alone.  It’s #37 on my Lifelong Quilts lists.ESE Utlity Quilt_3

I think at one point I wanted to put an epigram on every quilt label, but in a quick survey, this is the only one.

Affinity.png

Lastly, such happy news arrived with the announcement of Affinity Publisher‘s public release on June 19th.  I’ve been a Beta tester in my own weasley and squirrely fashion for the last several months, sending in comments and notes on using the software.  While not a difficult software, there is a learning curve which is when I searched their tutorials and forums for help.  I use this to write my patterns, and I’m currently working backwards through the MSWord versions, and converting them one by one to a more professional look.

The introductory discount is 20% off the price, and there are NO SUBSCRIPTIONS to deal with (you know which company I’m referring to).  So mark your calendars, if you’ve needed software that can help publish documents at a higher level than a word processing program.
Free Quilt Pattern · Gridsters

Scrappy Radiant Star

scrappy radiant star_1

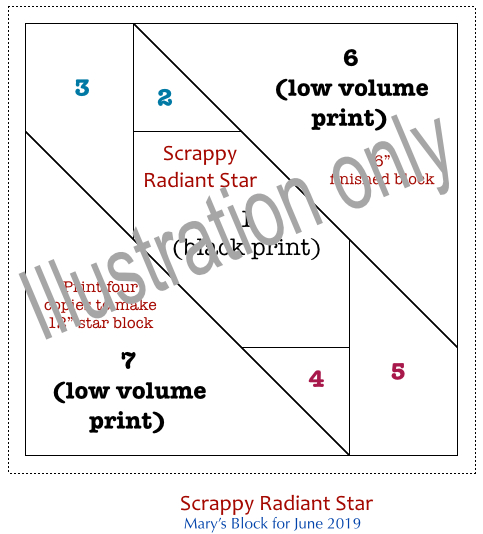
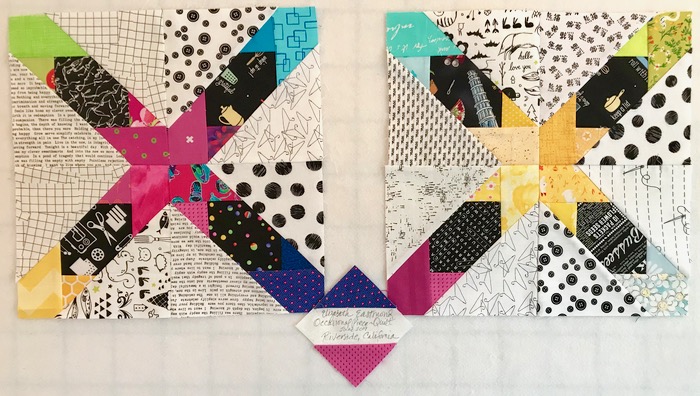
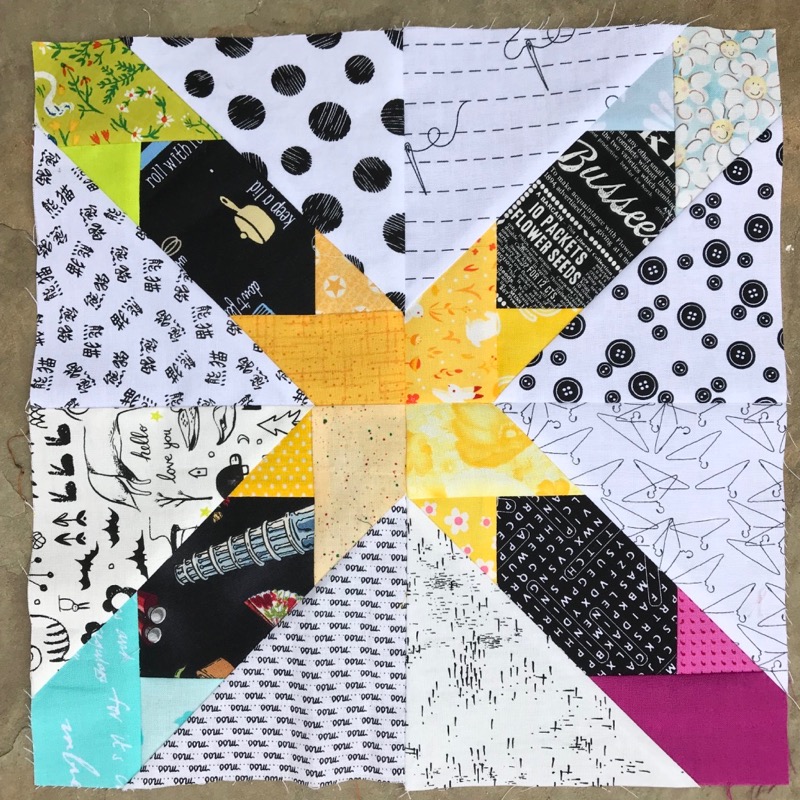
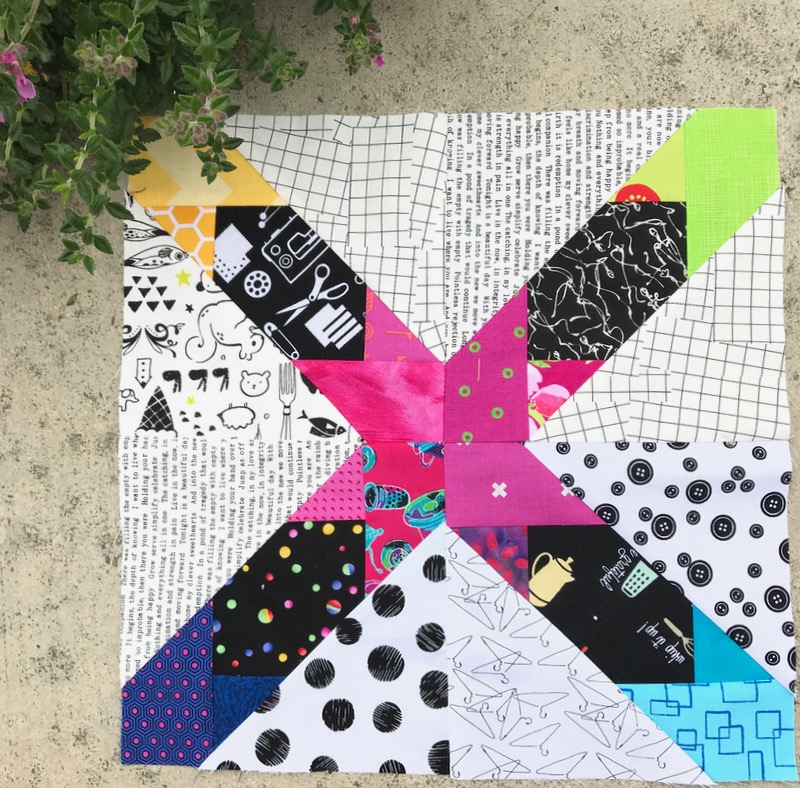
Mary, of NeedledMom, chose this block for her June turn as Queen Bee of the Gridsters.  Originally found on Wombat Quilts website as a free illustration, I redrew the block to Mary’s specified 6-inch (finished) size.  Four of these blocks are put together to make Mary’s larger 12-inch block.

scrappy radiant star_2

Scrappy Radiant Star Illustration

Click on the download PDF file here:

Scrappy Radiant Star

You’ll need four copies to make one 12-inch block, as shown below:

scrappy radiant star_4
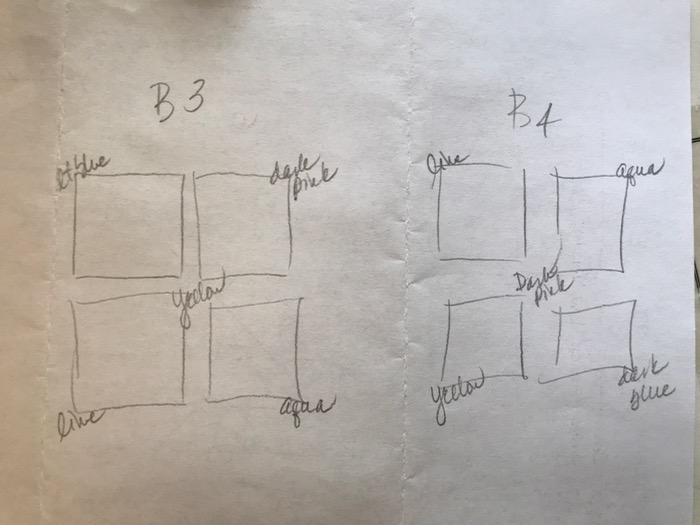
sketch I made to keep the colors organized

Notice there are FIVE colors per Mary’s larger block.  Four corners have the same color, which when sewn together make that center star.  But in looking at the way she designed it, the colors are to be distributed throughout the quilt.  You can see her initial thinking about this version on this blog post (where you’ll also get a glimpse into her gardens and cooking.  I love reading her blog).

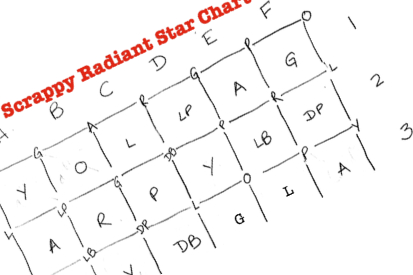
Peek Marys Chart
Just a peek–download below.

Mary gave me permission to post the chart she drew up to keep her ideas straight.  You can download this as a PDF:Mary’s Chart_ June Gridster Bee

You can see that she’s diagrammed the main stars (in the center), and the secondary stars in the corners.  We Gridsters each chose two blocks, identifying our choices using her coding on the sides and are now sending them to her.

scrappy radiant star_5

To further my tributes to Mary today, I’m making her bread recipe to go with my version of Italian Wedding Soup.

Have fun making these blocks!

Totes and Purses

Frida Kahlo Tote Bag Tutorial

Frida Bag_1

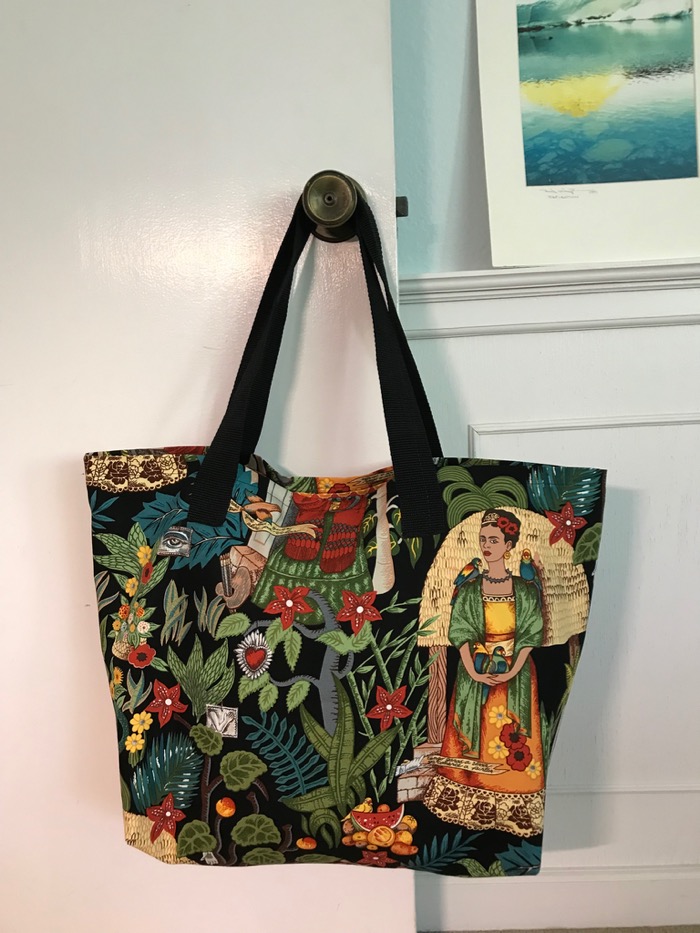
I recently had two birthdays to celebrate, that are near each other in the calendar.  I cut up my precious Frida Kahlo canvas fabric (made by Alexander Henry), yielding two bags from one yard.

So I wrote a little tutorial, for everyone should know how to make a bag out of fabric.  Hope this helps.

Frida Bag_Fabric Cutting

Do the same cutting with your chosen lining, trimming 2″ off the upper edge of the lining, as you want the lining to be slightly shorter than your Frida fabric.

Keeping Frida on her feet, seam the selvage sides Right Sides Together (RST), and then sew across the bottom.

Sew the lining bag sides, then across the bottom seam BUT LEAVE A 7″ OPENING IN THAT SEAM at the bottom of the bag.  You’ll need an opening later in this construction process, and leaving the bottom seam with a gap will later allow you to turn the bag.

Frida Bag_2

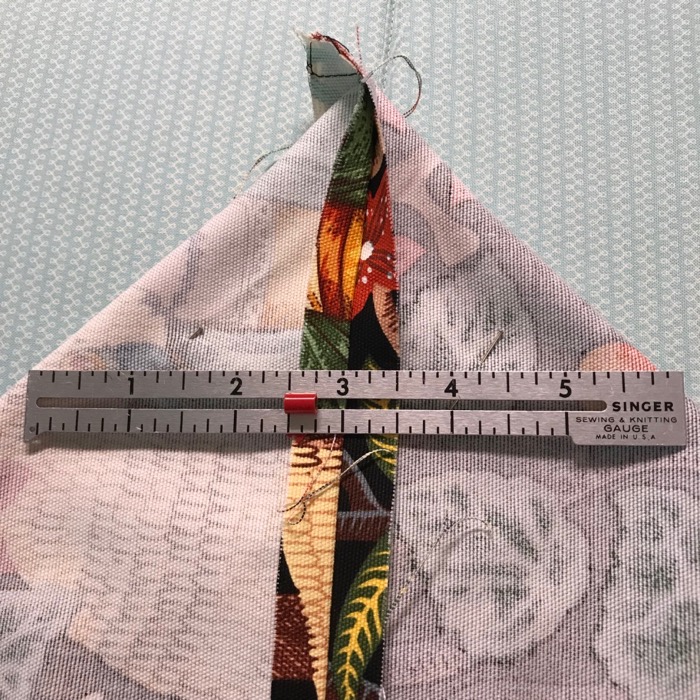
To make the bag have a flat bottom, you’ll line up the bottom seam with the side seam (where there wasn’t a seam, I pressed the side edge with my iron).  When you get them lined up, pin.  I went for a six-inch bag bottom, so I lined up the middle of my ruler along the seam, and drew a line.

Frida Bag_2a

You can see the faint pencil line here, on the lining. This is from the folded side of the bag, and you can see the ironed crease in the side, heading up to the point.

Frida Bag_2b

Stitch along that line, then 1/4″ away from that line, into the peaked corner.

Frida Bag_2c

Cut off the excess, leaving 1/4″ seam allowance.

Frida Bag Illus_2

Frida Bag Illus_2a

Frida Bag Illus_3

Matching the edges, stitch around the top of the bag using a 1/2″ seam.  Turn inside out through opening on bottom.  Line up the bottoms of the bag and lining, allowing the Frida fabric to roll over into the inside:
Frida Bag_3

I pressed the seam towards the lining fabric, into the bag.

Frida Bag_3a

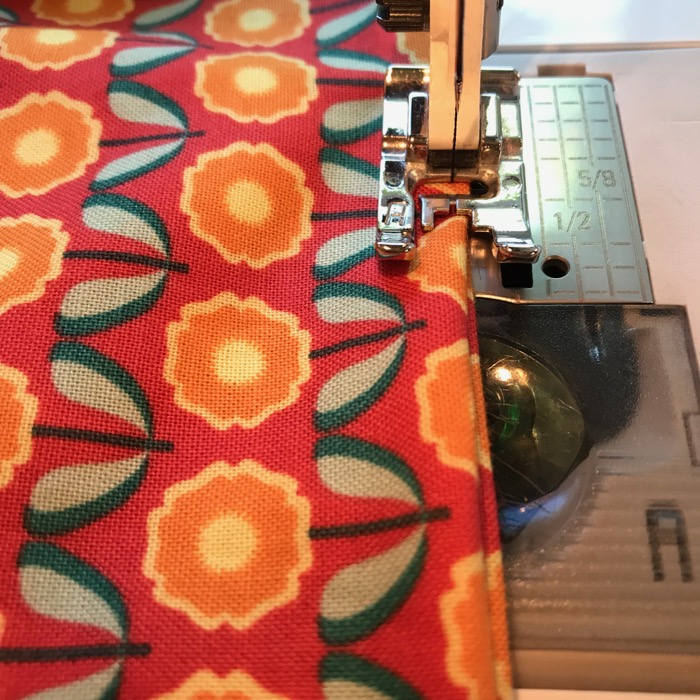
Stitch in the ditch, just above the fold of the lining, using thread that matches the Frida fabric.

Frida Bag_3b

Stitch the opening in the lining bottom closed, by topstitching the two edges together.  It can also be done by hand with tiny stitches.

Frida Bag_4

Time for handles.  On the front of the bag, find the center (matching up sides).  Mark with a pin.  Each bag handle is placed 3-1/2″ from the center.

How long to cut the webbing?  It depends on your use and how tall you are.  I wanted these to go over my shoulder, yet stay off the ground when using the handles to carry, so after pinning it at different heights to try it out, I finally cut two pieces of webbing 27-1/2″ each.

Pin them to the bag, making sure each handle stays on the same side of the outside.  In other words, don’t attach one end to one side of the bag and one end to the other.  The bag handles should be attached the same side of your bag (otherwise it won’t open widely).

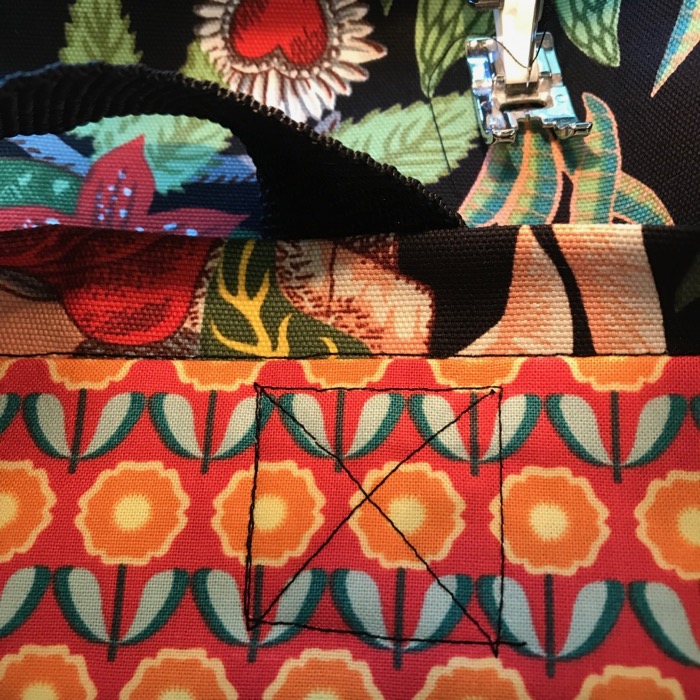
I placed the handles lower than the top edge of the bag, leaving an inch free.  I then sewed them down with a cross-in-a-box design:

Frida Bag_4a
Back, showing the stitching pattern for handles.
Frida Bag_5

Done!  I marked one side of the bag, so the user can find the “front” easily.  One has Frida’s Garden selvage label (shown above).

Frida Bag

The other one has a woven ribbon that says Ahali, which means “family relations.” (It’s for my sister.)

Now you have a quick tote, that is perfect for everyting, and because it’s lined, it’s sturdy and looks neat.  It took me a couple of hours from first cut, to this photo, for both bags, but having done this multiple times, I’m kind of fast at this sort of thing.  My grocery sack tutorial is a similar bag, but unlined. That site has a downloadable instruction page, if that works better for you.

tiny-nine-patches

I wanted to close out this post with a couple of photos from two women who attended my workshops.  It’s always a delight to see how others interpret the pattern.  If you have made one of my patterns, don’t hesitate to send me an photo!  You can also tag me on Instagram: @occasionapiecequilt.

Sheri MSquare
Merrion Square, version by Sheri
Charlotte HomeSHome
Home, Sweet Home, version by Charlotte


Free Quilt Pattern · Tiny Quilts

Bluebird of Quiltiness

Bluebird Tiny Quilt_1

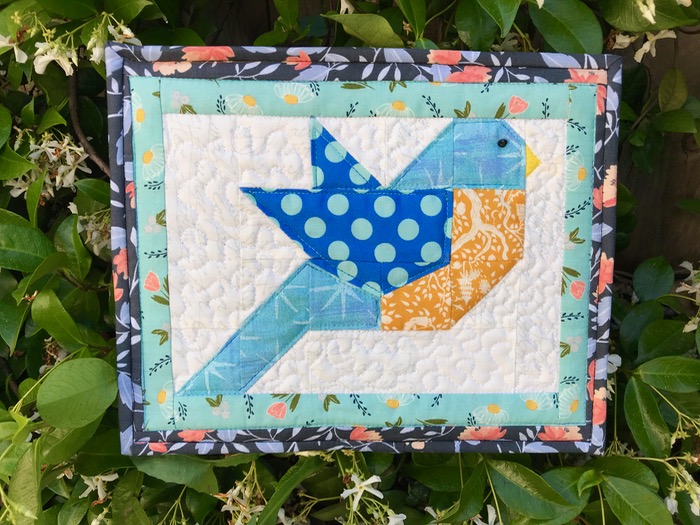
Another Tiny Quilt was hatched today, and its this Bluebird of Quiltiness.  Based on a 1-1/2″ block size, I figured it out and made it up, finishing it with the perfect faceted black bead for the eye.  There are multiple patterns out there for pieced birds, but here’s mine: LIttle Bird_OPQuilt.com

Bluebird on Nest

Here’s another one, in case you want to make a bird on a nest for your next Tiny Quilt.  Grab the PDF file here: Nested Bird pattern and have fun making another little Tiny Quilt.  (I have a listing of all the Tiny Quilts on this blog, in case you’re interested.)

After you create the bird (with, or without nest), then you sew on borders until it’s large enough.  See the first Tiny Quilt for more instructions.

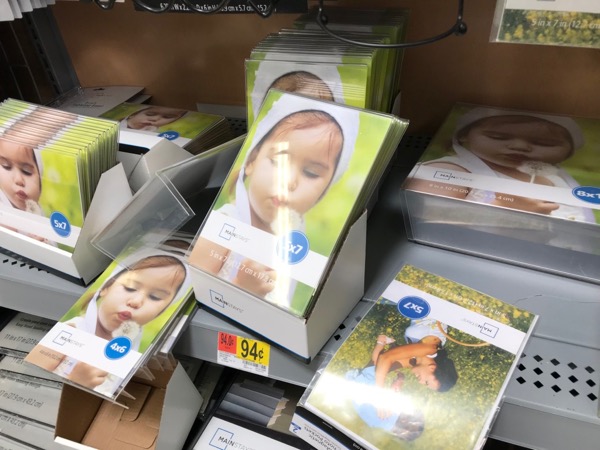
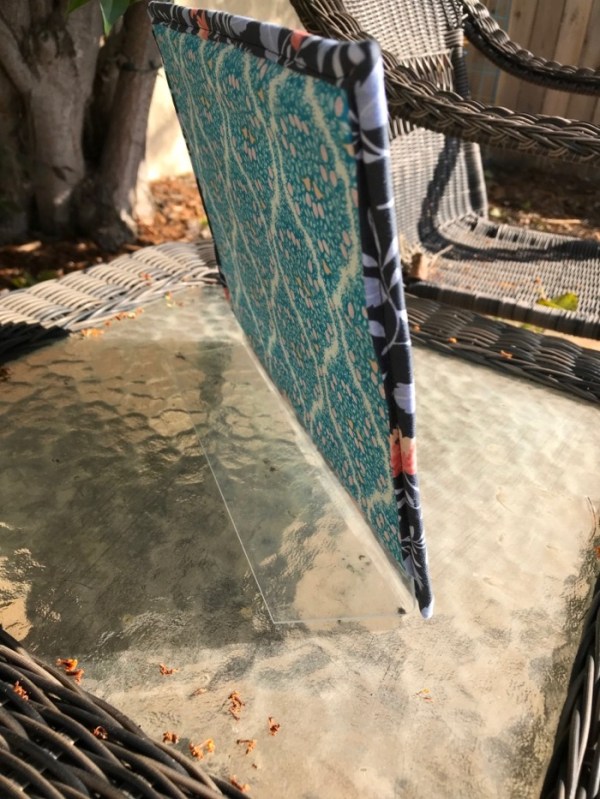
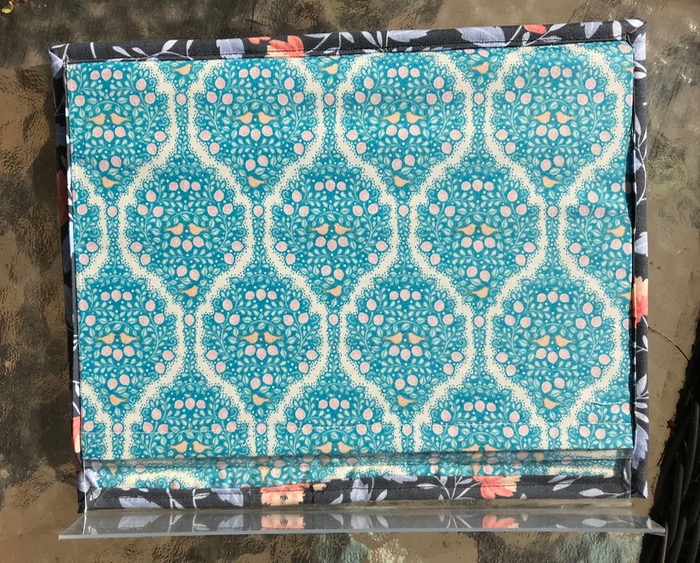
Wanting to finish this today made me leave the house, avoid the parking lot also known as our Memorial Day freeway gridlock, just to get over to WalMart to buy a landscape-oriented frame. It’s those cheesy plastic frames, nothing fancy.   To modify this one, I laid the frame down on my quilt, traced around it, and used those lines to create the backing and put the binding on.

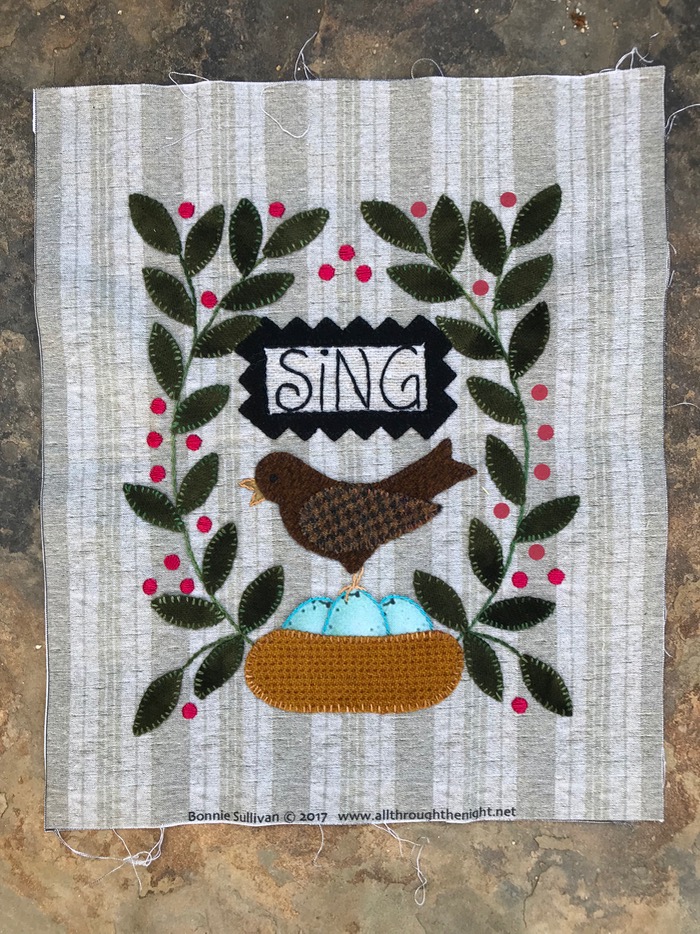
Sing Stitchery_1

I also finished this bird-themed stitchery, purchase eons ago at Primitive Gatherings.  I took it with me to Berlin, but finished it up here.  Now to find a frame for this.

Pinned Quilts_1

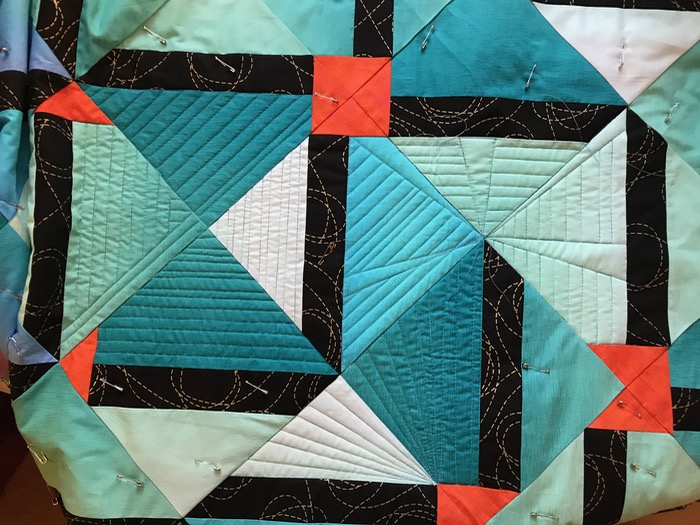
The other day I pin-basted three wall-sized quilts, and started stitching on the first one:Quilting with no direction

Right.  I have no idea what I’m doing, but I’m having fun.  I think am hoping it will make more sense when I get the whole thing done.  Stay tuned; it will be long while, as I still limit my daily quilting minutes.

Bindings Needed_1

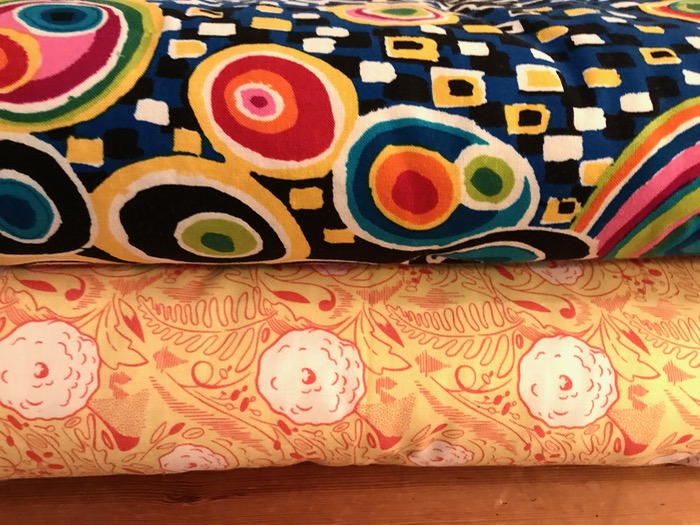
And the three quilts came back from Cathy of CJ Designs, my quilter.  One is in Active Binding Mode downstairs by the TV, and two (above) are waiting for binding.  The whirly-gig backed quilt is also waiting for more quilting along the borders.  The fun thing was that I’ve had a number quilts done by her, and so I hit the magic number and the last one was done for free.  It’s her way of saying thank you to her customers.  (Thank you, Cathy!)

Mom and her quilt

But I’m leaving all this behind this next week, as I head up to my Mother’s to help celebrate her 91st birthday.  (I do like to remind her that if you turn the numbers upside down, she’s a girl of 16.)  She’s shown above with about the only quilt I can remember her making: a cross-stitched top which was sent out to be hand-quilted.

Happy Birthday, Mom!

Mom on young birthday SM
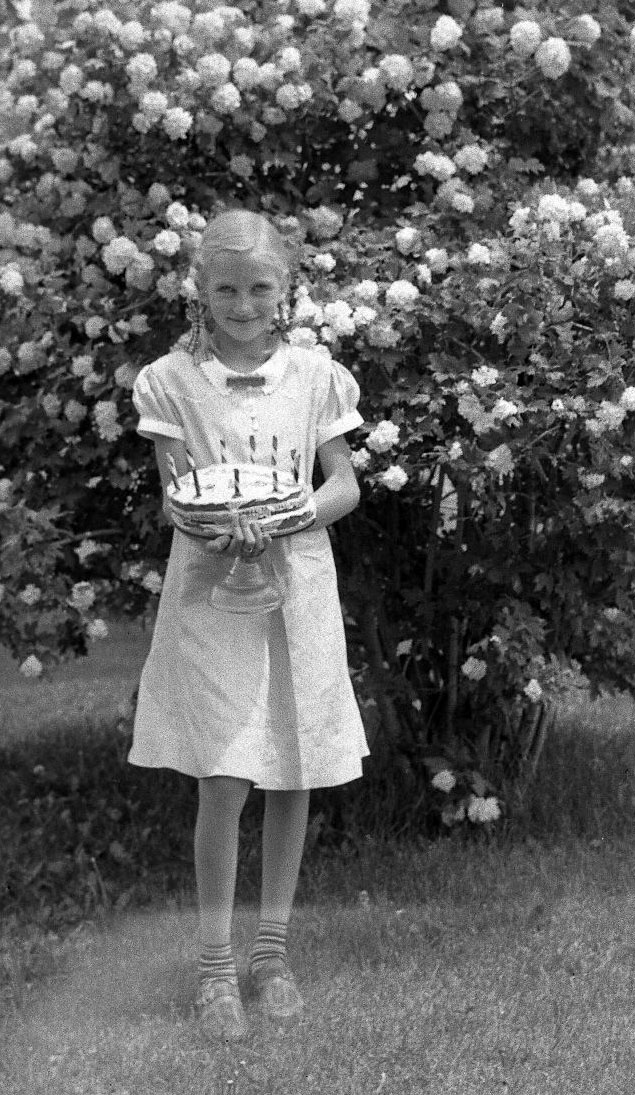
Mom, around age 12, holding her birthday cake