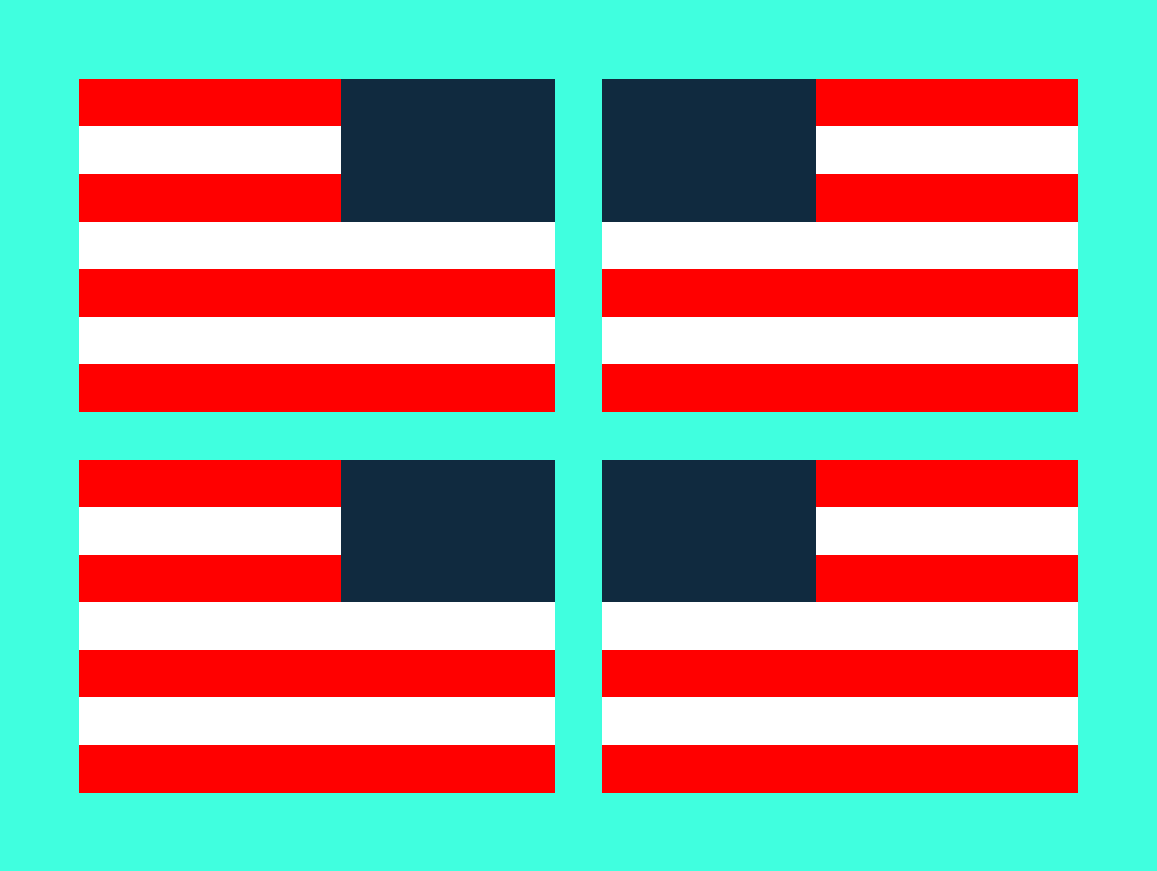
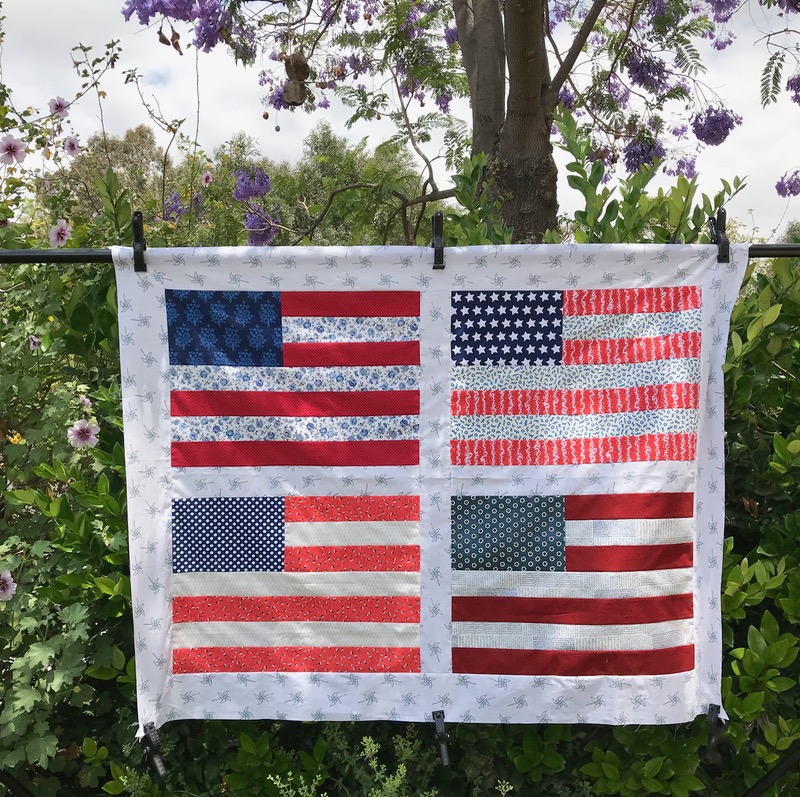
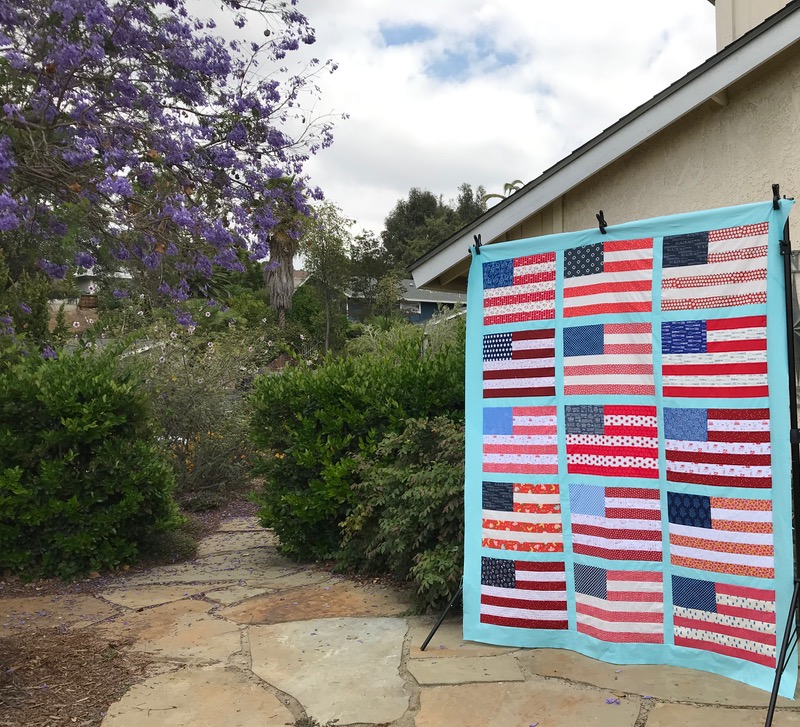
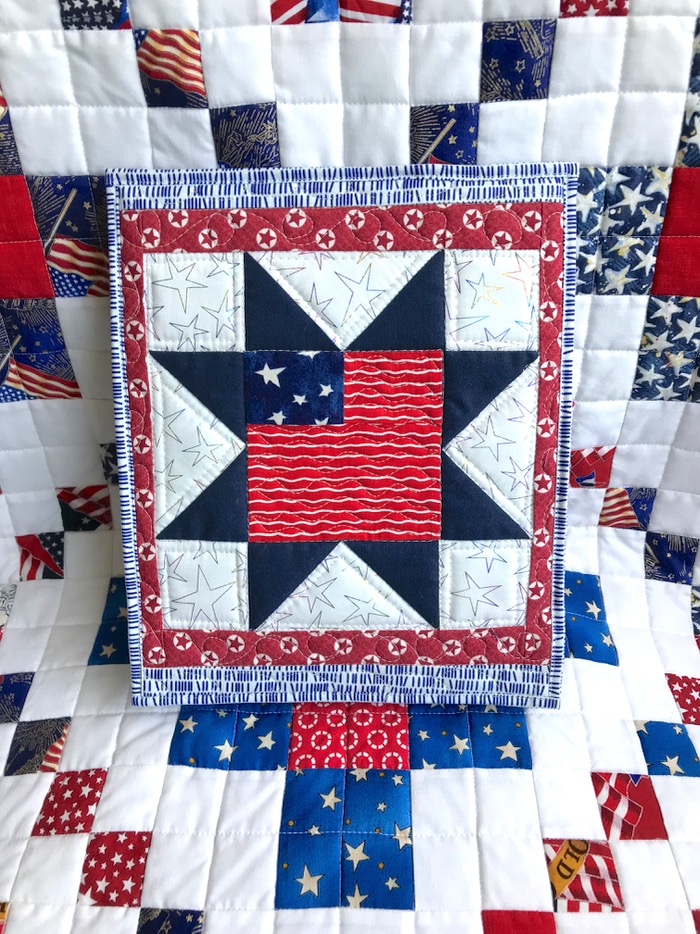
Last week in another post, I threw together a fun little worksheet about how to make a flag quilt, then got busy and not only made this quilt top, but also a wallhanging:
It’s a just a worksheet and assumes you know how to put together a quilt. Why did I have enough for a quilt and a wallhanging? Seems I had a bit of a miscount, excited as I was to be cutting into all my reds, and whites and blues. I overshot my mark of 15 sets.
I put each strip set on my design wall, then added a blue rectangle to coordinate.Progress!
I mixed them around until I found an arrangement I liked, putting four to the side for the wallhanging, then sashed and bordered them with the light blue. I used Painter’s Palette Solids in Aruba (121-100), available from Keepsake Quilting, if your local shop doesn’t carry it.
Then I went outside and fought the breezes to get these few shots.
I did all the cutting, the sewing and fighting-the-breezes-for-a-picture in three days. I tell you that so you know it’s a quick quilt to make. I’ll hang the smaller version in our front hallway in July, but the larger one will be quilted and tucked into the car for fun picnic blanket getaway events.
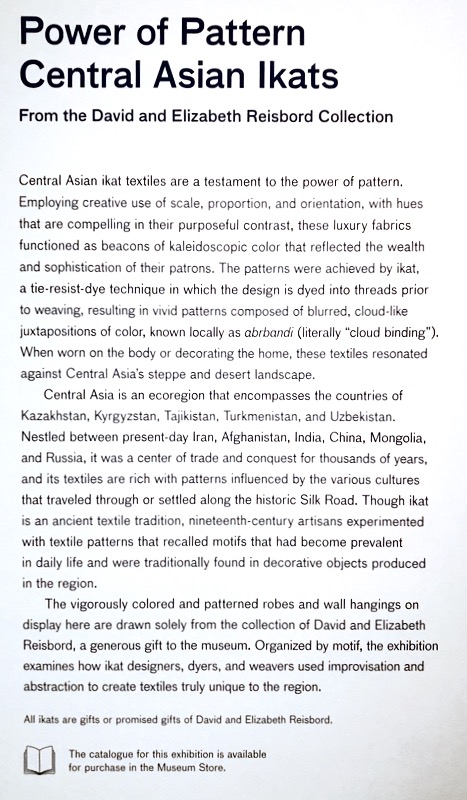
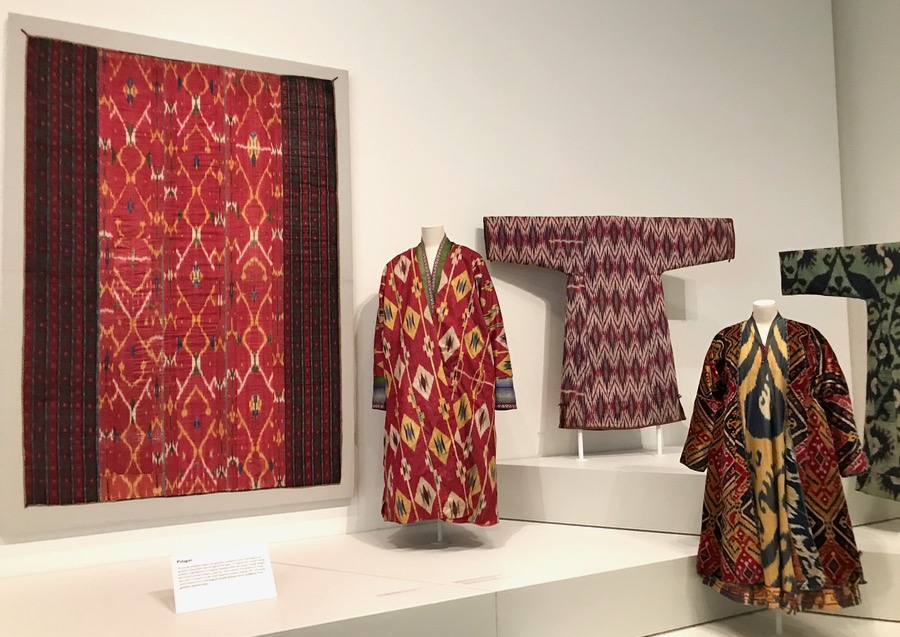
Among the most colorful clothing in the word, ikat robes — which hail primarily from the “the Stans,” or Central Asia — employ “creative use of scale, proportion, and orientation.” They are created by dying the warp (or vertical) threads of silk and cotton, sometimes multiple times.
This past week, my husband and I had a chance to head into Los Angeles County Museum of Art (LACMA) to see this collection. Here’s the notice in the gallery:
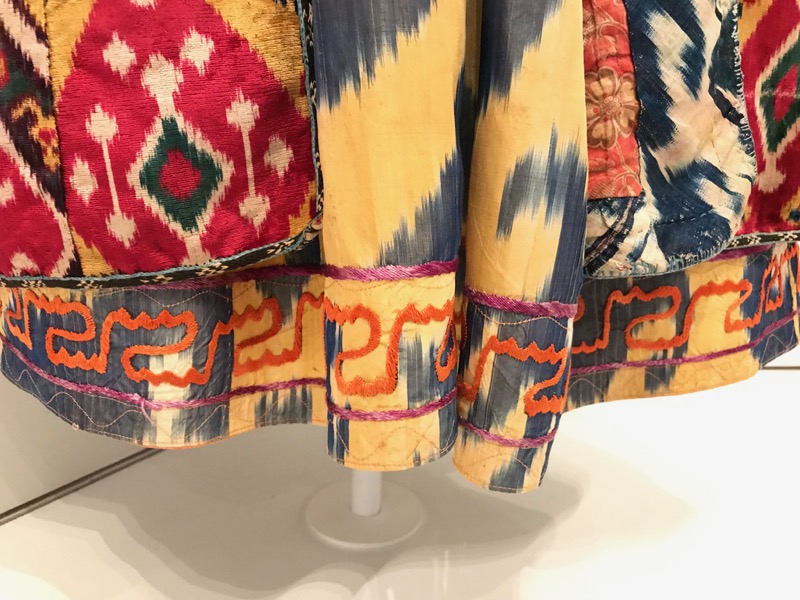
Note the embroidered cuff.
This photo of a Tajik Wedding ritual (1865-1872) shows the rich patterns of both men and women in their ikat robes. I did a Google Image search, which has lots of results, but these older robes, as shown in LACMA, are rarer now. In that Image search, I saw lots of machine-made ikats, which don’t have the subtlety of the hand-dyed.
On the right is a series of threads which will form the warp threads in a loom, showing their various patterns from dying them using a resist process:
“Fabricating an ikat design demands vision as well as time. Before any actual weaving takes place, the lead craftsperson must picture a fully fleshed-out color pattern. Next, assistants soak the warp threads of the textile-to-be in a series of dye vats—up to eight in total—accumulating hues along the way. Prior to each dying phase, all stretches of warp are strategically bound with dye-resistant greasy thread, leaving exposed only those portions meant to be colored.
“By repositioning the dye-resistant thread before every immersion, textile makers gradually cover the entirety of the warp in an array of different tones. The most skilled designers will subject some sections of the material to multiple immersions, combining red and yellow dye to produce sunset orange, or red and blue dye to yield rich royal purple.
“Finally, when the Technicolor warp is ready, loom operators stretch it taut and gird it with a cotton or silk weft. The result is a long, narrow oblong textile bearing the designer’s repeating geometric pattern. This can be shaped into an eye-catching coat, or alternatively kept two-dimensional and made into a wall hanging” (from an article in the Smithsonian Institution Magazine, when they mounted their exhibit of ikat).
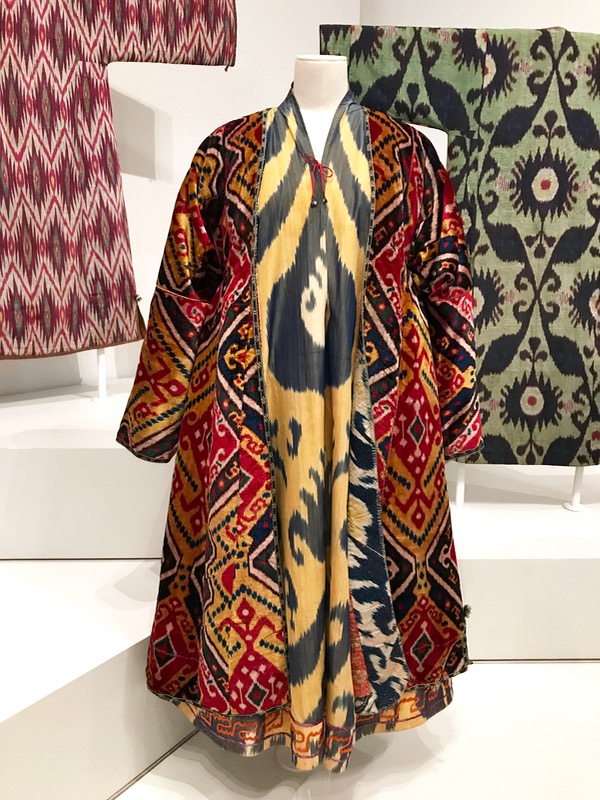
LACMA’s didactic label in the exhibitI love the visual doubling and tripling of pattern and color in this robe.
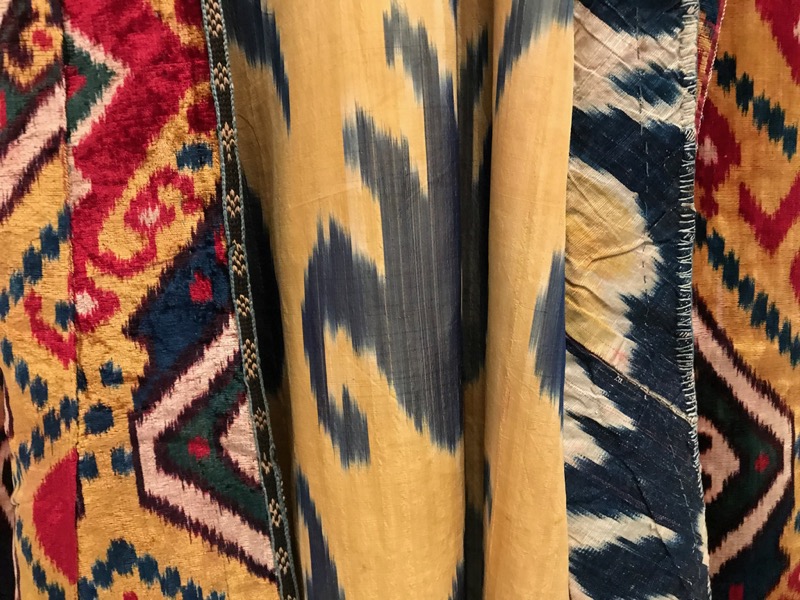
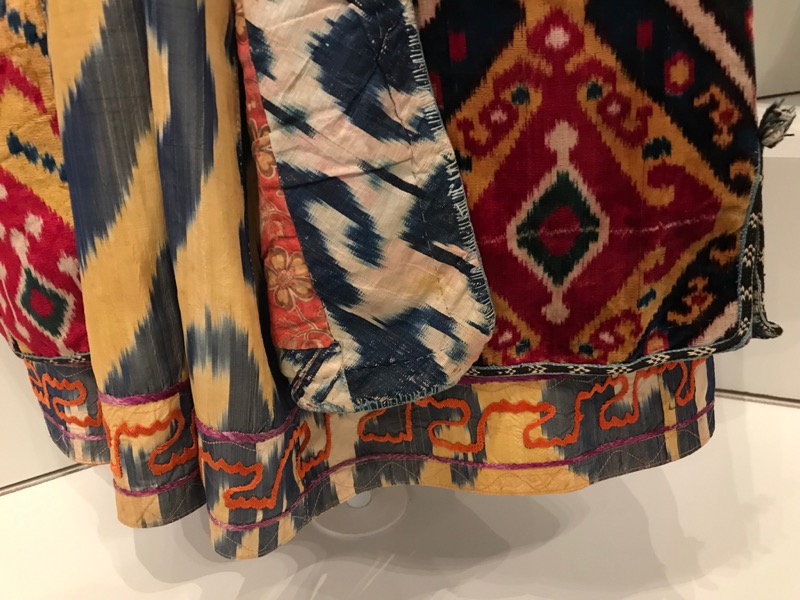
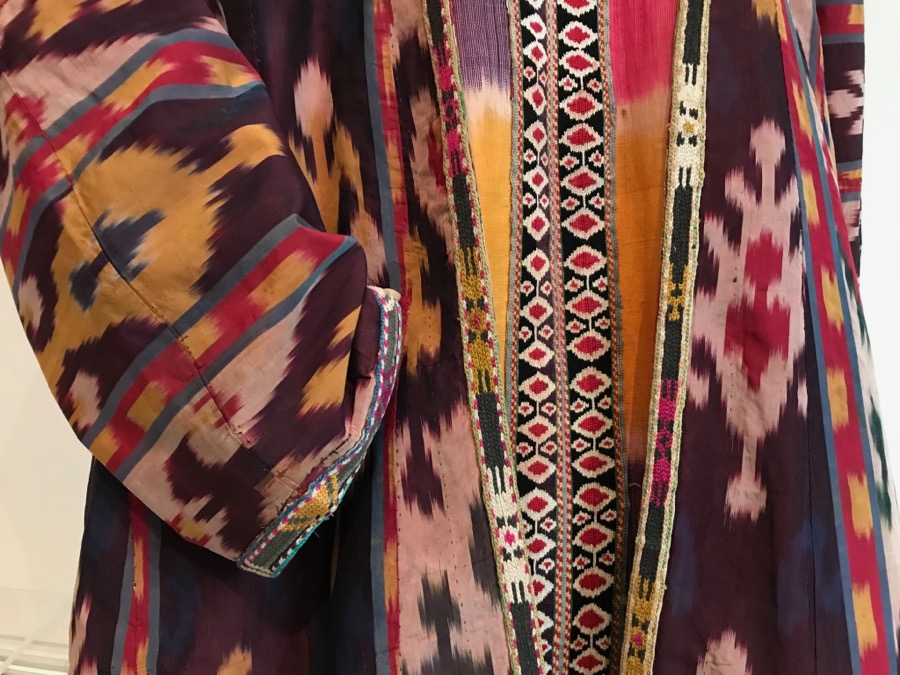
I think the guards thought I was crazy when I came to this robe. I kept crouching down, zooming in, trying to capture the details of what I would call a type of kantha stitching, embroidery, hand overcasting. It was a riot of color and texture and pattern:
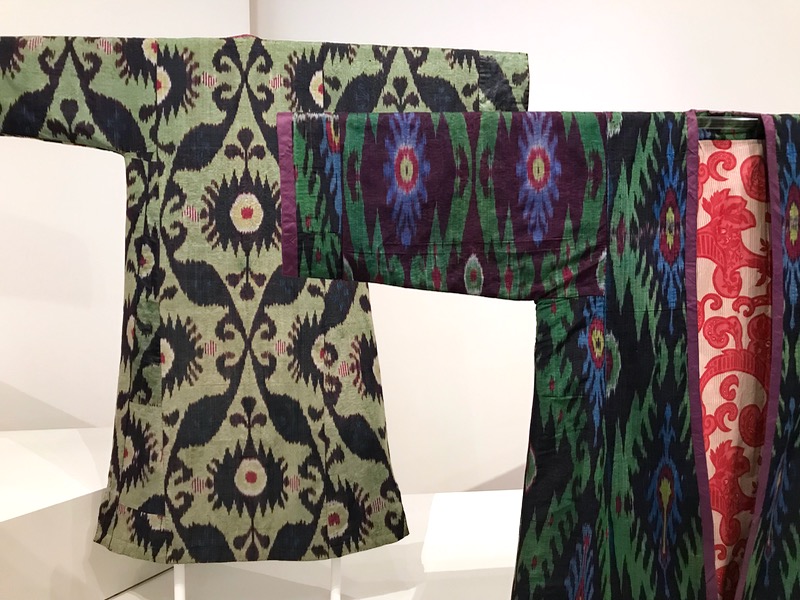
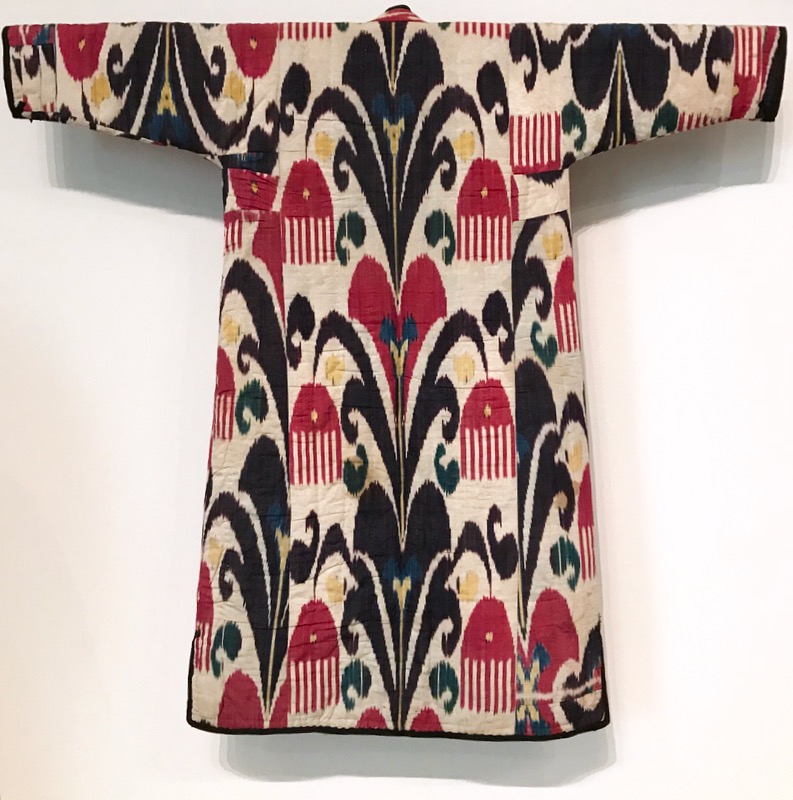
You can see the nature of the ikat weaving, which blurs the edges as the weft yarns are woven through those pre-dyed warp yarns. To make velvet, two rows of weft yarns are needed, instead of just one, so velvet robes were considered top of the line. In the outfit above, it is the outermost robe.
I took so many photos, that I’m not really sure which title goes with which picture, but I enjoyed reading the names of the clothing: a woman’s robe is a Munisak, a woman’s dress is a Kurta, and a man’s robe is a Chapan.
“Defined by an hourglass sihouette produced by the gathered fabric at each side of the waist, a munisak was used throughout a woman’s life for significant events, from her wedding to her funeral. As such, it was an important part of her dowry” (LACMA text).
Recently, my friend Judy had traveled to this area with her husband, so I was familiar with the term “the Stans,” and what the area looked like. Although some consider that term a snub (“stan” means land, as in Afghanistan is the land where Afghanis live), I think it works well for those of us not familiar with where these countries are:
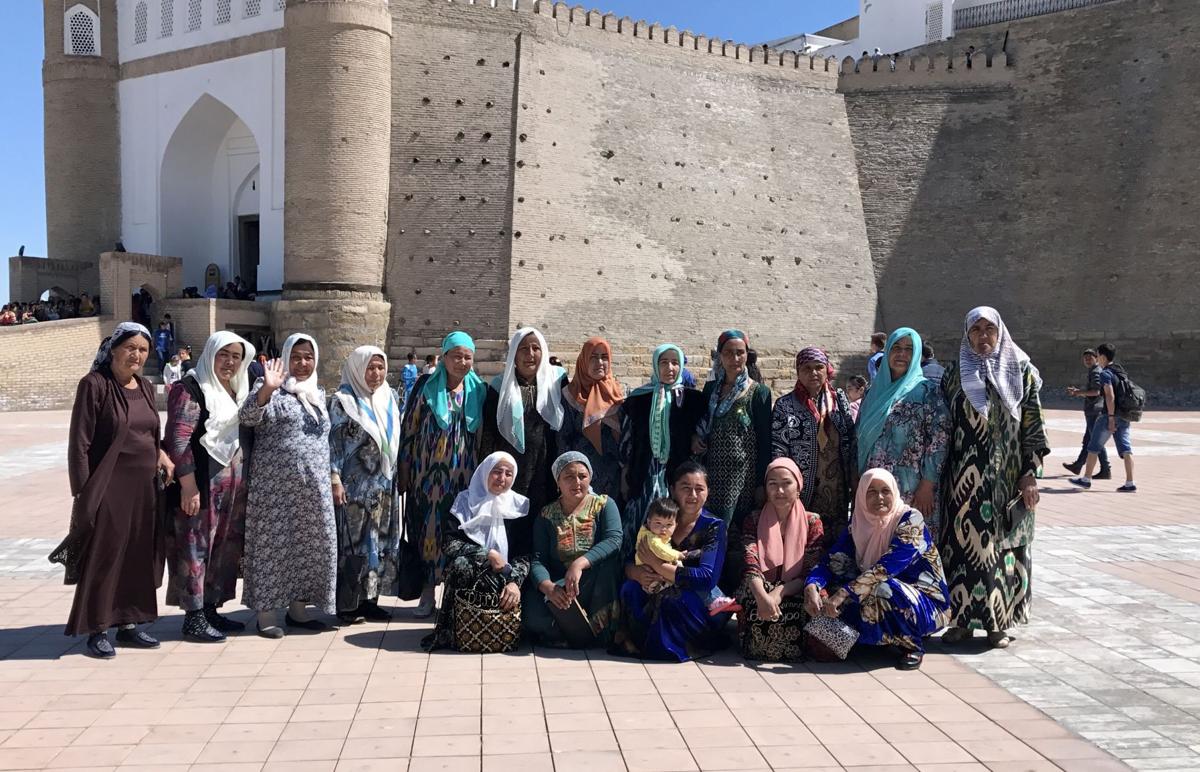
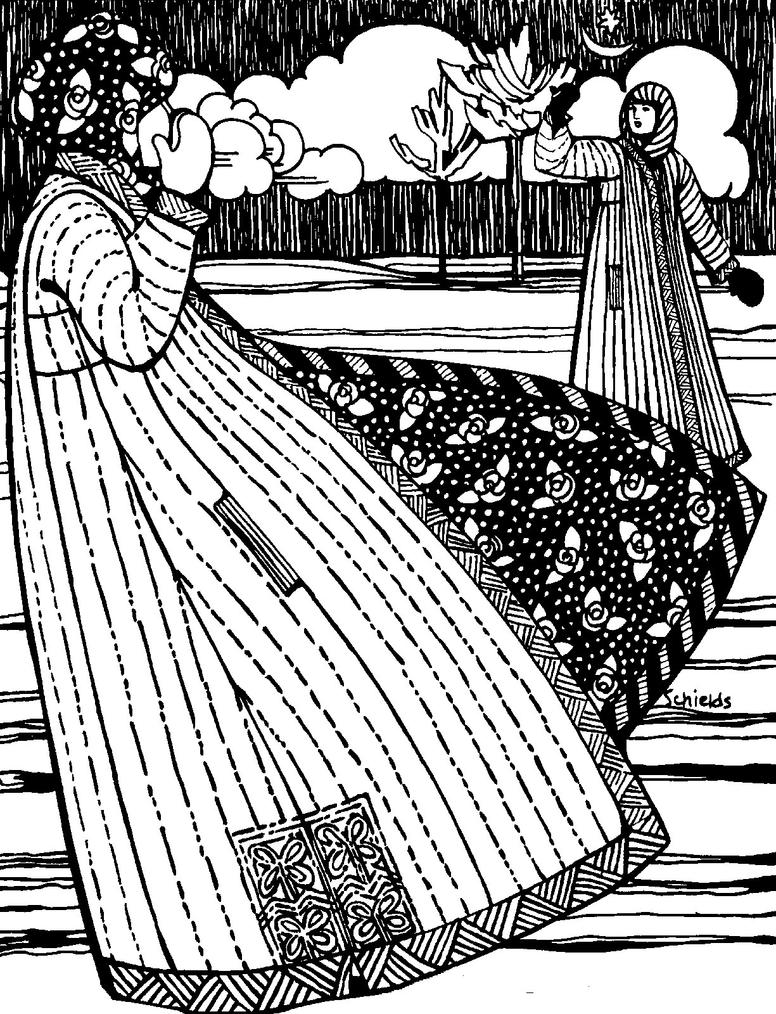
Image sneaked off of her travel blog, *here*Women and their Ikat Robes (2017), from *here*Turkish Coat, pattern #106
While we were in the LACMA exhibit, I told my husband that many quilters have used FolkWear patterns to make a similar robe, and added detailed surface decoration. I first learned about ikat when I took a class in Houston several years ago from Roberta Horton, a reknowned quilter, who showed us ikats from her line of fabrics, made in India:
Although I was a Clothing and Textile Major in college, I’d didn’t remember hearing about this fabric before; perhaps that why I wanted to blog about it today. But in the quilting world, we also have variants of these colorfully patterned robes worn by these people from Central Asia.
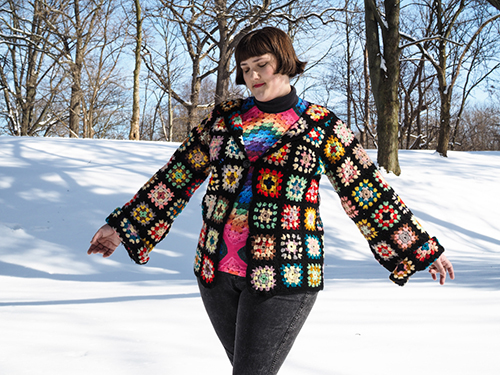
I’ve seen the Tabula Rasa jacket and all its variations, from a pattern by FitForArt. Perhaps it’s the blurring of the lines between our patterned quilts and these beautiful ikat robes? The more surface decoration the better?
Not always. I’ve also seen some not-so-great versions of handmade clothing that were patterned to within an inch of their lives, certainly showing their makers’ skill but not always on the level of what was in that exhibit.
The brilliant thing about these ikat robes is the sense of balance that is present. Even in the layering of the different patterns, something pulls them together, links in either color or design. A worthy goal for our own creating, wouldn’t you say? whether it be in quilts or robes or clothing.
This was another experience that showed me that old truth: it’s always good to get out of my head, my studio, and the endless loop of social media, in order to gain inspiration from other places in the world.
Happy traveling, and Happy Father’s Day!
The day my husband became a father to four children.
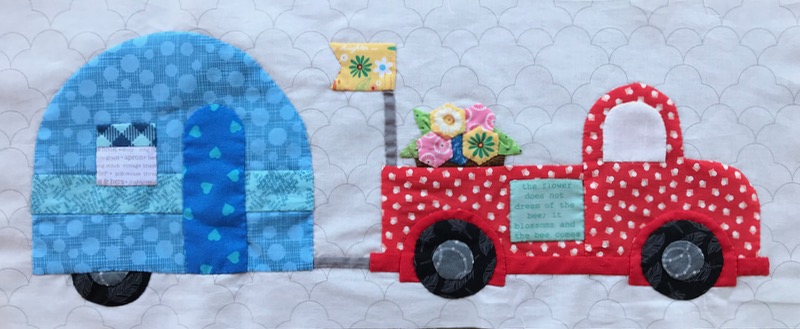
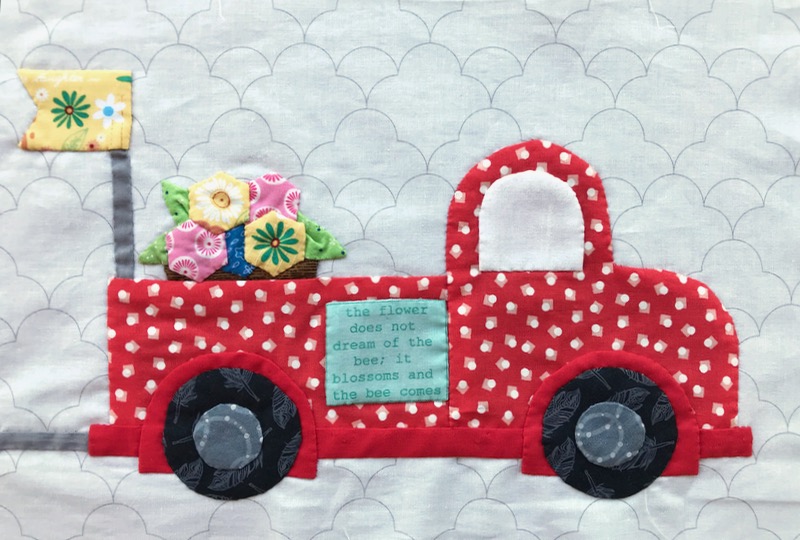
The wheeled devices in the So Very Cute Project I lost my mind and decided to do are completed. It’s nice to see it before it goes to a Time Out in my closet, so I can get some Real Quilting Work done.
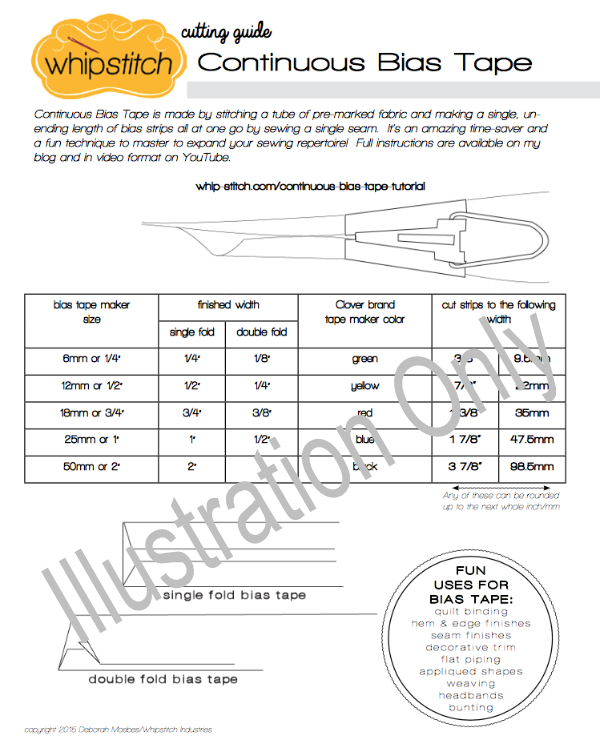
But before I tell you about the basket of flowers in the back of the truck, you need this chart from Whip Stitch:
Head to her website to read all about it, or download it here. Trust me, you’ll want this, as the weensy little instructions with the Clover bias tape makers will drive you batty.
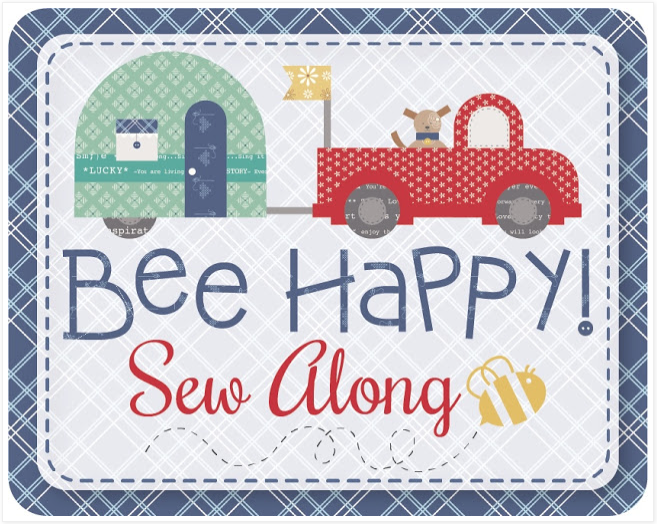
This is Lori Holt’s logo for this delightful project. Notice the dog in the back of the truck.
Notice how the people who live in my quilt realized that they needed the space in the back of the truck for hauling baskets of flowers.
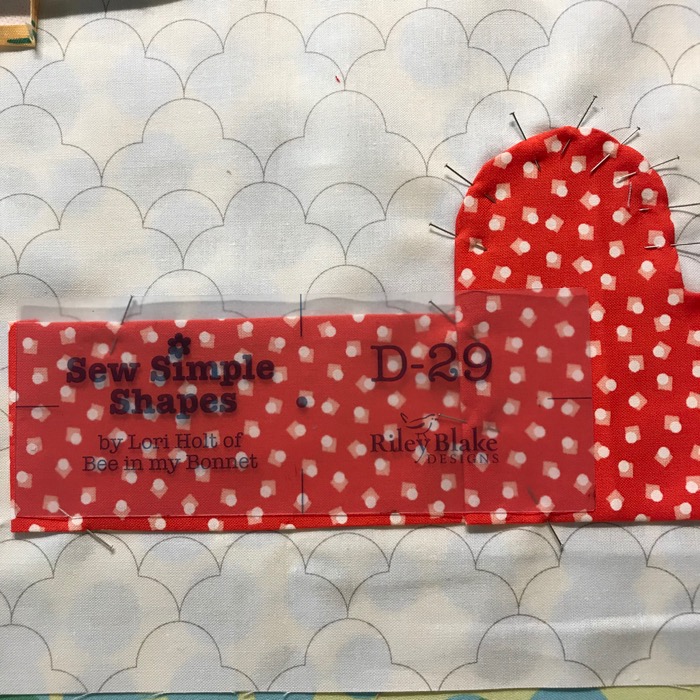
Make 1/2″ mini-hexies for the flowers, fussy-cutting a couple. Cover some triangles, sized in relation to the flowers, then give each a pleat in the lower edge before sewing them on. I used three “leaves” and five flowers. I used the lower edge of piece D8 as a pattern for the basket, then turned it upside-down to get the wider edge at the top.
It is really dense in that section, with the layering of fabric. I’m one who cuts away from the back whatever I can to lighten it up for quilting:
one more wheel to cut out
The Guidesheet for this week can be found in the tab above, Bee Happy Tutorial Sheets, under Projects for 2020. See you later, Bee Happy-Sew-Along-gator!
I’m still working on this quilt, which I call Ladybird, because it reminds me of a ladybird beetle (sometimes called a Ladybug).
I finished the first book (long, but good) and am now onto another:
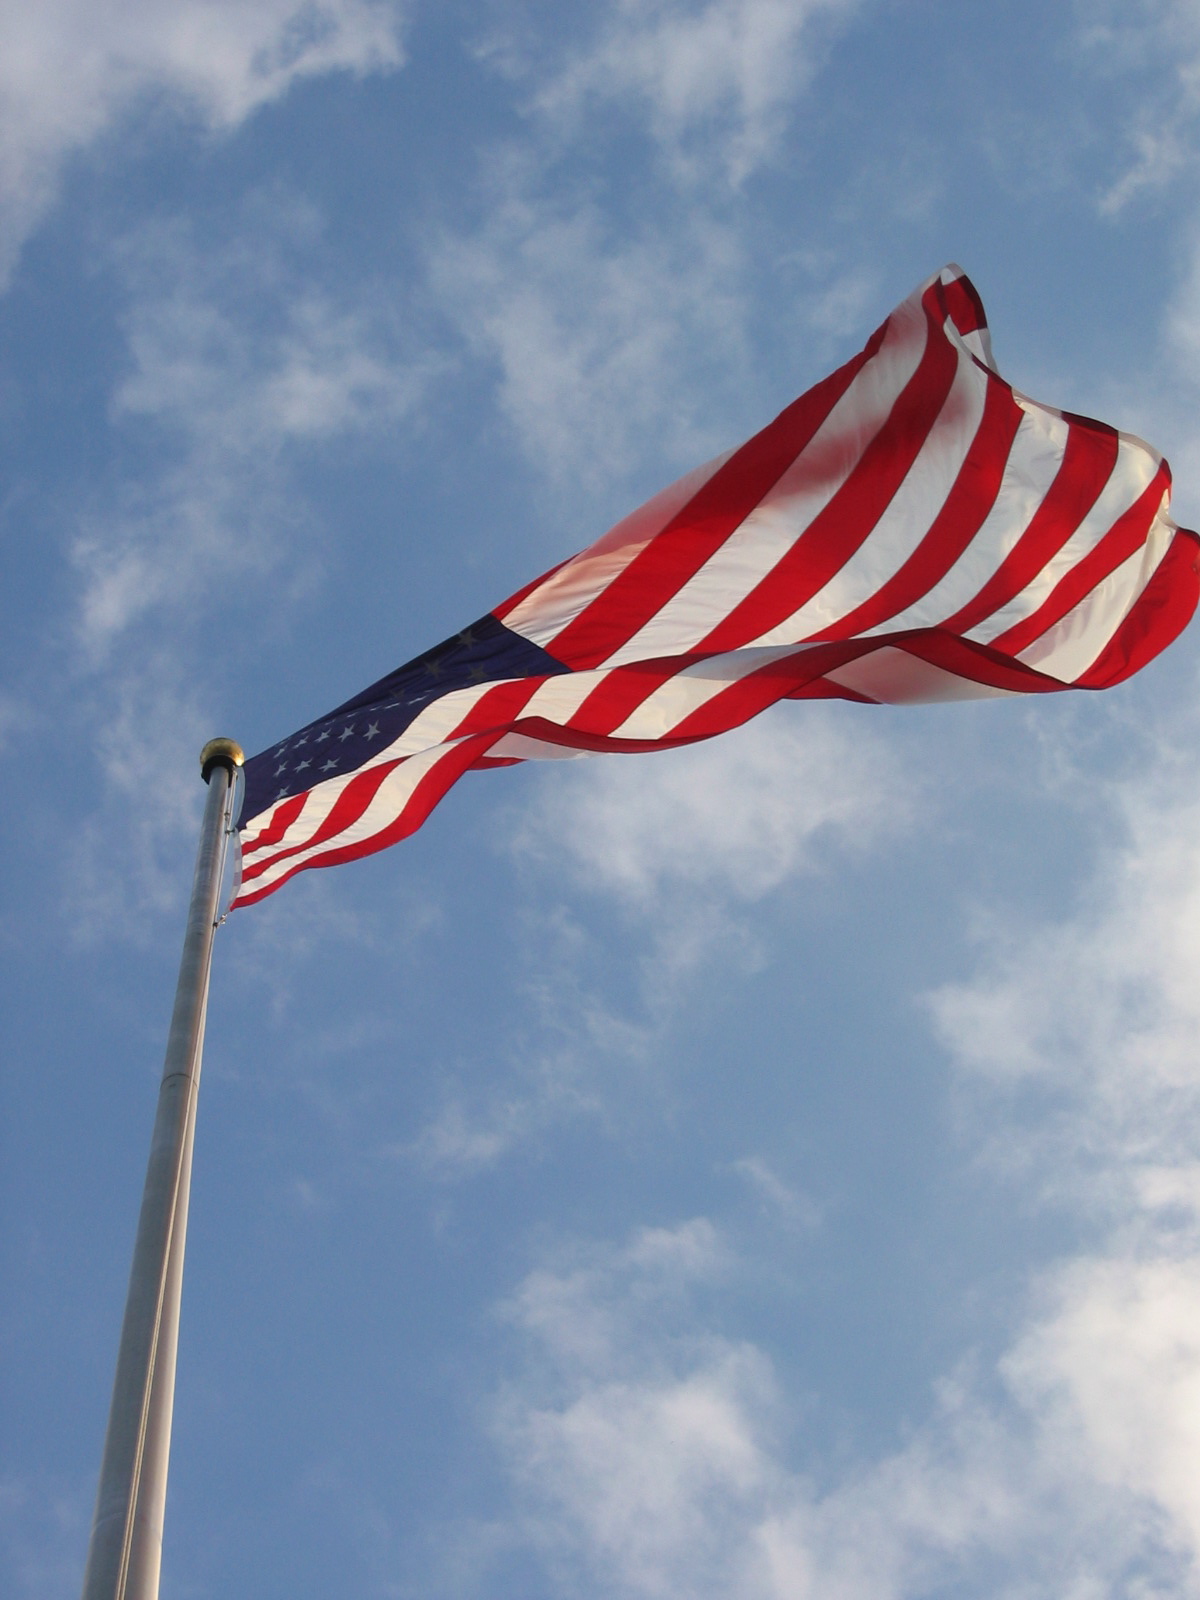
And this happened. Yes, no more PT. Now I’m getting ready for my project for tomorrow, Flag Day, the day when we find our rolled up flags in the front hall closet, and hang them out front, a prelude to the month of July, when it’s all red-white-blue all the time.
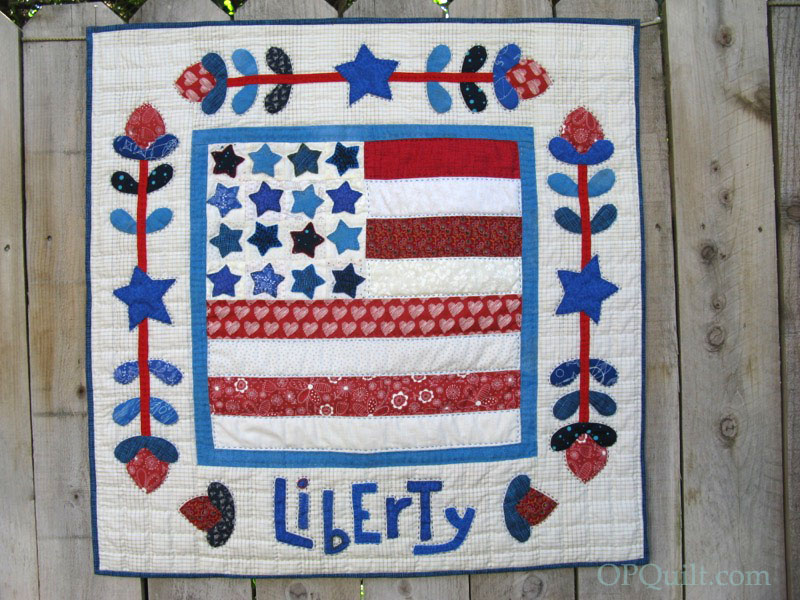
Okay, my wannabe flag quilt morphed into this flag-like wall hanging. I say flag-like, because I read one Instagrammer say that she had to make another lessflag-looking quilt because her family didn’t want to lay hers on the ground for picnics.
Another version
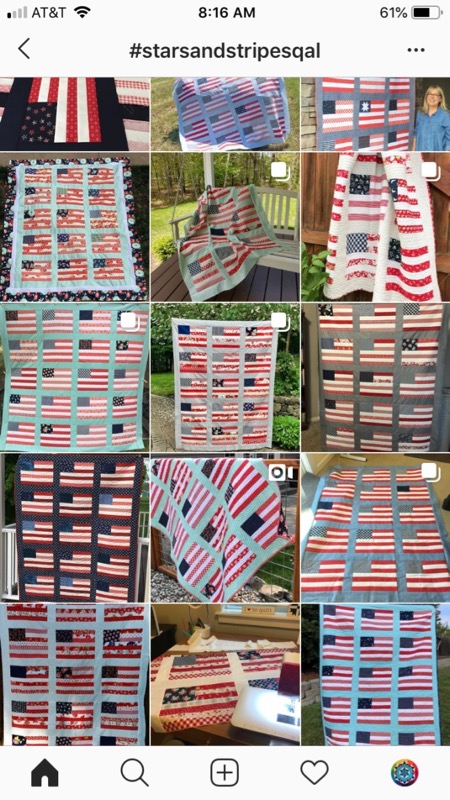
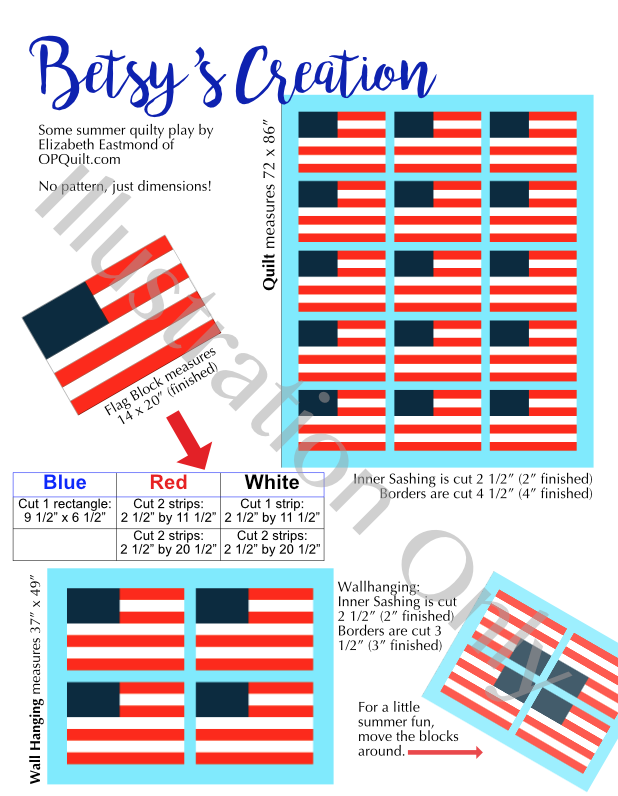
I opened up my QuiltPro program, guessed out the proportions and figured it out. There is no pattern in my worksheet, because I do assume that you’ll figure out how to make this, if you really want to. Again, if either of my arrangements bother you, make one that you like. I was inspired by a lot of what I saw on this post from Quilt Inspiration, where you can find lots of free flag and flag-like quilts for your patriotric needs.
Here’s my worksheet, with all the dimensions, in a downloadable PDF file: Betsy’s Creation_OPQuilt I named it after the original creator of the flag: Betsy Ross.
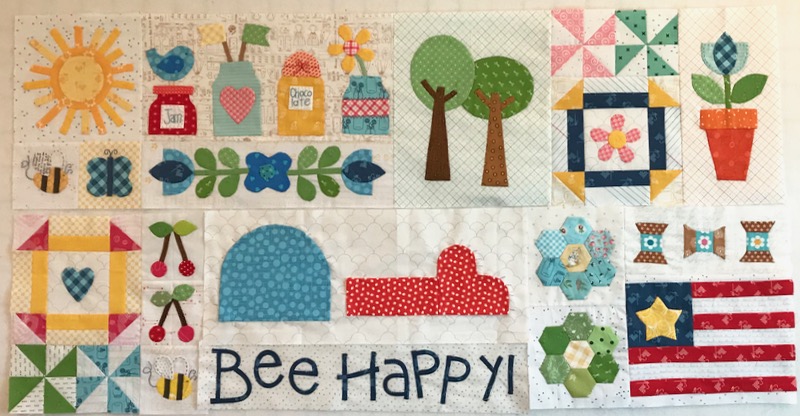
Working on this quilt makes me feel like I’m trapped in the Dungeon of Cute. I discussed this with my friend Laurel, who is also doing this, and she said wistfully said, “Yeah. But it’s so cute.” It is, so I keep working on it.
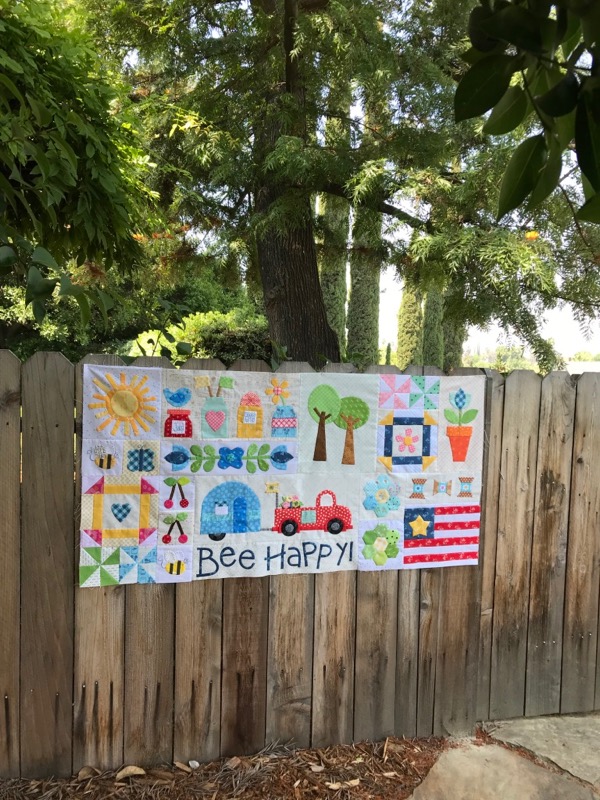
That first section, sun-bee-butterfly-jam-jars-long-flower-two-trees-churn-dash-pinwheels-flower, is all stitched together. I’m trying to get the second section finished before I leave it for awhile.
Obviously the different between the top photo and this one is that I’m trying to get that truck and camper block pinned up, but the other difference is that I re-did the star on the flag. Ms. Holt has us back every shape with interfacing, stitch all around it, clip and turn, press and appliquè. I did it with the star in the top verion; that’s why I had to re-do it. I say, there are multiple ways to appliquè, so do your favorite method. Mine is a combination of needle-turn (à la Becky Goldsmith) and also using freezer paper.
To say the directions are frustrating would be an understatement; they look complete, but are missing crucial information, like the truck piece is too long. I’ve worked out several weeks worth of instructions for Laurel and I, and have put them in PDF handouts. You are welcome to them: Bee Happy Tutorial Sheets. They are found up above under the tab “2020 Projects.”
I put in pictures belonging to Lori Holt, as they are an additional guide to this pattern. I acknowledge her at every turn, and don’t give away anything that’s not on her blog, but hopefully I make it clearer.
Believe it or not, but the Bee Happy block was the easier than the Jam Jars block or the Truck-Camper block. The missing dot on the exclamation point will be a small button.
Quilting this is my antidote to the Dungeon of Cute. A couple of hours every day.
In spite of our president’s tariffs, I ordered new 2″ cotton webbing from China off of ETSY, and it arrived so I could fix my tote bag. If I purchased a certain amount of precuts at Quilt Market, I was given the bag free (free=haha). This happened back in Salt Lake City, and the handle began to shred almost immediately. The New York Times had a great article recently called “What to Do With All Those Tote Bags.” What to do, indeed.
Wanted to play along with this QAL…
…and even purchased the red, white and blue fabric (there’s more in the stash). Sigh. Just like I finished my Christmas quilt in June, I’ll probably get this done in November.
The other night at a restaurant, since my husband and I couldn’t hear each other in conversation, I downloaded the NIOSH (National Institute for Occupational Safety and Health) app to figure out how loud the dining room was at California Pizza Kitchen. As a guideline, the average noise level in a home is around 40 decibels (dB) and noise becomes harmful at 85 dB. My husband and I pretty much gave up on conversation, ate our pizza in silence and went home.






















 The wheeled devices in the So Very Cute Project I