Patterns by Elizabeth of OPQuilt · Red, White and Blue · Shine: The Circles Quilt

Happy New Year with Shine Block 20

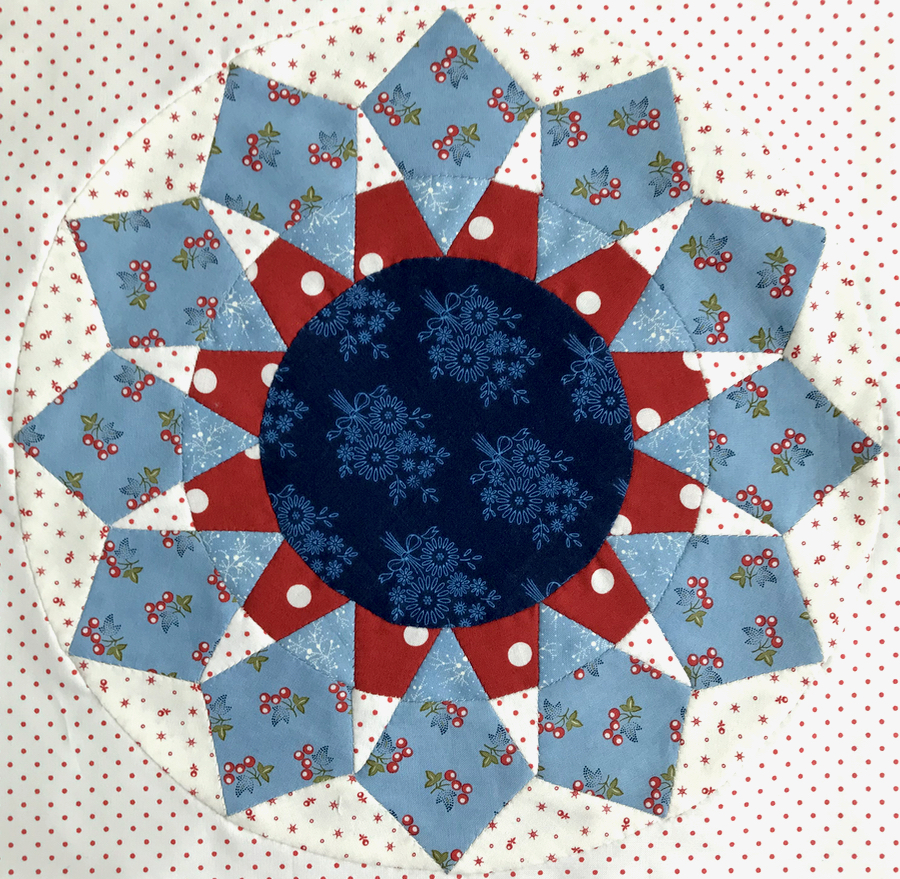
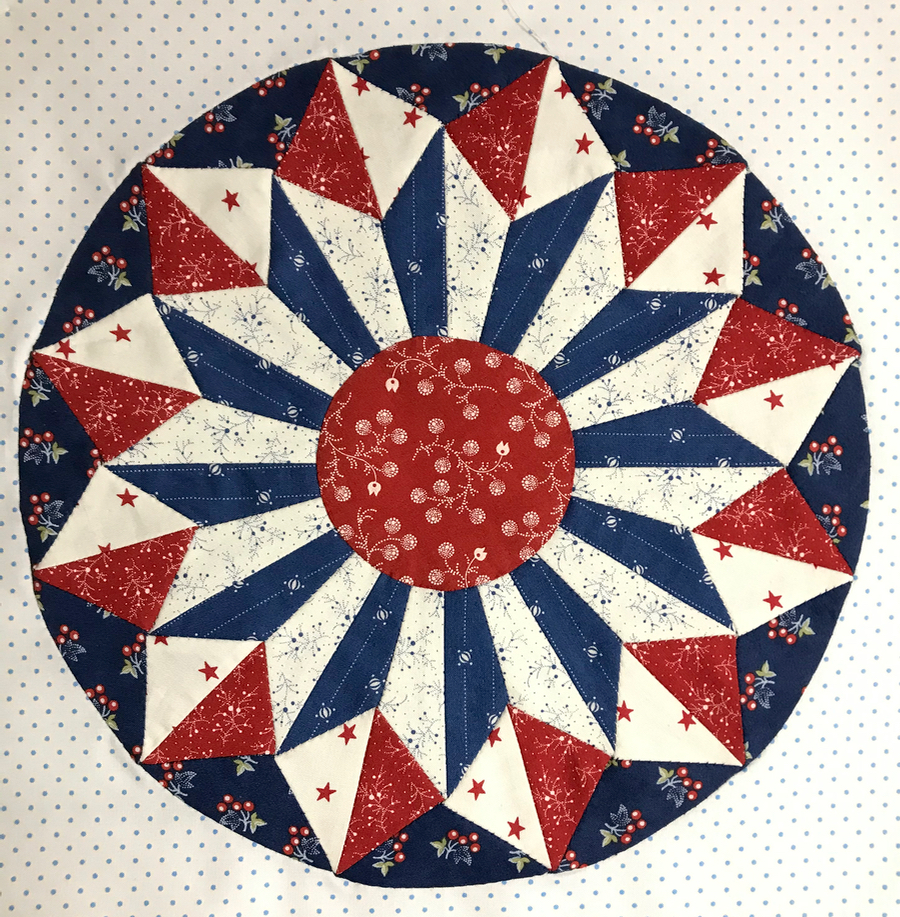
This is the second of the three last posts for the Shine quilt done in red, white and blue, and these last three are all new blocks, found in the Nine More Blocks from Shine pattern in my pattern shop on PayHip. And yes, I know I put Block 21 before Block 20, but in spite of that I still think I’m doing pretty well these days. I have named this block Dresden Rosette, for every creation needs a name.

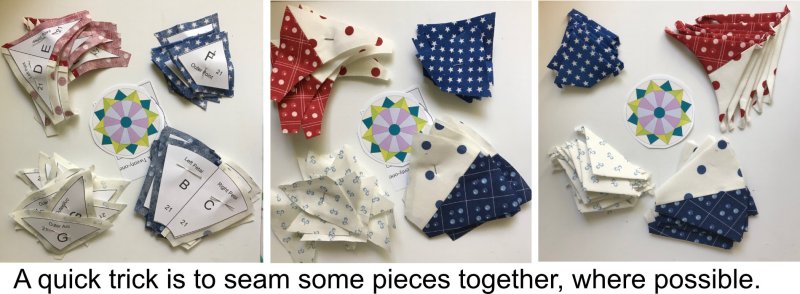
It all always starts with this, doesn’t it? I started Block 20 by doing the quick method of EPP, as described in the General Instructions: I pieced a couple of the fabrics together in strips, then laid out the pattern and cut/glued that to the paper. There are some tips in all the blocks, but I also think I did this in Block 19: Compass Star. Here I’ve paired up the Dresden-looking pieces:

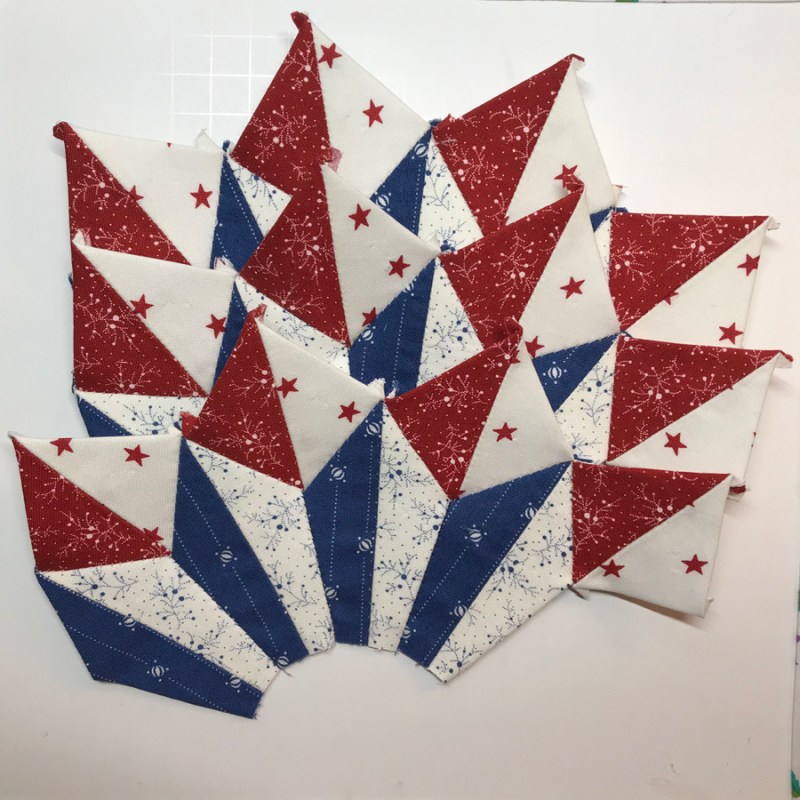
The pairs were joined up to make a foursome, then the pieced diamonds were added to them, with one extra kind of hanging out there on the end.

Nothing prettier than a Dresden Rosette. But we’re not done yet. I’ve stitched the three sets together, but if you look at the photo at about 1-o’clock on the dial, you can see I’ve left one complete seam open. Trust me when I tell you it’s easier to sew the outer wedges on, if you have not sewn it into a circle.
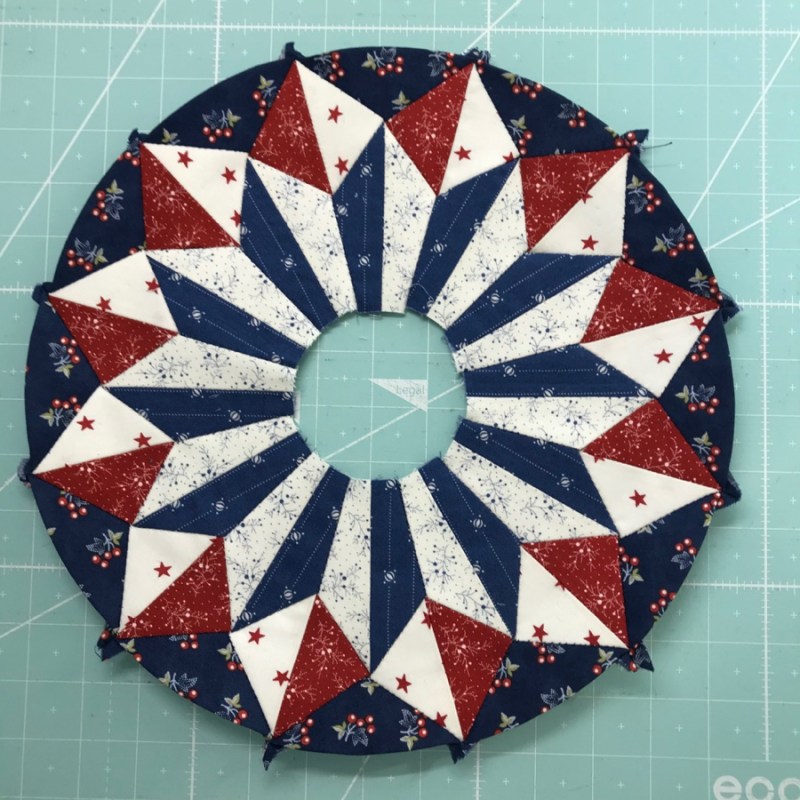
Outer Wedges: On!
Final Seam: Sewn!
Now to hunt around for a middle…

Found the middle I wanted, and now am trying to decide between the two arrangements. You can which one I went for at the top of this post.

I’m sure you noticed all those little bits of seam allowances at all the tips. How do I handle those? Here’s three photos to show you. I first fold over and tuck under one side (#2), then fold and tuck under the second little bit (#3). Finally I stick a pin there, or quickly put in a couple of stitches.

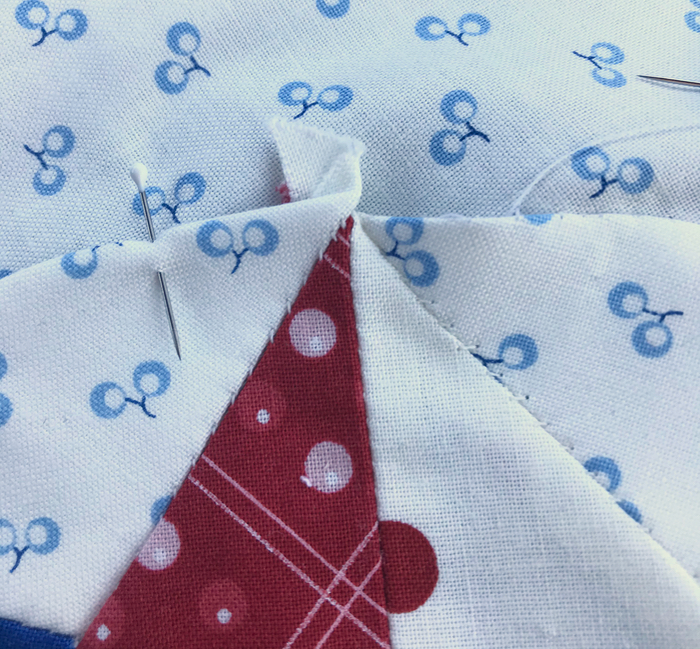
Before
Photo #2
photo #3 (sorry about the color–I was outside and the sun shifted)

After it is all stitched down, I press. First I press from the top, then I set the circle on a well-padded surface, and really give some heat and steam to those protruding seam allowances. They usually fall nicely in line.

On onward to the last of the Shine Blocks. Again, I have turned off the comments for this post, too, as I’m doing them in such quick succession. My contact info is above in About Me, if you need to send me a note.
Gridsters · Patterns by Elizabeth of OPQuilt · Red, White and Blue · Shine: The Circles Quilt

Happy New Year with Shine Block 21

Something short and sweet for you today: how to make block 21. I’m posting these last few blocks of Red, White and Blue SHINE in quick succession, so others can these posts for references.

The going is quicker, so I swiftly moved from the above, to the layout below.

This is an easy block to start with, if you are just a beginning EPP-er. This block can be found in Pattern 121, the final nine new circles, and is available in my PayHip shop. The quick trick is explained in the General Instructions, as well as in other Shine Block instructions (on this website).

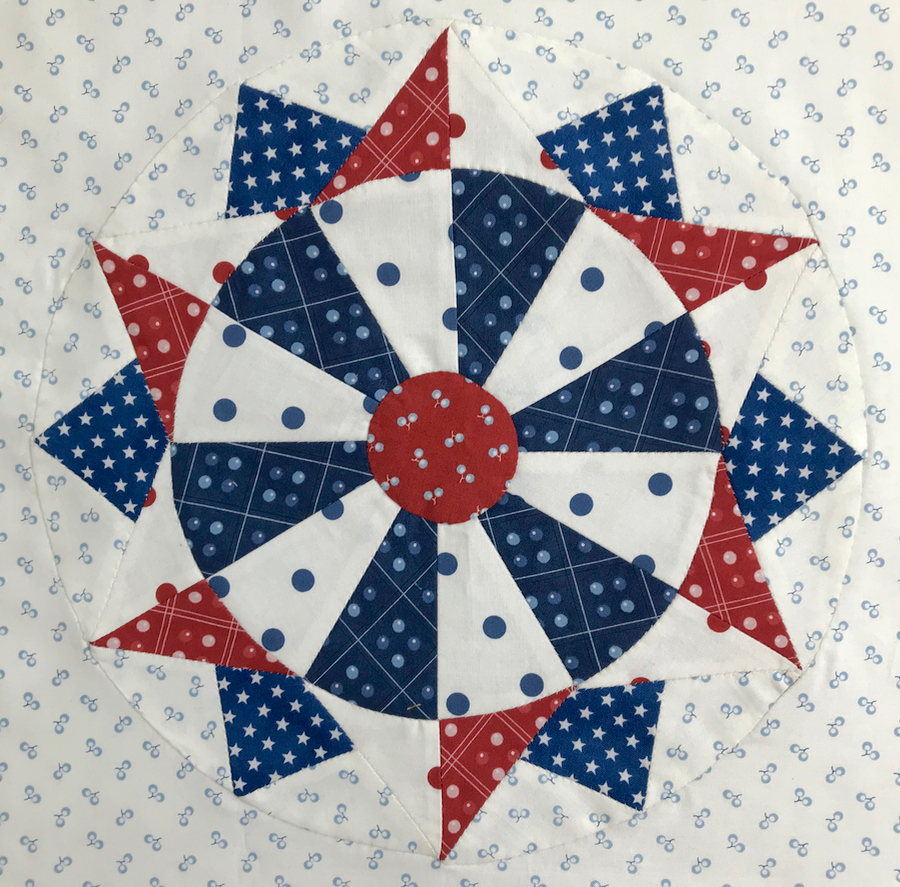
Follow the steps on the pattern. You can see I made the inner circle first, then added on the red/white star points. Then next is making the outer wedge-point-wedge units. Sew them in between the star points. Applique a small circle on the center. Appliqué the circle to the background square, deciding if you want the red/white star points UP, or the blue smaller points UP. You can tell from the first photo which one I chose.

We’ve just had Christmas, come through the bulk of 2020, and I thought a short and sweet post would be best. It’s touch and go as to whether I get the top finished by the Inauguration in January, but a girl can dream, can’t she?

In other news, I finished the feather for Jen in our Gridster Bee for December. She wanted organic-looking batiks for the feather part, and solid black for the feather’s shaft. You can see a whole bunch of the feathers here. The pattern was a free download from ZenChic designer Brigitte Heitland.

I have turned off comments for this and the next two posts, as I am finishing up the SHINE block construction information; hope you won’t mind. If you want to get ahold of me, my email can be found on the About Me tab, above.

Quilts · Shine: The Circles Quilt

Circles Blocks 17 & 18: Summer Day and Hip to Be Square

This post shows the general assembly order of two blocks:
#17: Summer Day • included in the SHINE: Finishing Pattern
#18: Hip to Be Square • included in the pattern SHINE: Nine More Blocks

Summer Day • Block 17

If you have not had a chance to look at the other blocks, please refresh your working knowledge of English Paper-Piecing and read through a few of the free tutorials on this website.

In addition, because this block is part of the Shine Finishing Instructions Pattern, this overview will be brief. All pieces and the block key are in that pattern are sold in my PayHip shop here.

In all cases, prepare your blocks. A good reminder for hand basting is found on the post for Shine Circles Block 2. A post to read for glue-basting (which is what I ended up liking the most) is on the post for Shine Circles Block 8.

In this block, prepare all the pieces by glue-basting, or thread basting down all the seam allowances around all the pieces.

Cactus Flower • Block 21

For block 17, found in the Shine: The Circles Quilt Finishing Instructions pattern, following the key printed there, stitch the Flower Petal to Flower Petal Base. Repeat until all units are complete.

Now stitch the Flower Tip C to Flower Tip Base B. Repeat until all units are complete.

Pair these up and stitch the Flower Petal Unit to the LEFT side of the Flower Tip unit. You should have 12 units, total. It will look like the illustration above. Join these together, again in pairs. You should have 6 units at that point. Join 3 of those units together, then repeat. It will be two halves of a circle.

Stitch in the outer wedges in between the flower petals. Shown below is one half of the circle with the wedges attached. Notice that how one wedge hangs over the edge at the top right, and how the lower left is absent a wedge. It will be attached to the other half, and overhang as in the existing example. From there, join those edges together to make a circle. Attach the center circle, and then attach the block to your background fabric. All instructions for those are either in the purchased patterns, or on the tutorials on this website.

And yes, I do swap out my thread colors to match my fabric if the contrast is high. For example, I would not use white thread on those sections where the red will be sewn to the blue.

After completing the EPP portion of this block, follow the instructions to appliqué it down to the background block, either in the pattern or on any of the free tutorials listed on the Overview Page.

Hip to Be Square • Block 18

This is basically a series of putting two pieces together, then two more, then adding the outer wedges and the center circle, then sewing it all to the background square.

In all cases, prepare your blocks. A good reminder for hand basting is found on the post for Shine Circles Block 2.

A post to read for glue-basting (which is what I ended up liking the most) is on the post for Shine Circles Block 8.

Most of the instructions for this block are found on the pattern, SHINE: Nine More Blocks, found at that link in my pattern shop.

Cactus Flower • Block 21

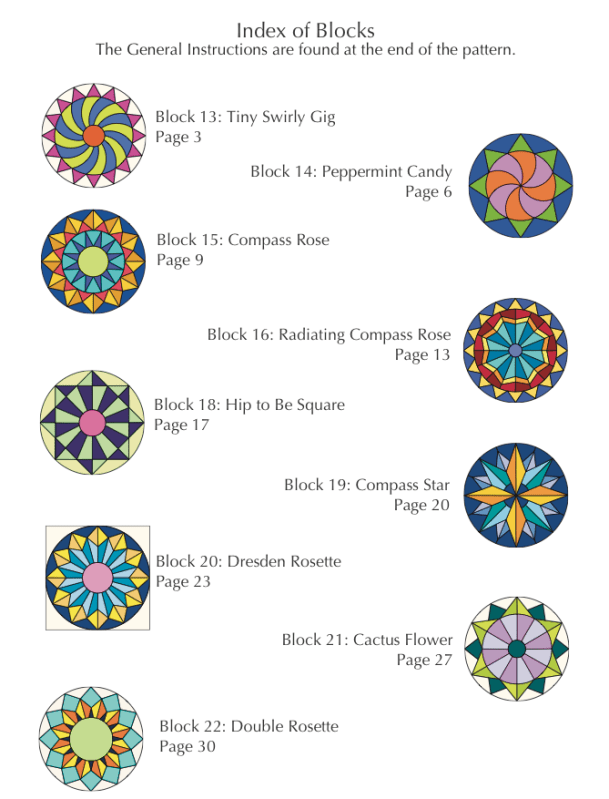
Here is the full index of blocks. Many are here on this website.

I offer two additional block patterns for sale in my pattern shop.

The first one above, Summer Day • Block 17 is a bonus block and is part of the pattern SHINE: Finishing Instructions.

The other pattern I offer as related to SHINE: The Circles Quilt is an additional set of blocks. It’s called SHINE: Nine More Blocks and is also in my pattern shop. Here’s the index:

Refer to the Overview Page on this website for all the free Shine Tutorials to make any blocks not listed here: An EPP Quilt: Circles.

Covid-19 Times · Happy Old Year Ending (Wrap-up)

Happy Old Year Ending • 2020

I just had to lead off this Happy Old Year Ending Post with one of my favorite memes from this year. So it is with fervor and conviction that I say: Happy Old Year Ending. Good-bye. Go away. Good riddance.

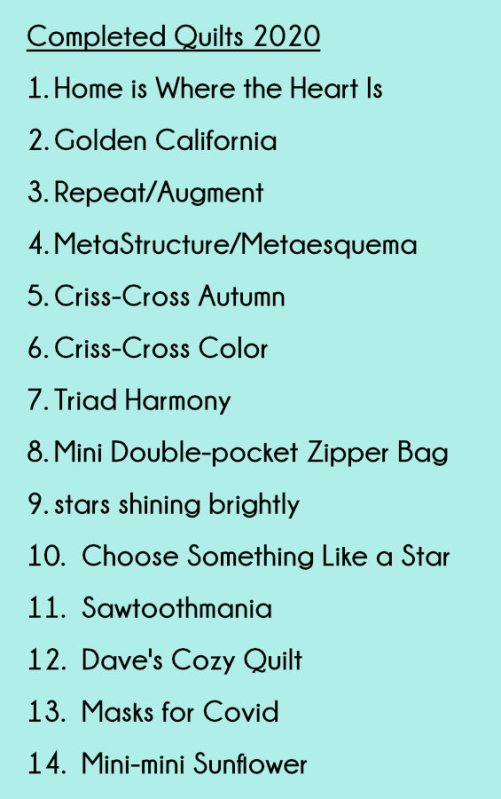
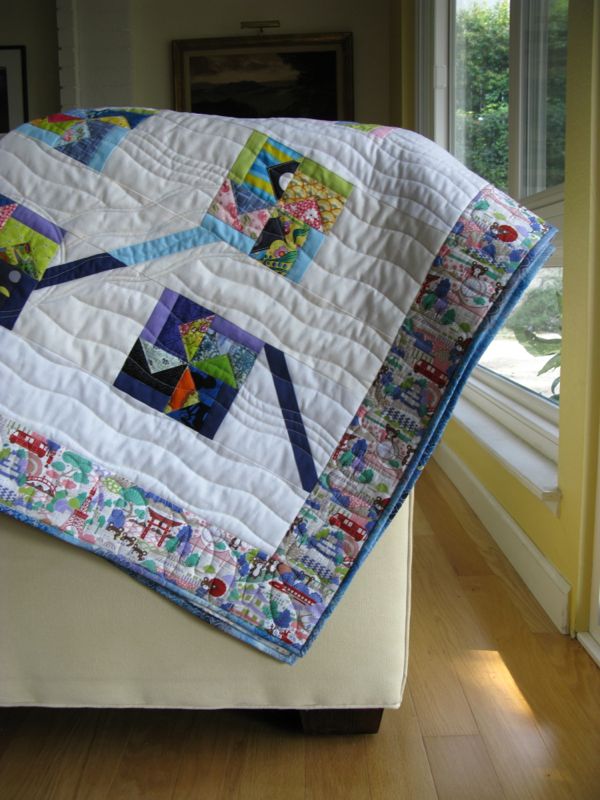
Here are my finished quilts for this year:

Not as many as last year, but then I wasn’t immersed in a nation-wide experience of dealing with a pandemic, either. Somehow time passed in interesting ways:

Yes, I’m sure you know what I’m talking about.

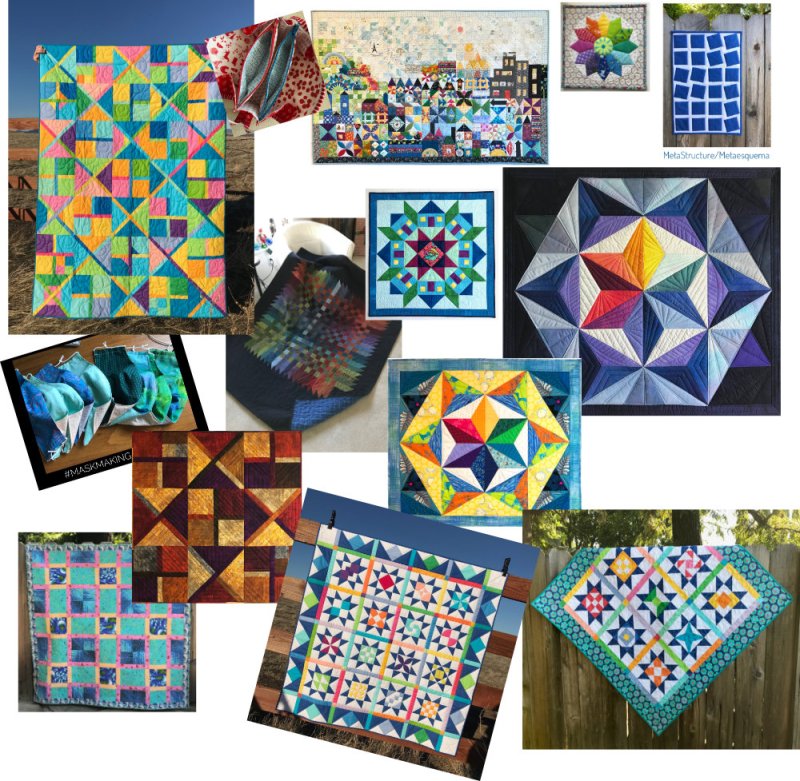
These two quilts were on my 2020 quilt top finishes list, and they are still lost in space somewhere, as each will take herculean thinking to get them to where I want them to be. Here are some of the tops I finished:

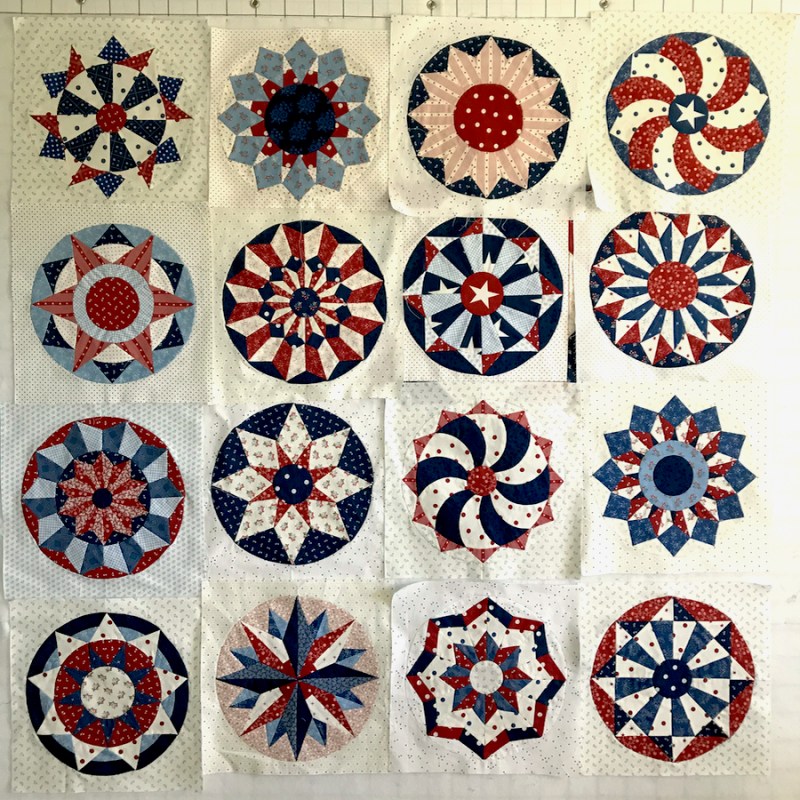
I finished all my red, white and blue blocks before Christmas. The top is on its way to being complete. Stay tuned.

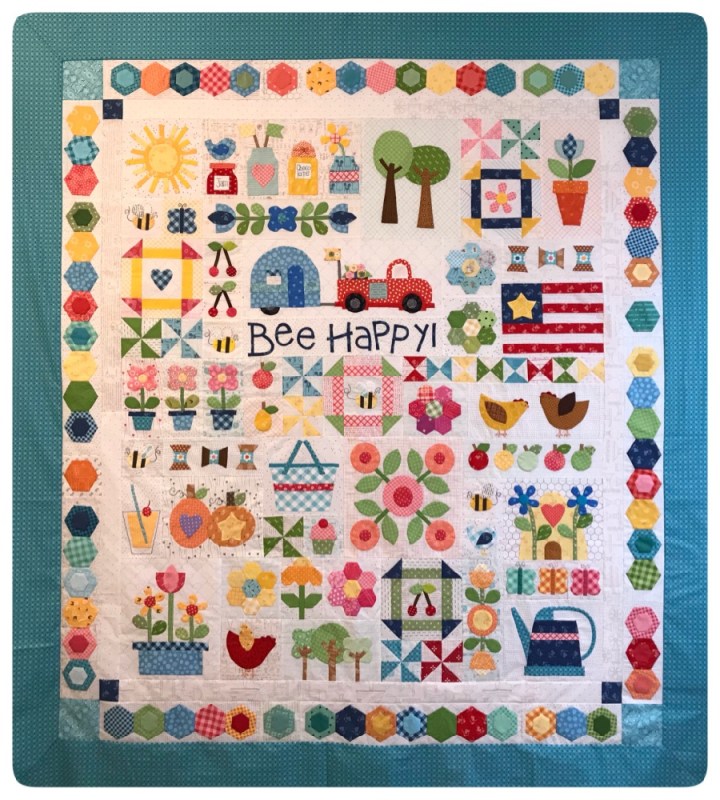
The Bee Happy top was finished before Christmas as well, with the addition of the hexie and blue borders. I’m now starting to quilt it.

When I first wrote this post, it was all about the emotional landscape of how we felt these past nine months, rather doom-and-gloom, Sturm und Drang.

Zoom teaching in 2020

But after letting it sit for a couple of days, I decided I didn’t want to end my year of describing the realities of the year that we’ve all just lived through. Instead I’ll leave you with a few quotes and links I like, something to bring in this new, but not necessarily different, year.

  • The New York Times published a column on finding hope when things feel gloomy.
  • I’ve been enjoying all the news articles I see that contain references to quilting or knitting or all those other crafts that normally go under the radar.
  • Austin Kleon wrote a great post about how quantity can lead to quality.
  • Brilliant tip for holding up quilts for photography that uses only a clamp and duct tape–nothing fancy.
  • Finally, a Zen Habits post I read once in a while, when I just feel emptied out in frustration or disappointment that I just can’t get my projects to work themselves into being, and I’m sure that I am the problem.

“We must surrender our hopes and expectations, as well as our fears, and march directly into disappointment, work with disappointment, go into it and make it our way of life.”

Chogyam Trungpa

“To create, take your time, block out the noise…It’s difficult to find the time, especially when other demands seem to press much closer to the skin of daily life. Most days it feels less like locating a stretch of time that’s available for the claiming, and more like forcibly insisting on the clearing of space. Since I don’t have the inclination to quilt in small bursts, I need to be intentional about setting aside at least a few hours or half a day. The aim is to treat quilting like any other work, which it is. This means if I mark off time to create, I can’t go off to run small errands, agree to coffee with friends or acquaintances, sit in front of my phone answering text messages and e-mails, or distract myself by chipping away at random tasks.”

Jenny Xie

Remedy for when you are stuck: take a break. I think that if you bang your head against the wall trying to create, you’re going to resent the process of creation. Usually when you reach an impasse it’s a signal to move on to another thing. Maybe you haven’t slept in a while. Maybe you need some time to ponder, to just stare at the wall. Maybe you need to live, truly be alive for a little and not near a computer. Maybe you need to read, see, watch—to refill your well.

Fatimah Asghar

Don’t partition off your daily life from your creative life.

Emily Skillings

I like that last quote quite well, as so often we use our quilting to escape away, and while I welcome that, I also think that who we are, what we are dealing with, our sorrows, our joys need to inform our creating. Maybe you are working hard on a quilt because someone close to you has just died and piecing a large quilt is the only thing that will help us mark those first awful days. Maybe you are working in red, white and blue because you worry about your nation, expressing your patriotism in your country’s colors. Maybe it’s a year of handwork, grabbed in snatches of time in between spending time in Zoom meetings (or maybe you are doing handwork during those same Zoom meetings!). Whatever your life is like, bring a little of it into your quilts, letting it hold these days for you.

So farewell, 2020, a year of disaster, of disease, of sorrow, of death, of forced calm and glints of silver linings. A year for the history books.

And welcome 2021. We look forward with hope.