300 Quilts · Patterns by Elizabeth of OPQuilt · Quilt Patterns · Quilts

Annularity

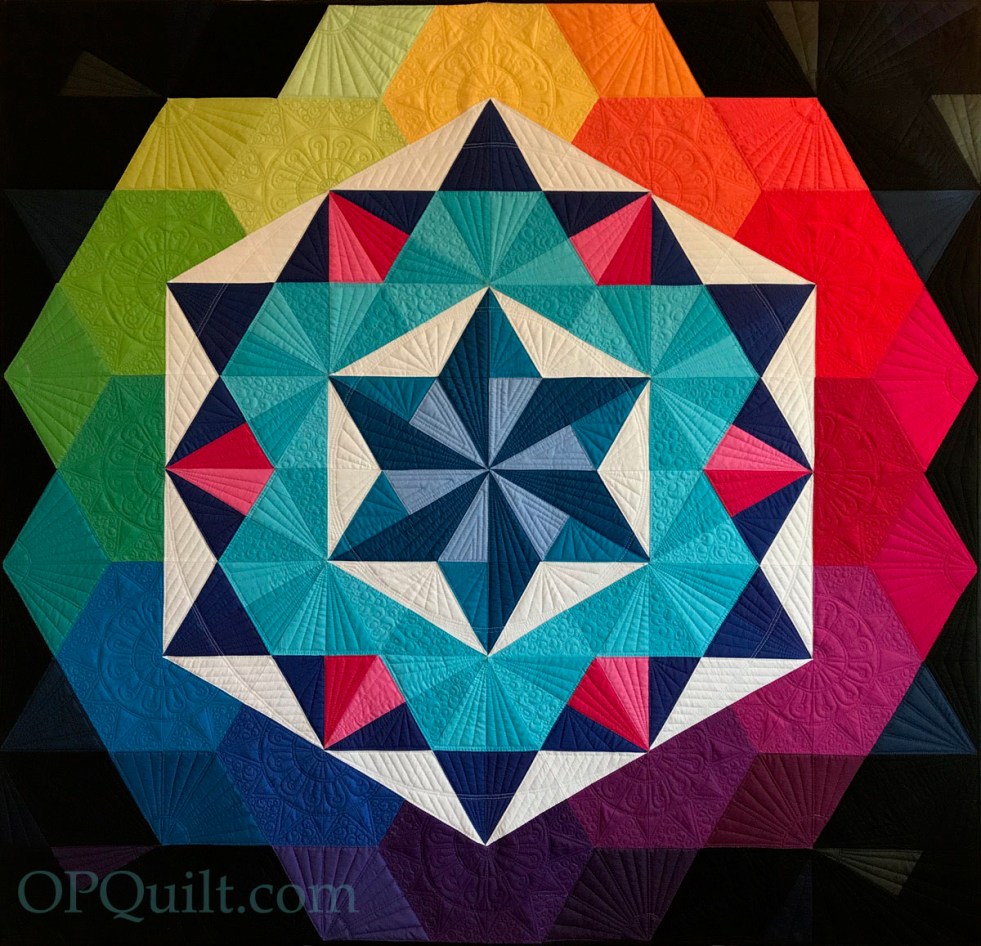
Annularity_May 2018LabeledAnnularity
Quilt #203
Began October 2017 • Completed May 2018

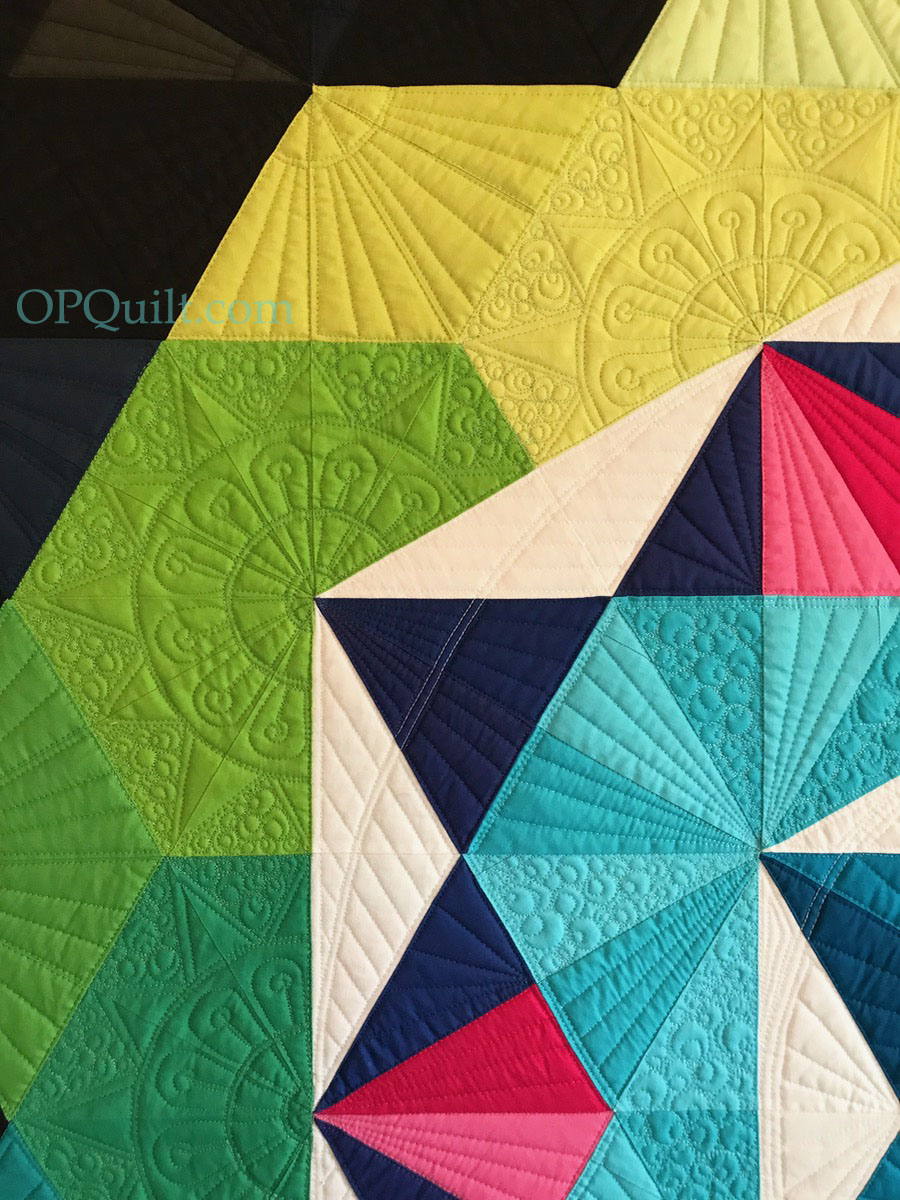
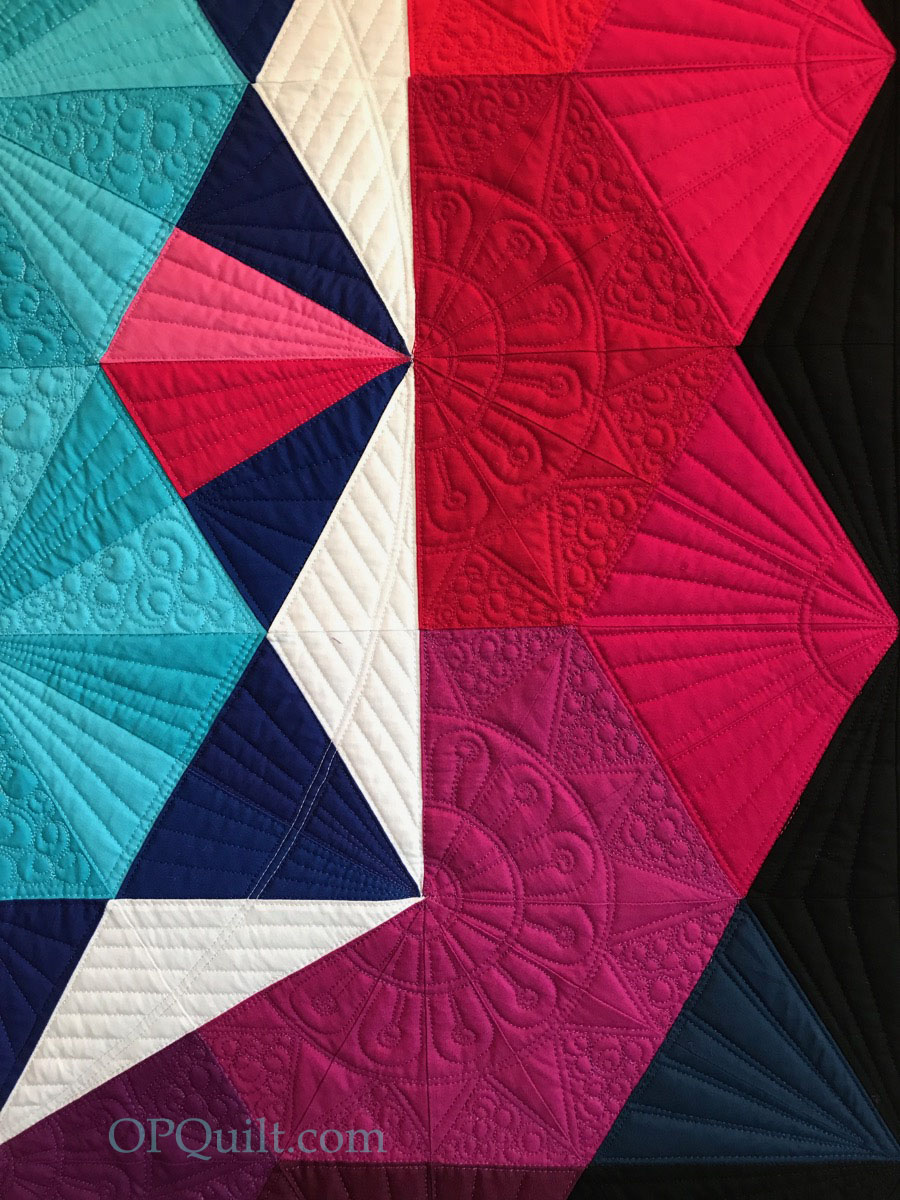
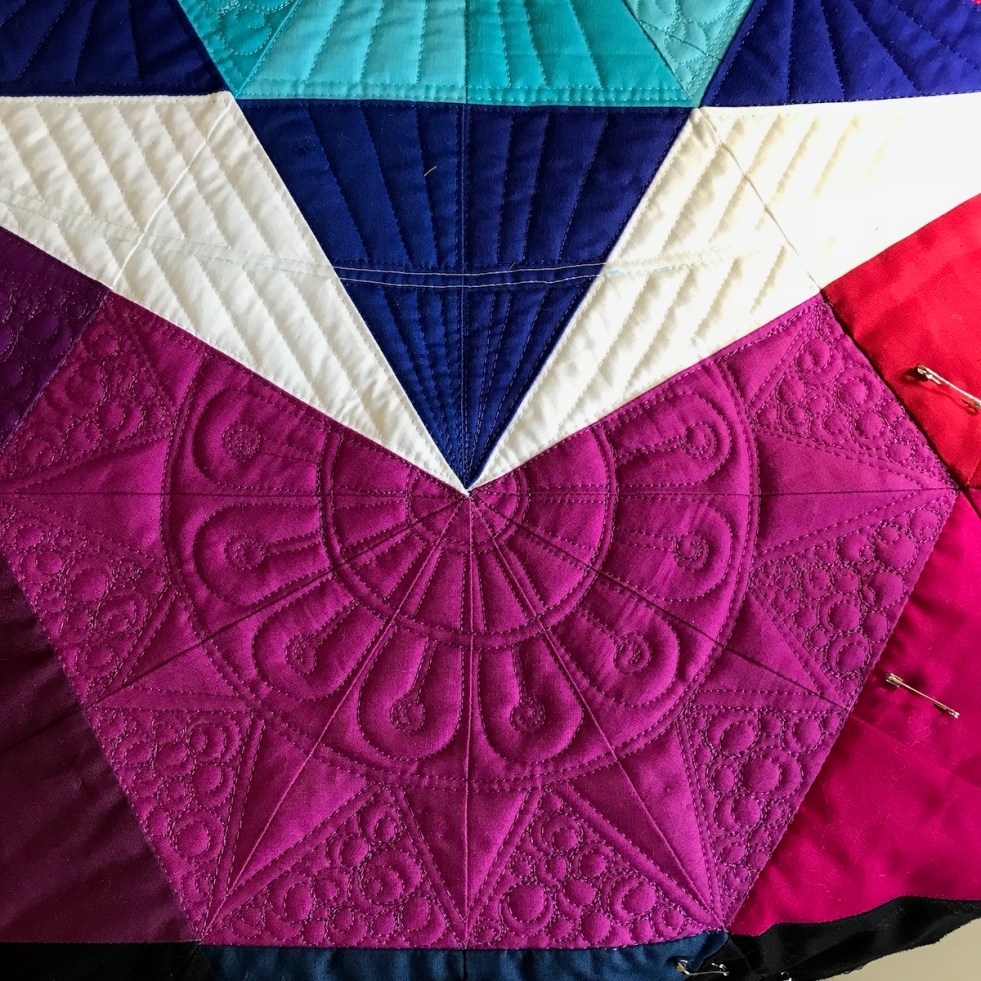
Annularity_3Detail
Annularity_1Detail
Annularity_2Detail

I use Magnifico thread as it has a nice sheen without being shiny, and it lays down a lovely line of stitching.  In the bobbin is So Fine thread (both by Superior Threads).
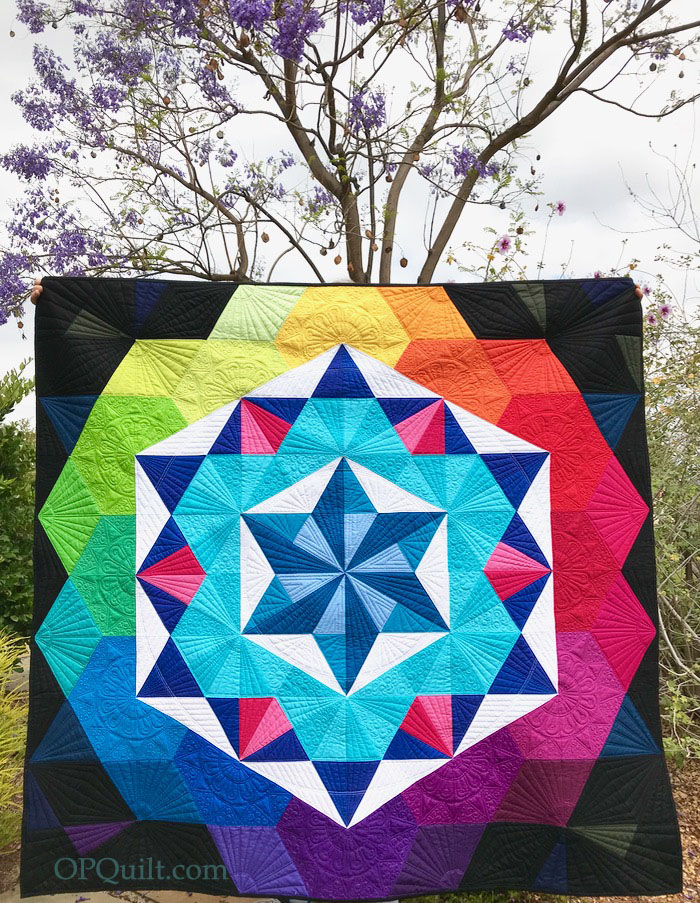
Annularity_6a

I made a duplicate of  Annularity II — which was a quilt I designed and made for Paintbrush Studios (which hung at QuiltCon, and most recently, Quilt Market) — because I thought the first version had been lost in the mail en route to the quilter. It hadn’t, and now I had my own top.

Then I decided to quilt my own, trying out different ideas as explained in an earlier post. But thanks to my quilt holder Dave, I can now reveal the fully quilted version to the world, as well as deliver some great news about this quilt.

Recently I’d been talking with Rick and Dot Kimmelman of Pineapple Fabrics about this quilt, hoping they’d want to use it for their booth, as they carry the full line of Painter’s Palette Fabrics. In between Point A and Point B of our discussions, they purchased Keepsake Quilting, which made many of us in the QuiltWorld very happy.  And so, beginning this summer, Keepsake Quilting and Pineapple Fabrics will be the exclusive sellers of my Annularity pattern.   Both Keepsake and Pineapple will also have kits available that include all the fabrics for the top and binding.  (You can check Pineapple Fabrics.com to purchase within the next month, and see Keepsake Quilting’s Fall catalogue, due out the second week of August.  You can bet I’ll put something up on here when I first lay eyes on my quilt in their catalogue!)
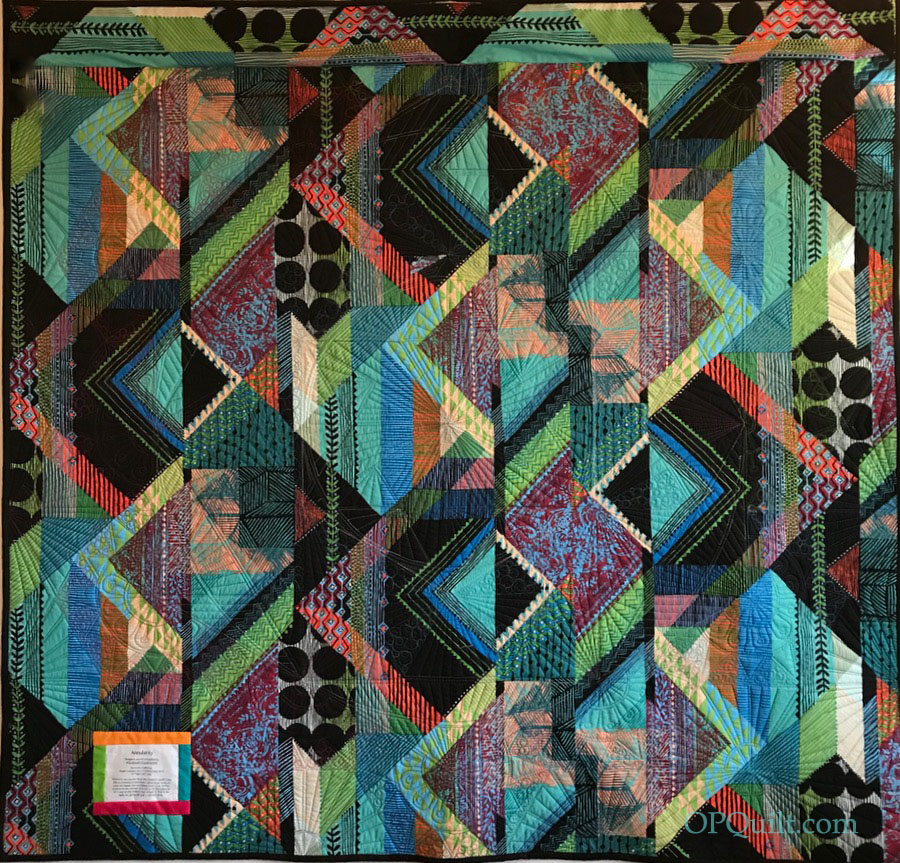
Annularity_4Back_fixedThe wild and crazy back.  It’s “prairie house” from the De Leon Design Group, for Alexander Henry Fabrics.  I thought it might disguise any oopsies, but I was happy to note that I actually had very few.  I guess maybe after ten years I’m getting better at the quilting?  Much credit belongs to the Sweet Sixteen machine I use, and the threads, which always seem to balance so well.Annularity_4bBackScrap

After one quilting session, when I turned it over to check the back, I noticed I had quilted in this wedge-shaped scrap onto the back.  I started to try and cut it out, then decided I kind of liked this nod to the process, so left it in.  Really, you can’t see it, when looking at the overall back. (Well, NOW you do, but you didn’t at first, right?)

Annularity_6
Annularity_4cLabel

So, thanks for being my cheering squad, motivating me to finish up my quilt.  And I hope you enjoy making yours!
300 Quilts · Free Motion Quilting

Quilting Annularity–an update

My version of Annularity sat rolled up on my guest bed for ages, until I realized it wasn’t going to get quilted that way.  There are no Quilting Fairies, not that I know of. (Shucks.)

Quilting _Annularity1

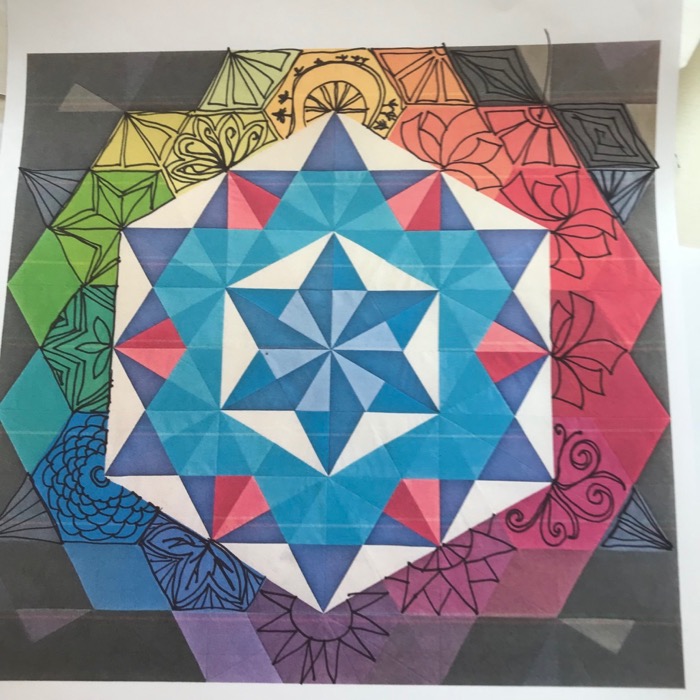
Where does quilting begin?  It begins in the tortured anguished cry of “How am I going to quilt this thing?” an endeavor I described in this blog post titled Don’t Let the Process Overtake the Purpose— a terrifying something about careening off a mountain cliff sort of feeling.  Yep.  That’s how it starts…or doesn’t.  But finally, using some advice I’d been given at QuiltCon, I started drawing and drawing (above). It got me through the center.

Quilting _Annularity2

Then the outer ring of colors.  I opened any random artsy book in my house, pulling up the one from an exhibit of Japanese screens from the Smithsonian, which prompted those bold ribbon designs in the upper right, which looked to me like the ribbons at the end of a piñata.

pinata-1.png


No.

Quilting _Annularity3

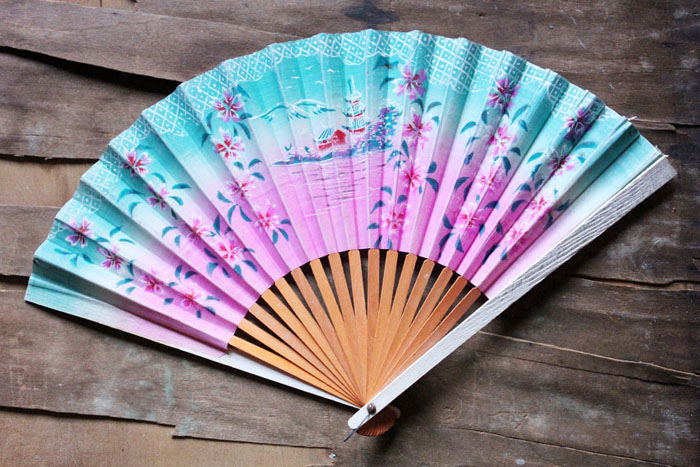
But that same book gave me the idea to think of those shapes as fans, and to fill in the design as if someone had opened one of those and was showing me the designs.

Japanese Fan

It became easier to visualize the design that way.

Quilting _Annularity2a

Am I 100% thrilled with this?  No, but I am 100% happy that I’ve figured it out enough to get the quilt quilted, knowing — again — the truth in that old slogan I repeat to myself more than once a day: The Perfect is the Enemy of the Good. (or Done.)

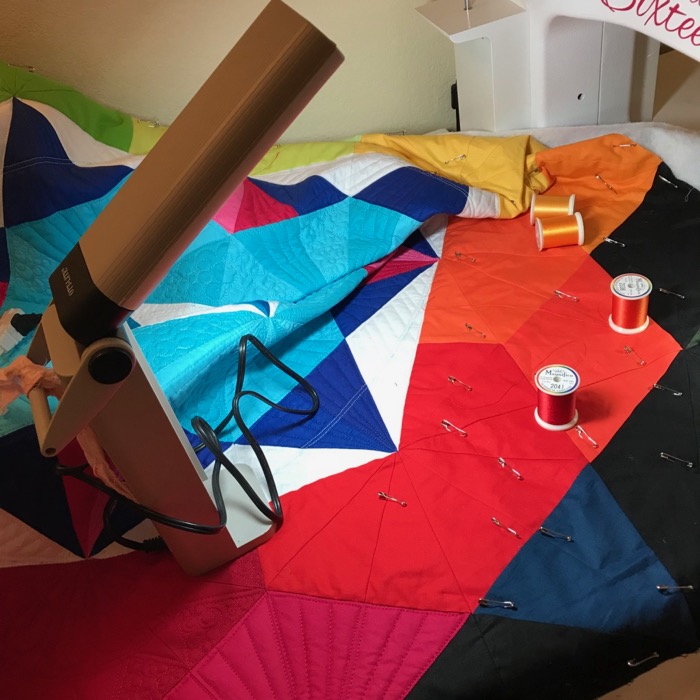
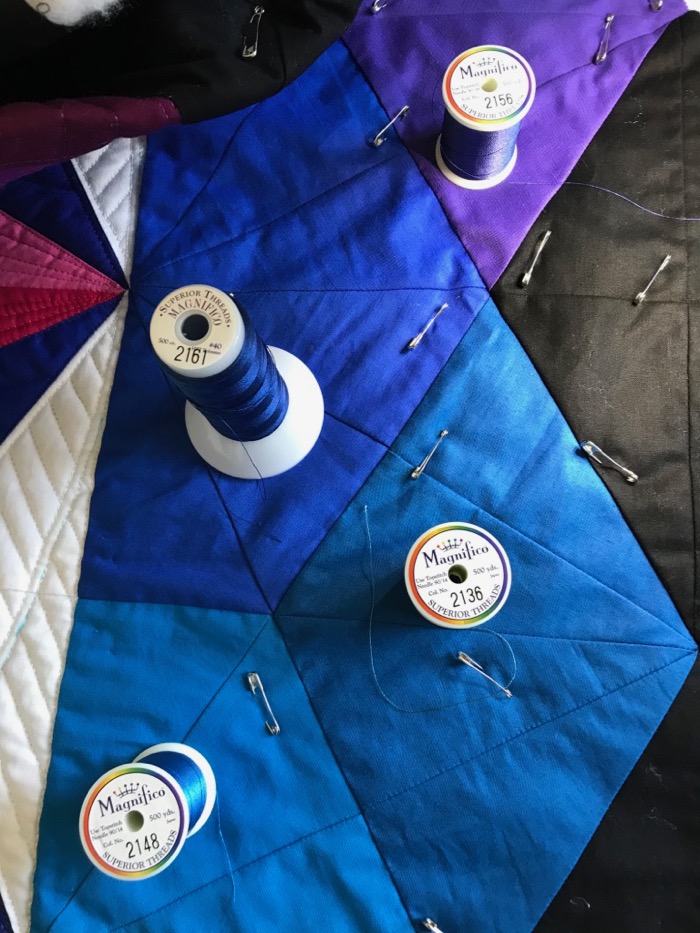
Quilting _Annularity4 thread

I had purchased a number of spools of Superior Thread’s Magnifico, which is my go-to thread for quilting.  It lays down a lovely, slightly thicker, line of thread, but it doesn’t sit on top of the quilt like some thicker threads.  I’m always trying to match the thread well, taking photos of the colors to keep myself on target.

Quilting _Annularity4a thread
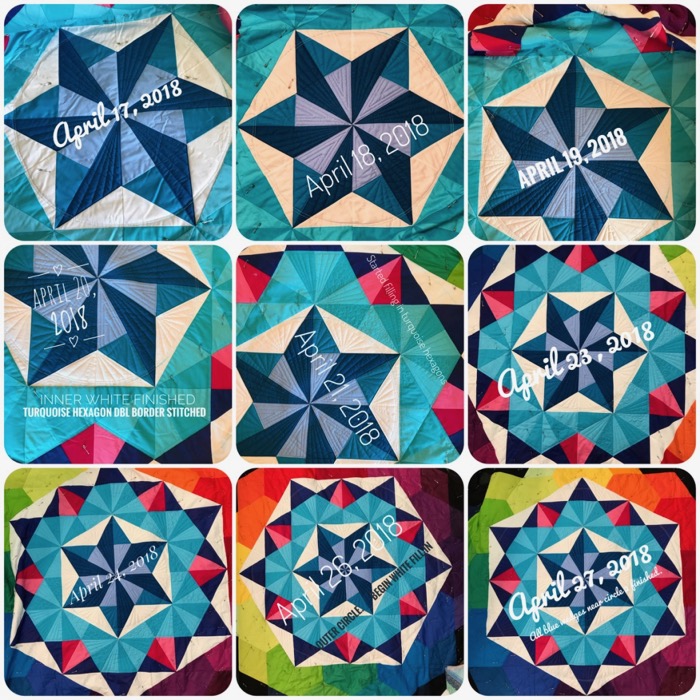
Quilting1 _Annularity

So I wouldn’t get discouraged over taking this in small bites, I took a photo at the end of each quilting session, threw it into my Snapseed app on my phone and labeled the date and the progress.  Above is the first grouping.

Quilting _Annularity5

It was celebration once I quilted out of the reds into the yellow, which you can see happened last week.Quilting2 _AnnularityQuilting _Annularity6

Here’s where I am now.  I’ve got to take a break for a while (some traveling and family stuff), but look forward to getting back at it.  The dark outer quadrants have already been planned, mostly quilted in black thread, letting them recede away from the rainbow of colors.

300 Quilts · Christmas Quilts · Free Quilt Pattern · Patterns by Elizabeth of OPQuilt · Tutorial

Christmas Tree Block Swap

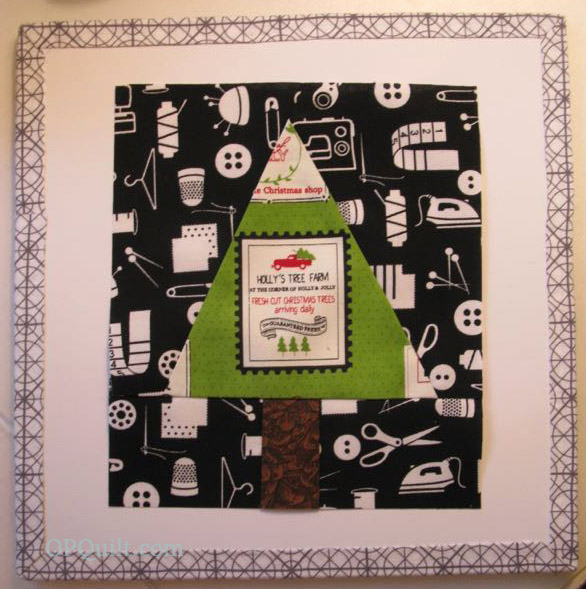
xmastreeswap
xmastreeswap_1

My friend Leisa saw a Christmas Tree Block Swap that was going on online, and said “Why don’t we do one like this with our group?” Sure, why not?  We don’t have anything else going on, do we? (right)

I drafted a pattern, just drawing this way and that, then made up a test block.  My graphic design guru Simone approved it, and we were off.  I transferred my dimensions to Quilt Pro, my quilt software program and here it is for you to download:

That’s FREE, no charge, but as usual please don’t print off one for your mother or your sister, but instead, send them here to get theirs.  Many thanks.

AND…as a reminder.  Please be sure to set your scale to 100%.

Now, the tutorial.  I apologize in advance for the pitiful lighting.  Chalk it up to working on a deadline, because our swap is in a a week and a half, and I need to get this to my quilt group for our Flash Mob Quilt Night.  (I hope they bring Christmas cookies to share…just saying…)

xmastreeswap_2

I also apologize for filling up your mailboxes with two posts so close together.  But then again, you might need this too, to spread a little holiday cheer around your sewing room.

xmastreeswap_3

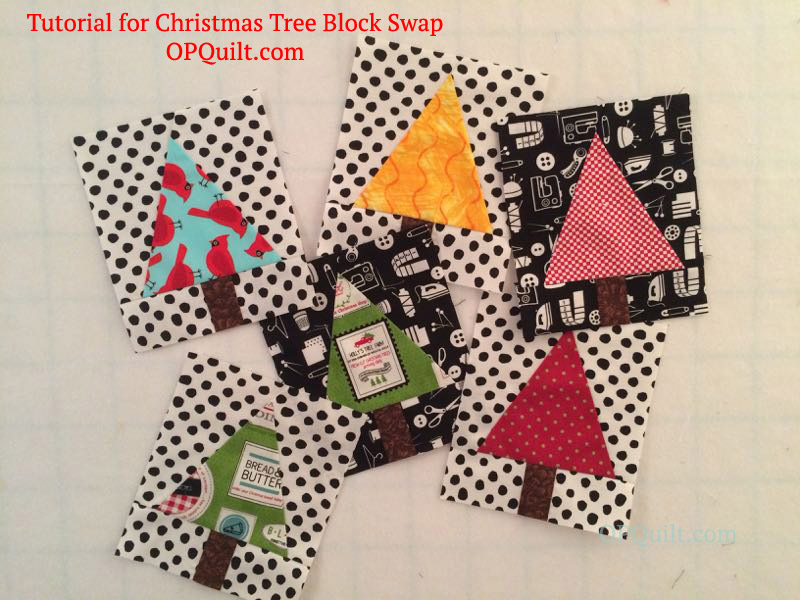
This tutorial is for one block.  It took me a grand total of about one minute to make one block.  Choosing and cutting the fabrics took a little longer.  For our trees we are using clear bright tones/prints, such as green, yellow, pink, aqua, purple/lavender, orange, red.  For the backgrounds, we are using black or white prints.  For the tree trunk: something trunkish, please.  Here are all the pieces laid out. (Thank you Mary, for my cool board.)

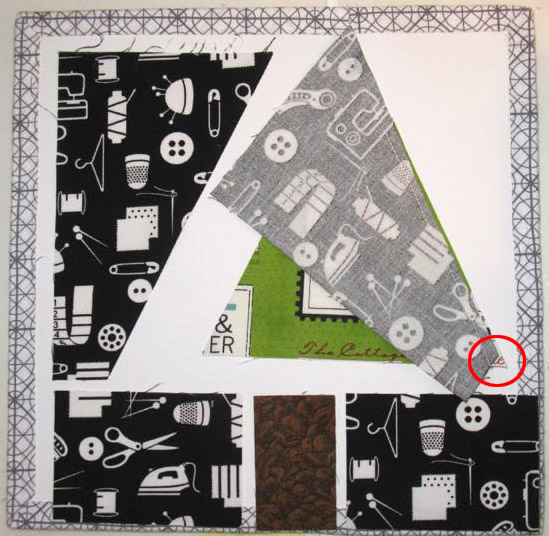
Sew the Upper Background piece onto the tree.  Leave that tiny wedge of 1/4″ goodness at the bottom right corner (shown in the red circle), and let the top of the upper background just hang off the tree.  Stitch 1/4″ seam.

xmastreeswap_4
xmastreeswap_5
xmastreeswap_6

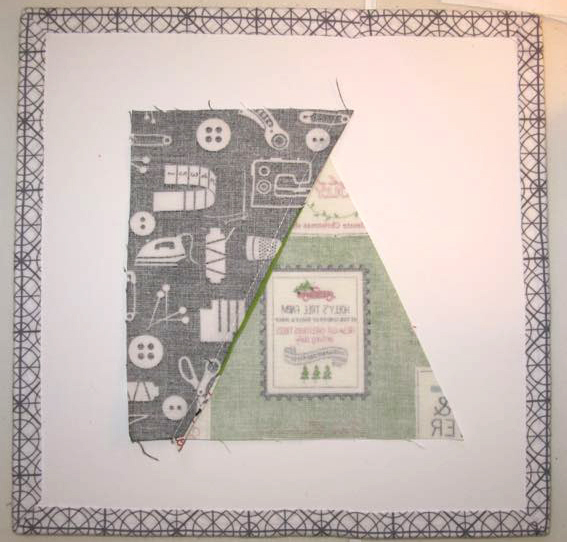
Backside of that piece.  Now the 1/4″ wedge of goodness is at the lower left, and the extra background is at the top.  Press seam towards the tree.

xmastreeswap_7

Repeat with other side.  

xmastreeswap_8
xmastreeswap_9

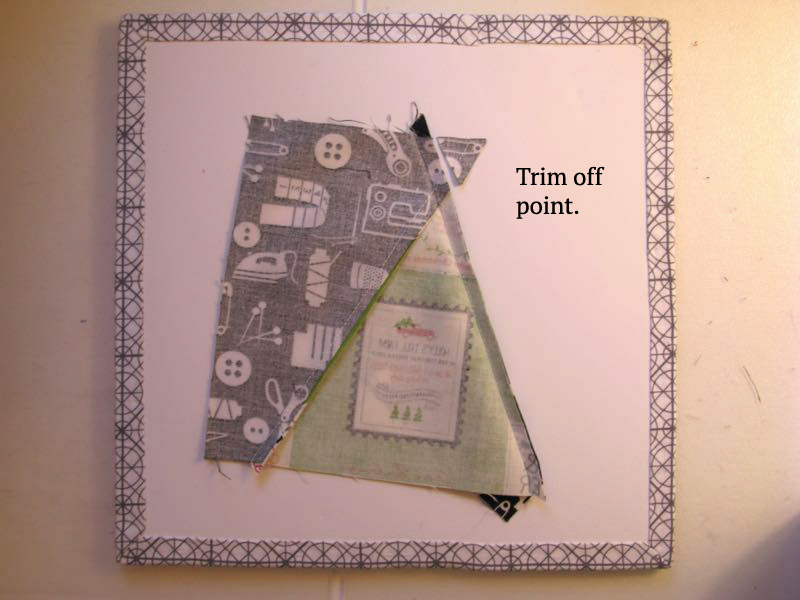
Trim off the extra point.  Press towards tree (see below).

xmastreeswap_10
xmastreeswap_11

Seam the Lower Background pieces on either side of the tree trunk.  Press towards the trunk.

xmastreeswap_12

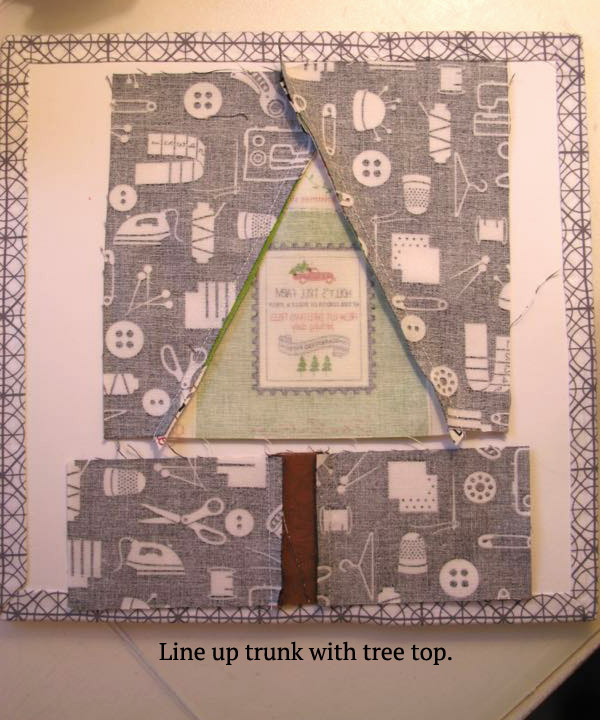
Line up the tree trunk with the tip of the tree, to get it on straight.  I’ve left a bit extra on either side, so if you want it wonky, feel free.

xmastreeswap_13

Press all seams toward tree.  You can see here the extra I’ve left you so you can adjust the trunk as needed.

xmastreeswap_14

Trim the block to 6 1/2″ by 7 1/2″ like this: Leave space above the tree tip, roughly 3/4″.

xmastreeswap_15

Then whack off the bottom, so the total height is 7 1/2″.  This tree will finish at 6 by 7″.

xmastreeswap_16

Fussy cutting is always encouraged.

Now if you want to cut out a lot of Upper Backgrounds at once, do this:

1-Layer two pieces of fabric with wrong sides together (like it comes off the bolt).

2- Cut a square 5 1/4″ by 6 1/8″.

3- Measure up 1 1/8″ on opposite sides, and draw or cut a diagonal line.  It should be the same size as your piece B or D.

Remember that these pieces are opposite of each other, so don’t layer up your fabrics with all right sides up, or this won’t work.

xmastreeswap_final1

Here’s my first batch.  Now I’ll go do this some more.

Have fun making a forest!

tiny nine patches