Quilts · Shine: The Circles Quilt

Circles Blocks 17 & 18: Summer Day and Hip to Be Square

This post shows the general assembly order of two blocks:
#17: Summer Day • included in the SHINE: Finishing Pattern
#18: Hip to Be Square • included in the pattern SHINE: Nine More Blocks

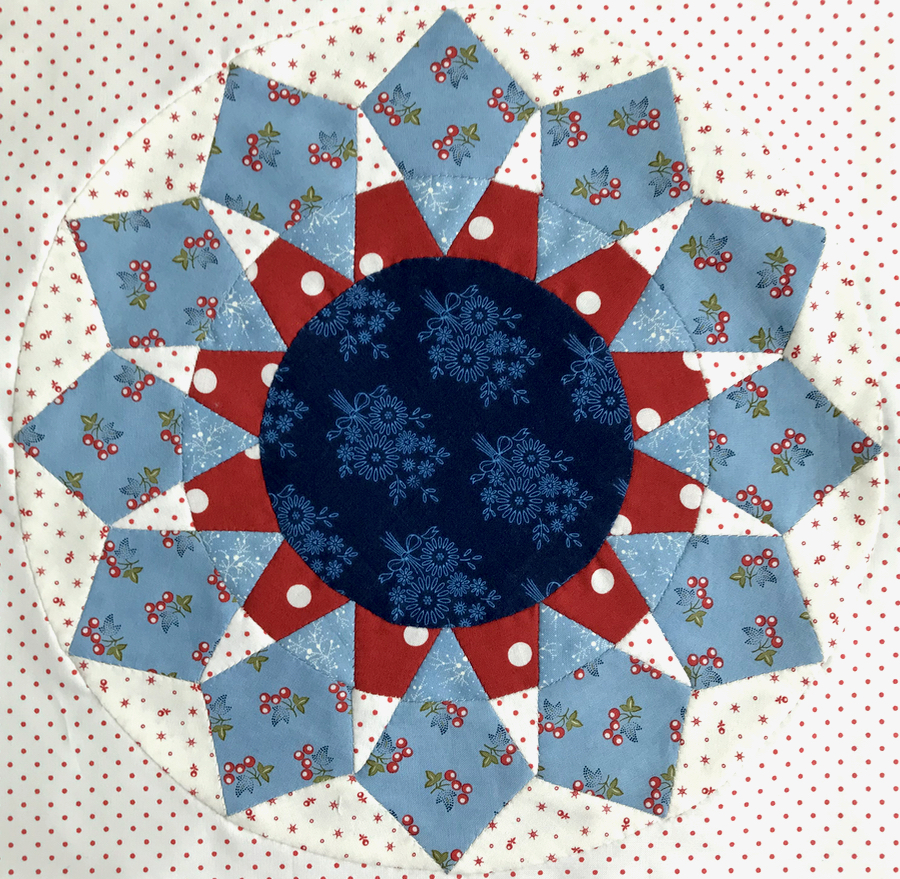
Summer Day • Block 17

If you have not had a chance to look at the other blocks, please refresh your working knowledge of English Paper-Piecing and read through a few of the free tutorials on this website.

In addition, because this block is part of the Shine Finishing Instructions Pattern, this overview will be brief. All pieces and the block key are in that pattern are sold in my PayHip shop here.

In all cases, prepare your blocks. A good reminder for hand basting is found on the post for Shine Circles Block 2. A post to read for glue-basting (which is what I ended up liking the most) is on the post for Shine Circles Block 8.

In this block, prepare all the pieces by glue-basting, or thread basting down all the seam allowances around all the pieces.

Cactus Flower • Block 21

For block 17, found in the Shine: The Circles Quilt Finishing Instructions pattern, following the key printed there, stitch the Flower Petal to Flower Petal Base. Repeat until all units are complete.

Now stitch the Flower Tip C to Flower Tip Base B. Repeat until all units are complete.

Pair these up and stitch the Flower Petal Unit to the LEFT side of the Flower Tip unit. You should have 12 units, total. It will look like the illustration above. Join these together, again in pairs. You should have 6 units at that point. Join 3 of those units together, then repeat. It will be two halves of a circle.

Stitch in the outer wedges in between the flower petals. Shown below is one half of the circle with the wedges attached. Notice that how one wedge hangs over the edge at the top right, and how the lower left is absent a wedge. It will be attached to the other half, and overhang as in the existing example. From there, join those edges together to make a circle. Attach the center circle, and then attach the block to your background fabric. All instructions for those are either in the purchased patterns, or on the tutorials on this website.

And yes, I do swap out my thread colors to match my fabric if the contrast is high. For example, I would not use white thread on those sections where the red will be sewn to the blue.

After completing the EPP portion of this block, follow the instructions to appliqué it down to the background block, either in the pattern or on any of the free tutorials listed on the Overview Page.

Hip to Be Square • Block 18

This is basically a series of putting two pieces together, then two more, then adding the outer wedges and the center circle, then sewing it all to the background square.

In all cases, prepare your blocks. A good reminder for hand basting is found on the post for Shine Circles Block 2.

A post to read for glue-basting (which is what I ended up liking the most) is on the post for Shine Circles Block 8.

Most of the instructions for this block are found on the pattern, SHINE: Nine More Blocks, found at that link in my pattern shop.

Cactus Flower • Block 21

Here is the full index of blocks. Many are here on this website.

I offer two additional block patterns for sale in my pattern shop.

The first one above, Summer Day • Block 17 is a bonus block and is part of the pattern SHINE: Finishing Instructions.

The other pattern I offer as related to SHINE: The Circles Quilt is an additional set of blocks. It’s called SHINE: Nine More Blocks and is also in my pattern shop. Here’s the index:
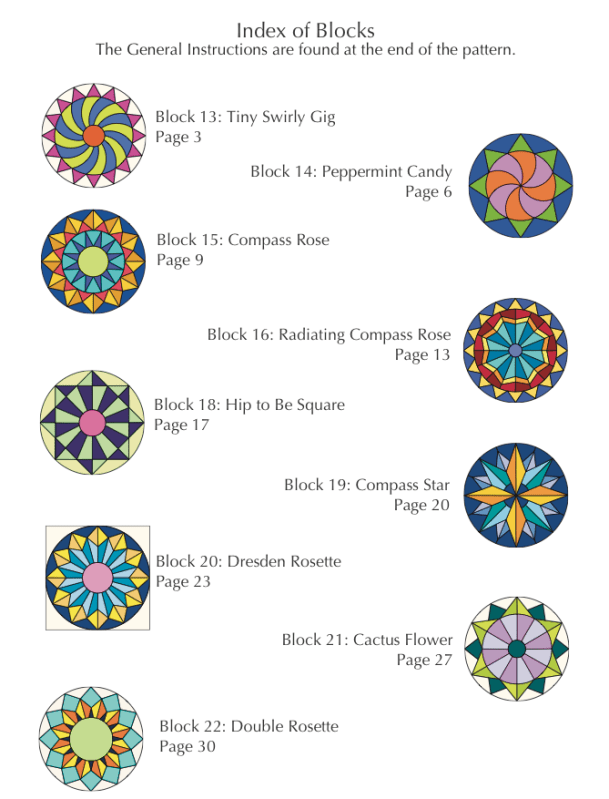
Refer to the Overview Page on this website for all the free Shine Tutorials to make any blocks not listed here: An EPP Quilt: Circles.

Covid-19 Times · Happy Old Year Ending (Wrap-up)

Happy Old Year Ending • 2020

I just had to lead off this Happy Old Year Ending Post with one of my favorite memes from this year. So it is with fervor and conviction that I say: Happy Old Year Ending. Good-bye. Go away. Good riddance.

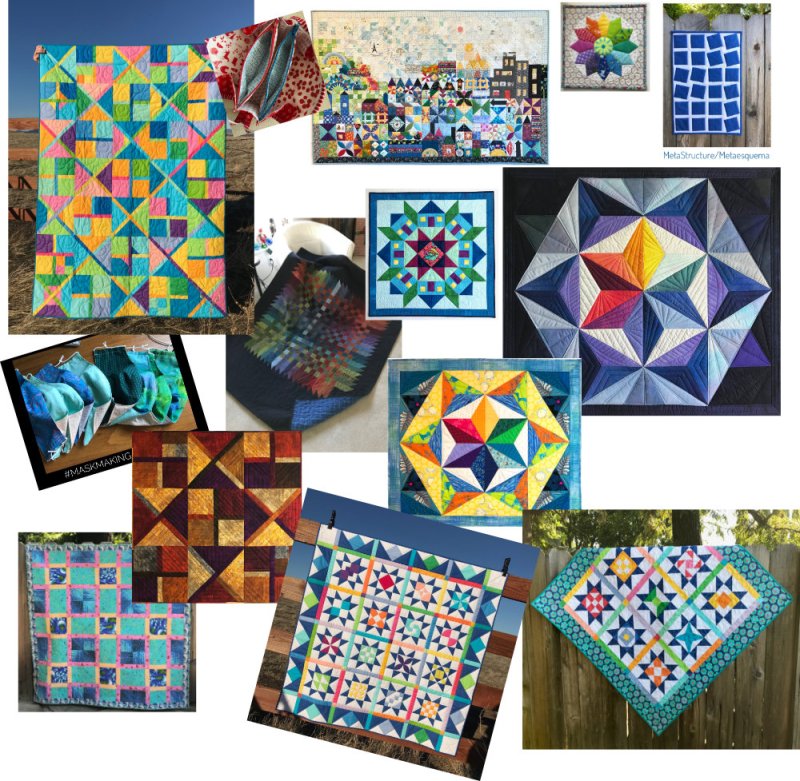
Here are my finished quilts for this year:

Not as many as last year, but then I wasn’t immersed in a nation-wide experience of dealing with a pandemic, either. Somehow time passed in interesting ways:

Yes, I’m sure you know what I’m talking about.

These two quilts were on my 2020 quilt top finishes list, and they are still lost in space somewhere, as each will take herculean thinking to get them to where I want them to be. Here are some of the tops I finished:

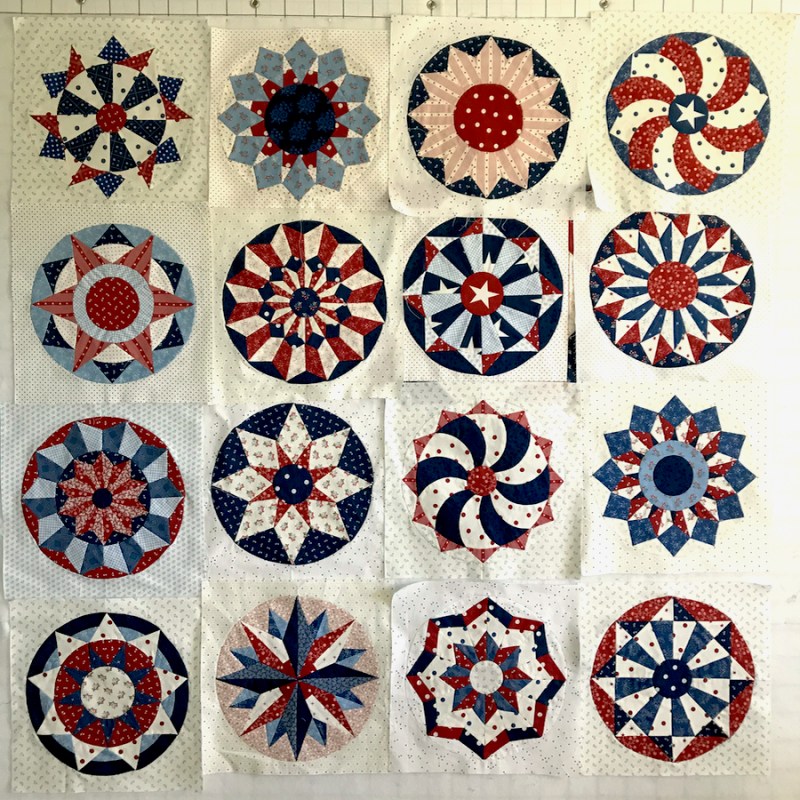
I finished all my red, white and blue blocks before Christmas. The top is on its way to being complete. Stay tuned.

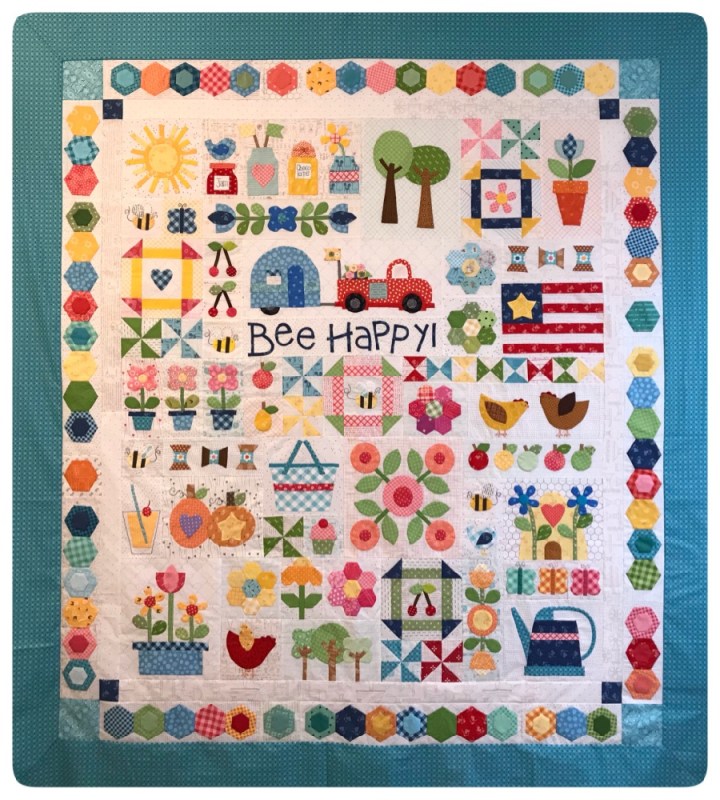
The Bee Happy top was finished before Christmas as well, with the addition of the hexie and blue borders. I’m now starting to quilt it.

When I first wrote this post, it was all about the emotional landscape of how we felt these past nine months, rather doom-and-gloom, Sturm und Drang.

Zoom teaching in 2020

But after letting it sit for a couple of days, I decided I didn’t want to end my year of describing the realities of the year that we’ve all just lived through. Instead I’ll leave you with a few quotes and links I like, something to bring in this new, but not necessarily different, year.

  • The New York Times published a column on finding hope when things feel gloomy.
  • I’ve been enjoying all the news articles I see that contain references to quilting or knitting or all those other crafts that normally go under the radar.
  • Austin Kleon wrote a great post about how quantity can lead to quality.
  • Brilliant tip for holding up quilts for photography that uses only a clamp and duct tape–nothing fancy.
  • Finally, a Zen Habits post I read once in a while, when I just feel emptied out in frustration or disappointment that I just can’t get my projects to work themselves into being, and I’m sure that I am the problem.

“We must surrender our hopes and expectations, as well as our fears, and march directly into disappointment, work with disappointment, go into it and make it our way of life.”

Chogyam Trungpa

“To create, take your time, block out the noise…It’s difficult to find the time, especially when other demands seem to press much closer to the skin of daily life. Most days it feels less like locating a stretch of time that’s available for the claiming, and more like forcibly insisting on the clearing of space. Since I don’t have the inclination to quilt in small bursts, I need to be intentional about setting aside at least a few hours or half a day. The aim is to treat quilting like any other work, which it is. This means if I mark off time to create, I can’t go off to run small errands, agree to coffee with friends or acquaintances, sit in front of my phone answering text messages and e-mails, or distract myself by chipping away at random tasks.”

Jenny Xie

Remedy for when you are stuck: take a break. I think that if you bang your head against the wall trying to create, you’re going to resent the process of creation. Usually when you reach an impasse it’s a signal to move on to another thing. Maybe you haven’t slept in a while. Maybe you need some time to ponder, to just stare at the wall. Maybe you need to live, truly be alive for a little and not near a computer. Maybe you need to read, see, watch—to refill your well.

Fatimah Asghar

Don’t partition off your daily life from your creative life.

Emily Skillings

I like that last quote quite well, as so often we use our quilting to escape away, and while I welcome that, I also think that who we are, what we are dealing with, our sorrows, our joys need to inform our creating. Maybe you are working hard on a quilt because someone close to you has just died and piecing a large quilt is the only thing that will help us mark those first awful days. Maybe you are working in red, white and blue because you worry about your nation, expressing your patriotism in your country’s colors. Maybe it’s a year of handwork, grabbed in snatches of time in between spending time in Zoom meetings (or maybe you are doing handwork during those same Zoom meetings!). Whatever your life is like, bring a little of it into your quilts, letting it hold these days for you.

So farewell, 2020, a year of disaster, of disease, of sorrow, of death, of forced calm and glints of silver linings. A year for the history books.

And welcome 2021. We look forward with hope.

300 Quilts · Family Quilts

Dave’s Cozy Quilt • Quilt Finish 2020

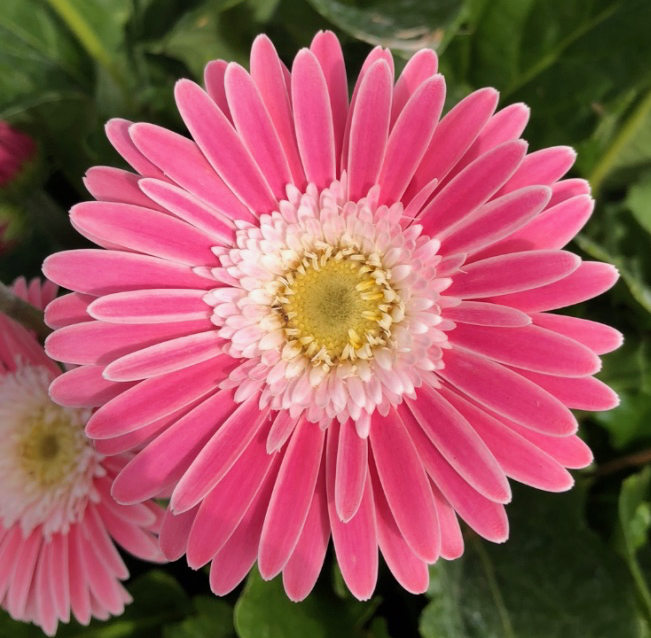
Gerbera Garvinea, Sweet Surprise • photography by Dave Eastmond

My husband takes walks. Daily walks where he brings home dozens of flower and leaf photos. He specializes in color, in contrast, in finding whatever others pass over as they zip by in their cars, Southern-California style. He brings a lot of joy to my life and to those who know him.

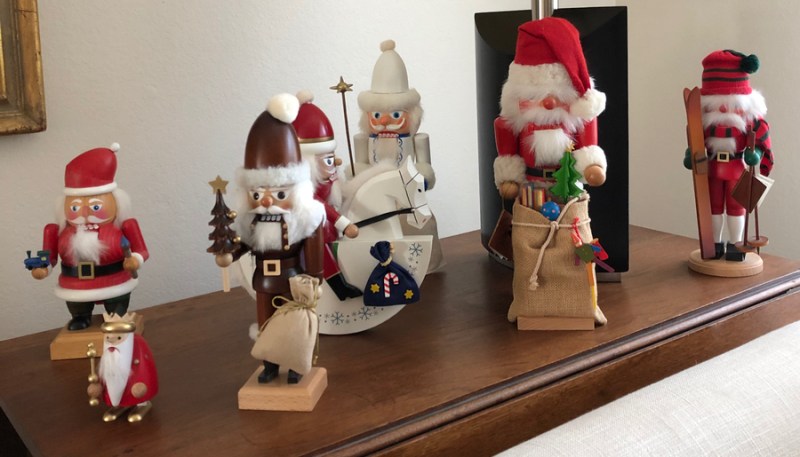
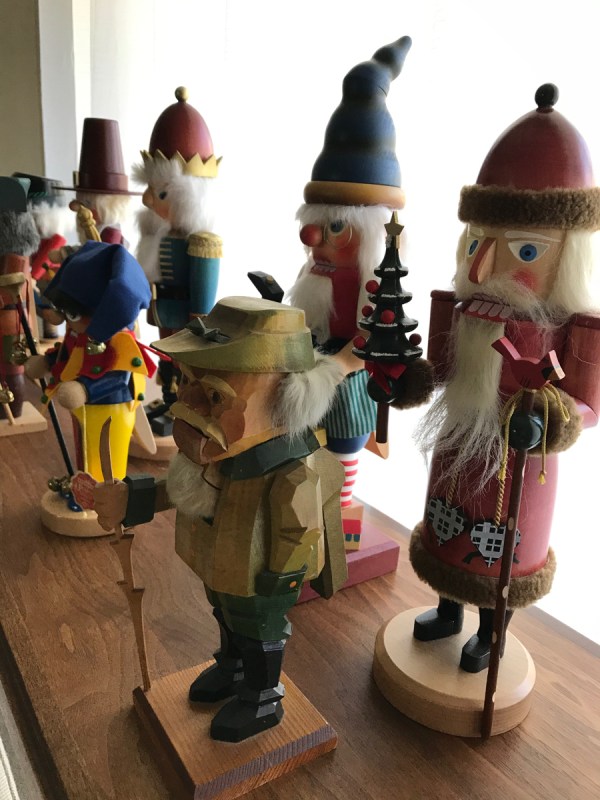
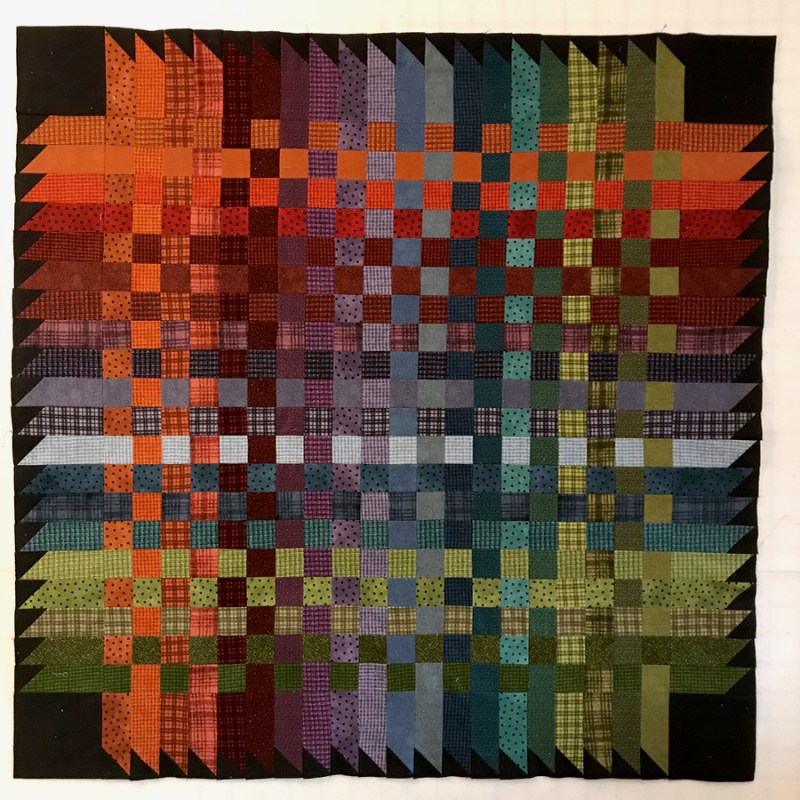
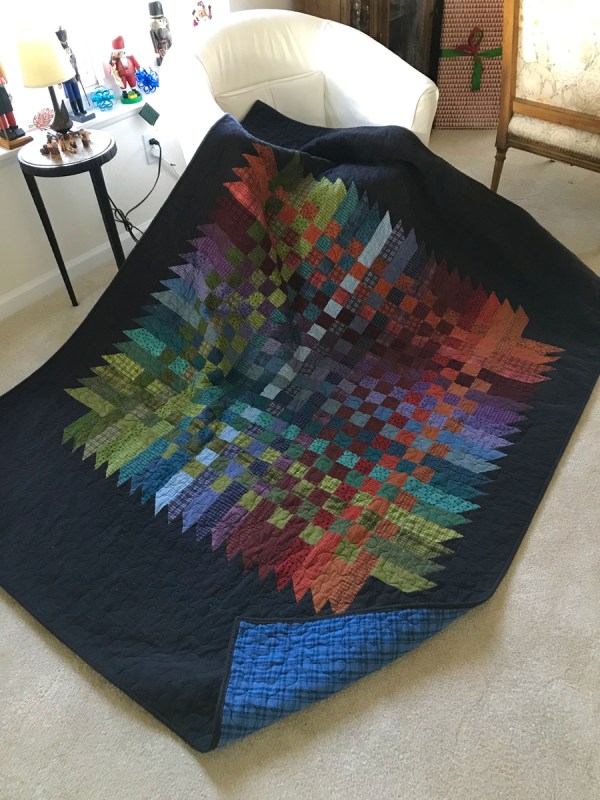
He also single-handedly decorates our house for Christmas, with lights and a forest of little pine men: his nutcracker collection, gathered from far and wide. And so this Christmas, even though he was always around the house (due to covid and being newly retired), I decided to make him a quilt, a cozy flannel quilt — his favorite.

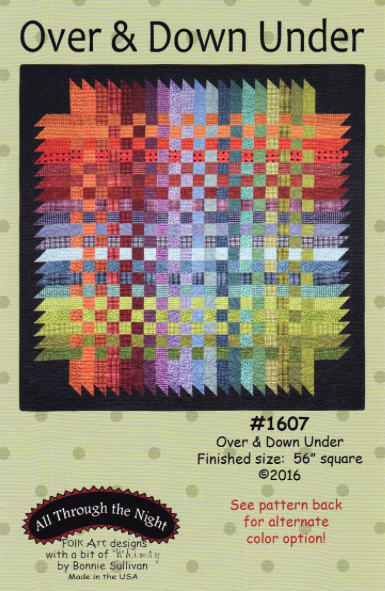
I’d had my eye on Bonnie Sullivan’s Woolie Flannels Over and Down Under pattern, and had purchased the pattern, the jelly roll and border fabric waaaaay back in March, thinking I’d sew while he was at work. Hahaha.

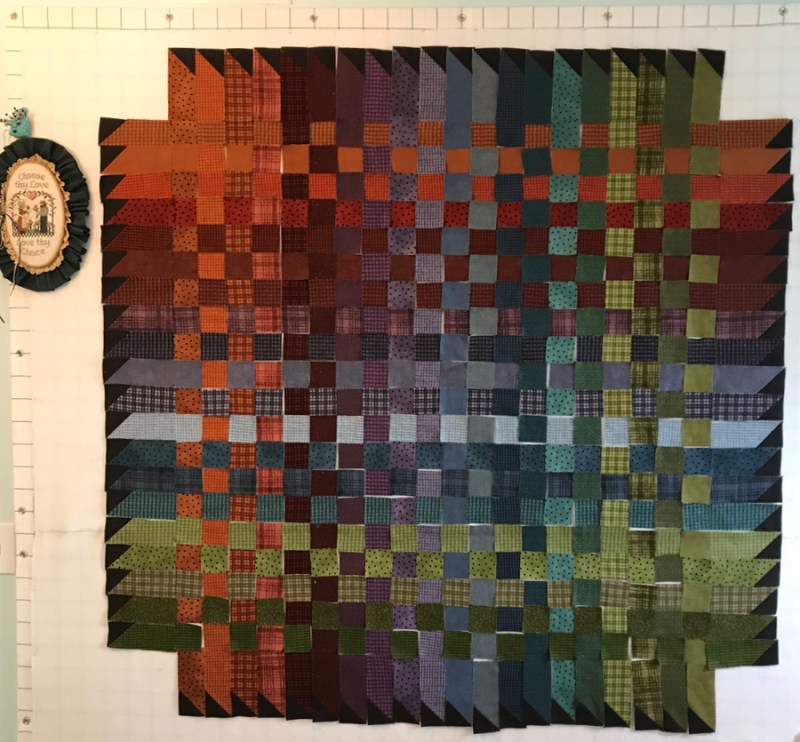
So December 8th, I cut the bazillion little squares from a jelly roll then lost my mind once or twice trying to get it up on the design wall. (Yes, that little stitchery does say “Choose thy Love…Love thy Choice.” It’s from my cross-stitch days and I still believe in the saying.)

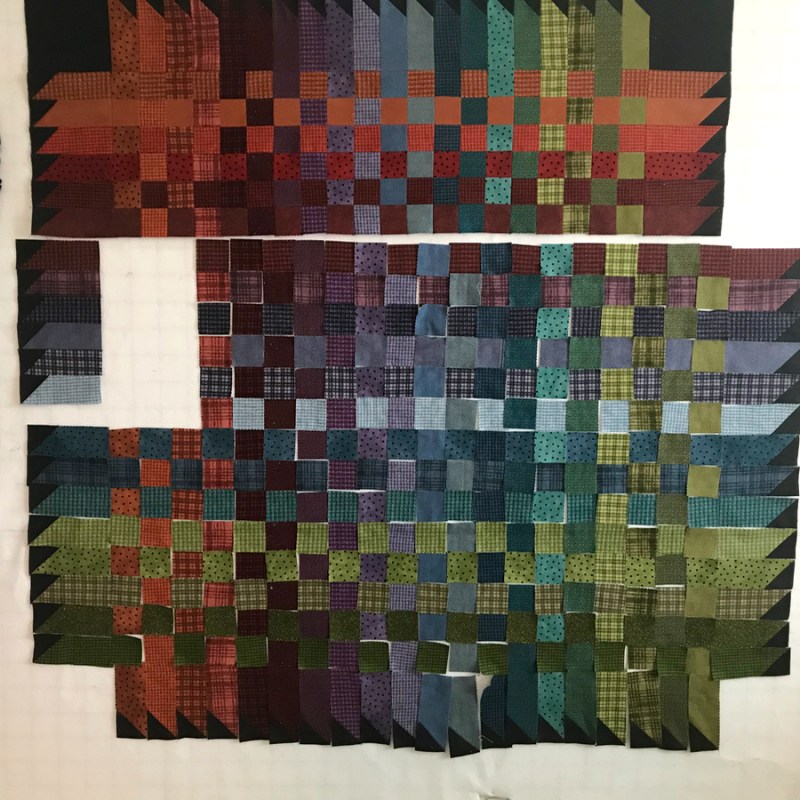
How to sew this together? I decided to do it in nine-patches, and then sew the outer rectangles together. I listened to audiobooks, kept sewing.

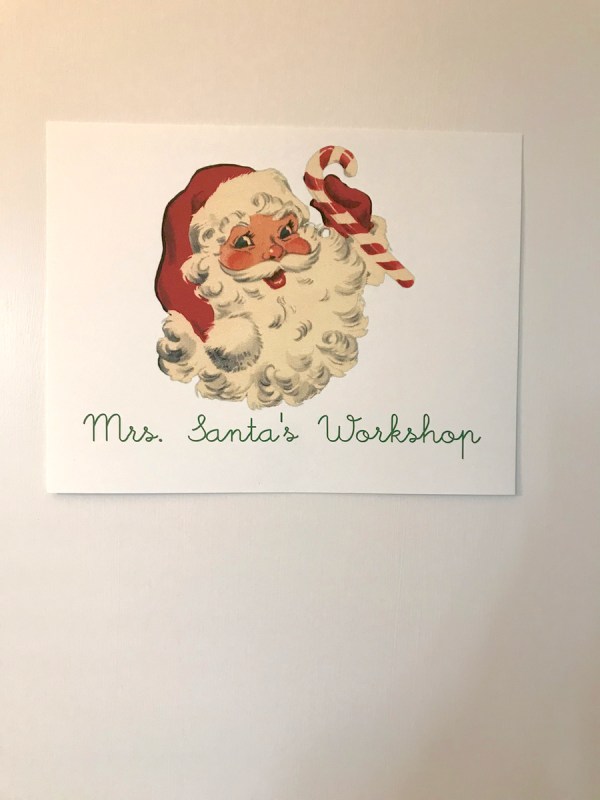
Still sewing after several days, I made a sign and taped it to my sewing room.

I realized after I finished the center, that it would not be nearly tall enough for him. I ordered some more black herringbone woolie flannel, praying that the dye lots would be close enough. The order got caught in the Great Christmas 2020 Mailing Slowdown, and I checked my email everyday to see where it was. Finally, after a loooong (felt to me) wait, it showed up a few days before Christmas.

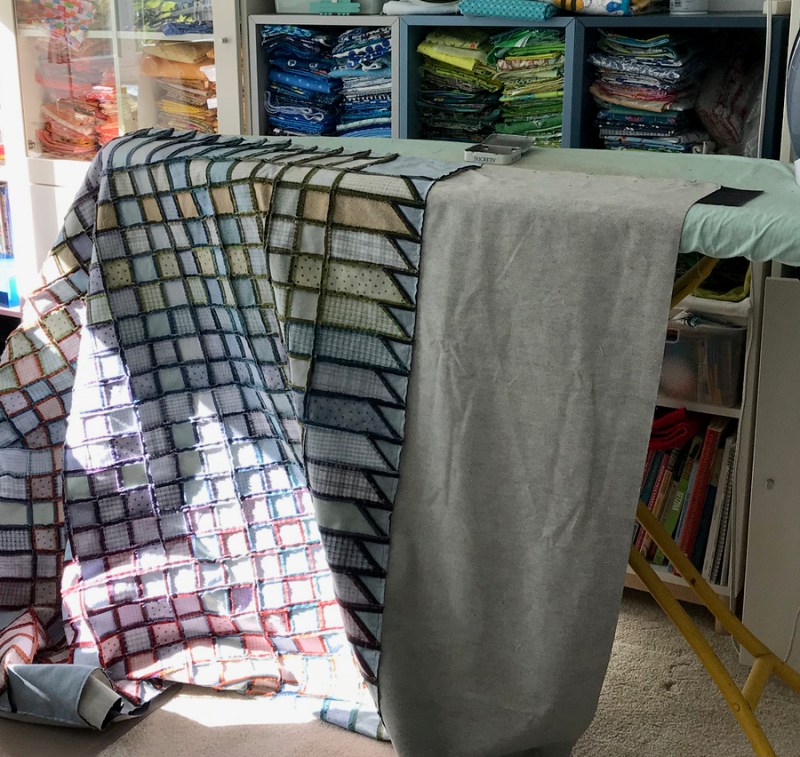
But luckily the hard work of piecing was over, so I sewed a great large swath of the border fabrics on the sides, top and bottom, then moved the Mrs. Claus sign over to our guest bedroom, also known as the Quilting Room. I pinned it all together on my kitchen counter, took it back upstairs and went to town on the quilting. One long day later it was done. I chose to do a very large meander on it, because I wanted it to feel soft and snuggly, and I knew that loosely quilted quilts feel that way.

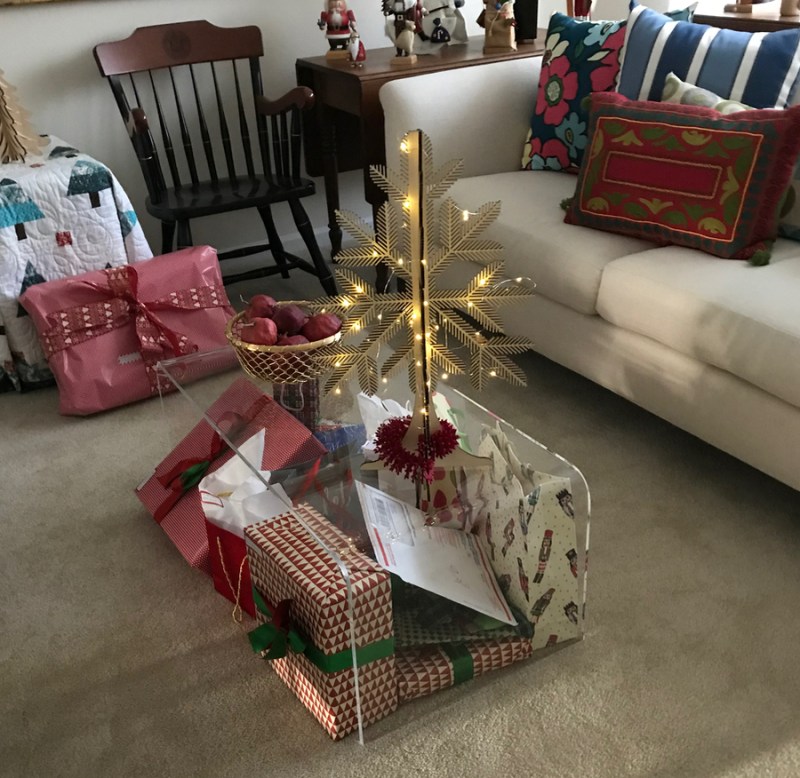
One day when he went back up to his office at the university, I bound it, then machine-stitched that down, and even got it wrapped and put beside our tree (the large red package).

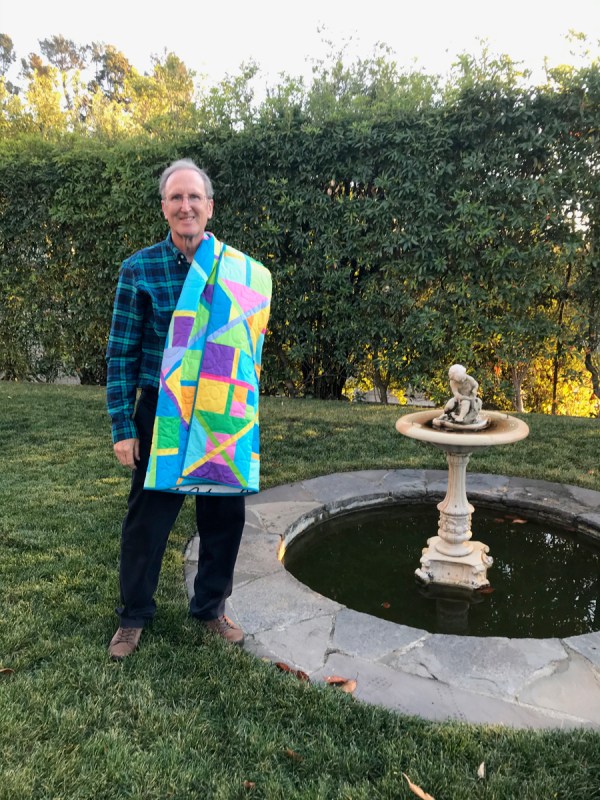
Of course, you all know Dave from the great job he does supporting me in my quilting adventures, as well as scoping out great photography locations. He is a premier member of the Husband Holding Quilts Association.

Dave’s Cozy Quilt
Quilt Number 240

Here is the finished product, about 85″ high, 65″ wide. I ran it through the washer and dryer to crinkle it up a little bit before giving it to him. Merry Christmas, Dave!

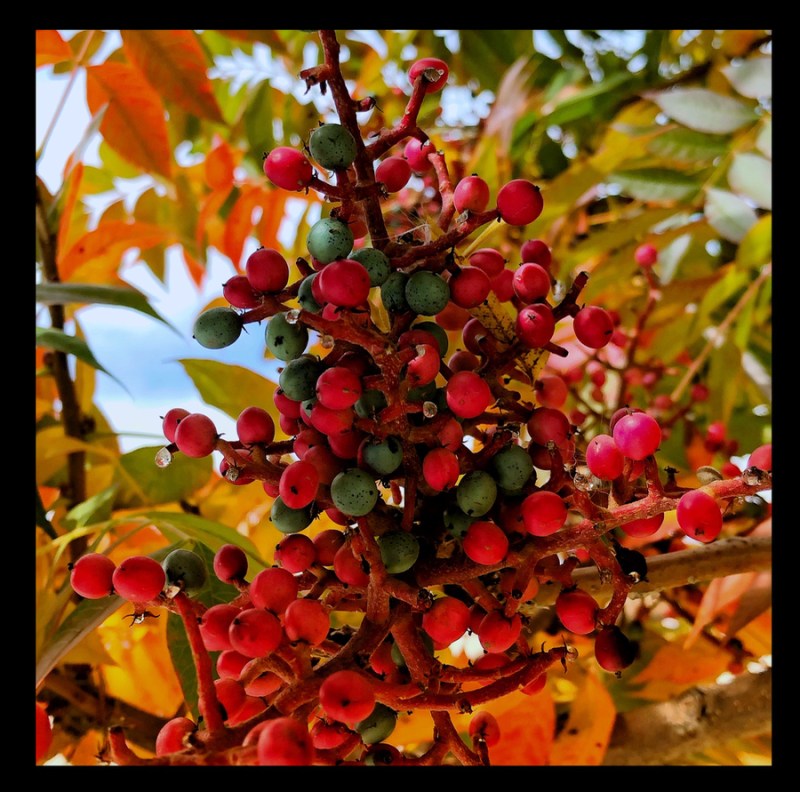
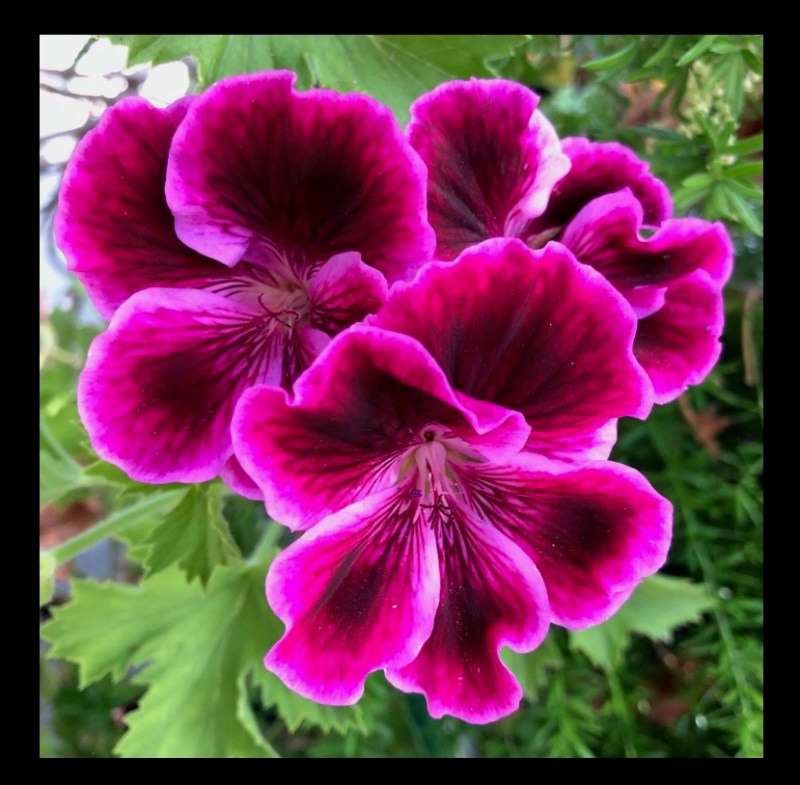
And here’s his gift to you: a couple of more beautiful photos, published on his Instagram account of @toxdae (he’s a toxicologist by profession). Follow if you want a bouquet in your feed.

Winter Berries • photography by Dave Eastmond
Geranium • photography by Dave Eastmond