300 Quilts · Quilt Finish

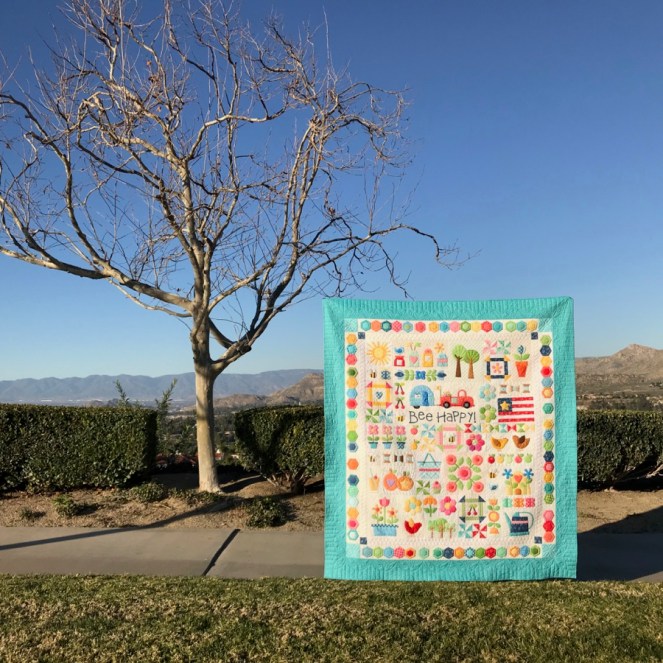
Picties and Verities • Quilt Finish

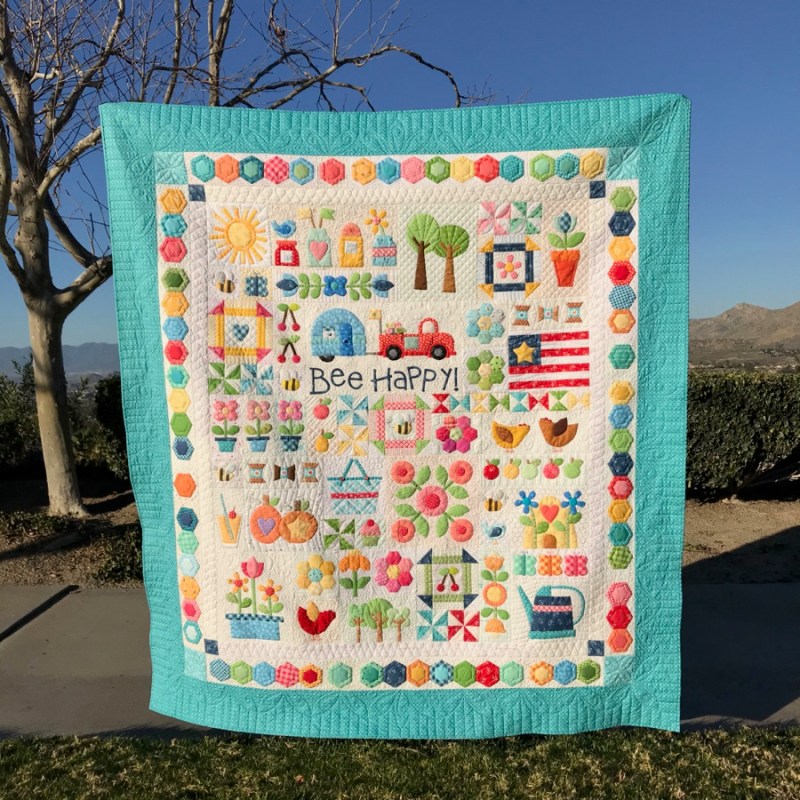
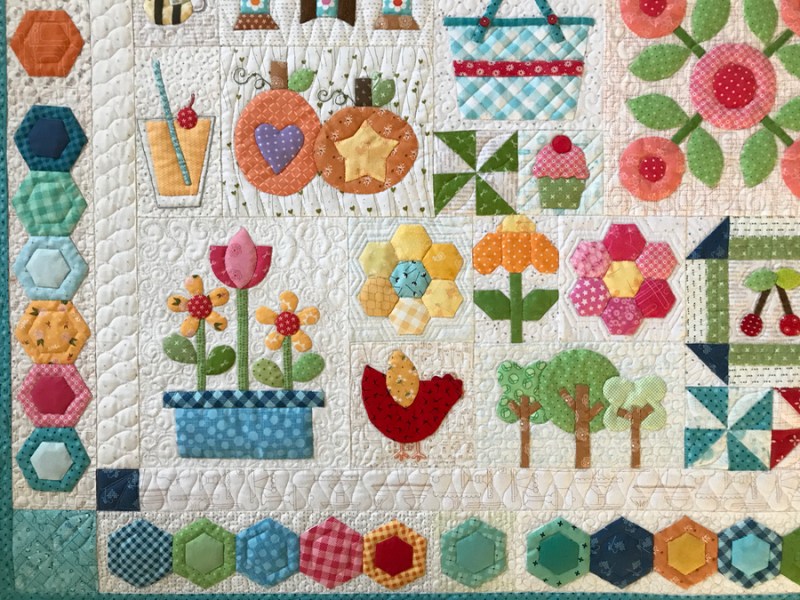
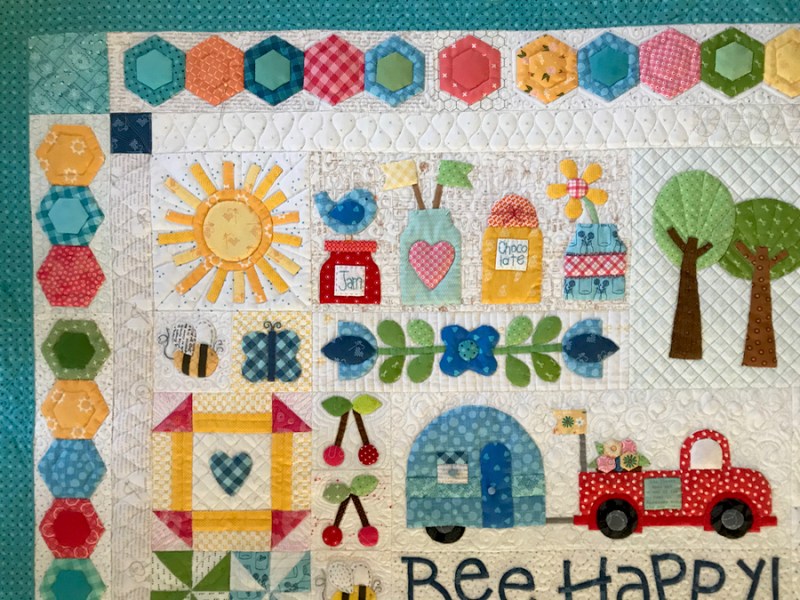
Picties and Verities, quilt #243
71″ wide by 78″ tall

Finally!

This baby has a new name: Picties and Verities.

What, you ask? Well, that phrase was in a poem I read about a thousand years ago, and I liked it and wrote it down and of course I can’t find it now, because that’s my life, when even what we had for dinner last night is cause for wandering around in the corridors of memory.

Verities, defined: a true princple or belief, especially one of fundamental importance. Seems to me that striving to be happy, knowing that the sun shines on all of us, as well as the idea that it’s always good to go home — with or without your trailer — just have to be some verities.

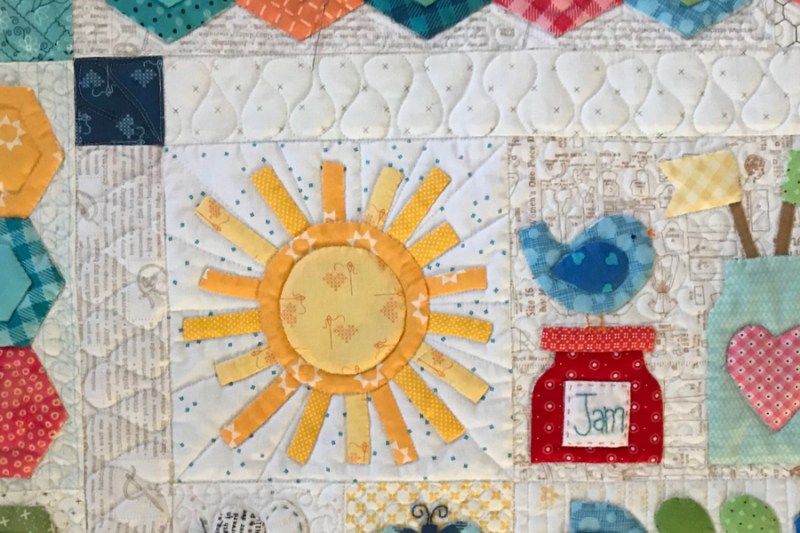
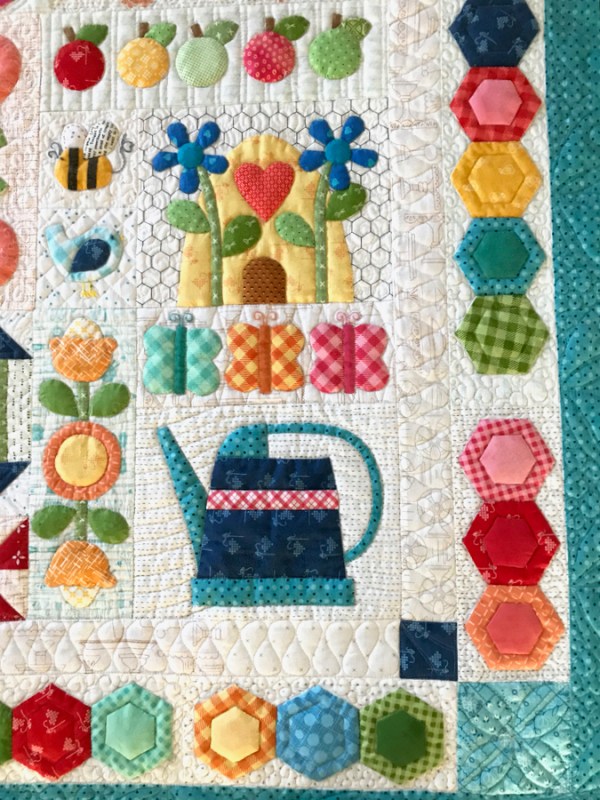
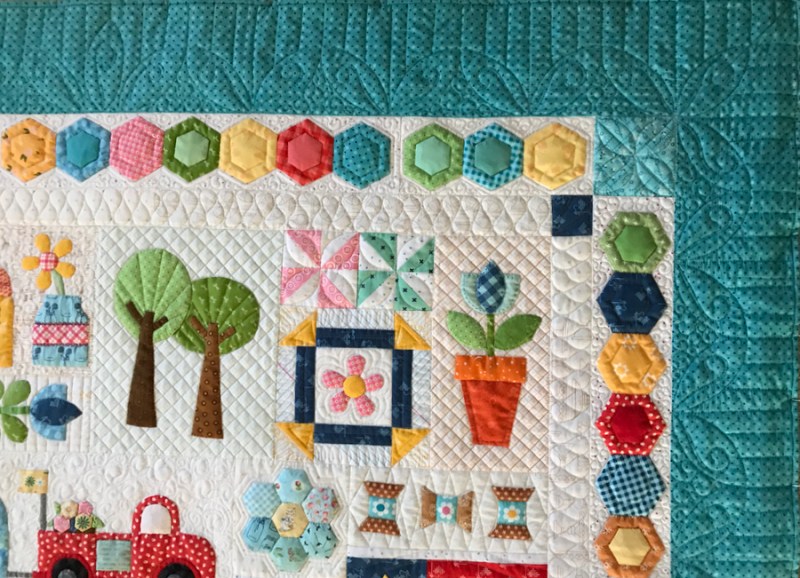
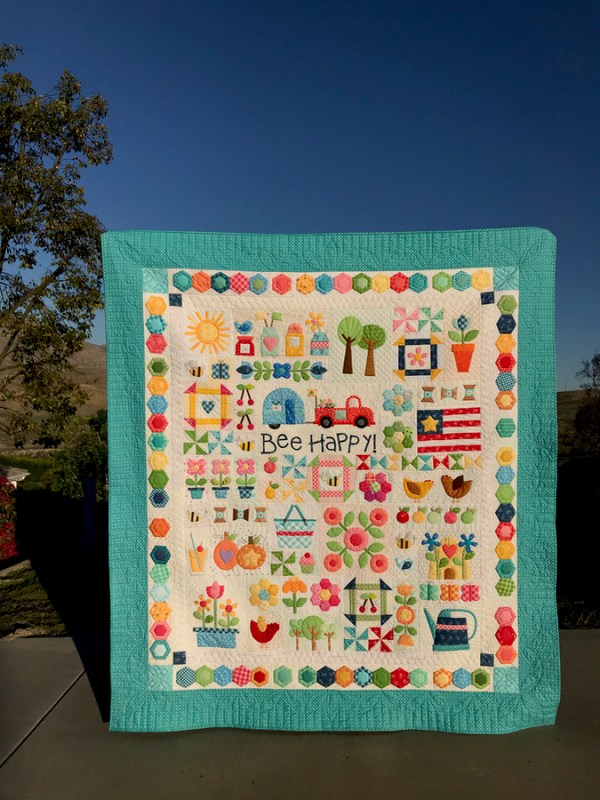
Picties, defined: For this one, I went to my husband’s college Oxford Dictionary, a two-volume set complete with magnifying glass. Pict (rare, it says, from the 1400s) means to paint or depict or represent. I would say all those bits of appliqué up there qualify as little pictures. Of course the Picts were also the ancient name of people from North Scotland, and are associated with elves, brownies or fairies. And possibly old grey castles with dungeons (an allusion to its working title: Trapped in the Dungeon of Cute). And since my great-grandmother was from Scotland, I own that heritage with pride.
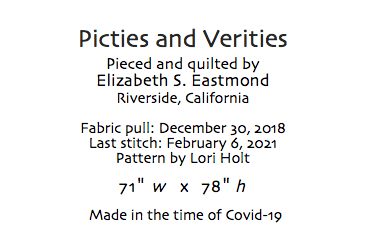
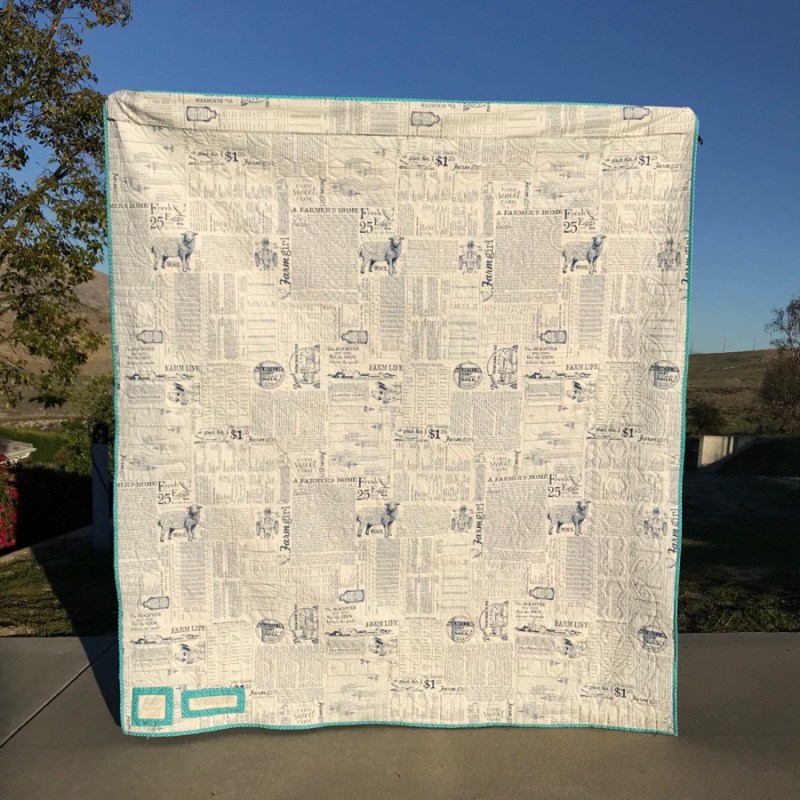
I sewed on buttons last Saturday, while listening to my Guild’s program, and added, as is my usual, “Made in the time of Covid-19” for anyone who receives this quilt after I’ve gone to the afterworld to frolic with Scottish fairies. You’ve seen photos of this, but here’s a last batch of fun.
And since you’ve read this far, I now treat you to one of my husband’s beautiful photographs, taken the last week of January:
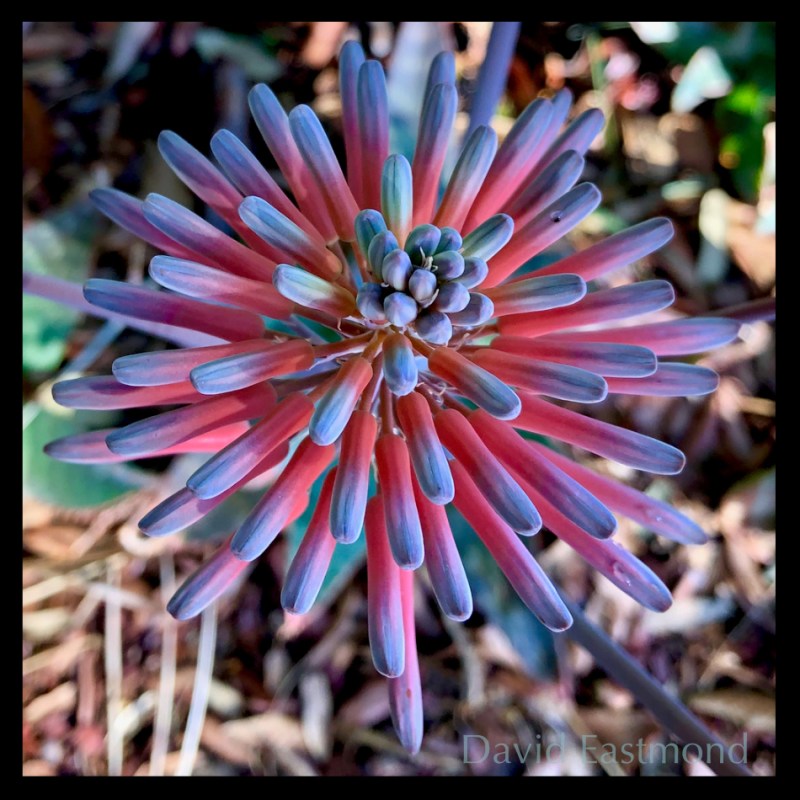
Aloe Blossom

We retraced his steps to take a look at it this past week, because in trying to identify what it was depended on what the plant’s leaves looked like: if they were cacti-looking, it was an aloe. If they were leafy, it was a kniphofia (aka Torch Lilly or Red Hot Poker). It’s an aloe, but it is a distant cousin to kniphofia, apparently. My husband Dave takes long walks everyday, bringing home pictures like this, reminding me of when my children used to bring me home bits and pieces of their days, spilling them out into the kitchen, a line or a thought floating backwards over their heads deep in the refridgerator.

It’s so nice to watch Dave gather his interests about him now, after having had his nose to the grindstone for years, bringing home the proverbial bacon to put in the fridge for those now-grown children. His process — of snapping pictures of whatever interests him and only later culling and choosing — reminds me of this quote from the artist Ann Hamilton:

“A life of making isn’t a series of shows, or projects, or productions, or things; it is an everyday practice.  It is a practice of questions more than of answers, of waiting to find what you need more often than knowing what you need to do….Our culture has beheld with suspicion unproductive time, things not utilitarian, and daydreaming in general, but we live in a time when it is especially challenging to articulate the importance of experiences that don’t produce anything obvious, aren’t easily quantifiable, resist measurement, aren’t easily named, are categorically in-between.” (Ann Hamilton, artist)

Having had three finishes within a couple of weeks, and today teaching a workshop with the Surfside Quilters Guild, my next plan is to do some wandering myself, maybe some daydreaming and find those experiences that don’t produce anything obvious, yet are so critical.

And P.S. Blocks 4, 5 and 6 of Shine: The Circles Quilt are now back on the blog, free to all.

Other posts about Picties and Verities:

300 Quilts · Quilt Finish

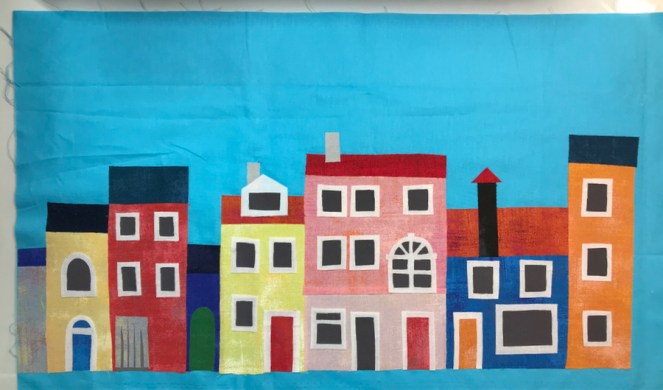
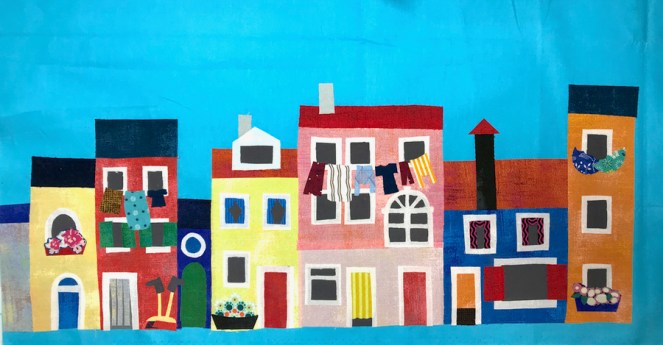
Postcard from Burano

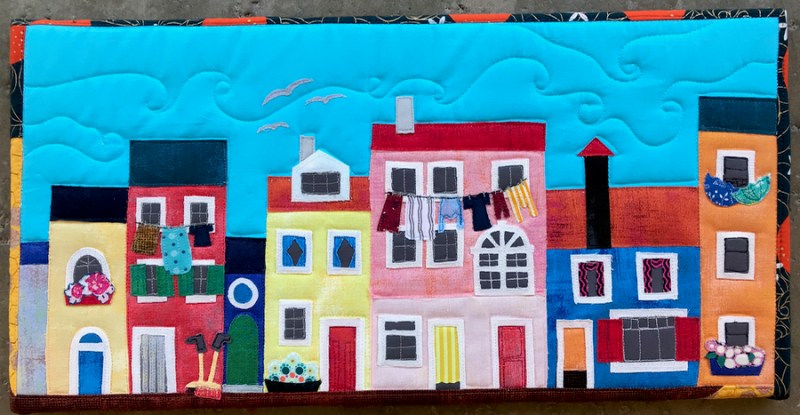
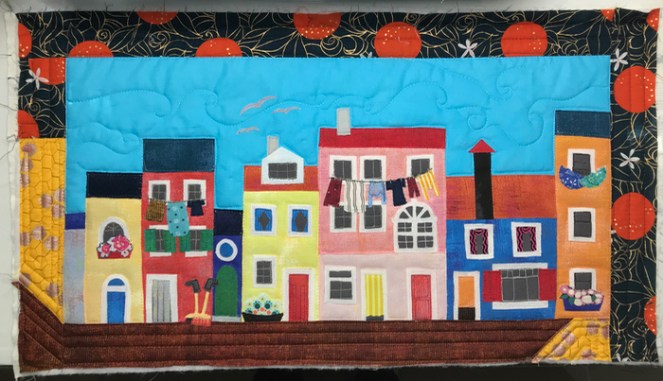
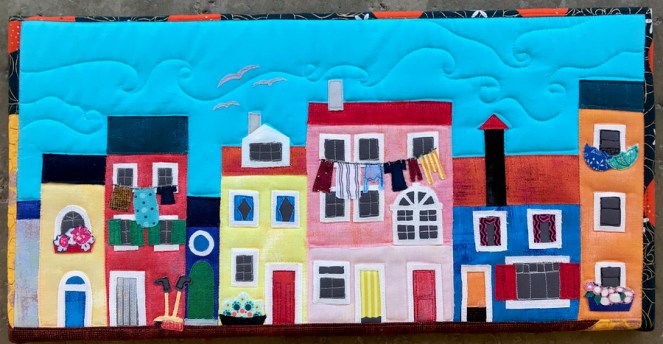
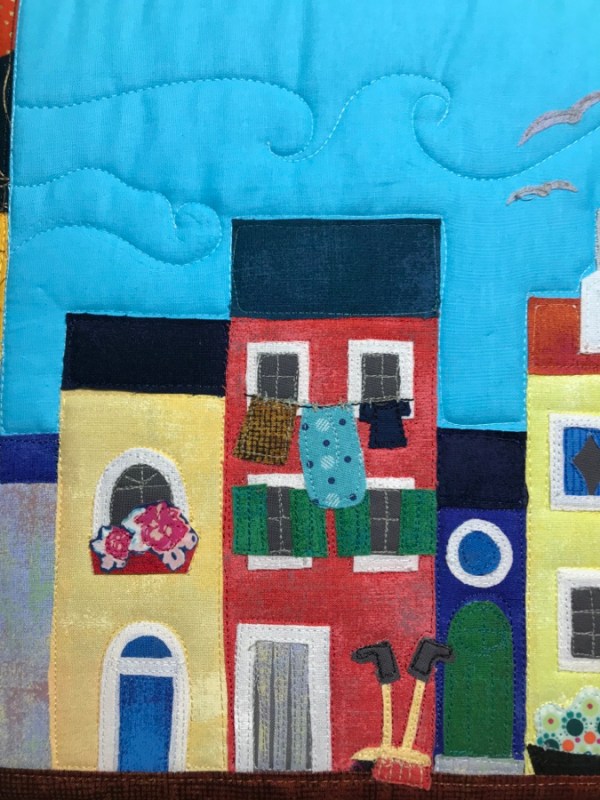
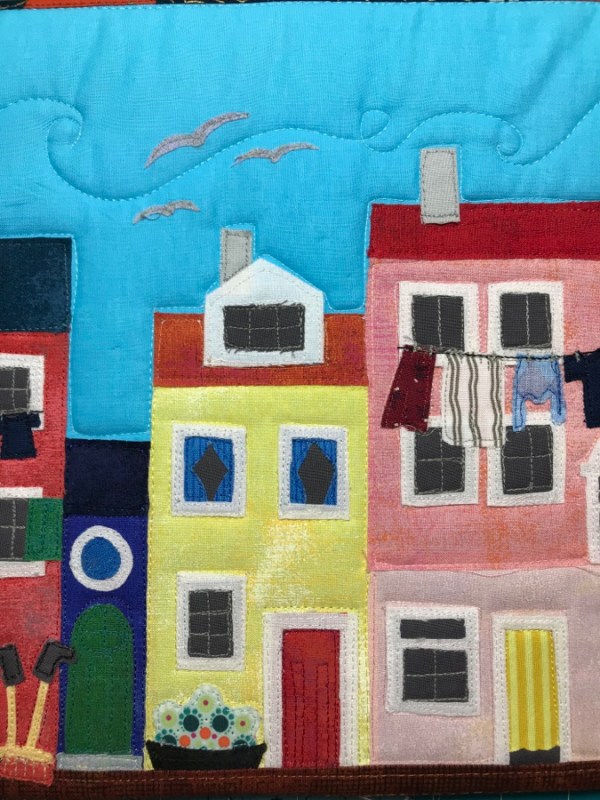
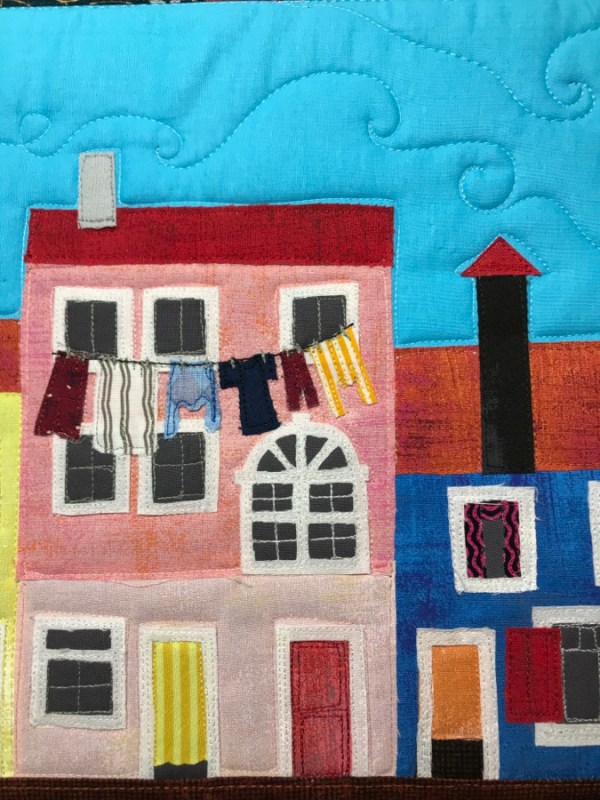
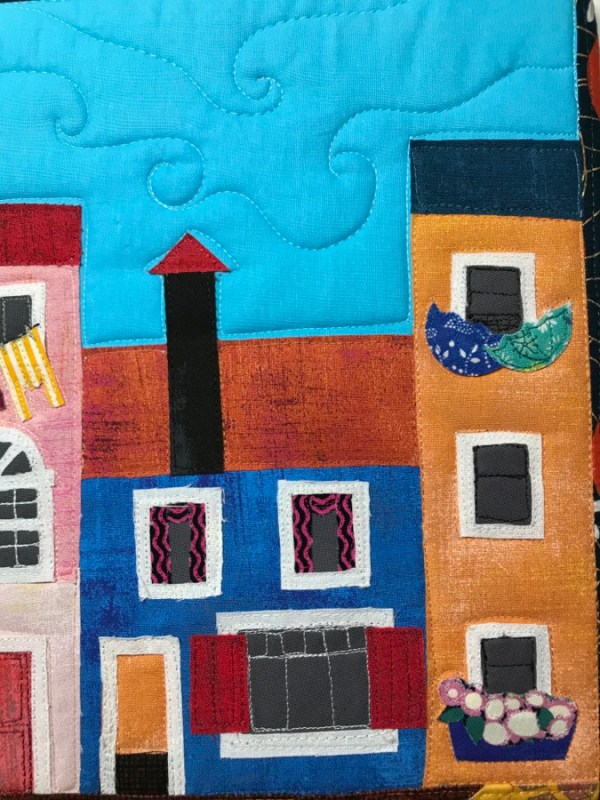
Postcard from Burano, quilt #242
11″ x 22″

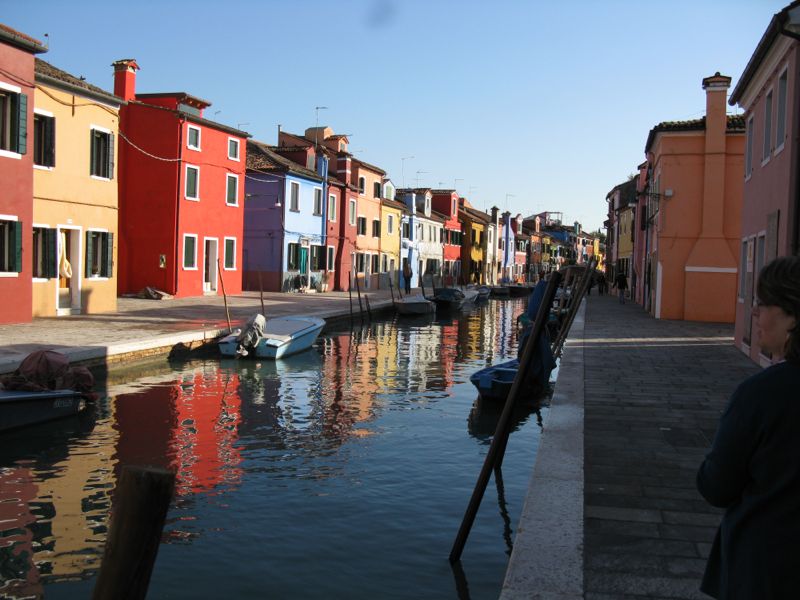
Over the space of several years, I tried three times to get to the small island of Burano, just a vaparetto ride out of Venice. And when my husband and I finally made it there, we had only about an hour before the next ride back to Venice.

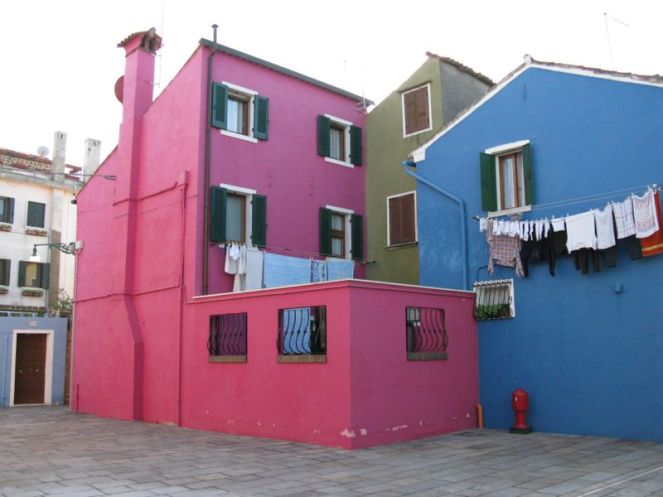
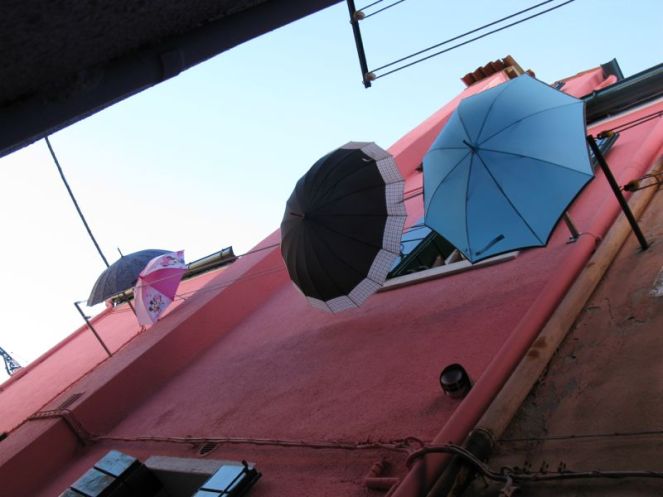
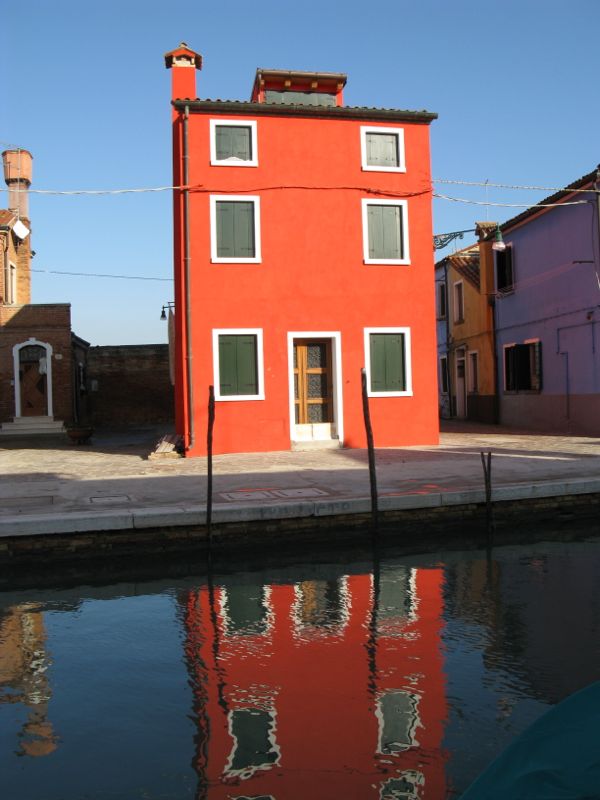
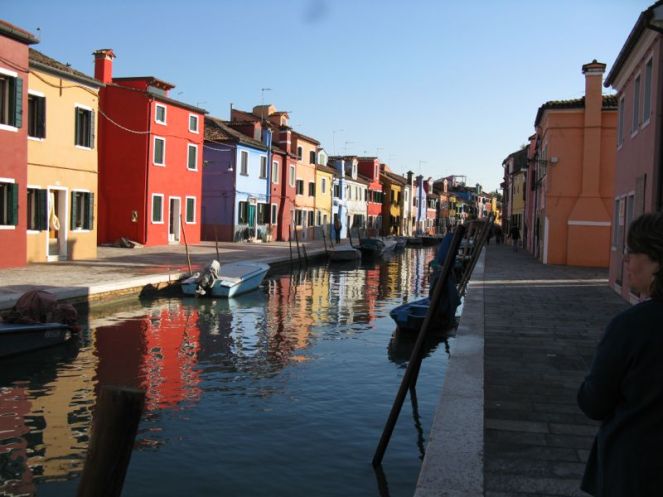
When the boat docked in Burano and everyone turned right to go into the main part of town, we turned left and wandered, taking in the brilliant color, the laundry, the umbrellas, the acqua alta barricades in the doorways, snapping away.

We arrived at the outgoing vaparetto a few minutes early, but stood in line, mentally and physically leaving Burano forever.

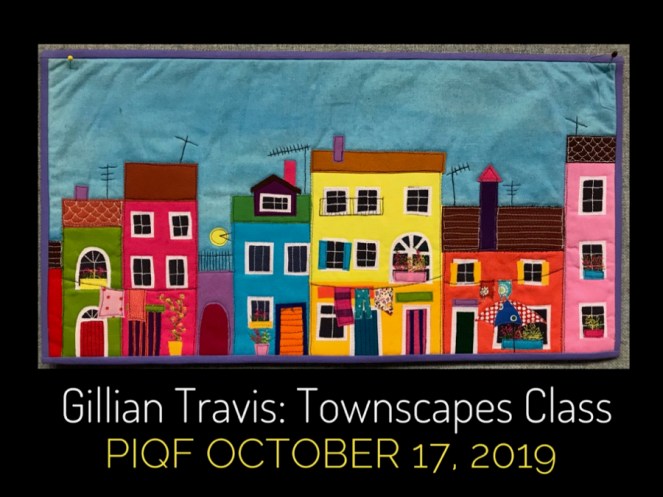
So when I had a chance to take Gillian Travis‘ class in October 2019, pulled in by the chance to do a fabric representation of that small island with its brilliant colors, I signed up quickly. It was at PIQF (Pacific International Quilt Festival); my friend Leisa and I traveled there and spent three days in the hotel, rarely leaving as the Mancuso quilt show had many pieces to see, and then there were all the vendors (of course).

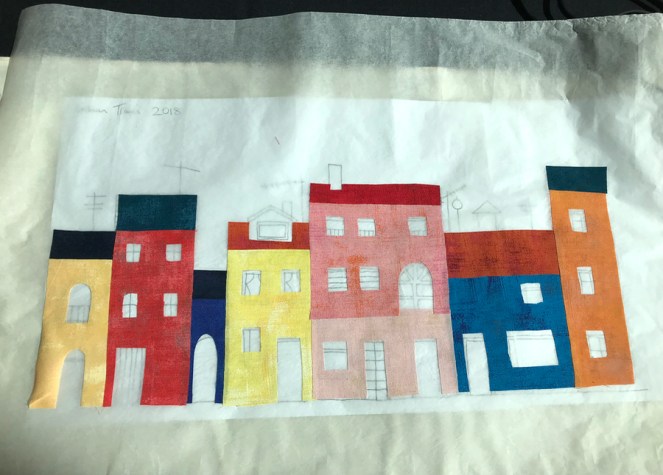
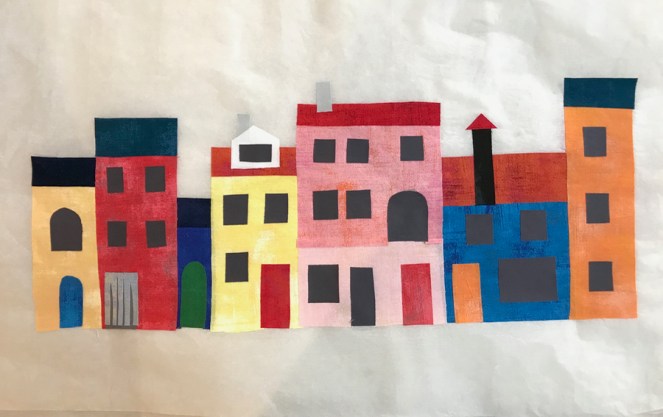
In our Townscapes class, we started by tracing, and Gillian had very specific and helpful instructions on how to do everything. I listened carefully and took copious notes. This was one project I wanted to finish. She’s the one who taught us the trick of using parchment paper as a backing for layers of fused fabric (instead buying those expensive specialty sheets).

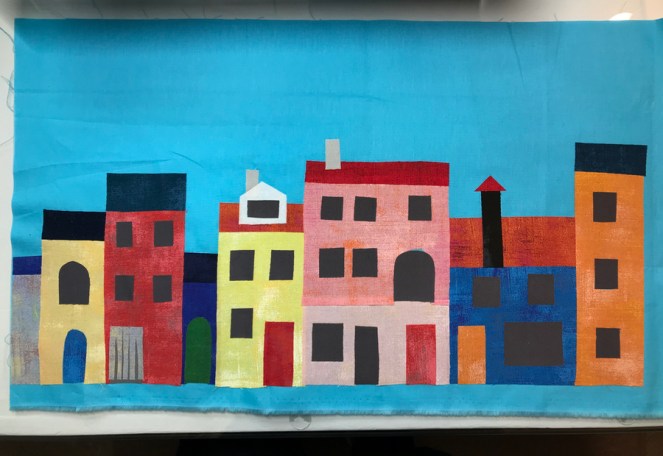
When I got this far, she came over, and making sure it was all fused together, peeled it off the parchment paper like peeling off a giant sticker, and we plopped it onto a stretch of blue fabric I’d chosen (in consultation, of course).

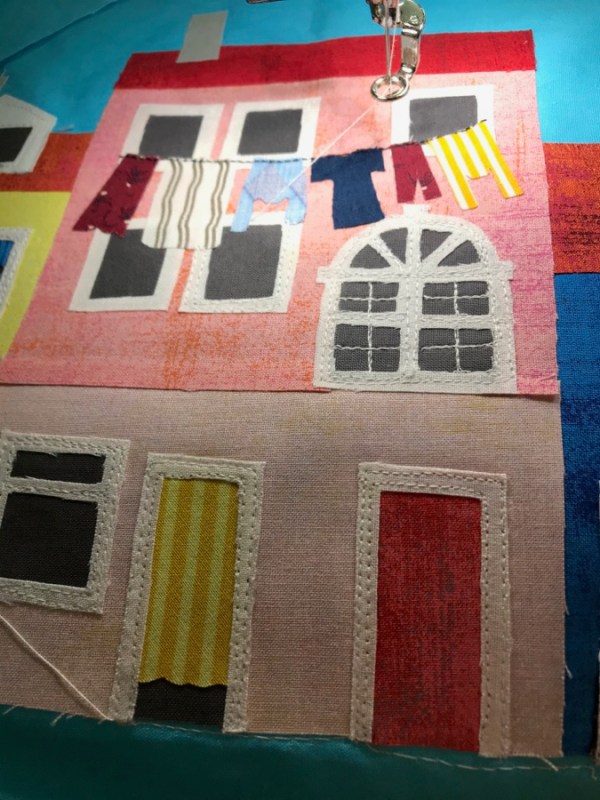
And this is where I picked it up, a year and some months later. But I’d been to Burano and seen the white window frames, the laundry and the umbrellas, so I pulled out my photos and started adding details.

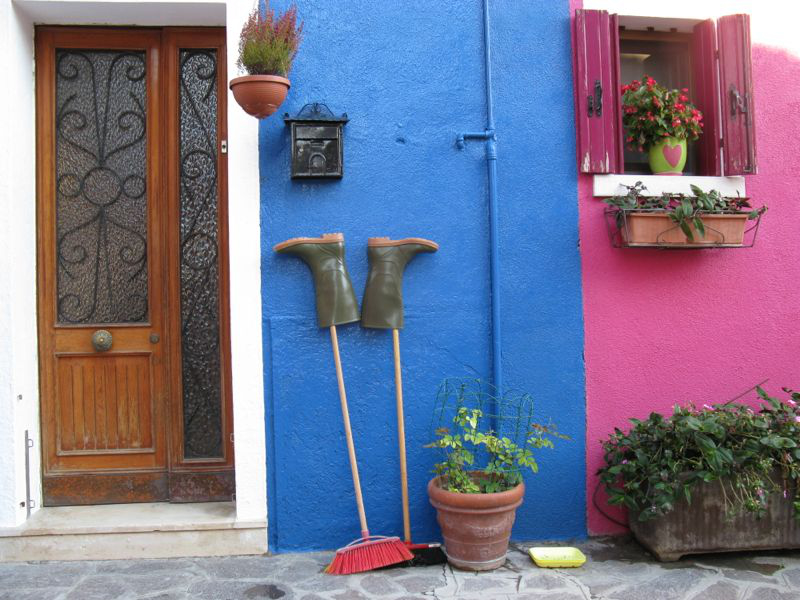
I imitated the upside down boots on the left side, having found that in our visit:

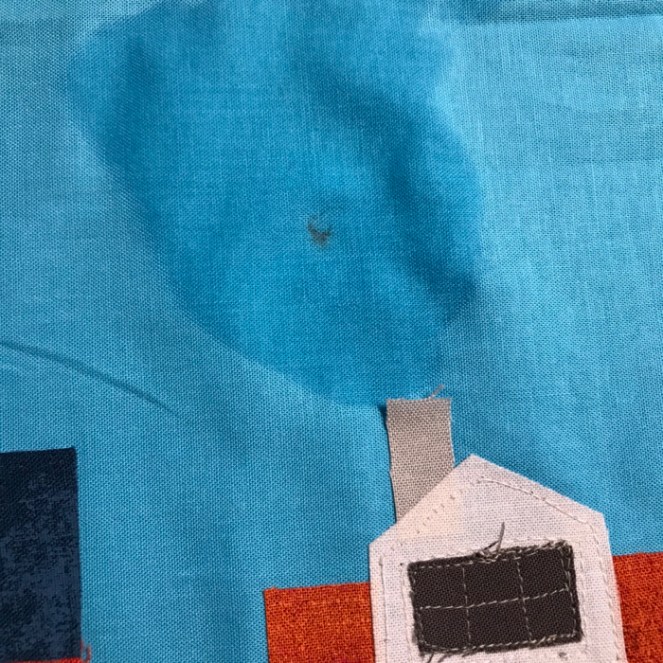
In the course of time, a lovely splotch affixed itself above one of the chimneys. I tried to get it out with soap and water; it just means that some of the gulls of Venice would now fly through my sky. Her method is to stitch details into the picture while stitching down the fused pieces.

I did that, constantly referring to all the snapshots I took during class. I used a free-motion quilting foot, realizing I would sacrifice another needle to the gunk of fused fabrics.

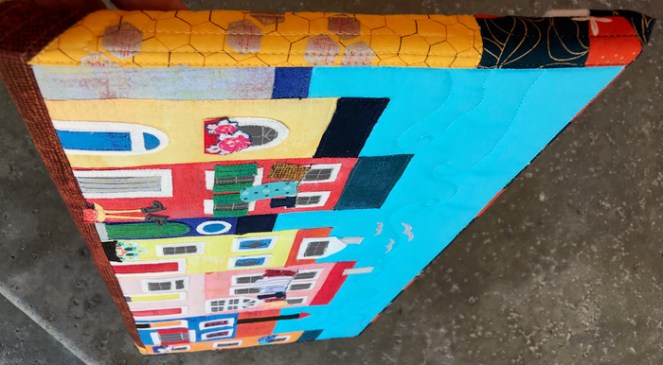
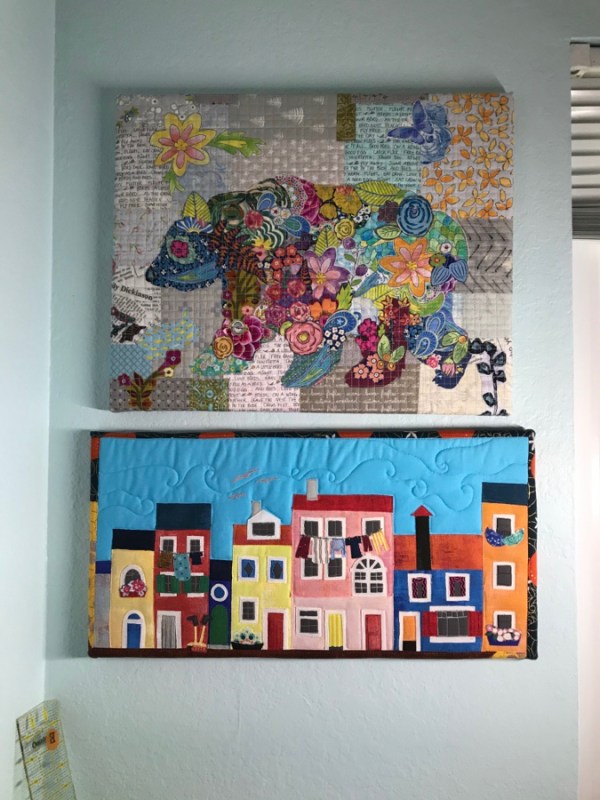
Then I added borders, as I knew I wanted to stretch it onto bars like California Bear.

I quilted it lightly, trying to add some detail to the sky, but not too much, winding my way around the gulls.

Side view of the borders wrapped and stapled.

I took shots of all the details. Like the teacher, I tried not to be too pristine about how I stitched the window frames, or added detail to the laundry. I can sometimes be a little too uptight about those sort of things, and while I’ll never be an artist like Ms. Travis, I can imitate in order to learn new things.

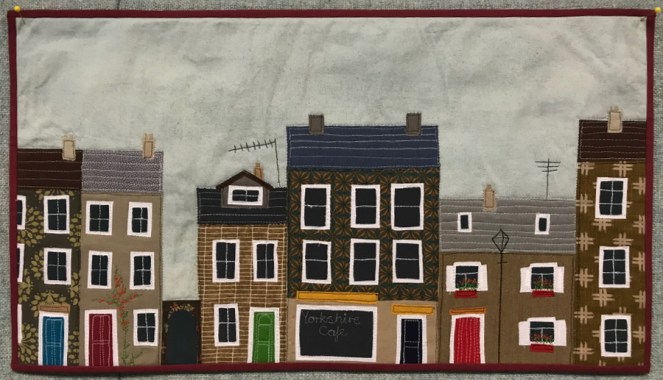
Work of Gillian Travis

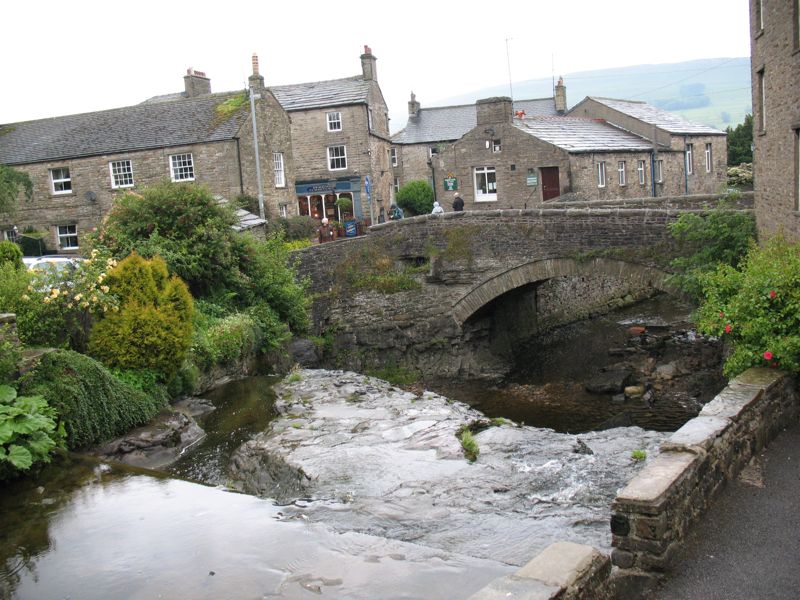
And if you’ve been to the Yorkshire Dales, she has a townscape for you too.

If you want to read about our quick trip to Burano, I include many colorful photos on my travel blog, TraveledMind.blog. (It’s currently under renovation/repair having suffered a loss of domain name recently, and I’m still working to get it back up to where it was.) On the blog, we’re currently in Tokyo, soon heading to Korea and yes, it was a trip from 2017. I’ll get it finished, hopefully before we head out again, maybe in 2022?

Happy February. Wear a mask, get your vaccine, and stay home and quilt!

300 Quilts · Quilt Finish

California Bear • collage quilt finished

California Bear, Quilt #241

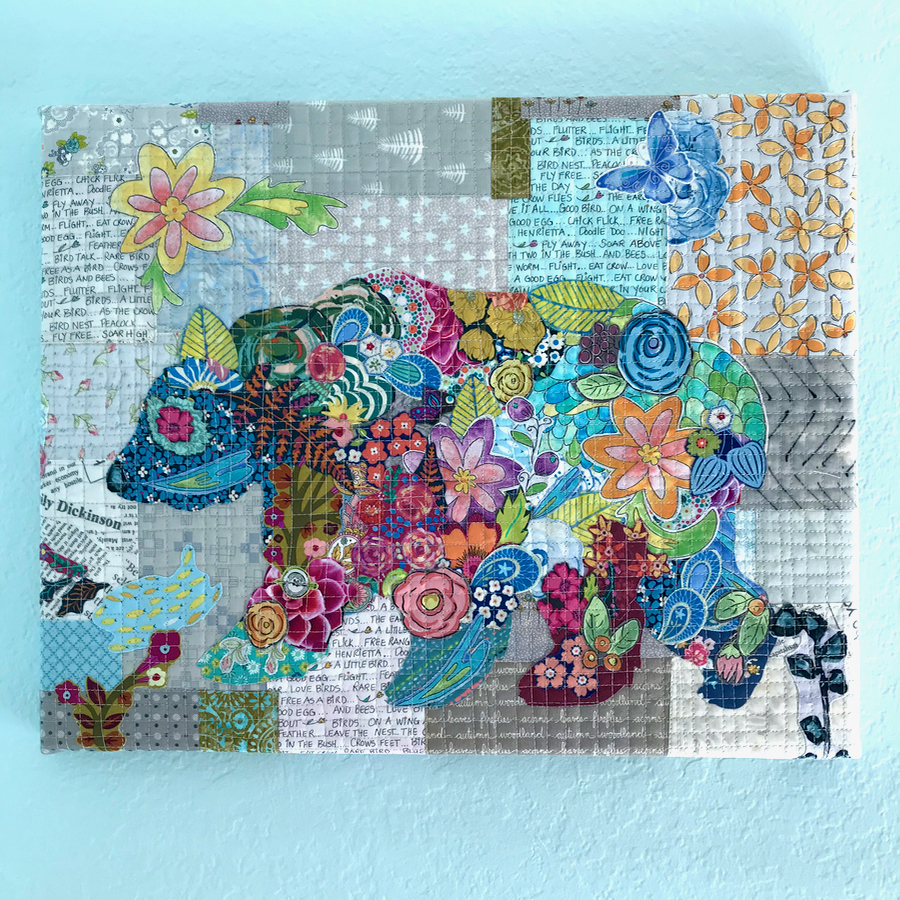
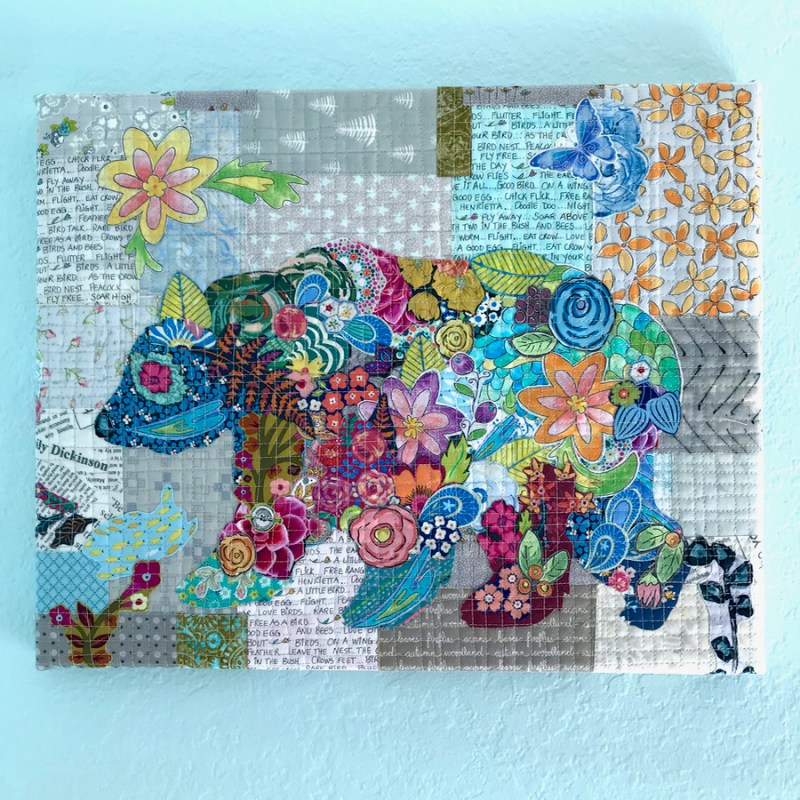
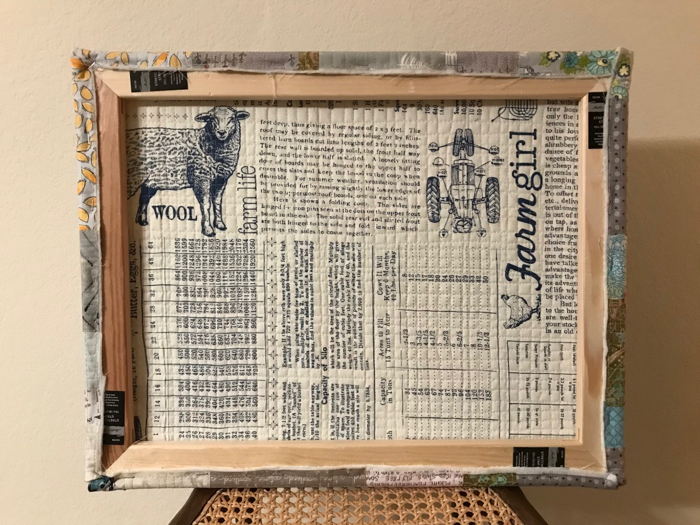
California Bear, a collage quilt started in a class with Laura Heine at Road to California 2020, is finished and hanging on my sewing room wall. (It just seems pretentious to call it a “sewing studio” so I persist in calling it a sewing room.) This is a fused collage quilt, and I wrote about it a year ago, when I first began.

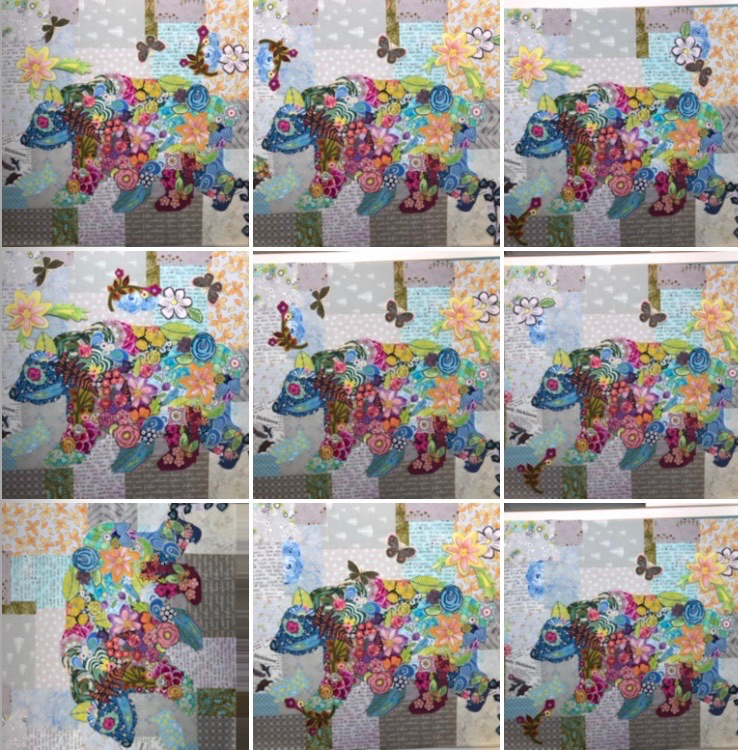
As usual, I did multiple permutations moving butterfliers and flowers around until I decided I was done messing with it. The perfect is the enemy of the good…and the done, as I always say. More info our on California Bear is here, if you are interested.

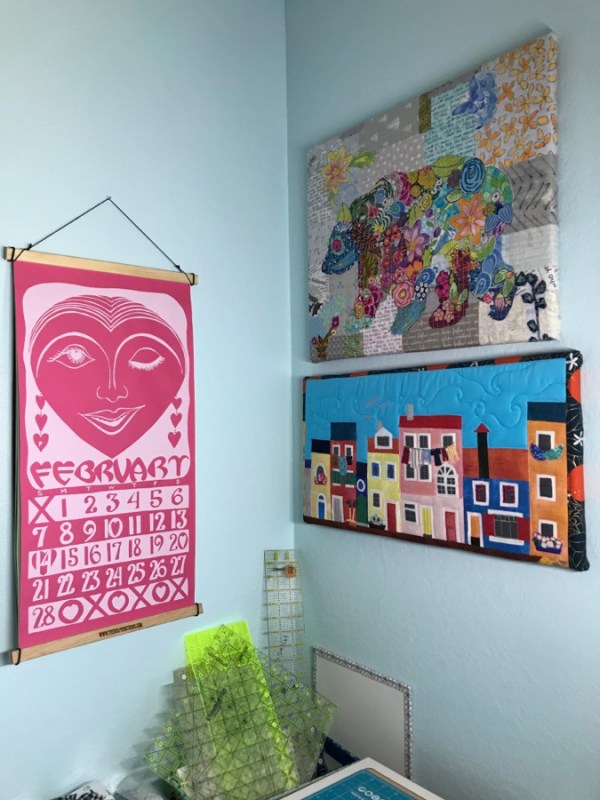
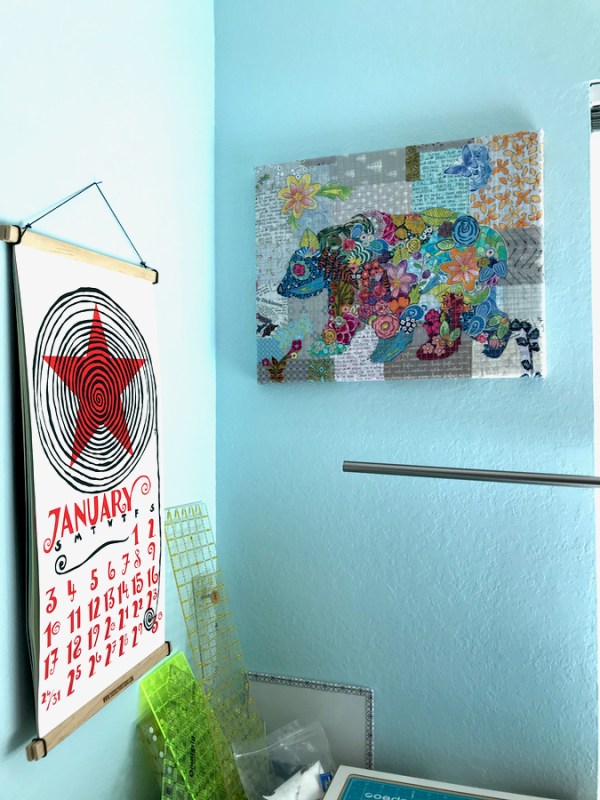
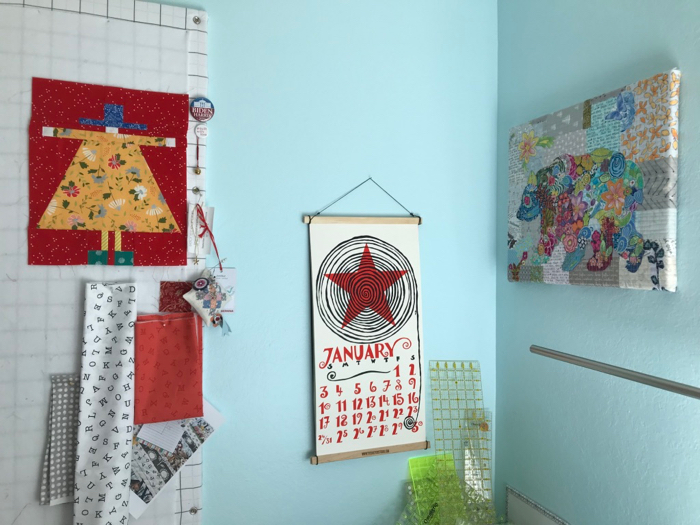
I hung him across from my fancy new calendar from The Dolphin Studio (I saw my sister’s and just had to have one), and he’ll stay there until he walks on to somewhere else.

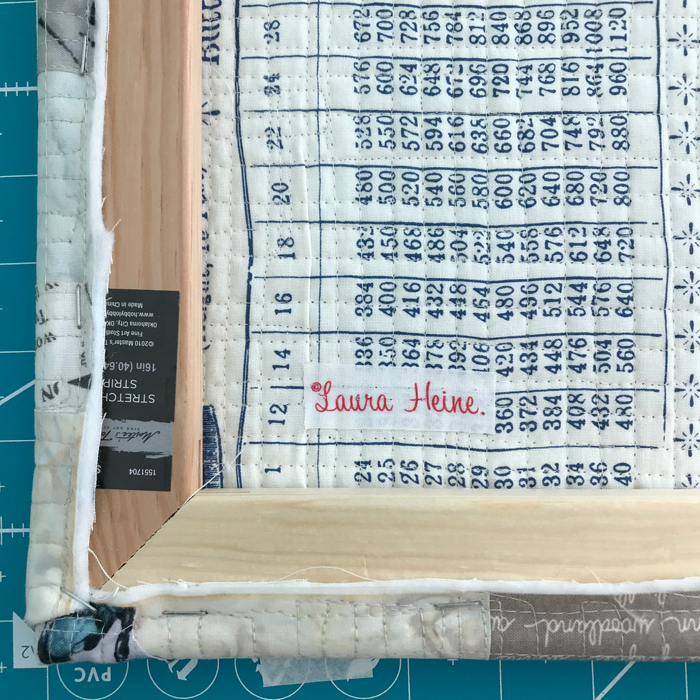
I finished fusing him into place Friday afternoon, then quilted it in a tiny grid all over, thoroughly gumming up a needle, but it got the job done. After that, I my husband, Dave, and I went out to get stretcher bars (we are double-masking now) and a burger, and then we sat in the parking lot afterwards eating our hot french fries and Habit burger. Later, he helped me staple it into place; I cut out Laura’s name from one of the selvages and fused it onto the back. I’ll make a label later on, but I wanted it up on the wall before January ended.

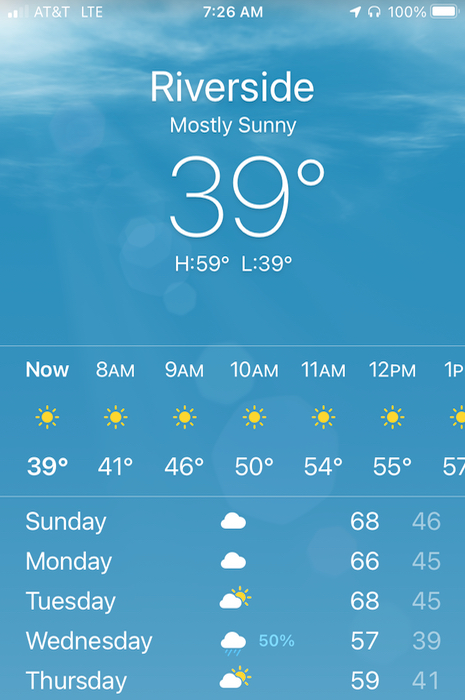
I went walking this morning and it was California cold. Not as cold as some of the weather in other parts of this wonderful state (we have twelve “Fourteeners” in our state–that is, mountains over 14,000 feet, so you know they have snow). But here in Southern California, an hour east of Los Angeles, well…this is kind of cold. All around our geographical basin the mountains were touched with snow after our last storm. Pretty fancy for us.

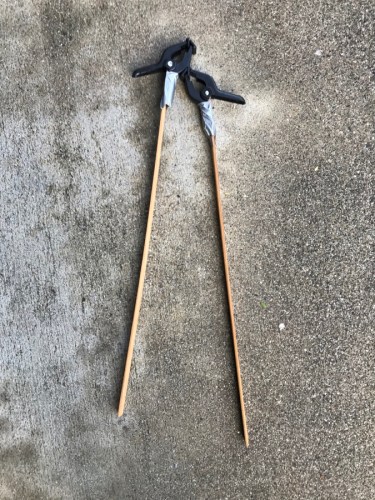
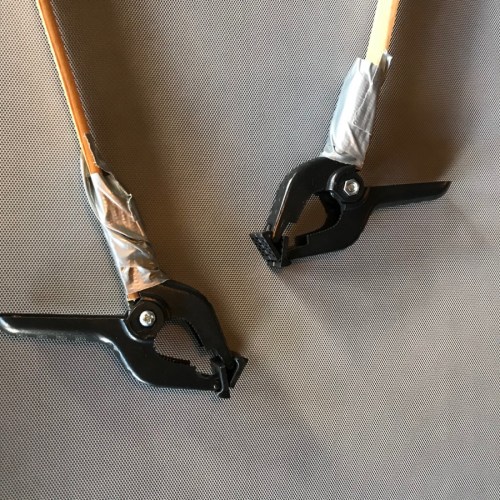
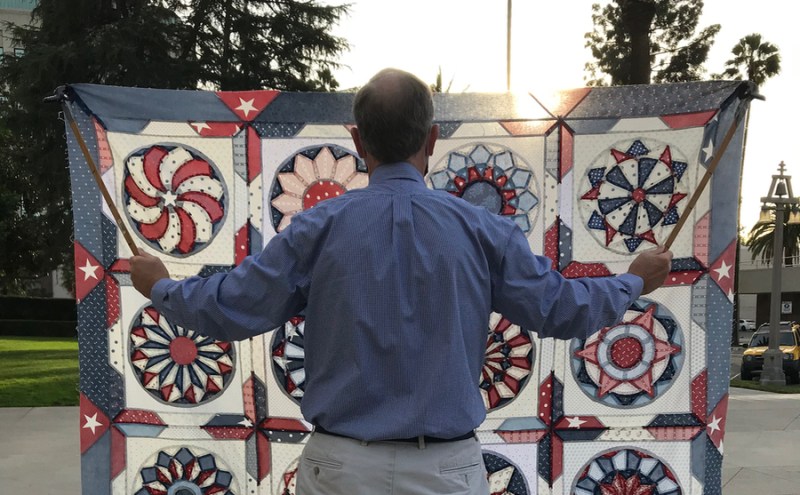
And here’s a photo of my quilt holders: two clamps duct-taped onto some molding strips that I found in my garage, but you could use dowels. Really high tech. Oh, and here’s a photo of the Quilt Holding Husband using the Quilt Holders:

We just clamped them onto the corners of the quilt. If you are a short person, like I am, then it makes it easier to hold up the quilts. Later on, we switched, and I held the quilt for while, as seen in this post (in front of the colorful wall). I haven’t yet tried them on a quilted-with-batting quilt, but soon I will and I’ll let you know how it works.

That big-skirted lady is for a quilt, coming later on in the year, and the ABCs and other fabrics are part of a quilt for a grandchild who is having a birthday soon. I use my design wall as a bulletin board sometimes.

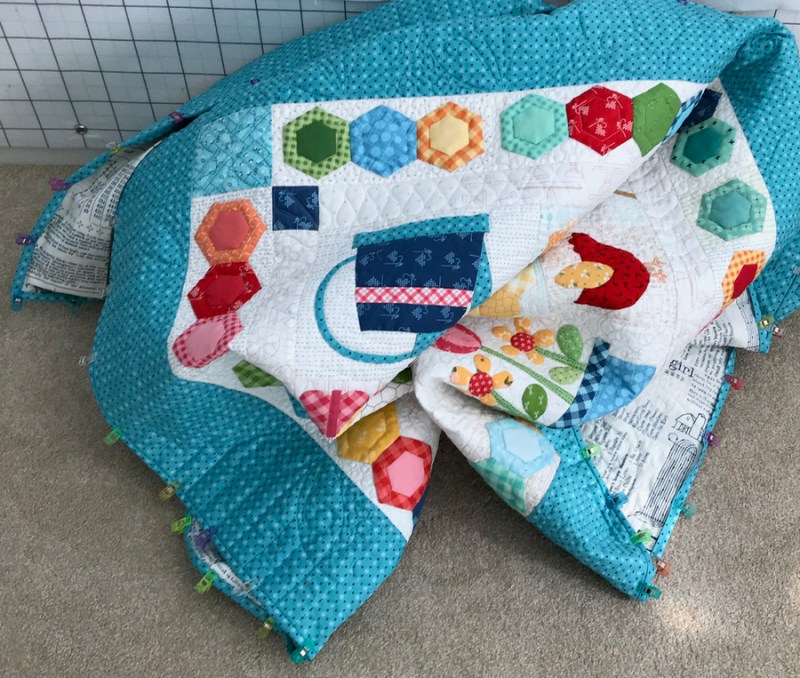
I’m making progress on this (binding on and clipped down, reading for hand-sewing). I’ve also come up with a name. Coming soon.

I recently freshened up my blog header, switched up my blog theme (the other one wasn’t supported any more) and am working on the commenting problem some of you have had. I think I’ve solved it, but will know when you tell me. I always ask for your name and your email, as I like to answer my comments privately. If you can’t comment on the blog, you are welcome to email me at opquilt [at] gmail [dot] com.

Happy Quilting!

Older Header, from 2014. My, how time flies!
Software

Making a Curve for the Dungeon of Cute • Affinity Designer Tutorial

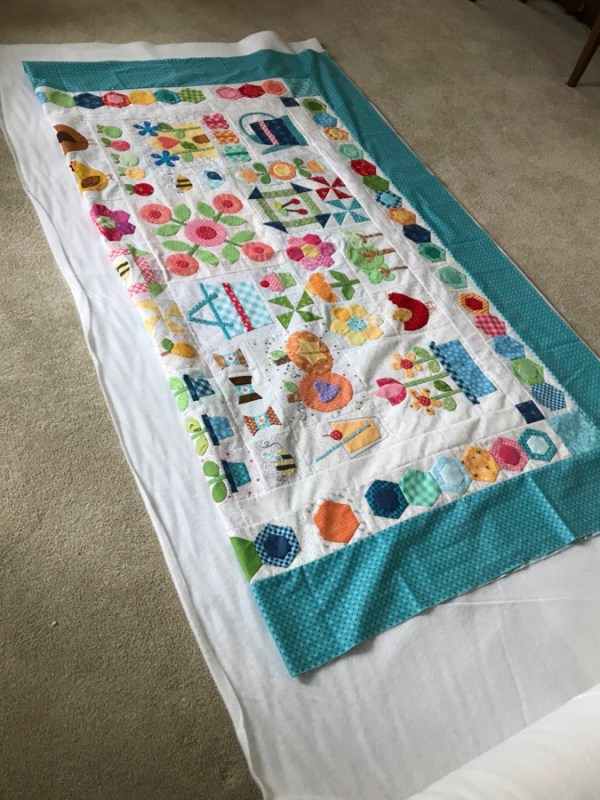
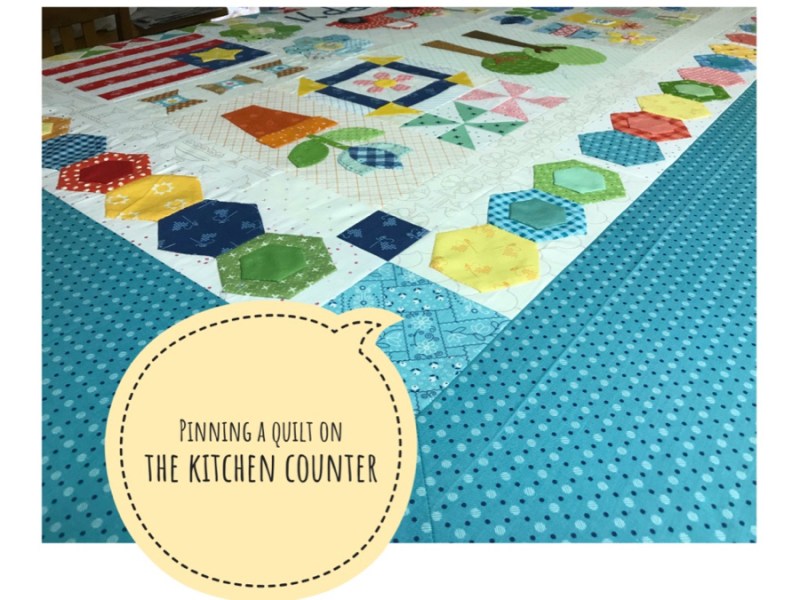
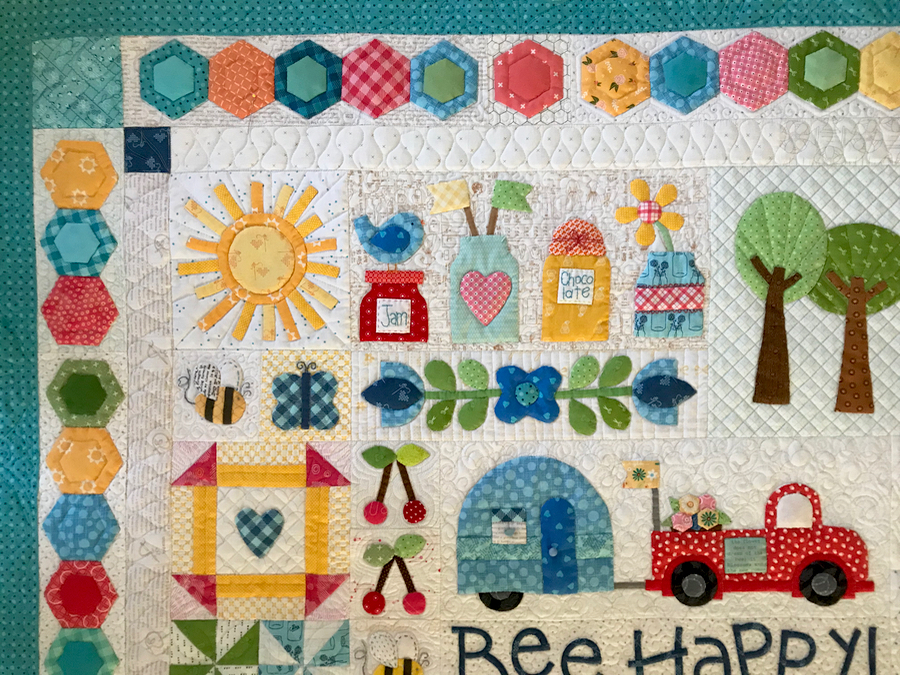
Yes, I’m going to talk about making curves, but it’s part of a path that began after I finished the Bee Happy Quilt. You know what comes next: either get it quilted by check, or if you are daft enough, quilt it yourself. (Above: measuring and cutting the batting). But the hardest part is coming up with ideas, so then I check Instagram. I found Rebecca Silbaugh of rubybluequilts and generally followed along to what she had quilted for customers’ quilts like mine. It wasn’t exact, but it gave me a roadmap.

I use a Sweet Sixteen mid-arm, or stationary quilting machine to stitch by quilts, so I have to find some workarounds, and one of them is good use of the disappearing marker. But I need a template to trace to get the design I wanted for the border, and didn’t want to take the quilt downstairs to try out a bunch of plates from the cupboard to find the shape I wanted, or go through all my rulers.

In the early days, when quilters wanted a repeated shape for their border, would often cut a piece of paper the length of the border, and then fold it into parts, using that to mark off the segments. But I had two border lengths to work with and neither were easy measurements, but I figure if I could get a 3 1/2″ petal-shaped something-or-other, I could trace that and make it work. I turned to my Affinity Designer software to get that perfect shape. The steps I took are listed at the bottom of this post, as I didn’t want to interrupt the post, but if you are someone who is learning this software, they may help.

I printed out my shape, but kept a connecter — punching a hole so I could mark through it. I traced one side at a time–using the shape at a perpendicular angle in the middle to fill up the space and arranging it around the corner.

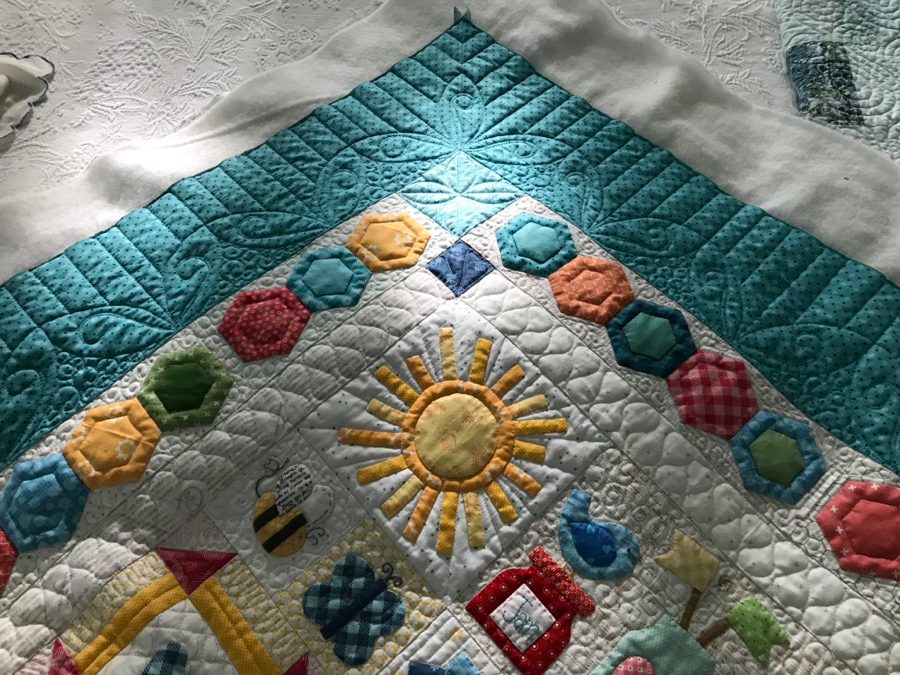
Here’s a picture of the border pattern in soft afternoon light, so you can see the quilting. I used So Fine thread from Superior Thread, color #402 — an off-white — in both top and bobbin for the center of the quilt. Then I switched to a matching Magnifico Thread (also by Superior) to quilt the borders, keeping the bobbin the same.

The quilt — and I — are resting before I tackle the trimming, binding and sleeve. I’m also waiting for inspiration to strike for a name. I’ve called it the Dungeon of Cute all this time (I began the quilt in January of 2019), as I loved the first three or four blocks. Then it was like being chained to a wall, having to make cute blocks over and over and over. (But I don’t think I want to name it this.)

Something will come to me.

Affinity Designer Tutorial for making a petal-shape

I had taken a class at QuiltCon that talked about merging shapes and subtracting shapes, so I started with the left mess, trying to get that curve. Fail. Then I found *this video* and it opened my eyes to possibilities. Go and watch it now. I’ll wait. In figure 2, I drew a constrained square by holding down the shift key to make the sides all the same length (without the shift key, I’d get a rectangle). I put a thicker border on the square so I could see it.

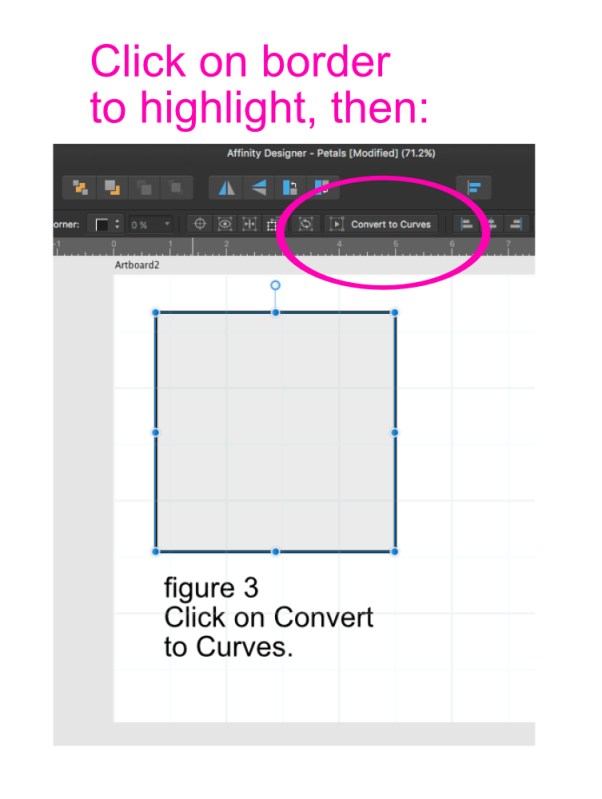
Then I did what it says. I clicked on the border to highlight it, then converted it to curves. That lets each side and each corner move independently of the others.

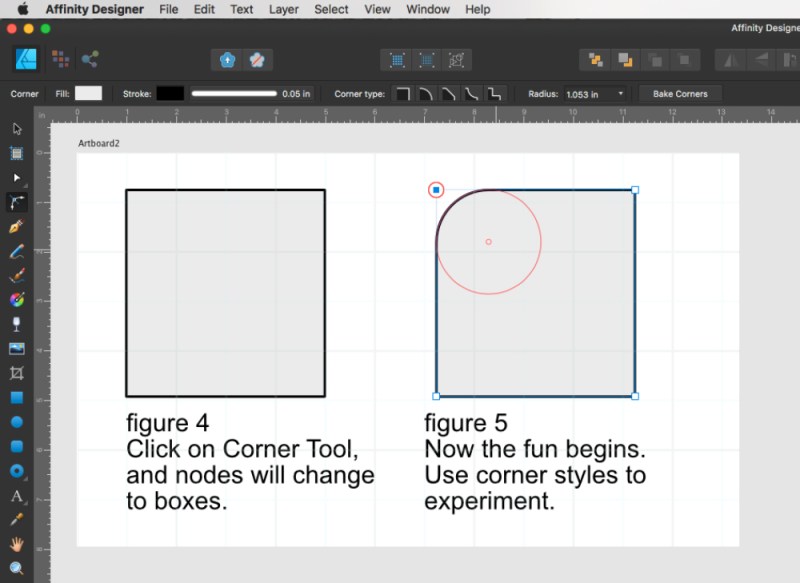
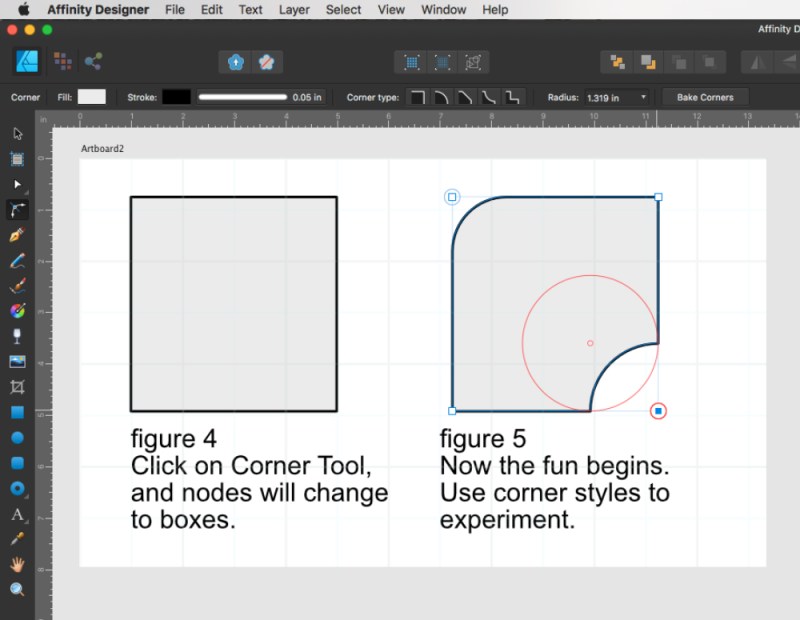
Click on the corner tool (in the pink circle) and the nodes will change to little boxes. Right by them, not really visible in his illustration is a small red “handle” that you’ll grab. Move your cursor around to locate it for one corner, then drag toward the center of the square.

You can see the little red “handle” in this image; it looks like a small circle. The farther the radius of that larger red circle, the flatter the corner.

Figure 5 is getting a work out.

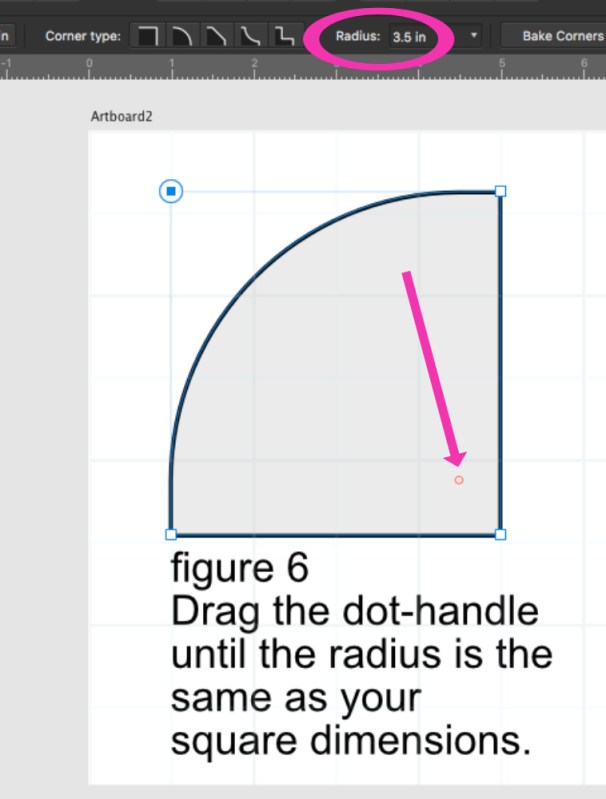
But I really want to make a petal-shape. I dragged the handle until the radius was the same as the square’s side: 3 1/2″ inches. I kept my eye on the measurements, shown in the pink oval.

But I wanted a thinner petal, so I went with a 4″ radius. Then I copied and pasted them together, using Command-G to merge the layers so I could move them as I wanted. I printed them out on cardstock and used that in the marking of my quilt (below).

Good news! All Affinity software is on major sale right now (50%), so if you need any design or photo or pattern-writing software, I can recommend it to you. No subscriptions. And they also have a 90-day free trial, as well. I don’t get any kickback for recommending them to you; click this link for more information.

Happy Quilting!