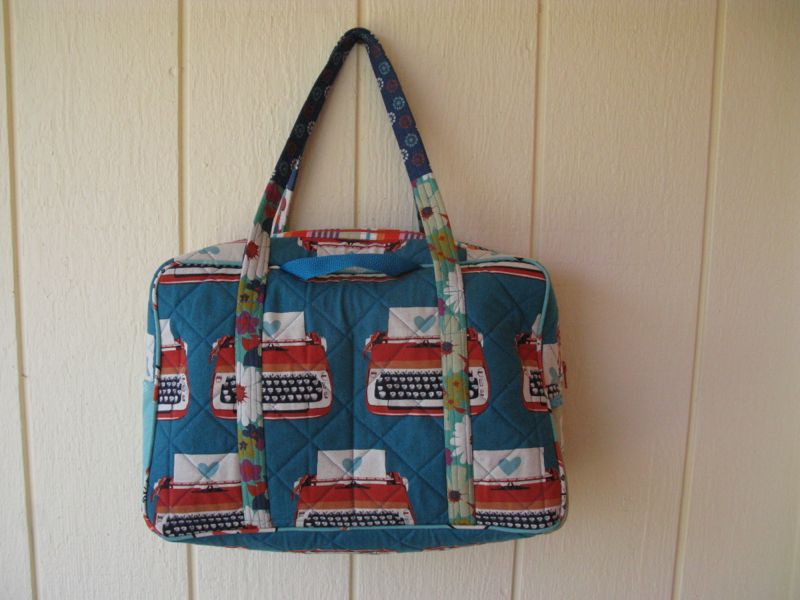
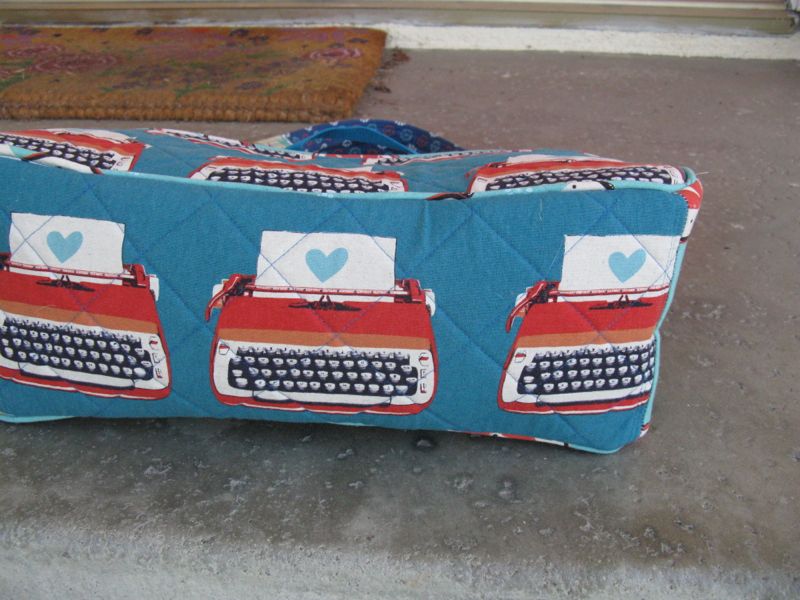
Ever heard of Iron Woman Improv? Well, anyone can throw together a bunch of scraps and make it end up sort of squarish-like, but this past week I’ve improv-ed a travel bag for some upcoming travels. Above is the backside.

This is the side with the long big pocket across the front. The problem with improv-ing is that you don’t know quite where you’re going, which some find liberating and free, which reminds me of the story of The Dot and The Line: A Romance in Lower Mathematics, which you should read, if you haven’t. Basically it involves a romantic triangle with the Dot originally falling for a Squiggle, who could sprawl into random sort of positions and places, pulling her heart into anarchy, but no worries!

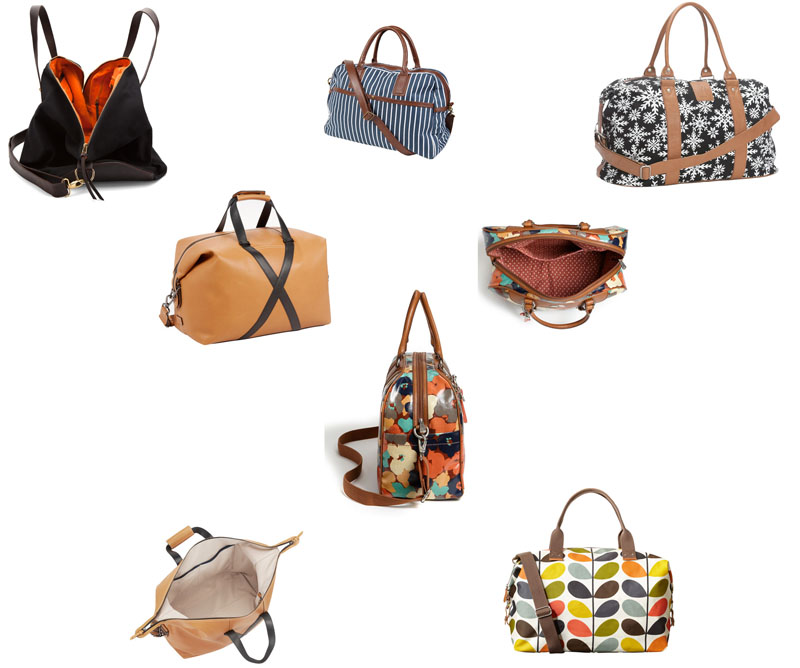
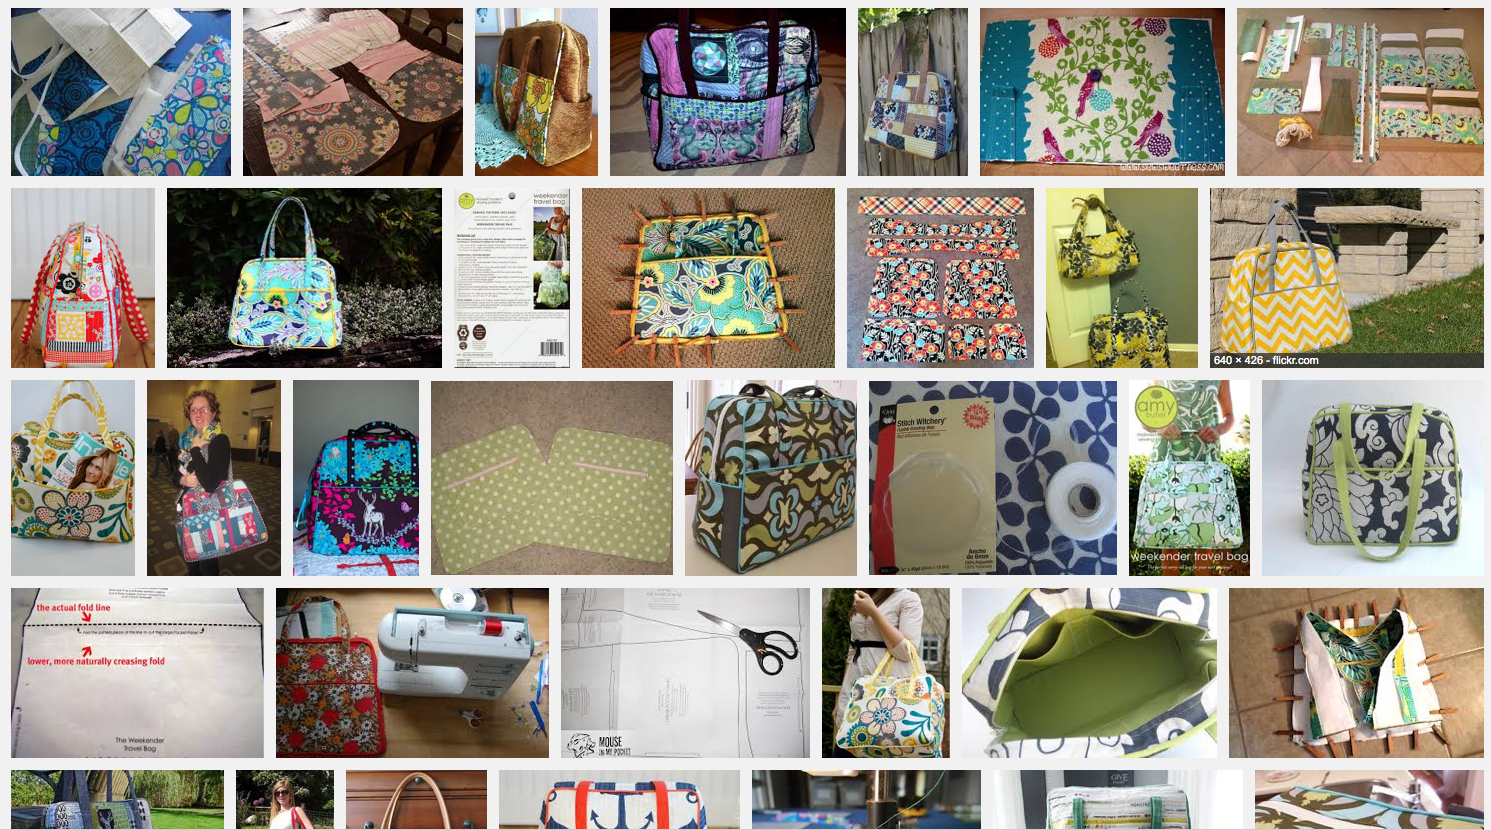
The initially uptight straight line figures out how to make a bend. . . and then another and another until he has made complex (and even erudite) shapes, wooing that Dot back into his shapely arms. But I digress. (But do get the book for this next Valentine’s Day for someone you love. It’s a classic.) Basically my challenge was how to get from these photos:

. . . and this sketch. . .
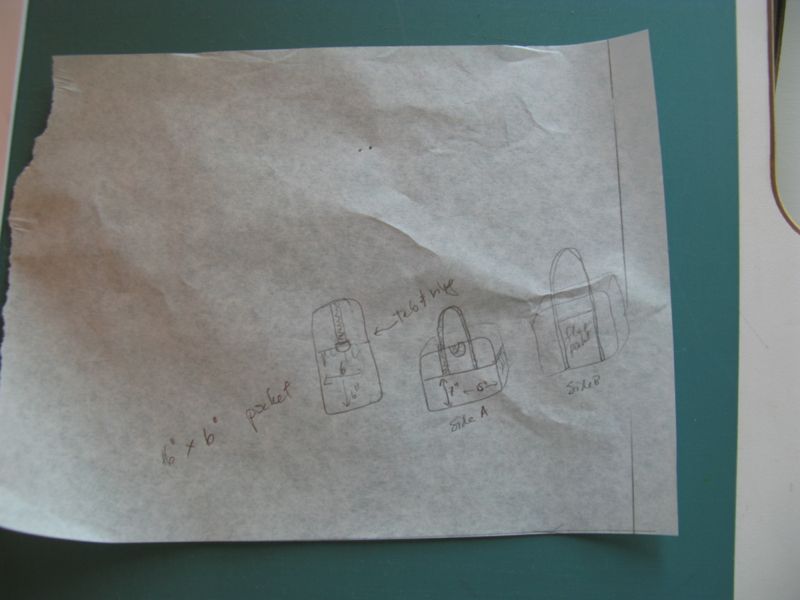
. . . to this. . .


. . . and using a limited supply of my typewriter fabric. Weekender Bags are all over the web, ranging from about 60 bucks way up to 500 bucks and more. And certainly I read enough posts of people making Amy Butler’s version of a quilty weekender to know that you really haven’t earned your Quilter Stars until you’ve conquered her pattern. And that’s where things get interesting. . . because I had NO pattern. Nothing. Not from Amy Butler or McCalls or Vogue. Like I said, I had a sketch. And this:
 . . . which is the NEW! IMPROVED! (smaller) dimensions of what is considered a carryon. I have wanted to make this bag for ages, needing a place for my iPad, my camera, my water bottle (carried empty through security, then filled afterwards), my junk and my stuff. I’ve sketched something like this fifteen ways to Sunday and only now, got around to making it.
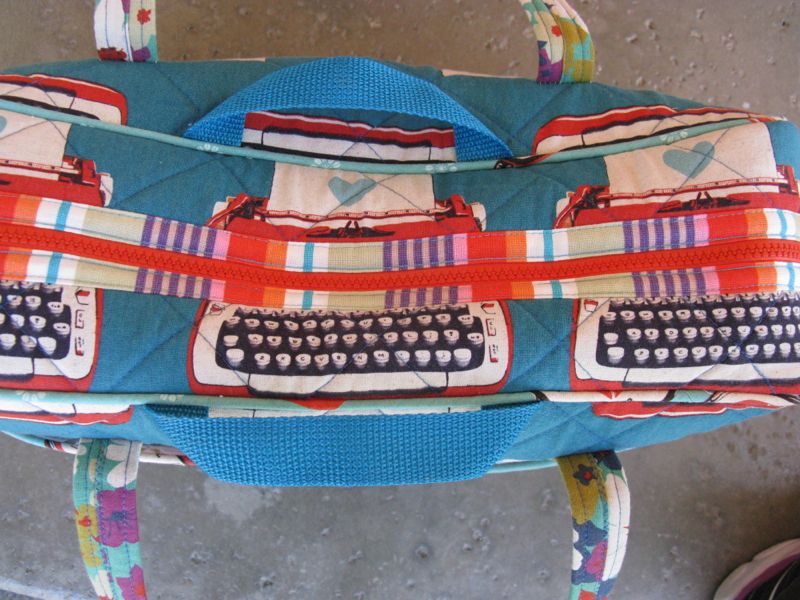
I also needed it to have those little blue webbing handles that you see there, because I’ve learned that if I can hook it to my rolling bag (yes, we had to buy a NEW! IMPROVED! (smaller) one for our trips) and get the weight of this second bag –er, personal item– over the wheels, it’s easier on my shoulders and on my arms and wrist.
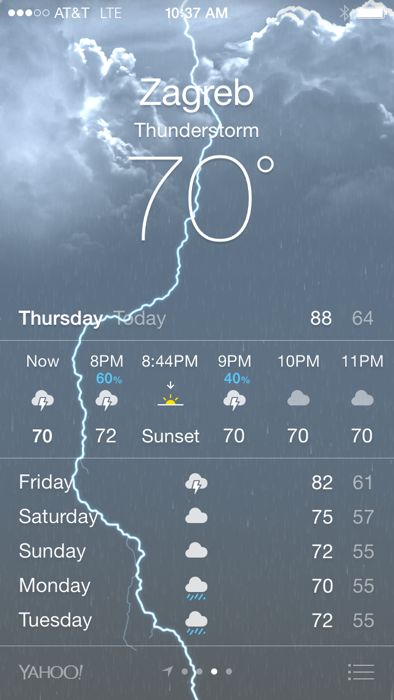
I’d purchased a couple of long zippers in different colors when I was in New York City last time, so I figured what would go with the fabric and pressed it into service. And even though one of the cities we’re heading to looks like this:
I didn’t use my Amy Butler laminated fabric, opting instead for my typewriter fabric.

I first drew up the pattern. I started with a rectangle of the dimensions from the airline, which is basically a backpack turned on its side. I noticed that many of the Weekender bags, both Amy’s and all the eight billion other ones I looked at became narrower at the top. I didn’t take off too much as I wanted the ROOM to carry my stuff. I was going to go full out for the width dimension, but then thought I would look like I was carrying a fabric-covered brick of cheese or something and it wouldn’t look that good. And I noticed that many had a wider base moving to a narrower piece across the top, where the zipper lives. I did that too. I laid over more pattern drafting paper (which is doctor’s tissue that you can buy in Medical Supply Houses) and traced some side pockets.
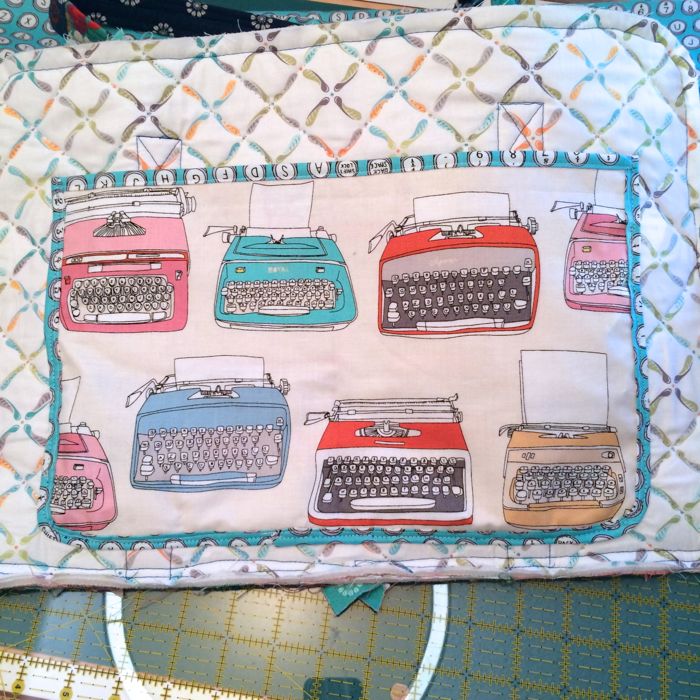
I LOVE pockets. So the first step was to cut the fabric way bigger than I needed and then sandwich the Annie’s Soft and Stable in between two fabrics and quilt it. I had seen all the quilters talk about the expense and the headache of broken needles and the hassle of cutting out eighty-five thousand pieces, and decided I would go this direction. So, above, you see the quilted purse piece with the handles stitched on, a pocket bound in another fabric for cuteness and stitched on and the first sewing of the cording around the outside edge (you can only see the stitching).
Unschool Plus had a pretty good write-up about her making the Butler Weekender Bag, with lots of helpful links from other bloggers. I used one of those to make my corded piping by using a narrow strip of fusible web, instead of sewing it together, thereby eliminating another stitching line you have to disguise at the end, because let’s face it, NOBODY is fabulous at inserting cording.
I sewed in this in segments:
Segment One: Quilt and cut out the bag pieces.
Segment Two: Make the pockets and attach (I’ll talk about the other one in a minute.)
Segment Three: Sew handles. Again, a guess. I got out my last two travel bags and measured and took the average. I wanted enough so that I could carry it over my shoulder and then so it wouldn’t drag the ground if I grabbed it and carried it by the handles.
Segment Four: Figure out zipper. In fact most of the steps start with “Figure out. . .” I spent a good amount of time sewing this, and an equally good amount of time walking away from it when I wanted to stomp on it and throw it off the roof of the house.
I liked how I’d assembled the zipper in my Bostonian Bag, so found some of scraps of that fabric and did it here. It’s basically a strip of fabric cut wide, folded in half, then the raw edges folded in. Above is the first step, sewing the strip down.

And then topstitched down the other edge. At this point I was freaking out because the thread in the bobbin kept pulling out from the bobbin tension spring. ACK! ACK! I painstakingly would thread it back in, again and again and again, thinking that my bobbin case was damaged somehow. So there are little bobbles here and there unfortunately, but I don’t think the flight attendants will be grading my construction so I think I’m okay. I finally just decided to tighten up the bobbin screw and that worked until I finished. (And then I took my machine in for a tune-up at the sewing machine spa.)
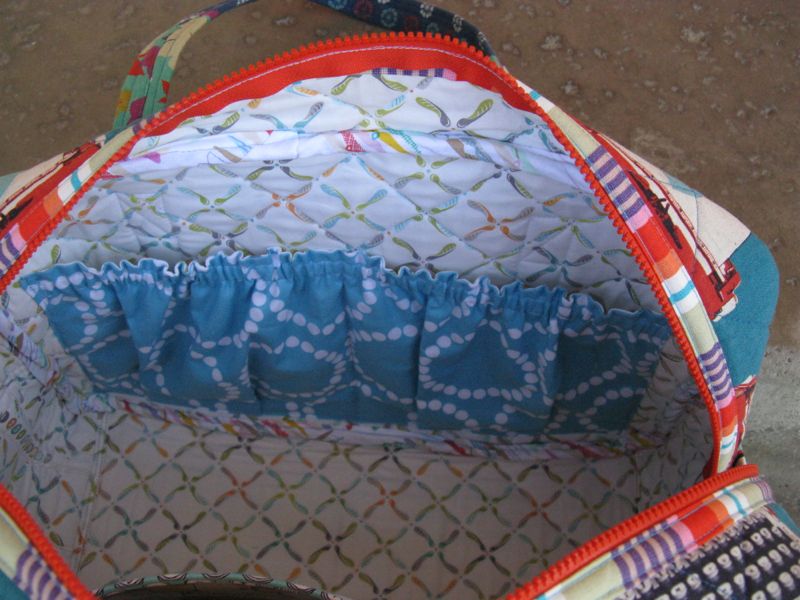
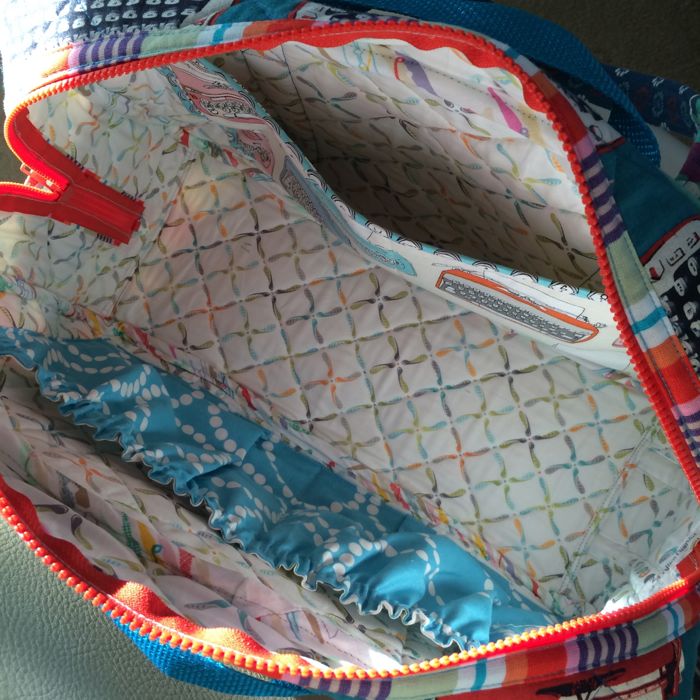
I made the other pocket, the one with gathers, and sewed that on (you can see it better in a later photo and I’ll talk about it then), then made the cording, as mentioned above and stitched that, being careful to clip the piping so it would go smoothly around the corner.

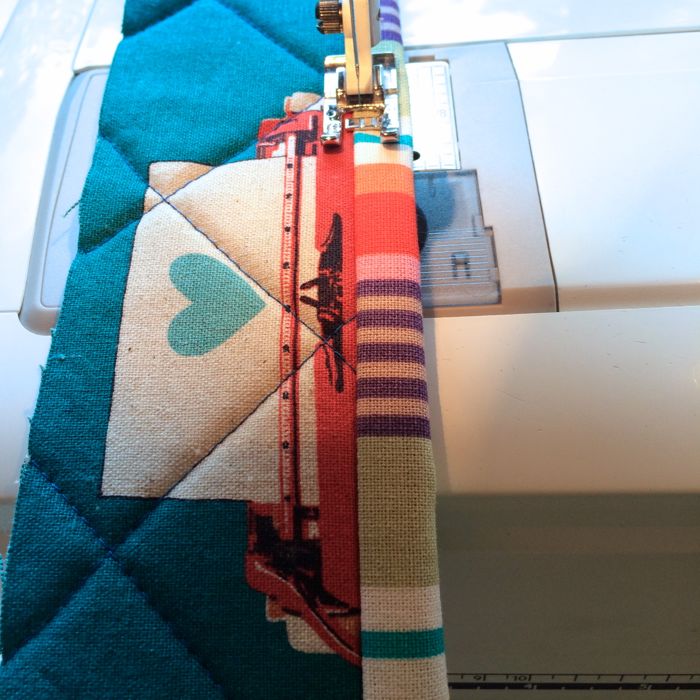
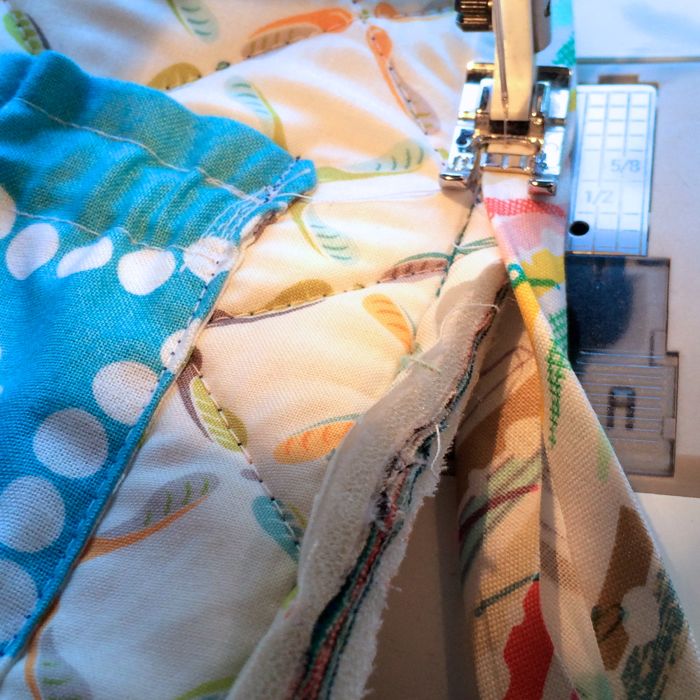
Look ma! No pins! You don’t need any–just proceed slowly. Move your needle as far as it will go to snuggle up against that ridge of the cording. My needle never broke because basically you are sewing with a giant spear of a needle, if you’ve switched (as so many recommended) over to a size 16.

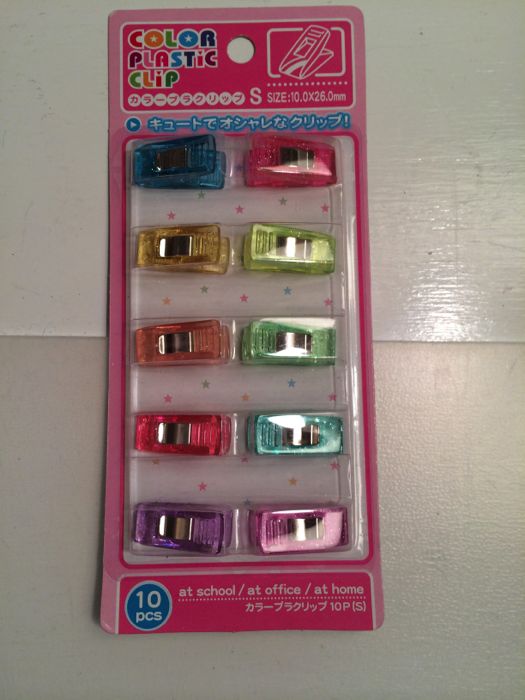
I bought my quilty clips in the children’s stationary section of our local Asian-foods grocery store, so that’s why they are all different colors (about $2.50 for a package). So many sewers/sewists/pick your word testified that the quilty clips were the only way to go. I agree.
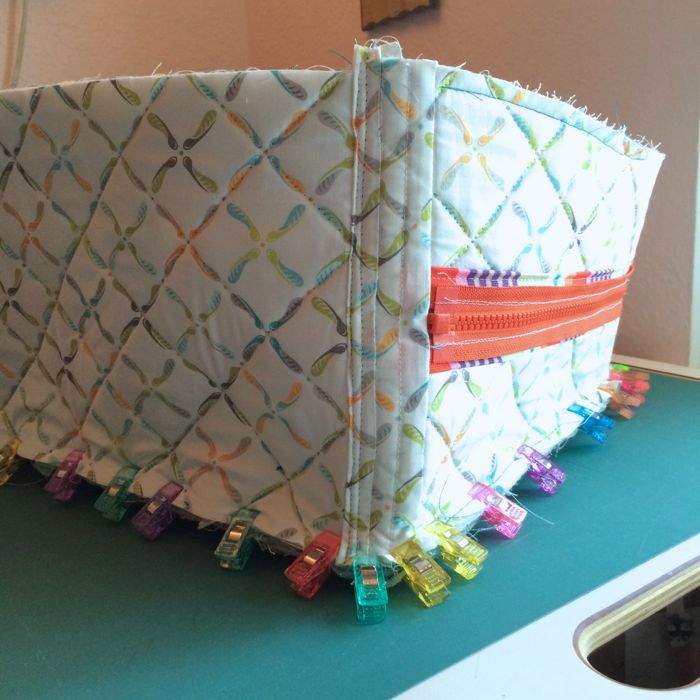
The band around the middle that contains the zipper is now fully clipped to the first bag piece. It’s at this point that I think I might actually make it. Thanks to all the Instagrammers who cheered me on. And on. I sewed that seam using a size 16 needle (advice from the Experienced Weekenders), and I was so aware that I didn’t have an industrial machine which would have made the job so much easier. The only thing to do, then, is to forgive yourself your mistakes and keep going.
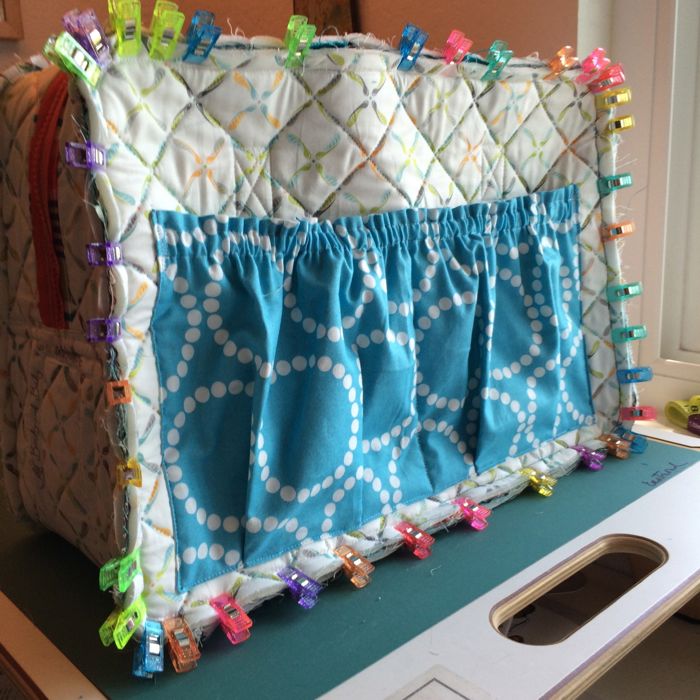
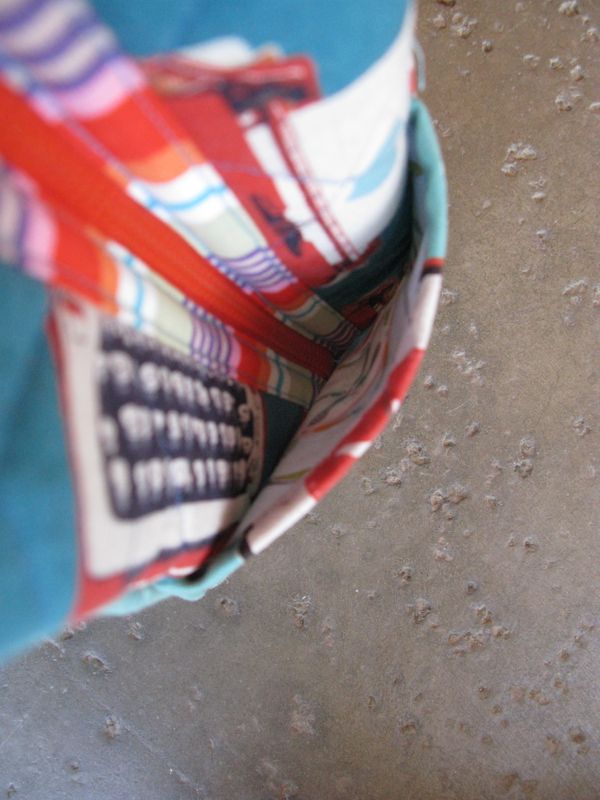
Side Two, clipped and ready to be sewn. This pocket is a long rectangle, about 5 inches longer that the desired space. I backed it in that fabulous Backyard Baby fabric, sewing around all four edges, but leaving a space about 1″ unsewn on two of the shorter edges, near the same long edge. I turned it, pressed the corners out, then stitched a double line of stitching on either side of those little gaps, making a ruffle at the top, and a placket for elastic. I threaded some elastic through, stitched it on one end to hold it, then pinned the pocket in place, pinning in random pleats on the bottom to take up the fullness. I started sewing on the right side of the pocket, backstitching to hold the top in place, down the side, halfway across the bottom (going over the pleats), then up the middle to create two pockets.
Just before hitting the placket with the elastic, I gently pulled it take up the fullness, but not letting the purse side buckle. I stitched over that, turned the piece, and re-stitched over that center dividing line, then across the bottom, then back up the last side. Just before reaching the elastic in the placket, I repeated the pulling gently to adjust the elastic to fit. I pinned it about an inch inside the sewing line, clipped off the extra elastic, then let it retract slightly back inside to hide it. I finished stitching over that.
(I think I’m writing all this down so I won’t forget what I did just in case I lose my marbles and decide to do another one. Just in case.)
I finished stitching that second round of stitching-the-purse-side-to-the-zipper-band-piece, then turned it to find those places that needed a bit more stitching or a bit closer stitching, and did that.
I cut a companion fabric into bias strips 2″ wide, folded them like bias tape, and topstitched them over the slightly trimmed inner seams. I won’t let you see that, because again, my home sewing machine is no match for the industrial binding machines used in factories. But it looks fine, and is sturdy.

I had an oops, and covered it with the selvage from Backyard Baby. I would try to explain it, but then you’d really develop a migraine and swear off bag-making forever. Let’s just say that even though I have a degree in Clothing and Textiles and have sewn sewn sewn for nearly forty-five years, I can still make big enough mistakes that need a fix like this. The trick is to forgive yourself for the imperfections and move on.
And that’s it. I’ve gone through security and traveled enough that I know what I need in a travel bag. I need it to be sized appropriately, have a zipper pocket that I can access quickly on the outside to throw my phone in while I go get X-rayed and the bag gets X-rayed, long enough handles to slip over my shoulder and a way to attach it to my bag so when I make long connections it can be carried on my roller bag. And can it please look good and not cost a bunch? While I don’t plane-travel all that much, I think that this bag will also work for short hops in the car when I drive to see the grandchildren, too.
So, now I do I qualify for Iron Woman Quilting Improv? My travel weekender-type bag was made from start to finish in one week, with lots of help from all you wonderful blogging quilters, who laid down a trail for me to follow.
May the typewriter be with you.
˚˚˚˚˚˚˚˚˚˚˚˚˚˚˚˚˚˚˚˚˚˚˚˚˚˚˚˚˚
Occasionally my blogging software will run ads here so that I can blog for free. I make no money from them.
Discover more from OccasionalPiece--Quilt!
Subscribe to get the latest posts sent to your email.

Very very nice. Thanks for sharing your journey Elizabeth.
Wonderful Bag! You give me hope that I might actually try this one day (maybe !)
And I think the salvage bit is a “design feature” ….looks like it was meant to be there !
Zagreb for the weekend?! I was following along very intently and then burst out laughing. If I tried this bag, I’d be back in grade school, sewing with tears. That Zagreb screenshot tickled me so much, I relaxed, left the grade school in the mind, and enjoyed the rest of the read. Looks super!
This is more than fabulous! I seem to be a big collector of bag patterns, but not so much a Maker of bag patterns. I love yours!
You. Are. Awesome. How skilled you must be to whip up such a complicated bag and with no pattern! Great finish
I’ve also been collecting photos and tutorials about bag making, thinking of what I want in a custom weekender. Thanks for the inspiration to carry on! (Ha! I made a pun!)
I am so impressed by your talent. This is a beautiful bag. Happy travels.
Bon voyage!
Love the bag. Don’t know if I would have the patience to male one, but I am impressed that you did! Hope you have wonderful travels – I am slightly jealous about that!
It’s beautiful! You really are an iron woman–I had no idea you were sewing without a pattern until I read your post! Happy traveling!
Love! Thank you so much, Elizabeth, I enjoyed reading every word of this post. Congrats on a great finish.
You give me hope – that I, too, someday can make my travel bag (have the AB pattern, fabric, zipper, all of it, waiting now for 2+ years!). As always you are a wealth of information (the clips, who knew in an Asian store, kids section) – thank you SO much! Cannot wait to hear about the trip and just know the bag will serve you well!
Yes, fusible web on piping- brilliant idea, I always have that problem!
wow- this turned out so great! I love all your fabrics!
Very good tutorial that led to a great bag. Now what is a typewriter – lol.
On my way home via two flights today, I just happened to notice two really cute carry-on bags. Neither, however, held a candle to this beauty. I am sure you will be stopped and complimented everywhere you carry this. It is gorgeous.
This is pretty amazing!
That’s a wonderful bag. And the first thing I noticed is how the print on your pocket matches the print on the main front piece behind it. Reminds me of matching plaids when making shirts, which few people bother with these days.
I have owned a copy of “The Dot and the Line” for years and years; a birthday gift from my husband. (Hope I can find it and read it again!)
Oh Elizabeth, I love your bag! I am in awe of your talent.
It is wonderful! I want one just like it!
I realize this is very late. What is new? The size. No pattern. I hope you are not selling this. I am looking for something totally new. Not just a bit different.
Happy Creating