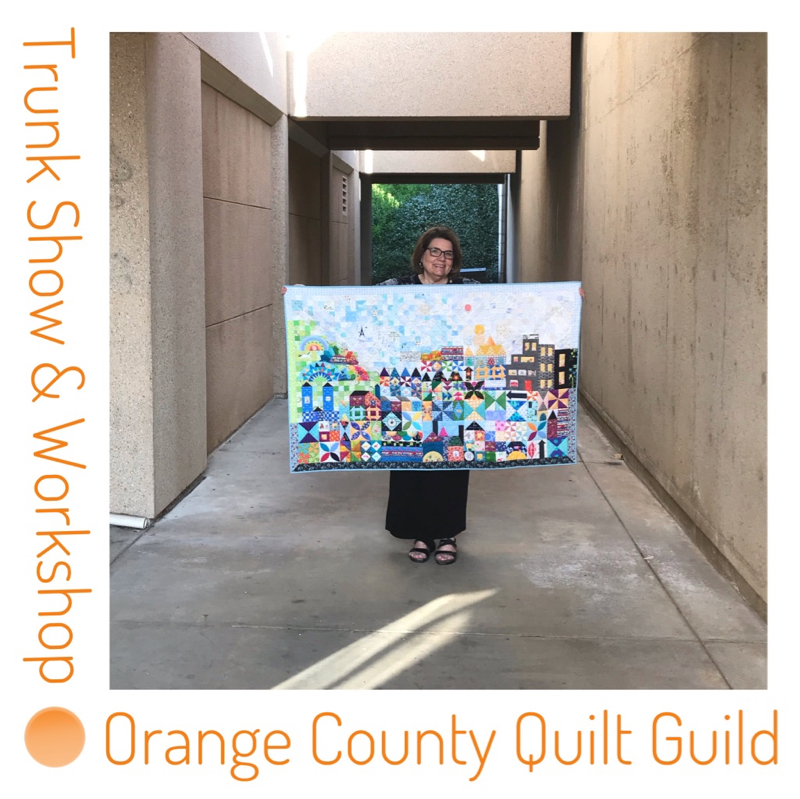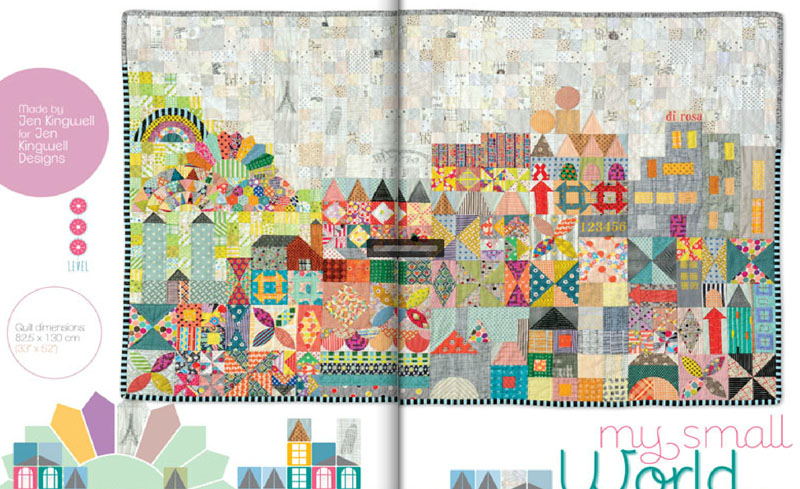
By now we all know what a Zoom conference is, we know not to angle the phone so people see up our noses, we know not to have a crunchy three-course meal on the Zoom chat, and we have learned the importance of the Mute button. That’s the participant side. This month I’ve been trying to learn what to do on the presenter’s side, getting ready to take my regular In Real Life (IRL) program to Virtual.
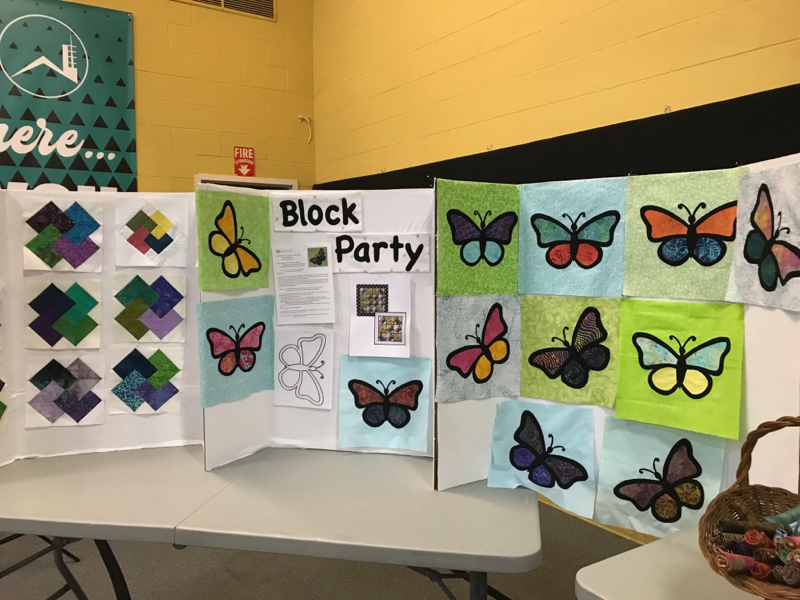
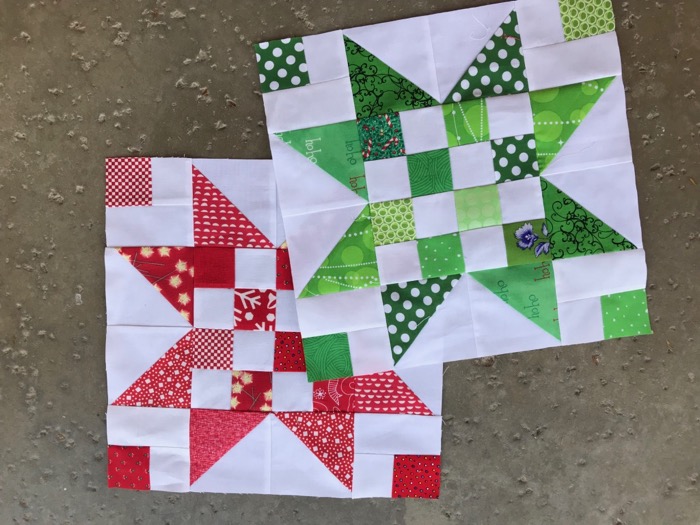
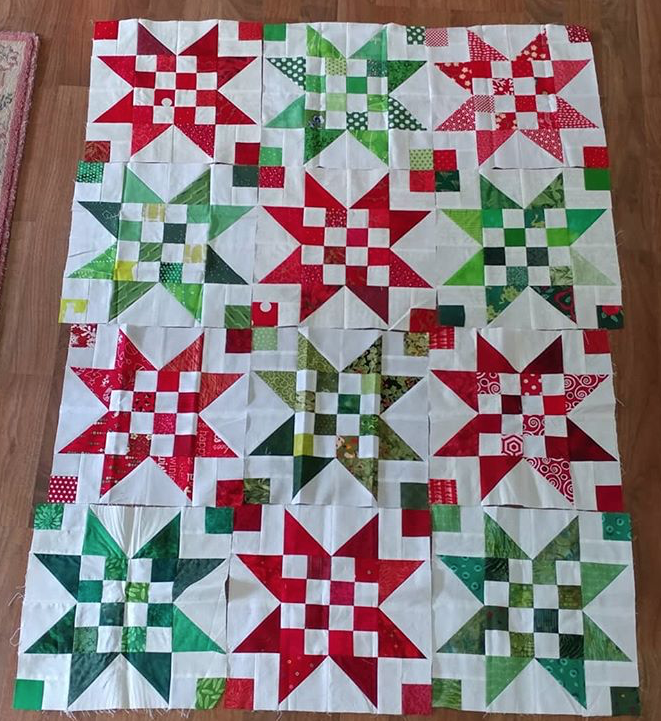
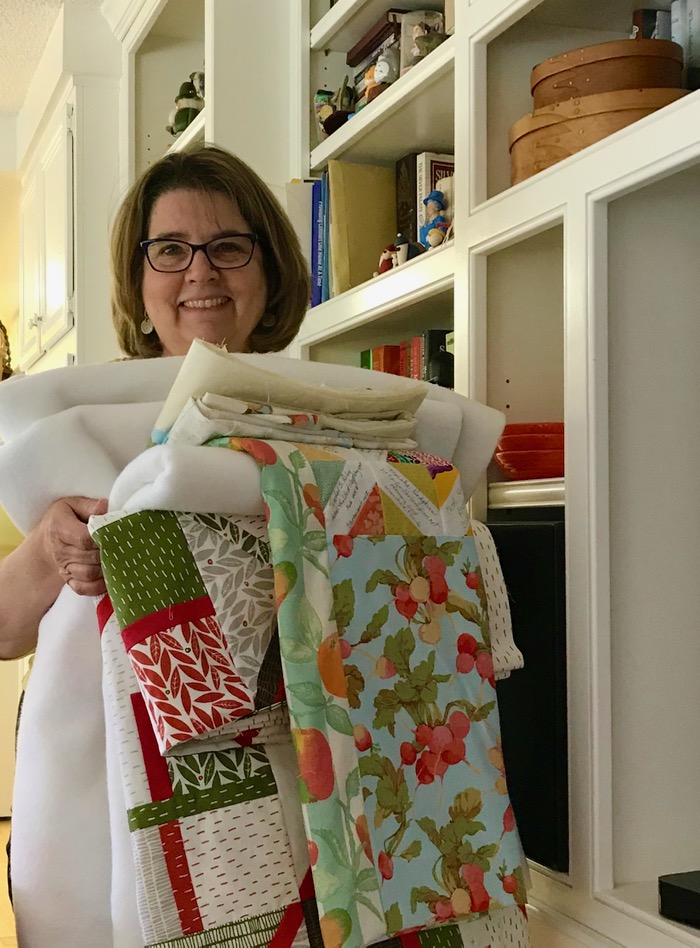
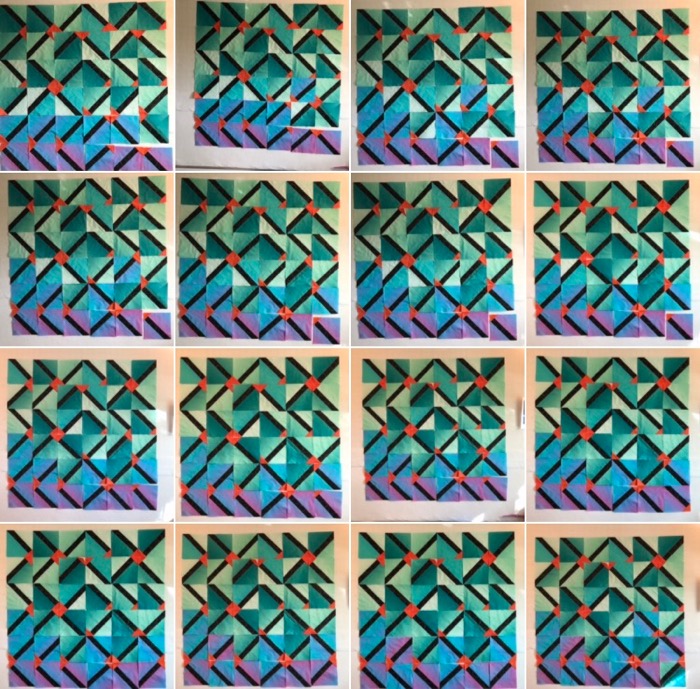
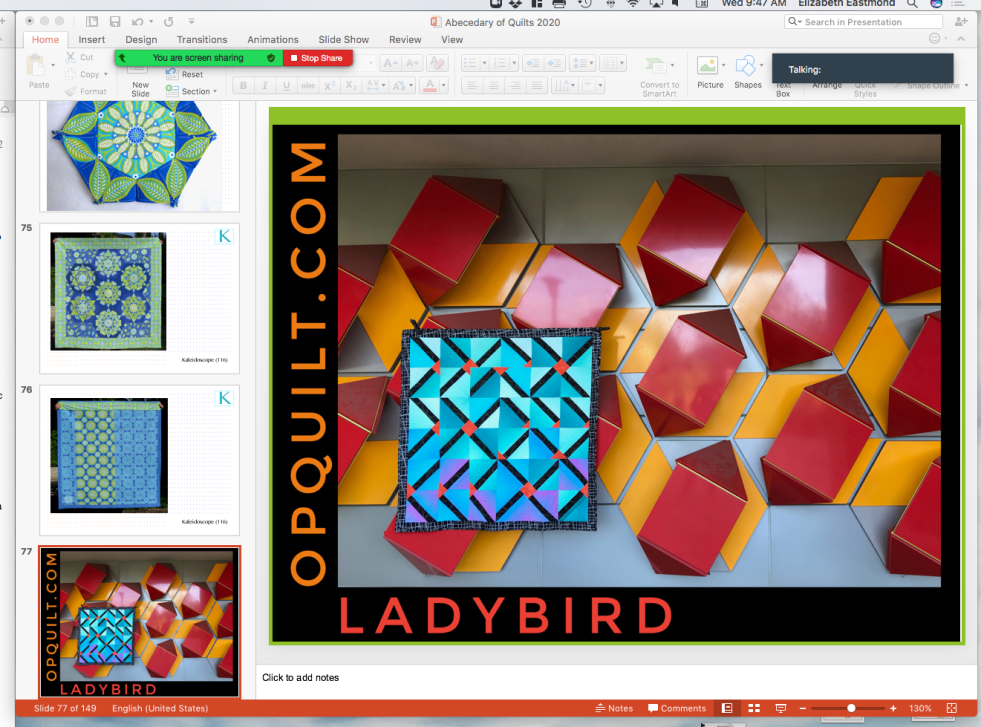
First up, gather a bazillion pictures of quilts and plop them into a PowerPoint slide program.
Secondly, do you-don’t-know-what and lose the last half of the slide program.
Third, re-construct what had been started and save it in TWO different places this time. It’s all a big fat learning curve. I did watch several different groups of people talking about going Virtual, and one common theme was the idea that when invited, they said “Of course, that sounds great! It’s very do-able!” Then the admission to those of us watching, was that they really had no idea what to do.
I can relate.
Here are some of the things I’ve been doing the past two weeks:
PowerPoint Slide program — luckily a lot of the graphic arts skills I’d picked up this past year while learning Affinity Photo/Designer/Publisher carried across onto this platform.
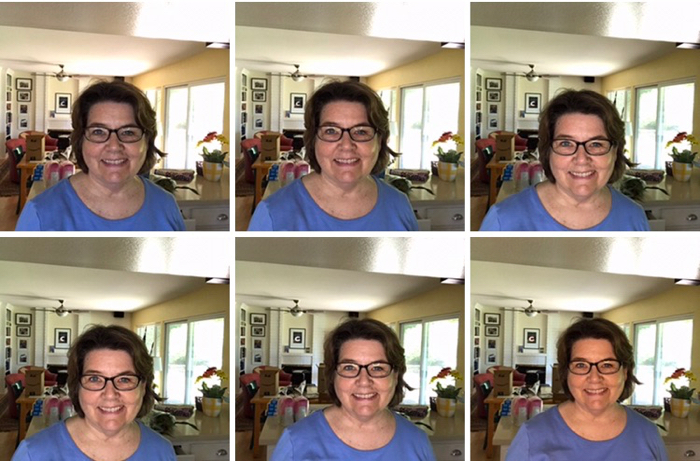
Buy a ring light and tripod. Figure it out. That’s me trying out light levels and light settings: White, Warm Yellow, Warm White. Or as I like to say, Death, Near-Death and Jaundiced.

In this view, there is a green border around the slide.

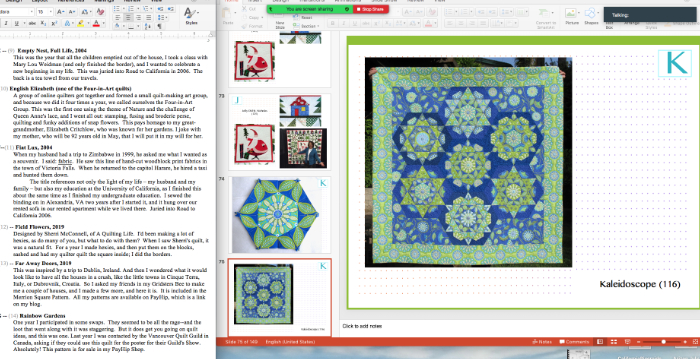
You can find that in the Advanced section of the Slide Share tools in Zoom. What that does is put a border around what the people on the other side of the screen can see when the desktop is shared. You can keep all your notes in a Word Doc if you want (see below).
Write notes for the program and rehearse. I did that last night, ring light on, running through the program, recording myself. With the ring light on, practicing looking at the camera, and trying not to freak out, I have to say I did okay. My husband is continually encouraging me onward; he used to coax his grad students through this ordeal. And by the way, the recording will be deleted, never to be seen again, but I’m glad we purchased a Zoom Pro account, so I can rehearse. I’ll make another one tonight, just to keep practicing.
Last tip: I set up another screen right in front of me when I was rehearsing (an iPad will do) so I could see what others could see. I doubt I’ll do that when presenting (I want to focus on looking at the camera), but it was helpful when figuring out how all the parts go together.

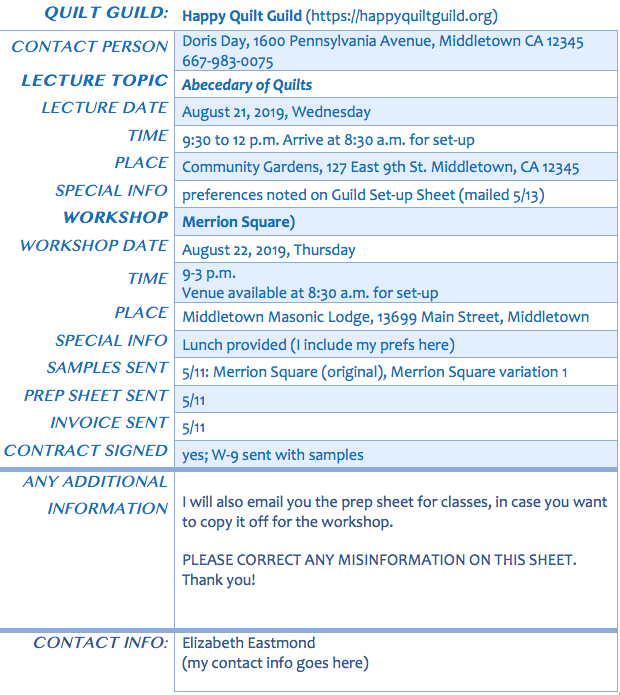
If you are a Guild, there are an equal number of tasks for you, too. In working with the current guild, the Program Chair has been terrific, as we worked to move this forward. Not only do they have to worry about getting the Speaker situated with Zoom codes, timing, technology, they also can’t just hand them a check when it’s over; payment has to be worked out as well, and not everyone has a PayPal or Venmo account.

And getting the patterns to them is also a challenge, because of that “not everyone has a PayPal account” thing. My patterns are digital downloads from PayHip, which requires either a PayPal or Slice Account, which has been a trouble for some of their members. So we worked out that the member would give a check to the Guild, the Guild would alert me and give me the guild member’s email address, and then I would send them a “how-to” PDF document and a code to enter to get their pattern. I plan not to do this again, if I can help it.
The contracts have to be re-written, or an addendum provided. I ended up scanning in the originals, adding the addendum and emailing them over. Some of the language I used in the addendum is in the “Zoom Explained” document below, available for download.
All of this post is to say, that we are headed over a cliff into the digitalized 21st Century, and we have to be our own superhero and figure it out ourselves. I plan to do that Lecture next week, the Workshop the next day (more on that, later), and keep going. I plan on my vehicle sprouting wings so I can zoom out over the landscape, and enjoy the view.
Nuts and Bolts of Presenting
After reading extensively, I wrote up a document outlining how I wanted to work my virtual teaching and presenting. You can download it below.
There are plenty of sources out there for the physical space you’ll need to set up. At the very least, invest in a ring light so it will throw an even cast of light across your face. Others have fancier set-ups. Try not to be overwhelmed.
In working with my fantastic Program Chair for the upcoming Guild, I thought it might be helpful if they had a checklist they could consult to make they had all their ducks in a row. You can download it below.
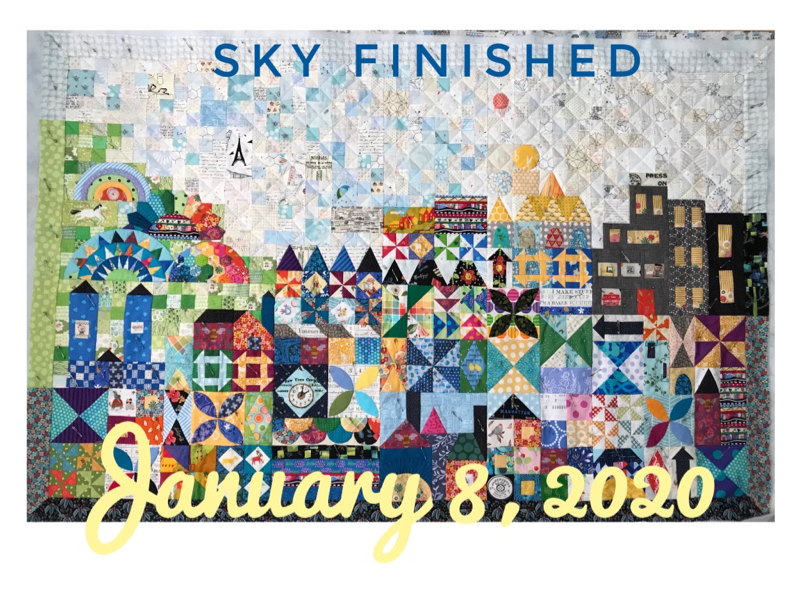
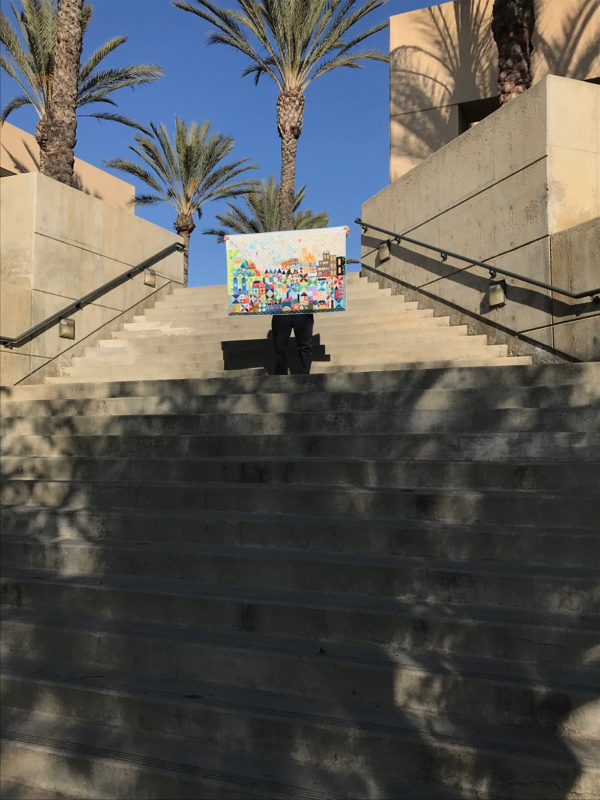
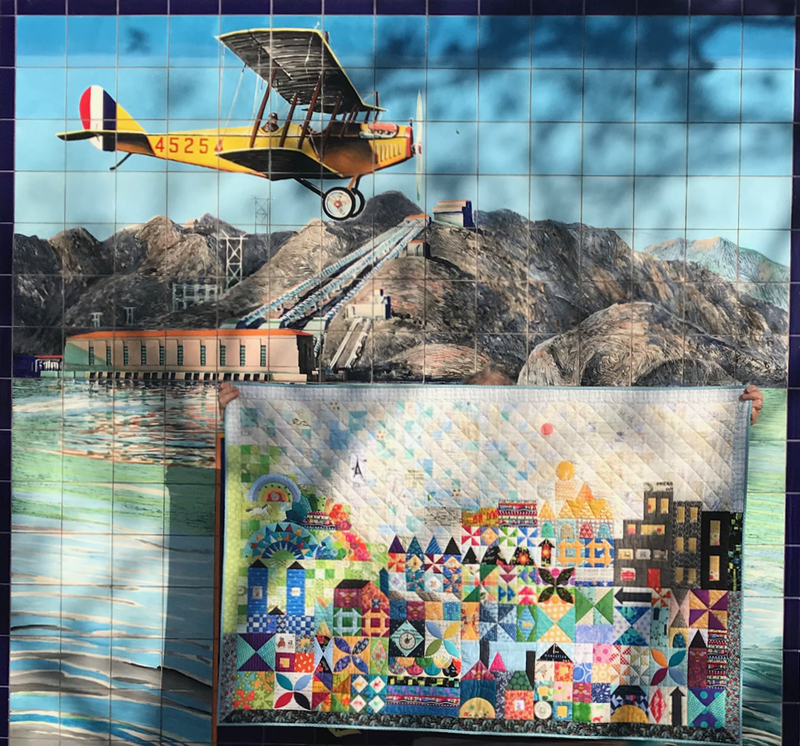
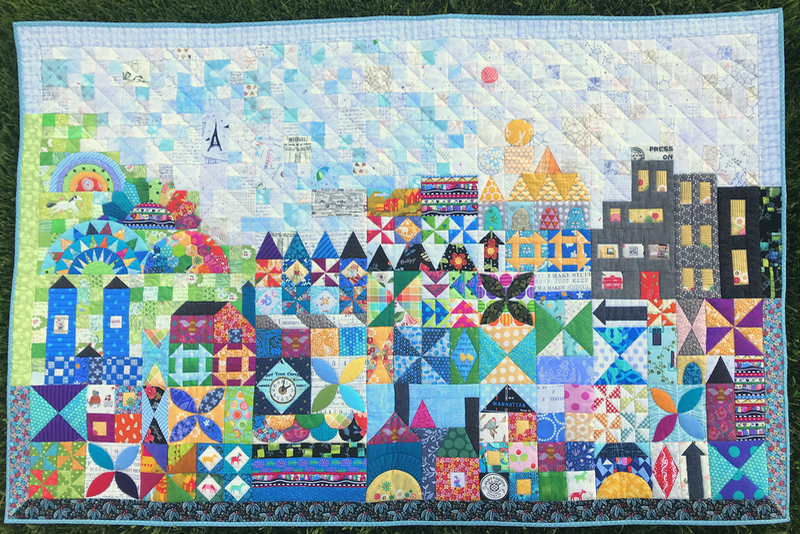
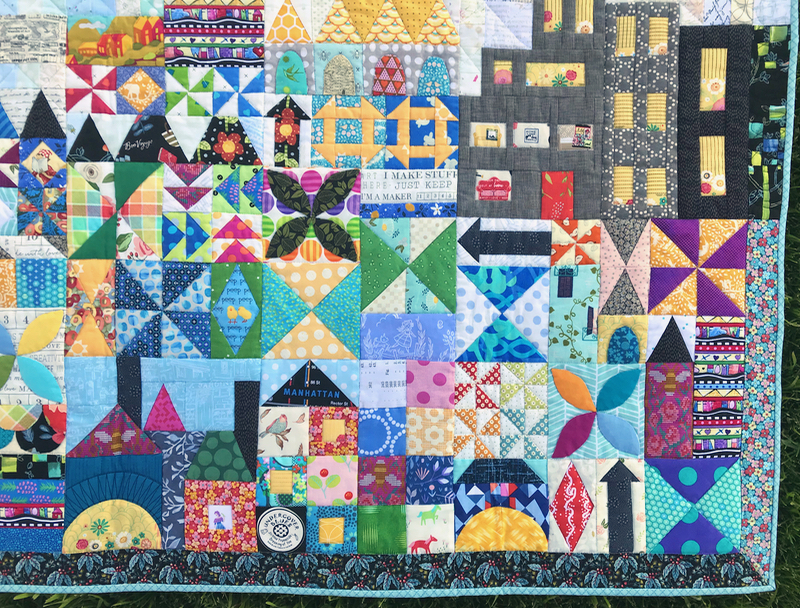
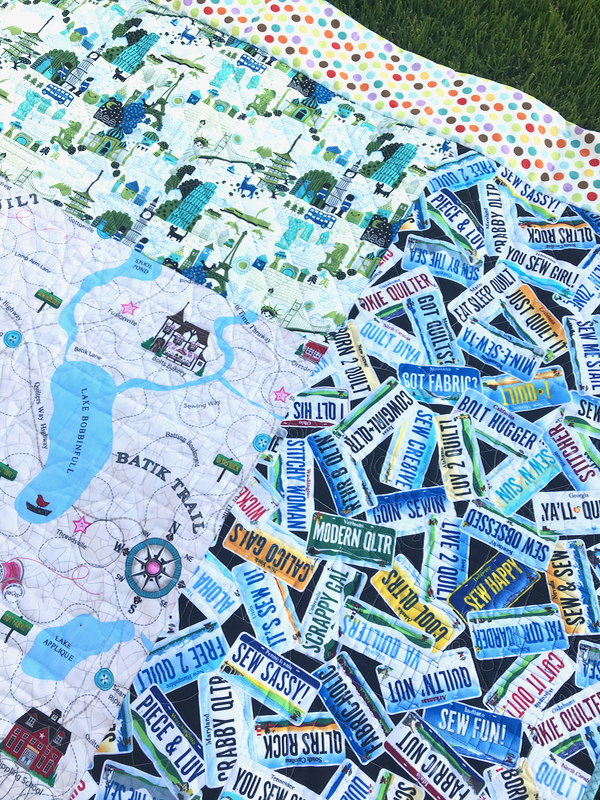
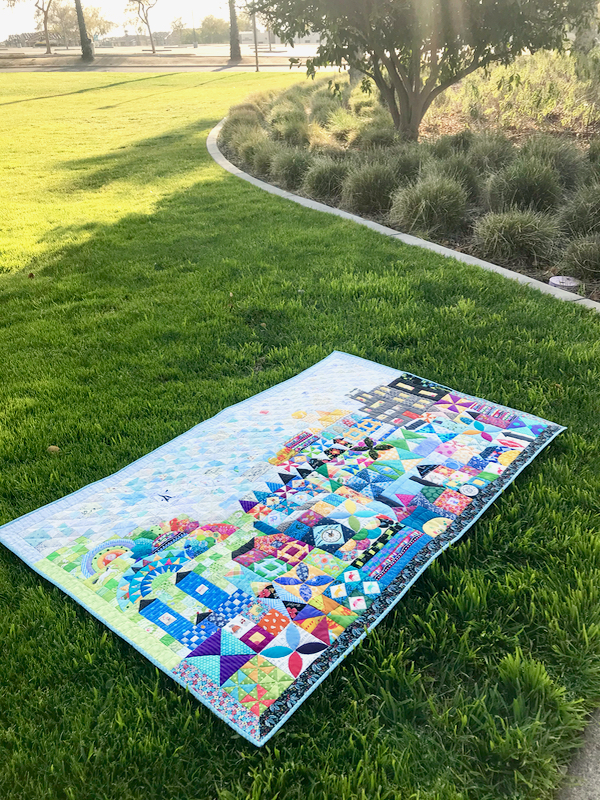
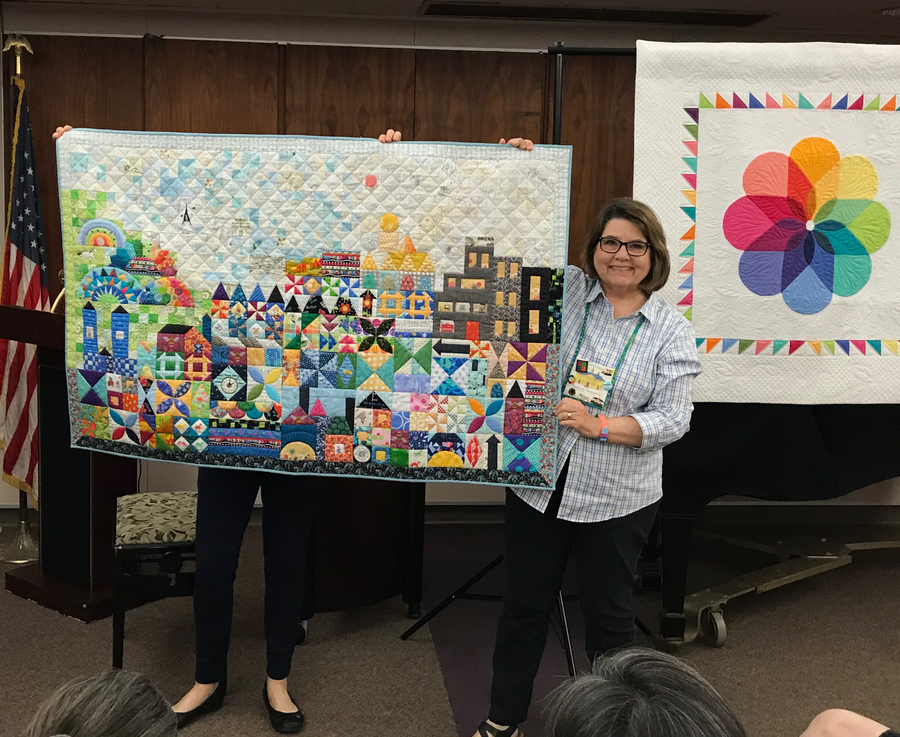
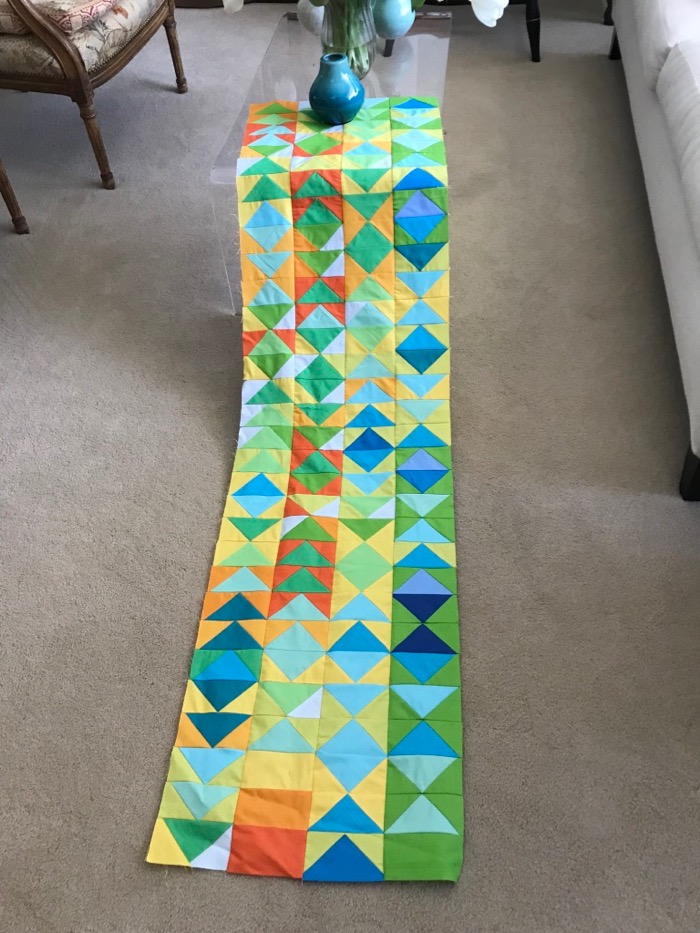
I have so much to learn, as do we all. But I’m actually pretty excited to go forward. In putting together my presentation I could include lots of views of my quilts in the slide show, things I normally wouldn’t be able to show them (like mood boards, quilts in settings, interim steps). There will be good and hard things about our quilting lives in the next two years. Let’s make getting together one of the more lovely things!