Christmas Quilts · Free Download · Free Quilt Pattern · Mini-quilt · Quilts

Tiny Tree and Teeny Trees

Tiny Trees

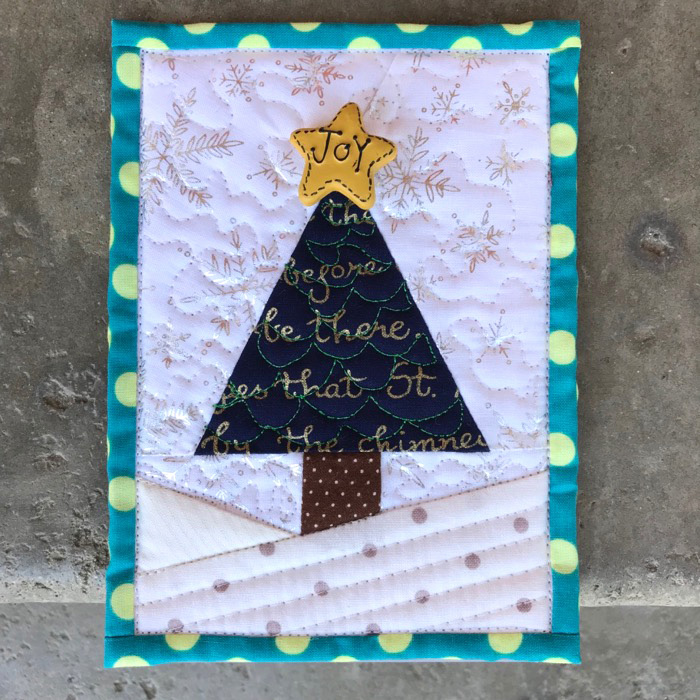
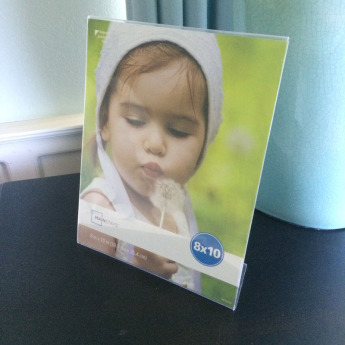
I’m decorating for Christmas and wanted to change out my Tiny Quilt from Autumn to Christmas, but then got wondering how a teeny-weeny quilt would look, so got busy.  These little quilts fit onto plastic picture frames:
I have two free patterns for you here, but please remember the drill: Don’t print off umpteen for your next class, or guild meeting swap or your mother.  Please send them here to get their own pattern.

The teeny tree (4×6″) pattern is in this downloadable PDF file: Teeny Christmas Tree quilt

Updated, one-page version (2021): Teeny Christmas Tree quilt

The tiny tree (8×10″) pattern is in this downloadable PDF file:Tiny Christmas tree quilt

As you can see from the samples I made up, I play fast and loose with some of the placement of pieces, really using them more as a guideline for cutting, than anything else (although I did cut out the tree exactly).

Tiny Tree_1

Cut out all the pieces for the pattern you’ve chosen.  As I noted above, sometimes I used the pattern (shown here before I added the labels) as sort of a general guidelines.  You need an accurate tree, and a nice straight edge where you’ll sew it to the tree (the diagonal line in the photo, above).Tiny Tree_2
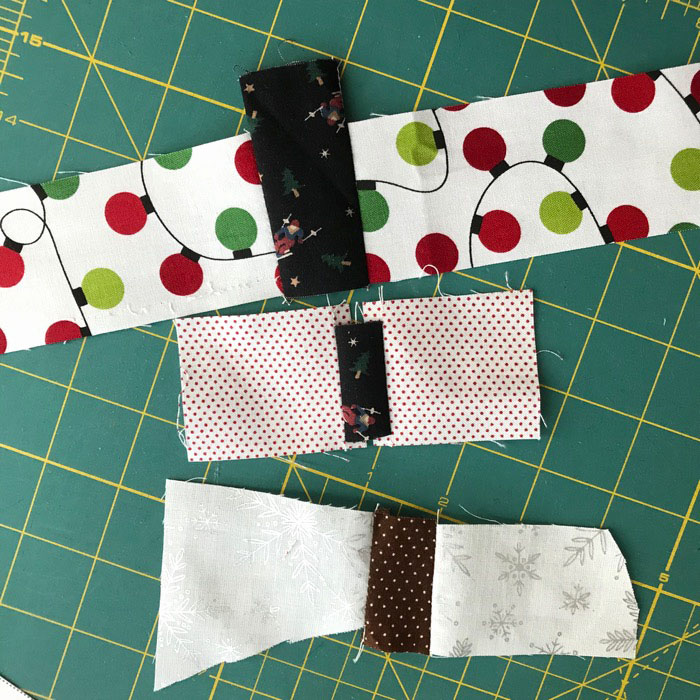
I sewed the “sky” pieces to the sides of the trunks then trimmed the edge that would attach to the tree.  More detailed tutorial is also on my OTHER Christmas Tree block tutorial, which is sized somewhere in between these two tree sizes. (I should open up a Christmas Tree lot with all these patterns.)Tiny Tree_3
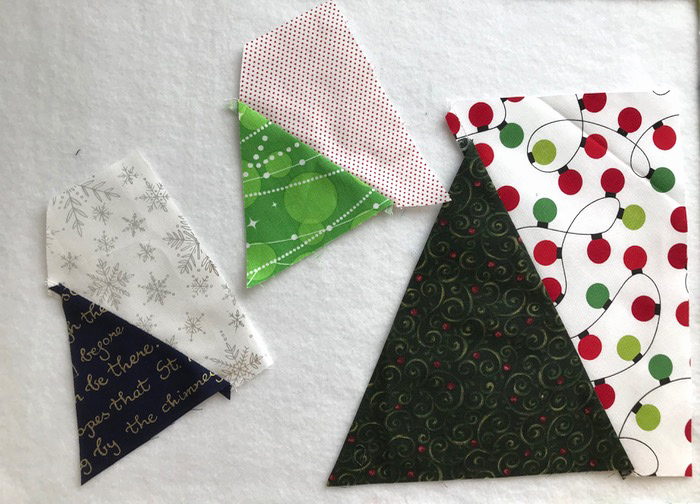
Sew the “right” side onto the tree.  Make sure you keep the marked top triangle point pointing upwards.

Tiny Tree_4a

Trim any stray areas (above), then add the other side.

Tiny Tree_5

Straighten out the bottom of the tree assembly.  Center, then sew on the tree-trunk unit, pressing seam towards tree (so it looks like the trunk is under the tree).Tiny Tree_6a

Now to add the snowdrifts on the little tree.  On the left, I sort of place that wedge-shaped piece, determine the angle but flipping it up and down (on the right).  When I have the angle I like, flip it back up so right sides are together, and stitch along the upper edge.  Trim.Tiny Tree_6b

Repeat for lower snowdrift.  Trim excess.

Tiny Tree_7
For the bigger tree, I added on 2″ strips to frame the tree.  It needed something to jazz it up, so I got rid of the bottom strip on the pattern and just used strips all around.Tiny Tree_7a

Layer with batting and backing and quilt.  I did a meander in the sky area around the trees, then some straight lines in the snowdrift on the teeny tree, and some straight lines in the frame around the bigger tree:

Tiny Tree_8a

I also quilted some swirls in the center of the tree.Tiny Tree_8b
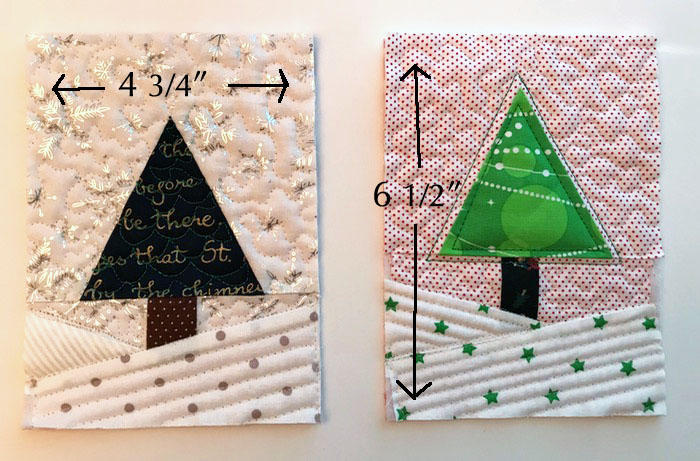
Time to trim.  The teeny trees trim to 4-3/4″ by 6-1/2″ and the larger tree is trimmed to 8-3/4″ by 10-1/2.”
Tiny Tree_9

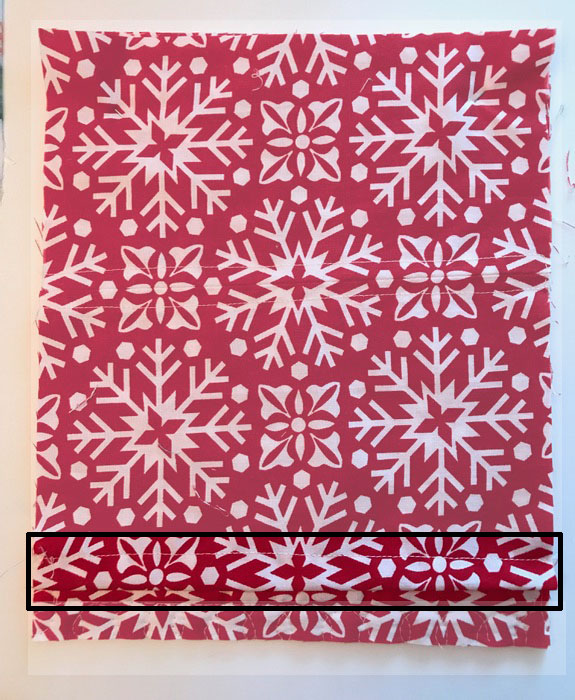
Make a sleeve for the back by cutting a piece the same size as the quilt top, but then hem the lower edge, turning it up twice and top-stitching.  I know it’s hard to see in this print, but again, feel free to check out the other tutorials of tiny quilts.Tiny Tree_10a
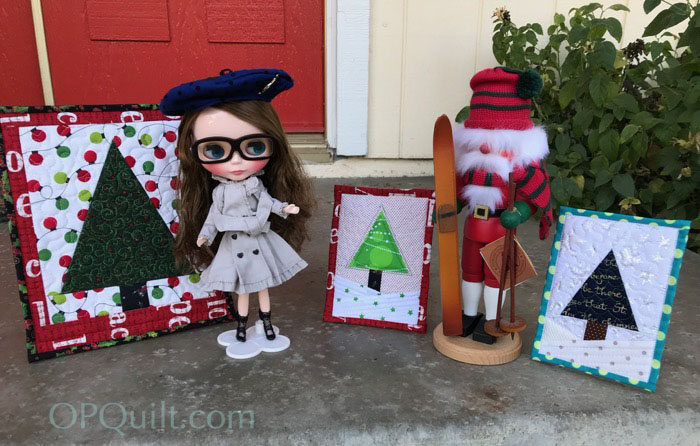
I brought out my Blythe doll and one of my husband’s nutcrackers to pose by the quilts.

Tiny Tree_10b
Tiny Tree_110c

Looks like Blythe has the hots for the Santa skier. And here I thought she’d go for the more traditional guy:

Blythe and King

He does look a little formal.  Hmmm.  Evidently not her type.

Okay, that’s enough–I’m off to sew!

(Buttons added!)
300 Quilts · Christmas Quilts · Free Quilt Pattern · Patterns by Elizabeth of OPQuilt · Tutorial

Christmas Tree Block Swap

xmastreeswap
xmastreeswap_1

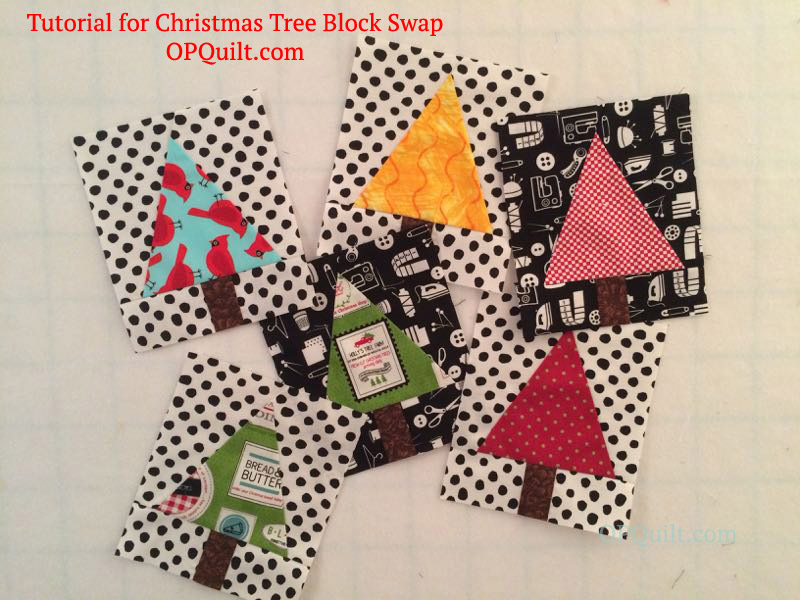
My friend Leisa saw a Christmas Tree Block Swap that was going on online, and said “Why don’t we do one like this with our group?” Sure, why not?  We don’t have anything else going on, do we? (right)

I drafted a pattern, just drawing this way and that, then made up a test block.  My graphic design guru Simone approved it, and we were off.  I transferred my dimensions to Quilt Pro, my quilt software program and here it is for you to download:

That’s FREE, no charge, but as usual please don’t print off one for your mother or your sister, but instead, send them here to get theirs.  Many thanks.

AND…as a reminder.  Please be sure to set your scale to 100%.

Now, the tutorial.  I apologize in advance for the pitiful lighting.  Chalk it up to working on a deadline, because our swap is in a a week and a half, and I need to get this to my quilt group for our Flash Mob Quilt Night.  (I hope they bring Christmas cookies to share…just saying…)

xmastreeswap_2

I also apologize for filling up your mailboxes with two posts so close together.  But then again, you might need this too, to spread a little holiday cheer around your sewing room.

xmastreeswap_3

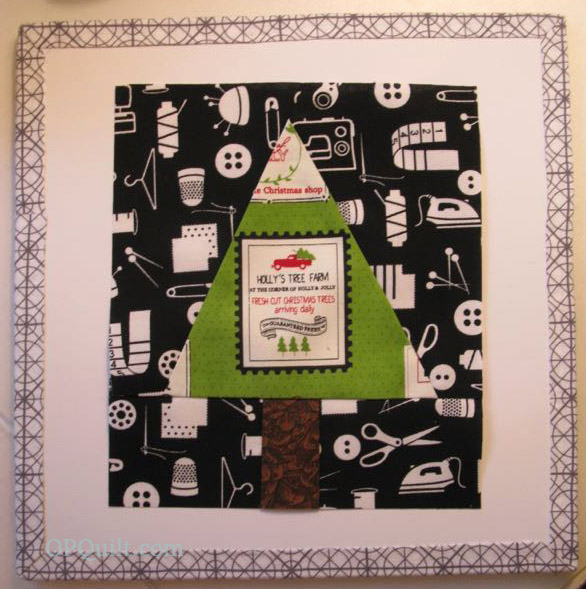
This tutorial is for one block.  It took me a grand total of about one minute to make one block.  Choosing and cutting the fabrics took a little longer.  For our trees we are using clear bright tones/prints, such as green, yellow, pink, aqua, purple/lavender, orange, red.  For the backgrounds, we are using black or white prints.  For the tree trunk: something trunkish, please.  Here are all the pieces laid out. (Thank you Mary, for my cool board.)

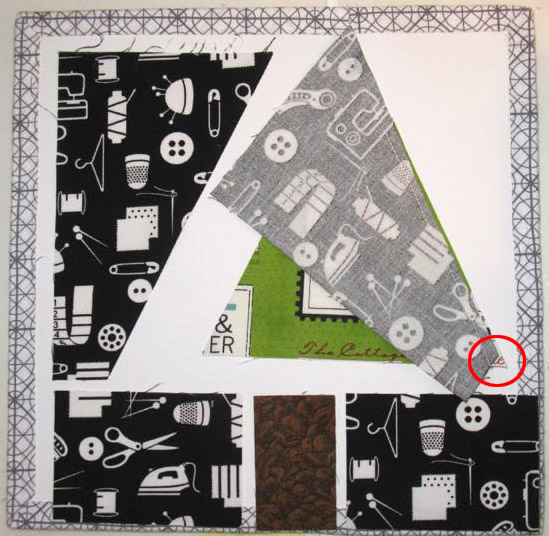
Sew the Upper Background piece onto the tree.  Leave that tiny wedge of 1/4″ goodness at the bottom right corner (shown in the red circle), and let the top of the upper background just hang off the tree.  Stitch 1/4″ seam.

xmastreeswap_4
xmastreeswap_5
xmastreeswap_6

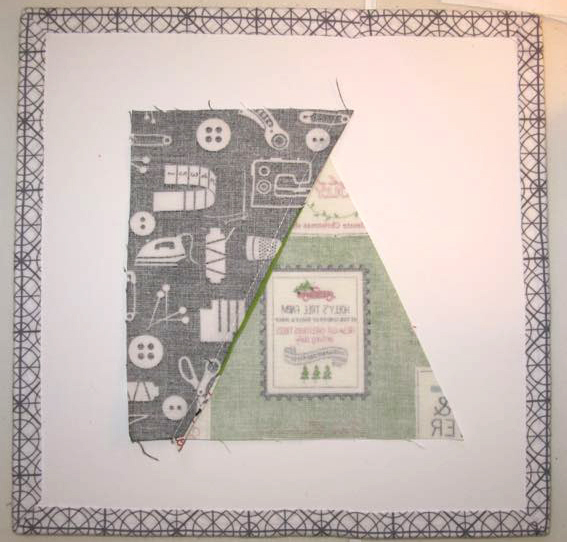
Backside of that piece.  Now the 1/4″ wedge of goodness is at the lower left, and the extra background is at the top.  Press seam towards the tree.

xmastreeswap_7

Repeat with other side.  

xmastreeswap_8
xmastreeswap_9

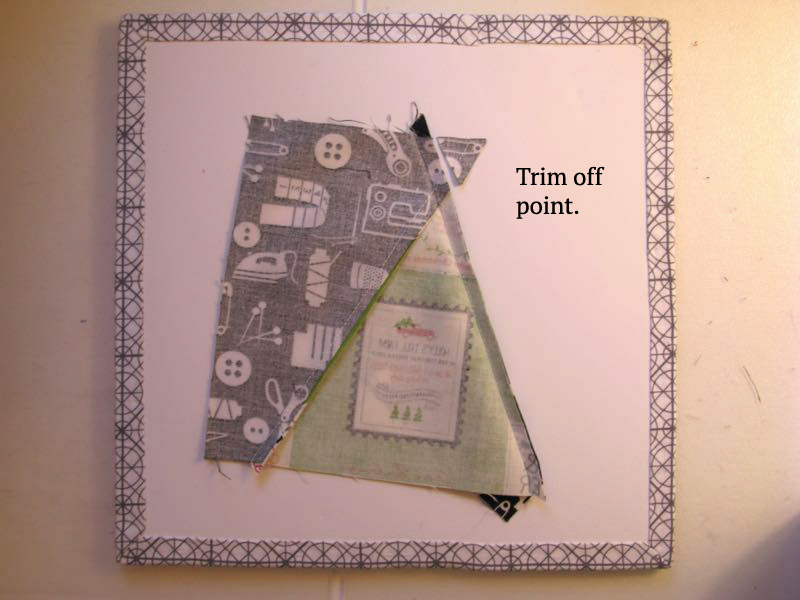
Trim off the extra point.  Press towards tree (see below).

xmastreeswap_10
xmastreeswap_11

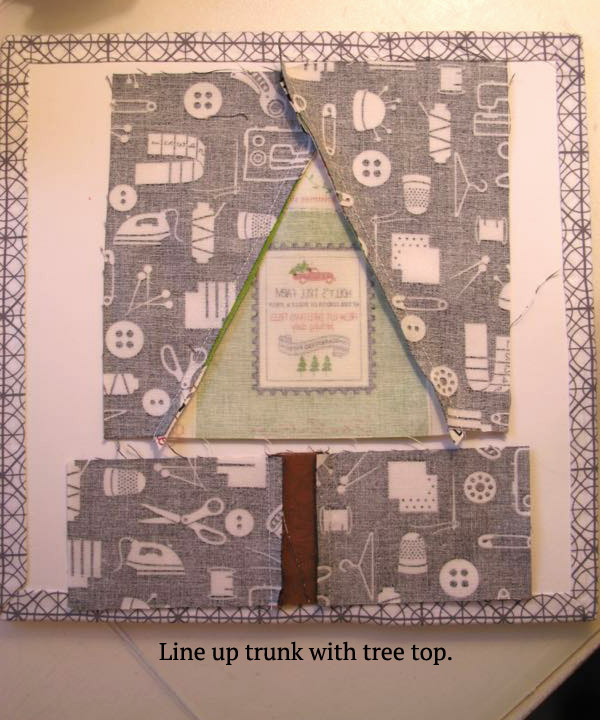
Seam the Lower Background pieces on either side of the tree trunk.  Press towards the trunk.

xmastreeswap_12

Line up the tree trunk with the tip of the tree, to get it on straight.  I’ve left a bit extra on either side, so if you want it wonky, feel free.

xmastreeswap_13

Press all seams toward tree.  You can see here the extra I’ve left you so you can adjust the trunk as needed.

xmastreeswap_14

Trim the block to 6 1/2″ by 7 1/2″ like this: Leave space above the tree tip, roughly 3/4″.

xmastreeswap_15

Then whack off the bottom, so the total height is 7 1/2″.  This tree will finish at 6 by 7″.

xmastreeswap_16

Fussy cutting is always encouraged.

Now if you want to cut out a lot of Upper Backgrounds at once, do this:

1-Layer two pieces of fabric with wrong sides together (like it comes off the bolt).

2- Cut a square 5 1/4″ by 6 1/8″.

3- Measure up 1 1/8″ on opposite sides, and draw or cut a diagonal line.  It should be the same size as your piece B or D.

Remember that these pieces are opposite of each other, so don’t layer up your fabrics with all right sides up, or this won’t work.

xmastreeswap_final1

Here’s my first batch.  Now I’ll go do this some more.

Have fun making a forest!

tiny nine patches
100 Quilts · Christmas Quilts

Two Quilts (Well, maybe three)

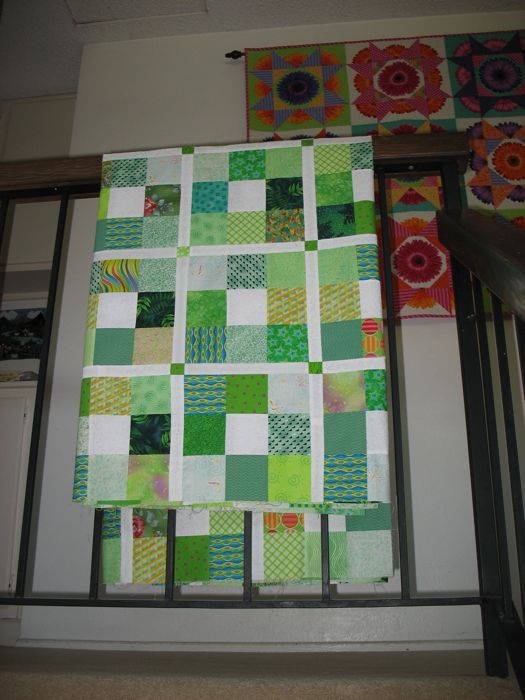
I finished the green quilt top, stitched together the pieces for the back and it’s now at the quilter’s.

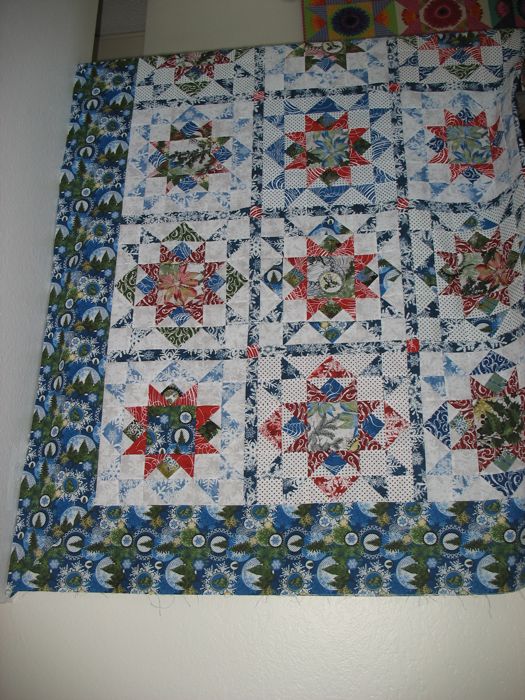
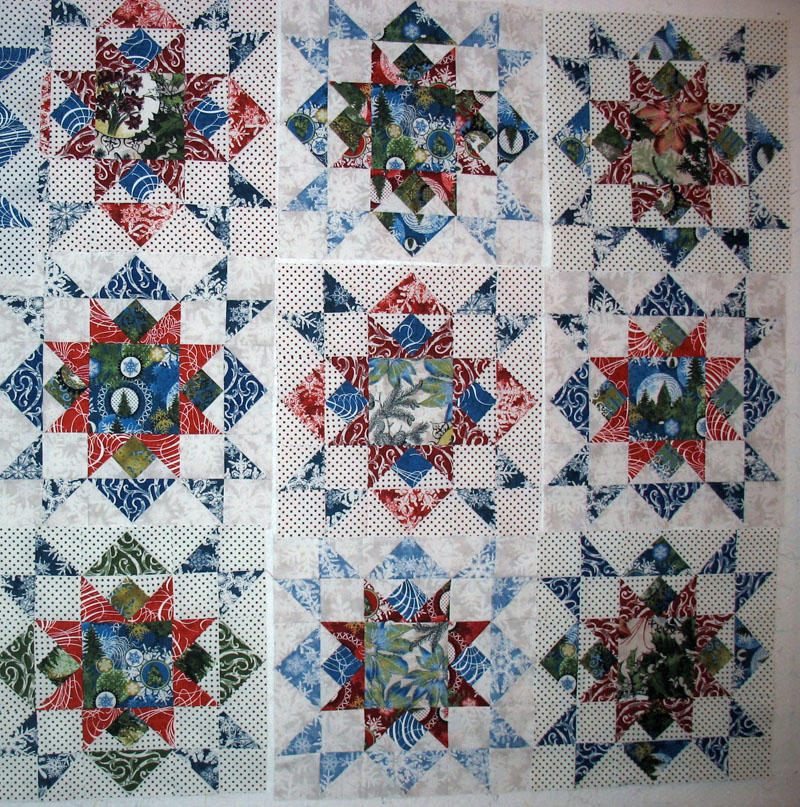
I began this one–Christmas Star–last fall (November? October?) in a clear space in my schedule, but it’s taken me until now to finish the top.

Today’s goal is to get the back pieced and get that off to the quilter as well.

I’ve even begun thinking about the other quilts marooned in my quilting closet, those quilts that I bought the fabric for, dreamed up and abandoned for work or family fun. Maybe I can even tackle one or two of those? Don’t want to get too giddy, now.

For those of you who asked about the Daisy quilt in the background, it was last summer’s project.

I only know how to stipple!
Christmas Quilts · Journal Entry

Piecing Equals Writing?

I’ve been working on this quilt for too long.  I’m really tired of it, but I can’t stop now as I spent a gank of money on the fabric and don’t want to just put it up on the shelf.  Besides I know I’ll like it when it’s done.  I hope.

When I was in grad school and slogging through the writing of my novel, it feel like sometimes I was being tortured, one paragraph at a time.  There’s days when even though you are sure you’re writing The Great American Novel, it’s all just too much.  I wanted short stories! Poems! Essays!  Anything that had a page count of less than twenty pages.

And now?  I want to make a baby quilt! A lap quilt! Anything with a block count of less than twenty blocks.