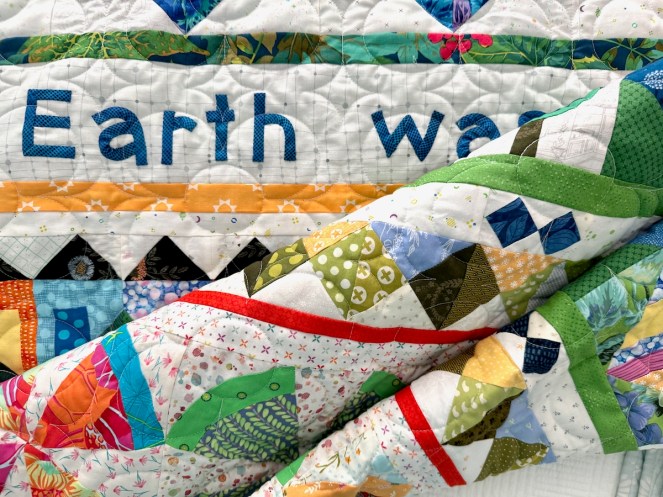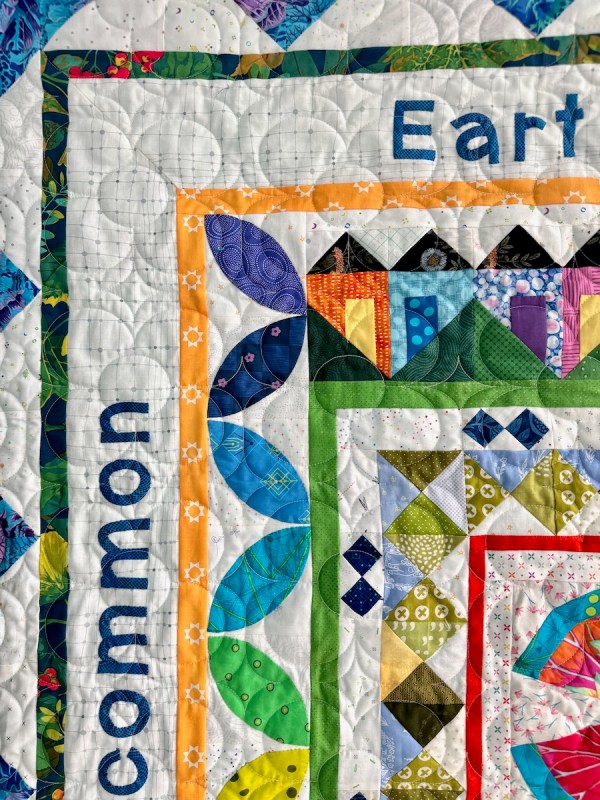
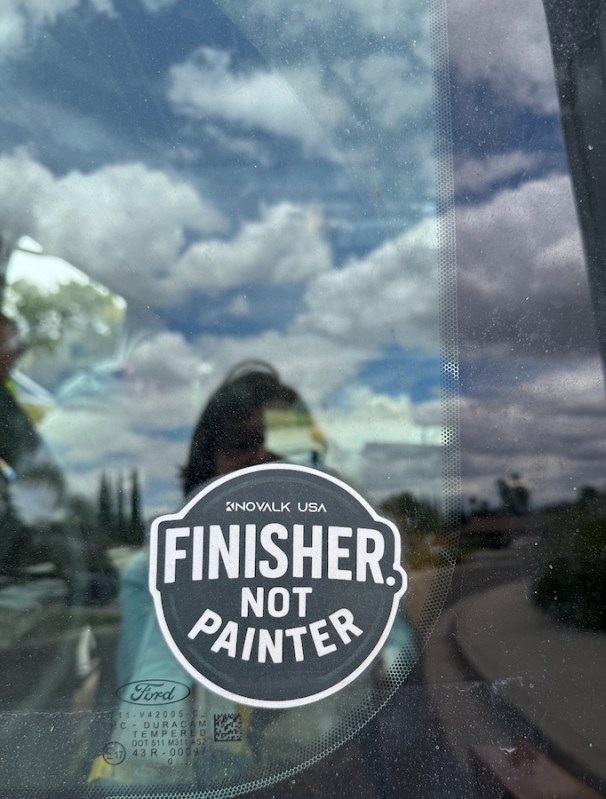
Let’s begin this overdue missive with the mundane: the stair rails in our house. This sticker belongs to Bryan, who I finally called in to finish the project after mucking around with it since March 6th.
I need a sticker that has the words “finisher” and “quilter” in it, although I haven’t yet figured out in which order the words would go.
This is when I called him. We’d had other recent attempts at this project of refinishing the stair rails, including a feeble attempt by Yours Truly, but in the end I called Bryan of Fine Wood Finishers to get the job done. It was needed as they probably hadn’t been refinished in the life of the house (about 50 years).
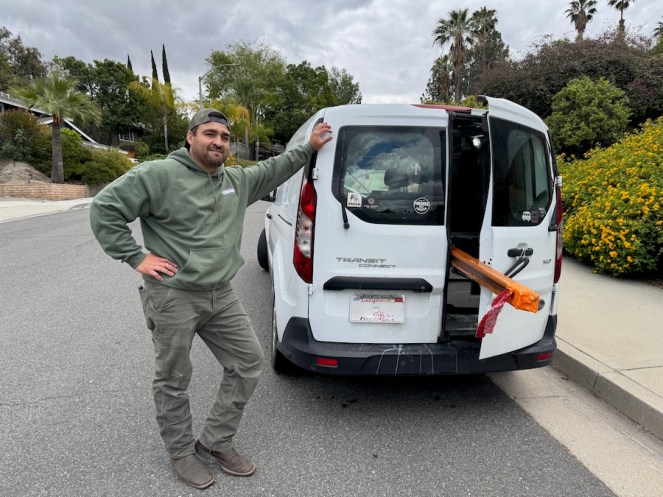
Do we exude this kind of confidence and fun? He spent some time trying to get it in his shorter van, and in the end needed a bit of a red flag. I’m your gal! I called as I zipped upstairs, ripped off a strip of red fabric and brought it back down to him. Now we just let him do his magic; I’ll keep you updated. (He does have a bigger van for delivery; no worries.)
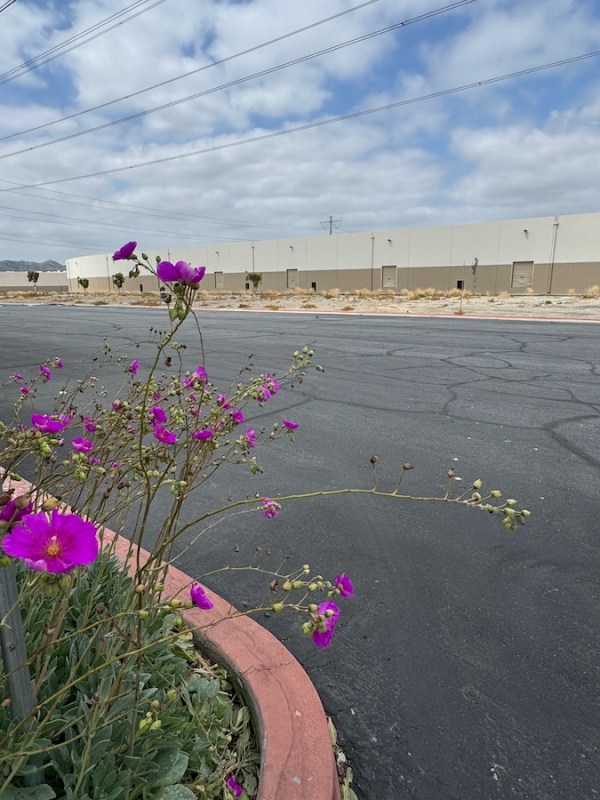
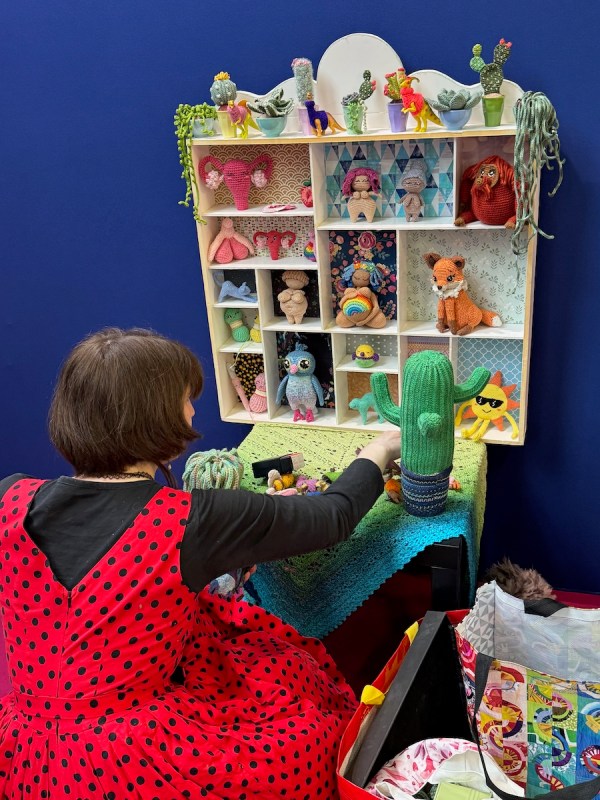
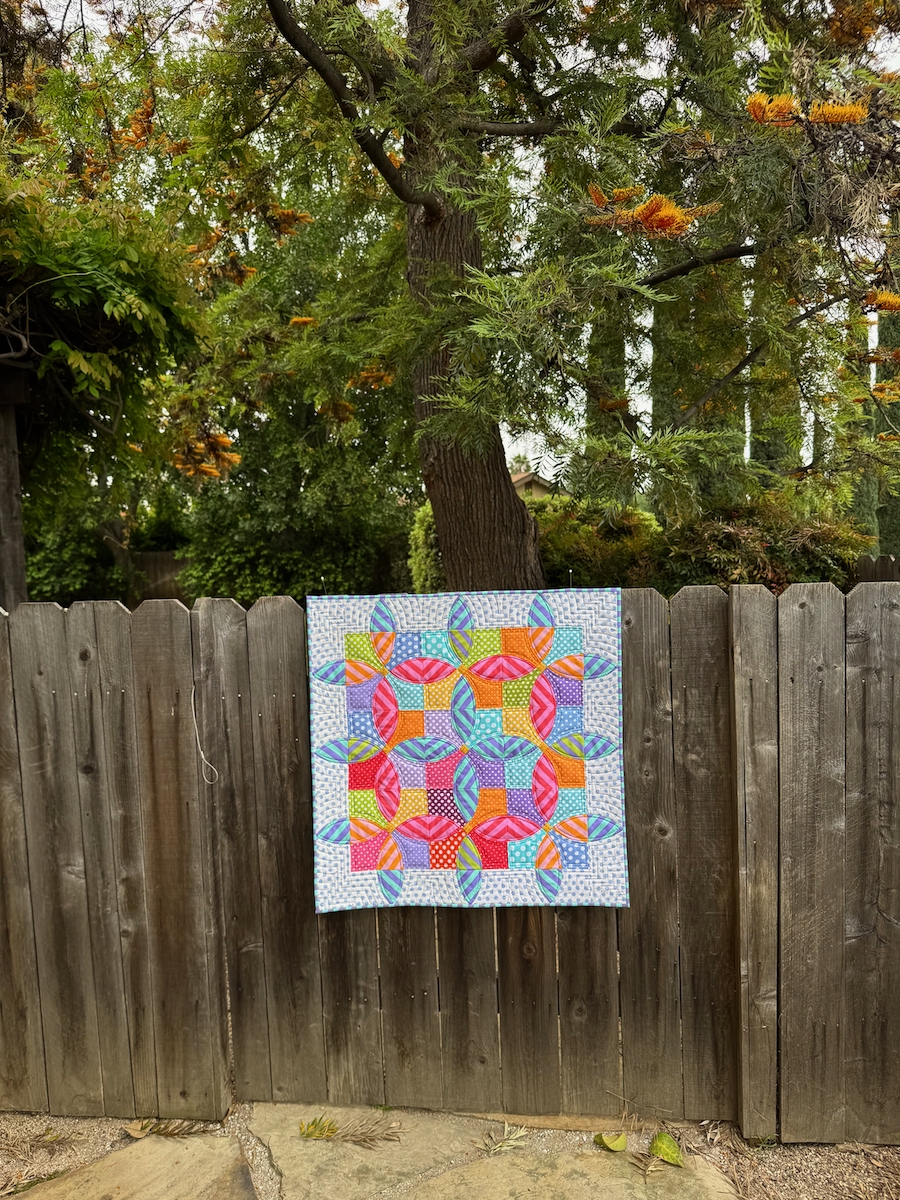
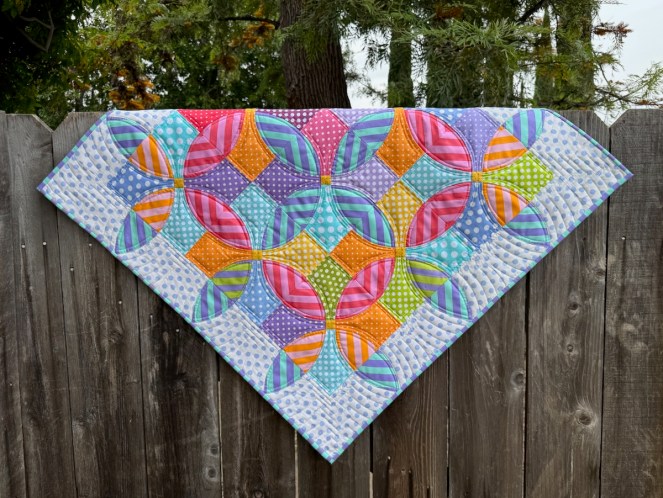
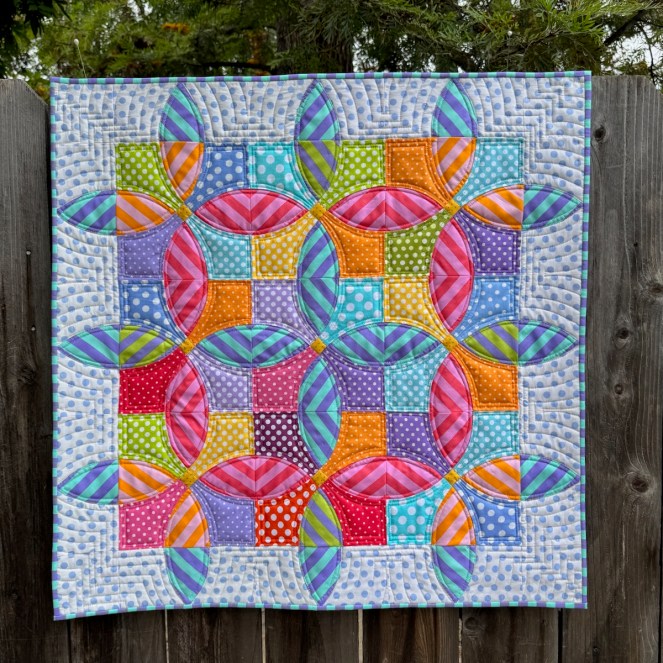
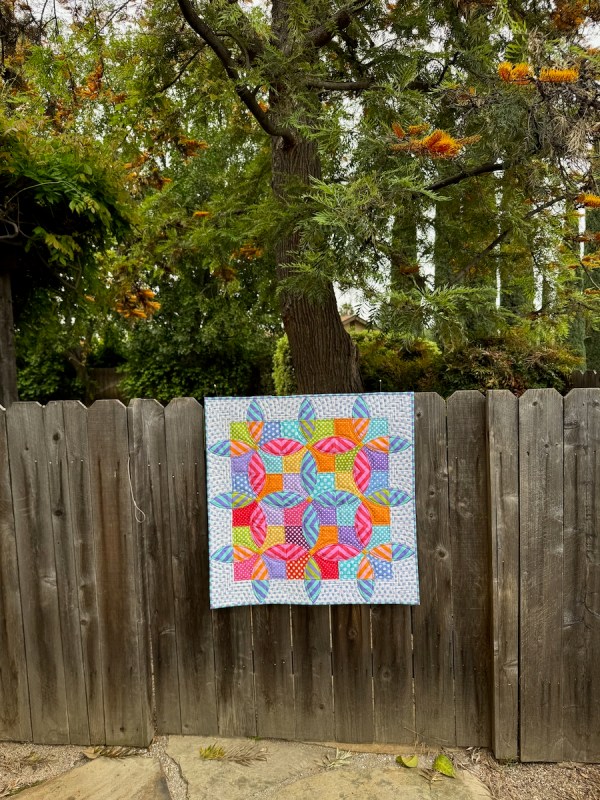
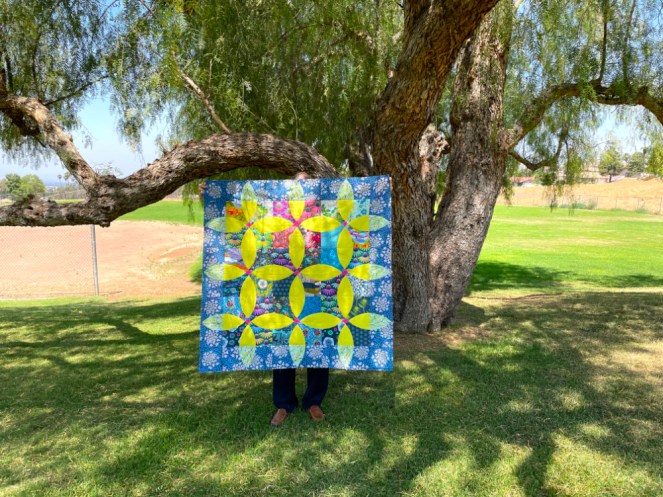
Apparently all our businesses are in warehouses now. I took my husband to his physical therapy and was off by one block. We were at Jump and Shout Therapy, instead of Marketplace Therapy. While he was in there, I sewed squircles while I waited in the car…
…but first I took a walk around the complex where I took photos. (I’m always taking photos.)
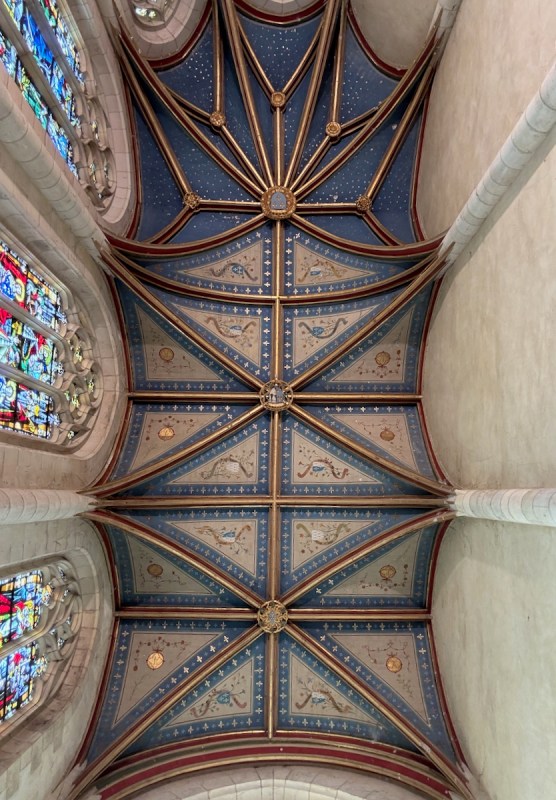
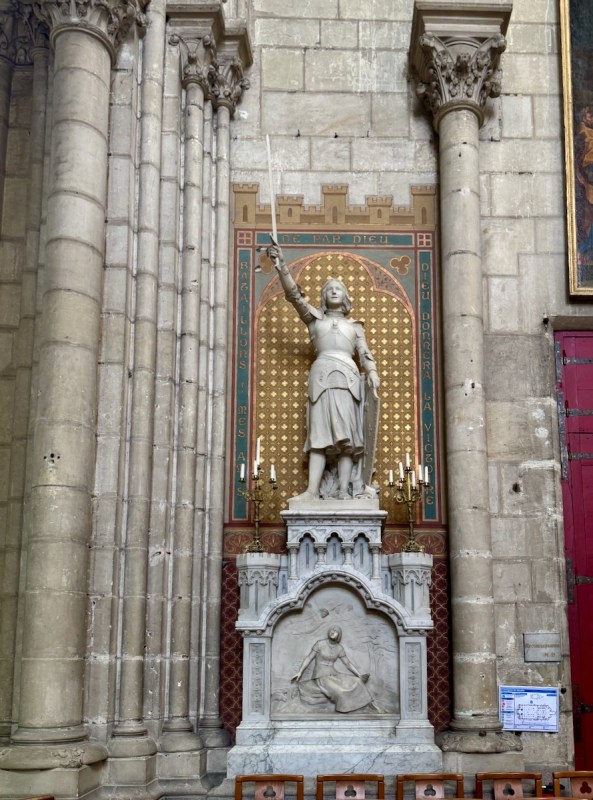
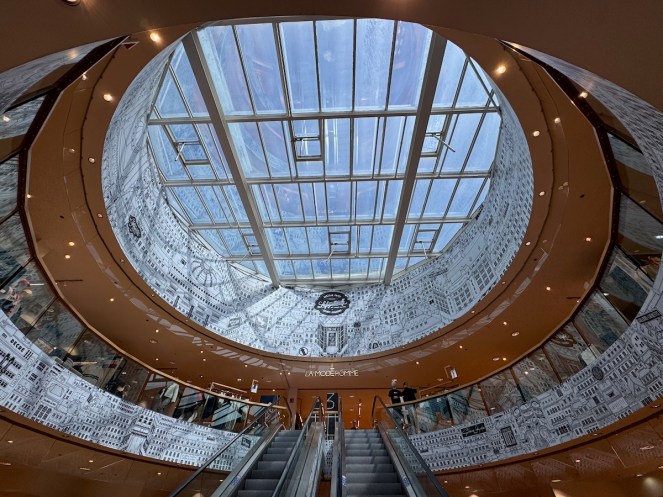
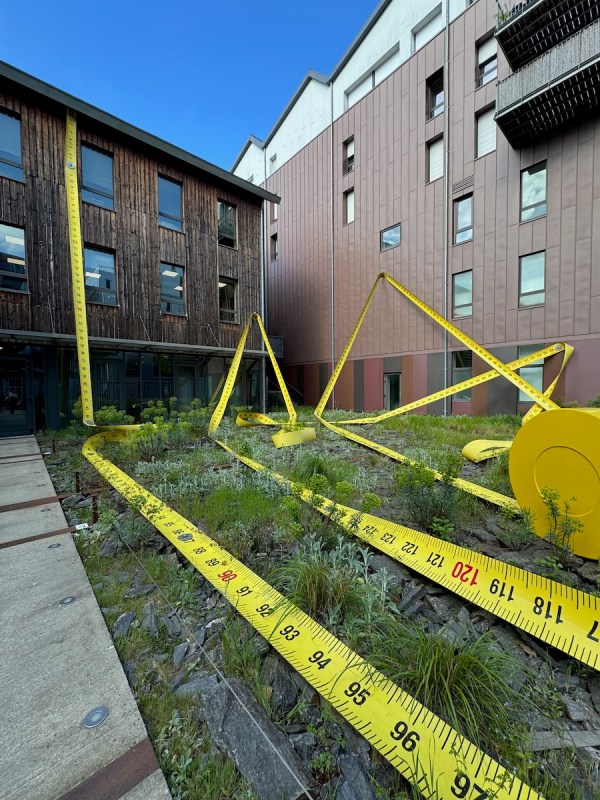
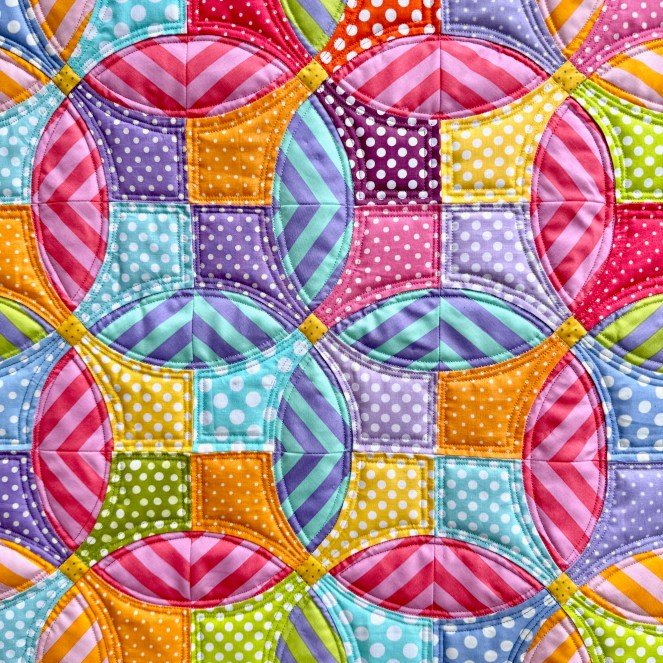
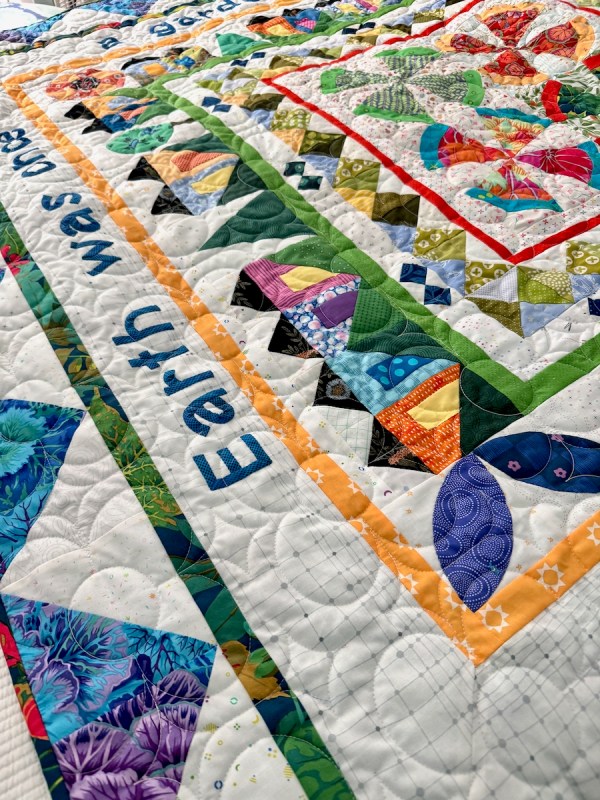
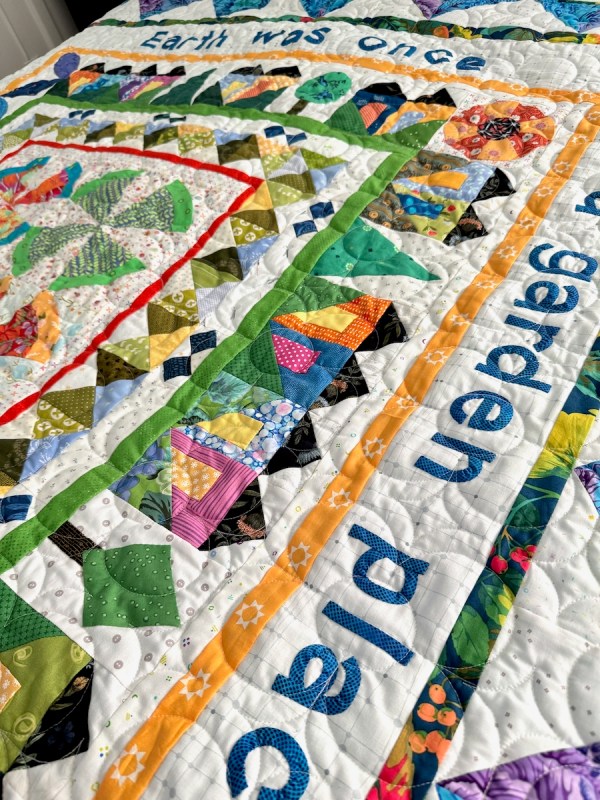
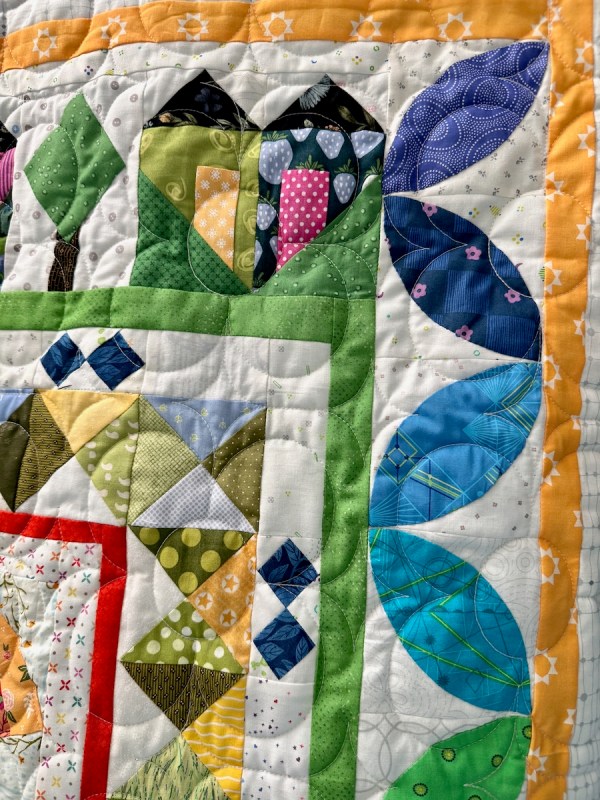
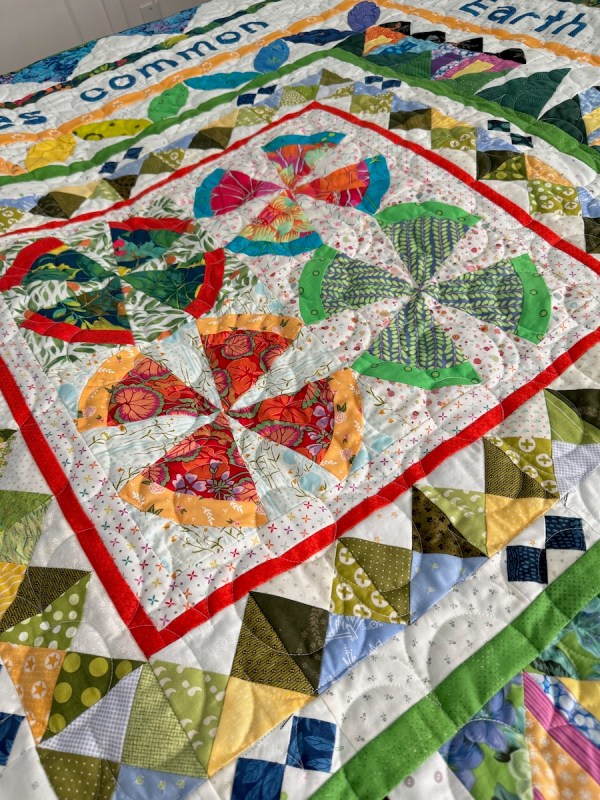
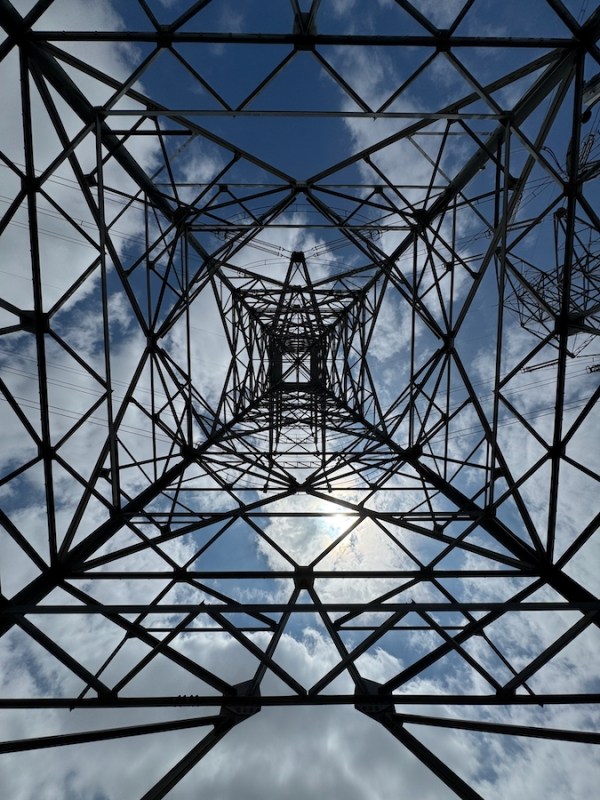
That skeleton of metal reminded me of this sweet little chapel in the Blois Chateau in Blois, France, where even the ceilings were amazing. And this reminded me that I wanted to show you this:
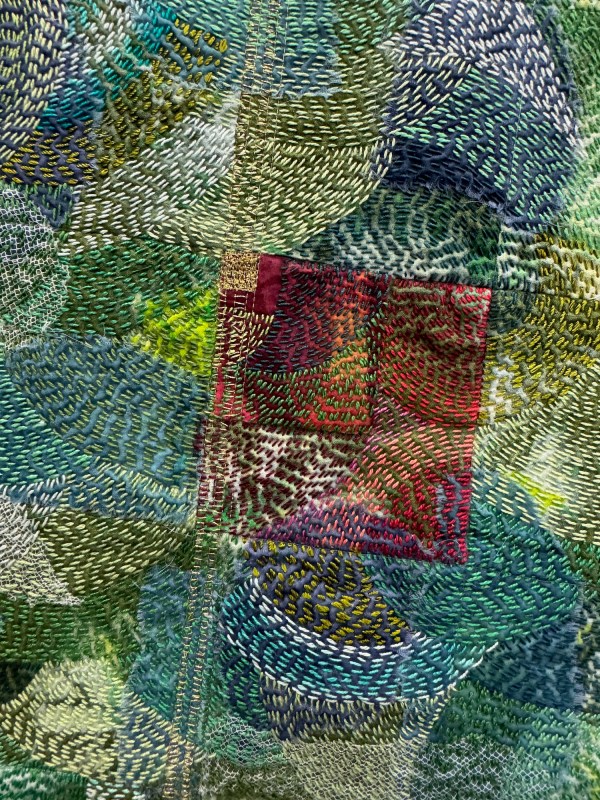
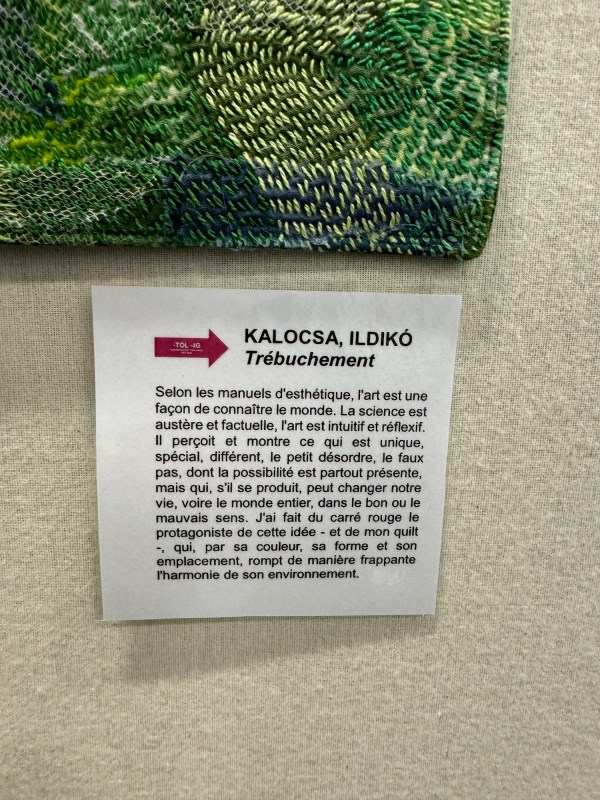
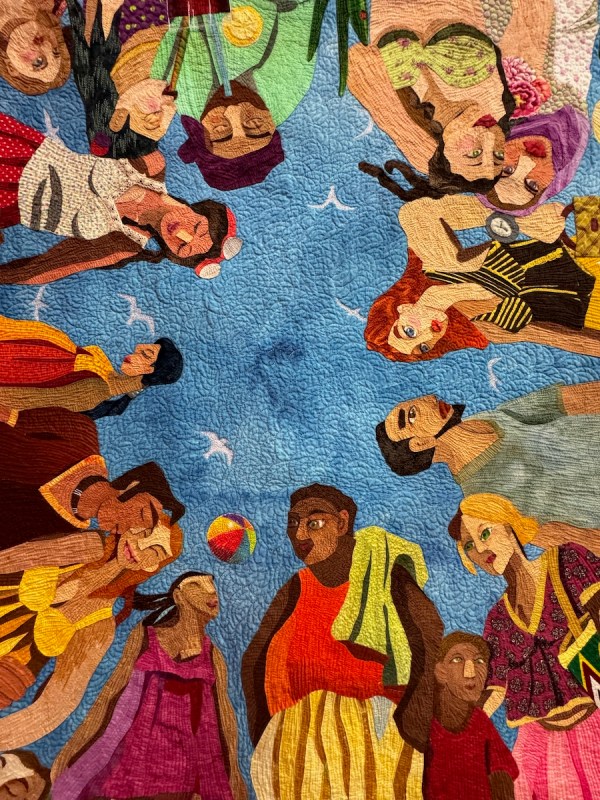
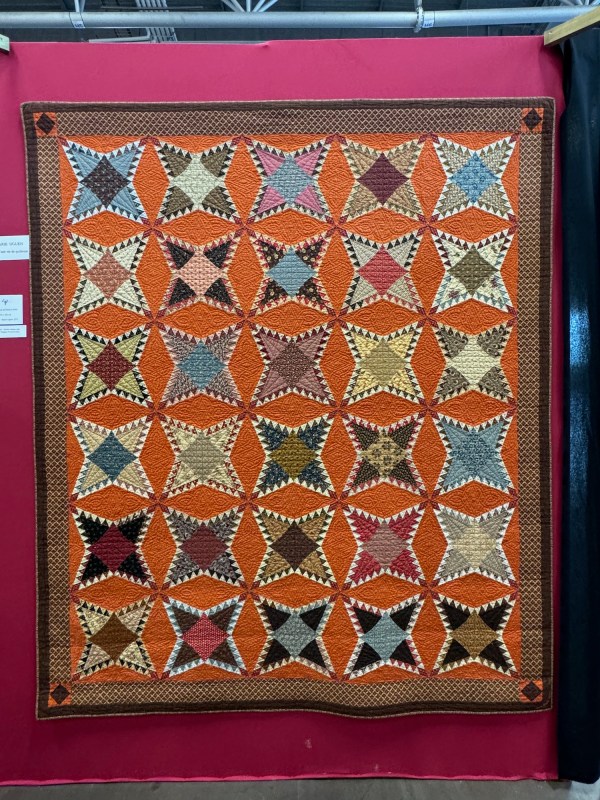
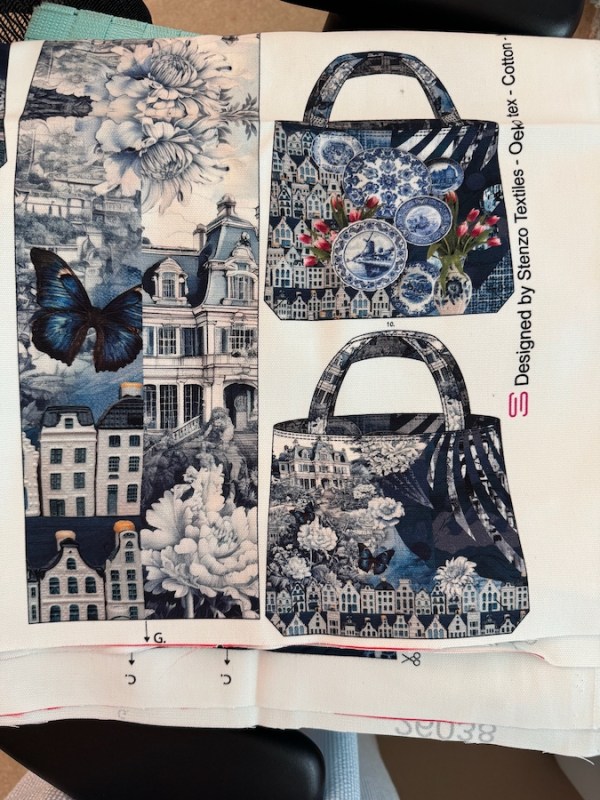
Now that you know there are 640 of them, and that she made each one different, you’ll want to see some detail shots (click to enlarge any photo):
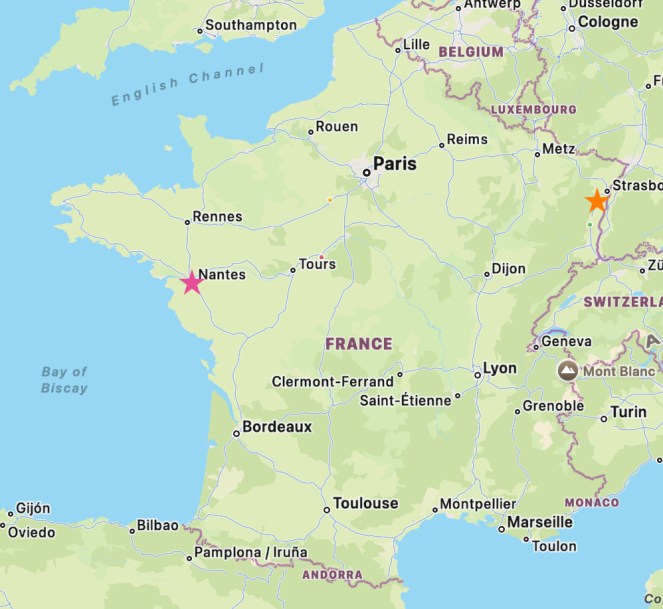
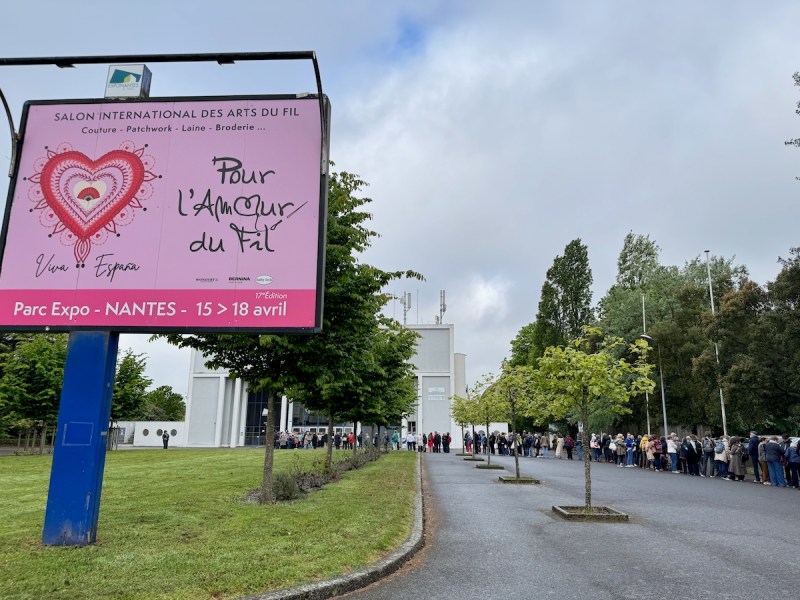
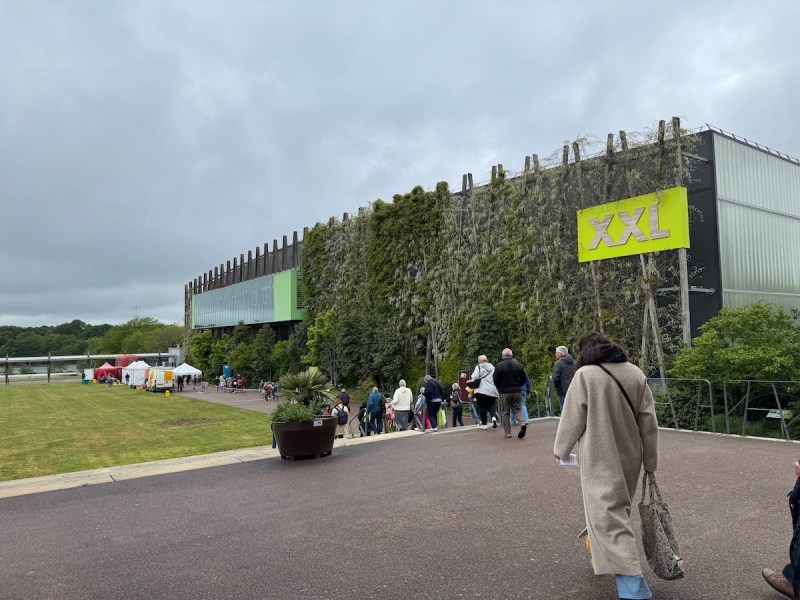
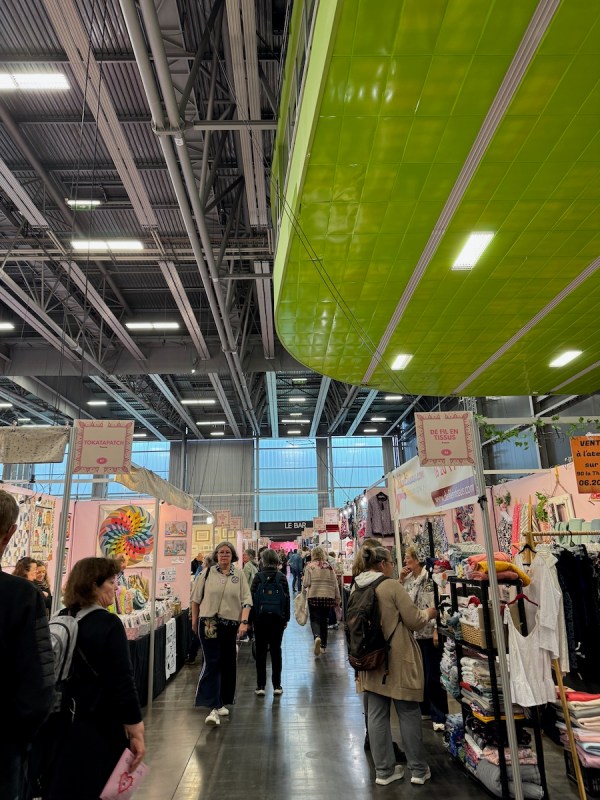
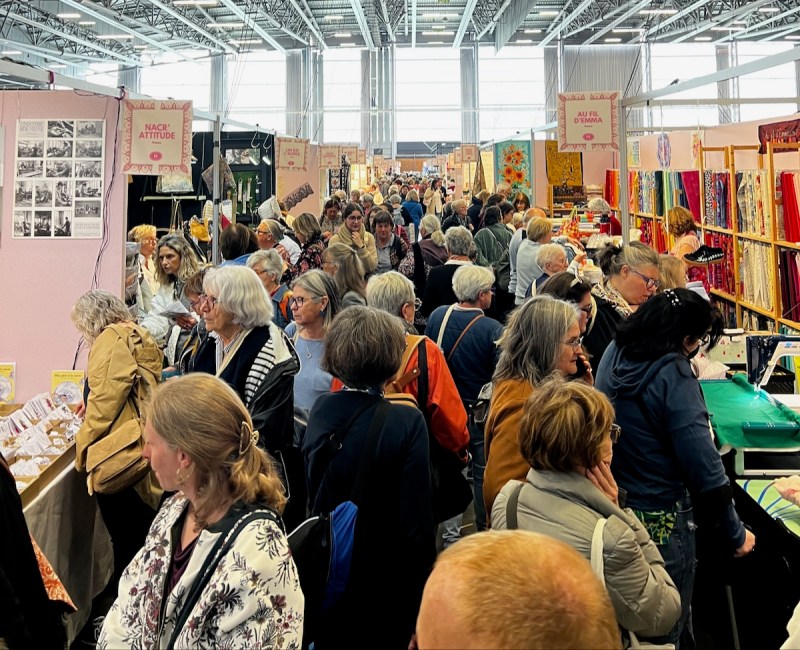
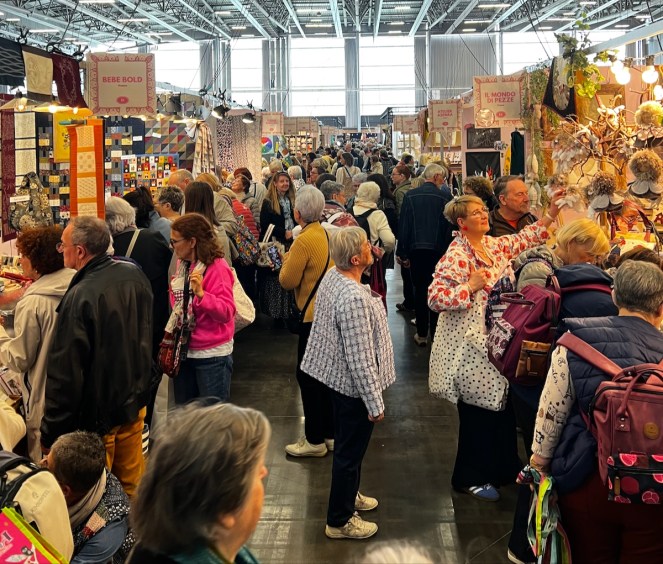
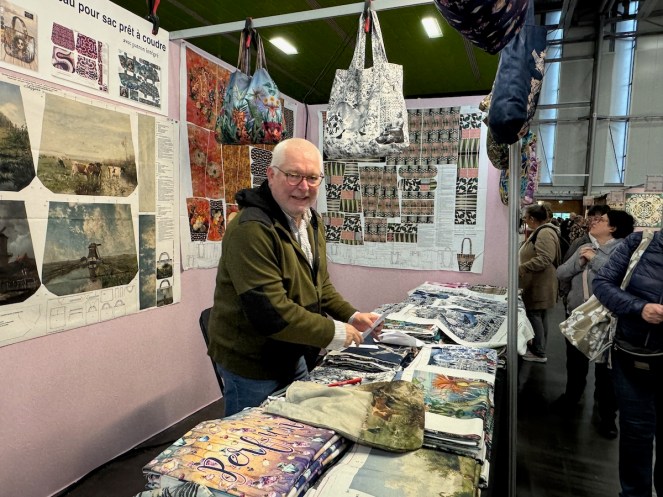
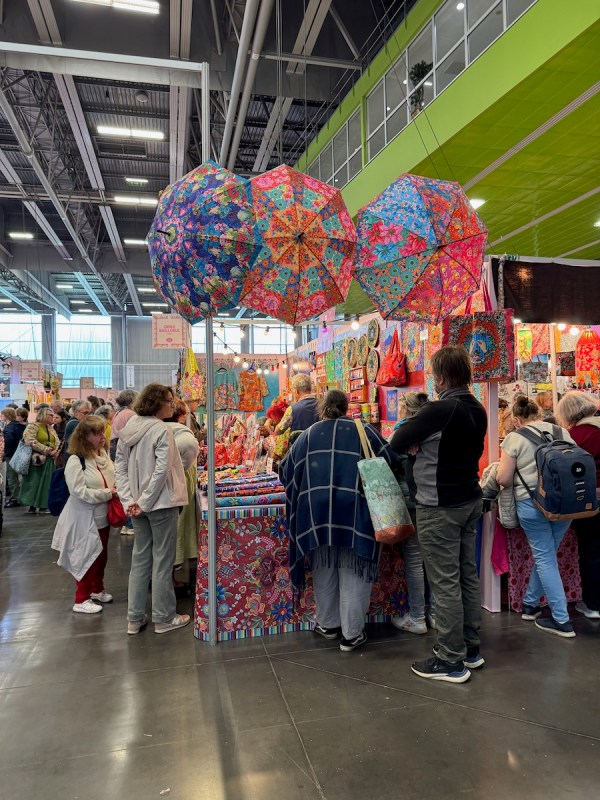
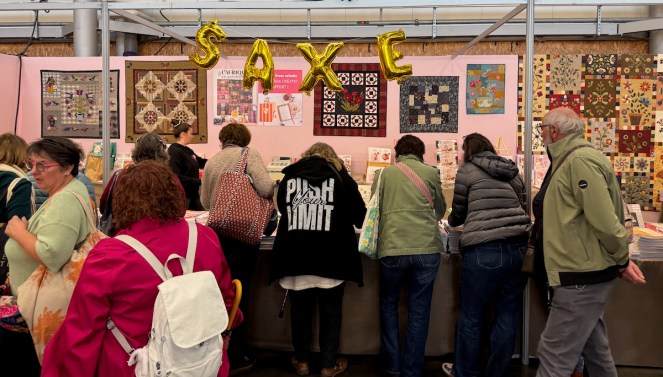
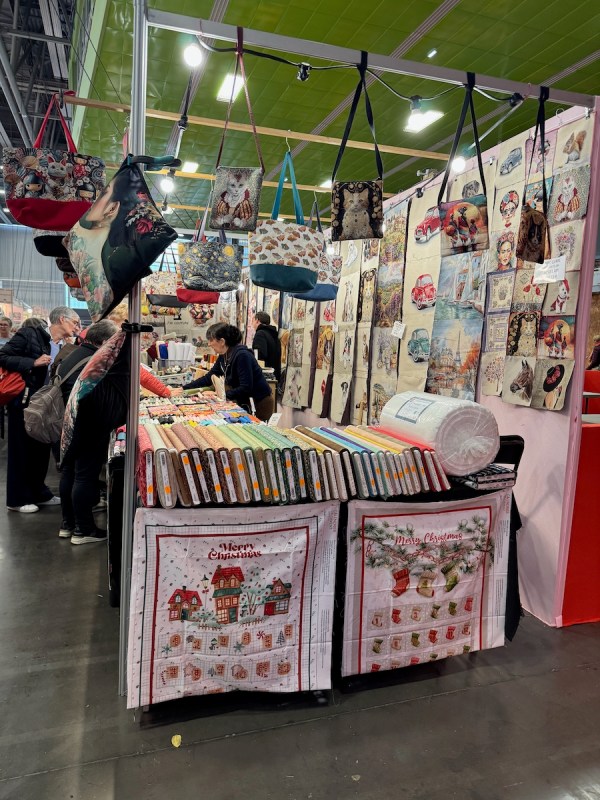
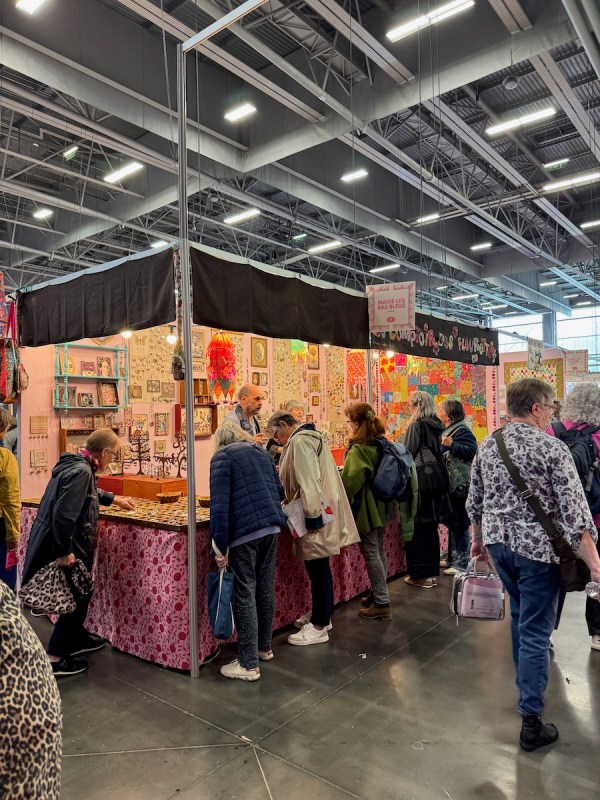
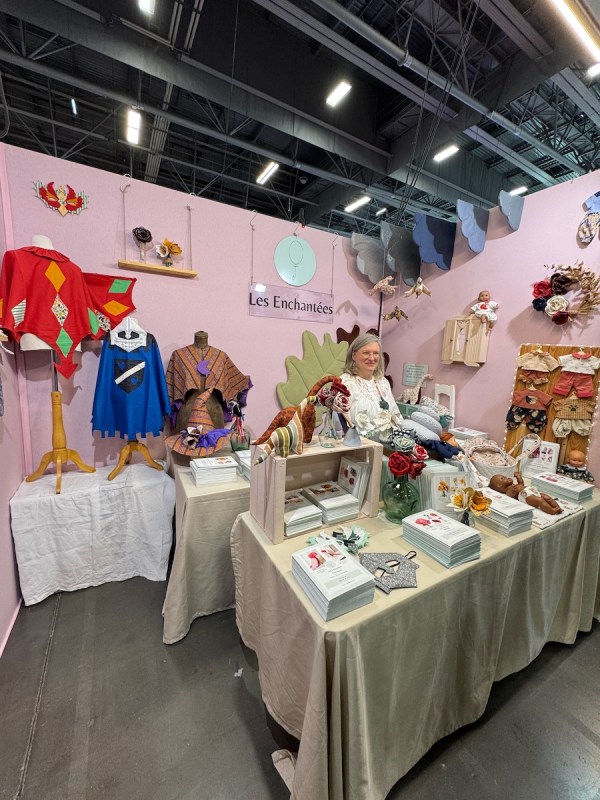
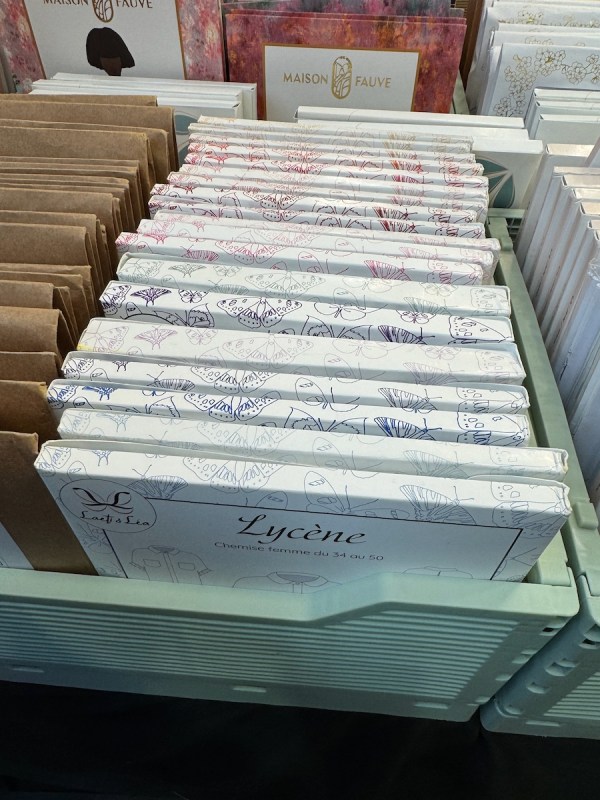
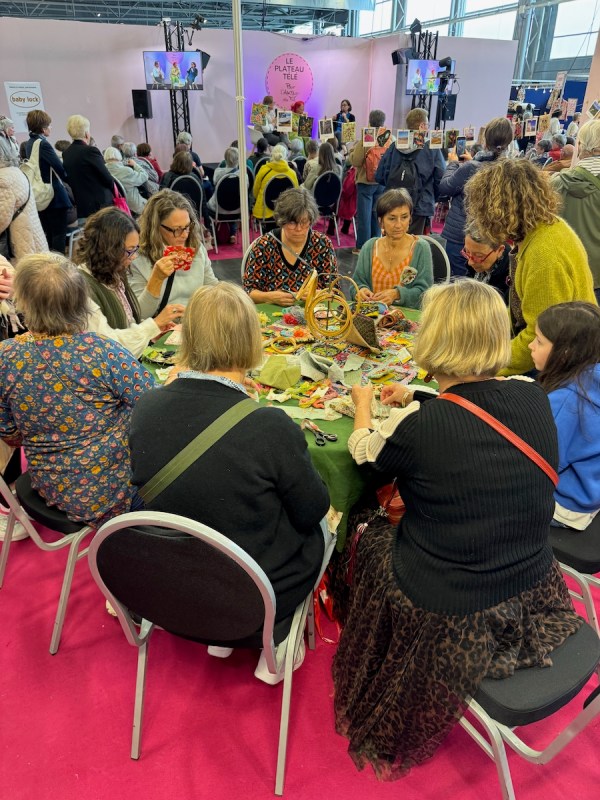
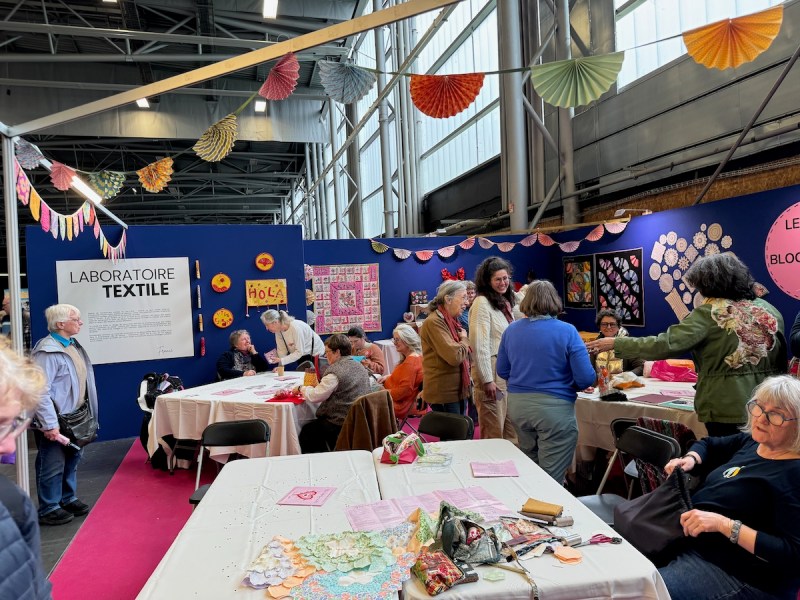
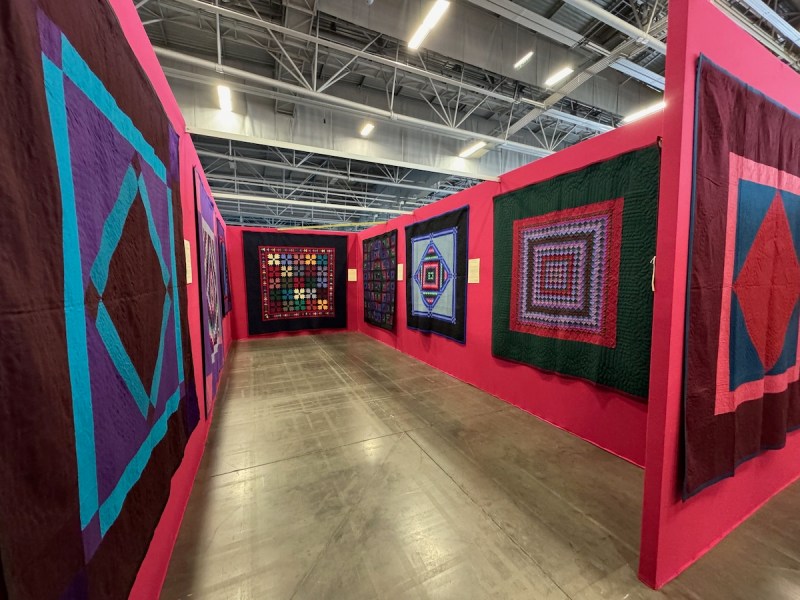
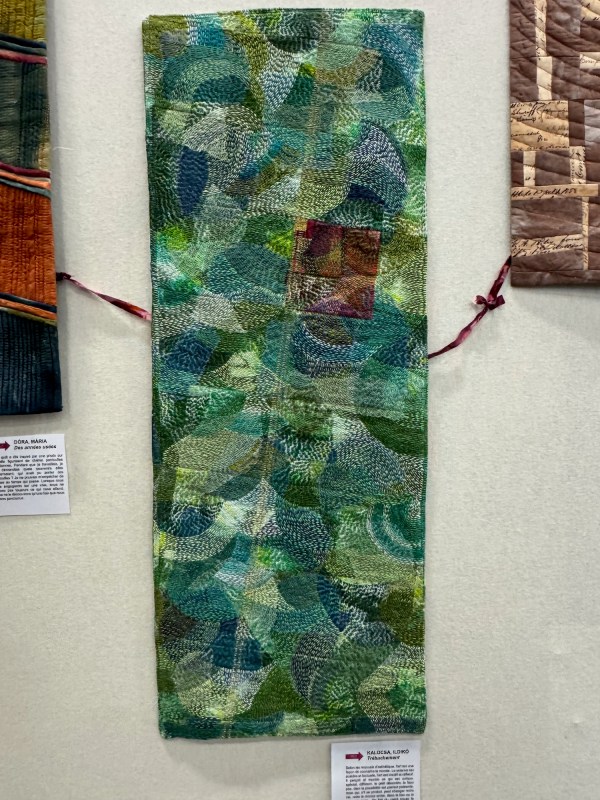
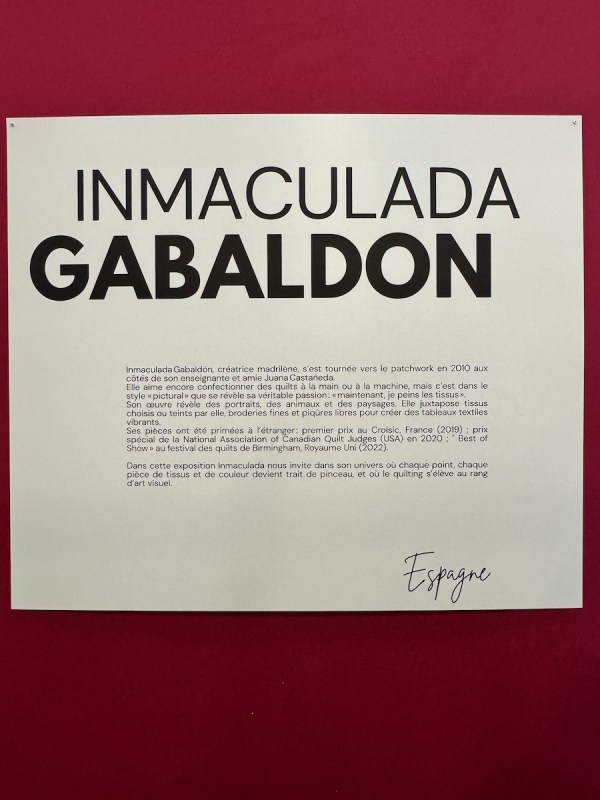
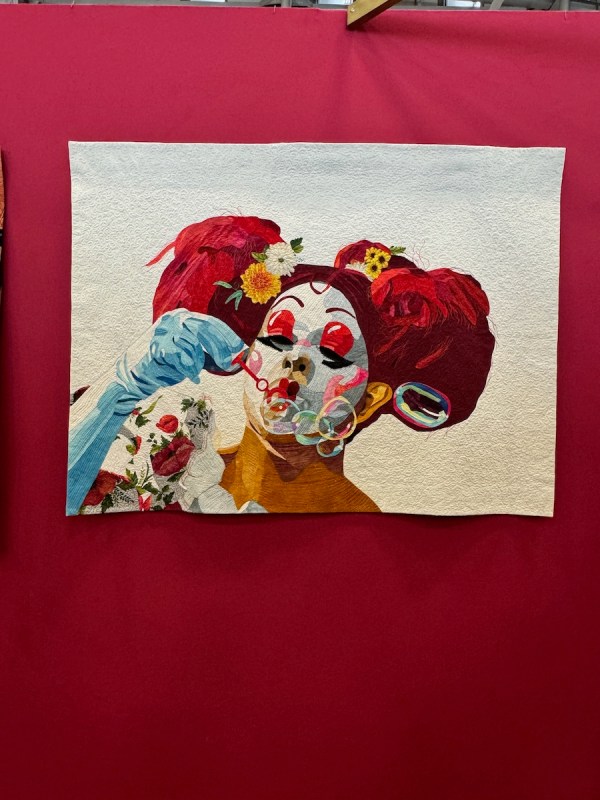
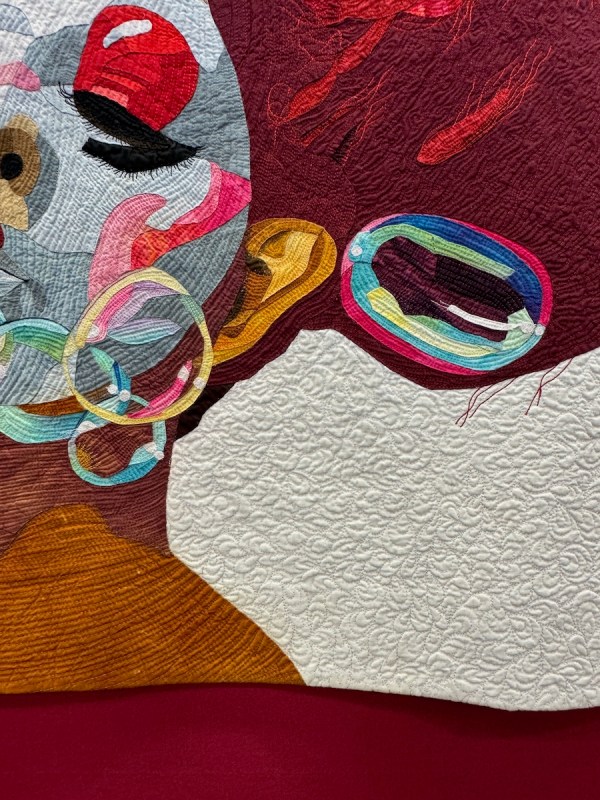
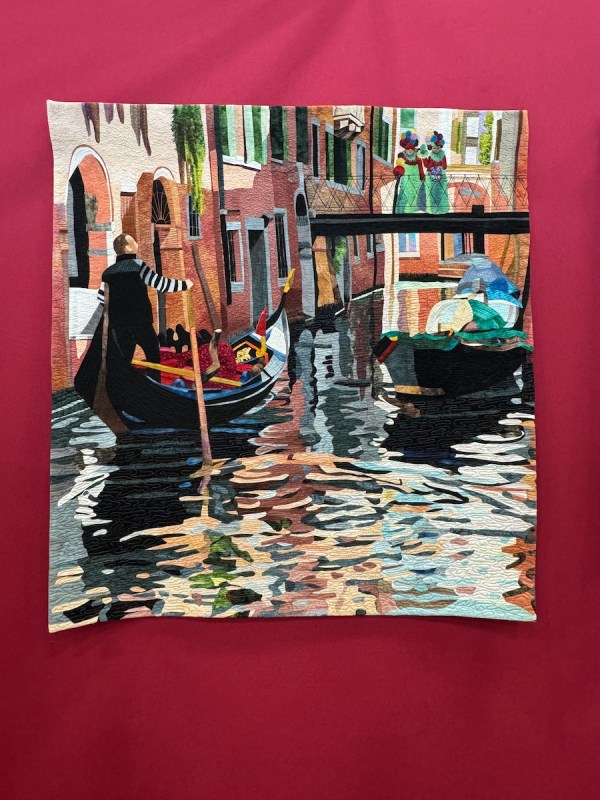
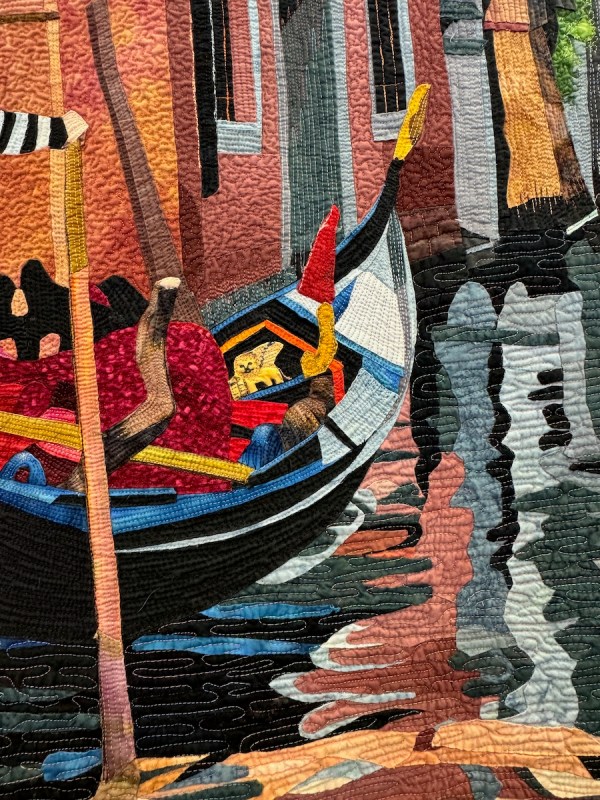
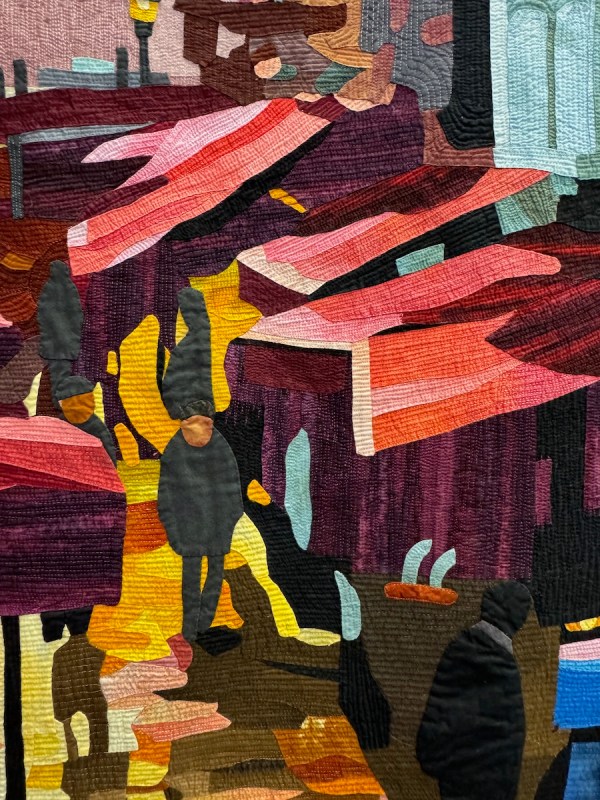
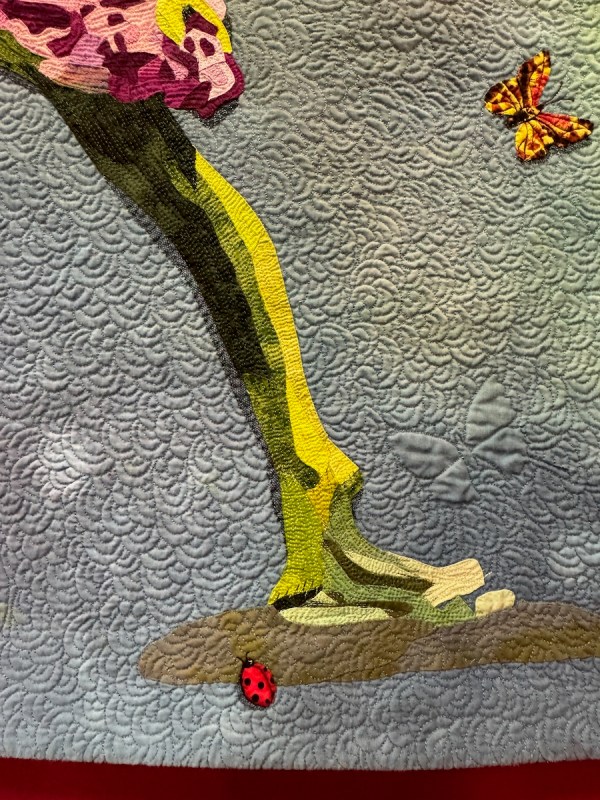
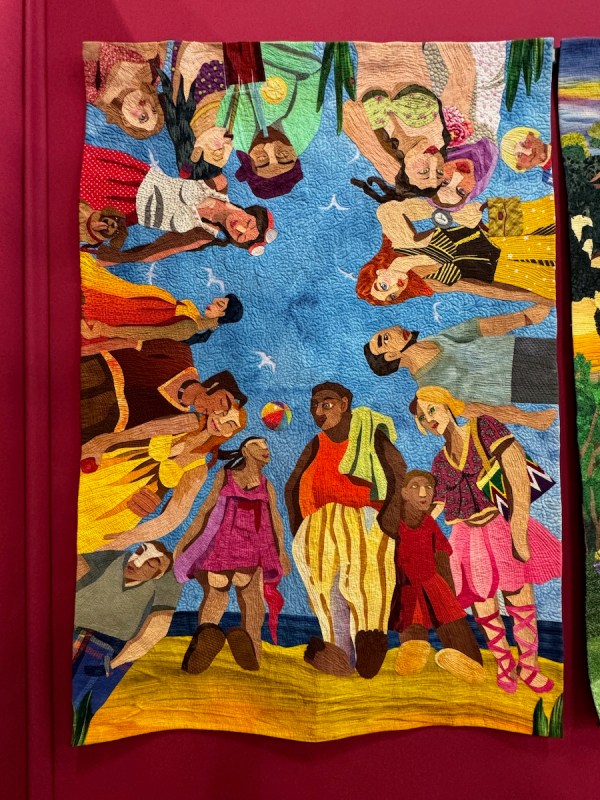
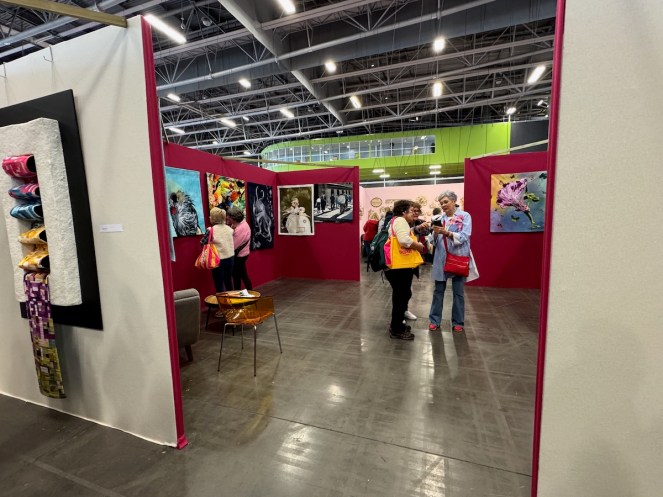
This is a quilt from the Pour l’Amour du Fils show in Nantes, France. I did include some more photos in the most recent post, but rather than overwhelm you, I’ll drop some more in here and there over the next while, like this one with 640 different little purses and dresses.
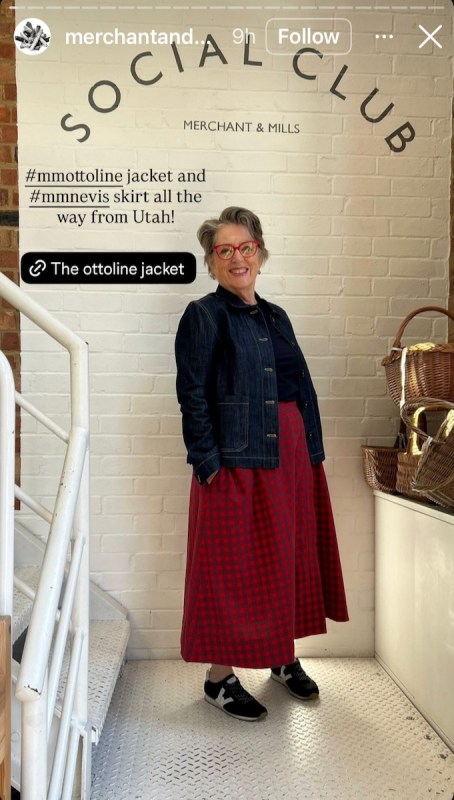
My sister Susan also did some traveling, but to London. She’s become an avid sewer, getting me interested again in garment sewing. She’s a fan of Merchant & Mills, so traveled out to Rye to see their enterprise and buy fabric. While there, they photographed her for their well-known inspiration called Social Club, and put her up on Instagram. Wow! (Doesn’t she look fabulous?)
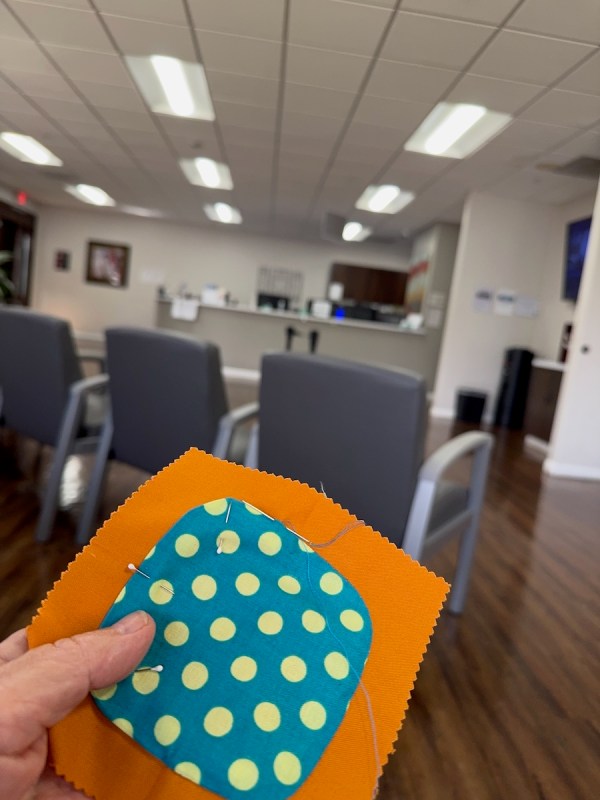
I squircled while in doctor’s offices this month, too, keeping vigil while my husband was there. I’m really getting close to done, as I’m trying to keep up with Gladi, who has finished her squares.
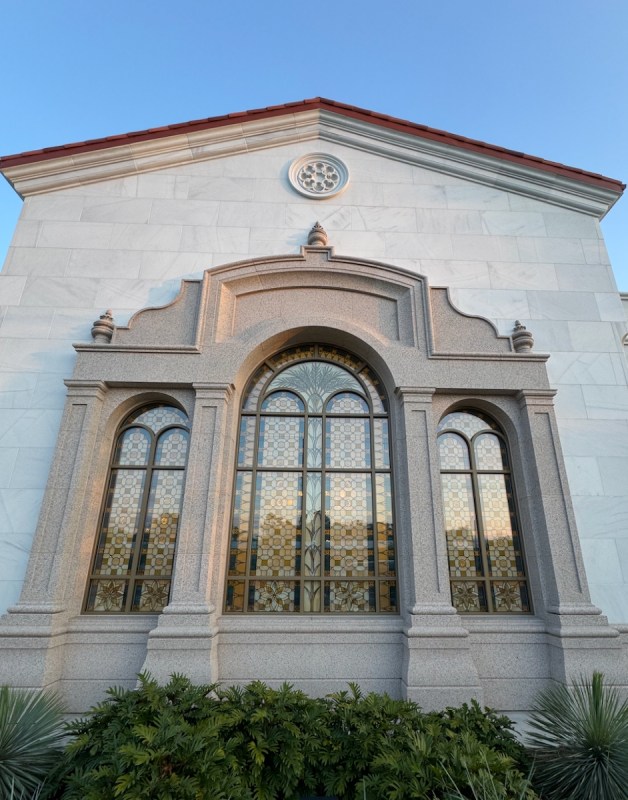
Our church is dedicating a new temple not too far from our house, the Yorba Linda Temple, and we had a chance to go for their Open House to tour the building before it’s closed to the public. As always, I’m drawn to pattern and visual texture, so I loved the stained glass, done by Holdman Studios.
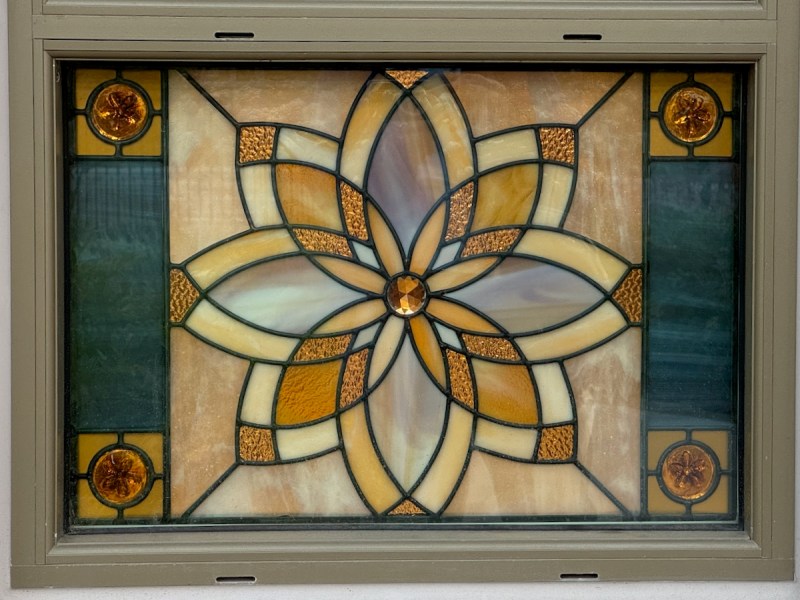
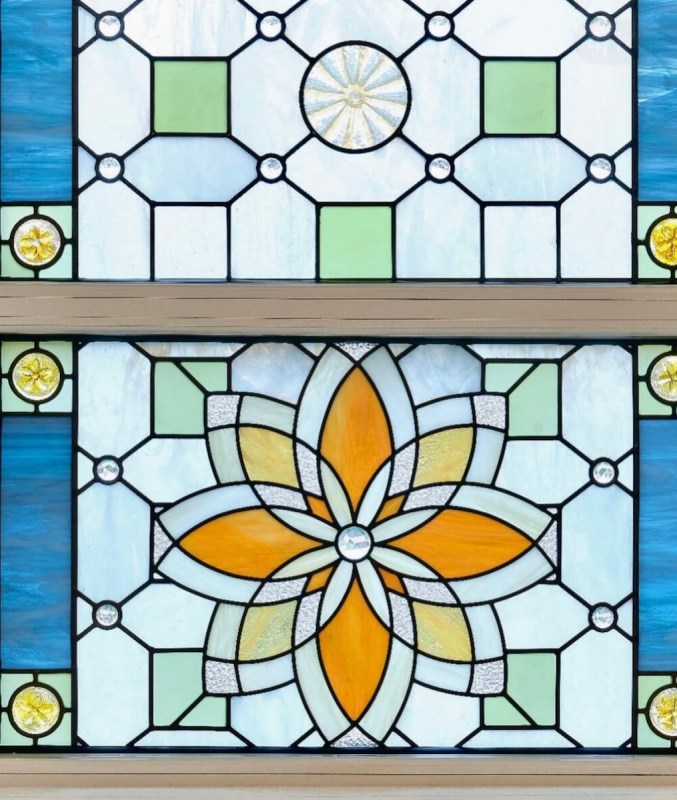
My photo at dusk, on the left. Another photo of this motif, from the Holdman Studios’ Instagram, is on the right (which also has more pictures). That would make a marvelous center to a quilt, right?
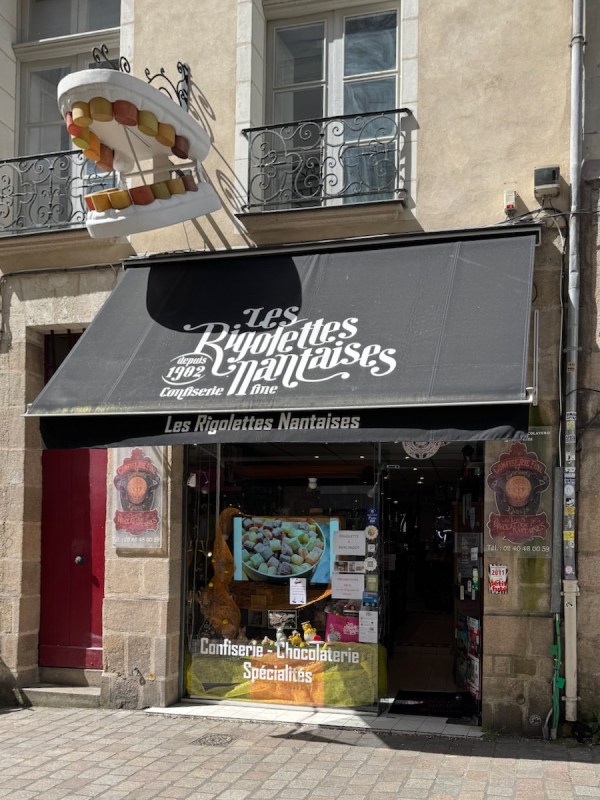
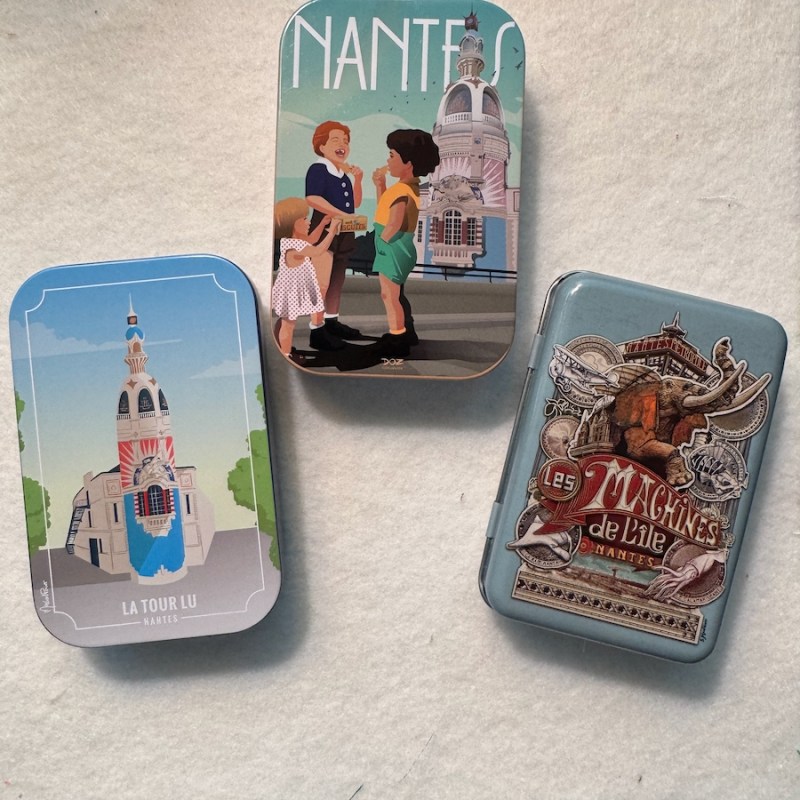
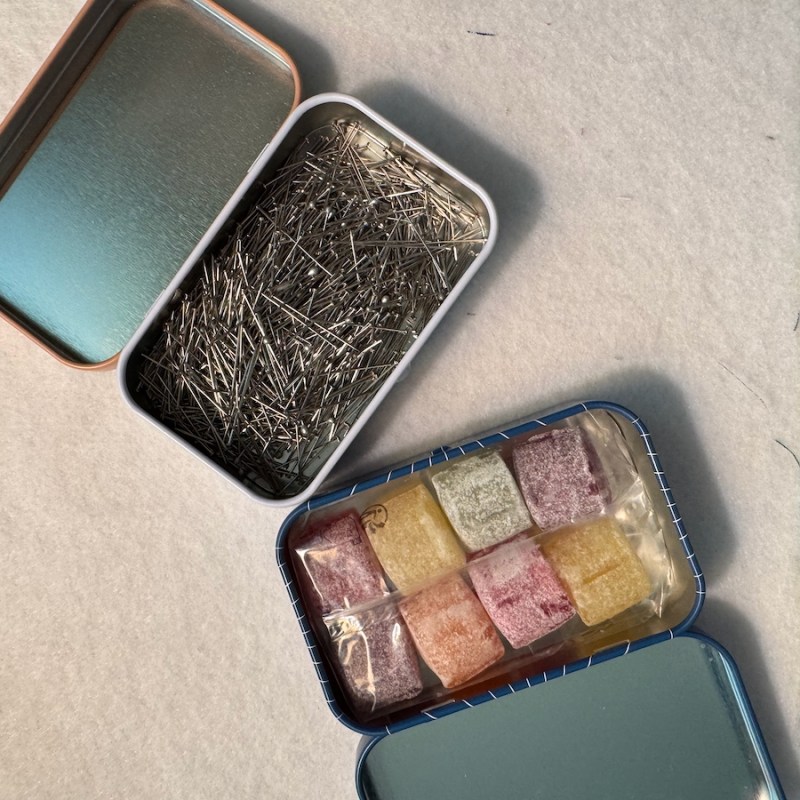
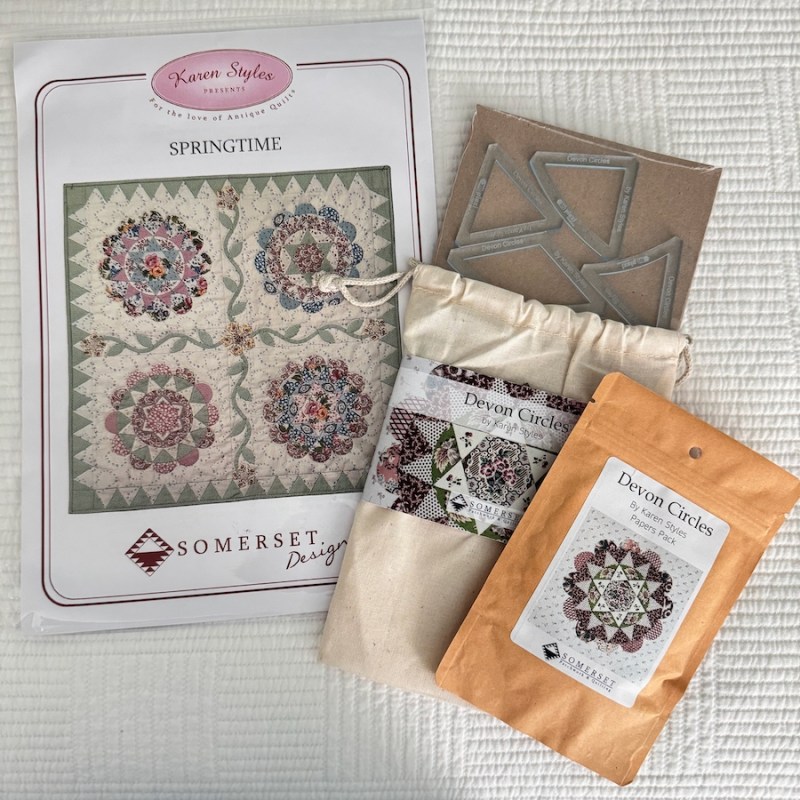
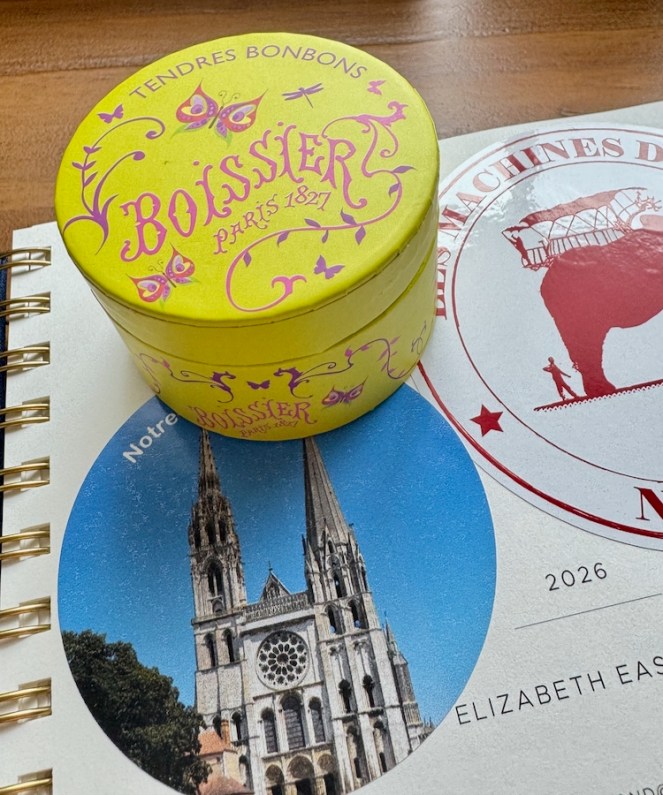
I tend to carry home smaller things from my travels, like stickers and an elegant candy box. Sadly, I ate the last one of the little sweet bits inside while writing this post.
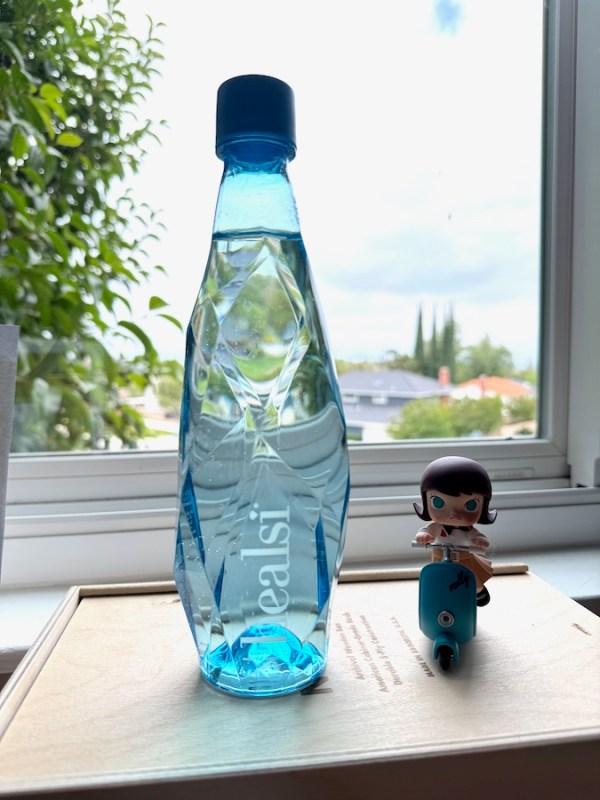
But water bottles are also a prime souvenir for me, as they remind me of my experiences. Oh, and tote bags for my grocery shopping (our state has a no plastic bag rule), but I won’t show you my collection at this time.
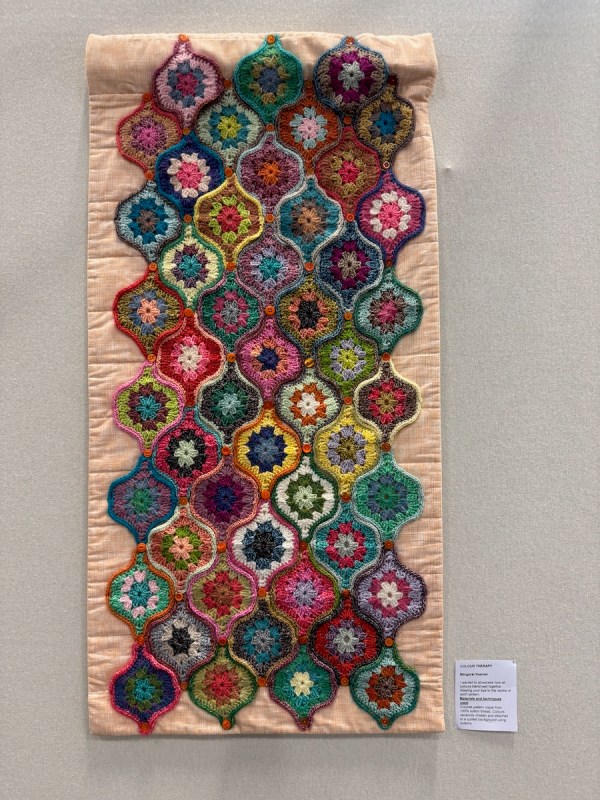
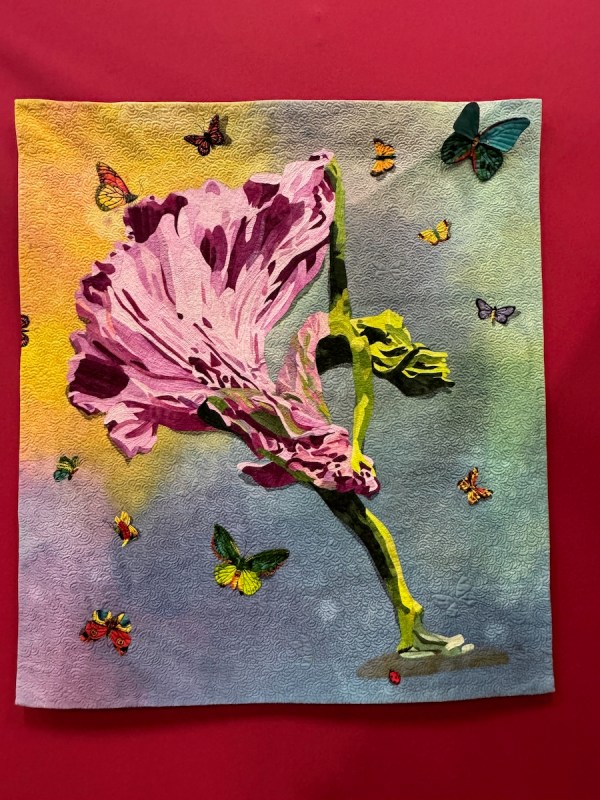
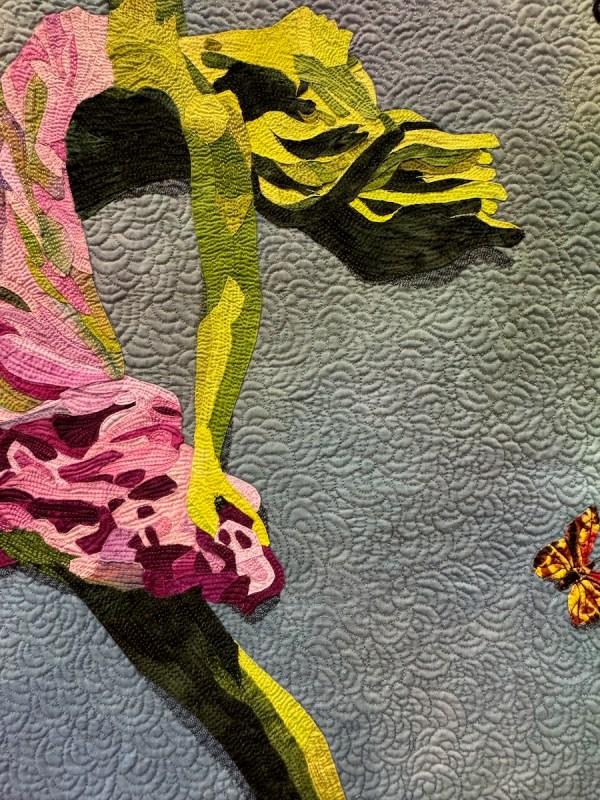
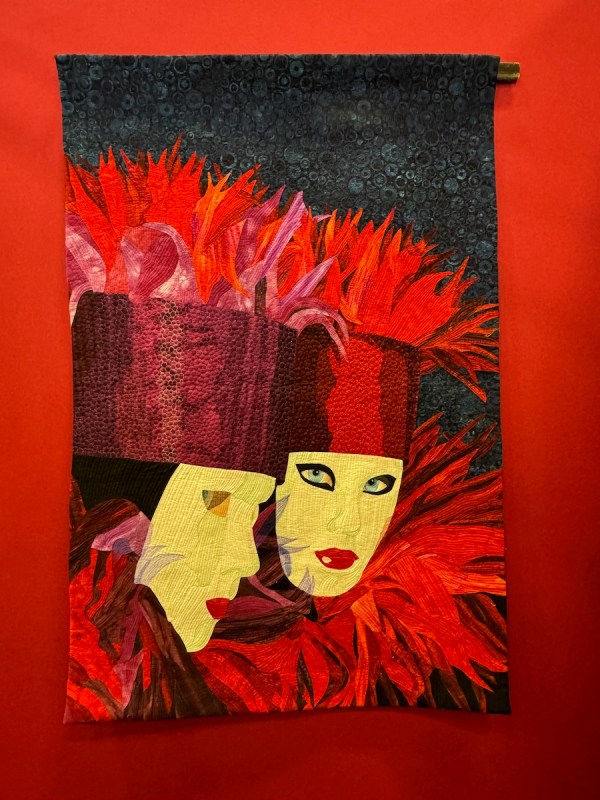
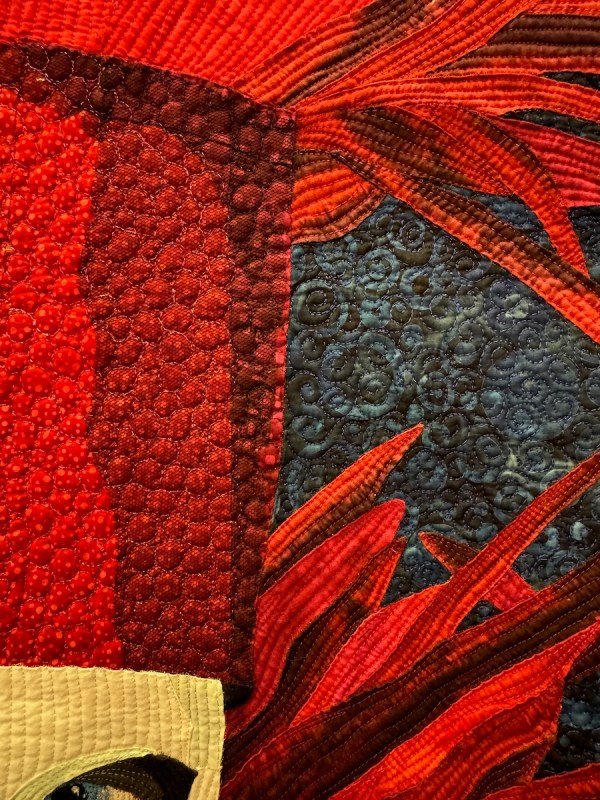
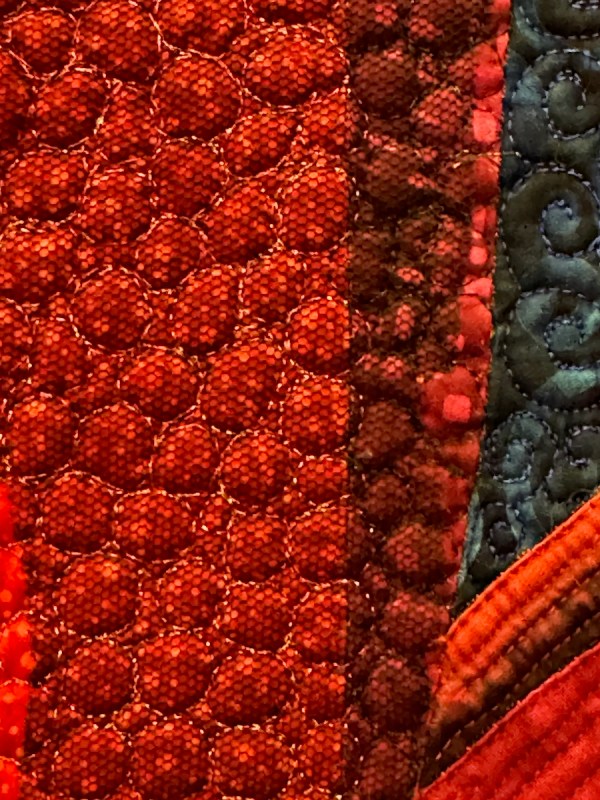
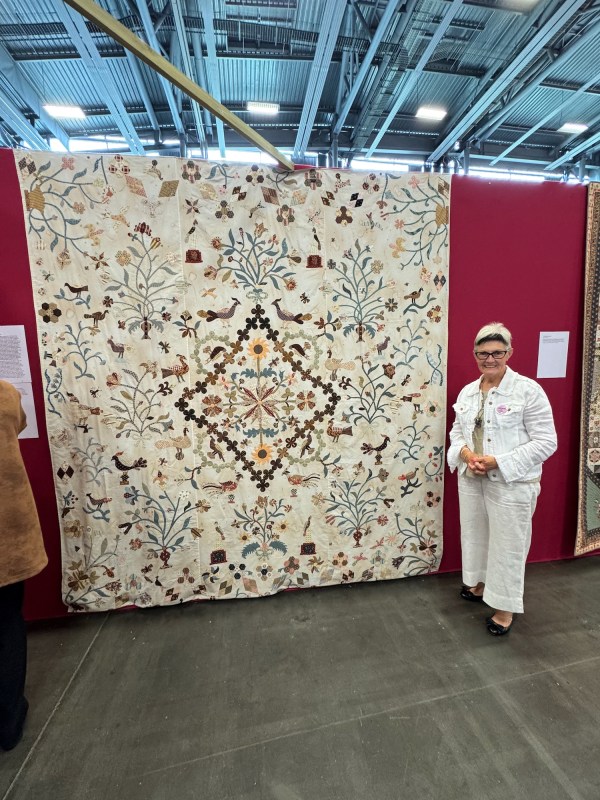
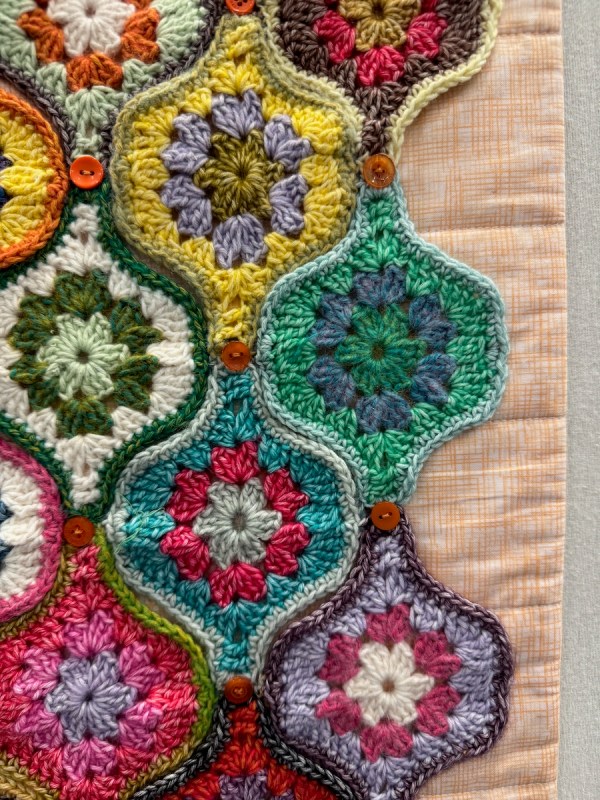
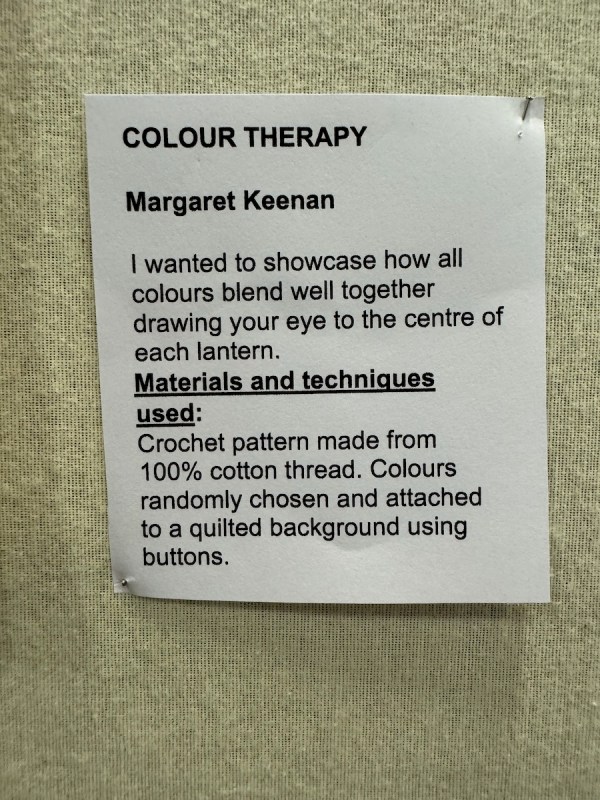
One last quilt from Nantes: a granny square-inspired quilt, with “granny lanterns.”
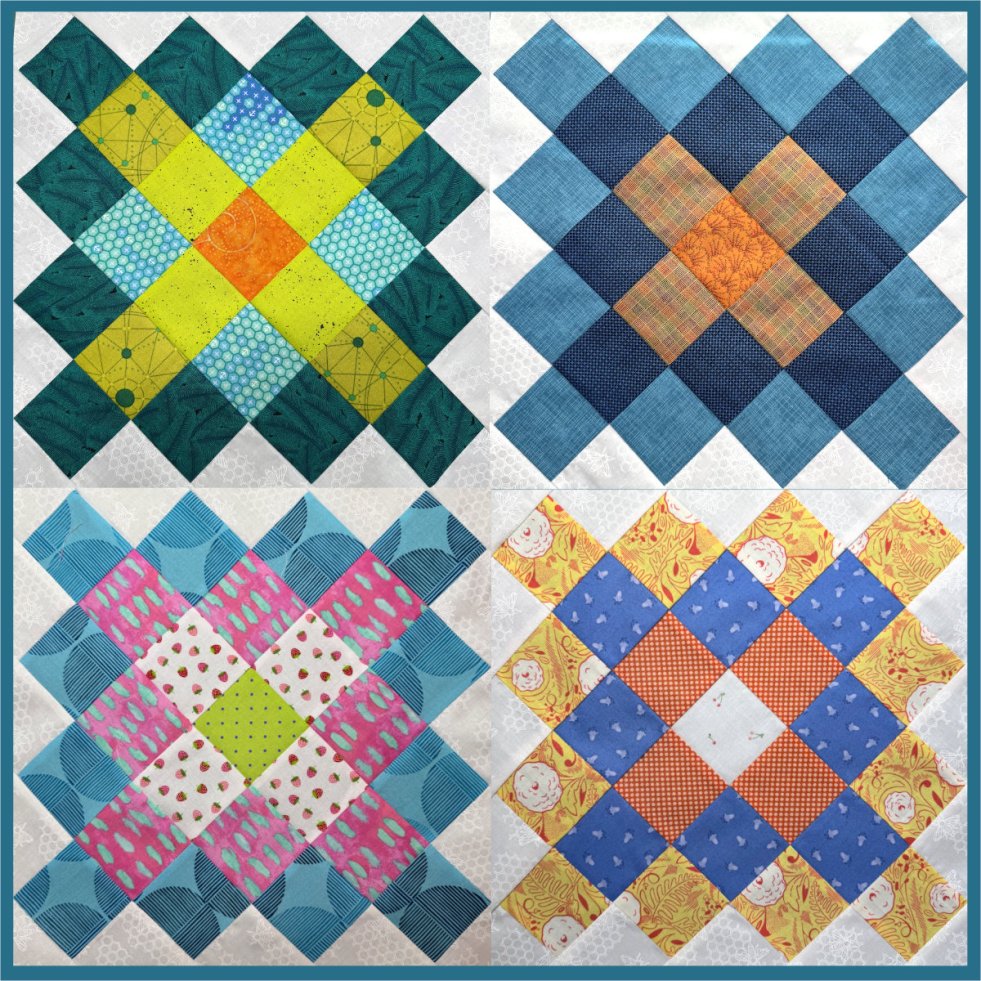
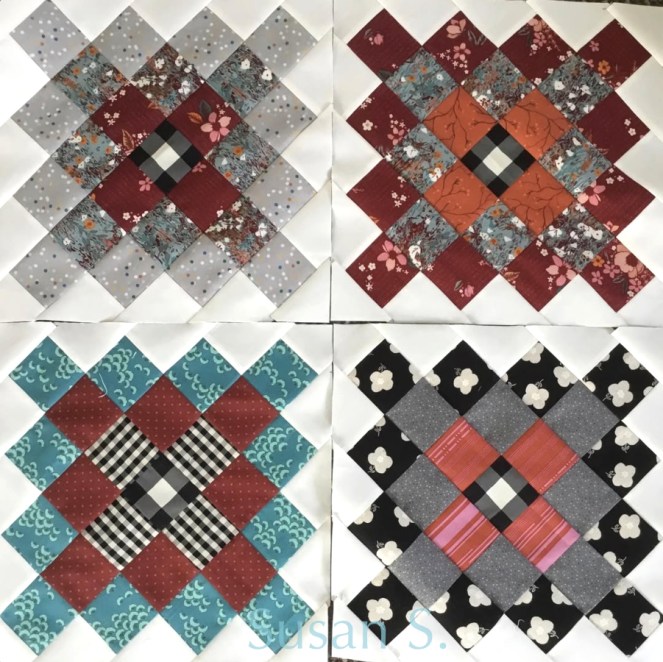
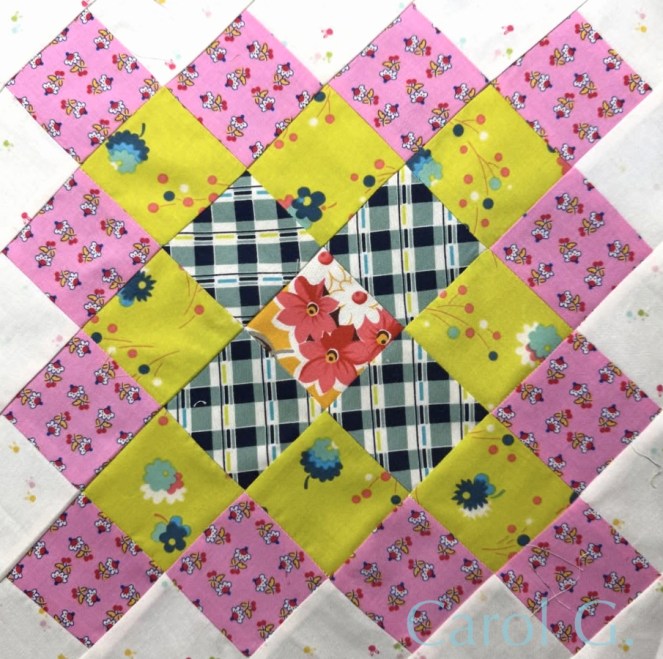
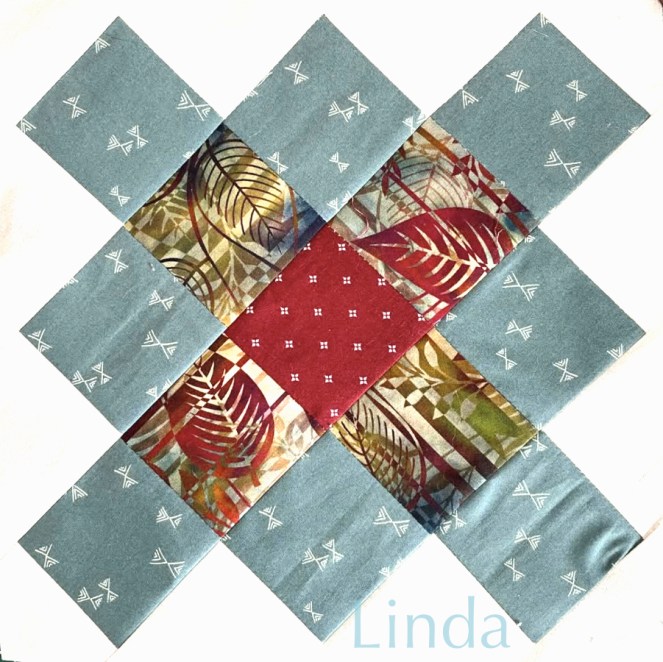
Granny Square Updates
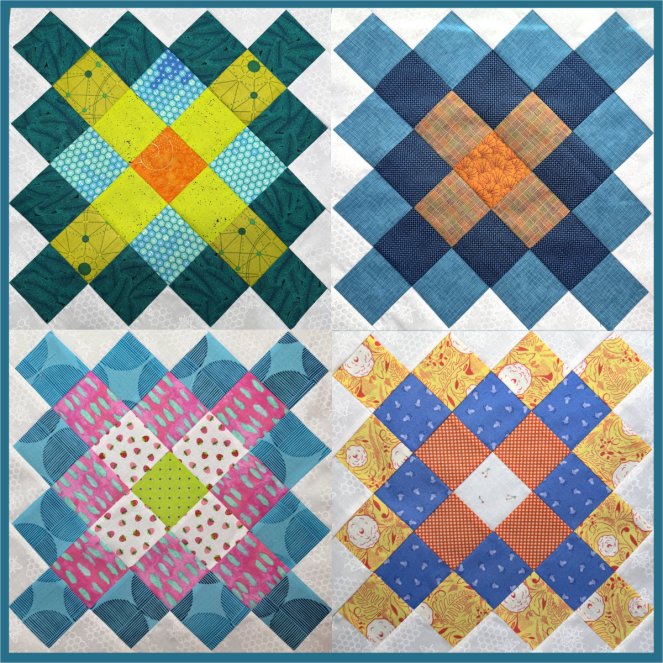
Besides the one you saw a couple of weeks ago, here are four more. I need to make eight total for May’s allotment, so have a few to go. Others who are playing along have posted theirs, too, on Instagram:
Since hashtags are dead in Instagram, if you want to join the gang, either leave a comment on this post, or on This Instagram Post, and I’ll add your account to the list I’m keeping on that post. If you have a a photo and don’t use Instagram, I’m happy to post it up here, or link to your blog. I’m also on BlueSky for those who have left Meta behind, although I don’t know if you need to join to see my blocks on there.
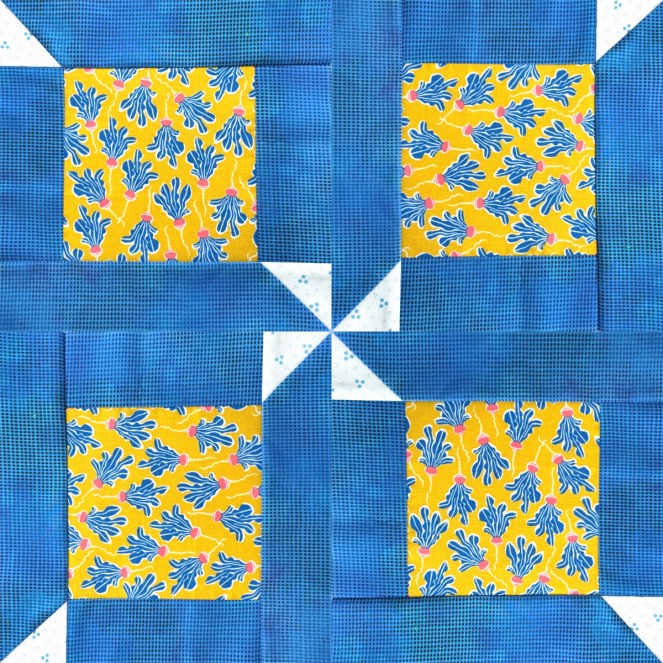
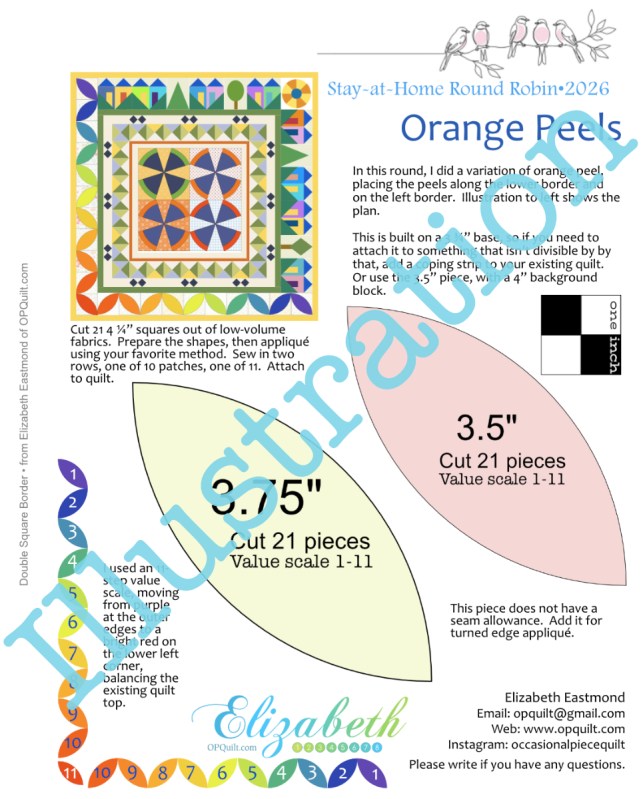
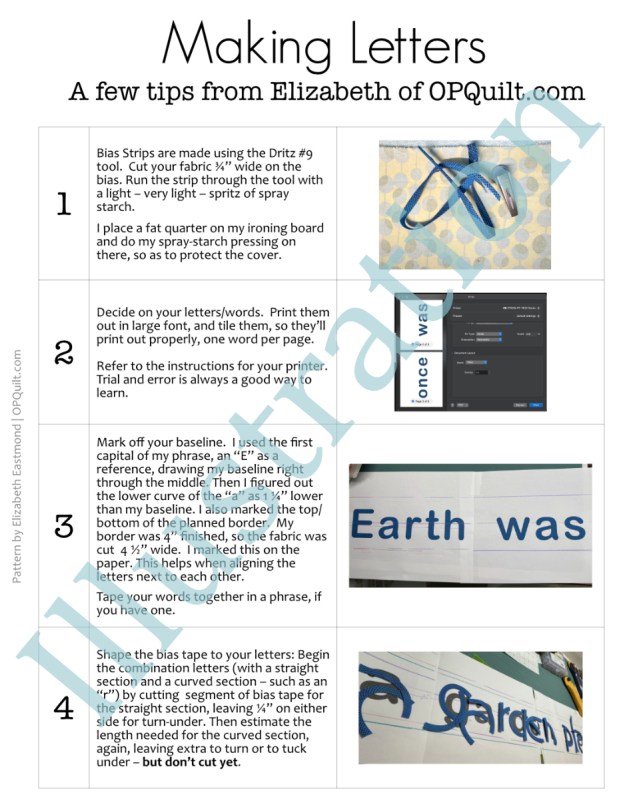
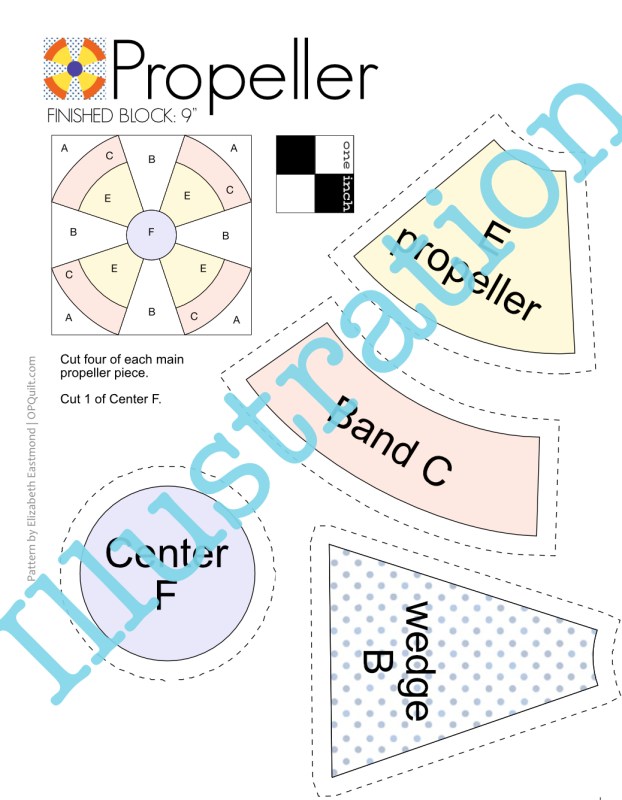
I’ve also reworked some earlier handouts and patterns. This is a digital image of four pinwheel blocks, but I really only made one. The original post shows it in red and white; here’s the free download, if you want it:

I also had a request for a really oldie-but-goodie quilt (original post)(original post in green), so I drew up a pay-what-you-want-but-free-is-okay download for that. It’s in my pattern shop.
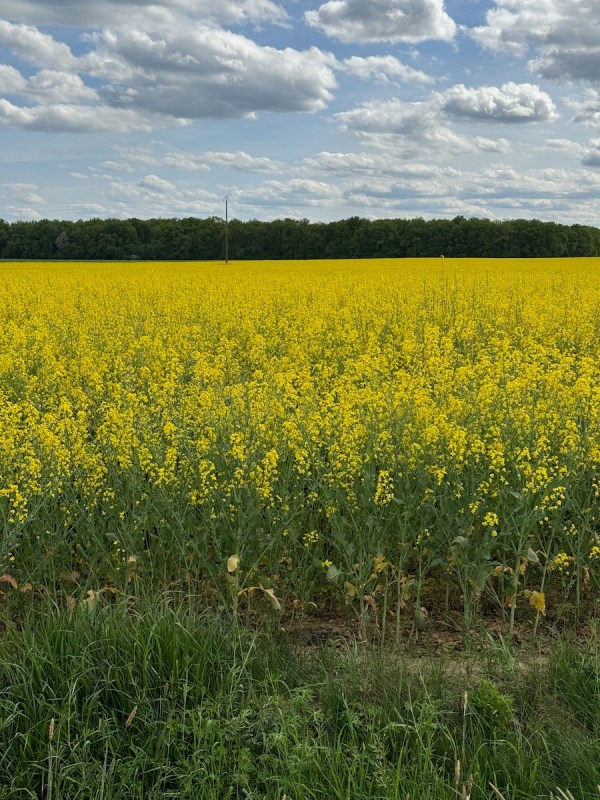
One last photo of France’s rapeseed fields and I’m off: