
Head’s Up: Tutorial Ahead!
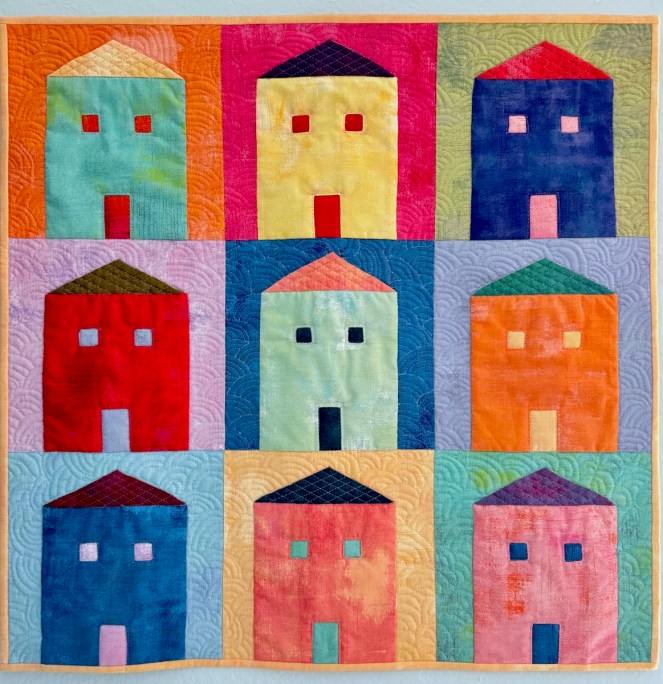
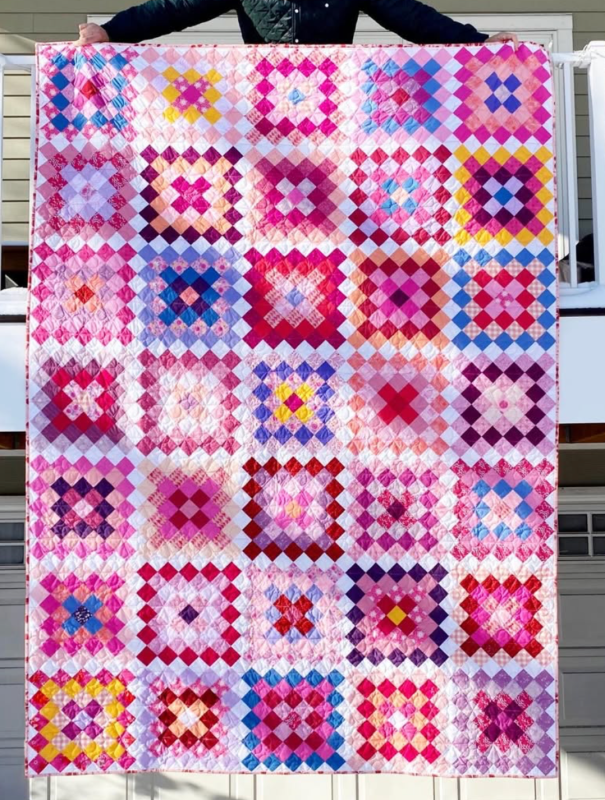
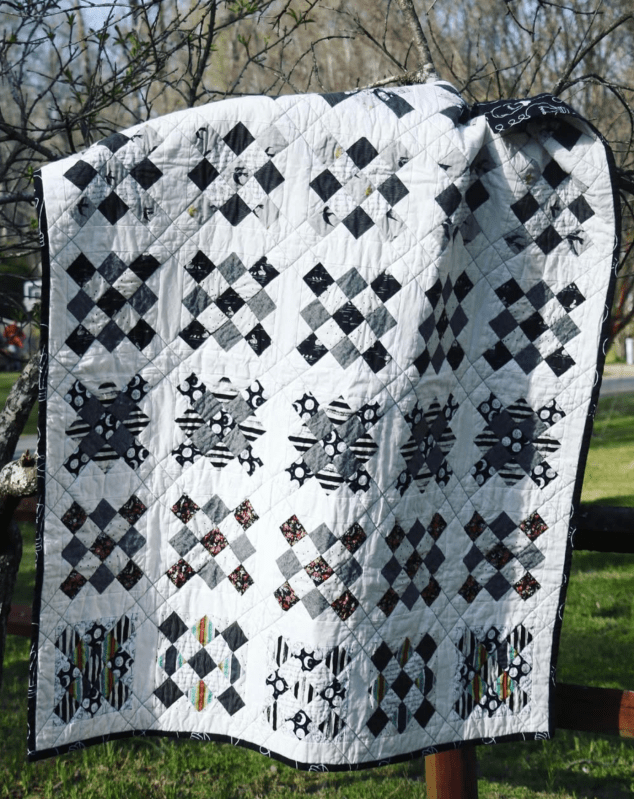
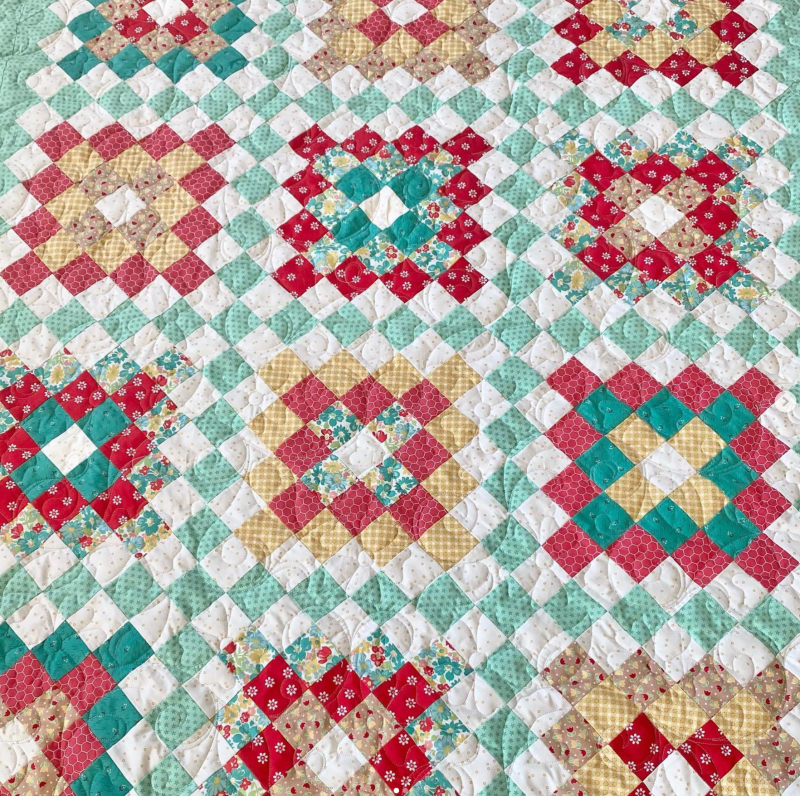
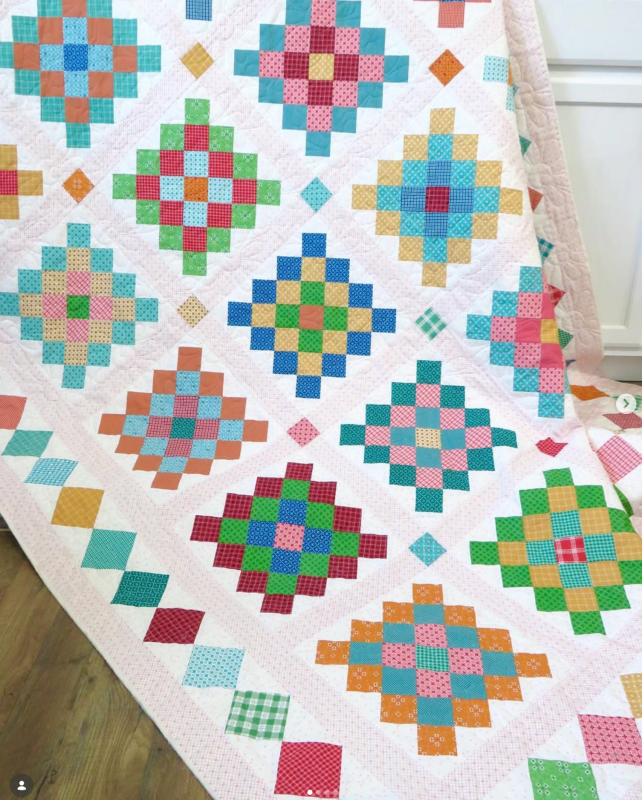
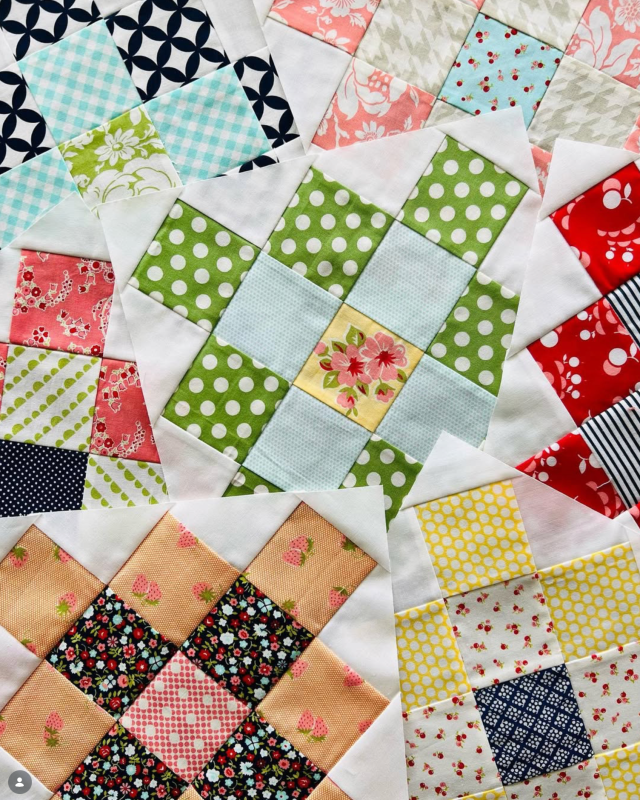
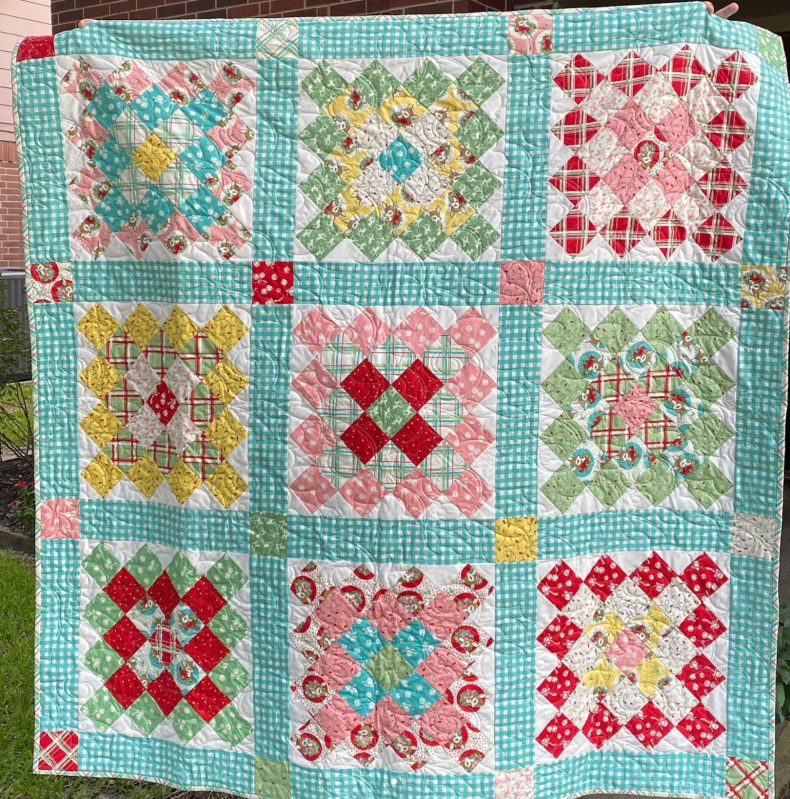
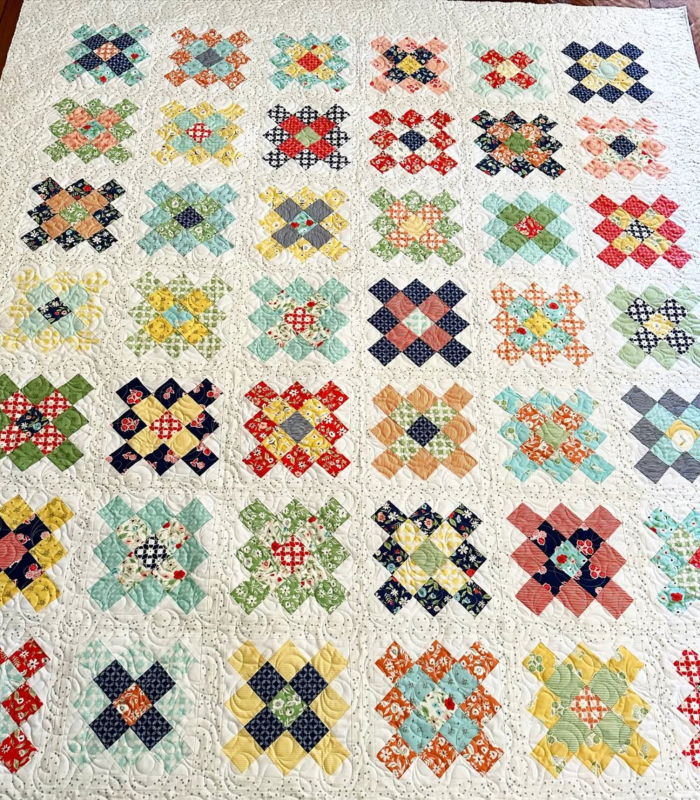
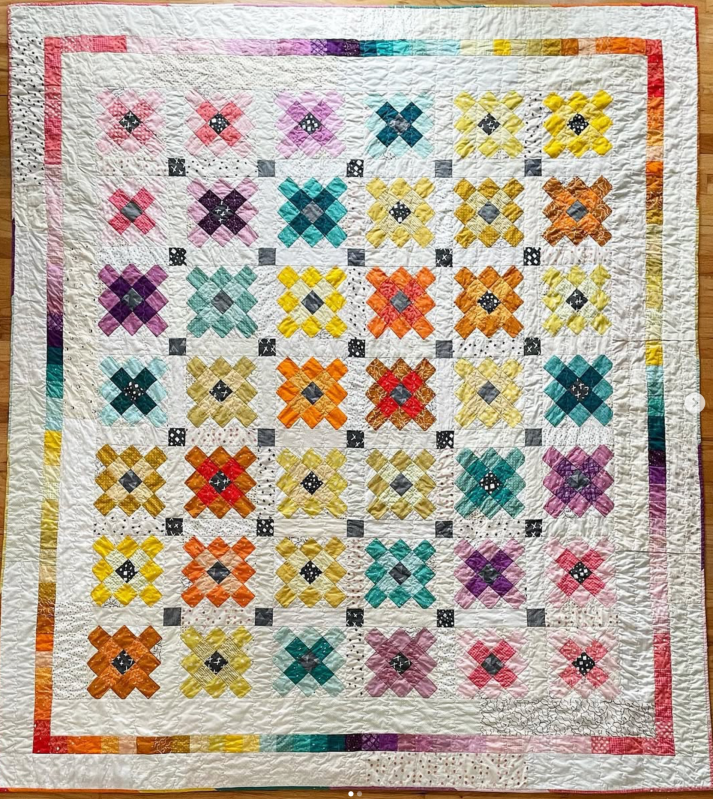
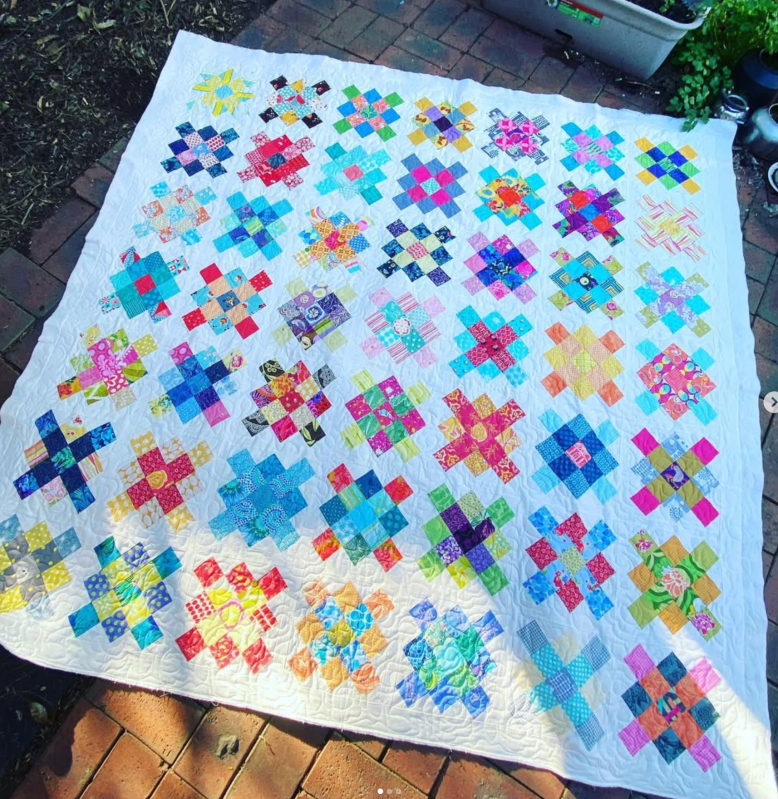
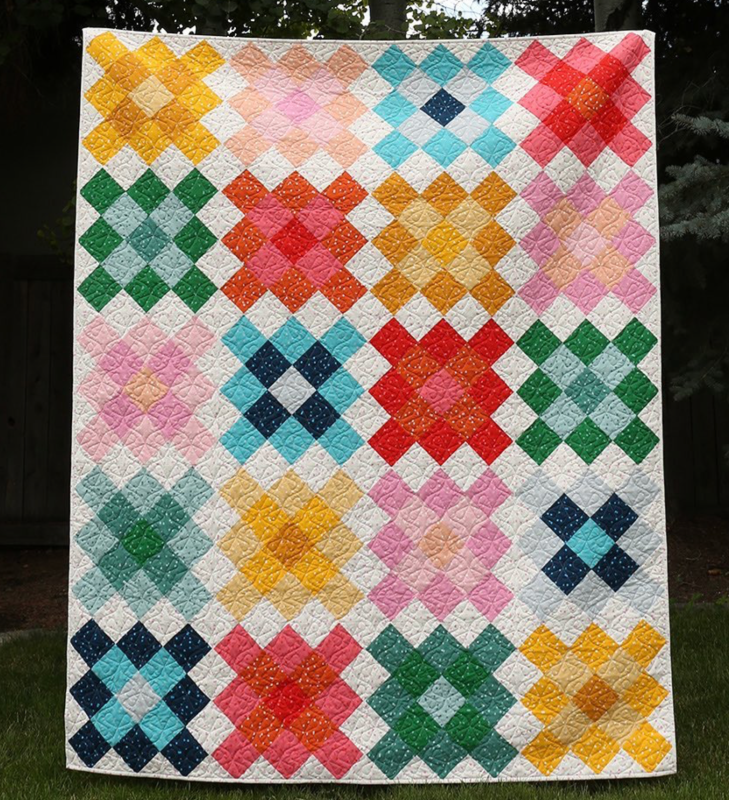
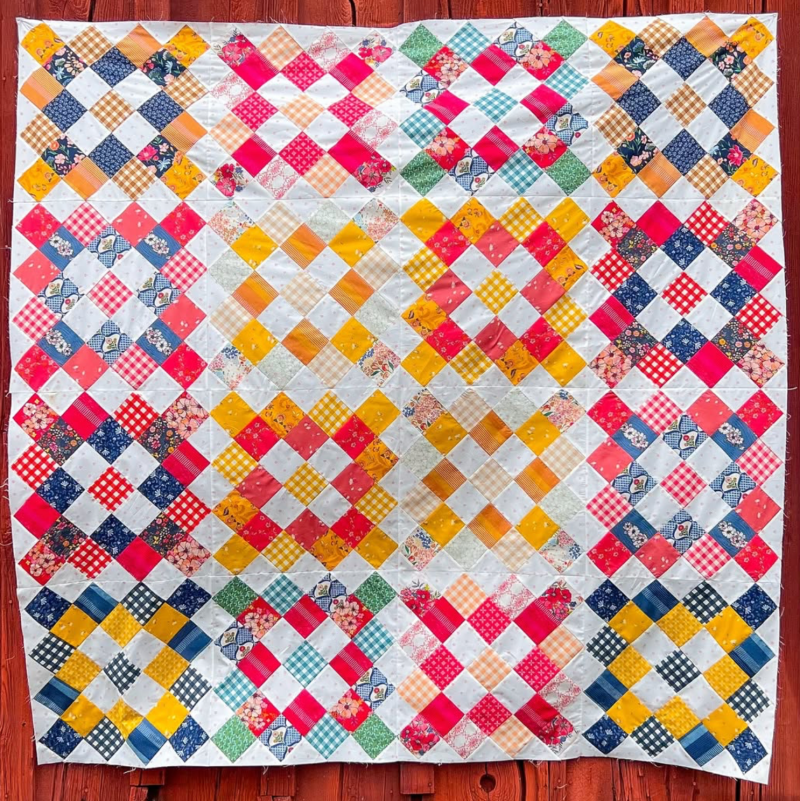
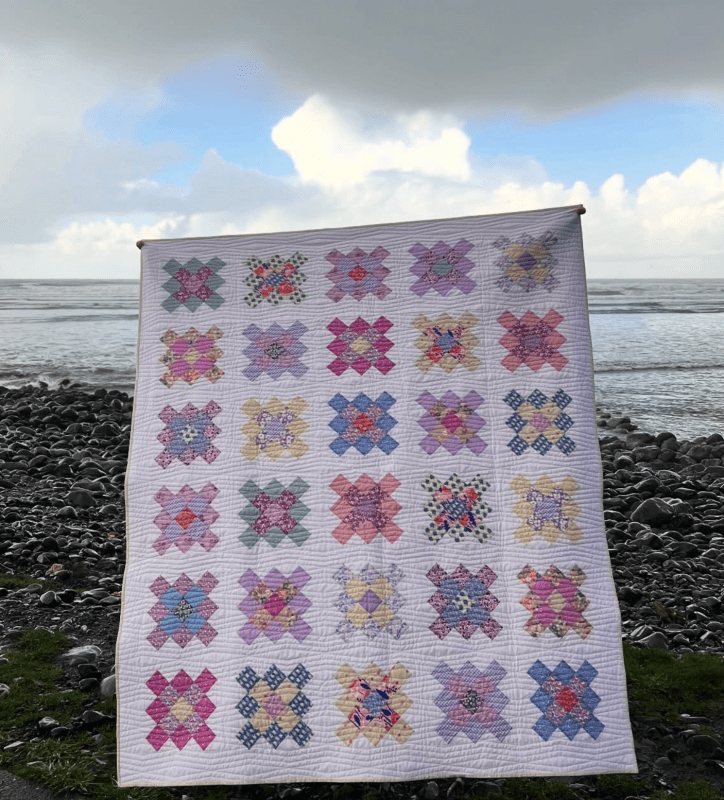
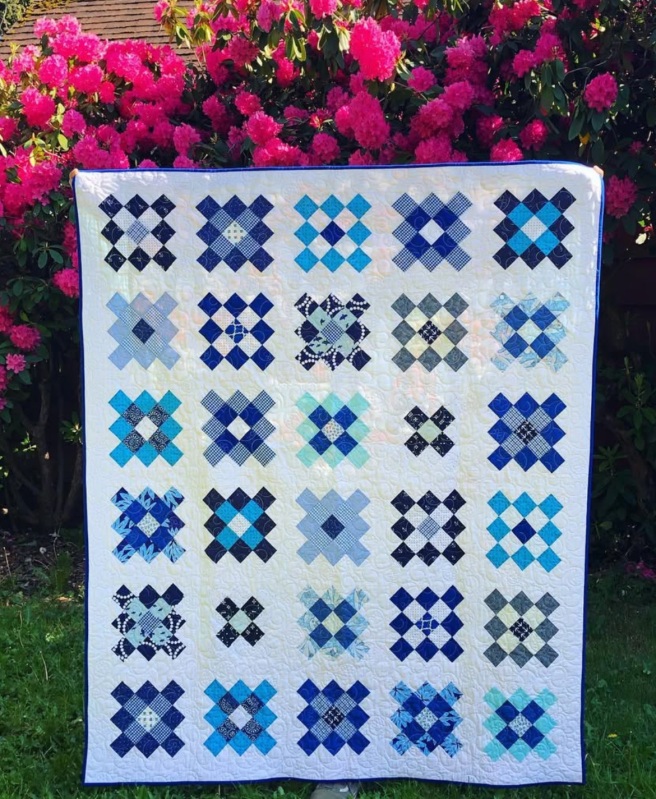
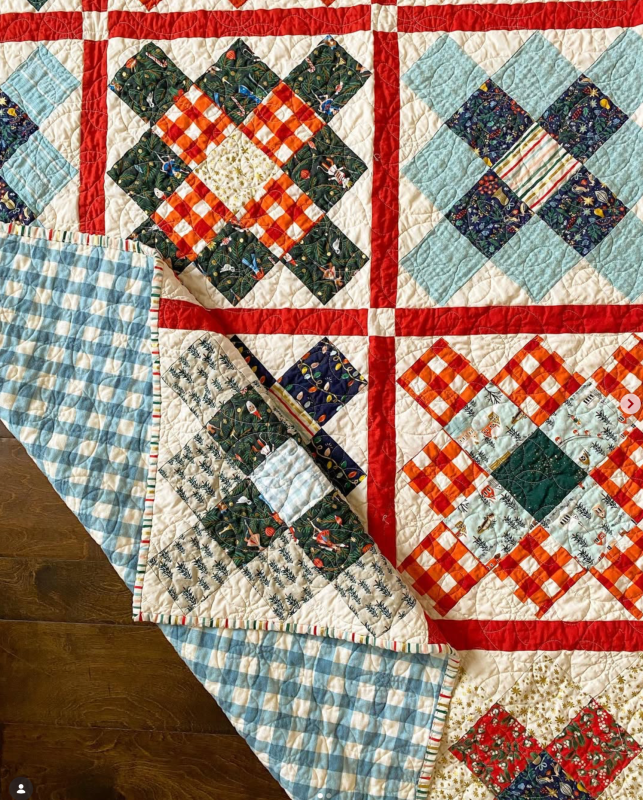
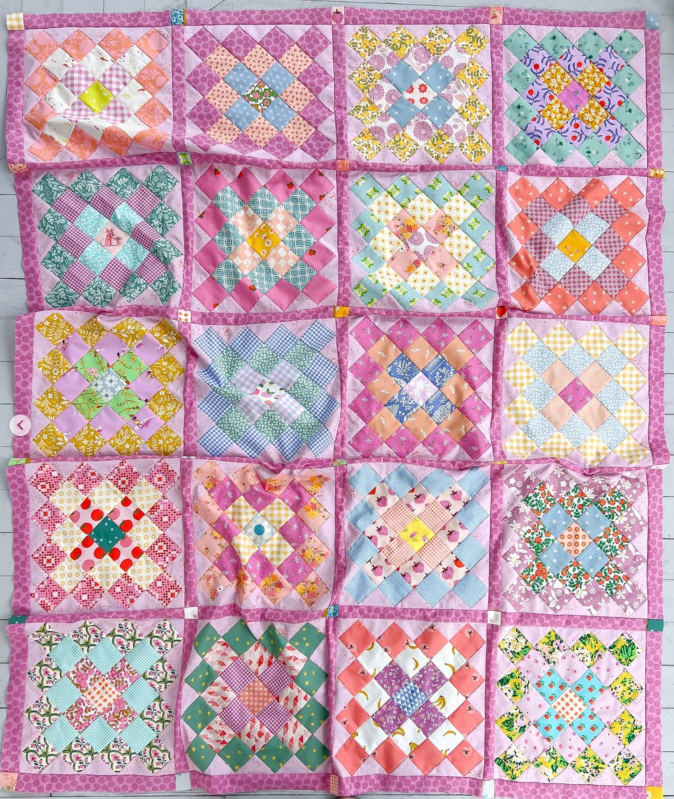
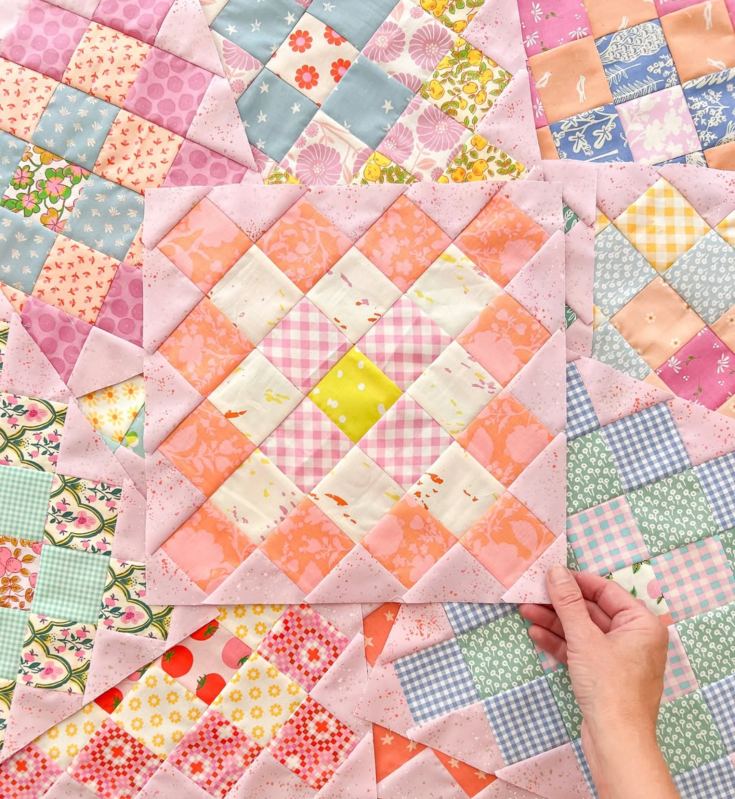
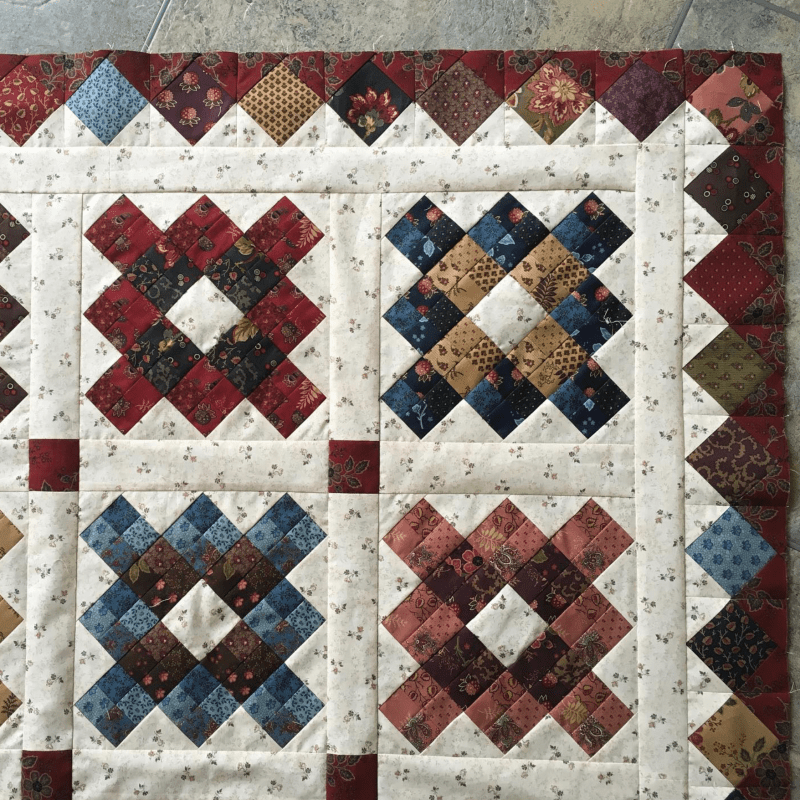
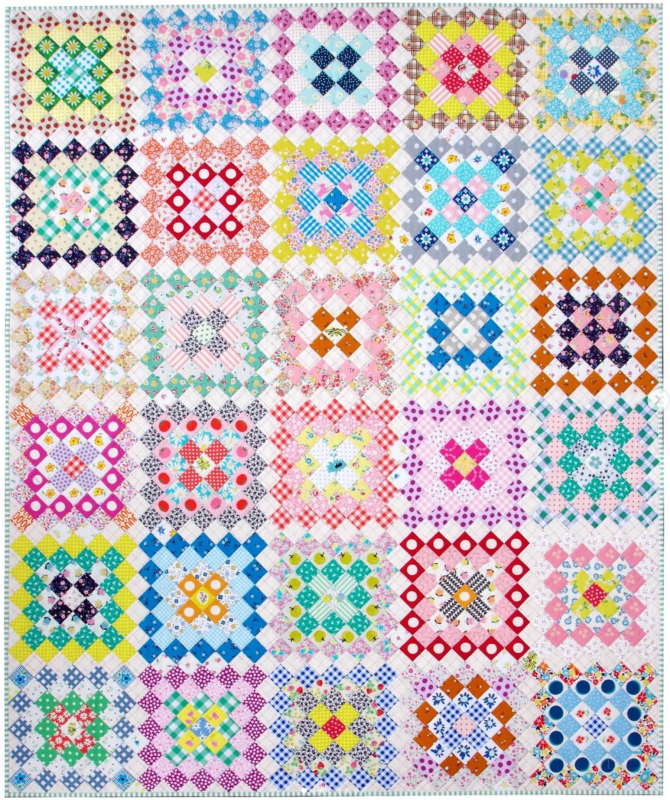
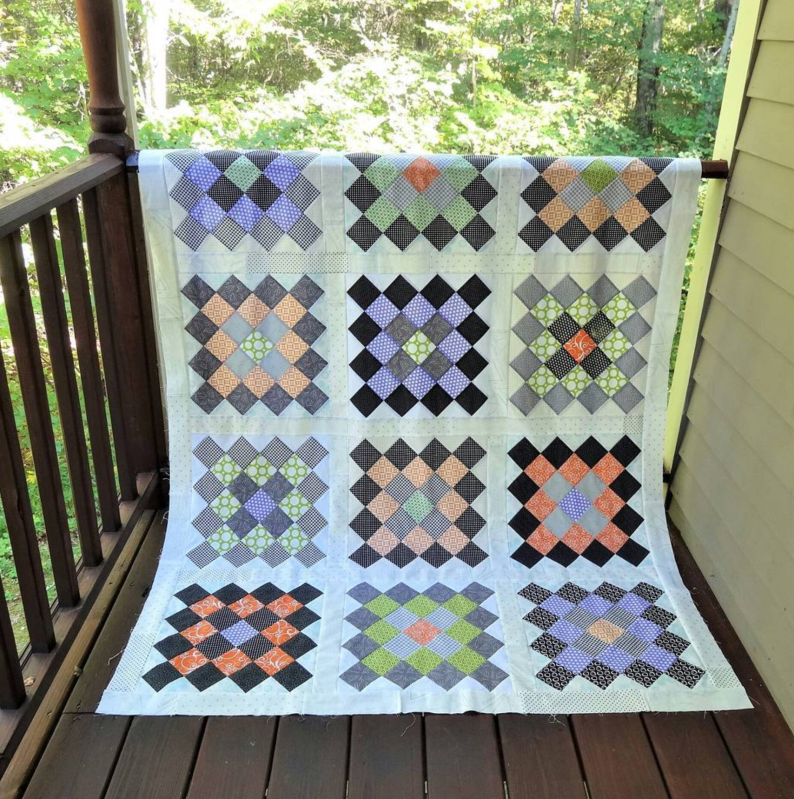
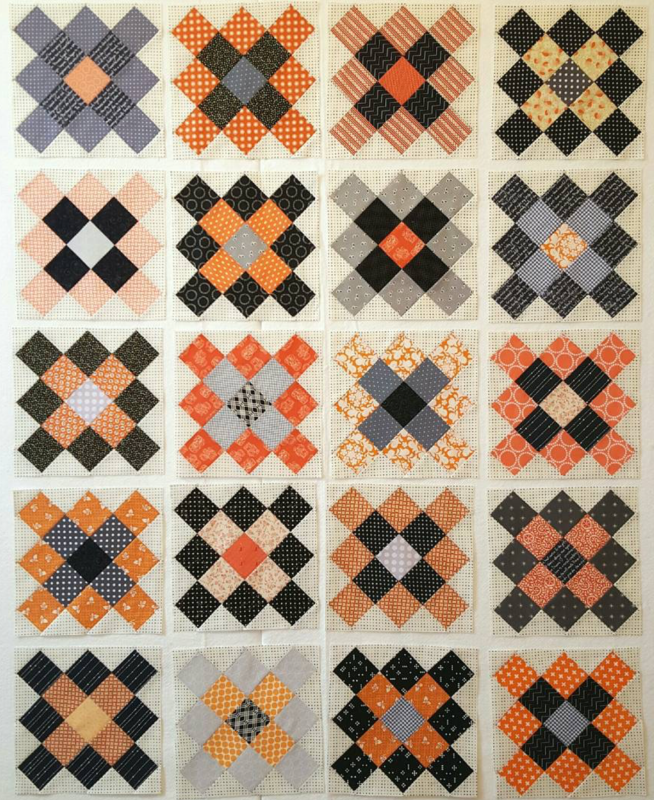
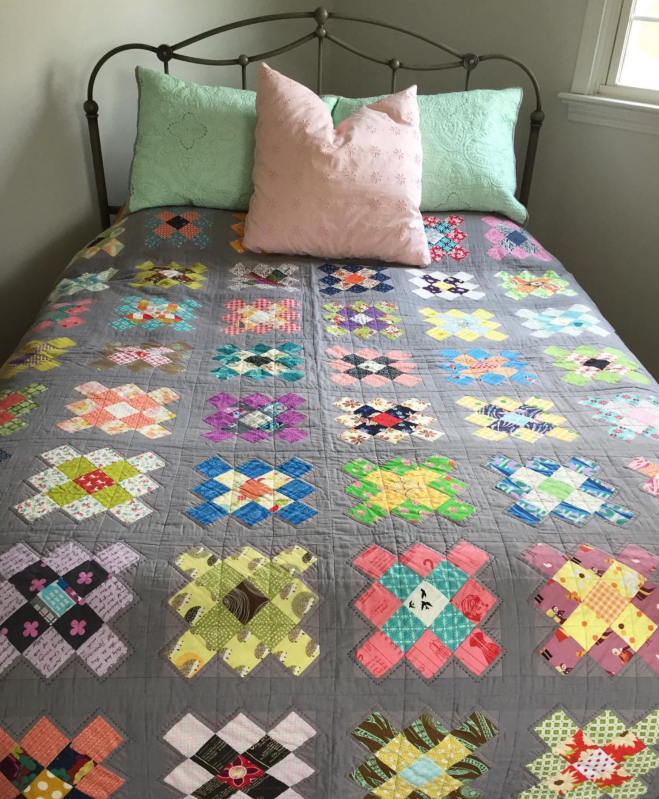
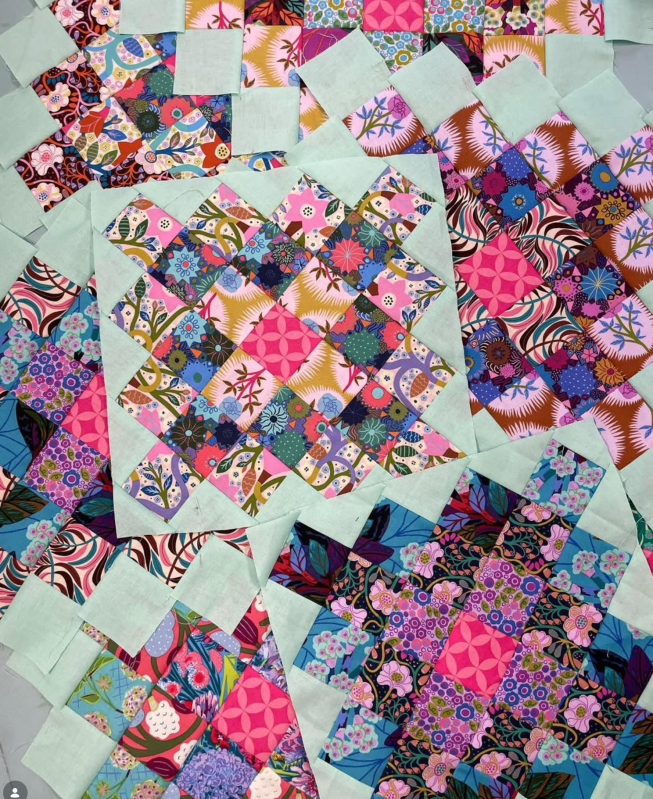
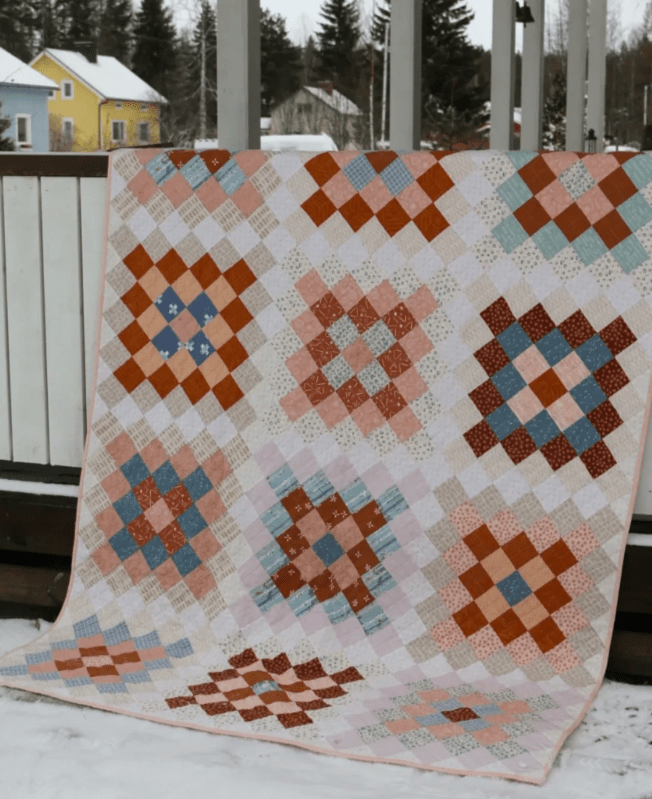
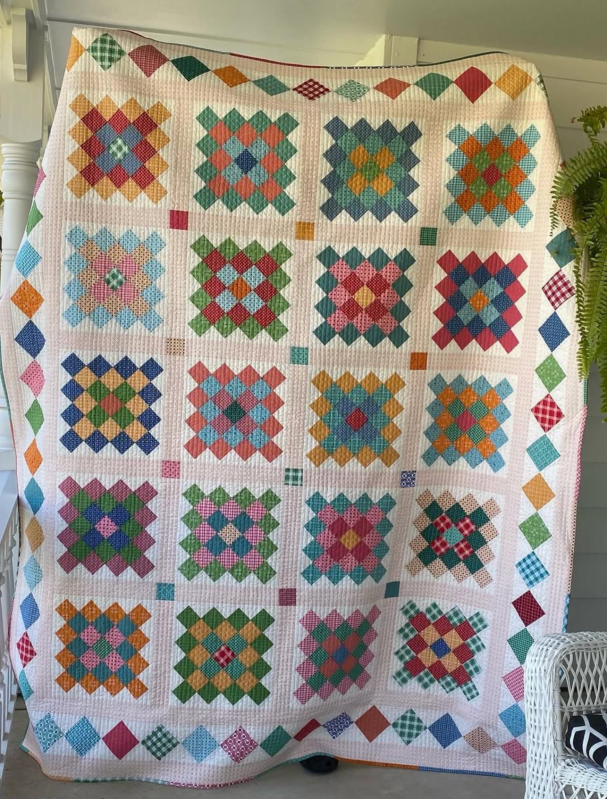
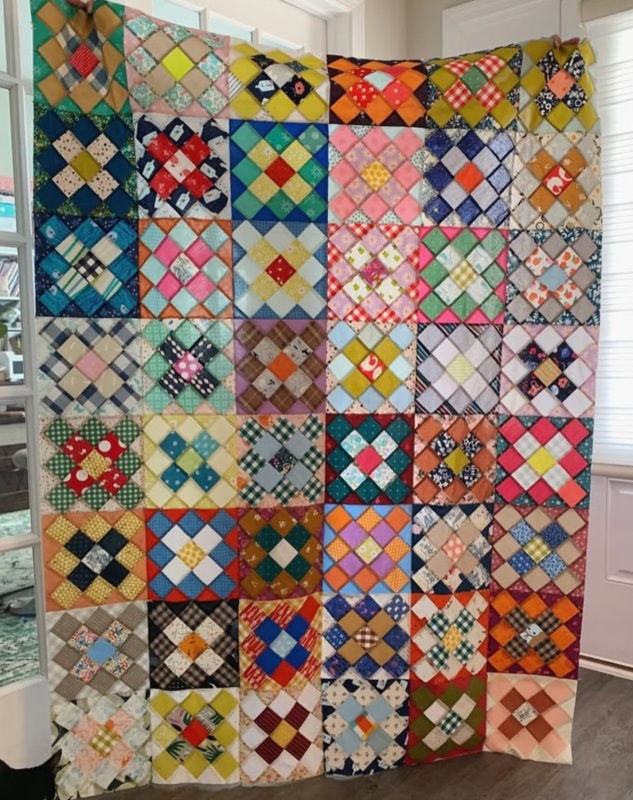
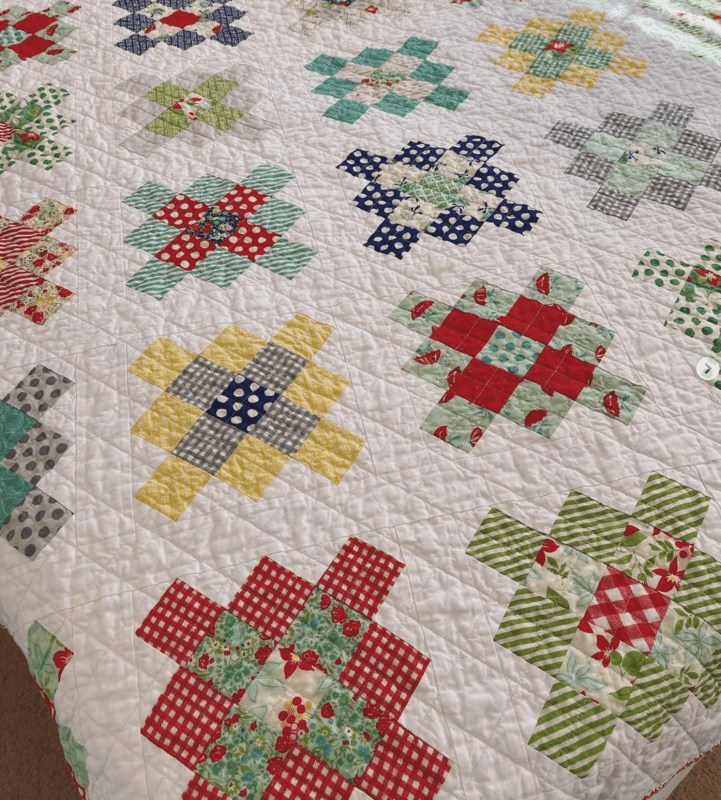
Just for fun’s sake, I decided to do an Instagram search for samples of the ever ubiquitous and pretty famous Granny Squares quilt because the marvelous Carol Gillen and I wanted to do another quilt-a-long with each other in 2026. (I think this will be our fourth?) Come along if you want. First up: the eye candy. I put a conglomeration of links afterwards, and each image is named with the Instagrammer (right-click on any photo to see it in a new tab, and you’ll see the “name” that way, along with the number showing what slide it is).
I think there must have been a lot of Granny Square quilts made in 2020, as a lot of the pictures are from around then.


A bunch of Instagram links that have the quilt, but which don’t necessarily correspond one-to-one to the above gallery:
jandidean • olieandevie • shesewsseams • satomi_quilts • sugarbeequilts • zbinden6 • prairiequiltco • latimerlanequilts • tiltingplanet • lyrebird_lamb • gina_tell_threadgraffiti • happylittlecottage1 • penelopehandmade • pdxannie • pdxannie (again) • alisongamm (tiny blocks) • quiltingkaro • simplegirlsimplelife • sharonhollanddesigns • sekephart (a new method) • maureencracknell (block) • maureencracknell (full quilt)
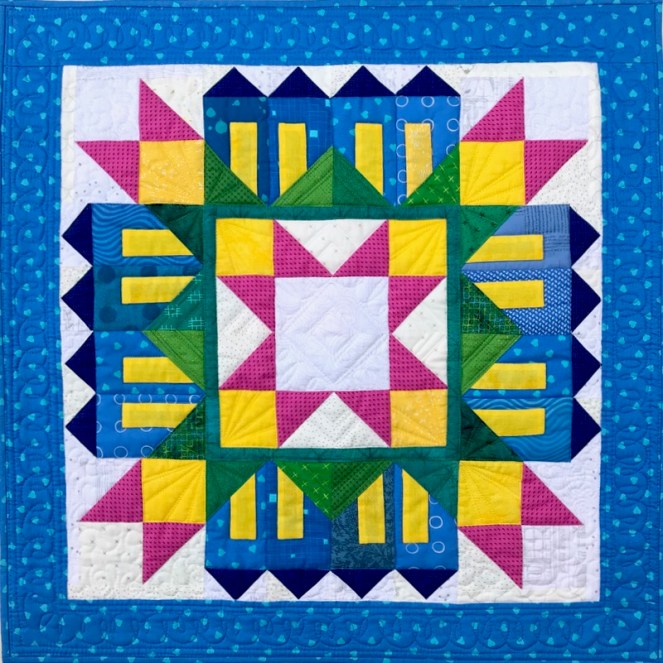
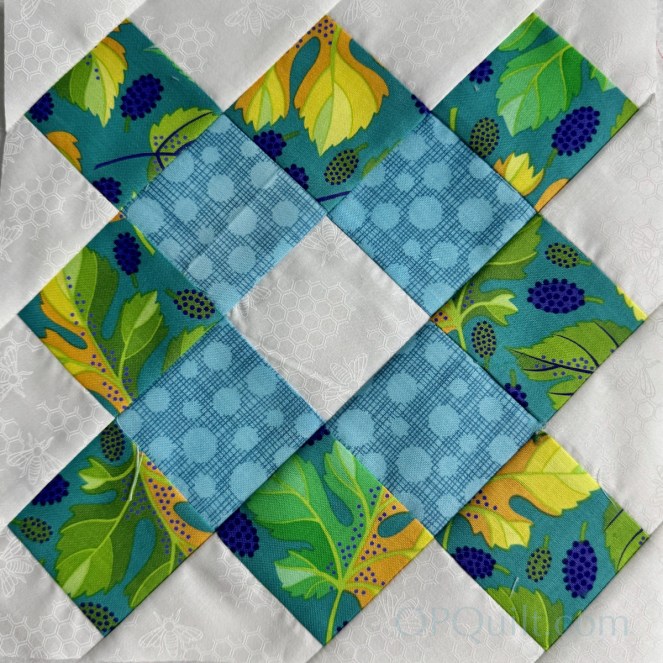
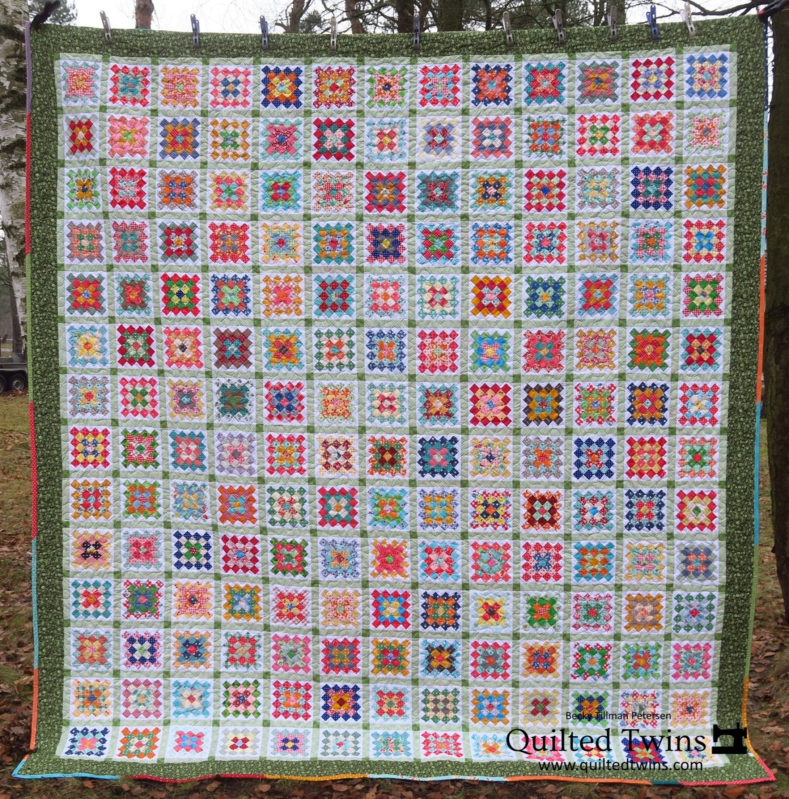
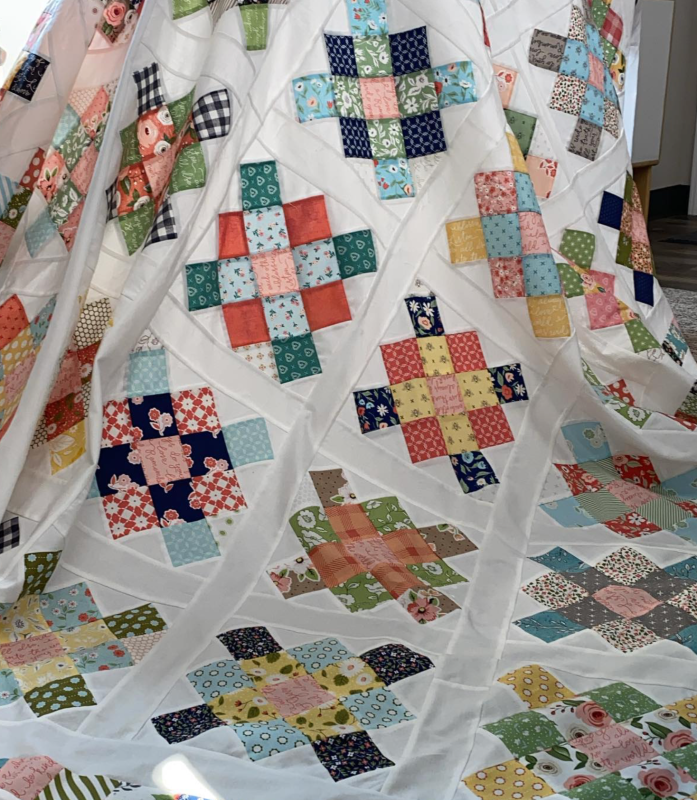
From what I saw, there are two basic kinds: the three-squares-across version and the four-squares-across version — an iteration of the original. (Ignore the photo above with six blocks across; that maker may be an overachiever and she freely admits she only made this one block. And while I admire the quilter who did hers by EPP [shown in the top row], we’re doing Old School Piecing.)

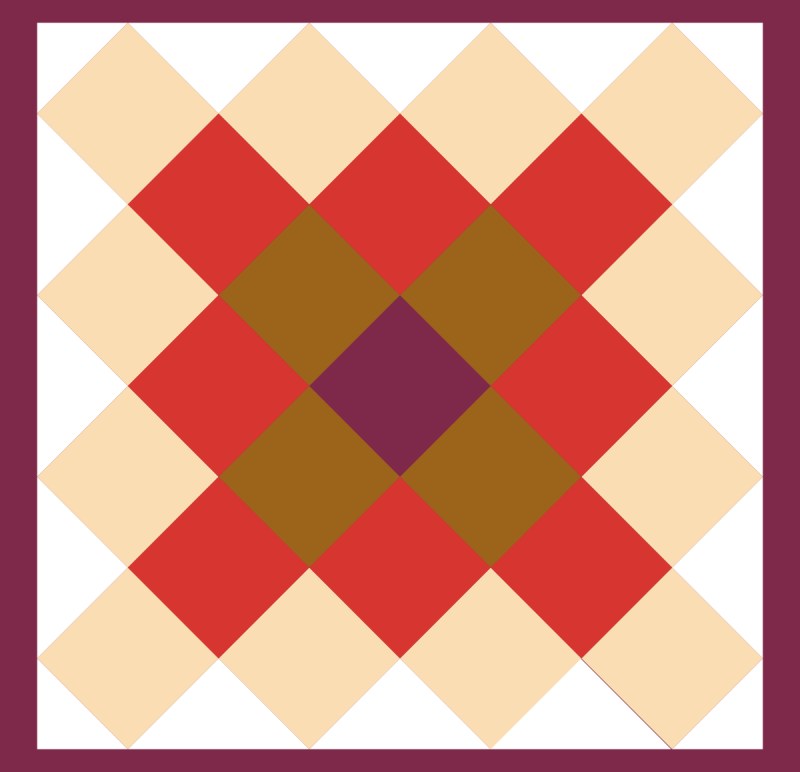
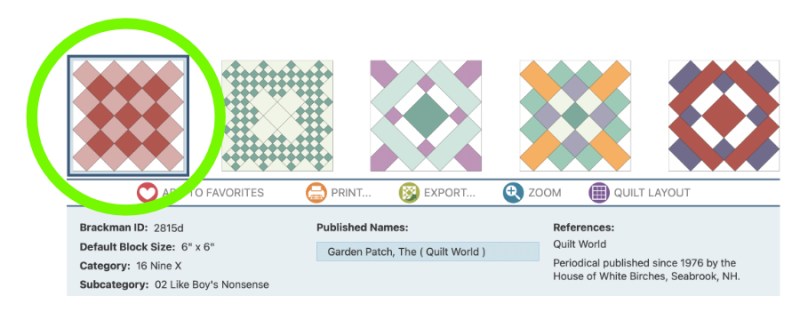
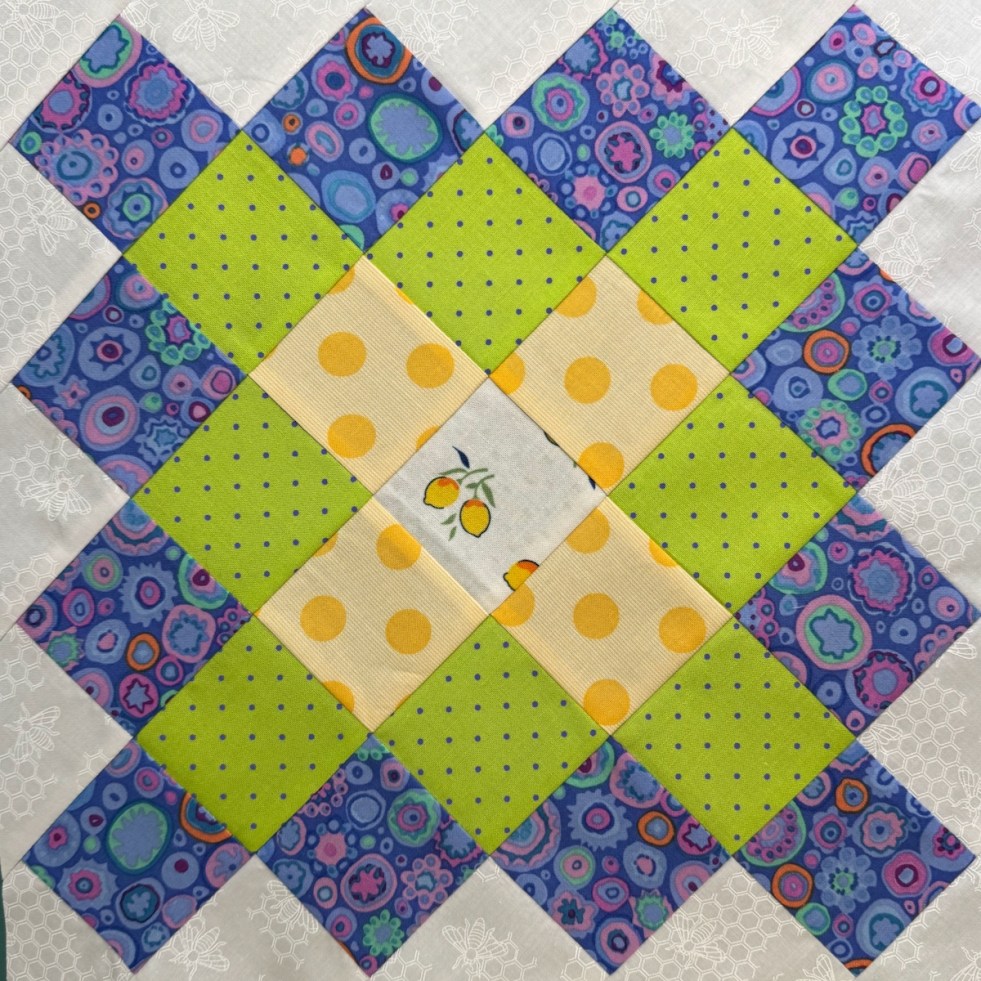
The “OG” Granny Square is the block on the upper left. We also call the one on the upper right a Granny Square, but the original name (according to Brackman) is the Garden Patch block, published in Quilt World in the mid-1970s; the color placement does differ slightly.
I saw a lot of posts, and websites, and perused videos, but I never found the source of the urban legend that says that the center of the block represents the baby, the next row represented the mother (the baby had four mothers?) and the next row was the grandmother (now this child has 8 grandmothers?). Wherever that came from it certainly wasn’t on the radar of quilt historian Barbara Brackman. The block in her book (the Bible of quilt blocks) is called Grandmother’s Pride, and hails from around the 1930s, from a mail order source called Home Art Studios.
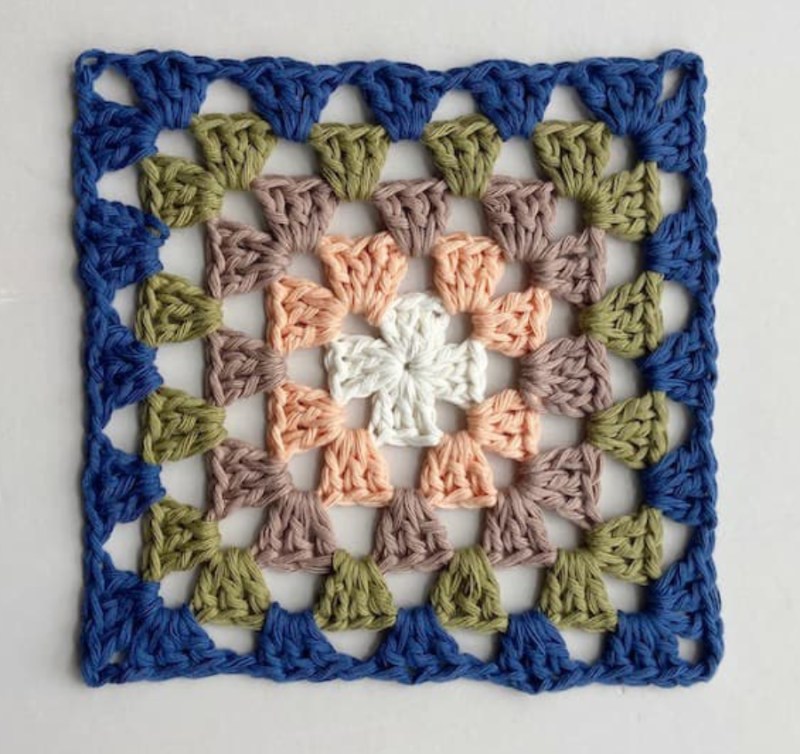
Another blogger had it the other way: the center is the grandmother, the four surrounding blocks are her daughters, and then on to grandchildren. Okey, dokey. I think the origin of this quilt square might have come from a quilter who was trying to mimic the ubiquitous crocheted granny squares whose first origins are from the 1880s, but I have no way of knowing.
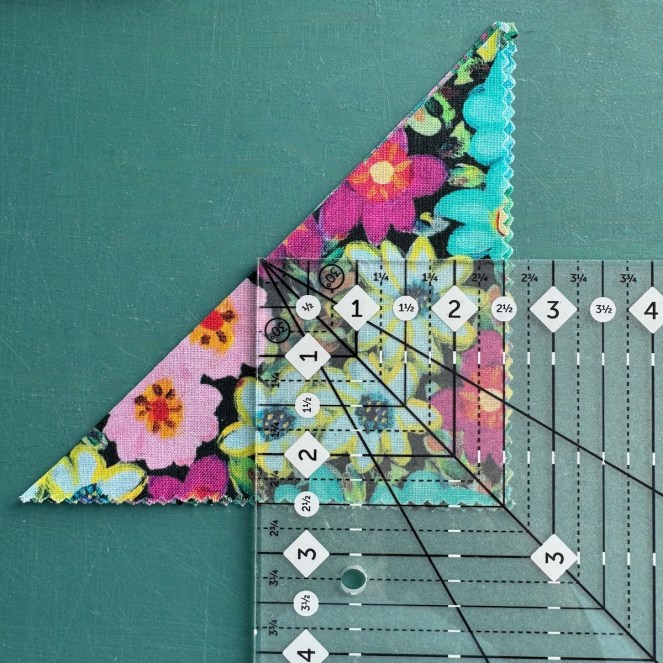
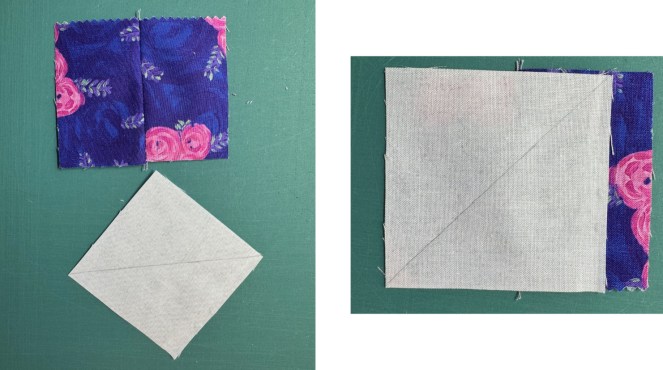
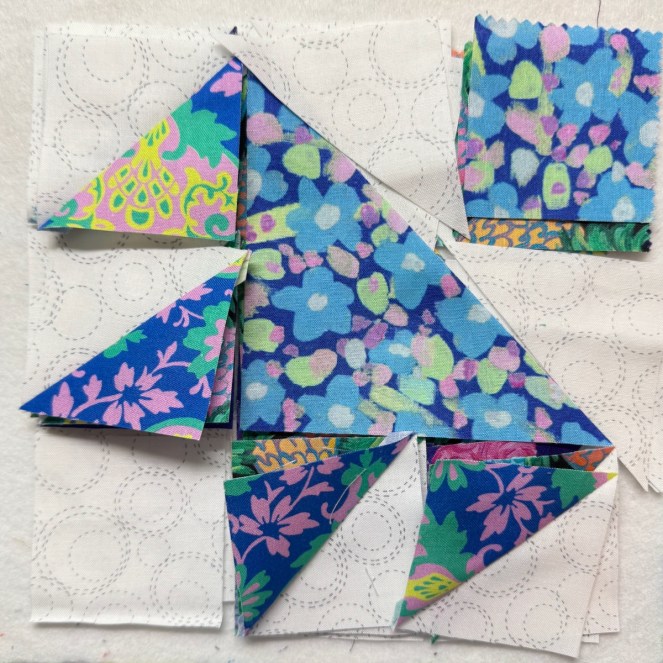
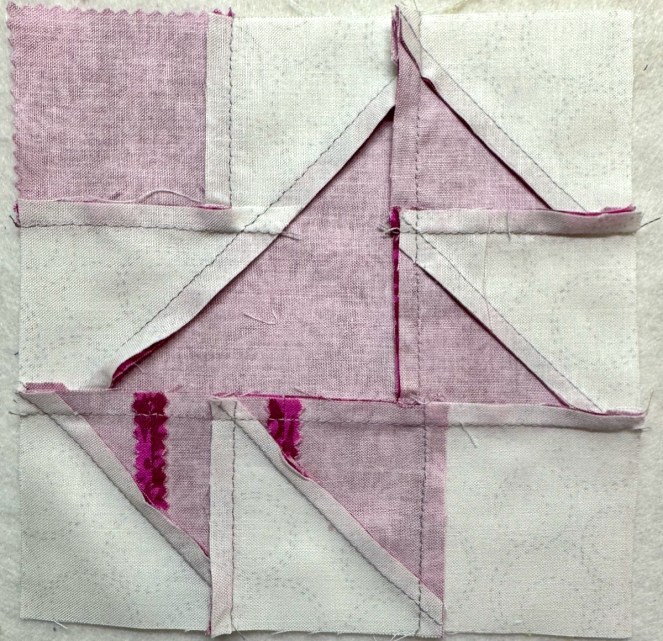
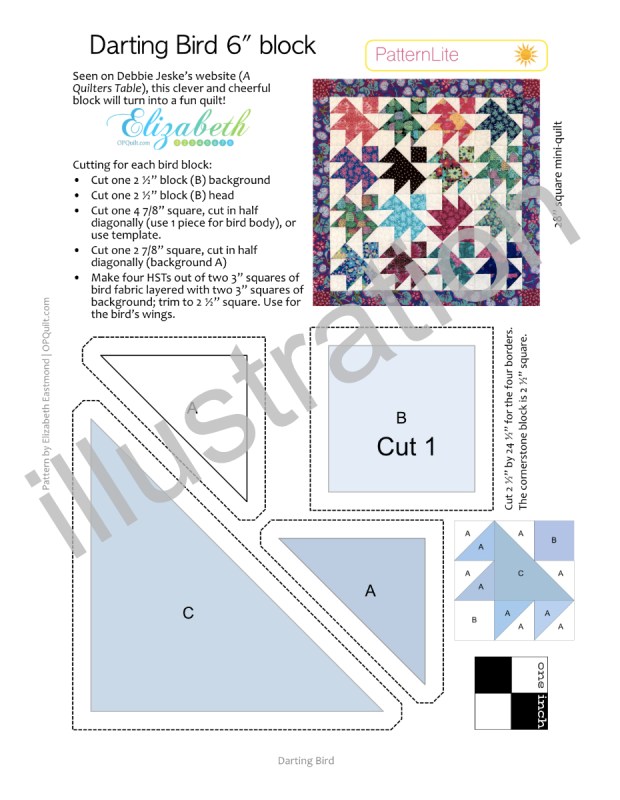
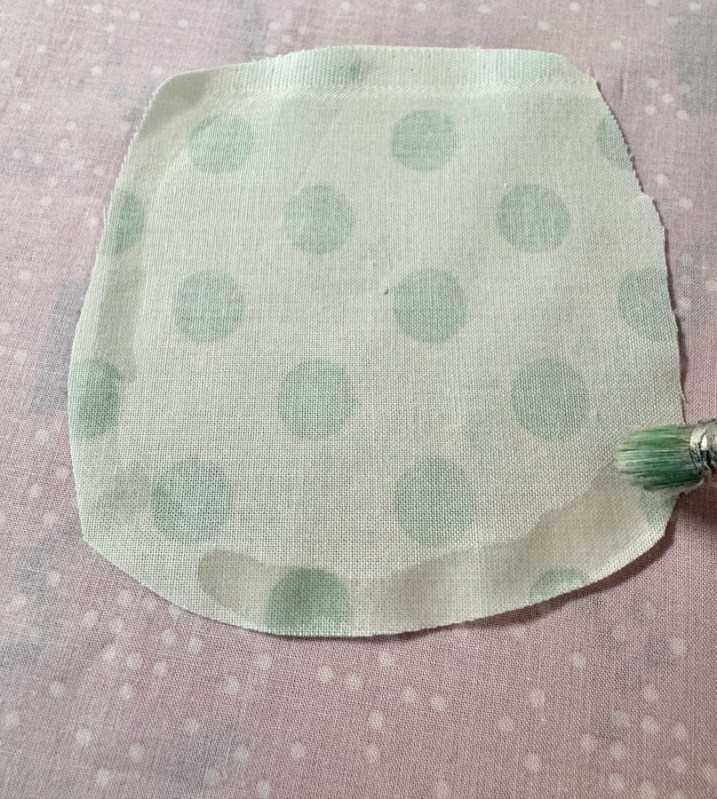
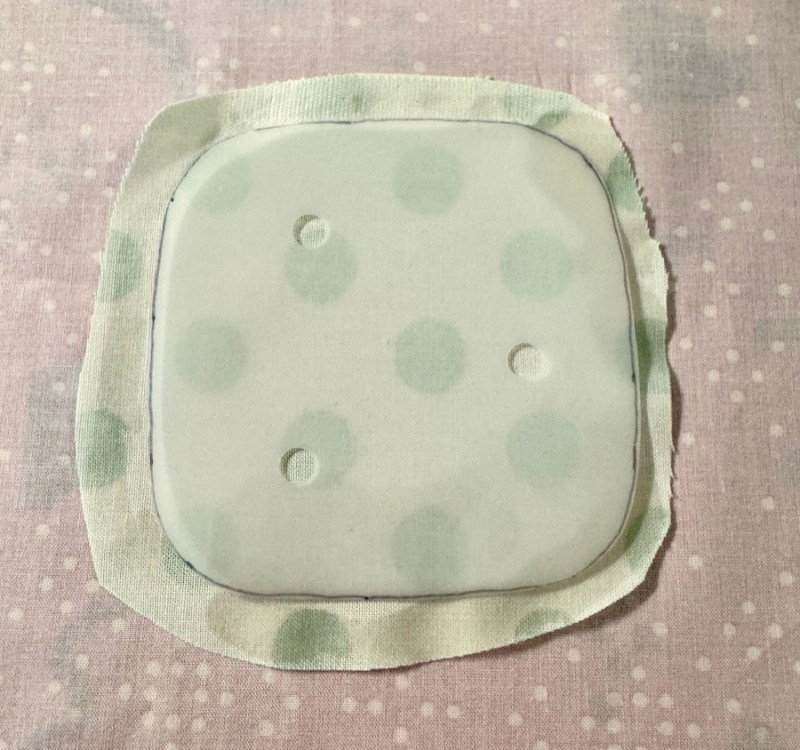
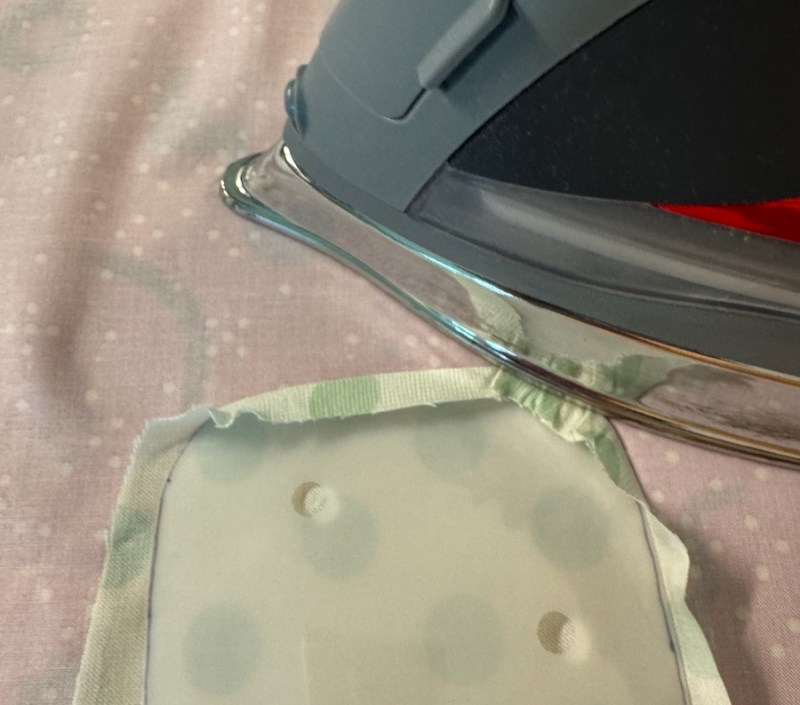
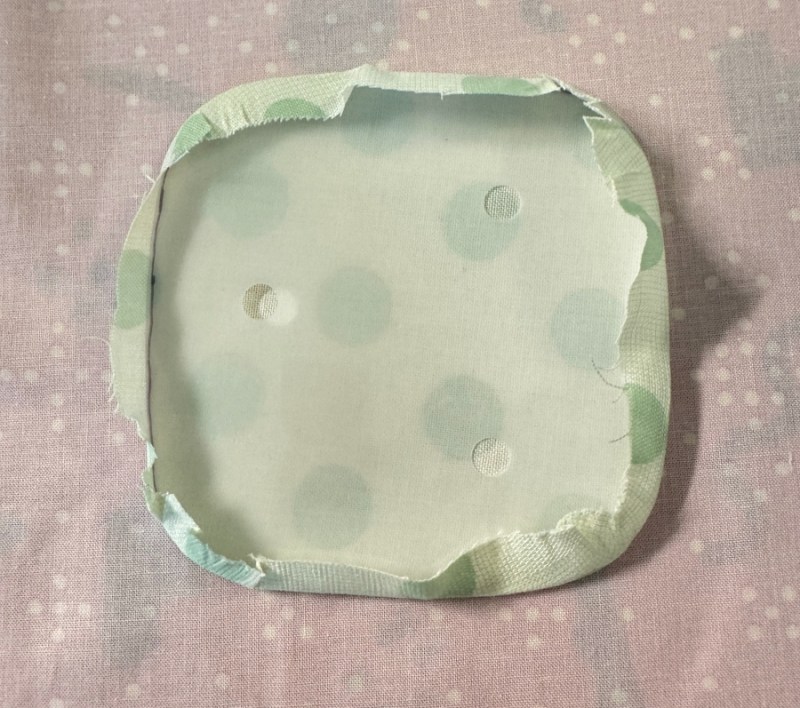
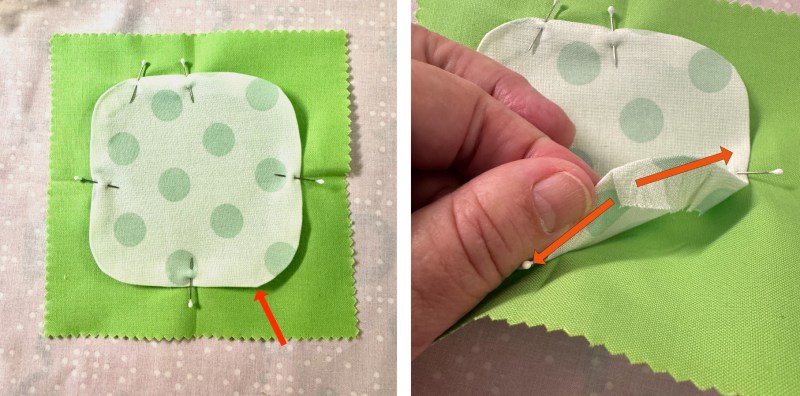
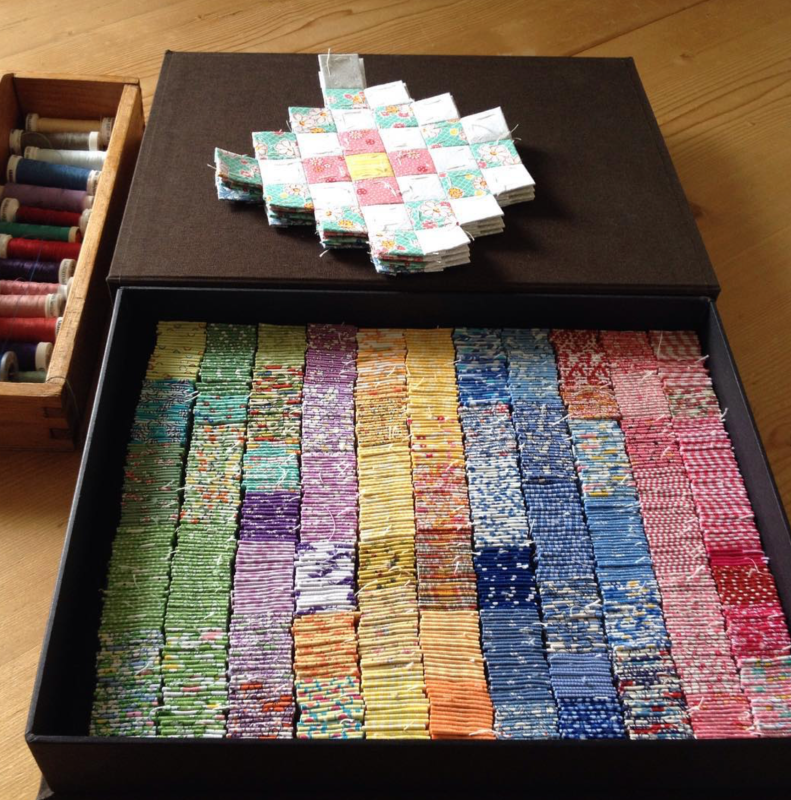
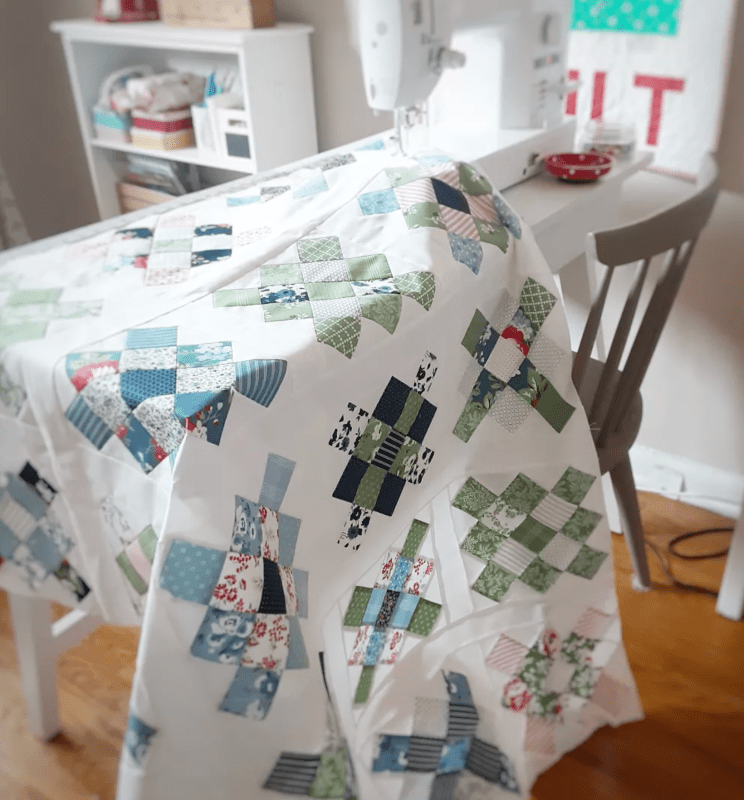
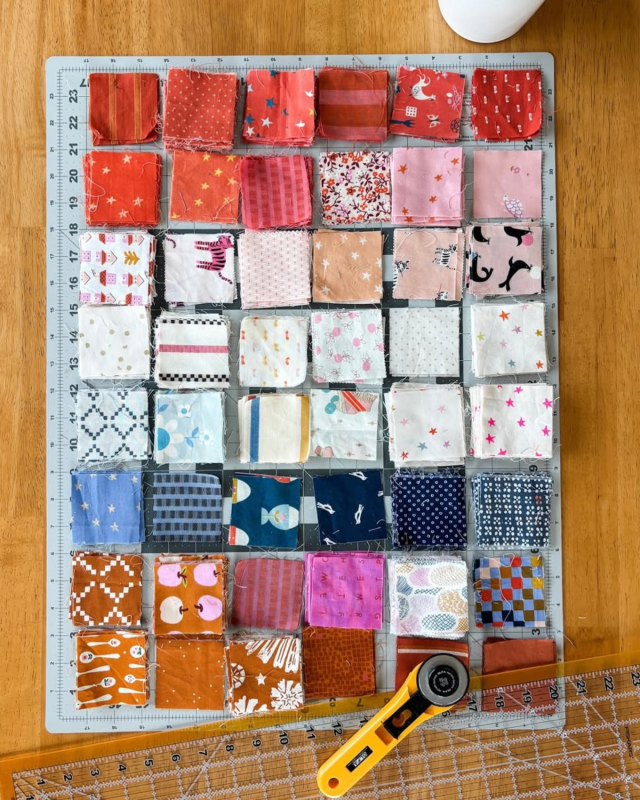
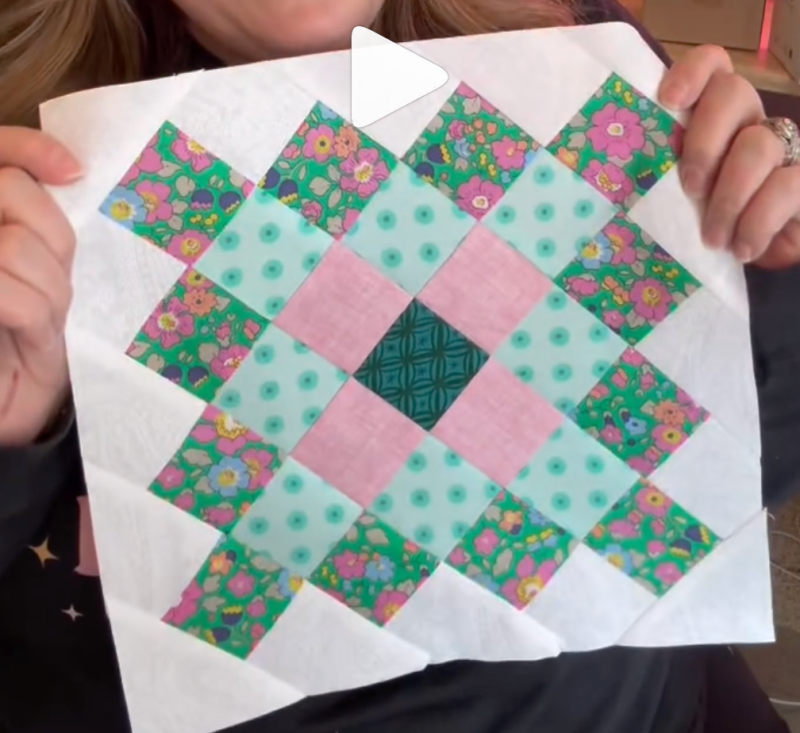
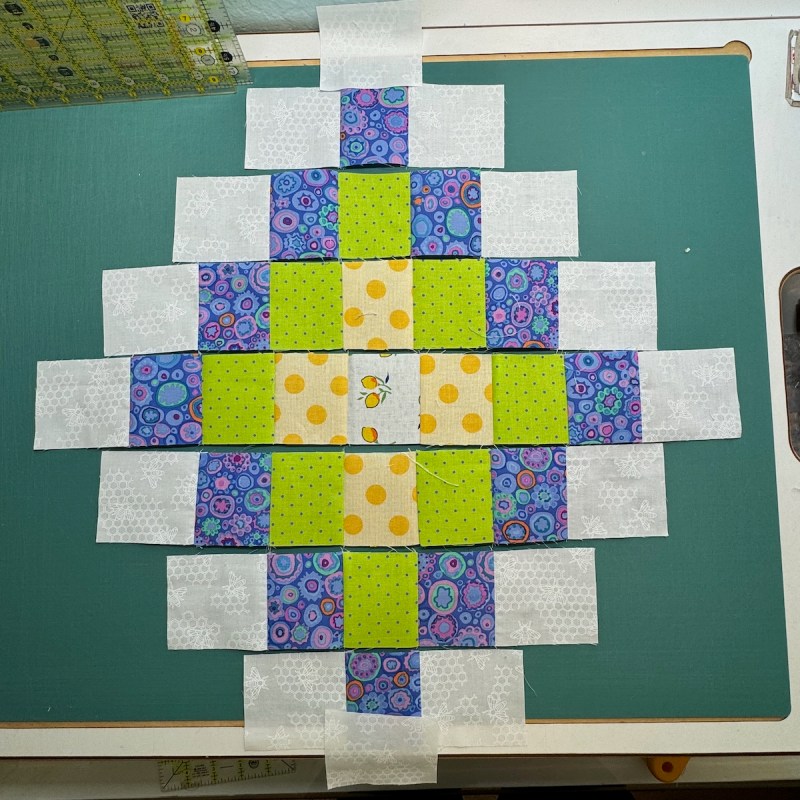
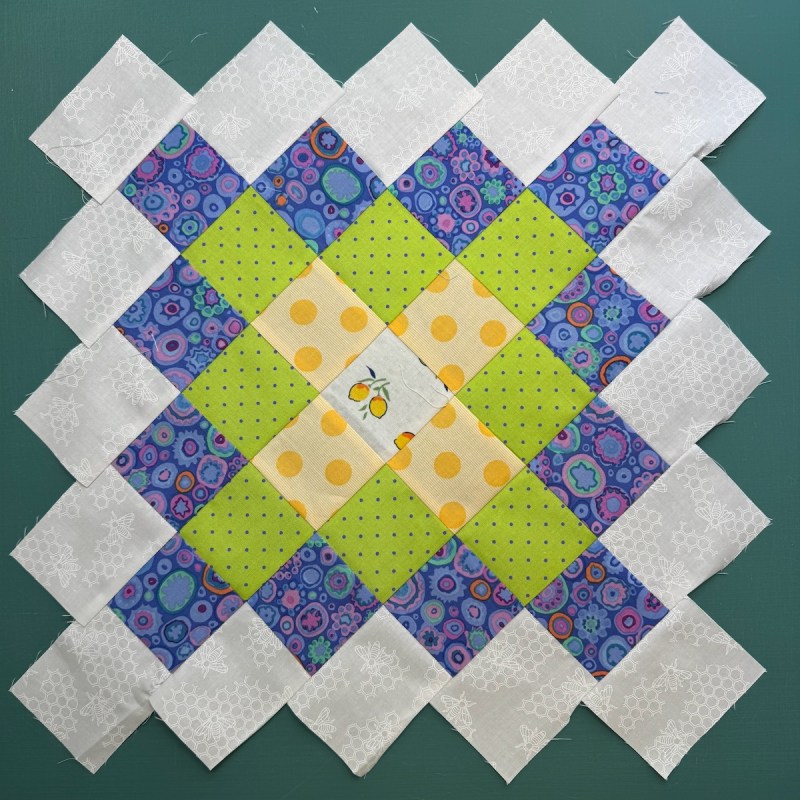
On to the making. Here’s a slideshow with pictures of my first test sample:
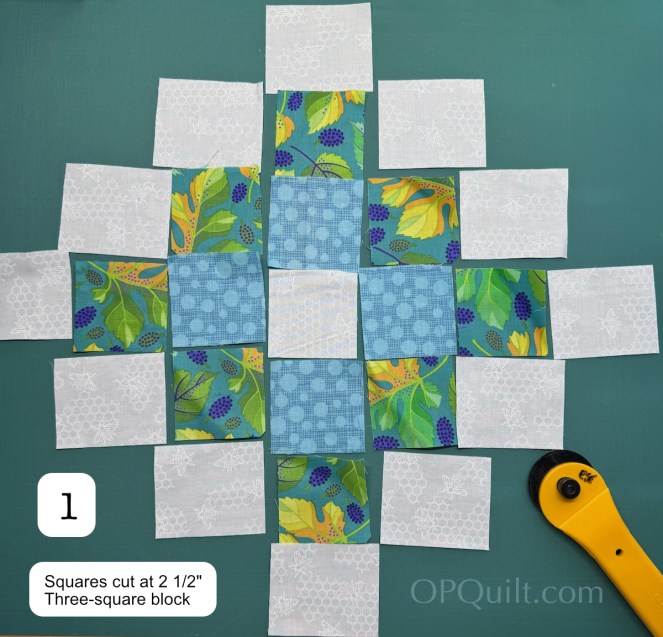
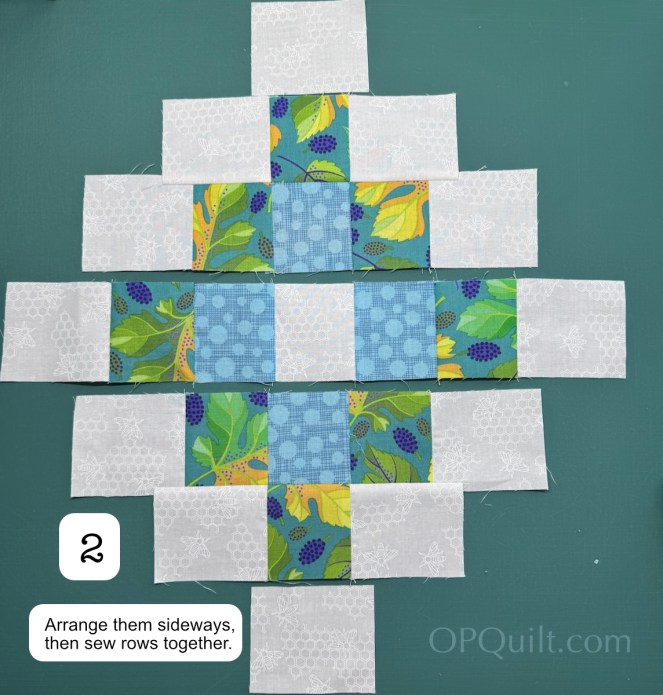
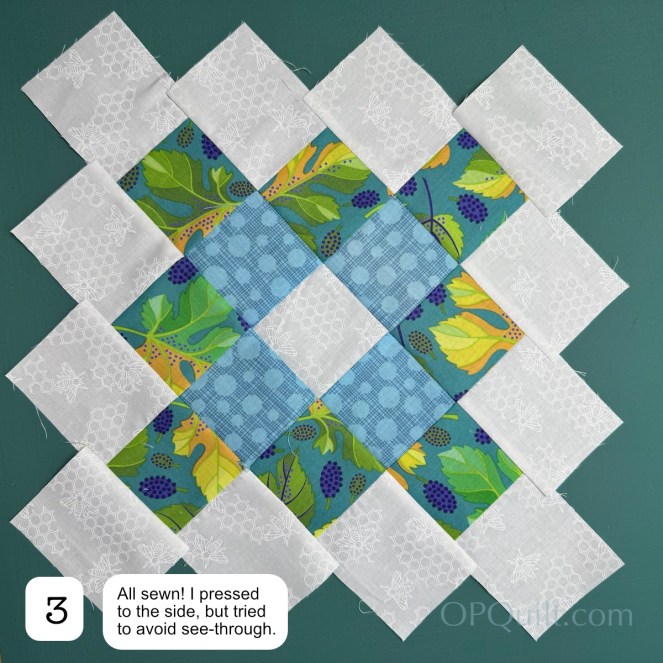
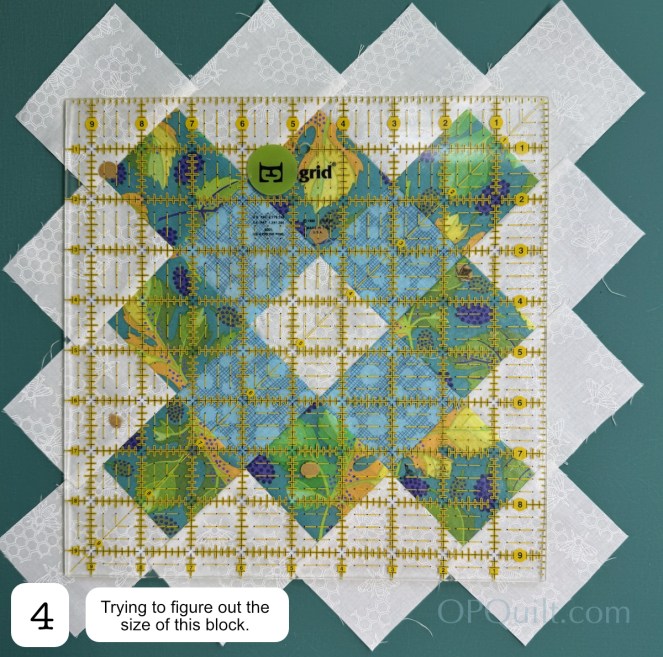
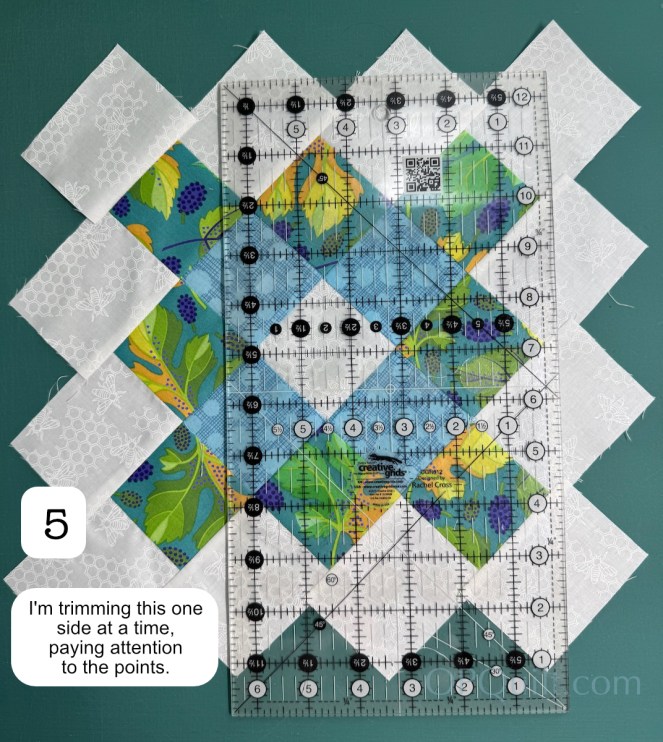
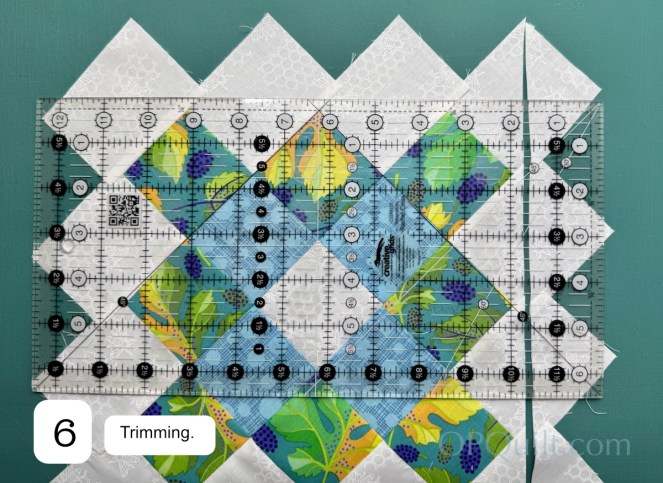
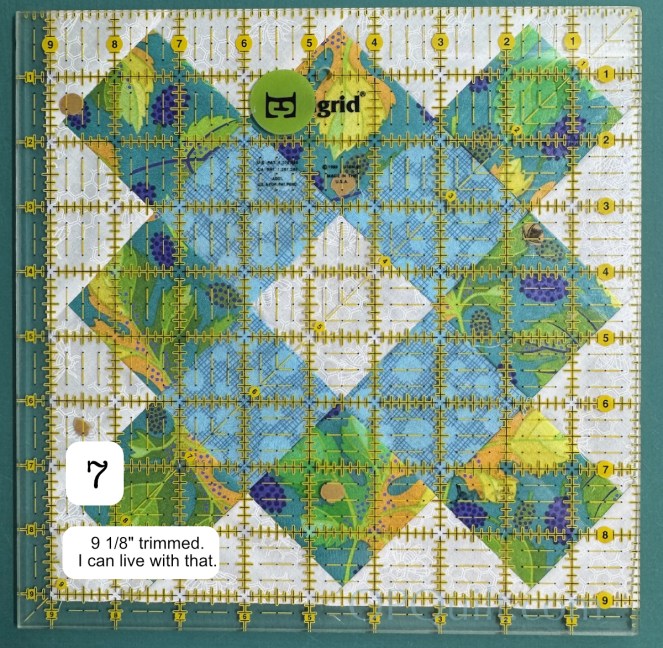
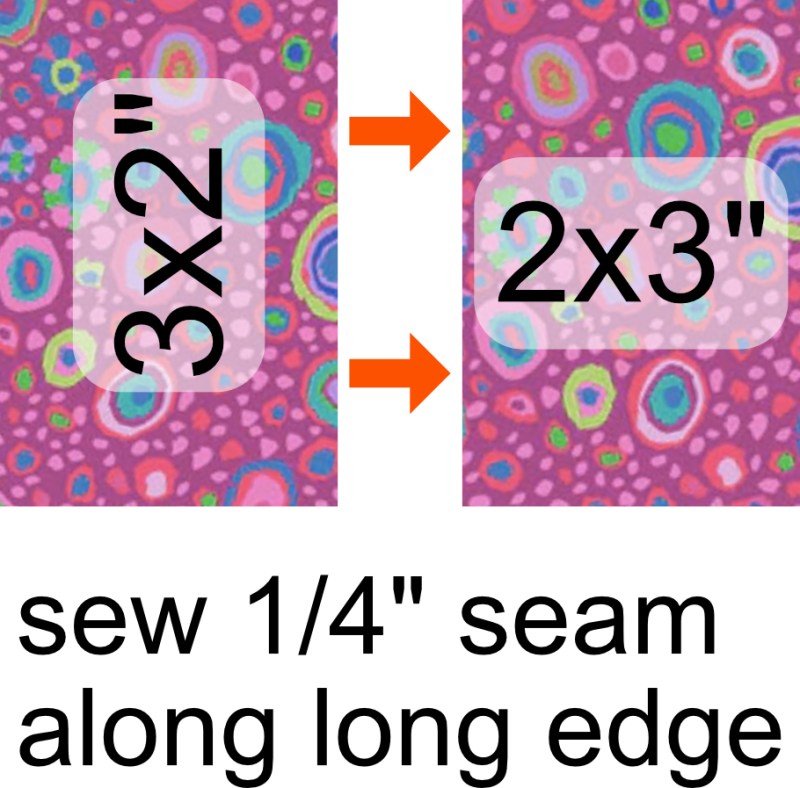
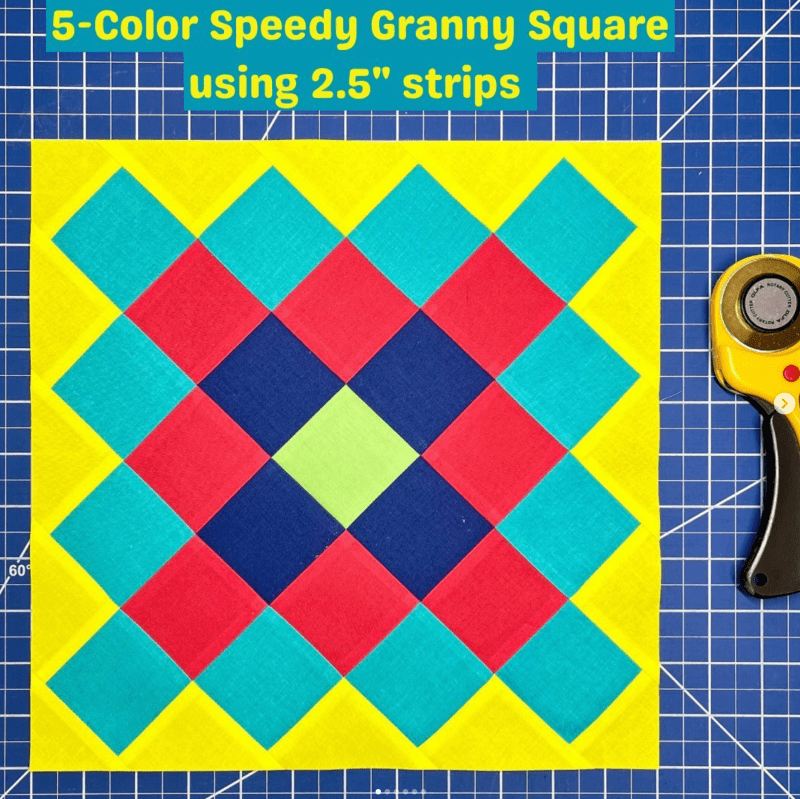
Three-square row blocks using 2 1/2″ squares trims out to be 9 1/8″ which is a block size I can work with.
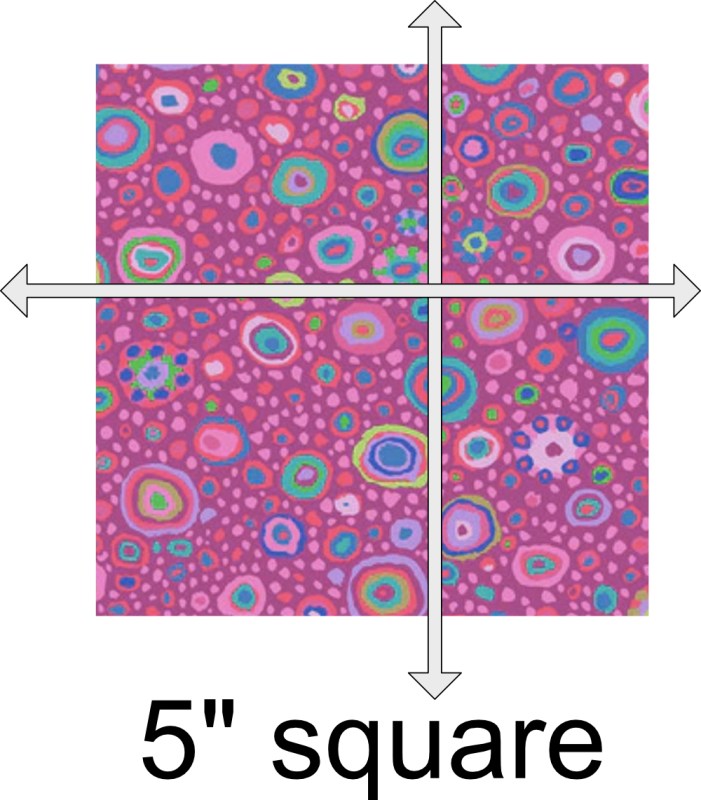
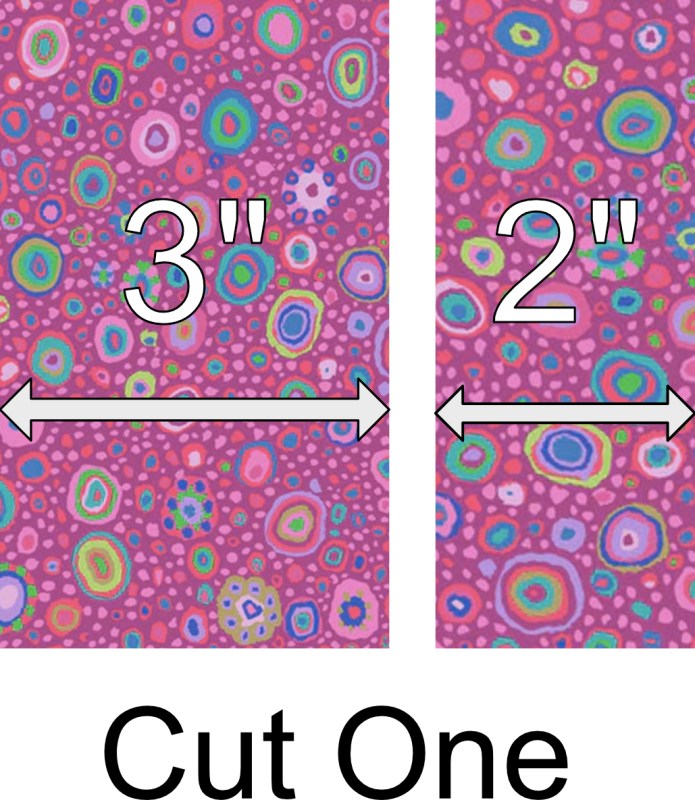
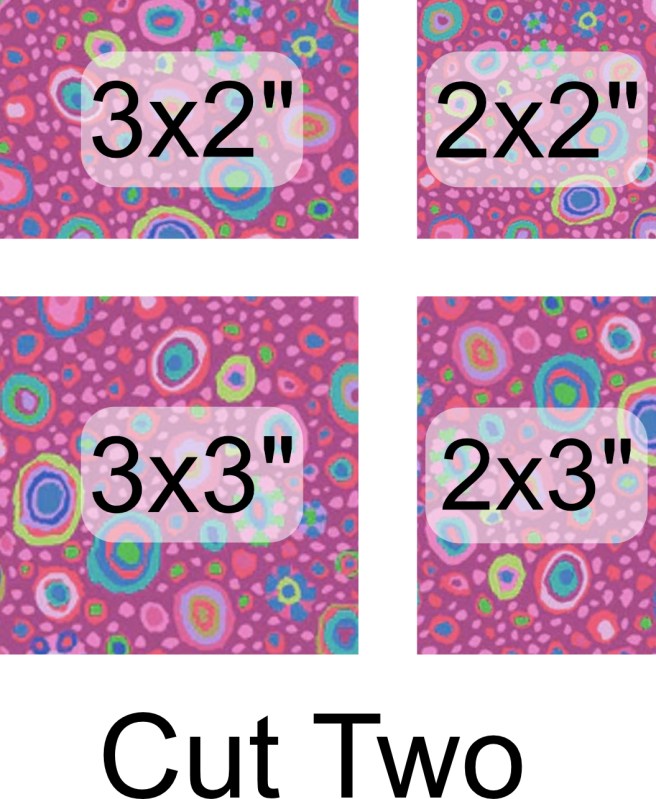
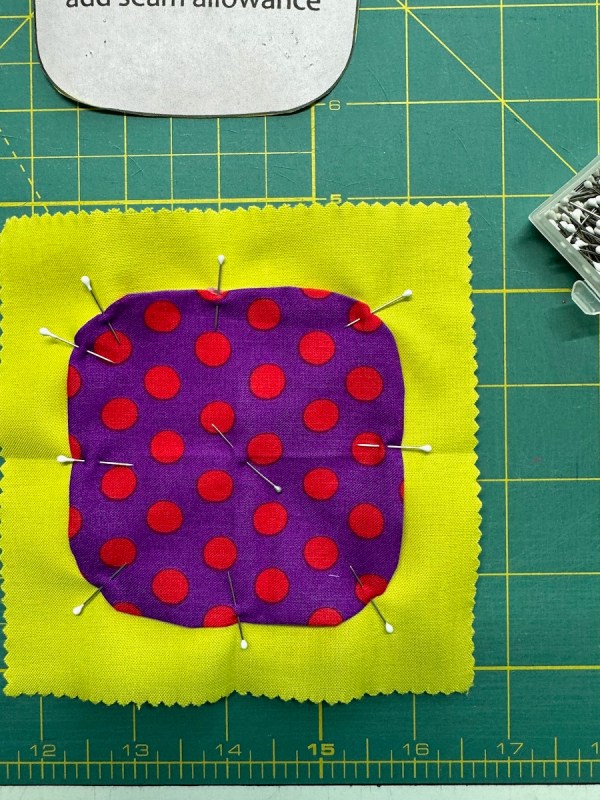
Here’s the test sample for the 4-square block, again using squares cut to 2 1/2″ EXCEPT FOR THE WHITE BACKGROUNDS, which I cut differently (info in the free handout, below):
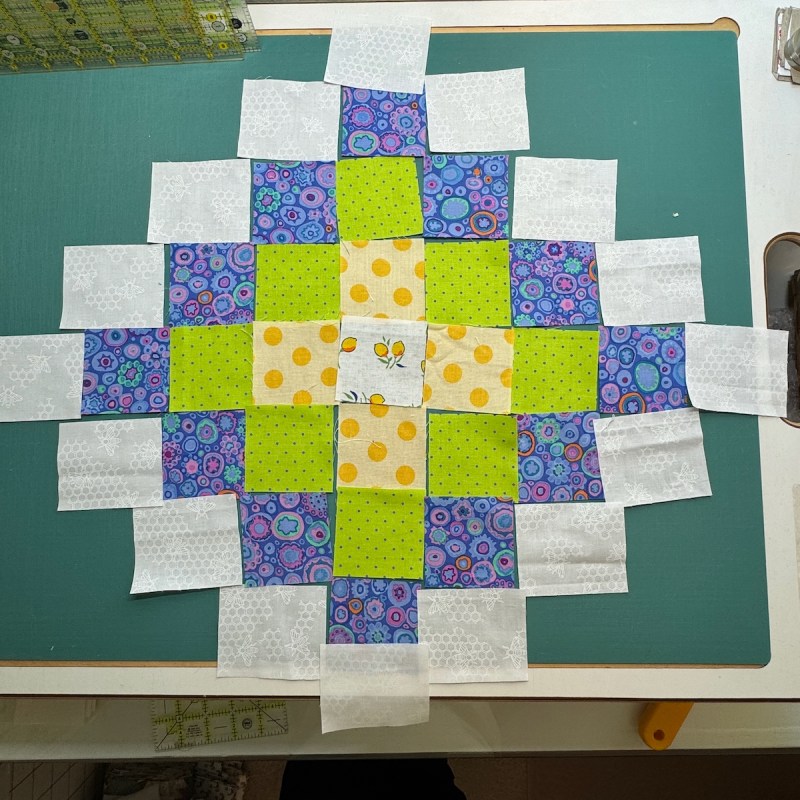
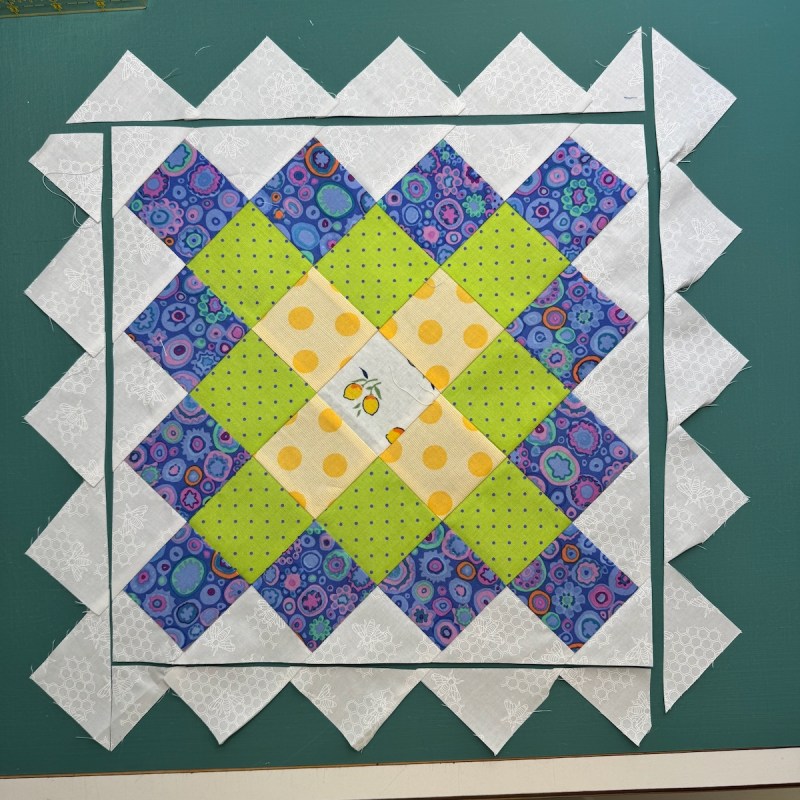
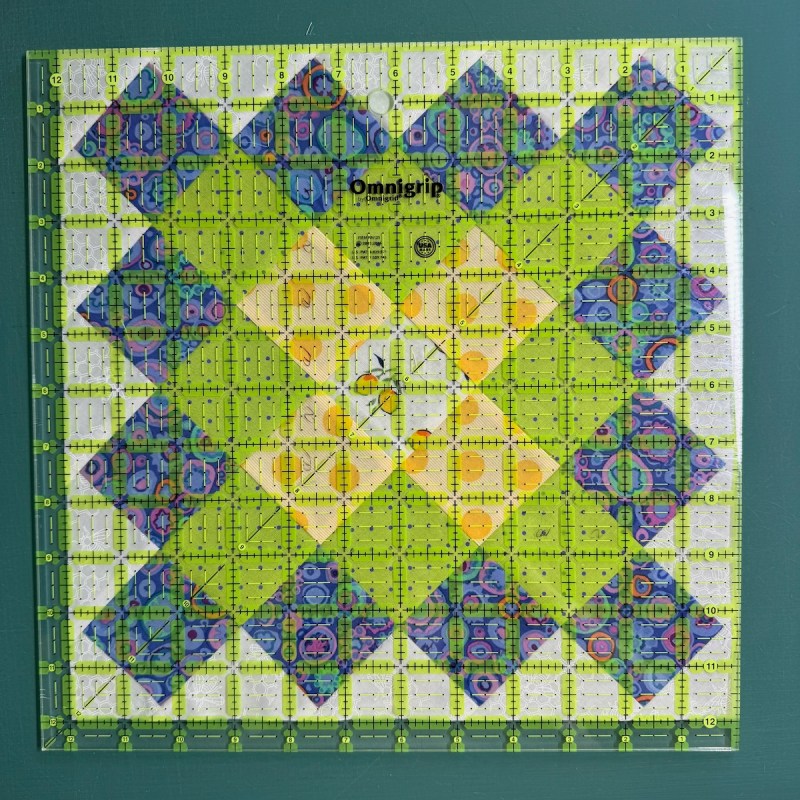
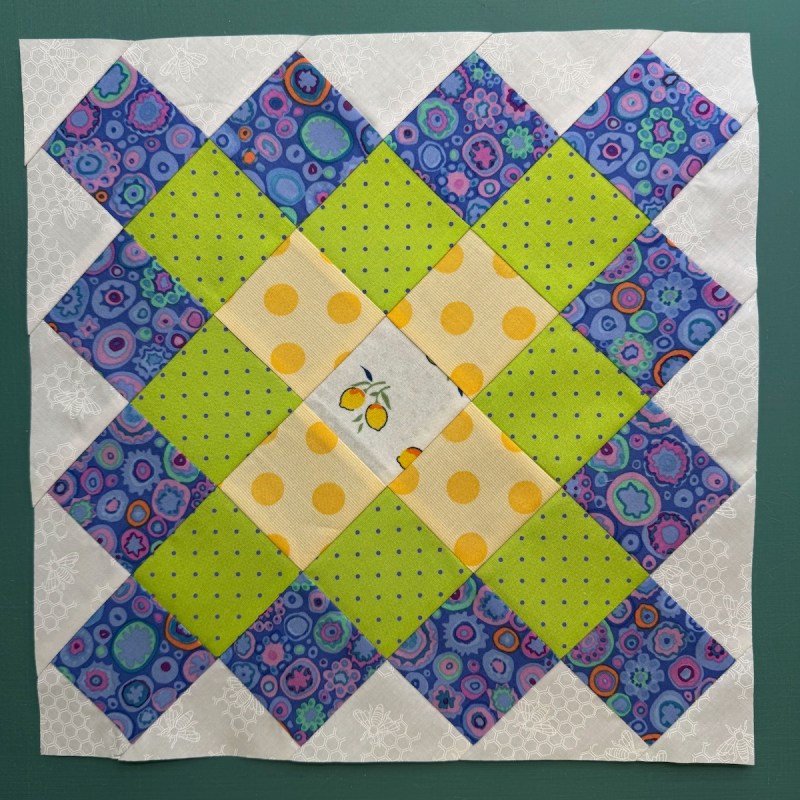
The dimension after trimming is 12″ square. Again, while it feels counter-intuitive to not know the finished size of a block when you begin, it’s probably easier to figure out what size square you want to work with and cut those, and then figure out the dimension of the final block once it’s all trimmed up.
I give you more dimensions and block sizes in the PatternLite Download, which for a while, is free. After that, it will move to my Pattern Shop and will probablymaybepossibly retail for less than a fancy drink in your favorite restaurant. So download it now, while it’s free.
(This is the updated mini-pattern with the quilt-making schedule.)
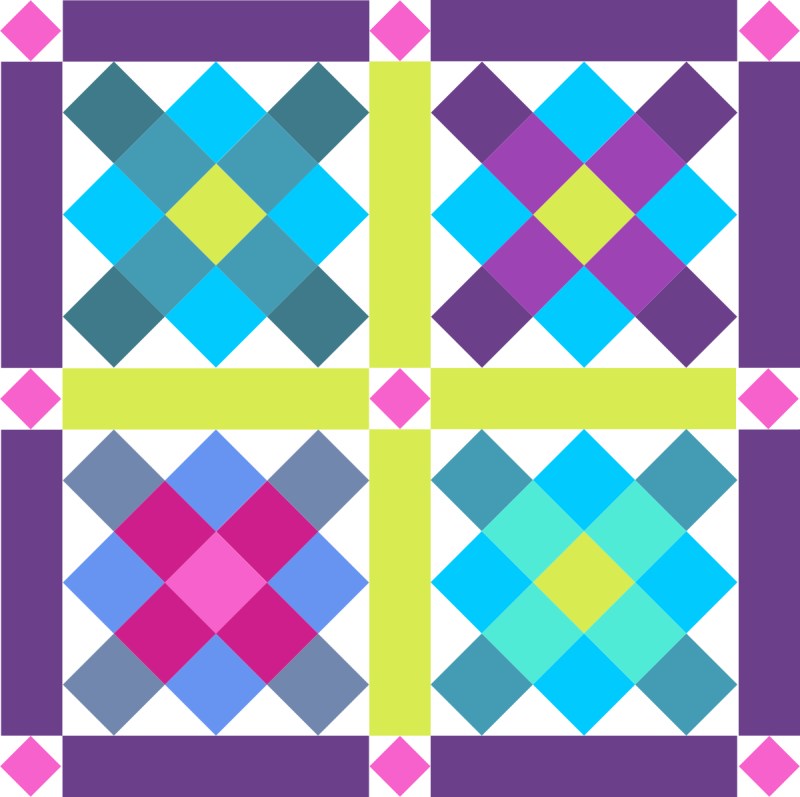
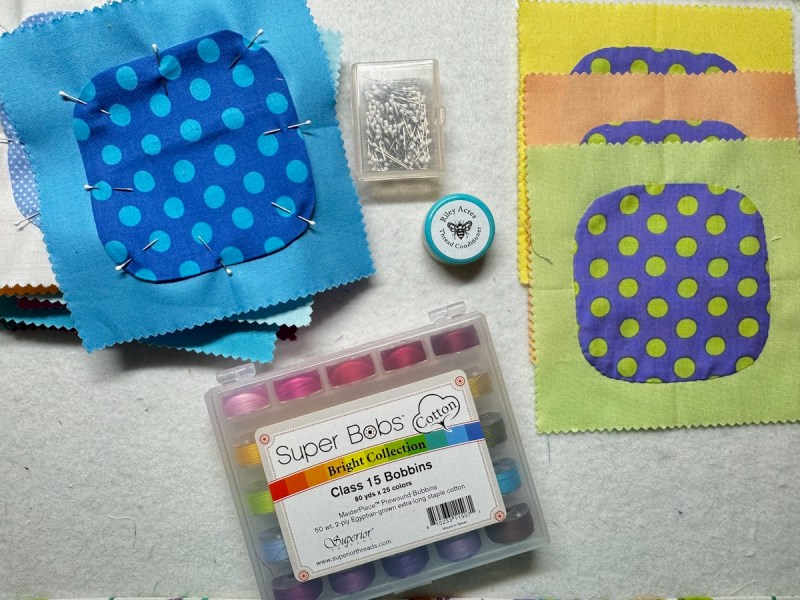
Another Hint: color is the thing. Decide what you want in the middle (light, dark?) and in each surrounding row. I did like the quilts that had different colorations, so sometimes you could see crosses going across the block. Two ways to put it together: sashed? Not sashed? A million different tutorials out there in Quiltland. Once Carol and I get rolling, we’ll probably post up our ideas, but for now, let’s just get started on making blocks.
We’ll probably start somewhere in May-ish? We haven’t decided yet. We’ll put it up on my least favorite-which-used-to-be-a-favorite social media, Instagram. Here are our addresses: Carol and Elizabeth. I’ll also post my blocks up on BlueSky, too, and Carol has Threads. Which block am I going to sew? I’m learning towards the 4-square version, although the 3-square version is also tempting.
Final Throught: Hashtags appear to be pretty useless now in Meta’s world However, I will be tagging my posts for organizational reasons: #ohgrannysquare2026 It might be easier just to follow us on Instagram, Threads or BlueSky or type in the words Oh Granny Square and let’s hope for the best!
UPDATE: Check this post for an update on the Quilt-A-Long.
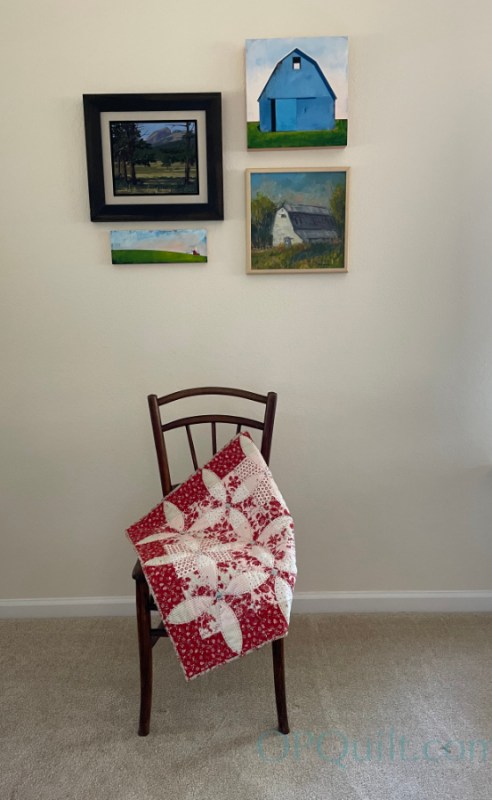
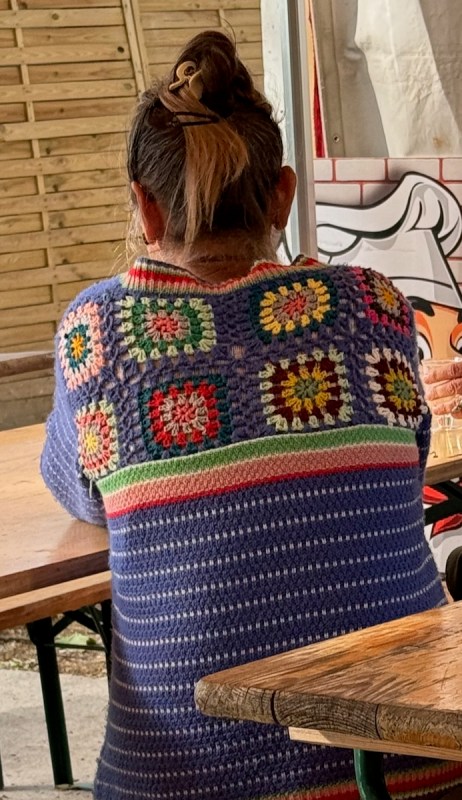
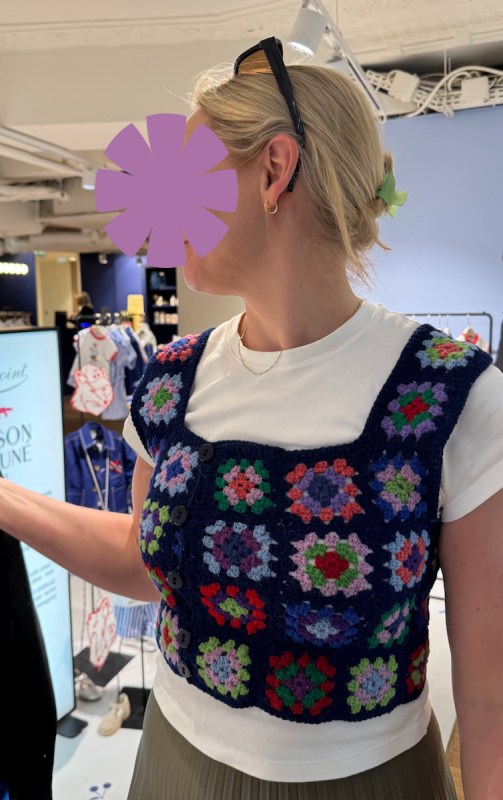
And just for the record, Granny Squares seem to be making a comeback. Here are two I saw while in France last week:
Happy Sewing!

What Were The Other Sew-A-Longs?
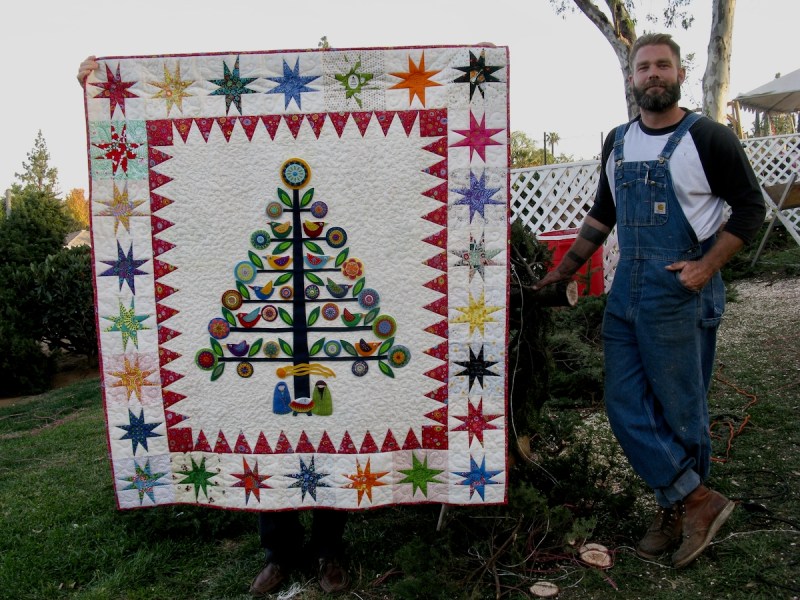
Oh! Christmas Tree was made by several of us who hung around at that time.
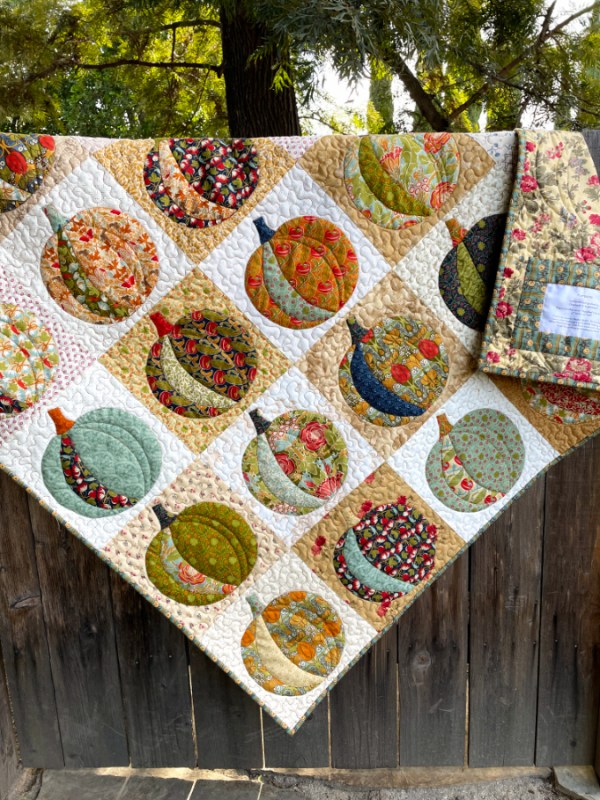
Posh Penelope, where all three of us (Carol, Linda and I) nearly lost our minds, 2025