250 years have flown by, to be exact.
Because I’m a traditional American, a put-out-my-flag sort of gal on the 4th of July, with maybe adding a rootbeer float and maybe a hot dog to go along with it, I’ve been thinking about how I want to celebrate the 250th of our founding of our country.
And yes, I want to make another quilt, and thought I’d throw out a couple of red, white and blue ideas for you and your 250th celebration.
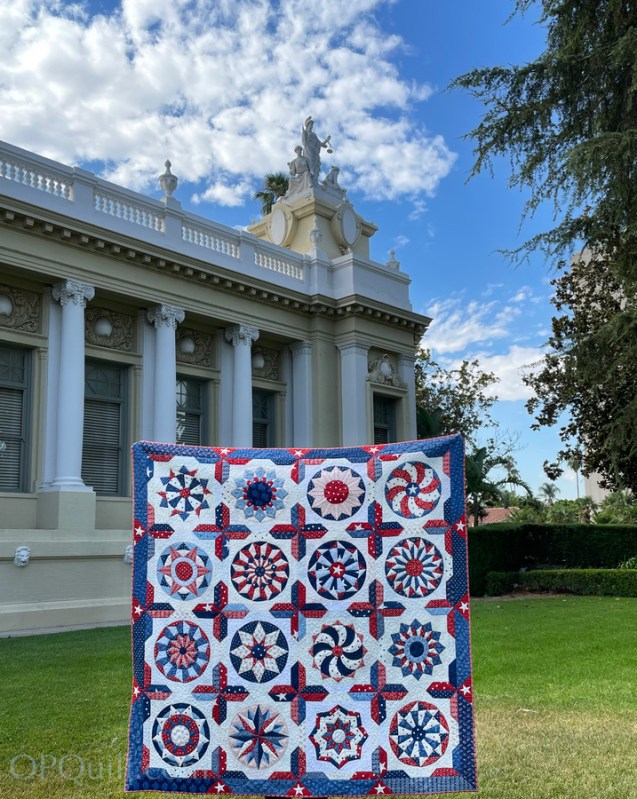
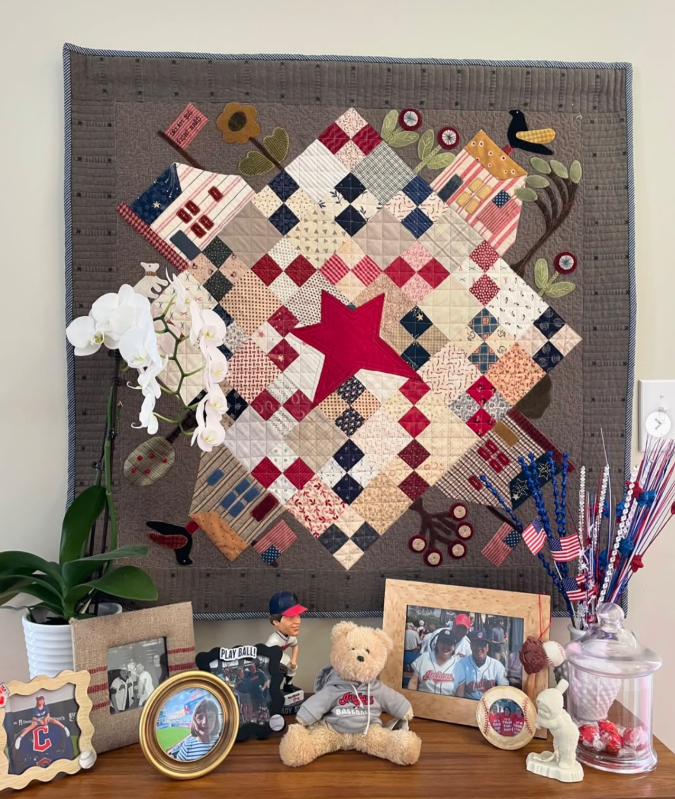
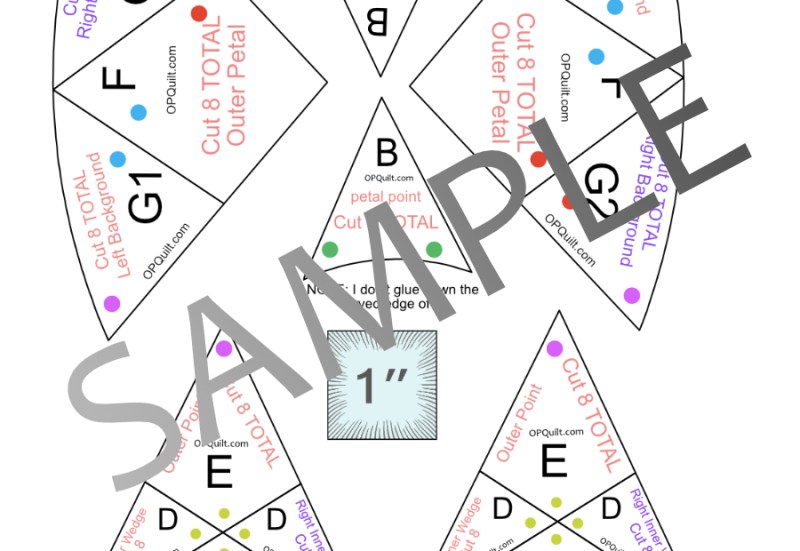
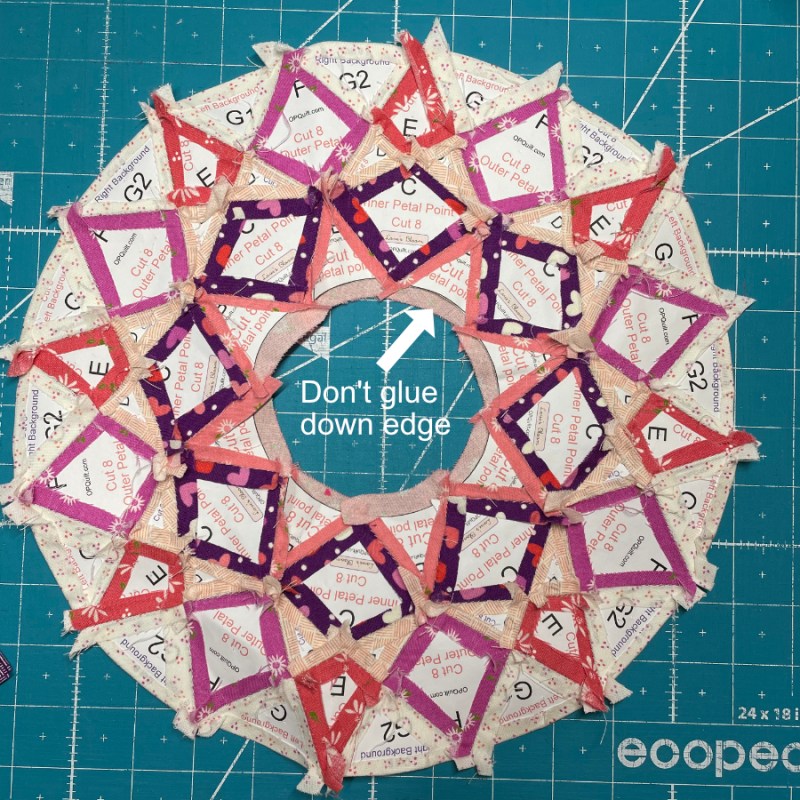
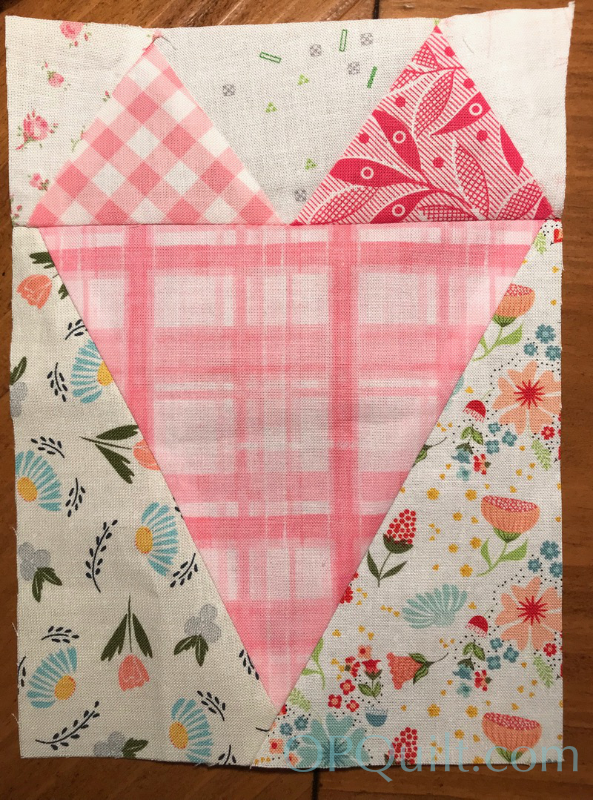
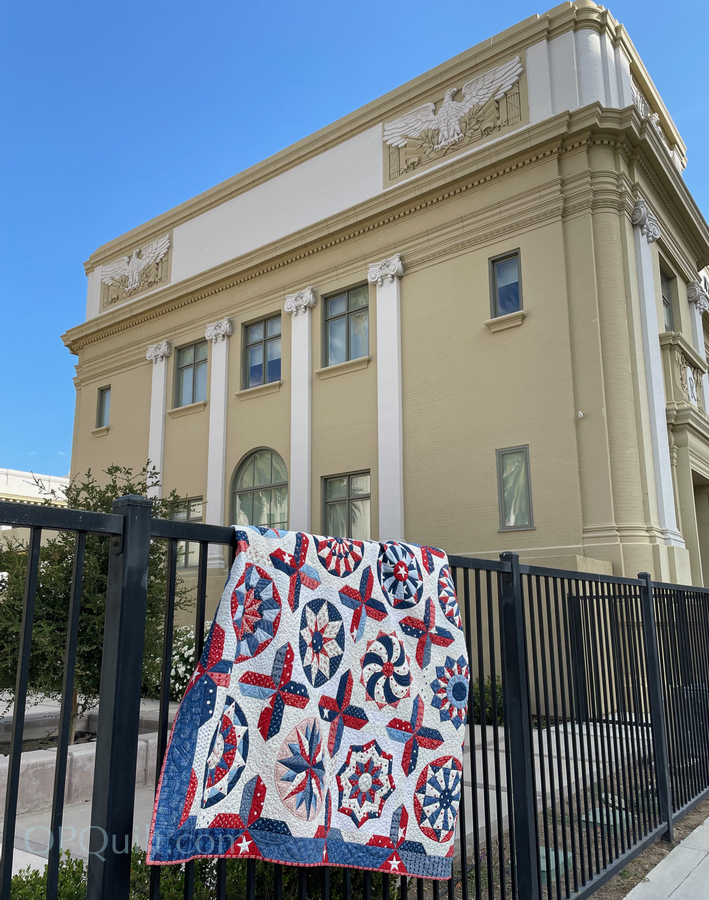
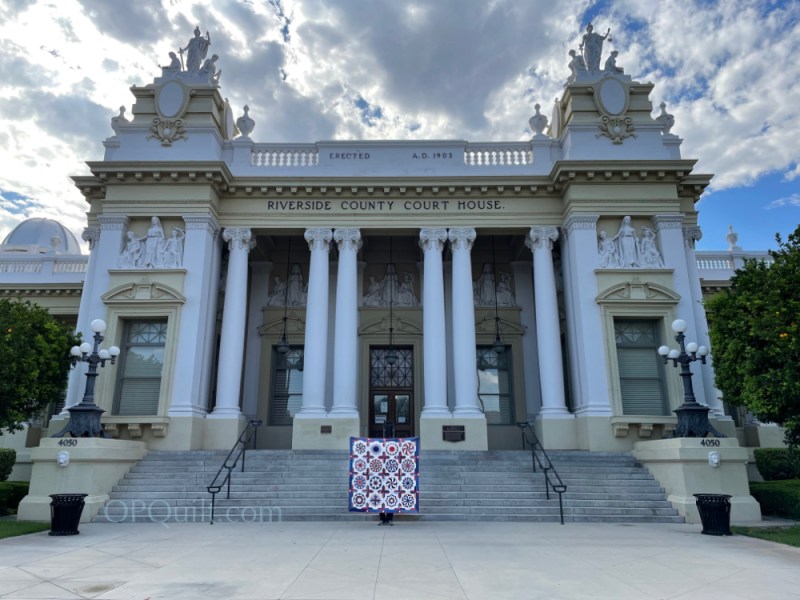
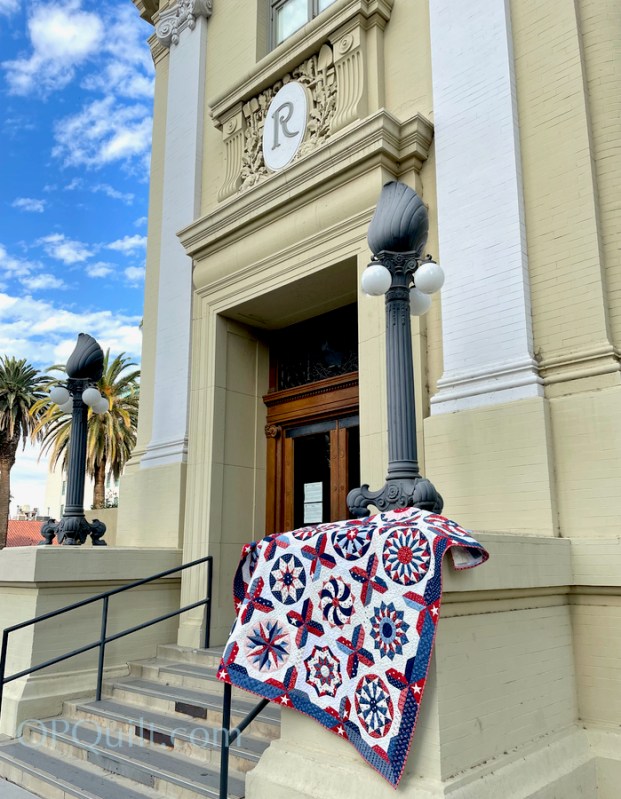
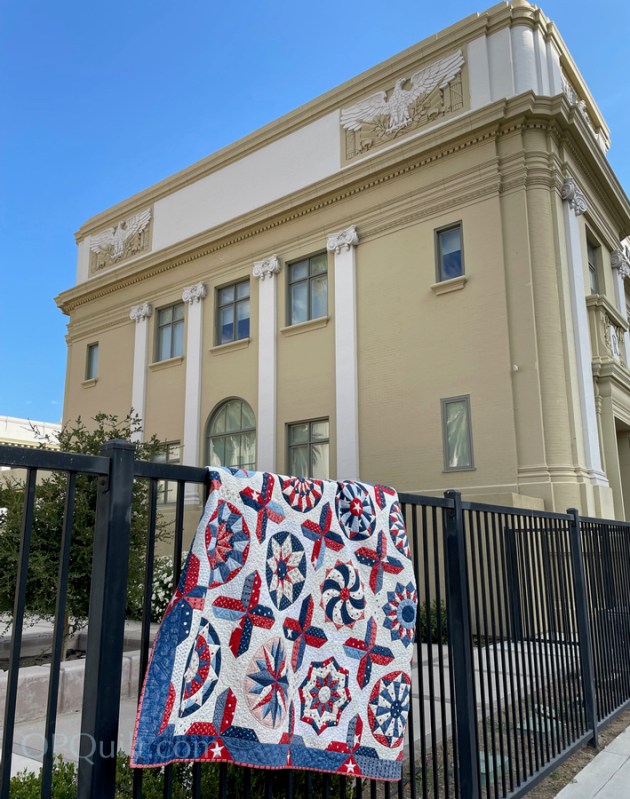
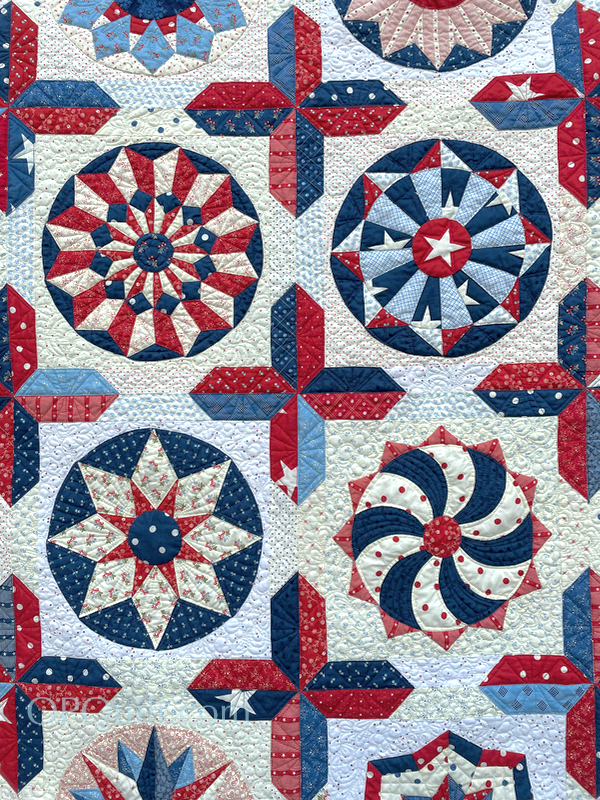
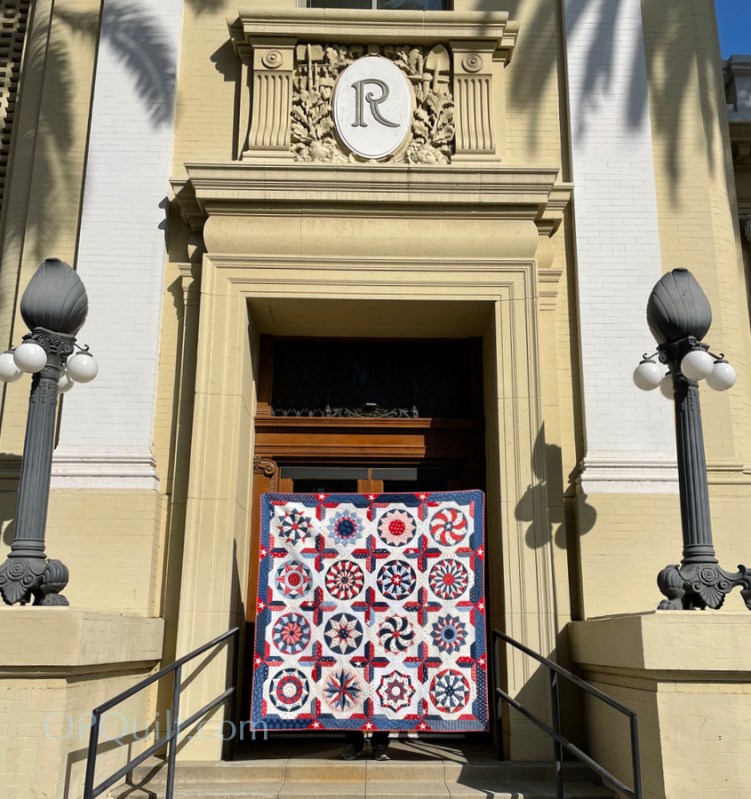
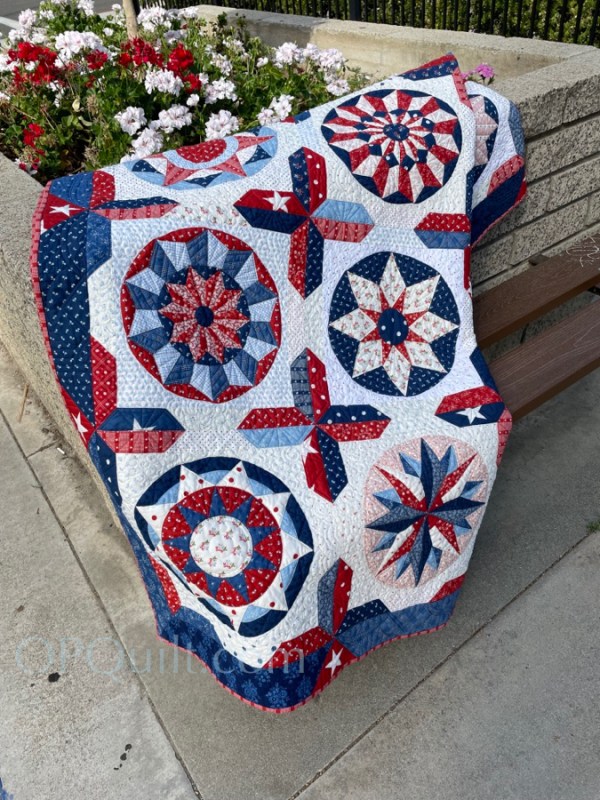
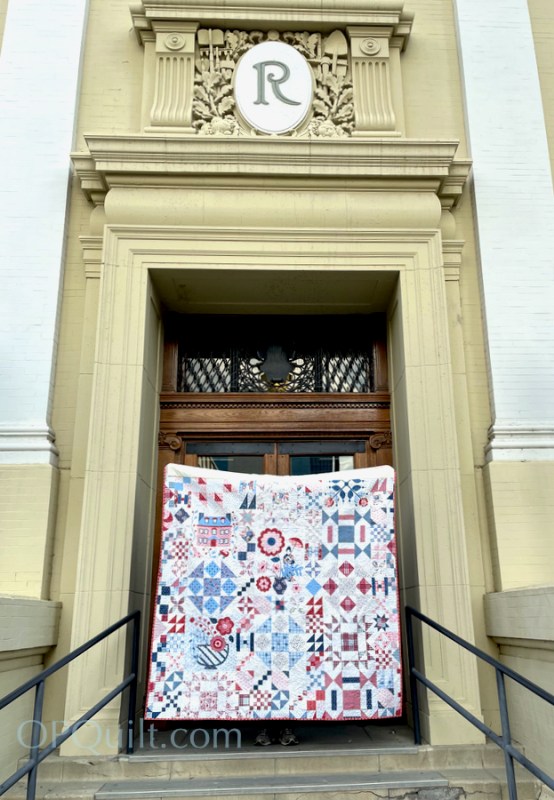
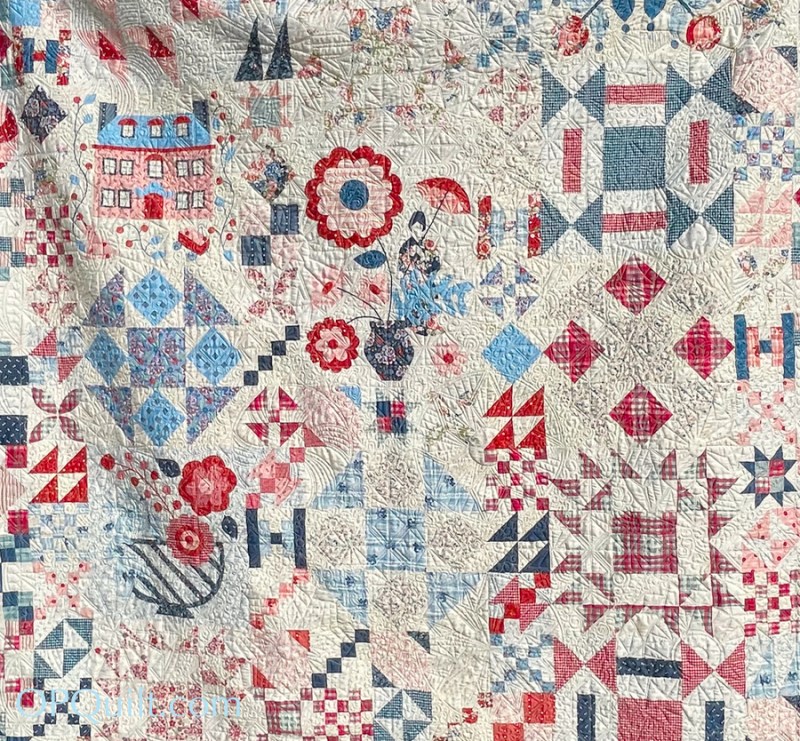
It’s a long story, but this is the red, white and blue version of my EPP quilt, made during covid. The title is I Hear American Singing and references all of us, our differences and how we all sing the song that is America (minus the bad guys, of course). Most all of the block patterns are free here on this blog, so have fun downloading them. The page that has all this info is An EPP Quilt: Circles. Each pattern has a corresponding blog post that’s a tutorial, if you need it.
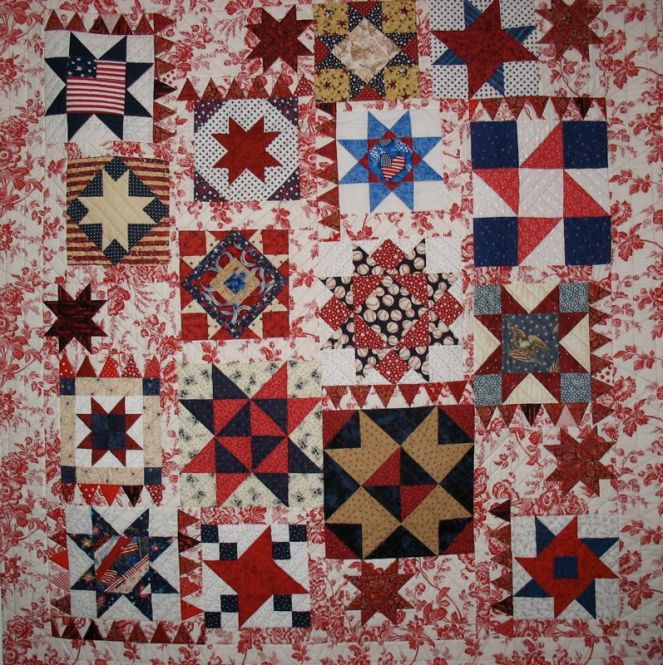
This hot mess was a Friends Quilt, but I like the idea of a bunch of stars. Very cool background, I must say, but this was in the days when I thought a bunch of random blocks equaled a quilt. I mean, it kind of does…in a way.
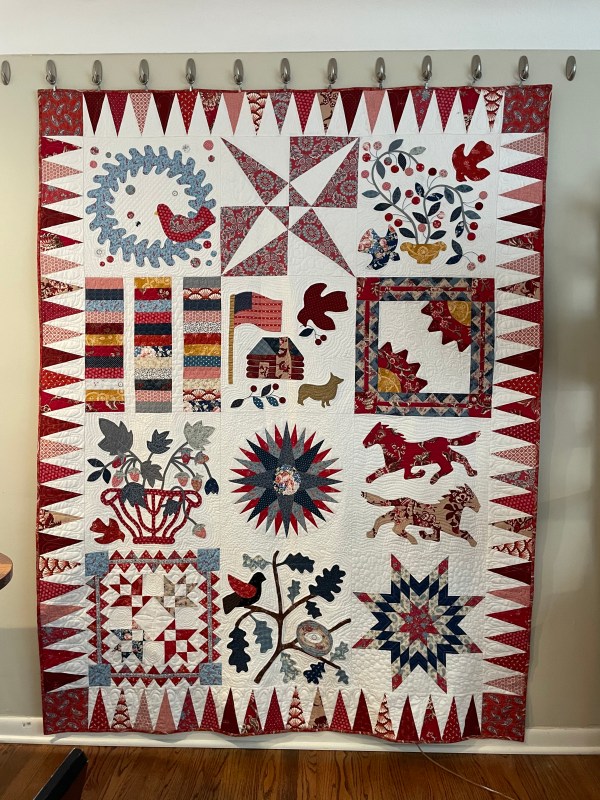
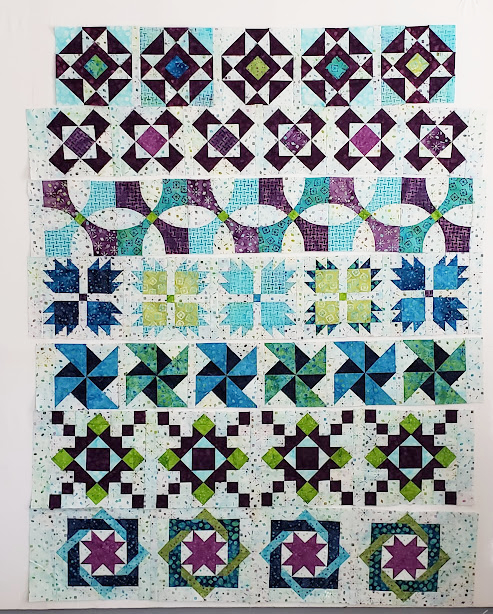
This is a better example of what a quilt of many blocks can/should be: Carol Gillen’s Sacajawea quilt; pattern by Minick and Simpson.
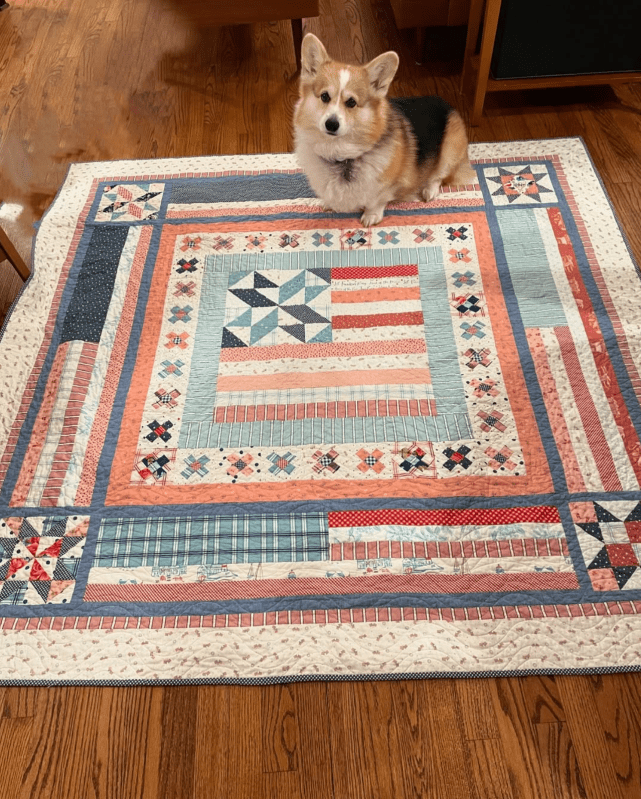
Carol’s pup on a red, white and blue: pattern is This is Land That I Love, by Amy Smart. If you can’t tell, Carol’s kind of my go-to for red, white and blue quilts.
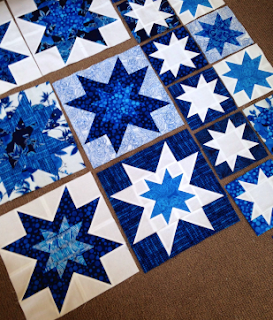
My friend Susan designed a star quilt using blue and white stars, called Under Southern Skies (she’s from Australia). She has a free tutorial, if you’d like to make it.
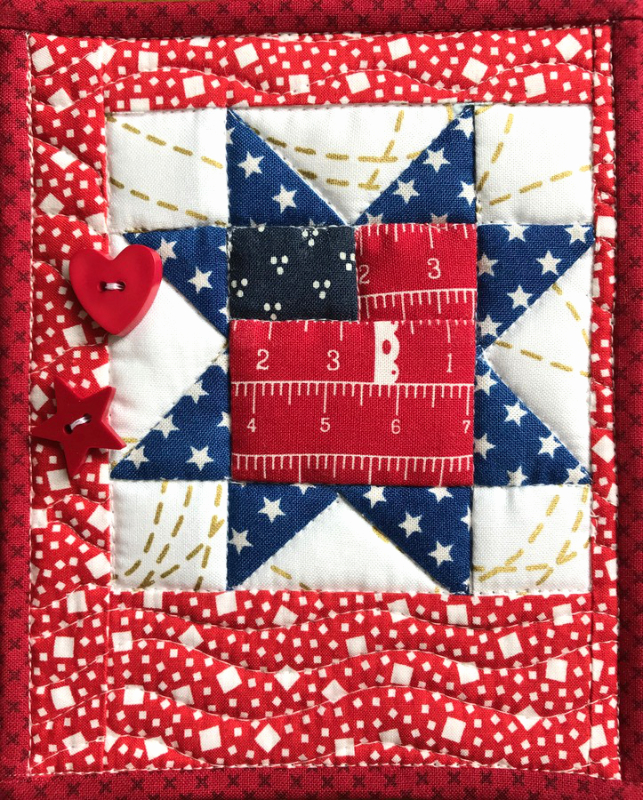
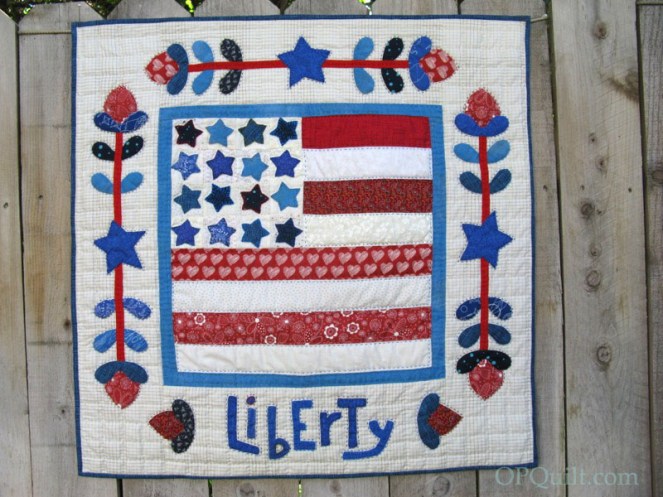
I also like wee red, white and blue quilts. The free instructions are on this post.

Two links on this one: Head here to get the Free Worksheet to make the quilt, and a look at the final quilt finish: Betsy’s Creation.
I have two quilts for this 250 Celebration I’m dithering between:
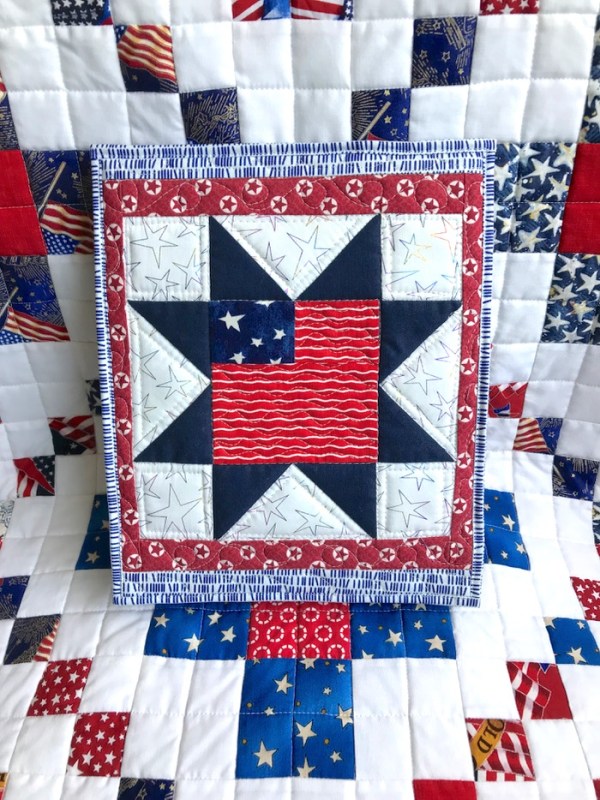
I saw this at Carol’s “Celebration Station,” a little display she changes out every month. It’s from Timeless Traditions, and is titled Flag Day. It finishes at 36″ square, so not-too-big. And I already have the pattern!
Another idea is just making a ton of star blocks in different sizes and arranging them.
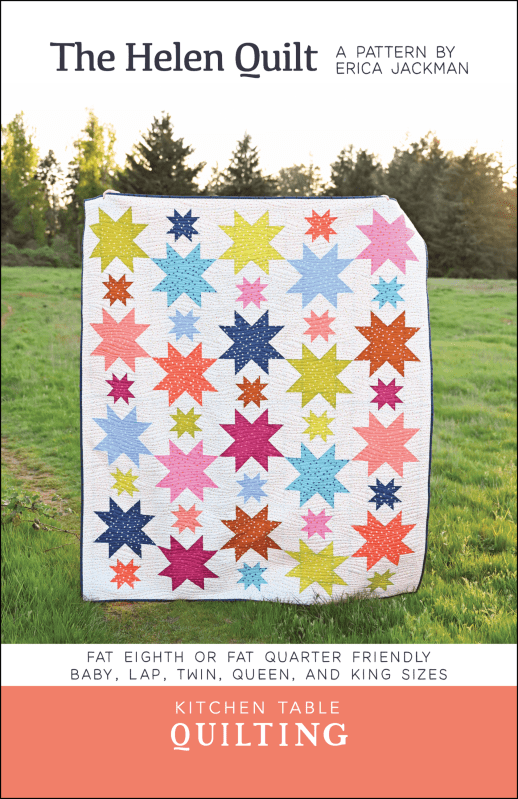
Erica Jackman just did a Quilt-A-Long on this last year, another pattern I already have.

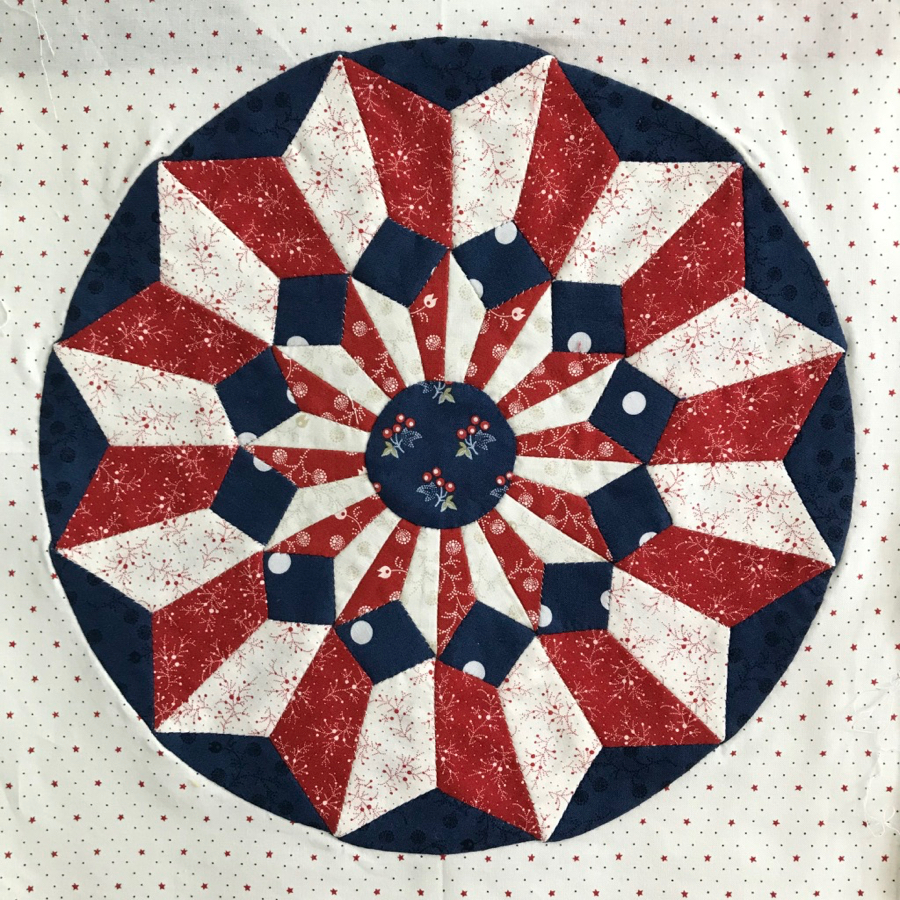
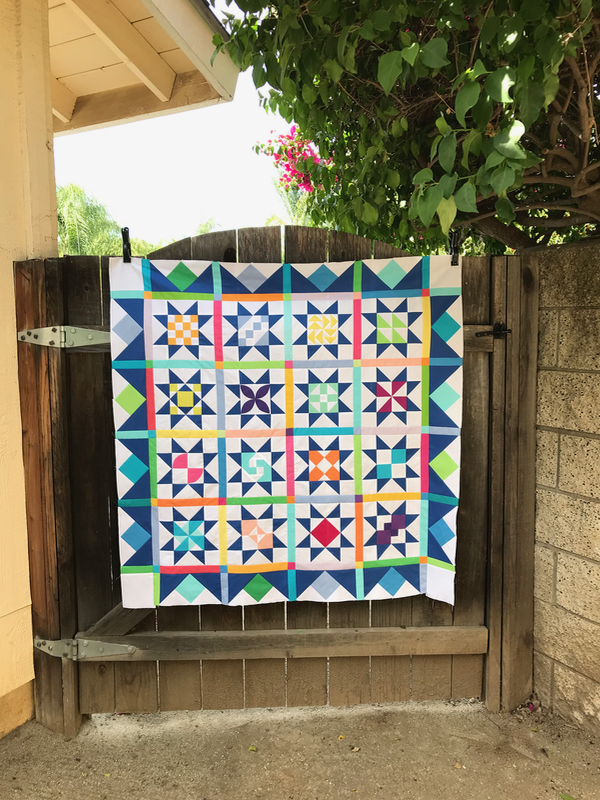
Anja showed this on her blog, and I love the randomness of this, as well. You can read about it here. If I were to do this, I might throw in a few of my Sawtooth Blocks from my pattern, as I like the different centers:
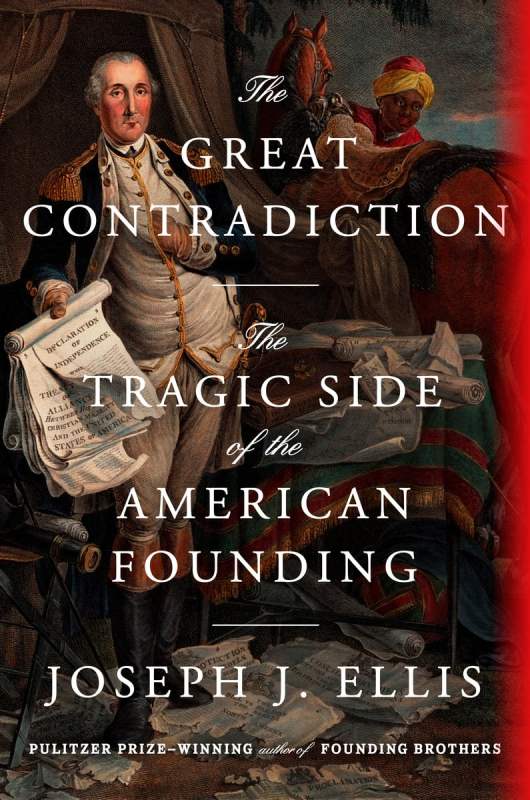
And of course, there are millions of Quilts of Valor designs out there on the web. I also plan to read a book in tandem with my historian sister Susan, someone who can guide me through understanding about just what our Founding Fathers were trying to get to. The one we’ve chosen was featured in an interview that Judy Woodruff from PBS did the other night.
There are many good books to read about our early history, and of course plays to see, parades to go to, quilts to stitch up.
But another aspect of How Time Flies has to do with the SAHRR 2026 quilt-a-long I’ve been a part of. As always, thanks to the organizers and hosts!
We’ve reached the last prompt, and it was “Quilter’s Choice.” I think Anja has experience in these, because Prompt #6 was just what I needed after a mad smash to get all the words created and stitched on to the four panels surrounding the quilt.
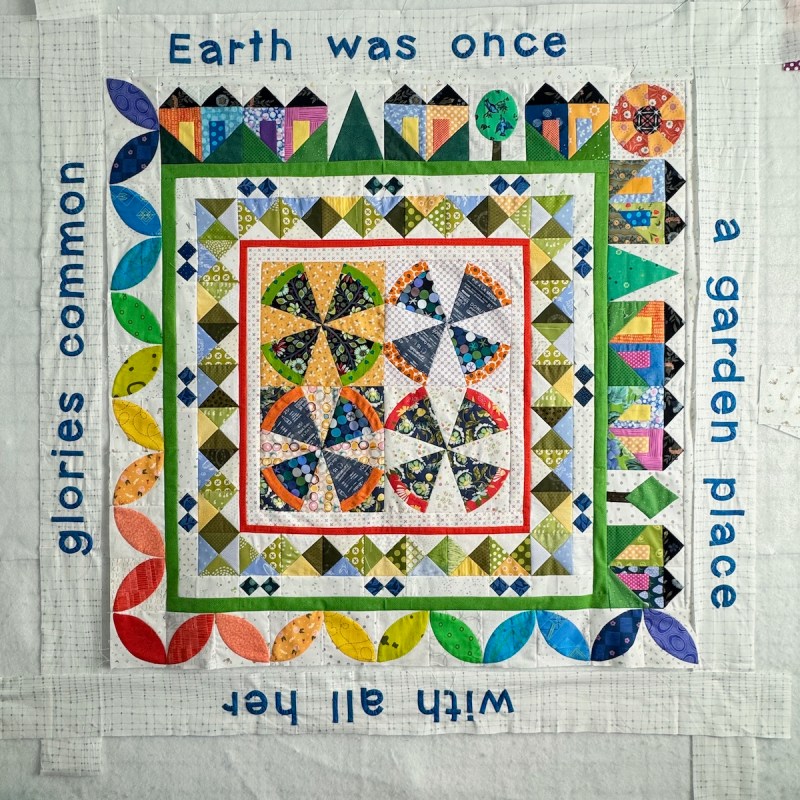
My choice right now is to rest, and get ready for the Top/Quilt reveal on March 25th. I have a couple of simple borders in mind to tie everything together. I am so happy you all encouraged me to keep going, go forward in stitching down the words. I love how they look!
The Stay At Home Round Robin 2026 schedule:
*January 14: Center Blocks, led by Gail and shared by each co-leader
*January 21: 1st Round: Brenda @ Songbird Designs
*January 28: 2nd Round: Kathleen @ Kathleen McMusing
*February 4: 3rd Round: Emily @ The Darling Dogwood
*February 11: 4th Round: Wendy @ Pieceful Thoughts of My Quilting Life
*February 18: 5th Round: Gail @ Quilting Gail
*February 25: 6th Round: Anja @ Anja Quilts
[An asterisk* means that prompt has been posted.]
This has been a sprint, but to think that just six weeks has passed since we started and there are so many lovely quilts to be seen. I’ll include the final Linky party when my quilt is complete, but for a taste, here’s a couple I loved:

Left is Emily, from The Darling Dogwood, and on the right is Wendy from Pieceful Thoughts. Many more, later.
Until then, maybe give a wee thought about how you will celebrate the 250th celebration of our country? Part of it I will endeavor to work to ignore the noise and chaos generated artificially by pronouncements or tweets or truths or influencers. I will think about what I love about being an American, and how living here has shaped me, changed me, helped me. I will think about ways I can help others to see the beauty and joy (and work to change the things that are ugly or that make me angry).
And I will quilt!

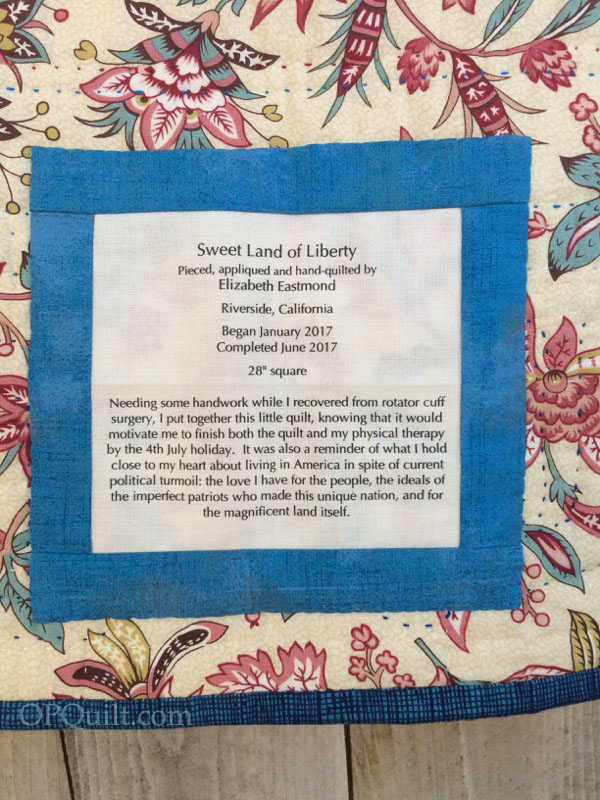
This belongs to the quilt at the top of the post. Pretty funny to see what I wrote, since it was during our current president’s first term. I guess turmoil and chaos goes with his presidency!


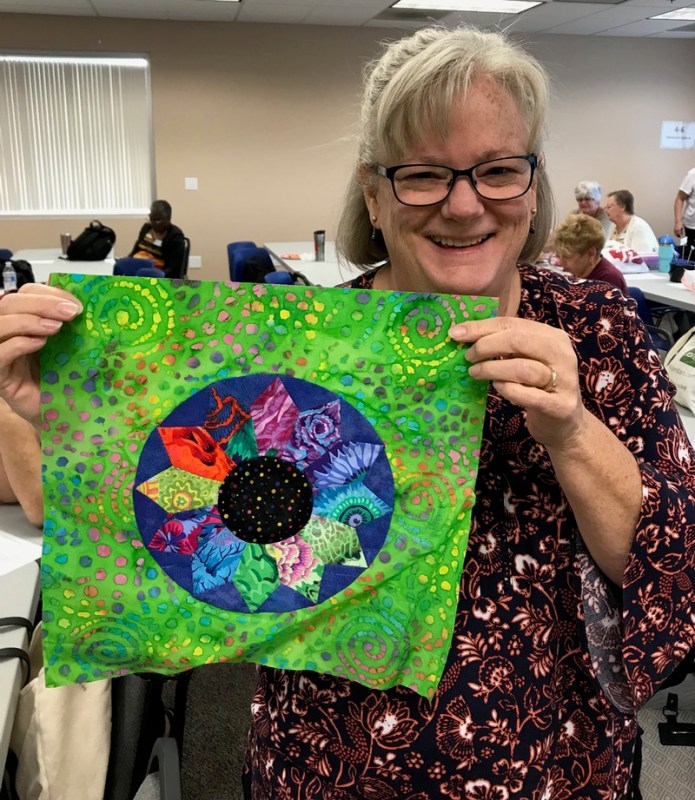
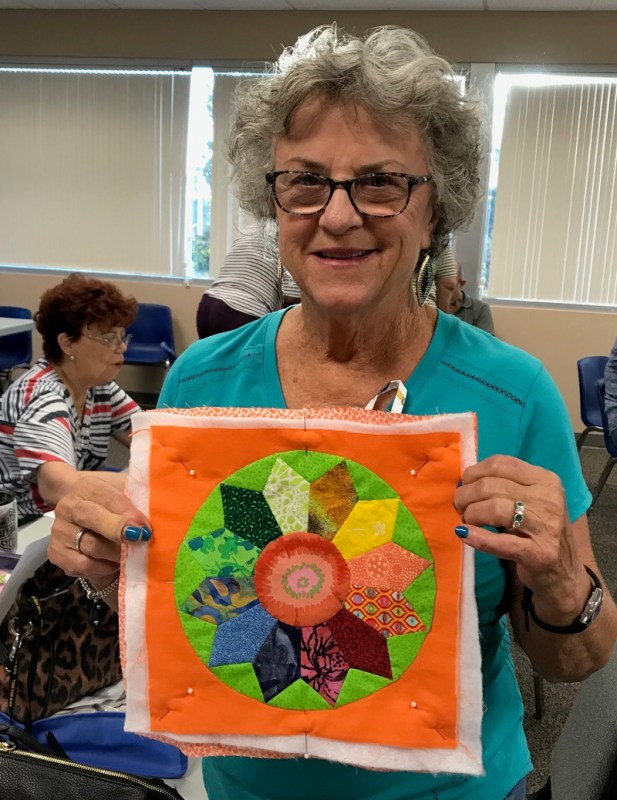
 Monday night, I returned to present a program for them, and at the beginning, those who had made progress on their projects held them up for everyone to see.