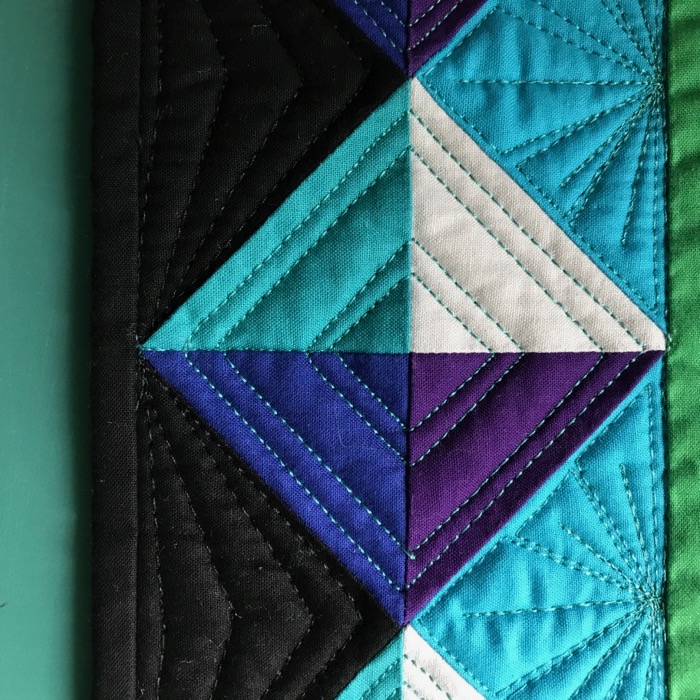
Remember this?
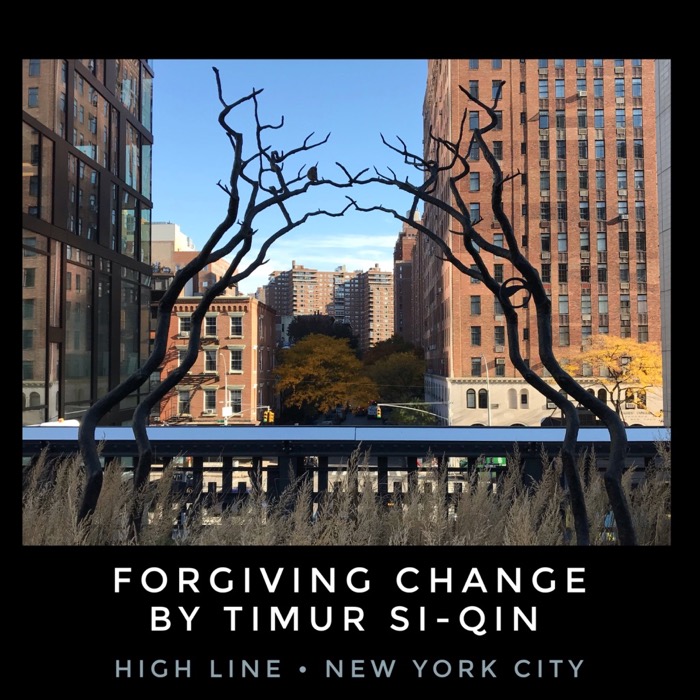
And this?
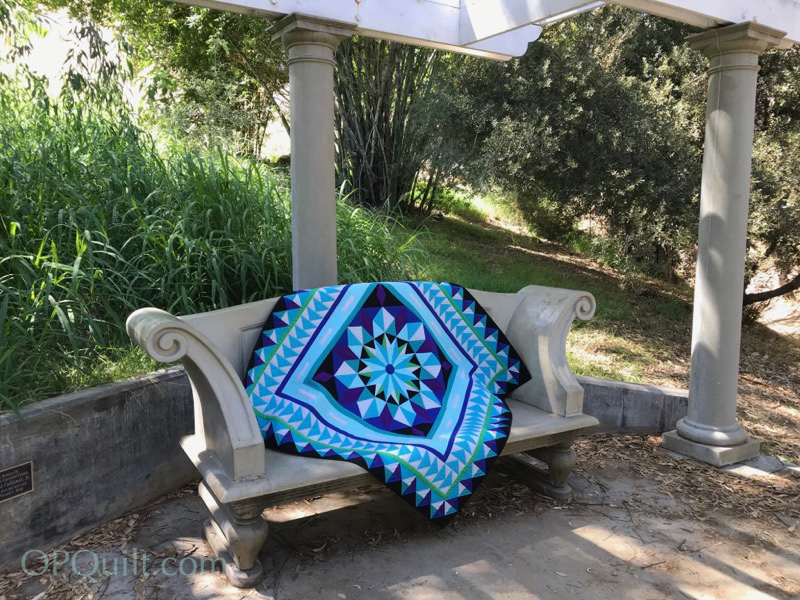
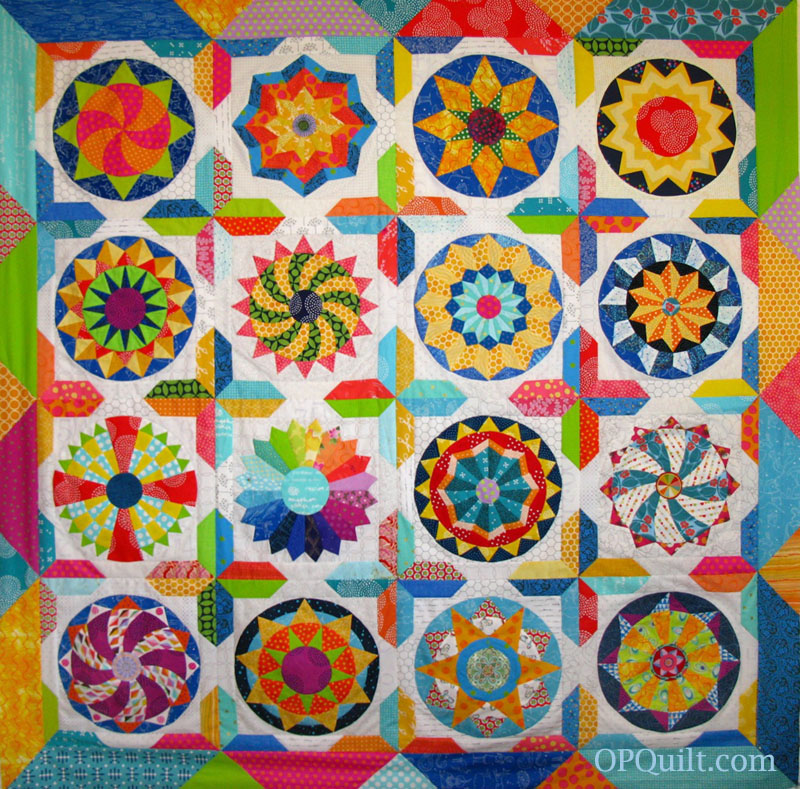
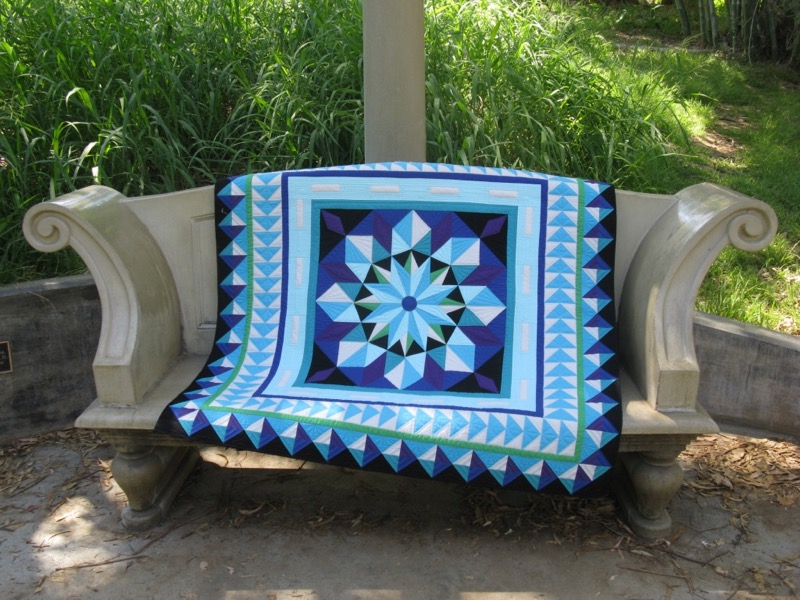
This is Shine: The Circles Quilt, and I started it as a English Paper Piecing project, putting the free patterns up on this blog, beginning in 2014. I also have a page dedicated to these blocks, giving out the patterns and tutorials for each, until the last four (which used to live on Craftsy, but that’s another blog post. Coming soon.)
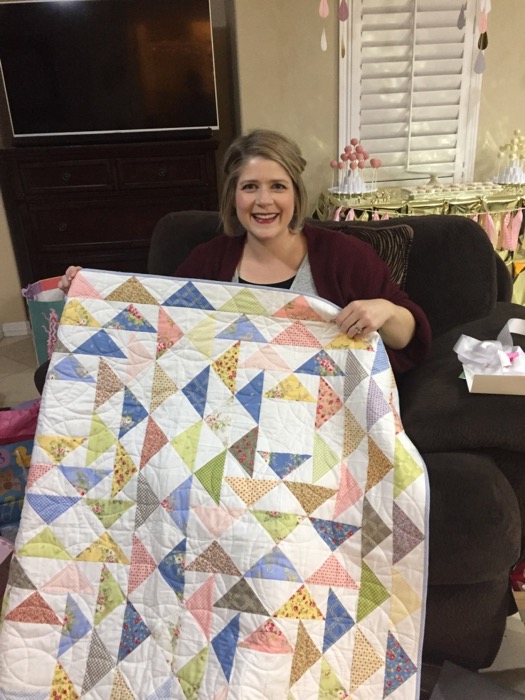
And then this new year, I opened up mail from one of my heros, Becky Goldsmith to see this:

and this:

all advertising her newest endeavor.
As near as I can tell, she has no idea I exist. She is not copying me. She has fancy borders, and has done the quilt twice. I think this is a classic example of what the German’s call “der Zeitgeist” or “the trend of thought and feeling in a period.“
But I am a bit frosty about this, for one reason only: she has a megaphone, and I have only this blog. I used to have a blog and a Craftsy site (!), but I guess I also have Instagram, which might have a zillion followers if I unblocked all those creepy men or Quilt-Content-Thieves. But is it really “frosty” or is it more that I’m jealous? I think the latter.
I still have my Shine patterns here, but really, I have to yield the selling floor to the firepower of Piece O’Cake Designs, in making a quilt with a grid of paper-pieced circles based on the traditional style of a compass rose. I don’t have her readership, her TV show appearances, her mailing list. She’s a tsunami. I’m a wobbly sprinkler on the back lawn. To be truthful, Goldsmith earned her tsunami status through hard work over many years; again, she did NOT copy me at all. I have all of her books, and have made a couple of her designs, so you do have to put me in the category of Total Admirer. But that’s not the issue here.
My takeaway: when quilters come up with designs similar to one another, it’s not always a copyright issue, which is the usual scream that emmanates from the collective online voice. Sometimes it just is the Zeitgeist.
Sometimes the Sew Together Bag is merely a copy of her grandfather’s toiletries kit (this fact mentioned to me while we were standing in line together at Market in Salt Lake City), and my Mini-Sew Together Bag was a version I was working on when I didn’t like the bulk of the original, and my Smile Bag came before byAnnie’s Clam Up bag and perhaps we were both inspired by the bag for the First Class United Airlines customers, and perhaps they were inspired by some ancient Japanese zakka. That’s how these things go.
Okay, I feel better now.
Updates to original post are in black text.


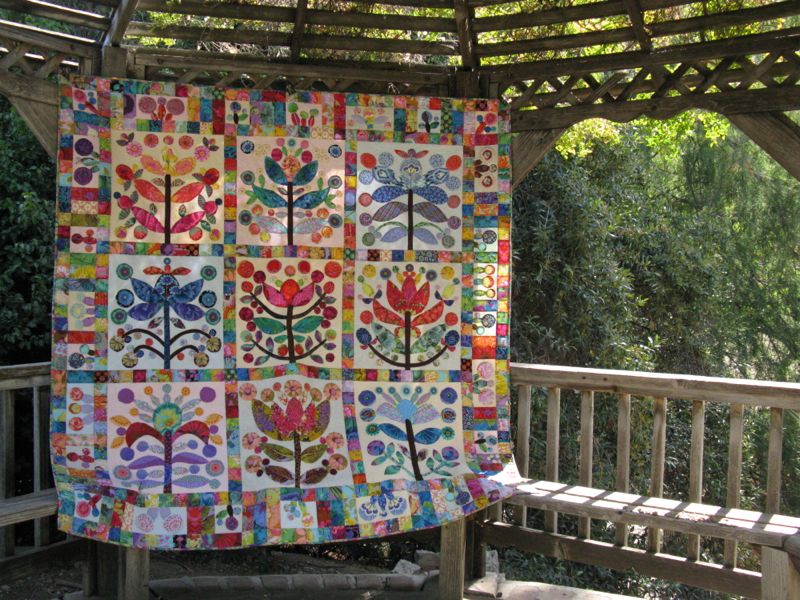


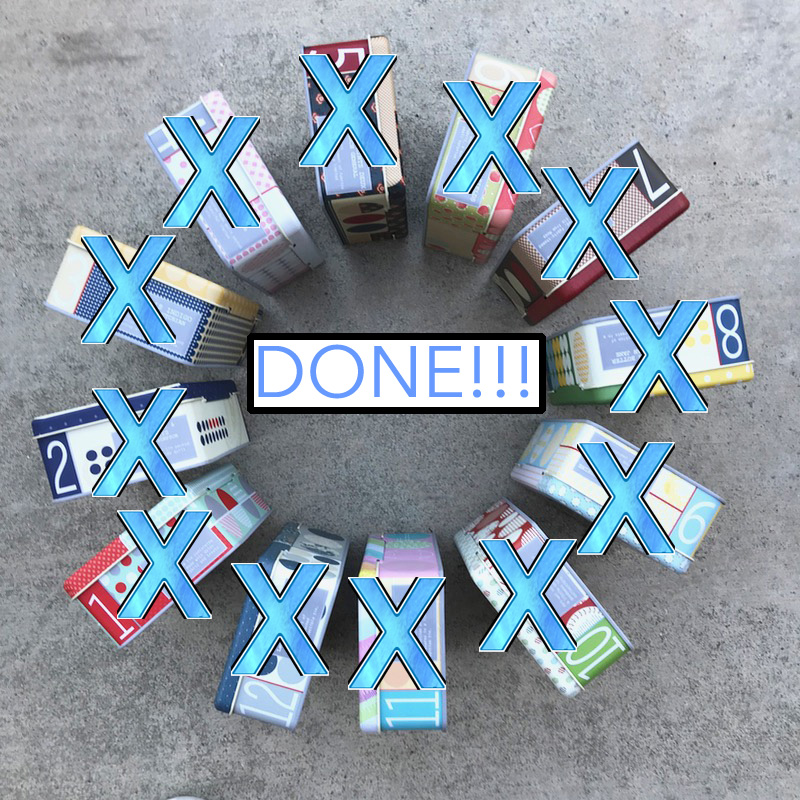
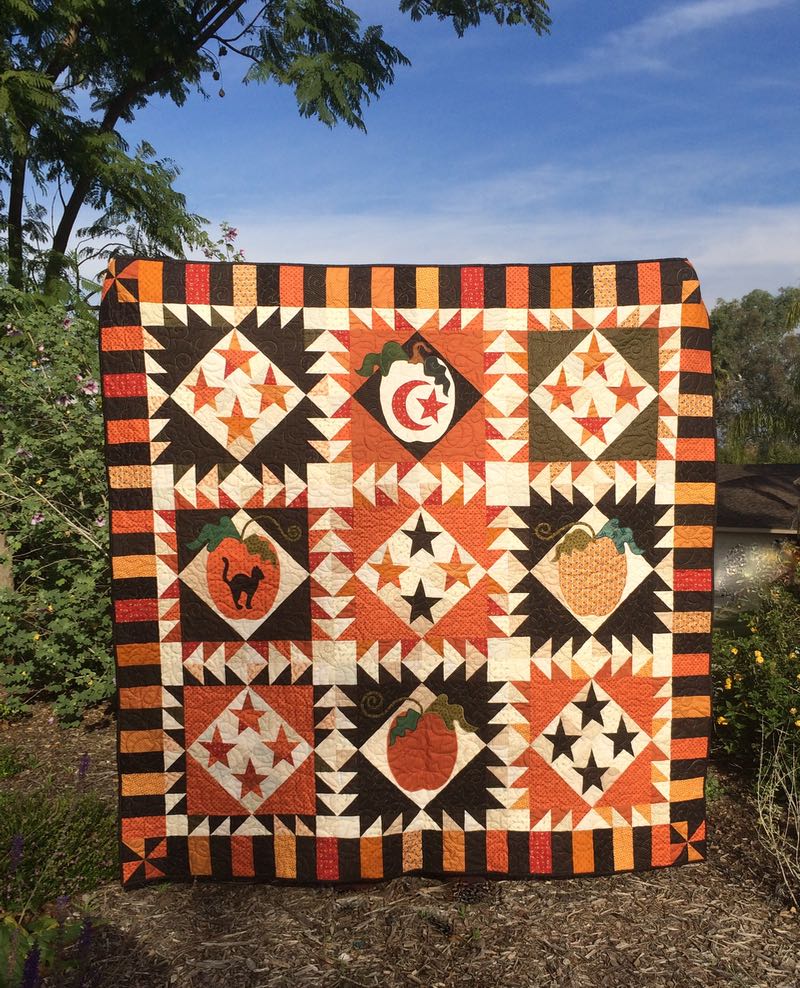 2016 I did not one, but TWO,