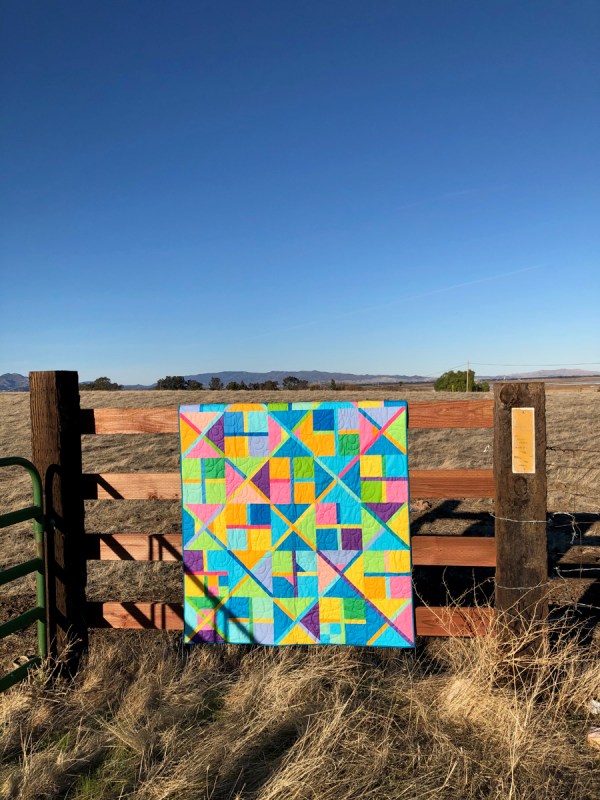
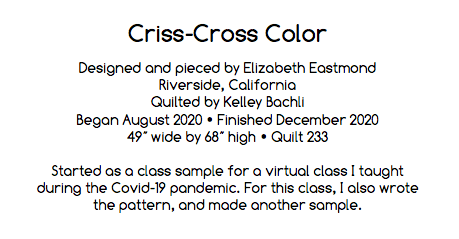
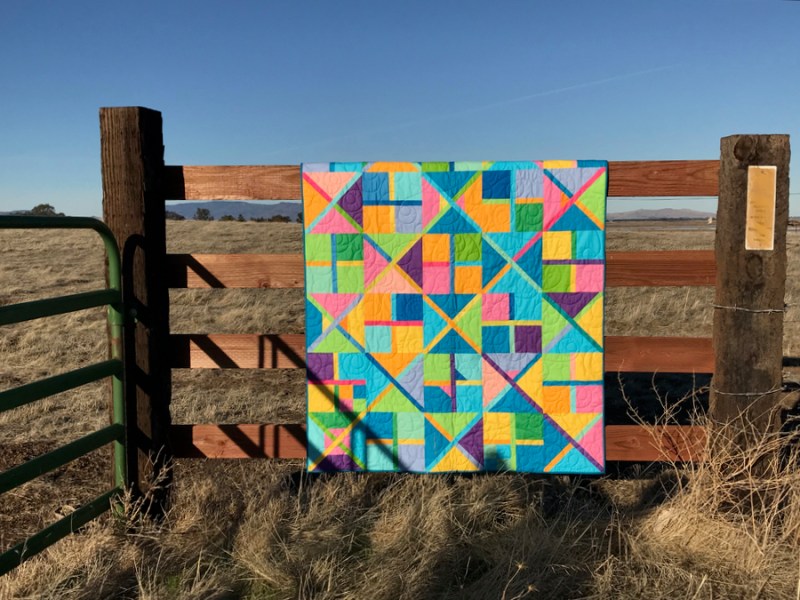
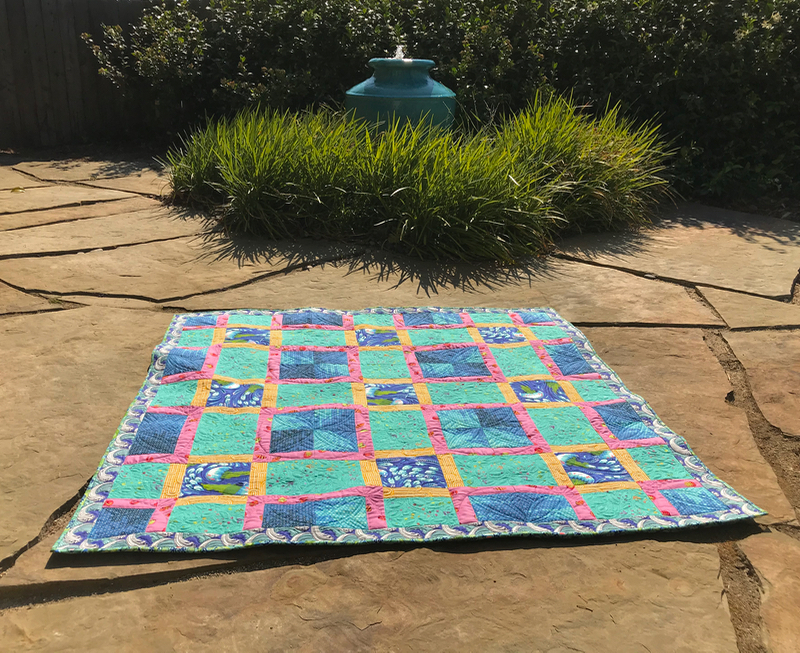
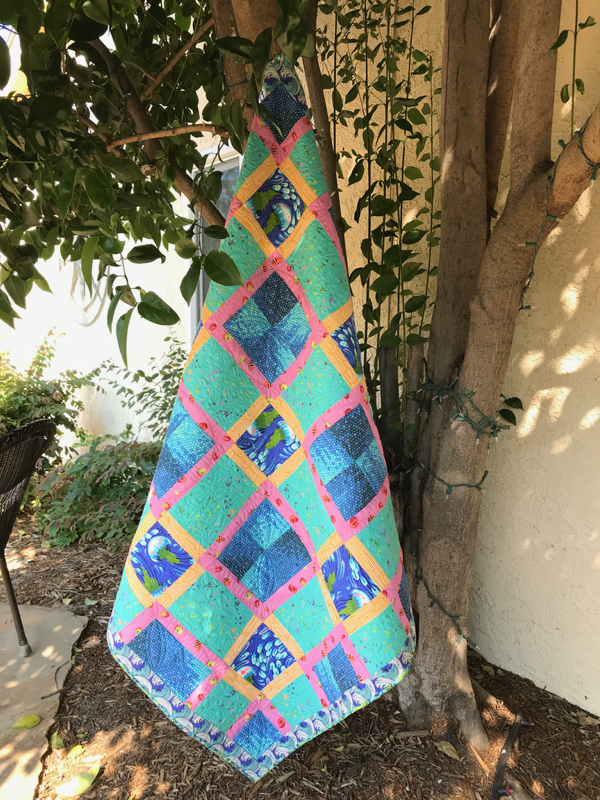
Criss-Cross Color, quilt no. 233 49″ wide by 68″ high
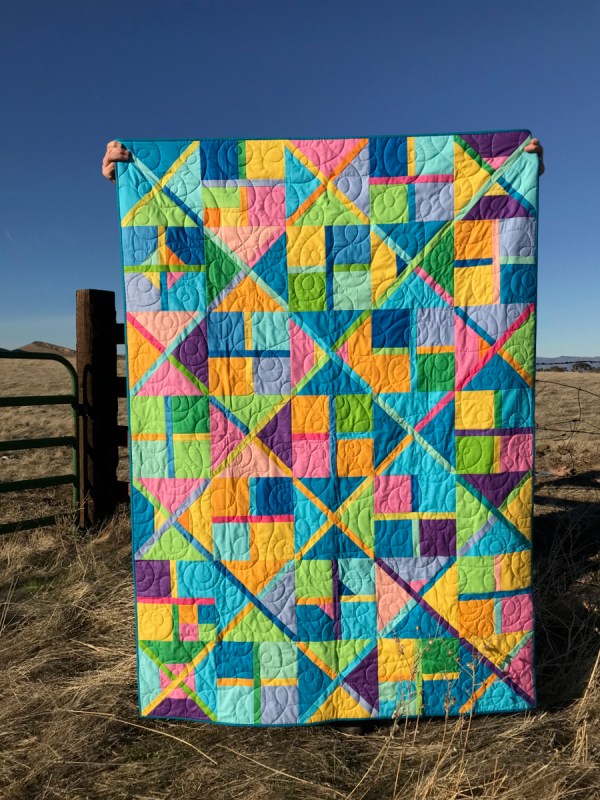
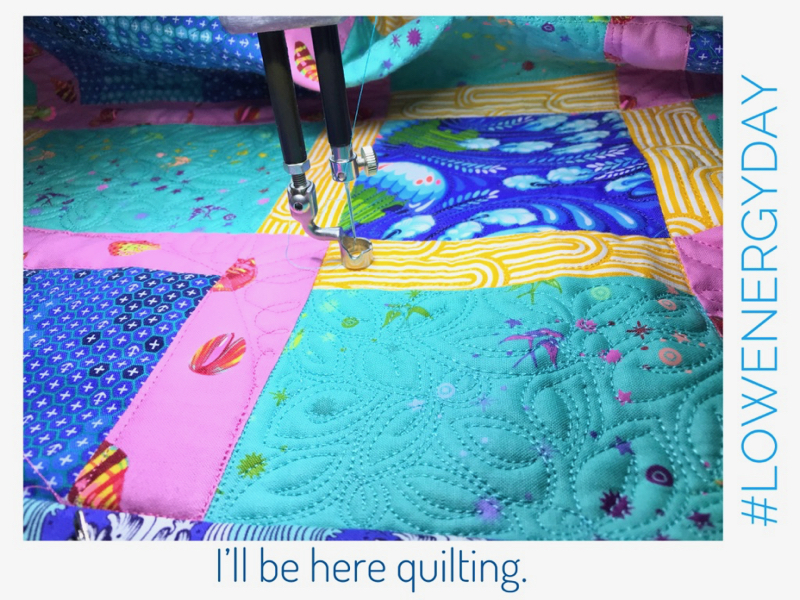
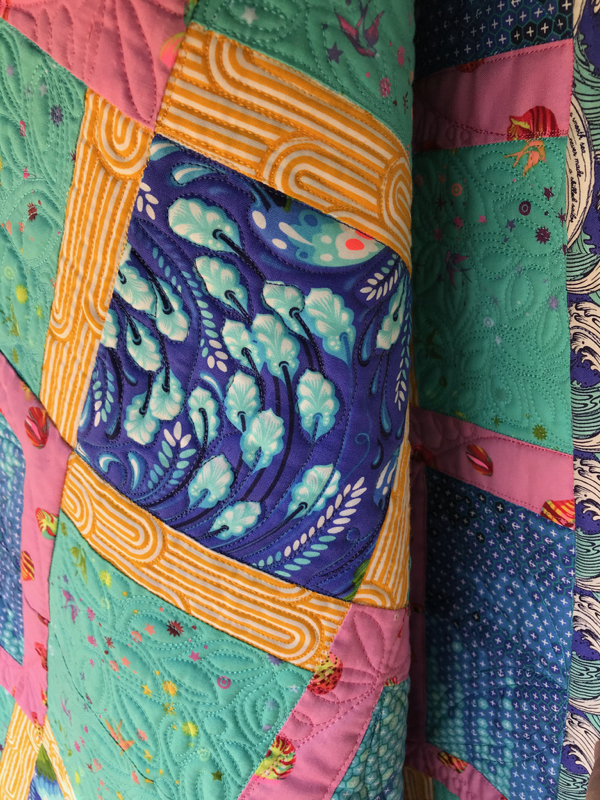
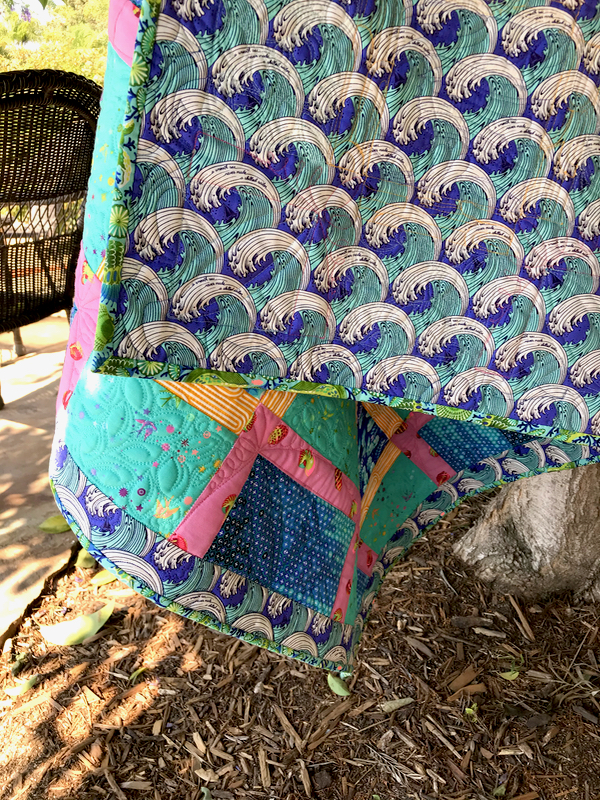
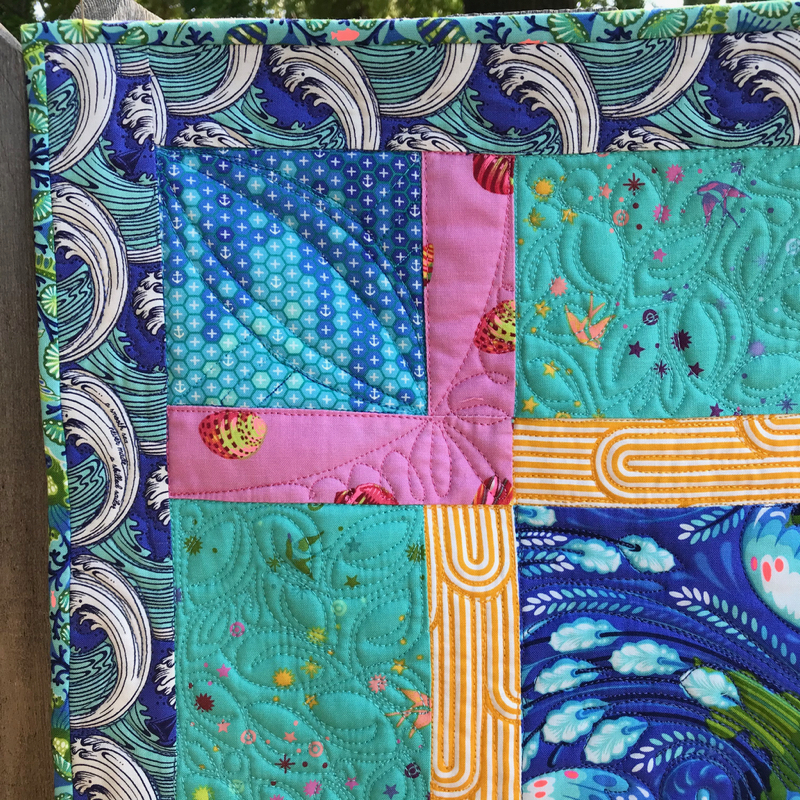
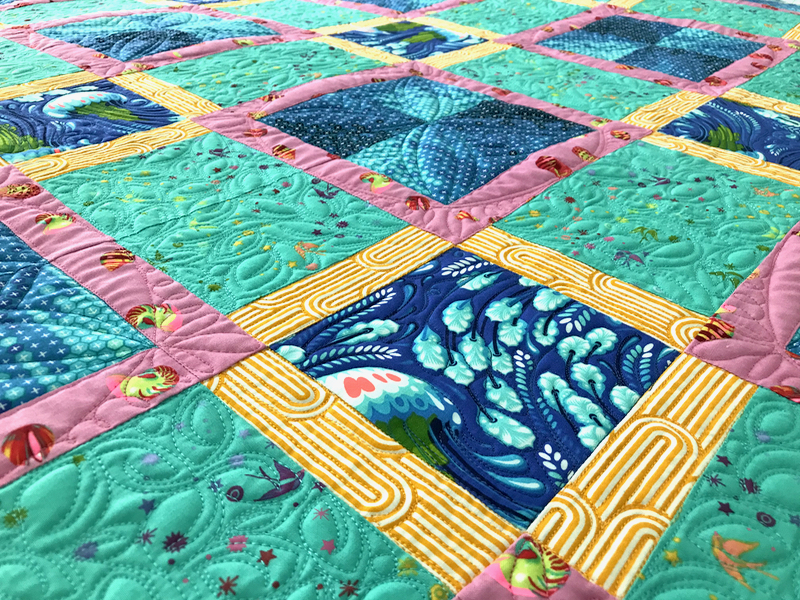
The quilting by Kelley of Wolf Girl Quilts really looks lovely in this light.
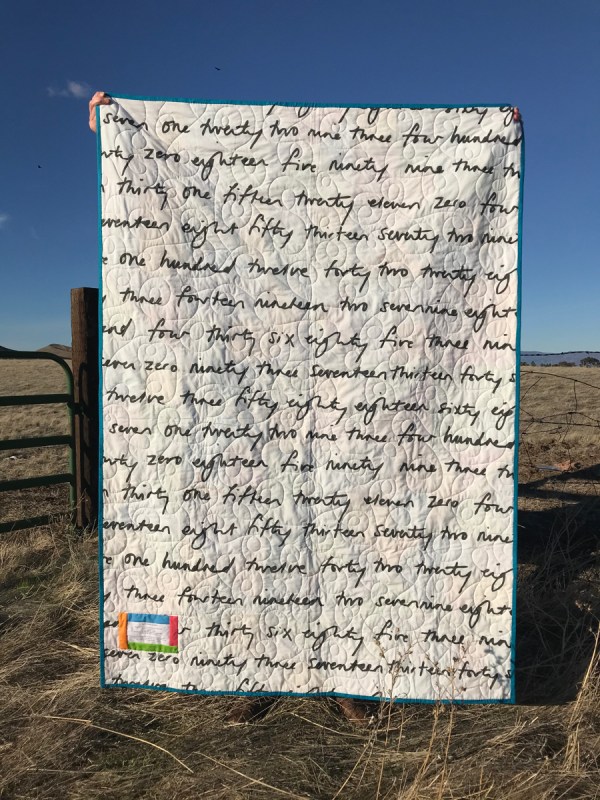
IKEA fabric, from back in the day: a series of numbers. It was what I had.
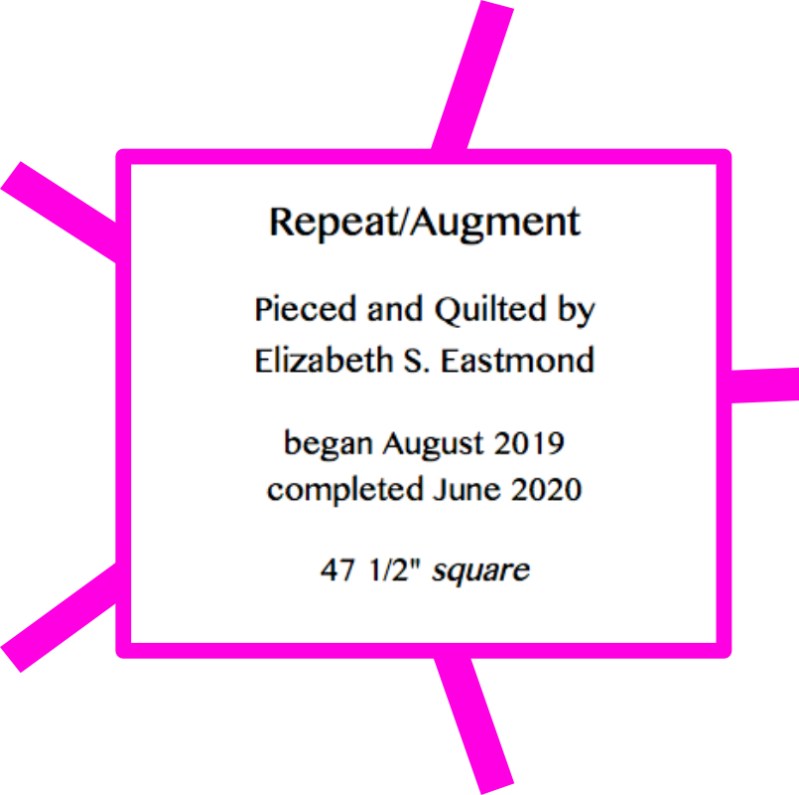
the label
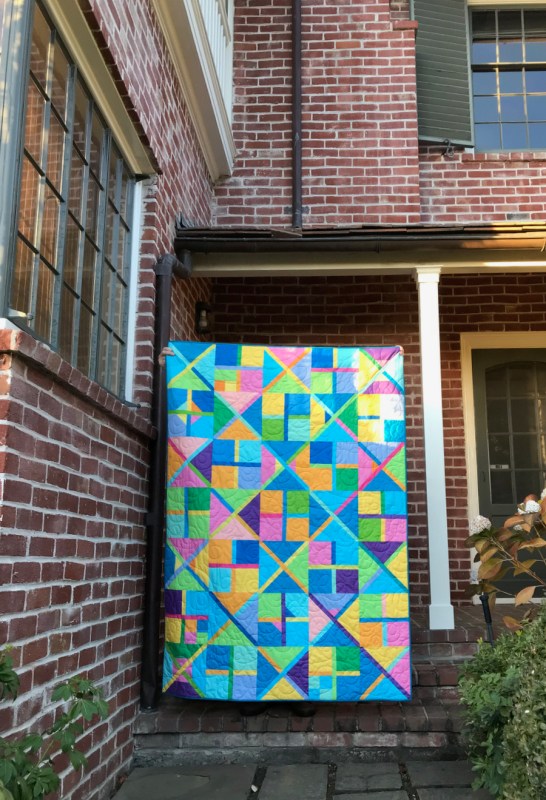
All photographs above by my husband or I, taken from a frontage road on the 680 freeway, to the west of Grizzly Bay and the Goodyear Slough, on Lopes Road near the Bay Area in Northern California. I like how the shadows are playing with the quilt in this image.
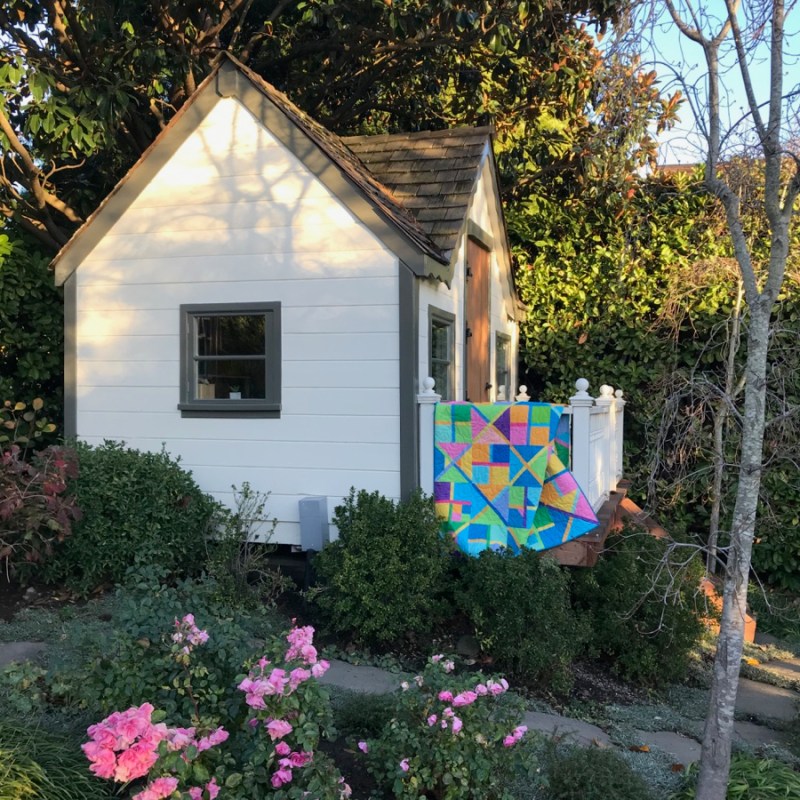
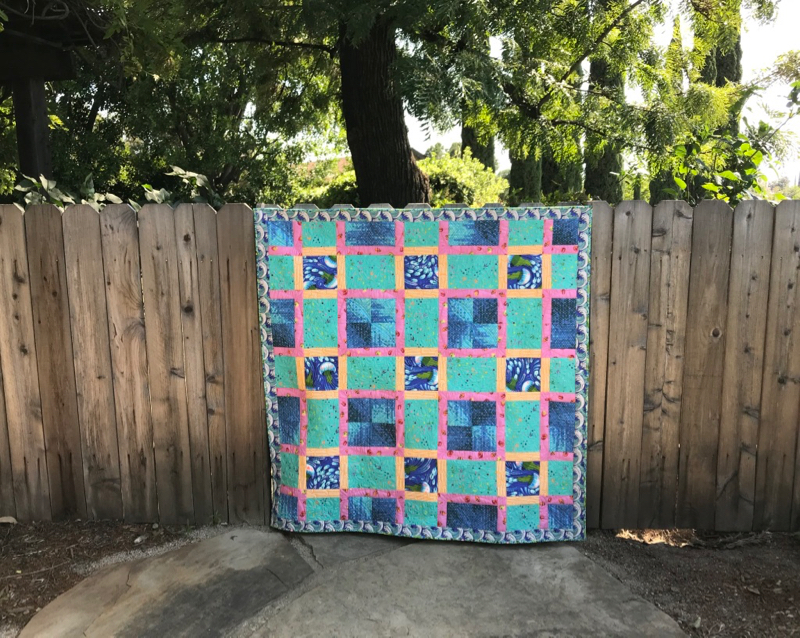
These last two photos were not taken on Lopes Road, but at my brother’s, as I knew they had a picturesque playhouse from when their girls were tiny.
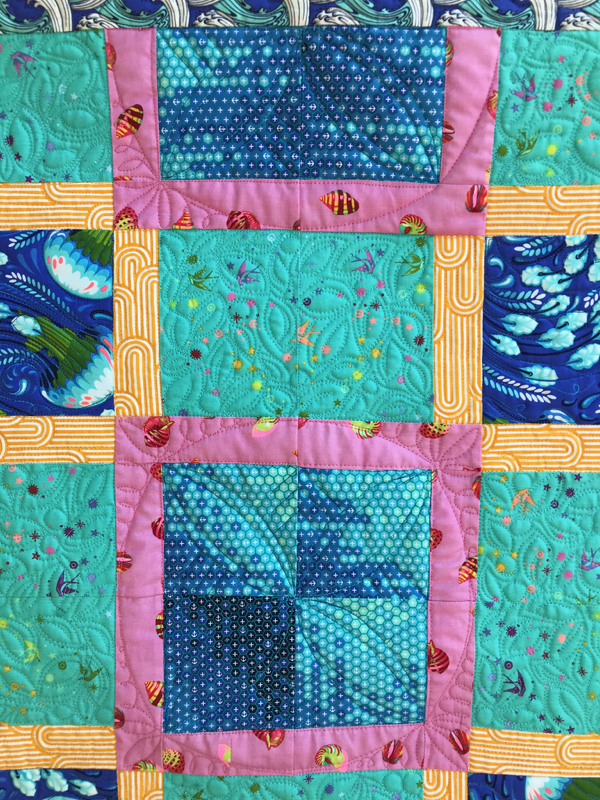
I listed this as Quilt #233, as I got over-eager when the quilt top was done. Kelley, a long-armer friend, did the fabulous loopy quilting texture on the quilt. It’s been a good series for me, challenging me to think differently about color, texture and size.
The pattern is sold in my pattern shop on PayHip. There is a discount running on this pattern right now, until January 15th, if you are interested in purchasing it. Details are at the pattern shop.
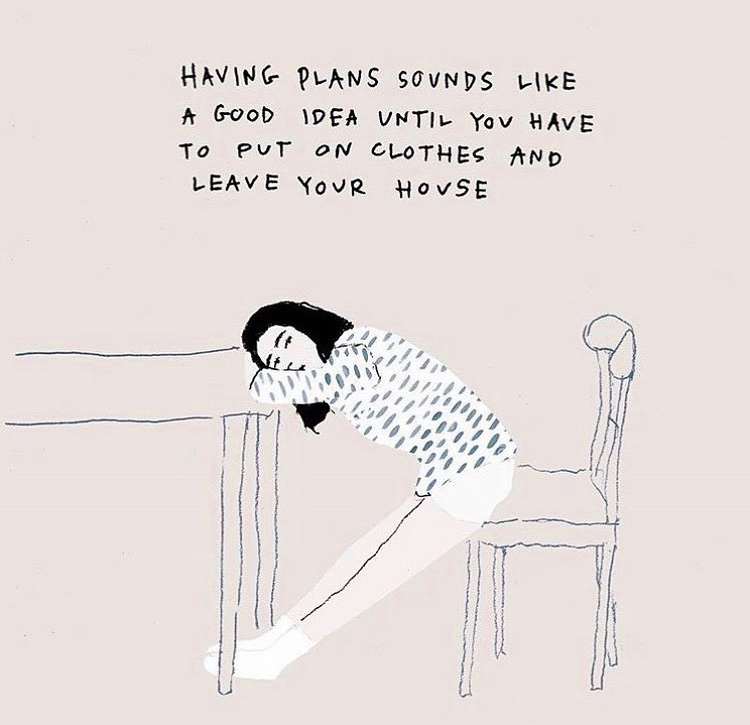
For some reason this morning, the fog cleared, the brain snapped to, I thought: “You have got to finish something today!” And so I did.
A low-energy-COVIDistraction-day back in May got me started on the quilting, although the quilt top itself was begun back in August 2019, in another galaxy far away from our lives now.
Shots from my backyard, in nearly 100 degree heat. We are both wilting, the quilt and I.
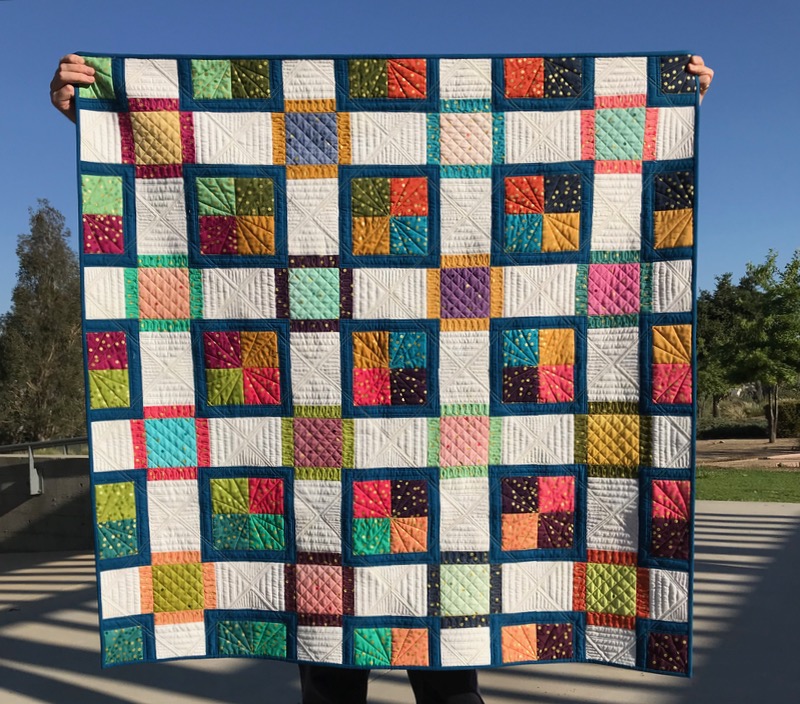
Why is it called Repeat/Augment? Because you’ve seen this City Streets pattern once before, in this quilt.
I decided it was Very Serious, all that gridwork in the quilting.
So I went natural this time, in as many places as I could. And used Tula Pink fabric in really saturated tones with curvy-swervy designs. Yes, definitely more playful.
The label is coming, but here’s the mock-up. Without the pink things sticking out everywhere. (I was having fun with my Affinity Designer software.)
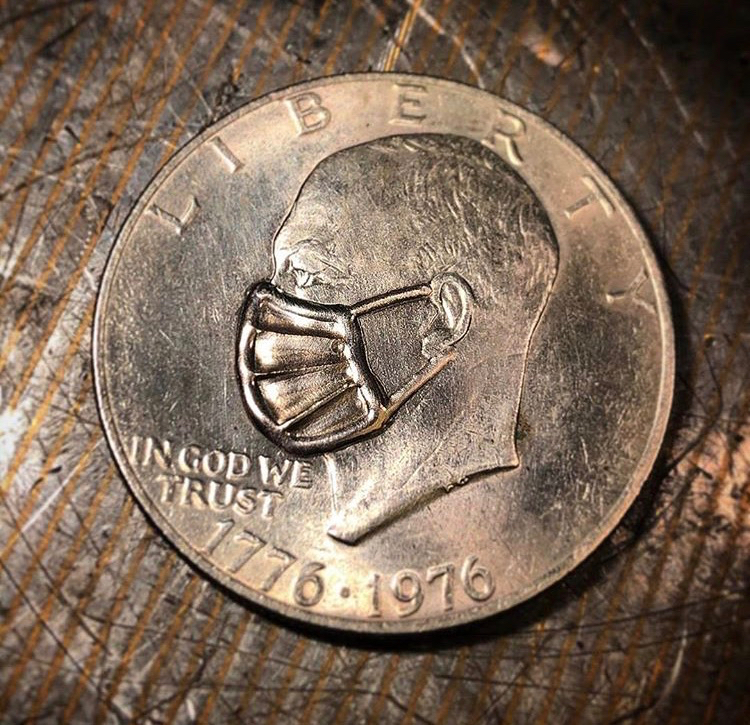
Our lives, now, unless you live in one of those places that is like the wild, wild west and has released you from Stay-At-Home. In our neck of the woods, it’s not yet, so it kind of freaks me out if I go outside and see people not wearing masks.
Hey, around here, even the quarters have them on!
Which reminds me, I need to cut out some more masks. My friend’s granddaughters are making holiday-themed masks (not shown here, but there are some fun types) and after the most recent news from Those Who Know, looks like the granddaughters were on to something. If you are keeping track, here’s my most recent favorite map, from Johns Hopkins. (I put it here so I can find it again.)
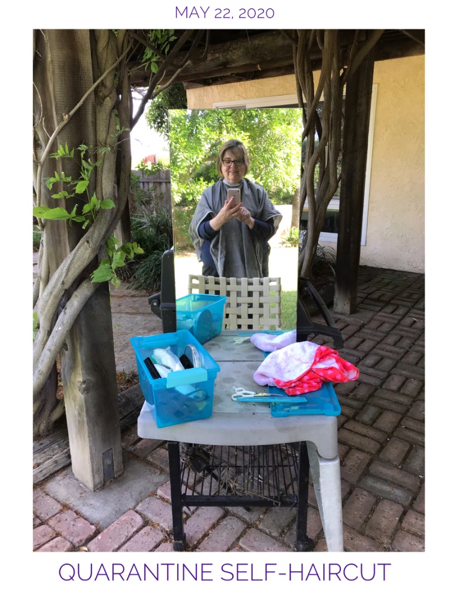
Last happy news is that my hair stylist has re-opened for the first time since March, so on Saturday I will get a real haircut. Not the kind where you set the mirror up on the barbeque, and try to cut your hair yourself. I am a little afraid of what he’s going to say when he sees the hatchet job that is living on top of my head. All I’ve got to say, it’s a good thing I’ve been in Stay-at-Home mode.
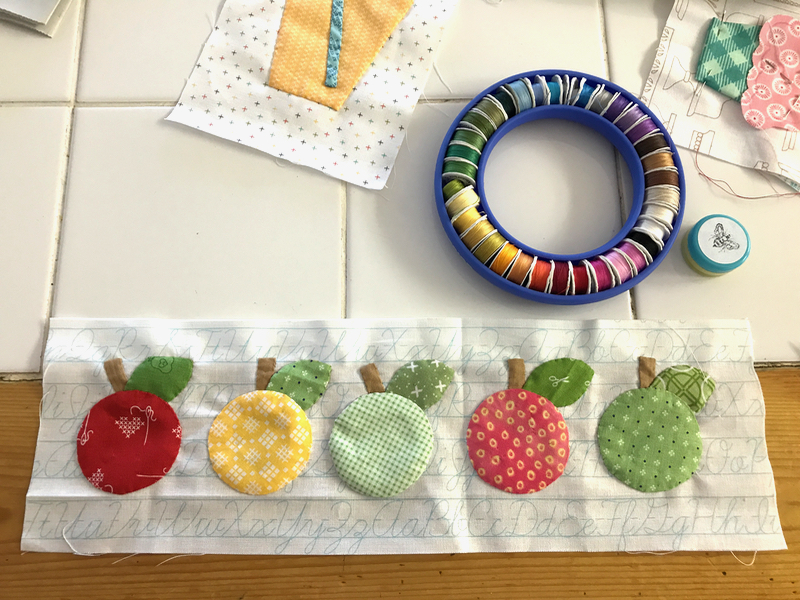
Let me start with the easy stuff, the stuff that’s in my hands all the time: cloth, needle, thread, shapes, stitching.
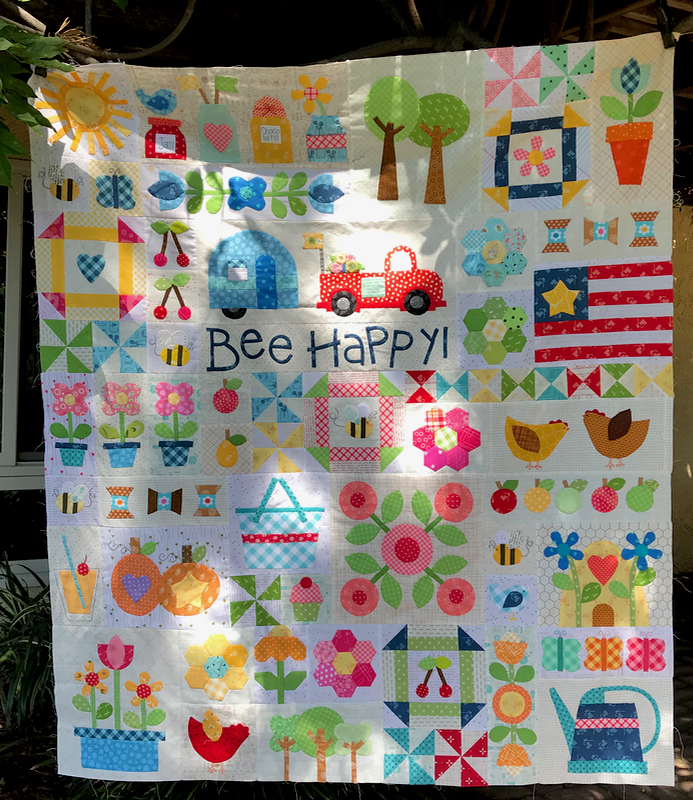
While I’ve called this the #dungeonofcute on Instagram, I am happy that I finished it, and that it is really cute. I set up a place on my blog to corral all the handouts I made while working through this. I made a series of tip sheets that collect all the disparate information that Lori Holt presents on her blog, and hopefully will serve to help those who decide to jump in to Bee Happy. Borders are up next.
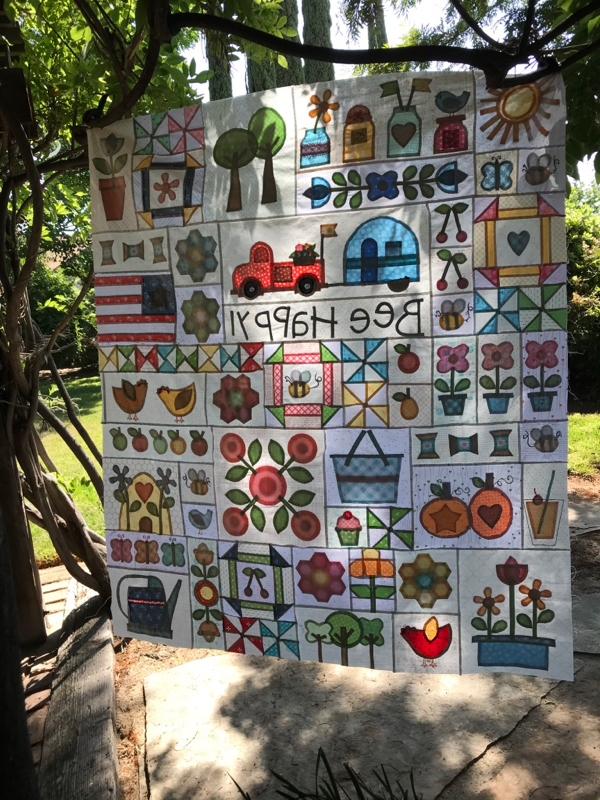
I started to wonder why this was so hard for me. There is the matter of all that stitching. By hand. It is also a quilt of medium tones and values, and while I do like those quilts, I tend to be more comfortable using stronger contrasts. And maybe I’m not as patient as I could be? And maybe because I felt like I was always buying her fabric, so everything could neatly “fit in together”? Sunshine and rainbows and unicorns and charming motifs and flowers and buzzing bees?
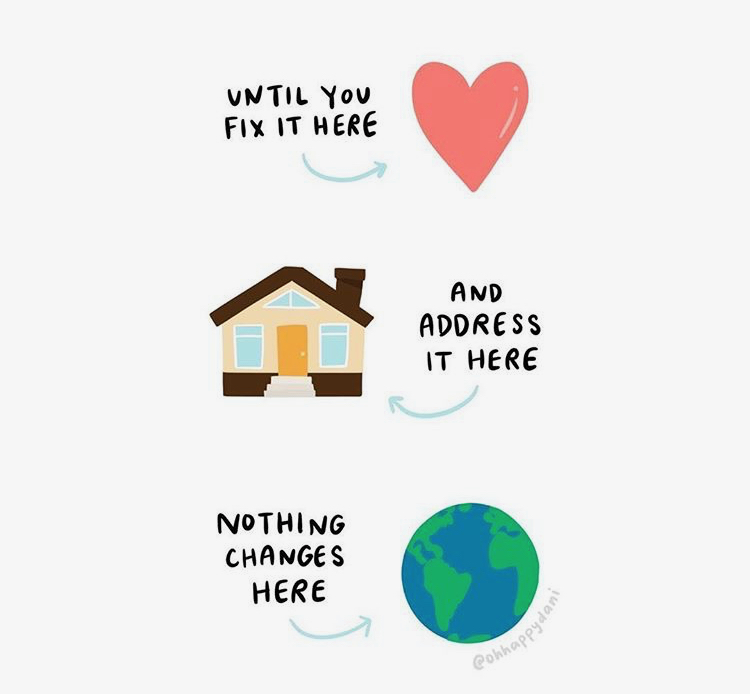
This week has provided us all with a way of looking at the side we don’t often see, the side that gets hidden behind a tidy facade. I’m a Pollyana from way back, and am always looking for the rainbows and the hearts and flowers. But there were more than a few things in the past few days to knock me around. It was that kind of week.
From this, the (mildest of) images, to the videos and pictures generated by another visitor to Lafayette Park, the news stories chronicling the fights and the hate and the soldiers and the protestors and the (unneeded) clashing.
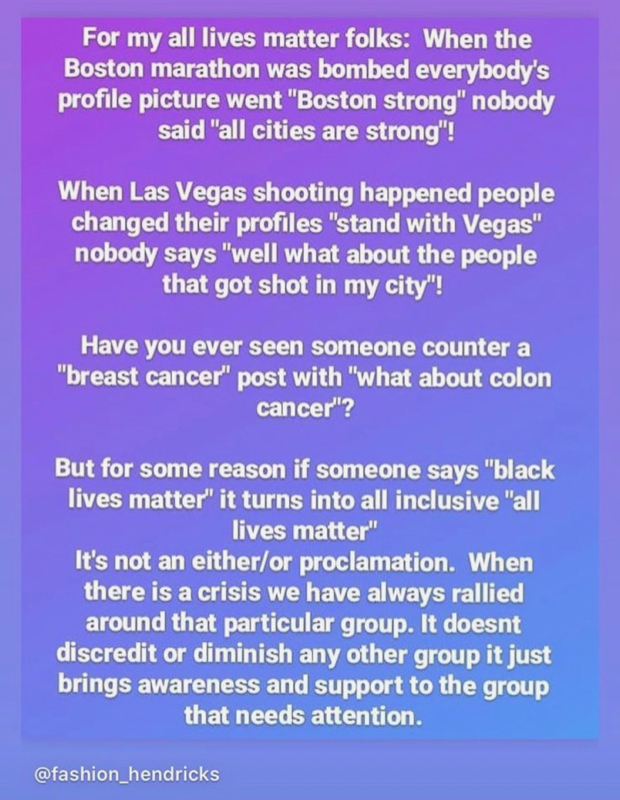
This week, our Instagram feeds filled with these sorts of images:
House in my neighborhood
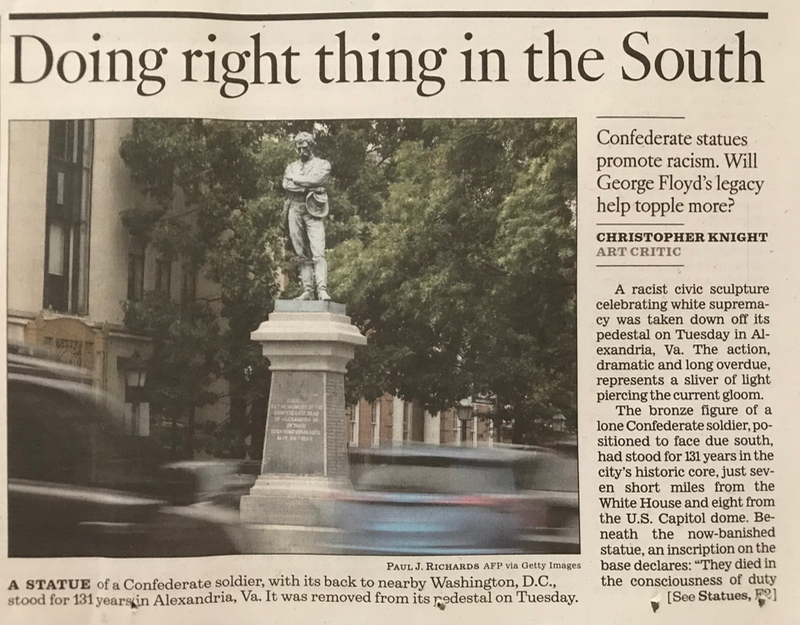
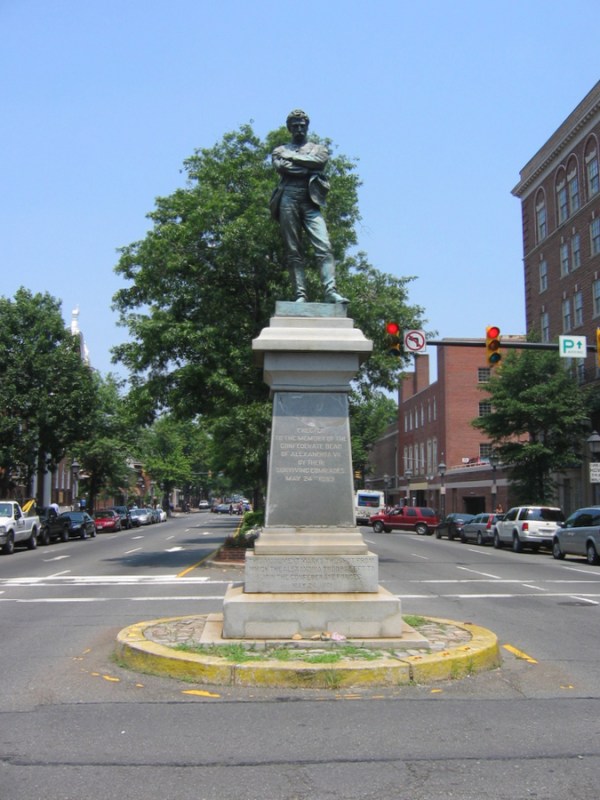
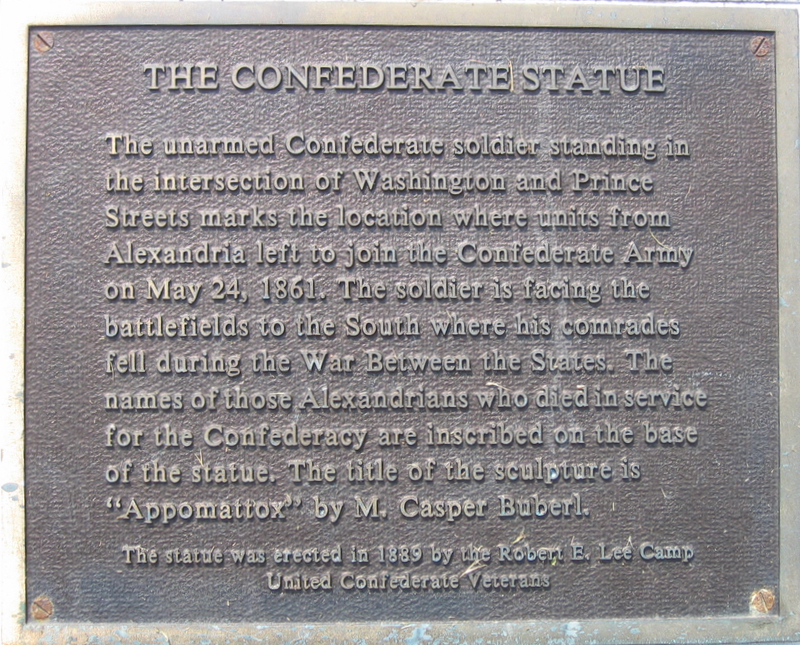
Then a couple of days ago, I was surprised to see this statue from Alexandria, Virginia in my southern California newspaper. I’d walked past this statue often when I lived there, and thought it a rather simple memorial.
The art critic calls it a “racist civic sculpture celebrating white supremecy.” Its location in Alexandria is right where the main street through town gives way to a bigger highway, shuffling the traffic over to bridges and it faces south, away from the town. It was, when I was there, a mostly ignored statue. Is it okay to admit to liking this simple memorial in an area full of memorials, a soldier contemplating his fallen comrades? But this week, given our new vantage point, and out of necessity, it came down. And as my historian sister says, a lot of ink has been spilled on this topic recently.
So, this week I sewed.
This week I listened and watched.
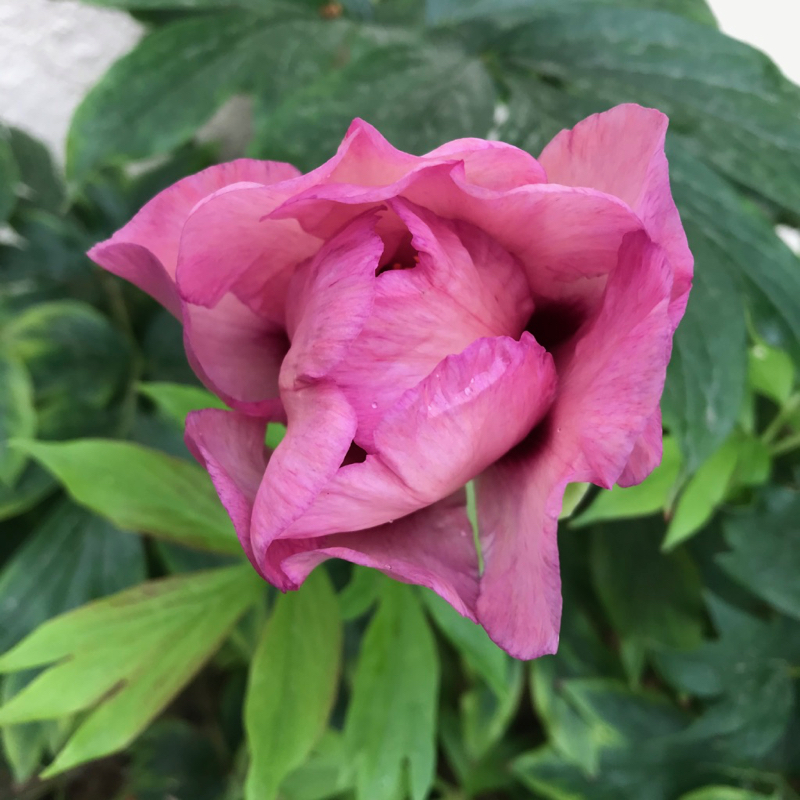
I spent time in my garden, catching a glimpse of a late-blooming peony. I read through news stories of the protests, stunned at more instances of thoughtlessness. I would step away from the television and computer every night then lay awake in the dark, wondering what kind of senseless world I was living in, when people were singled out for how they look. I had no answers, just a lot of tired mornings, when I would repeat the cycle again. I wanted to make it all happy, turn the cloth under, hide the fraying and the raw edges, but I was being asked to see it from another view, a richer, more nuanced, and painful view.
A flower for George
I wish I could wrap up this post in a tidy little package, give a neat turn, but this is not that kind of week. This is the kind of week where you wonder. This is the kind of week where you decide what you want your country to be. This is the kind of week that you pay attention to what’s on the other side of things, knowing that they can make all the difference.
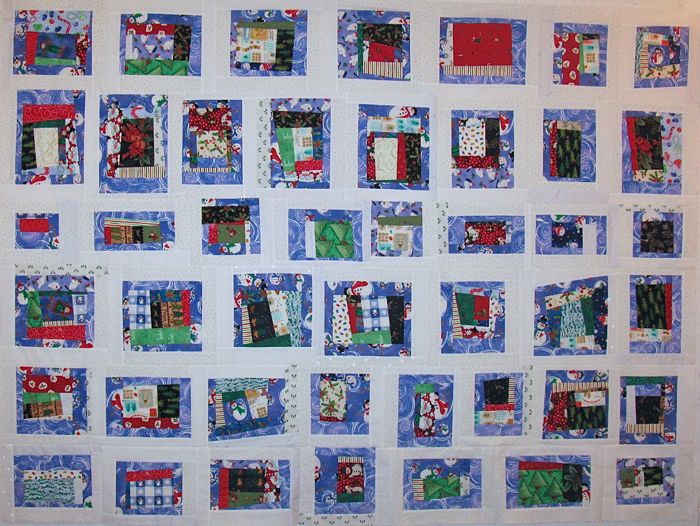
All these Log Cabin Quilts were hanging in a special vintage exhibit in a quilt show some years back, and I think I photographed them all. And while there are a lot of images here in this collage, I didn’t put them all in.
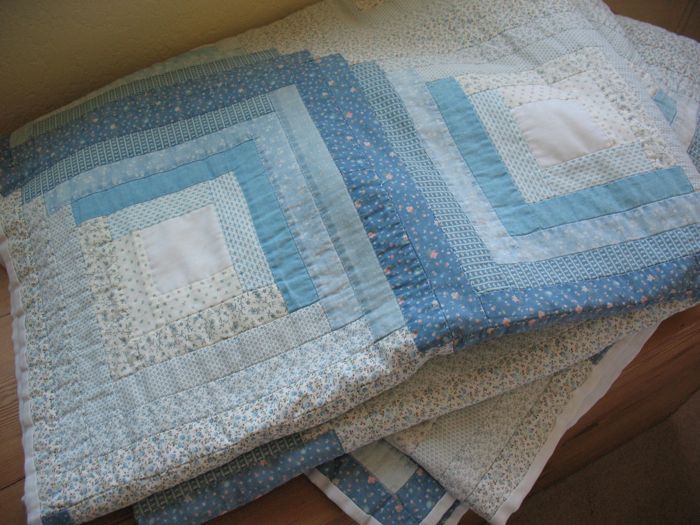
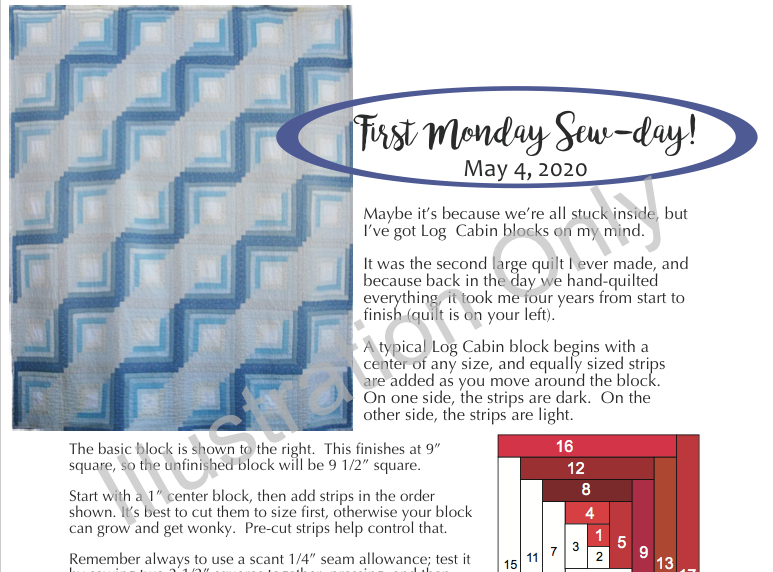
This Log Cabin quilt, above, was the second big quilt I ever made and it took me four years from start to finish. When the quilting was all done, I brought the backing fabric to the front, folded it over, stitched it down and called it a binding (the quilt police are gasping!). But it was what I knew how to do then. I quilted this by hand through the hot summers of my time in Texas, finishing it up in the mellow spring of the Bay Area in California.
So for our First Monday Sew-day group I chose the Log Cabin block. This group is geared toward new quilters, so I’m trying to figure out the basic blocks a quilter needs in their skills basket, and designing a monthly handout to match. You can get your PDF handout here:
It’s in a PDF form, two-sided. Trying to keep it simple, I only tackled two of the hundreds of variations of Log Cabin blocks. We’ve been doing this for a while, so search for First Monday Sew-day to get the rest of the handouts.
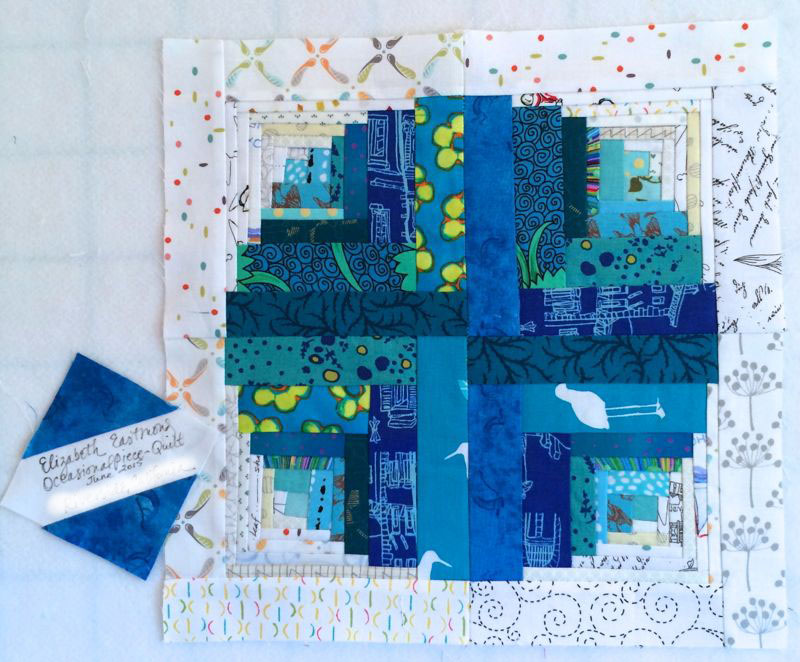
And variations of setting, too. I’ve made a few different kind of Log Cabin blocks. Here are a few:
A wonky Log Cabin quilt, given to my son.
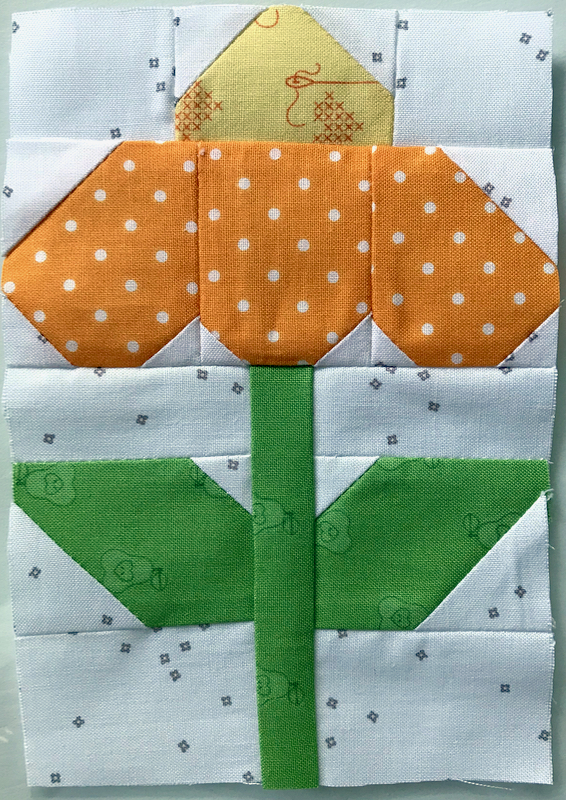
A block for this quilt:
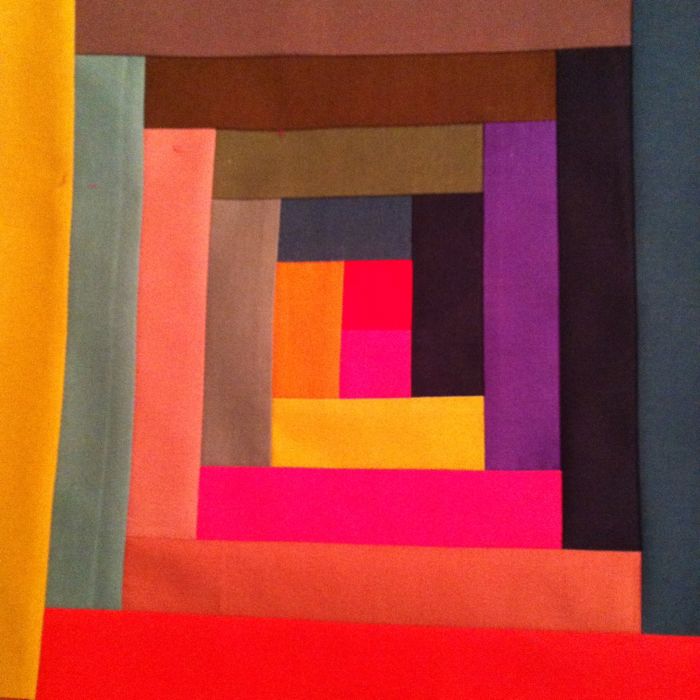
And even a funky round Log Cabin block, made by varying the sizes and lengths of the strips. Yes, Log Cabins are definitely in our heritage, especially our quilting heritage.
Barbara Brackman provides information on the origin of this name: “In June of 1866, an Iowa diarist known only as “Abbie” wrote that she “went to town, bought Delaine [wool blend] for my log cabin.” On the last day of July she “wrote a letter to Sis and worked on my log cabin.” If you don’t know about Barbara Brackman, a quilt historian, click over to her site and learn. She’s always my go-to source when I have a question.
So, even though we can’t meet together, that doesn’t mean we can’t have our First Monday Sew-day. If like me, you are stuck at home and you make a Log Cabin block, send me a photo!