
300 and Beyond · Free Quilt Pattern · Quilt-A-Long · Quilts · SAHRR 2026

SAHRR 2026 • Border Two

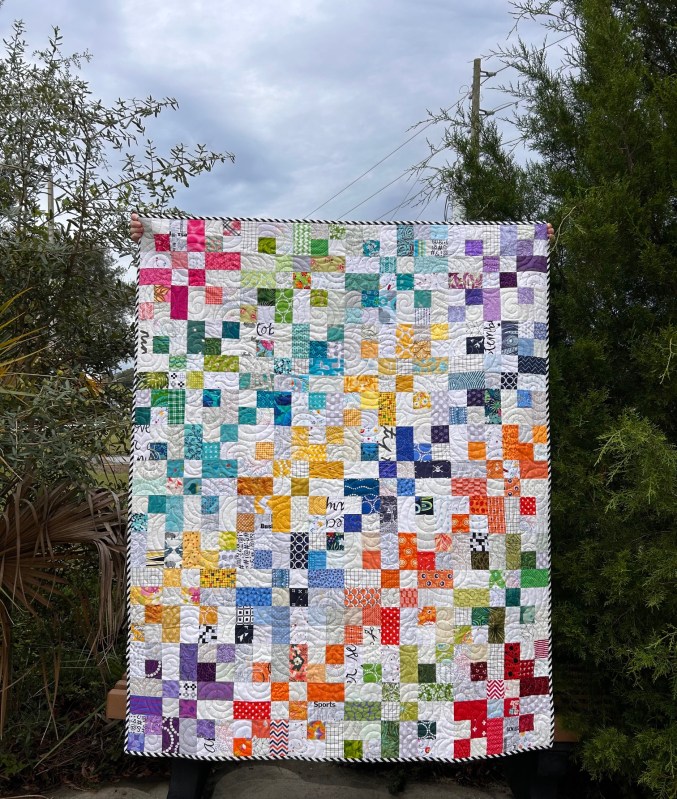
We Stay-At-Home Round-Robiners are now on Border Two, and the prompt, from Kathleen McMusing was ““Make It A Double.”

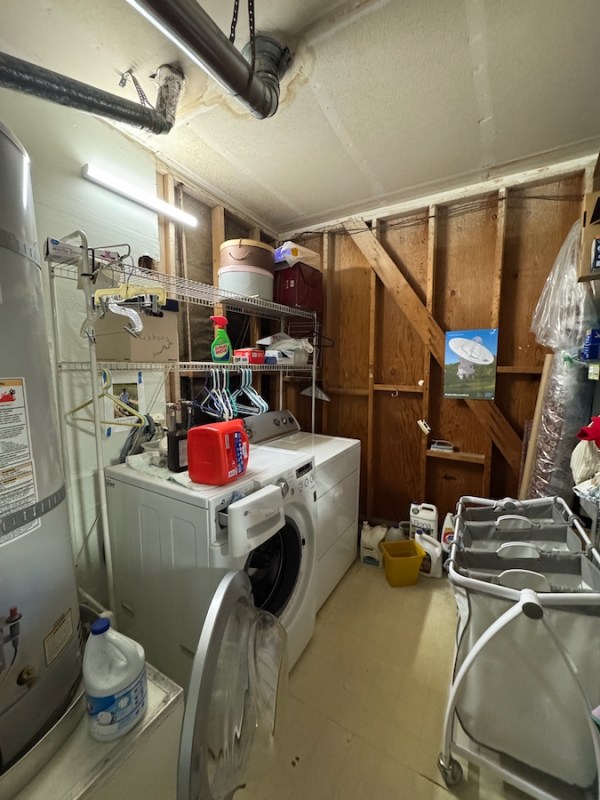
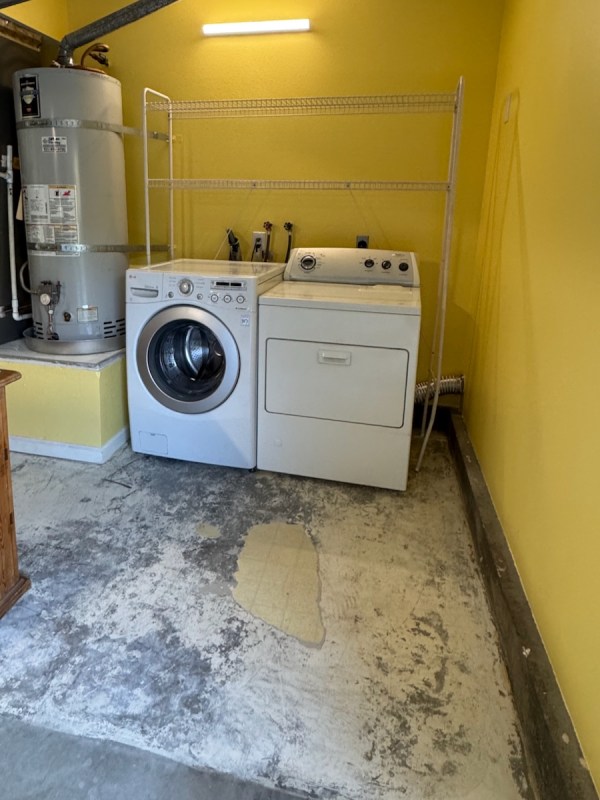
I carried this fully into my life when we decided to rip out the ceiling in the main bathroom and get rid of the fluorescent lights (replaced with LEDs) AND, making it a double, decided to revamp the garage laundry room. Here’s the before and after. We also ripped out the linoleum flooring, and I kind of like the rough, crazy pattern, so we’re leaving it for now. I can only do just so much doubling in one week.
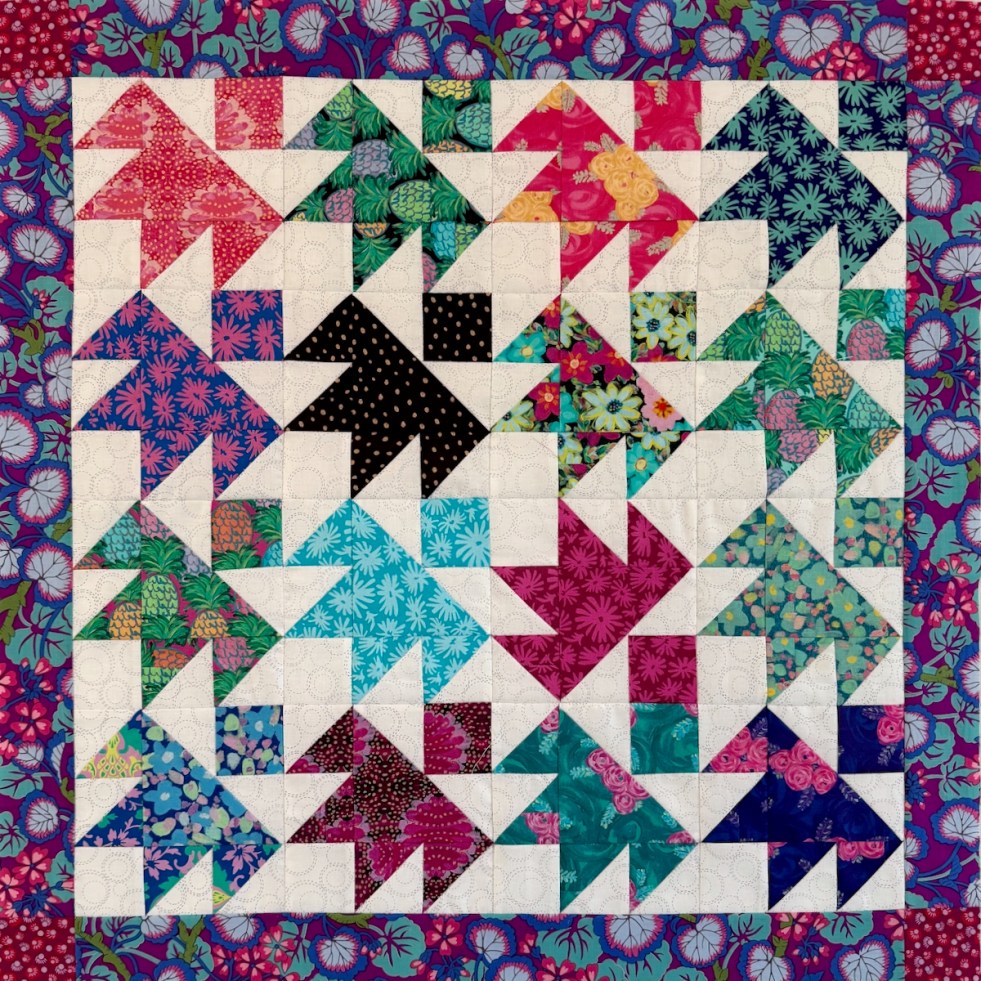
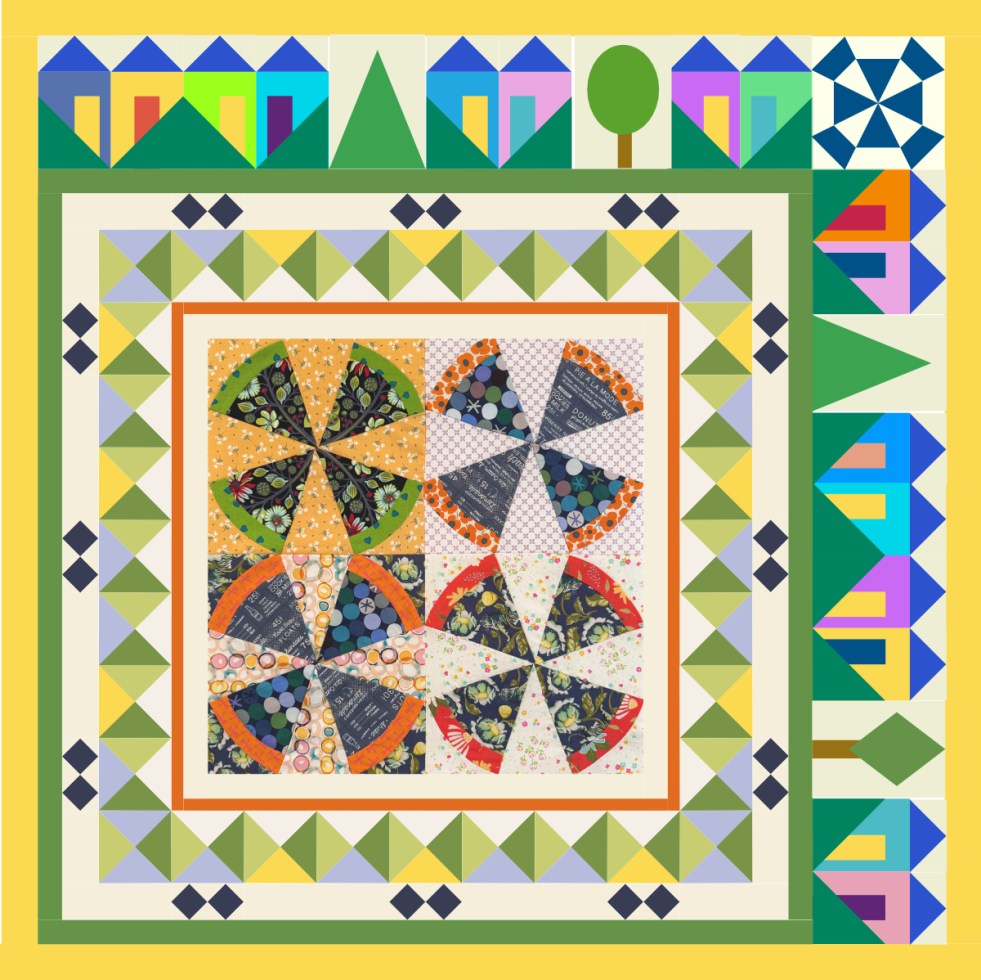
So while hammering, sawing, sheet-rocking, mudding, painting, electrical stuff was going on, I was trying to concentrate on the week’s SAHRR prompt. Kathleen suggested blocks with the word or idea of double. So I created a double block border:
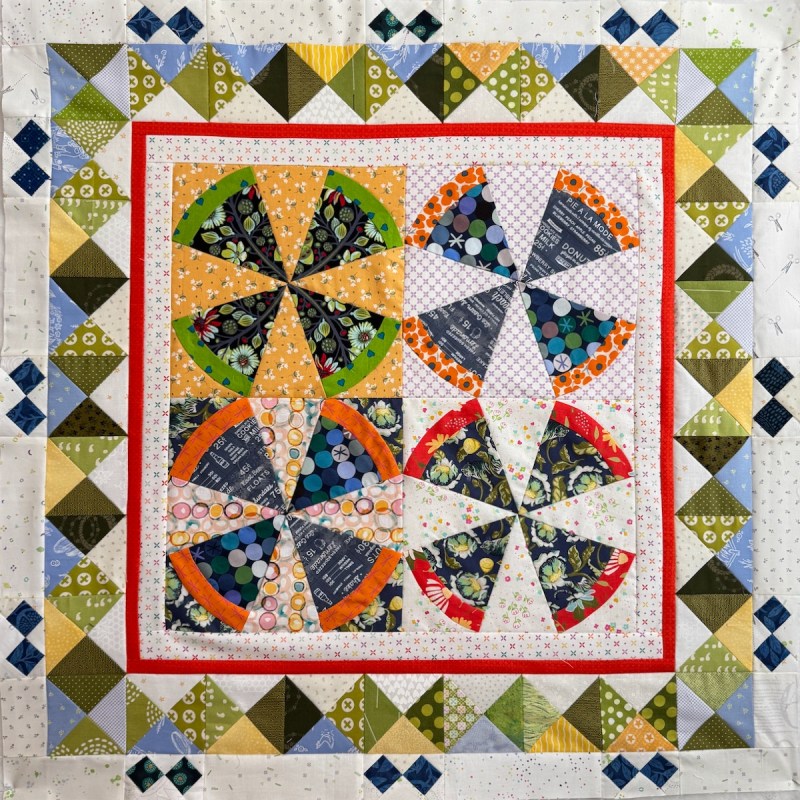
I was inspired by Yvonne’s border last week, with how she spaced out the hourglass blocks, and decided to try something similar. Just sort of simple: a double-block spaced out with low-volume strips. And then I made up a PDF Tip Sheet for you all. Underneath this illustration is a PDF file to download:
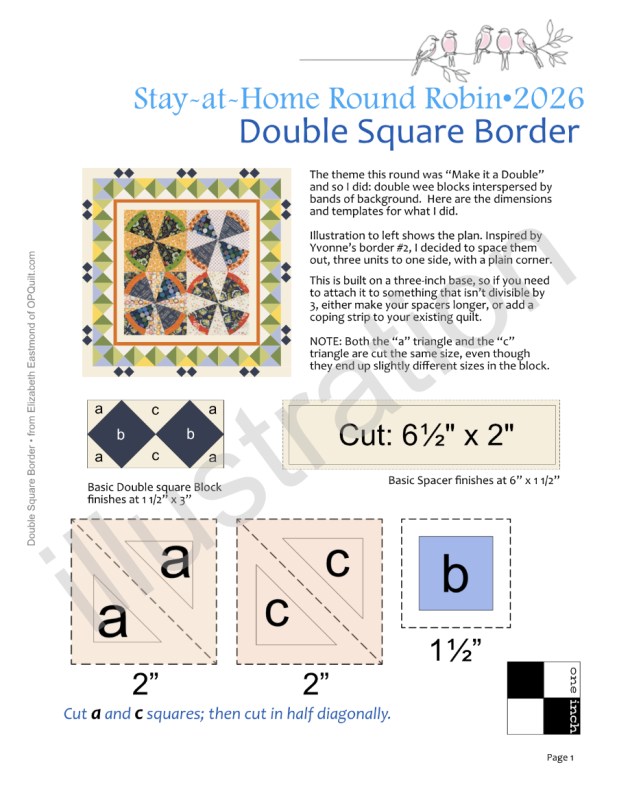
Click to download the PDF file. Note: the original post did not include the correct Tip Sheet with the trees. This one, that has the word “Two” at the end, does. Please download it again if you don’t have the complete handout.

But, yeah. Not quite happy with stopping there, and I remember that Kathleen DID say to make it a double, so I went on to think about a second border — a doubling up on this round.
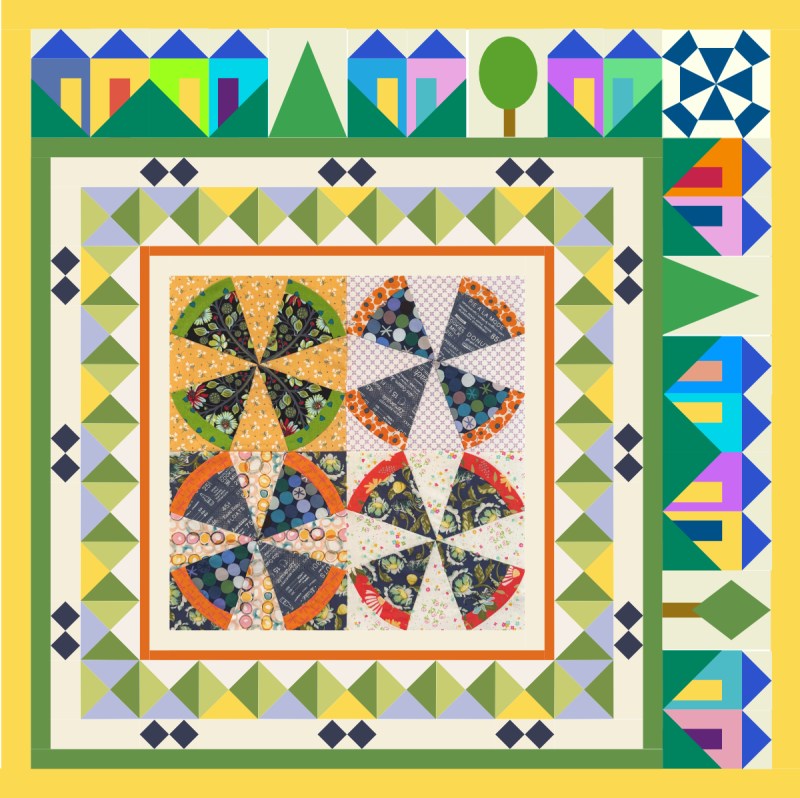
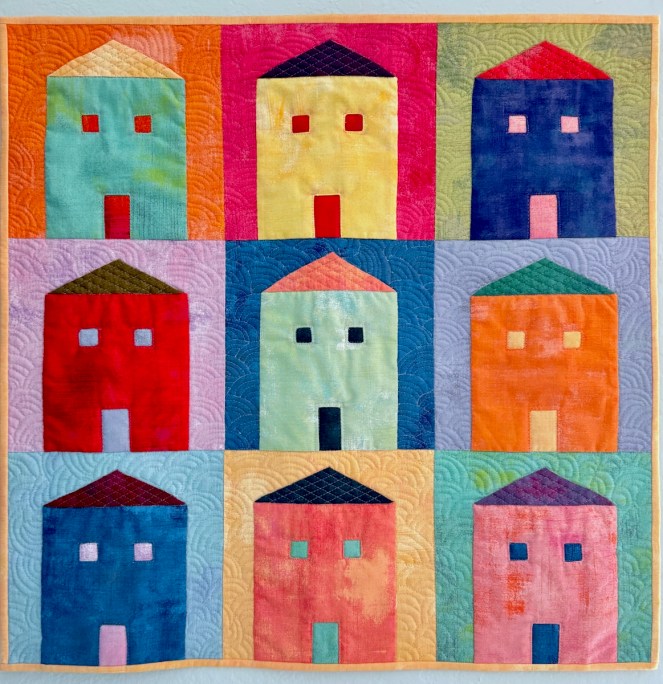
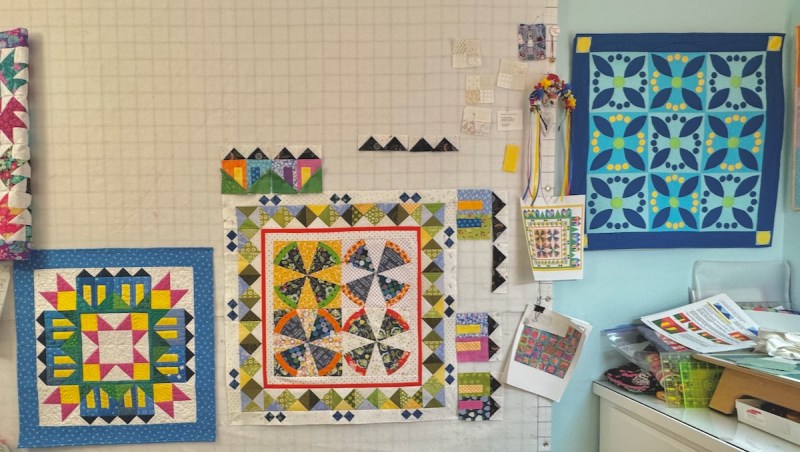
I worked up a little sketch in my Affinity Designer program (free, from Canva), kind of thinking about the idea of round robins and going around the neighborhood. I used to teach at a lot of Quilt Guilds in Southern California (where I live), from Before Covid Time and Through Covid, and taught this pattern to a lot of guilds:
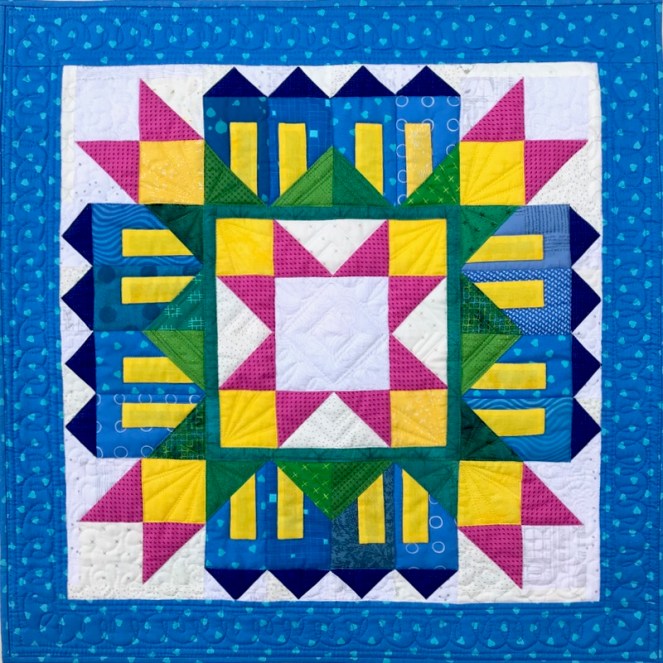
Merrion Square, from here

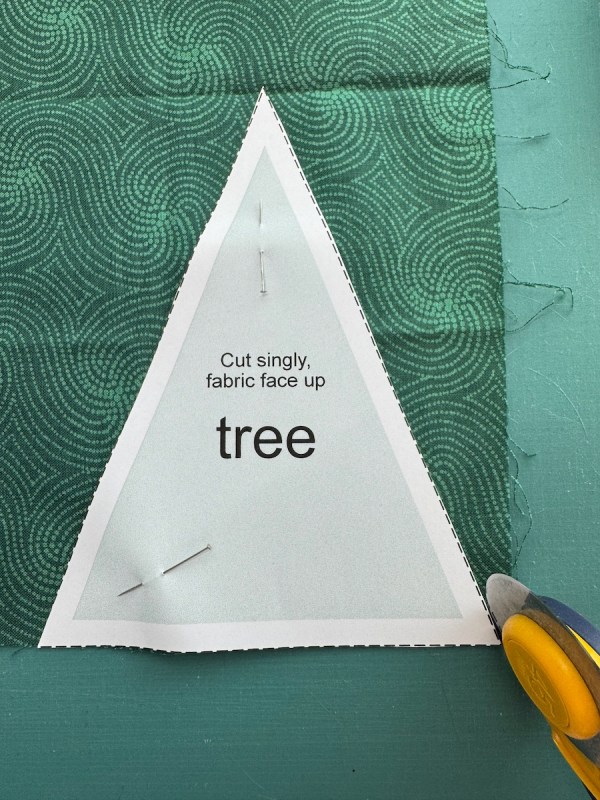
I pinned it up on my design wall, and kept it there while I worked on the houses. These are slightly bigger than what’s in my pattern (but the instructions are all in there, plus a version of Far Away Doors). But this version needed a tree, or four. So in the free tip sheet above, are instructions for some of the trees in this border, too.
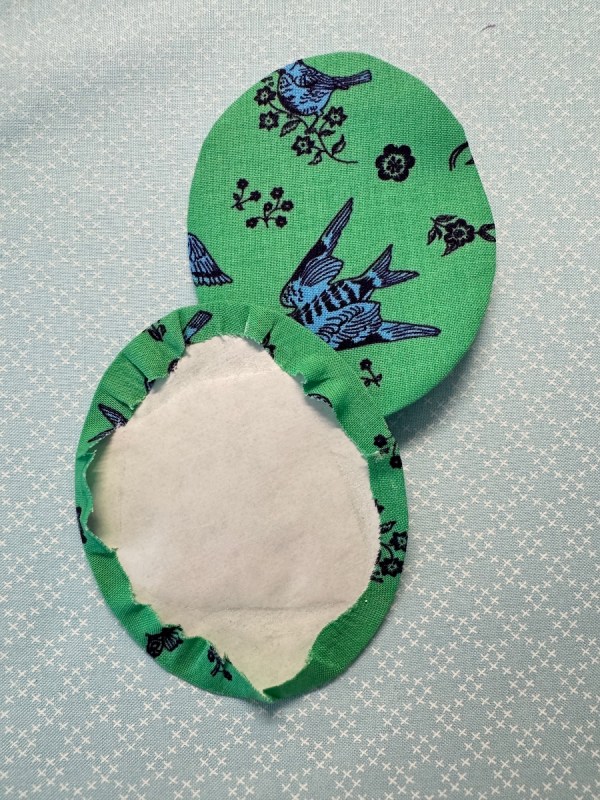
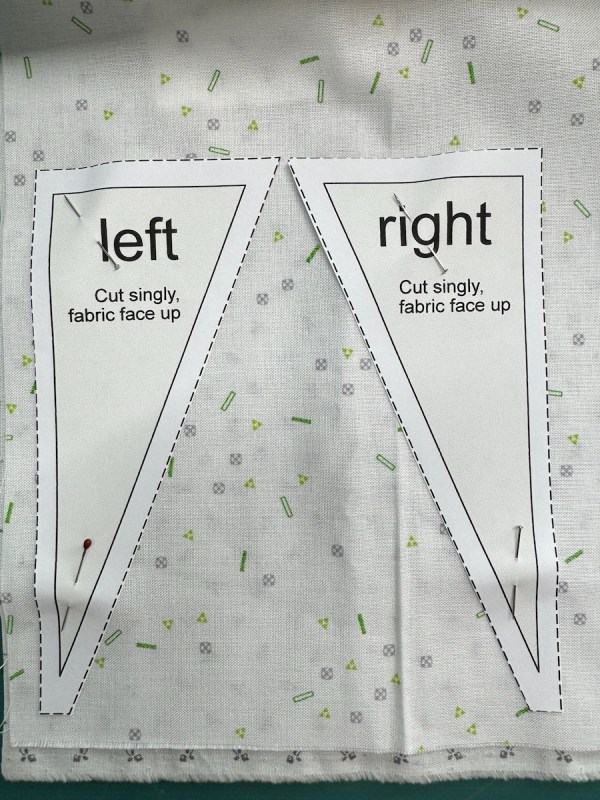
I have a climbing tree, and a nesting tree, and a pine tree in the Tip Sheet.
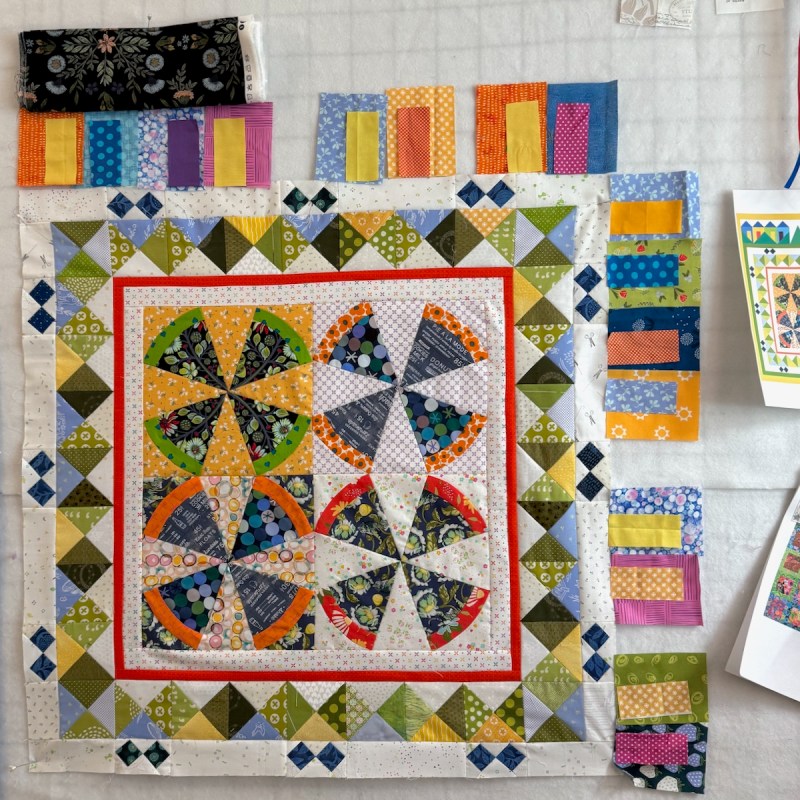
In process. Remember last week when my husband said it was wild, and I said it was going to get wilder? Yep.
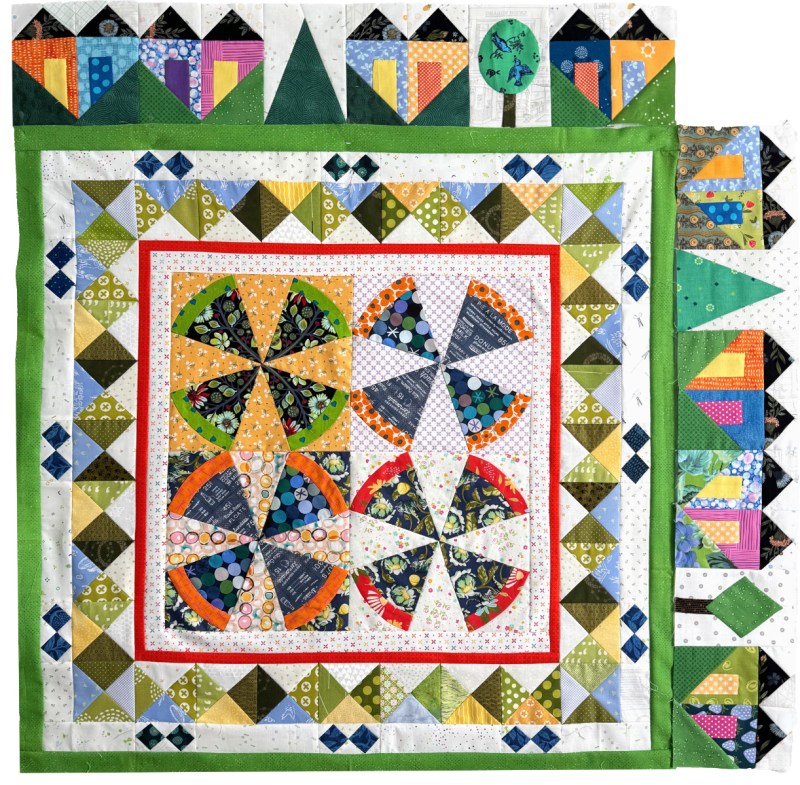
Here’s where I left it (approximate size: 38″ square). I will sew the neighborhood to the slender green border, but I’m missing something for that upper corner. I had an idea (see the sketch at the top of the post), but after a week of double-construction and double-double borders, I was ready to let it rest, and see what our prompt is for Week Three.

The schedule:
*January 14: Center Blocks, led by Gail and shared by each co-leader
*January 21: 1st Round:   Brenda @ Songbird Designs
*January 28: 2nd Round: Kathleen @ Kathleen McMusing
February 4: 3rd Round: Emily @ The Darling Dogwood
February 11: 4th Round:   Wendy @ Pieceful Thoughts of My Quilting Life
February 18: 5th Round:  Gail @ Quilting Gail
February 25: 6th Round:  Anja @ Anja Quilts
[An asterisk* means I finished that section.]

Two remaining thoughts:

I was also thinking about neighbors and neighborhoods and was impressed with how carefully and quickly the Minnesotans came to stand by each other as they are going through these difficult times. And we were asked to take dinner to a friend whose husband grabbed the business end of a live 220-volt electrical wire; they are also going through difficult times. I’m trying to be a good neighbor where I live.

Lastly, l’m looking forward to reading all of your posts in the next couple of days. Can’t wait to see what you all are doing.

300 and Beyond · Free Download · Free Quilt Pattern · PatternLite · Patterns by Elizabeth of OPQuilt · Quilts

Our Quilty Neighborhood • Free Pattern

dreaming in color, from here

We quilters love to make house quilts.

Changes, from here

We love to make landscape quilts. We love to make pictures of our pets, our people. We love to use traditional blocks as well as fly far away from our roots and use modern blocks.

Merrion Square, from here

We — all of us quilters — like our neighborhood.

But where has it gone? I came across Nic’s blog (from NZ) and they mentioned that so many blogs had shut down or stopped publishing. Recently I was updating my Reading Library (at the very bottom of this blog: just scroll, scroll, scroll and you’ll get there). I had to create a category called Sadly, in Hiatus. I keep their links because I know what treasures are in their blogs, and what great conversations are to be found, and interesting stories to be told, so feel free to stroll that (now, quieter) neighborhood, too. Yes, there are some Instagram pages in the Reading Library from friends who don’t maintain websites and blogs. If you know of a good quilty blog (maybe yours?) that should be there, leave me a comment at the end of this post.
I could mention something wonderful about every blog on my list, both those on hiatus and those that are active, so I don’t really want to single anyone out, but I will credit Flourishing Palms from Linda Hungerford as an inspiration for a quilt on my 2026 Want To do List:

from here

And Yvonne’s Quilting Jetgirl has just tempted me with the SAHRR project, first seen on Janine’s blog, Rainbow Hare, last year. And I also have the Plaidish quilt, from Erica’s Kitchen Table Quilting on the list. I’ve signed up for a few of her QALs, but they always hit at a bad time, but this quilt is sort of her signature quilt. You had a link last week to Gladi’s blog, always with some mention of the seasons. Mary, of Zippy Quilts, always has great ideas of what to do with my orphan blocks…I could go on and on, but I’ll stop here.

I also keep a category called Mercantile, with some more commercial blogs on it. You’ll also find there are some clothing pattern sites and sources for fabrics, as my sister Susan got me more into sewing recently.

What Inspires When the Spark is Gone is a category of frequently updated links, that I read for inspiration when the doldrums hit, or the sew-jo is missing.
I’ve also asked for recommendations of blogs, and a reader sent forward a vote for Debbie’s A Quilter’s Table, which I’ve read for years, too. We used to be in a couple of bees together, and in strolling through Debbie’s blog, I found this:

from A Quilter’s Table, link to post

Which led to this:

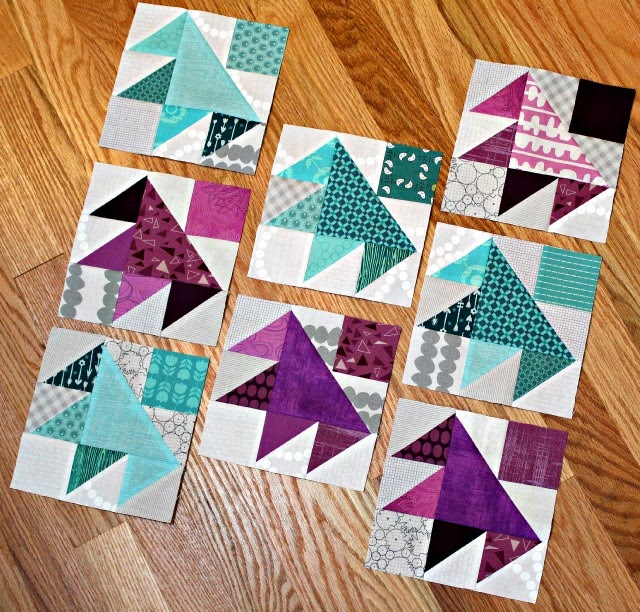
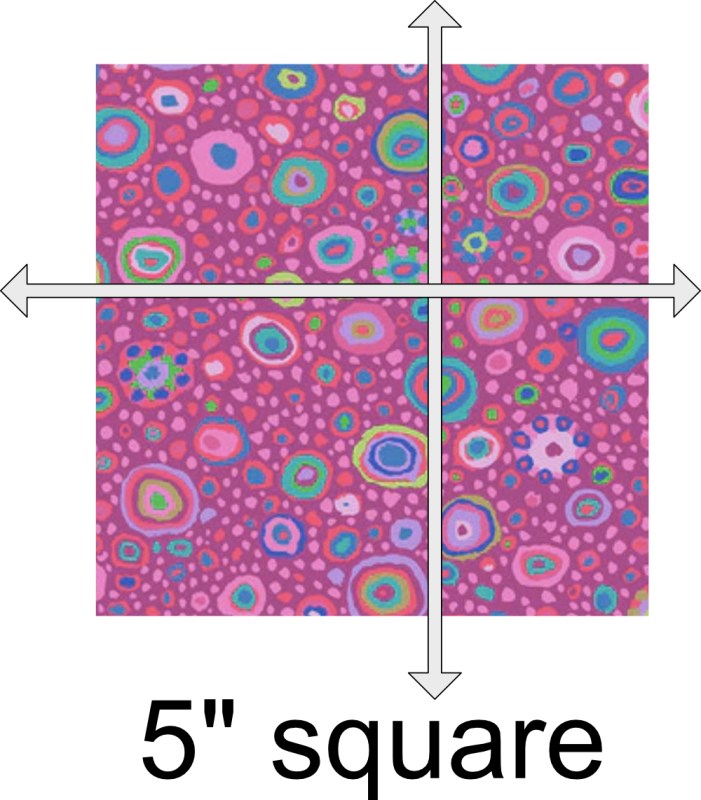
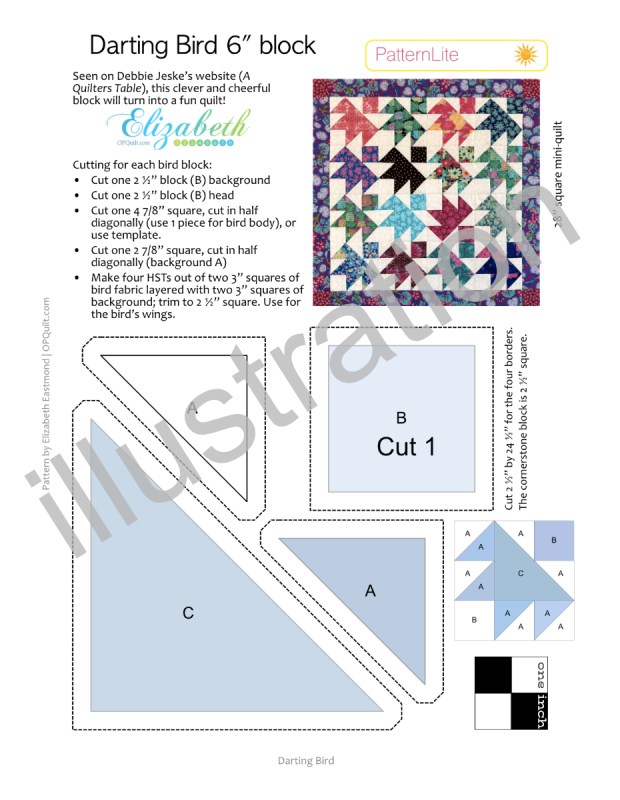
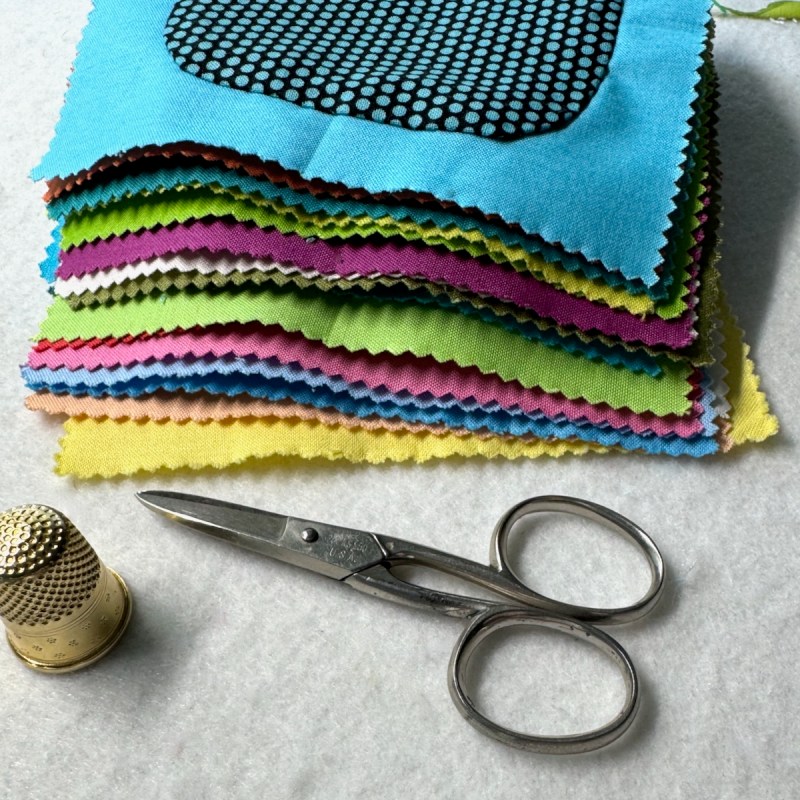
And good news, all these little birds all came from one Charm Pack (5″squares). Here’s some cutting tips:

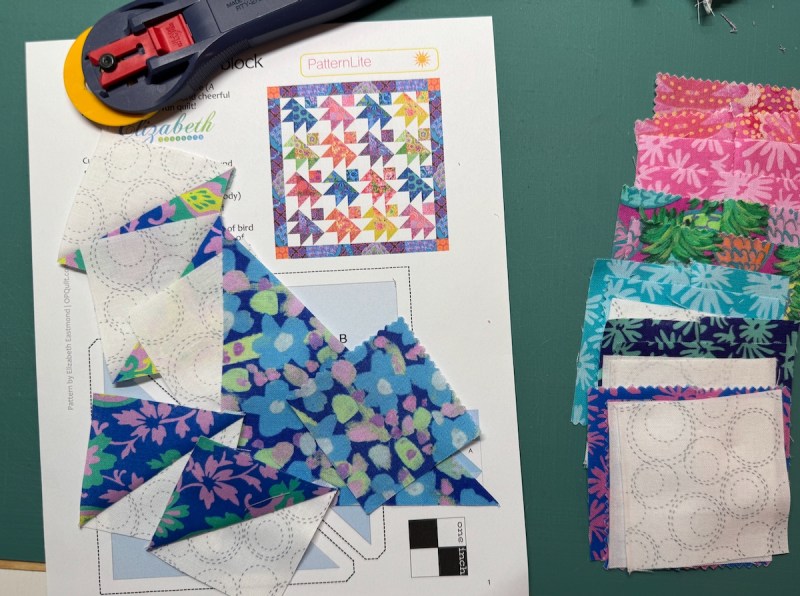
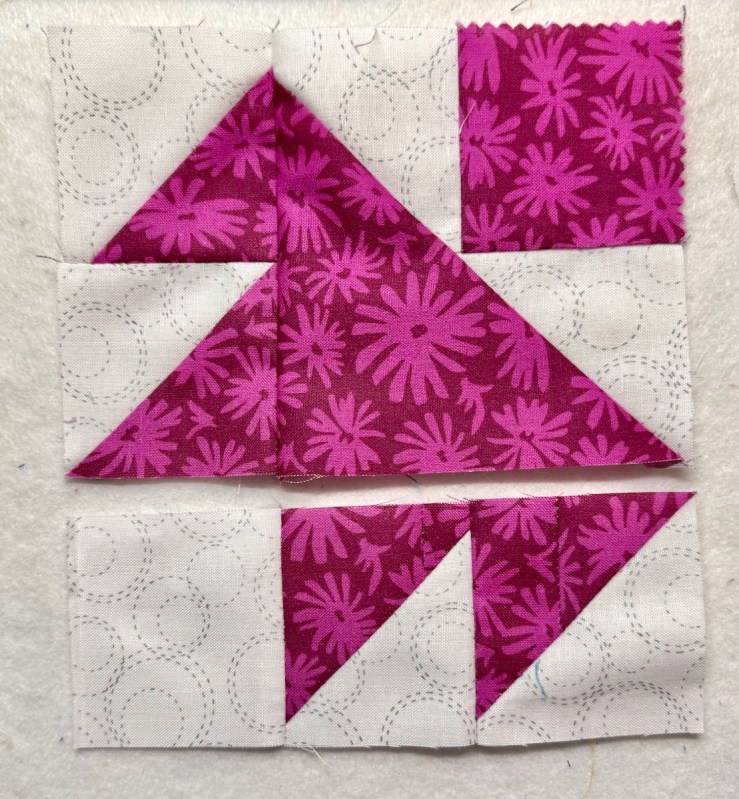
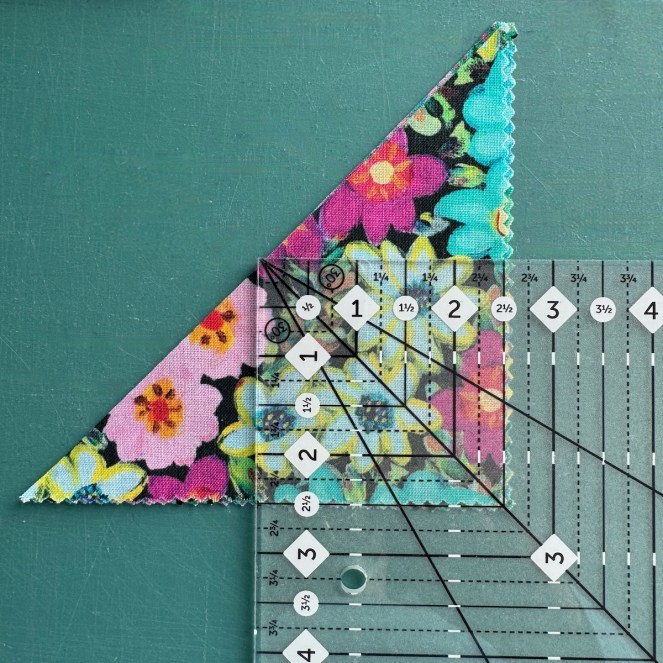
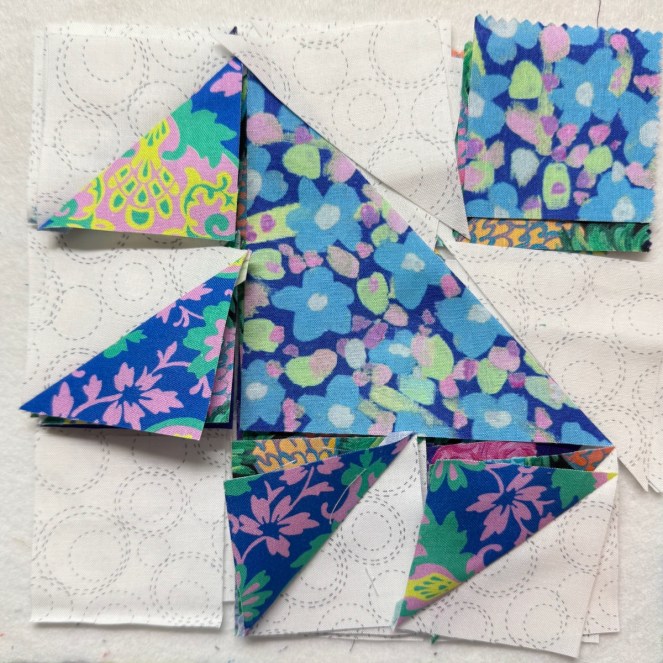
From the charm pack, choose 16 prints you like, and then find their duplicates. Divide them into two equal piles. From the first pile, cut the block in half diagonally, making two triangles. Put one set aside, and from the other, cut the birds’ heads, as shown. You can discard the triangles on the side, or save them for another use. Now pick up the pile with the matching fabrics.

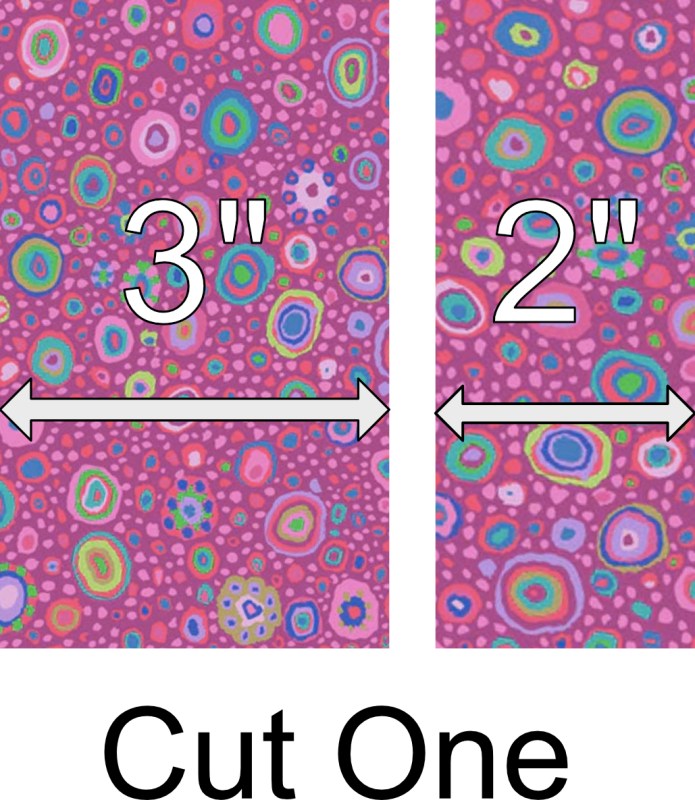
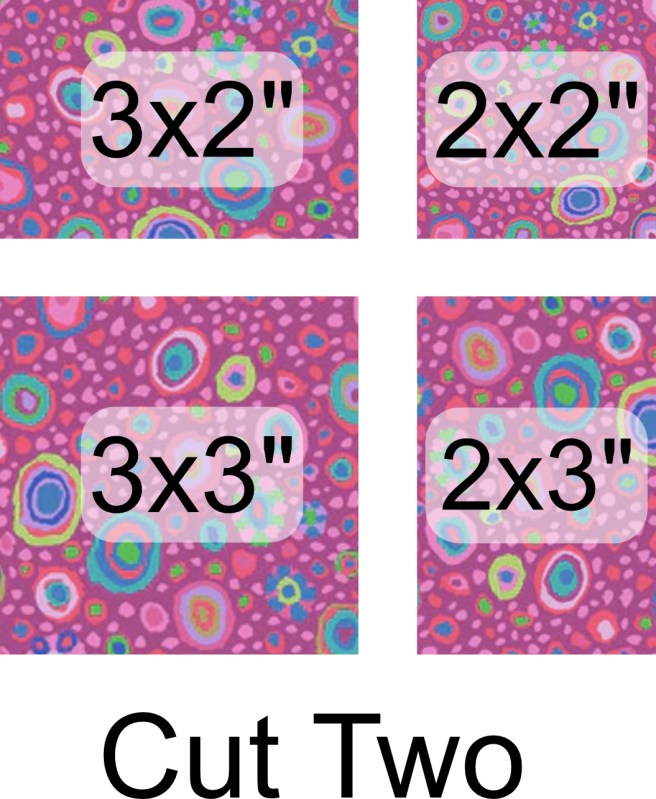
You’ll make two cuts in through each five-inch square. Make the first cut but don’t move them. Then make the second cut, so you’ll have four bits. Keep the 3″x3″ block. Discard the 2′ x 2″ block, or save for your scrap box.

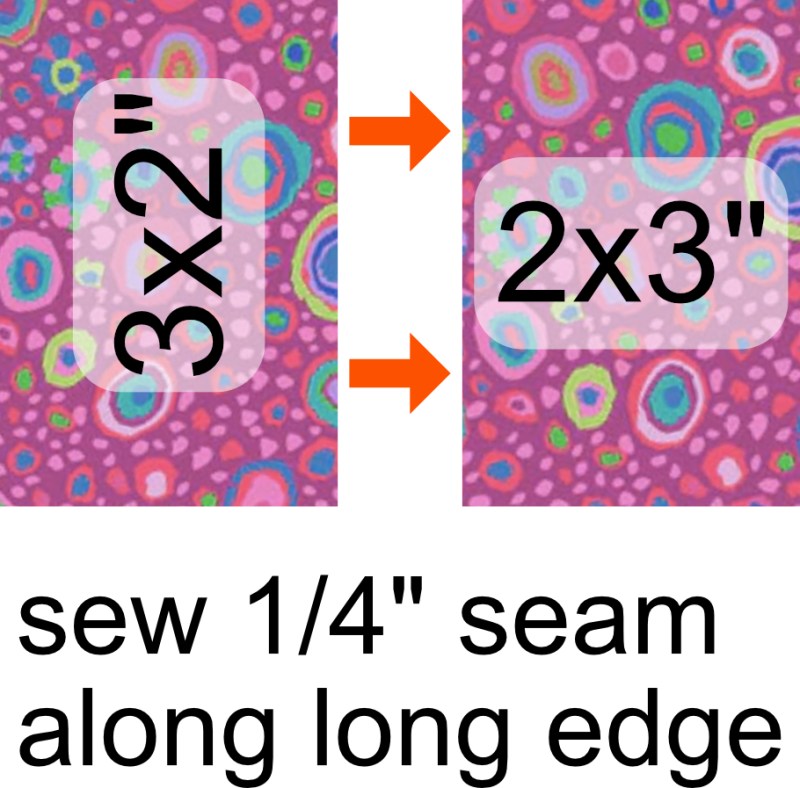
Then sew along the long edge of the 2″ x 3″ blocks to make a larger patch; trim to 3″ square. Or, just do what I do:

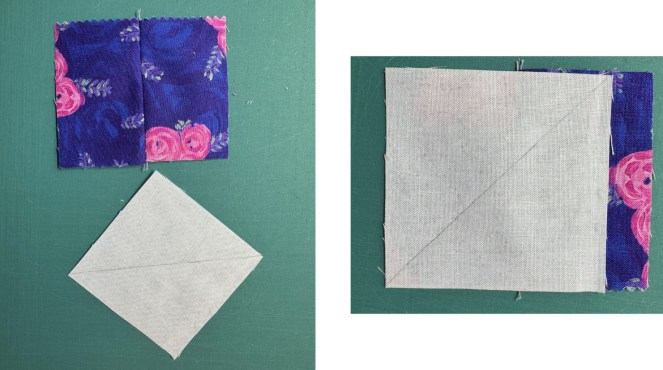
Draw a line diagonally across one of your background squares. Plop it on top of the extended square. Stitch on either side of the line, 1/4″ away from the line, then trim off the edge, and cut on the line. Standard HST-procedure except for that blob on the right. Then press to the dark side, then trim to 2 1/2″ square. You’ll need four of these per bird.

I’ve stacked up a few pieces before I start batch-sewing.
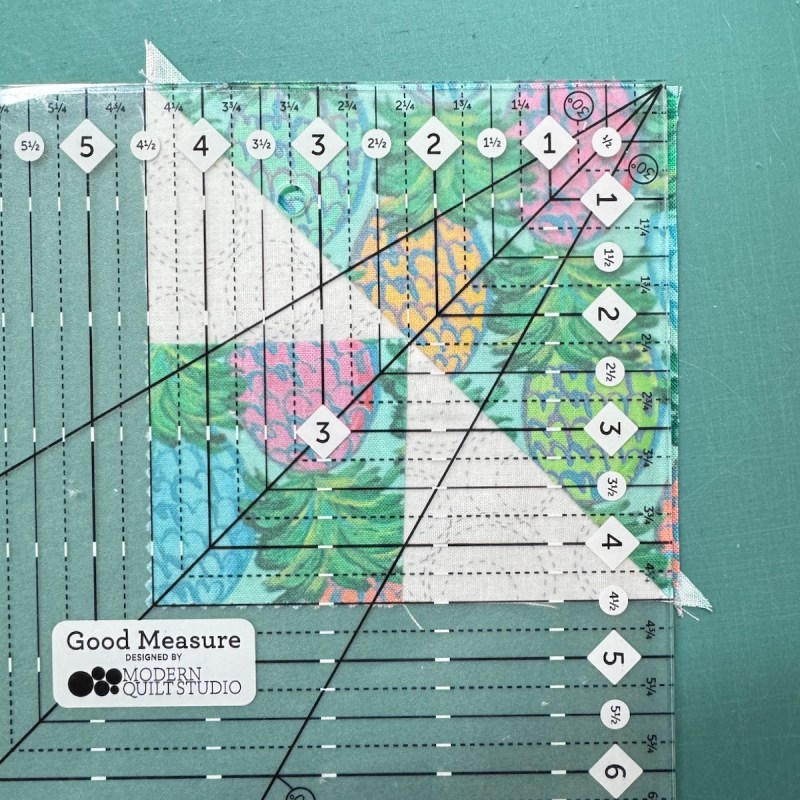
Sew the triangles on either side of the head, then sew to the body. Press, then trim to 4 1/2″ square.
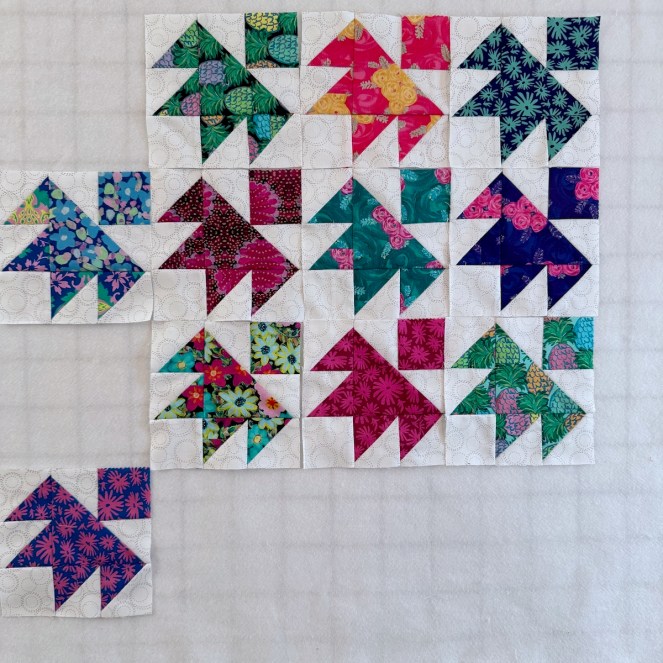
Sew two HSTs together, then two more. Sew the first set to the body. Sew the second set to the white square in the lower left. Stitch everything together. (See photos, above.)

Two Reminders:
• Trim the body/head square to 4 1/2″ and then, after assembling,
• trim the whole block to 6 1/2″, please.

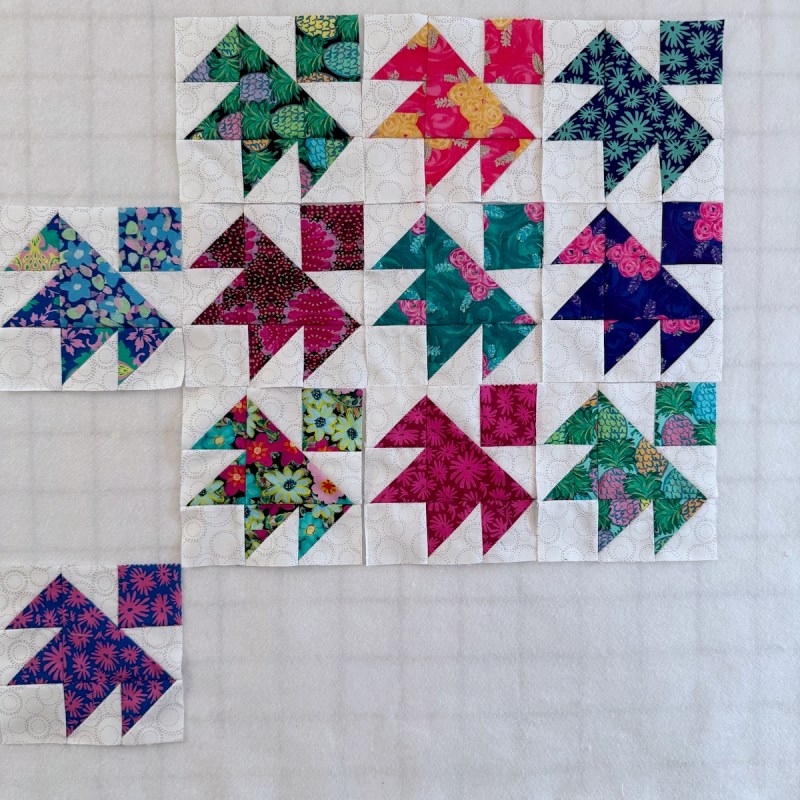
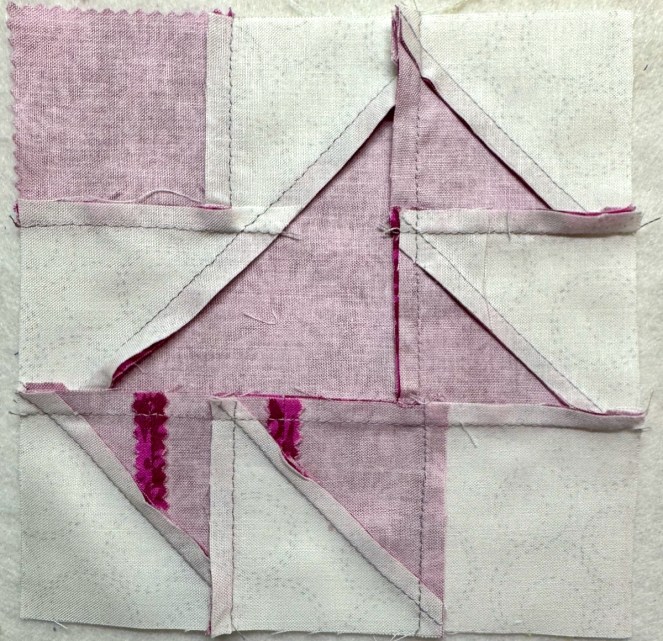
This is what it looks like from the back. On most of them I put one seamed HST in each wing-set, but here I have them both on one side. Now take your sixteen blocks and have fun arranging them.

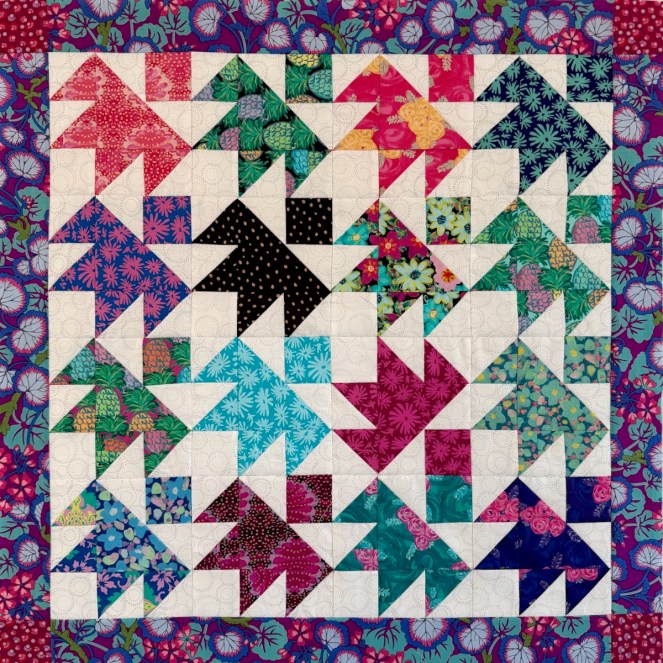
Working Title: His Eye is on the Sparrow. It’s 24″ square, with two-inch borders and cornerstones.
I’d been thinking about someone I know who has been having a rough go. I mean, we all take turns at that wheel, but now it was their turn. I had tried turning the darkest bird, but it was too much and too obvious. The pink sparrow, the one we all don’t notice all the time and who is quite possibly having the toughest time, is the one we need to keep our eye on.

The other title I thought of was Murmuration, when the birds fly in a huge swirling artful array in the sky. I rarely see them myself in nature, but I love videos of that effect. However, I went with the above.

This is my freebie for you, a wee gift. Click to download.

I was able to cut and sew this thing in no time flat. I have a huge project I’m about to tackle and maybe I just needed a little something to get my sewing warmed up? I had fun making it, and hope you enjoy it.

I’ve read some take a Slow January, but this month we threw away the 50-year old workbench in the garage, and bought one of those fancy new rolling ones. We’ve cleared out lots of junk, and my car is loaded for a trip to the hazardous waste facility–who knew what we could accumulate in paint and pesticides over all this time! Happily, we found a new Fixit Guy, and he’s helping us with replacing switches and light fixtures, drywalling and painting. I think it will all be done by the 31st.

But this coming week is Road to California! Even though it is a national quilt show, it’s also our “local” quilt show — only 35 minutes from my house on a good LA freeway day. I’ll be going up several times to see the quilts, find out what the vendors brought, hang out with friends, and then it will all be over for another year. So, no. January is never slow around here, but we do hibernate in the dead of summer. At that point, I’ll be inside with with the A/C on (set to a responsible temperature) and sewing away. But for us Southern Californians, we play our January away!

Your neighbor,

300 and Beyond · Free Download · Free Quilt Pattern · PatternLite · Quilts

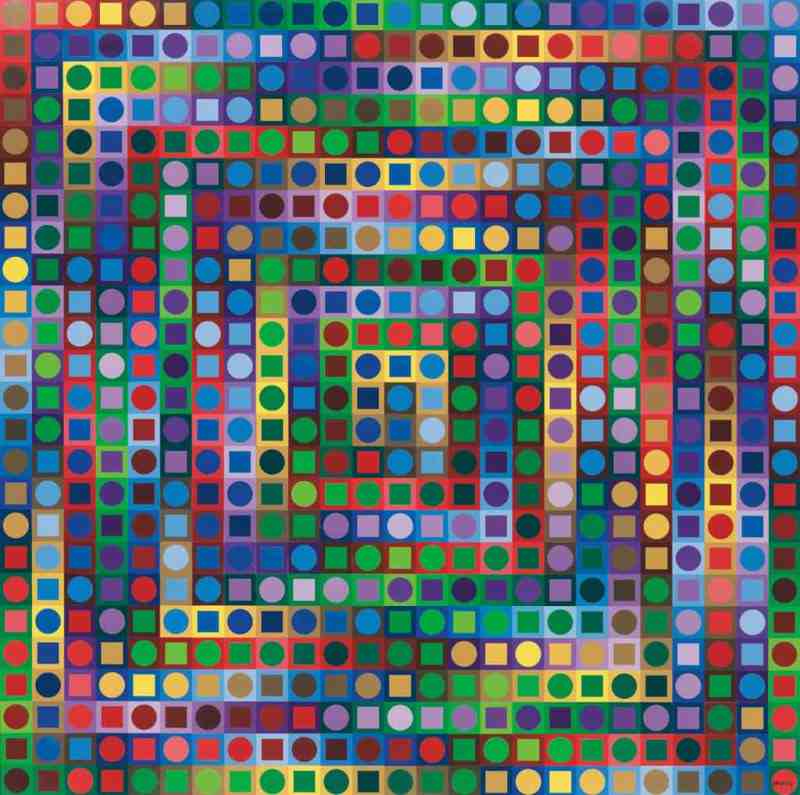
Did Vasarely get there first?

Maybe. Maybe Victor Vasarely got there first in the art world, but I’m guessing the origin of circles on squares, or even squircles on squares, may have come from all the mending the first woman did on her children’s clothes. Just a hunch. I really have no way of knowing this, but when my friend Dot mentioned the artist Vasarely as being reminiscent of our #backtosquircles project, I believe she was on to something. Have fun looking at his art.

My Tips and Tricks

Caveat: If you would rather fold laundry or scrub out the bathroom than do hand appliqué, I have a post on how to do nearly invisible appliqué on machine, using monofilament thread. It’s quick! It’s easy!

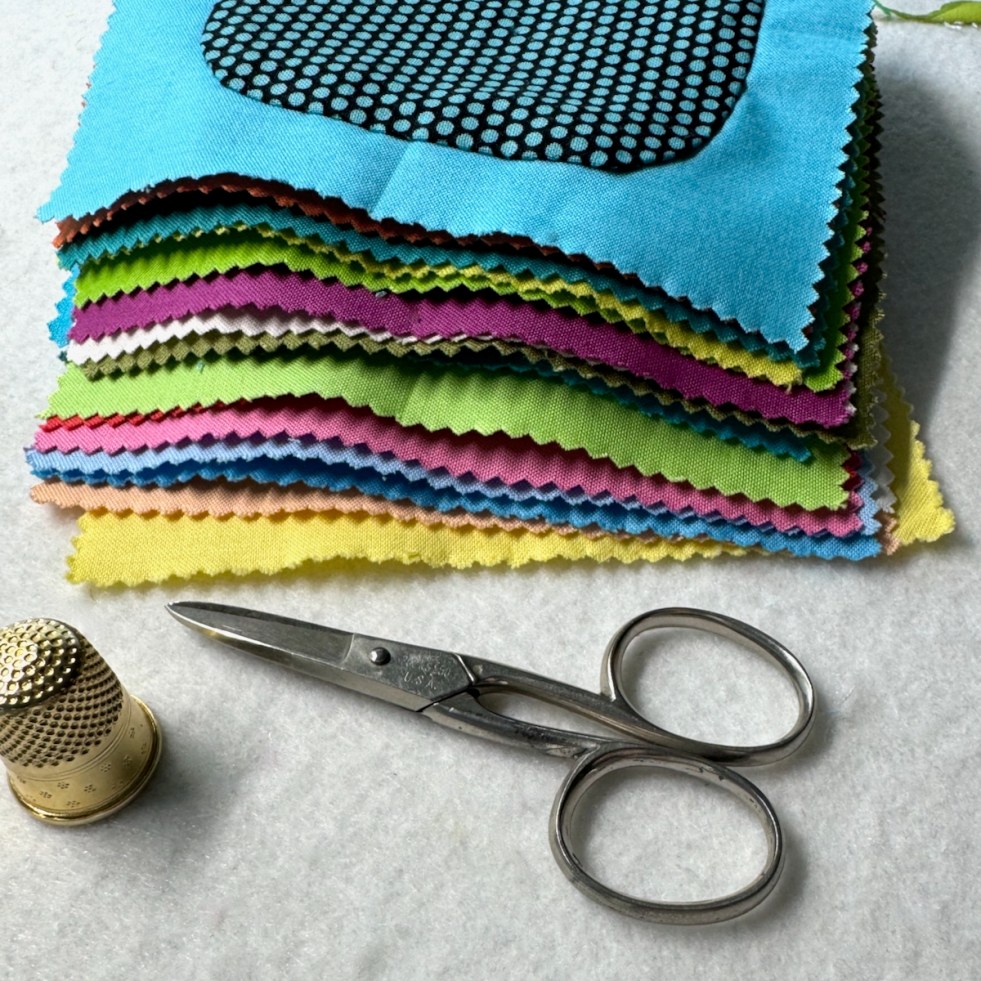
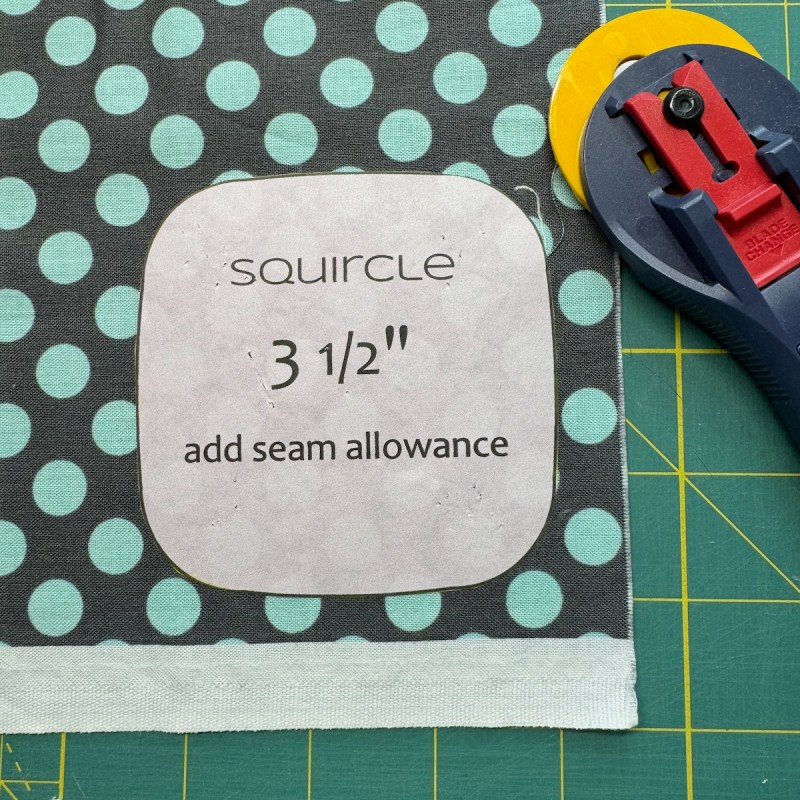
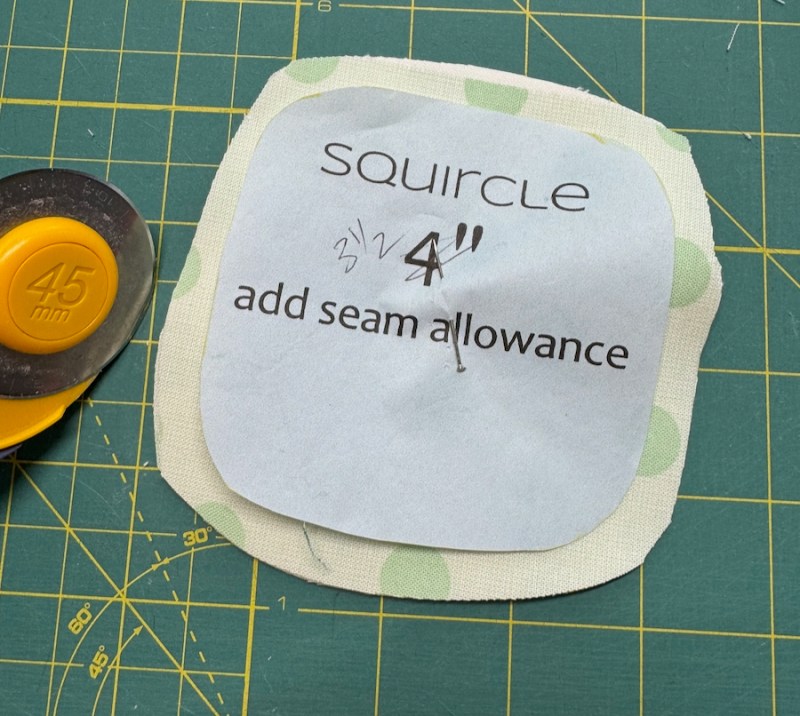
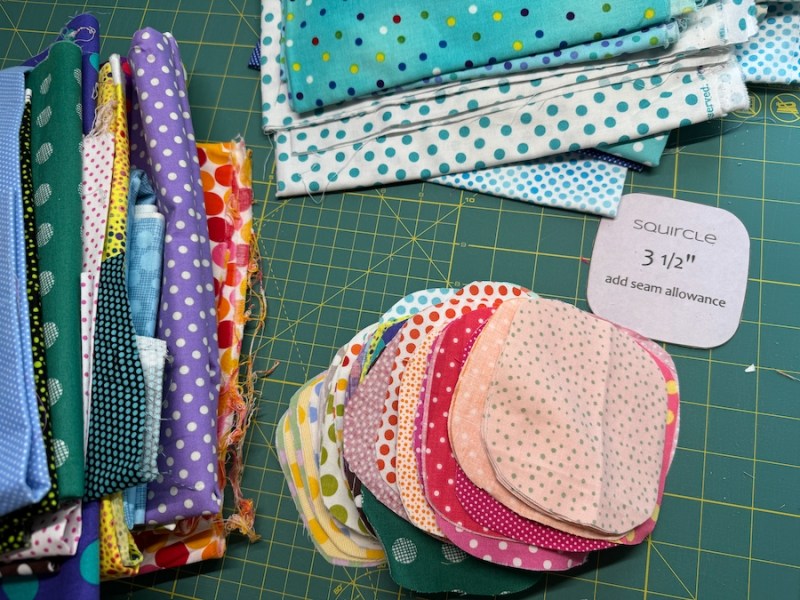
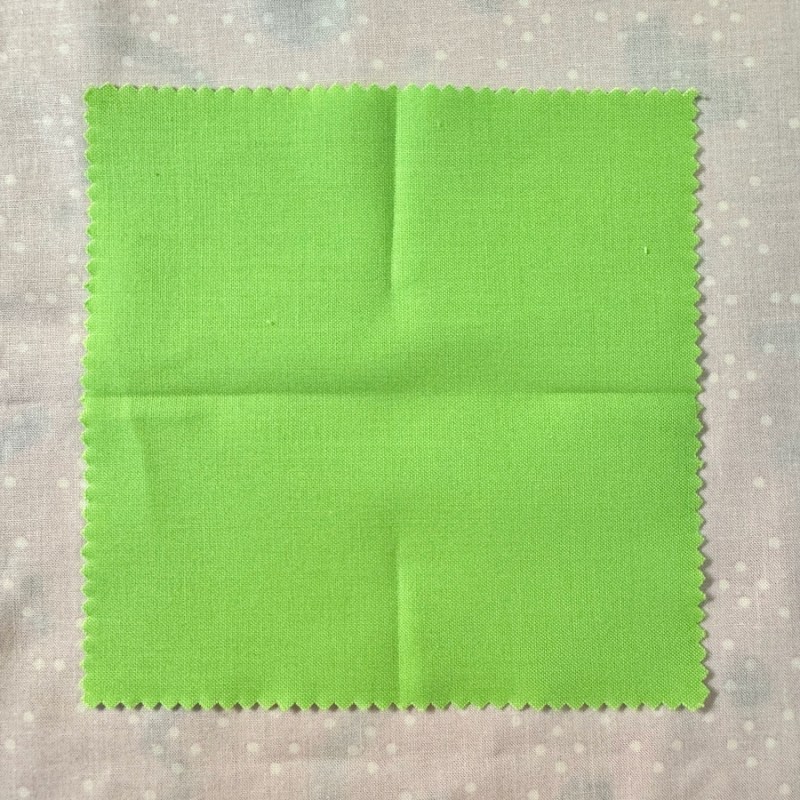
To cut out the shape: I would often iron on my freezer paper version of the pattern (I just printed it directly from the pattern). Other times I would just use a pin. Always I used my rotary cutter to slice around the fabric, and usually I was working with four layers of one polkadot fabric. (I learned in this project how many many many polkadot fabrics I have.)

In my past appliqué lives I have always cut out a bunch of the shapes out of freezer paper and pressed the fabric onto that. I would place shiny side up, and nudge the edges onto the shiny stuff and they would generally stick. When it was cool, I would take the pattern out and use it again.

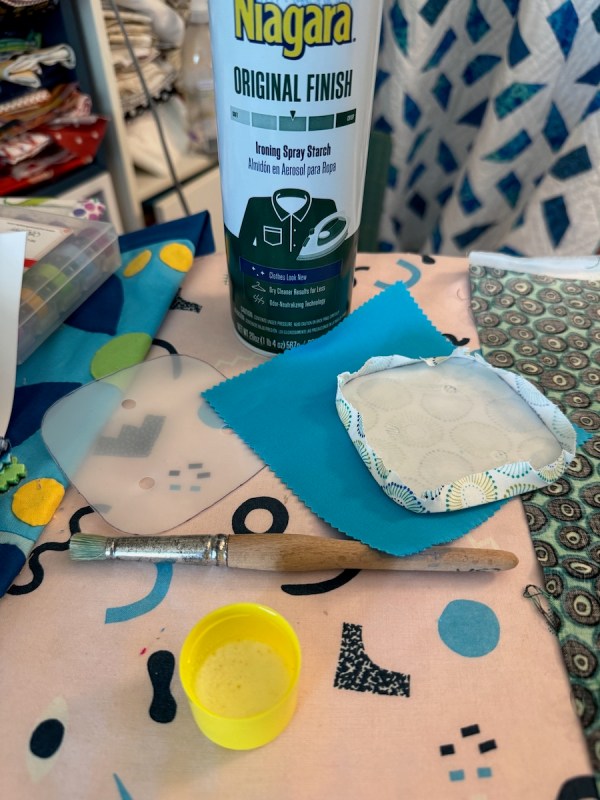
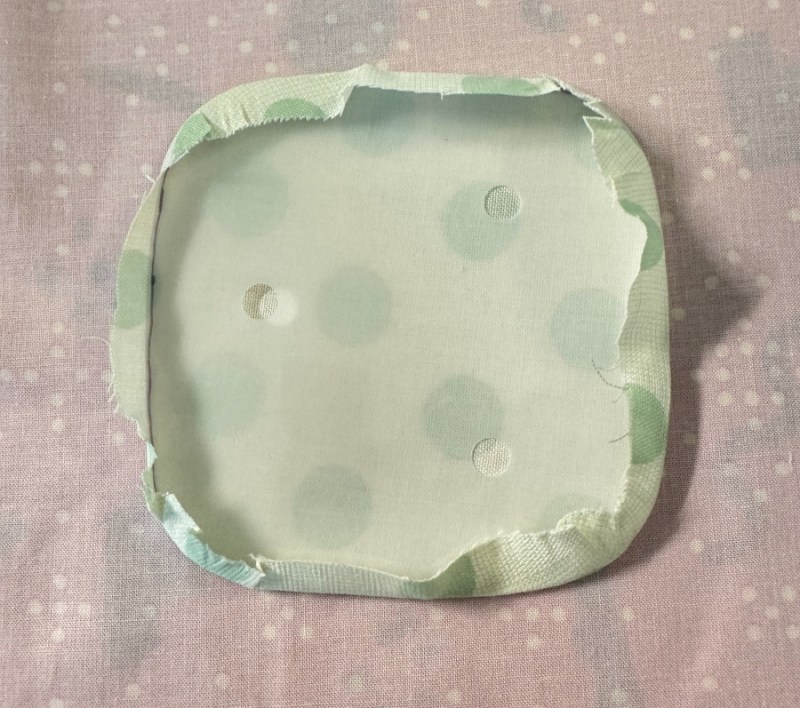
This time I tried Old School Methods: spray some spray starch into the lid, and using a small brush, stroke it around.

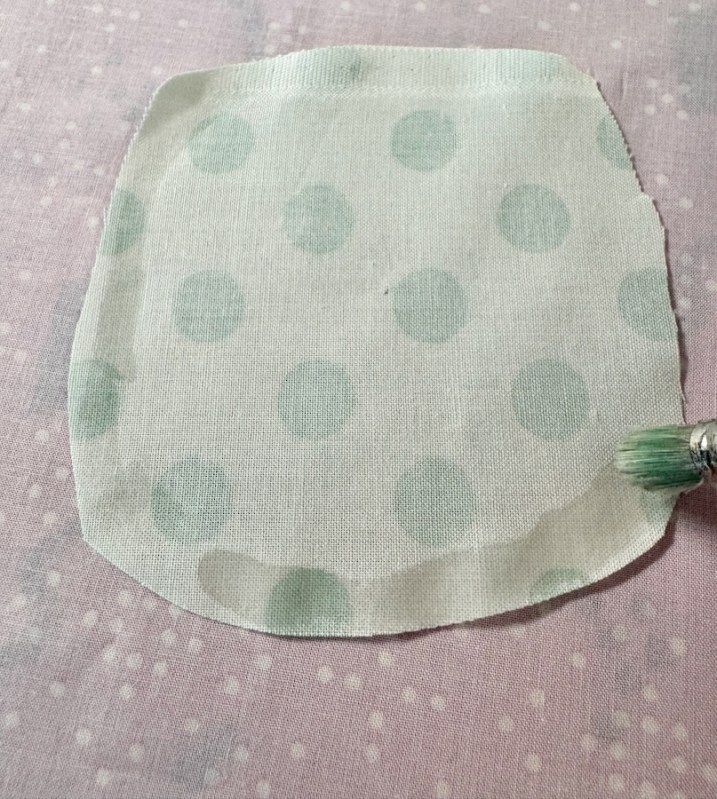
Like this.

You can just see where it’s damp from the starch. Don’t use too much. I always lay down a piece of cloth on my ironing board to catch the dribbles.

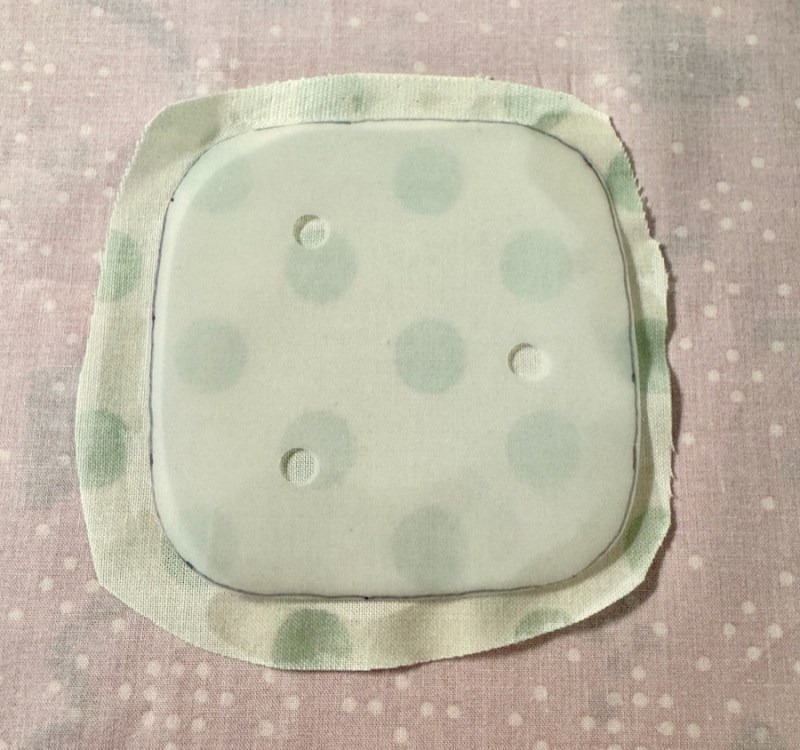
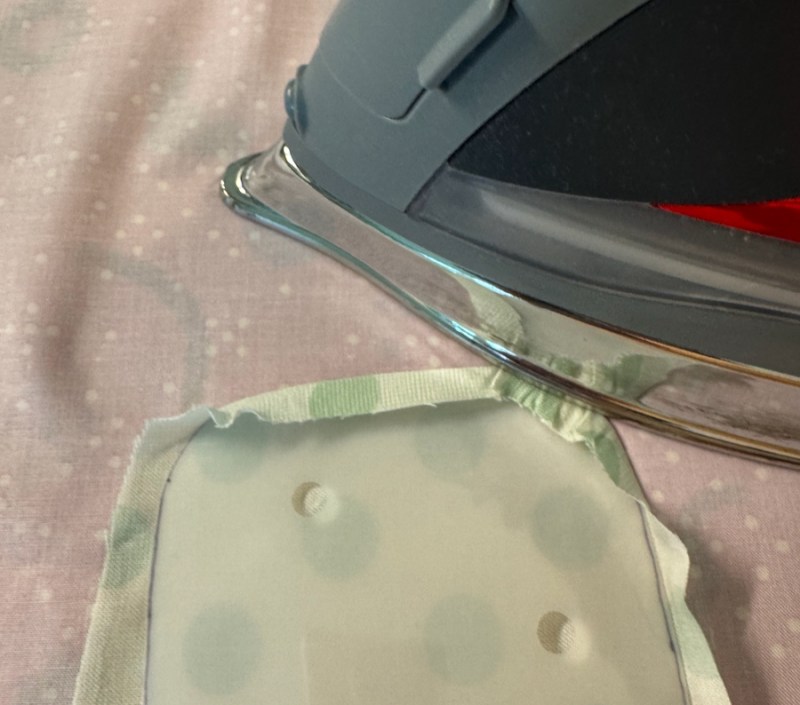
Place a template (here I used mylar and punched holes in it — more on that later), pressing the corners and sides up over the template. The starch should dry and hold it in place. Let it cool, then remove the template. Duh.

I finger press some marks at the centers.

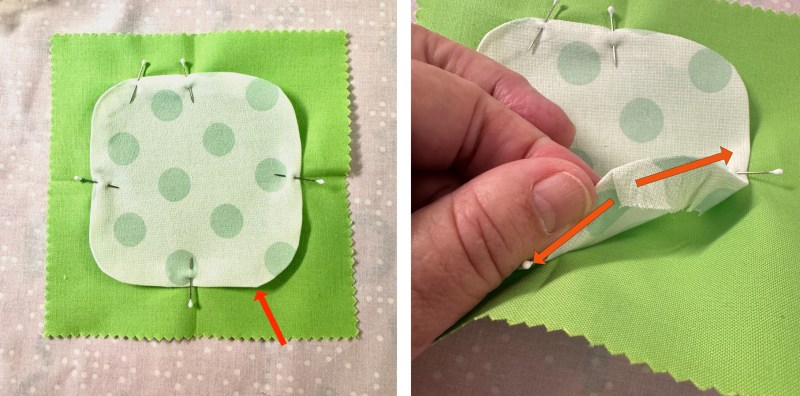
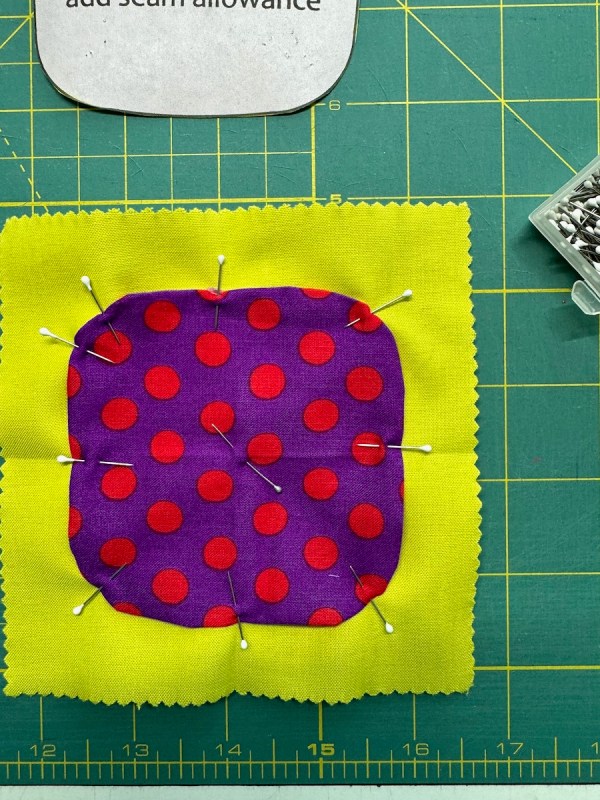
Then I arrange the cooled, pressed squircle by eye and pin it down. Sorry if this is repetitive for you experts — feel free to leave a comment if you have more tips; this is always helpful!

Sometimes you’ll get a little bump out. That just means underneath the seam allowance has its knickers in a twist. As you stitch along to this spot, with your needle, sweep the seam allowance away from the bump (in the directions of the arrows) and it should ease up and smooth out.

Sometimes I just put four pins.

Other times that squircle isn’t going anywhere.

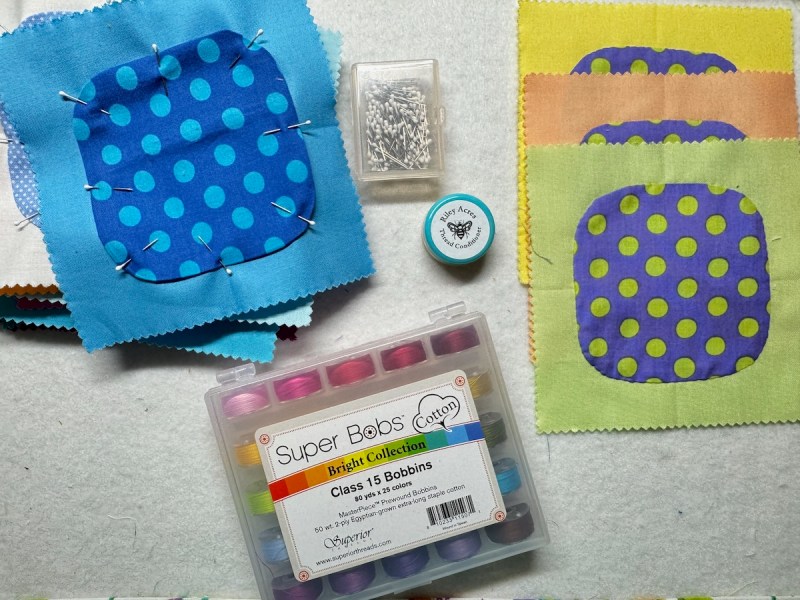
I use the Thread Conditioner from Riley Acres, and I like the Super Bobs Bright Thread Collection. Rachel uses her own bees’ beeswax to make the conditioner, and I like how it feels, and it never gets hard.

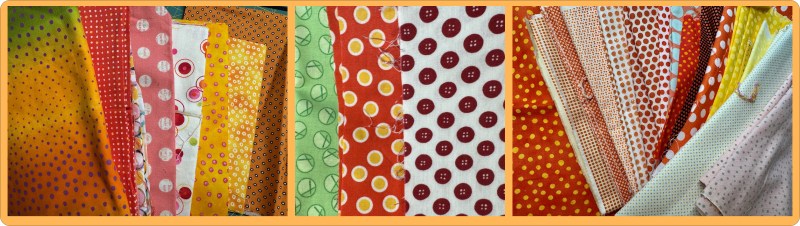
I’ve sort of started evaluating my polkadots for this project. The ones on the left are rejects. The ones in the middle I was thinking about, but in the end, I only used the ones on the right: regularish-shaped dots, with not too much else going on.

Twenty-two done. I’m ahead of schedule, happily.

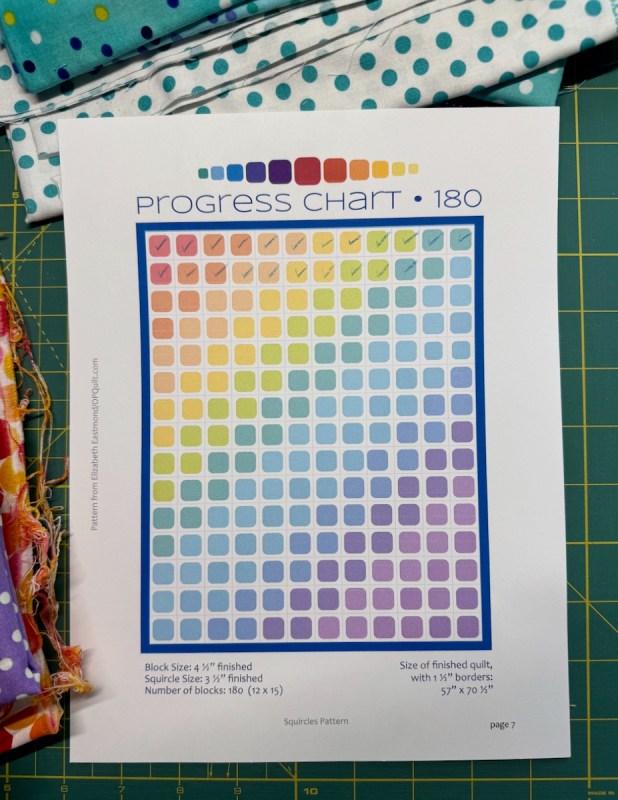
I made you a chart to keep track of our squircles. I added it to the pattern, and tweaked the pattern a bit, if you want to download it again:

Okay, that’s it for my squircle tips and tricks.

The mylar sheets can be found on the Great Store in the Sky, and I just slipped the pattern underneath and traced it off with a fine Sharpie marker. The Mylar cut easily with scissors. I punch holes in my Mylar so the steam doesn’t build up and warp the template. Although with the starch, I didn’t use steam this go round.

This little project will sink into the background for a while, so I promise, no more squircles posts for a while. But the pattern (free!) and the tips and tricks will stay here on the website for your use.

keyword search term on this site: squircles
hashtag on Instagram: #backtosquircles

I could listen to Rose talk about her job in the hardware store every day.

Creating · Free Quilt Pattern · Patterns by Elizabeth of OPQuilt · Quilts

This and That: No June Gloom, please.

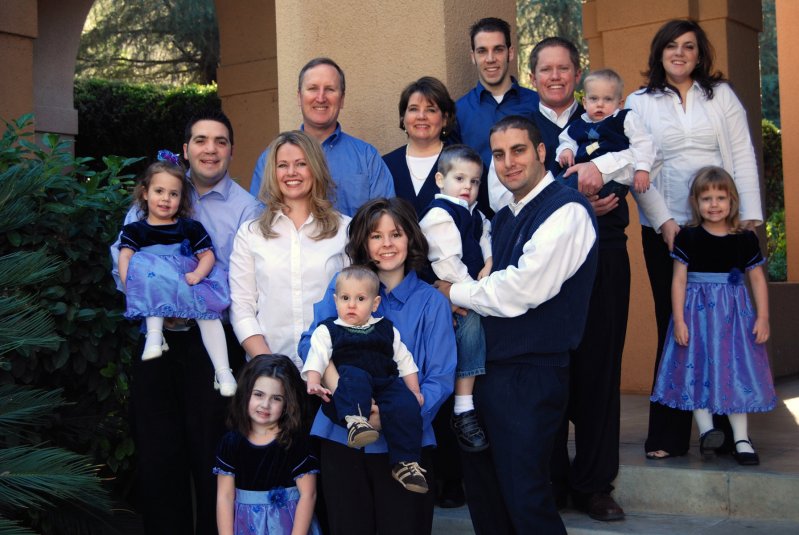
First off: Happy Father’s Day to the men in your life, and especially the men in mine: my husband, Supreme Quilt Holder, three sons, and one son-in-law, then a gang of grandsons. Here’s a early photo:

(Missing: three more grandsons, three more granddaughters. I just love all those little girls in their beautiful dresses.)

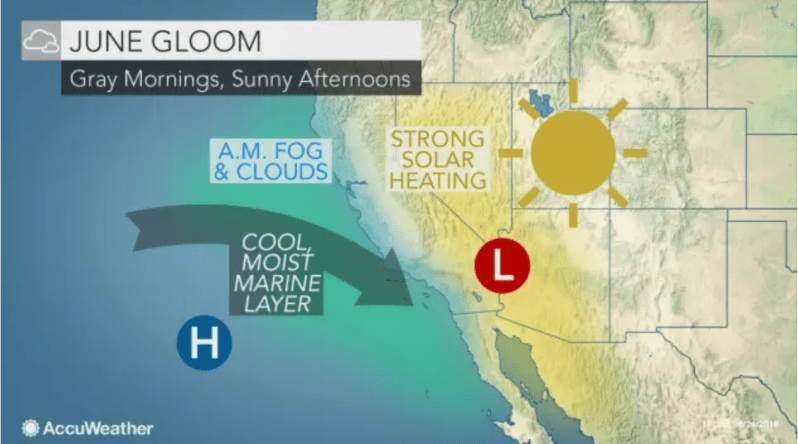
There’s this phenomena about June of every year, when the deserts heat up, drawing cool, moist air further inland from the coast. The locals have a name for it, which I hate. I just call it Reprieve from the Heat for Another Month, or something. because I do love the cool mornings. Yes, I do.

My friend Mary gets too much of this cooling layer and we are always mentioning it in our correspondence, me complaining about the coming heat, and her bemoaning the too-cool summer. Welcome to Sunny California.

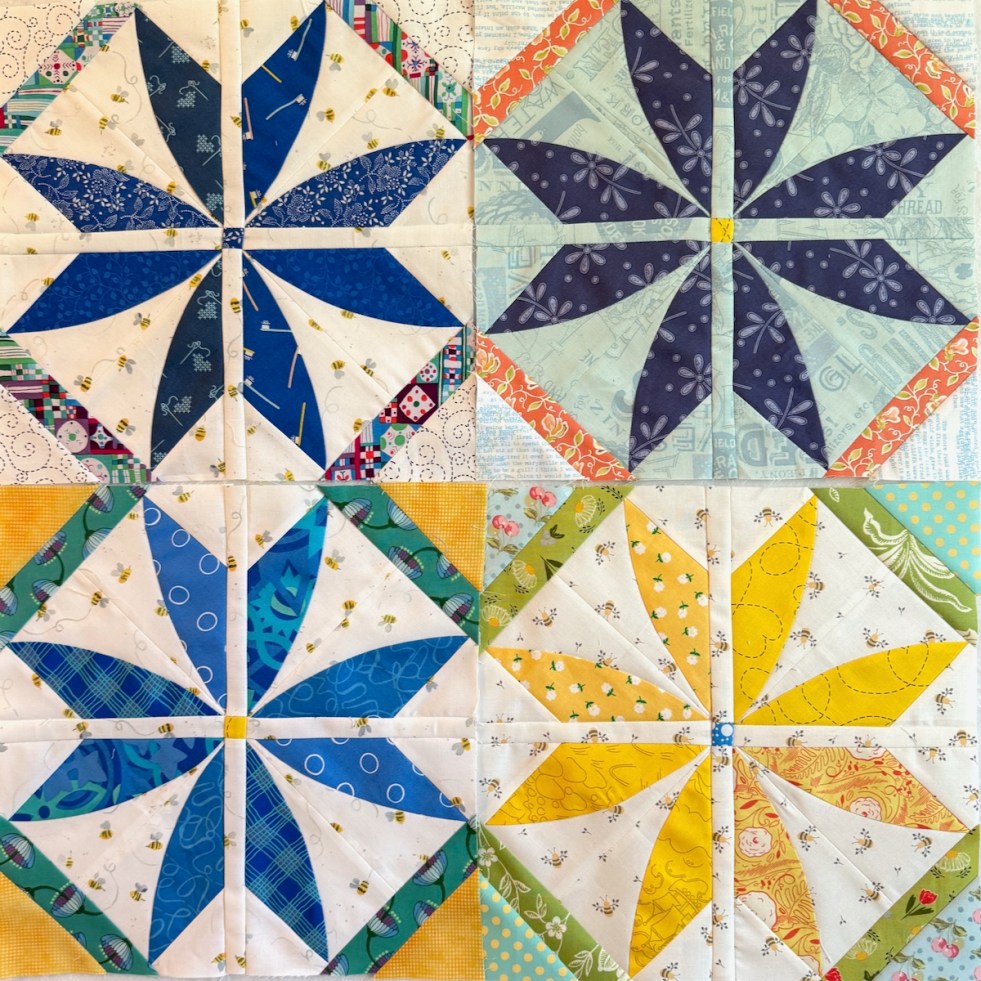
So here is my first Posh Penelope for June: all sunny and bright, in a good kind of way.

A little less sunny, but still bright.

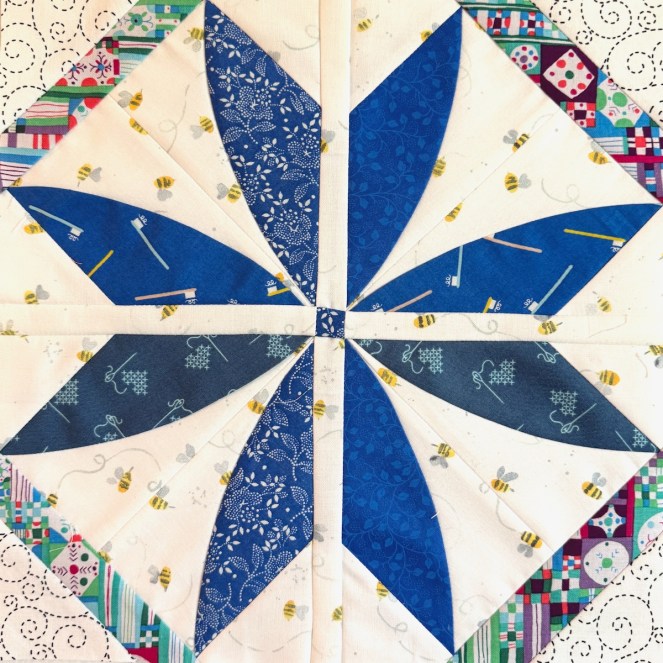
Full out fog in these, with all those blues. I’m going to have to ramp up with brighter colors next go-round, but I do like those toothbrushes on the blue fabric.

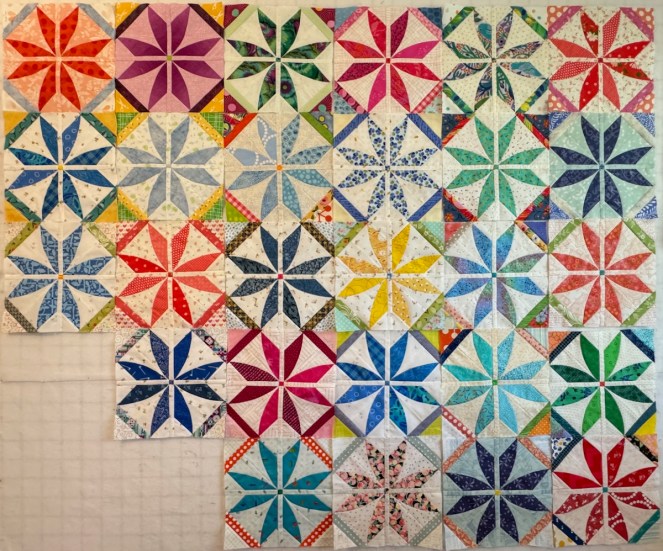
Here’s the group so far. 41 blocks are planned, and I’ve made 27, more than halfway. But I probably said that last time. You should see Carol’s stack — they are wonderful!!

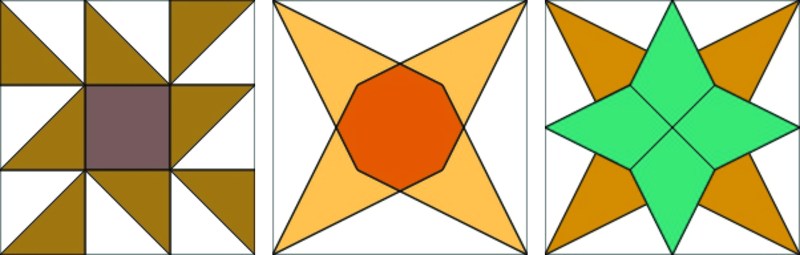
Here’s Sherri’s Block of the Month for June. It’s a fun series and I’m using all her fabrics (picked up one more new last week). But alas, the Friendship Star and I are NOT friends. Nor do I like these stars:

I also don’t like sour gummies or the smell of coconut shampoo, but I don’t think that has anything to do with quilting.

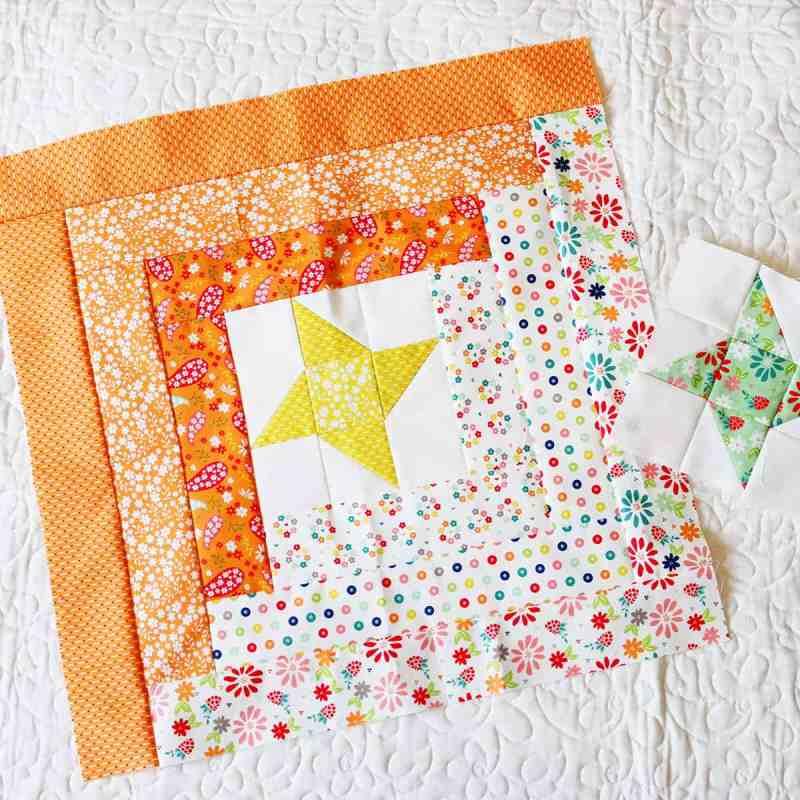
So I substituted this: I have no idea what Sherri has planned next, so I may be moving other centers of hers around, but since I’m allergic to the star she chose, here’s my spool of thread.

And here’s the back of it. It’s fast: sew the sides on, sewing only between the dots. Then sew from the dots to the corners.

And yes, here’s your free PatternLite. And you’re welcome. Click below the spool to download.

Here are the six I’ve made so far:

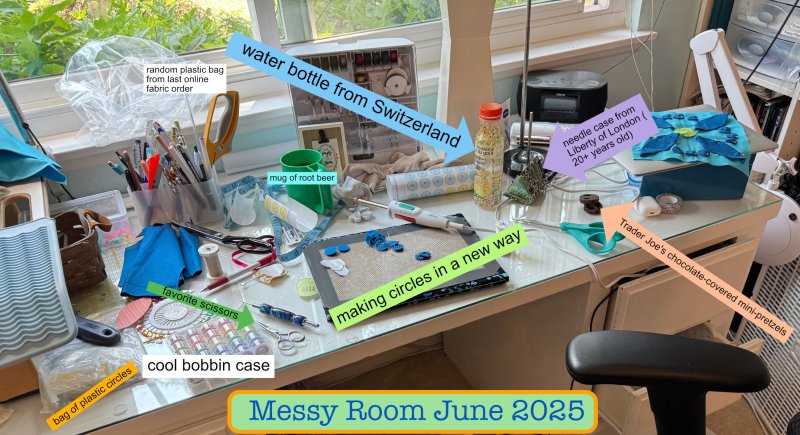
This is me, making a mess. It’s good to document messes once in a while. I was learning a new way of making circles. (Last post) I know these photos drives one of my friends crazy; she is a very tidy sewer, but her sewing room is also about 4x as big as mine; a lot of stuff gets piled up in mine. I have learned to focus and ignore the periphery, a skill I learned when I had four small children and had to get the quilt done:

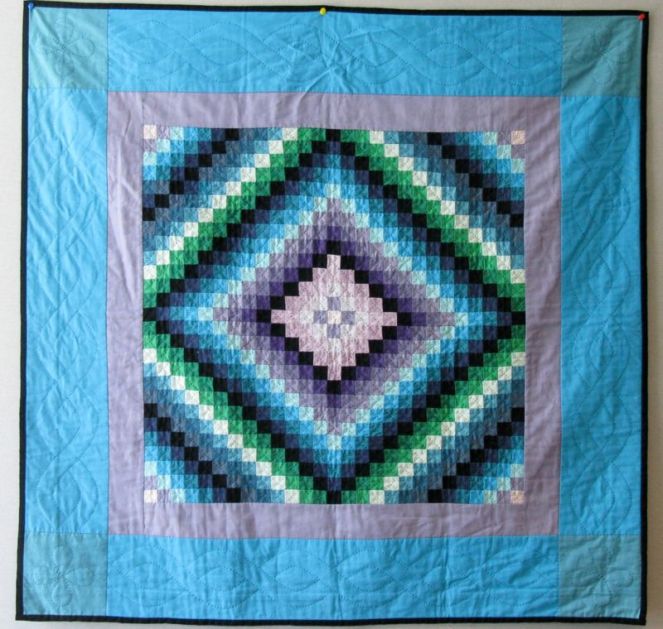
Like this one, from the Early Years. My son Chad now has this Sunshine and Shadow quilt — somewhere, he says — but even if it’s lost in his attic, I still have photos. Machine-pieced, hand quilted with a layer of flannel inside…not batting.

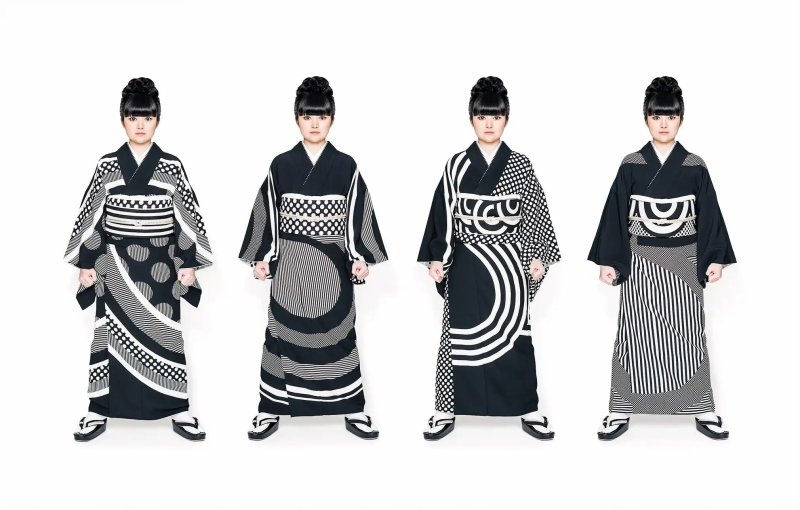
For a fun click, head to this write-up of the kimono exhibit at the National Gallery of Victoria in Australia. The article shows both traditional and more modern kimono.

I think I kind of jumped the shark a couple of posts ago, writing about sewing nightgowns and stuff, but things are going better this week. The New York Times must have known I needed a creative tune-up, and published a five-day “Creativity Challenge.” (If you don’t subscribe, here’s a link to the first article.) In it they note that “Research links creativity to happiness and well-being, and a 2021 study found that older people who participated in creative activities showed less cognitive decline than those who did not” (Passarella, NYTimes).

In an earlier missive, Elizabeth Passarella, the writer, said “You are all creative in some way. There’s a definition of creativity that researchers use: generating something novel that is also useful.”

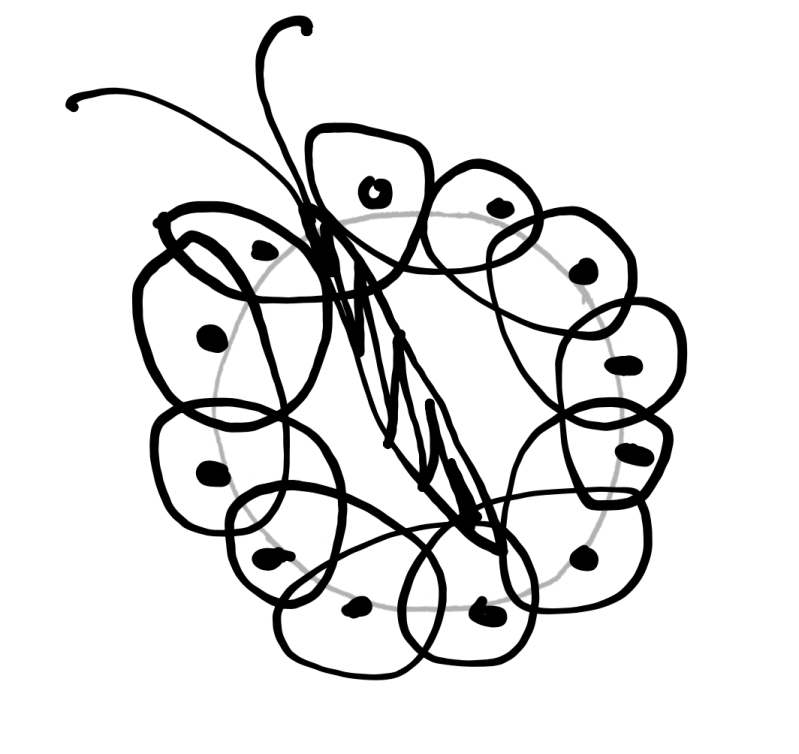
Generating something novel that is also useful. I need to print that out and tape it to my sewing machine. The first exercise was doodling:

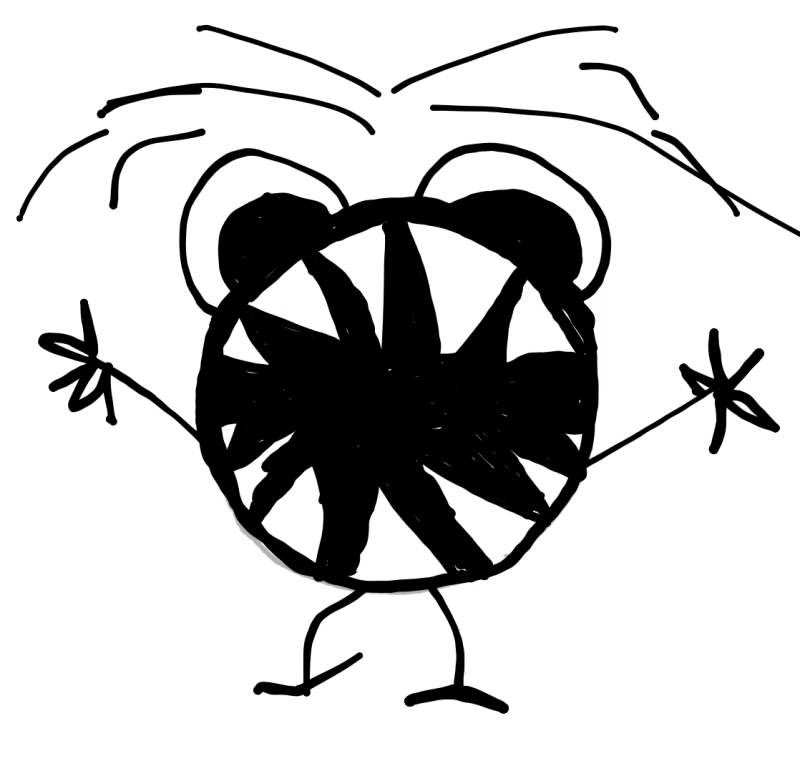
We had to begin with a circle and go from there. I’m do not consider myself a hand-drawing-artist, so I did the best I could with a screen and a mouse. Don’t know where that second drawing came from–maybe from the state of politics in our nation today (doesn’t it make you crazy, too?).

So take a listen to Amie McNee if you need a shot of “why should I create.” Her TEDx talk was something I happened on this week, and I found inspiration in many things she said [words in brackets are mine]:

We need to be at the piano [or the sewing machine] making our art more than ever as we navigate these incredibly difficult things. Art is not just for kids; art is not just for adults…we need it now.  [One reason is that] creativity is the missing pillar of self-development.  [Another reason is that] when we create, we have agency.
Another beautiful reason to create is because it reclaims your most valuable resource…our attention in a society that profits from you being stuck on your phone.  We are a culture of consumption and we’ve forgotten how to make.  We need less consumption, more creation.

The act of making art is inherently generous.

I’ve been slowly working on this. There are a lot of thread changes, and some unpicking, as it’s been a while since I was at the quilting machine. I don’t quilt every day, so I like to keep track with the labels.

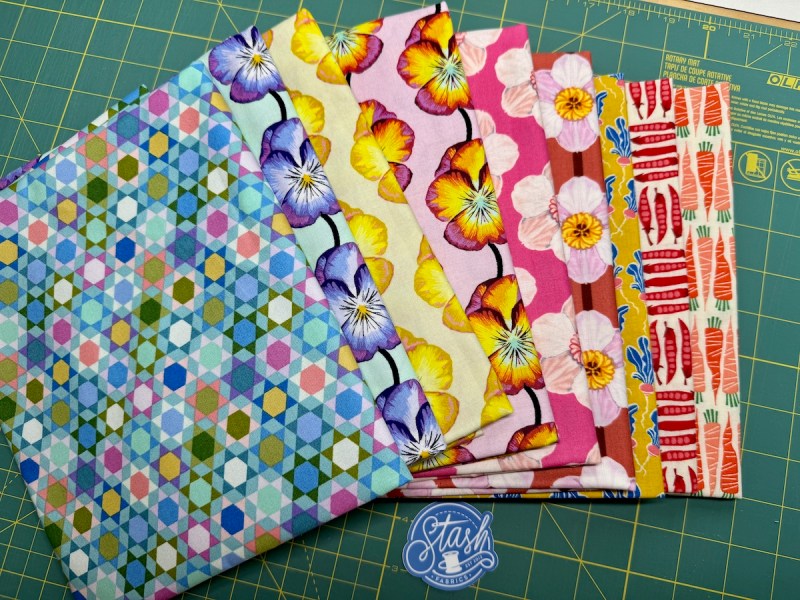
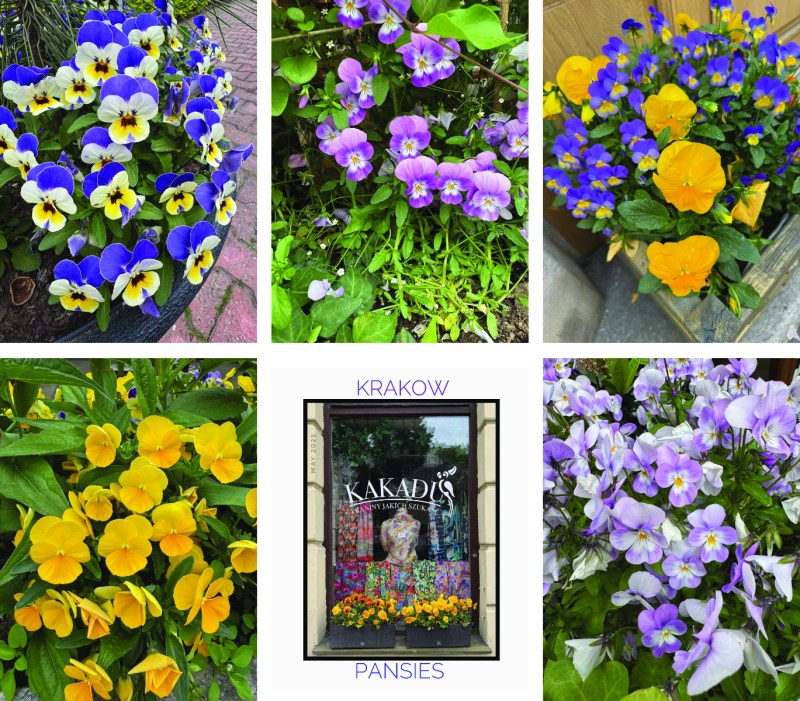
That plastic bag in the Messy Room photo? I pulled it off this pile of gorgeous goodness from Stash Fabrics. I wish I could say I was influenced by all the pansies I saw in Krakòw, but the truth is I ordered these before I went. But maybe I could see into the future?

In the NYTimes creative series mentioned above, I especially liked how they talked about a form of daydreaming:
“You’ll be more likely to capture original ideas if you’re in “atypical salience processing mode,” which is a fancy term for a state in which you’re focusing on the unconventional. Look at a piece of abstract art, or stare out your window in a way you usually don’t, paying attention to the space between buildings or the shadows formed by trees.”
(You can read the article with this gift link: here)

Happy Day Dreaming!

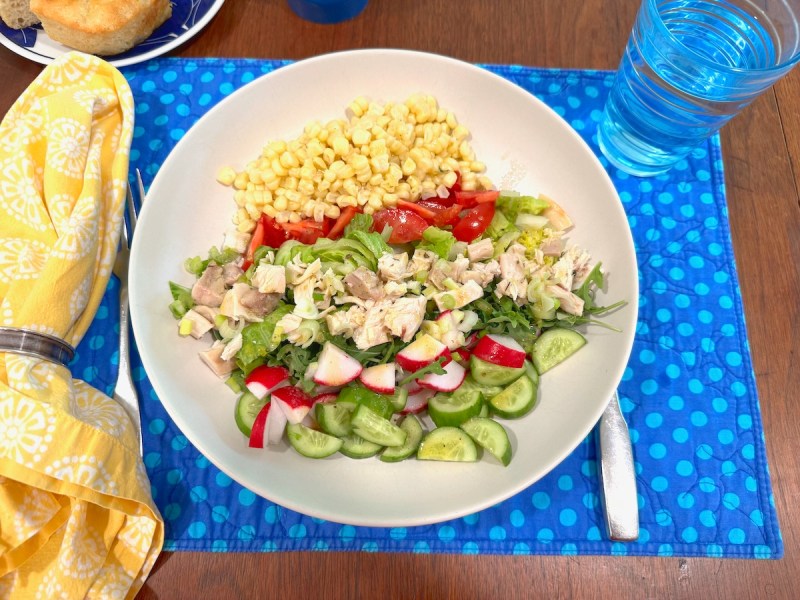
Layer your summer salad into a bowl:

  • Cook a cob of corn in the microwave, wrapped in wax paper, for 4 minutes. Run under cool water to cool it down then slice off the cob.
  • Tomatoes (smaller and flavorful like Campari tomatoes)
  • Romaine lettuce, sliced
  • Bit of arugula
  • Radish chunks
  • Cucumbers, cut in half lengthwise, then sliced 1/3″ thick
  • Chunks of rotisserie chicken
  • Focaccia (my favorite recipe is here — I make it every other Saturday night (10 minutes to whip it up in the evening and in the morning, 10 minutes to prep for the baking, plus rising time).
  • Drizzle Lemon Vinaigrette over everything.

Anywhere you travel in Europe, they call arugula “rocket” for some reason. Here’s a little joke for you from the internet.