

Thursday, May 1st, was the reveal for our second series of Art Quilts. This year’s theme is Urban, and this quarter’s challenge was Landmark. And as is my usual, I do a post on how I put it together.
 Marilyn Monroe, by Andy Warhol was the second step after making list of potential landmarks; I had chosen the hillside letters from a list of six ideas, but how to interpret the idea is always the next challenge. I liked the idea of Warhol’s repetition, and as a commenter on Reddit noted “Warhol does not give us one Marilyn; he gives us twenty-five. Perhaps he wants us to consider our obsession with celebrities, or to suggest that more is always better, especially in the case of a celebrity with an already ubiquitous image.” Okey-dokey. I think I just liked the different colorways, and the duplication. Here’s another famous one of his:
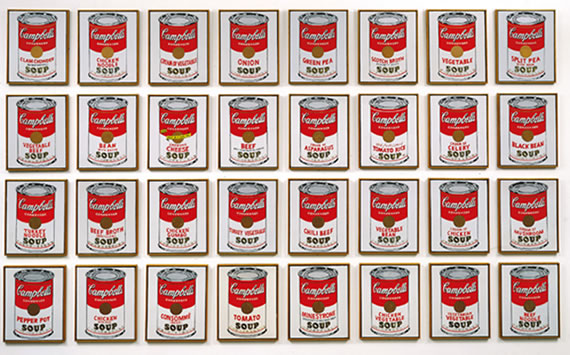

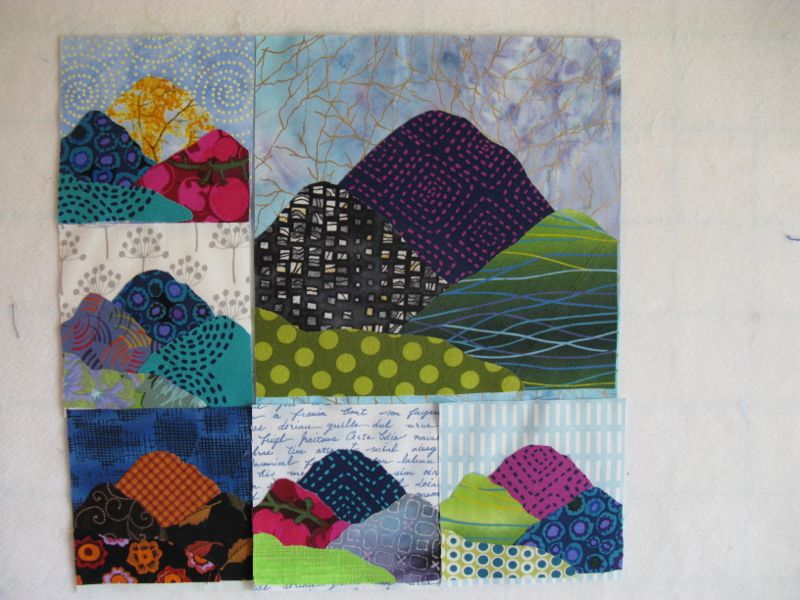
I thought about two different layouts: one like the Warhol’s Marilyn in a grid of three-over-three, or one where I’d displace some of the repetition with a larger image.

Guess which one I chose? I got out my Steam-A-Seam fusible webbing (it doesn’t gum up the needle too much in machine appliqué), a stack of fabrics from my stash (some are quite ancient), and cut and cut, and by the time I went to bed that night I had assembled this:
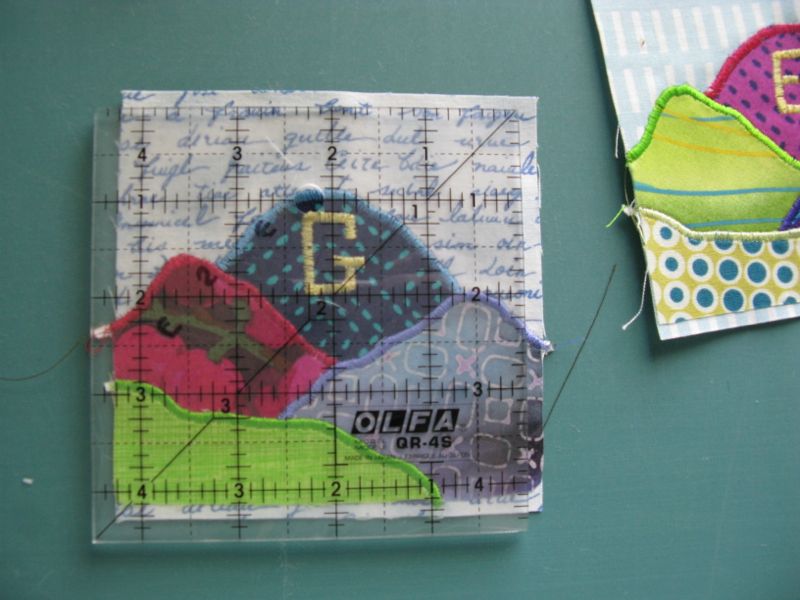
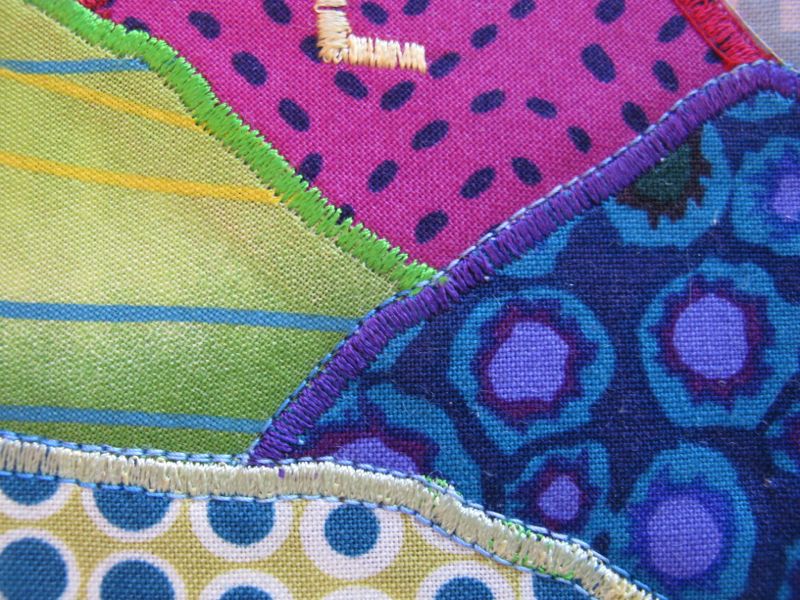
The next day, I went back and forth between using a straight stitch to secure the edge or a satin stitch. I’ve been using satin-stitch appliqué for about half my life, so that won. It’s my go-to technique when I want that distinct line around my raw-edge pieces and the fusible product holds them in place as I stitch. I dial that stitch length down as far as I can. I used to stitch using 0.3, but I can only get to 0.5 on this machine. So I have to “hold it back” a little with pressure from my fingers as I try to get that smooth lay-down of thread. I’ll explain.

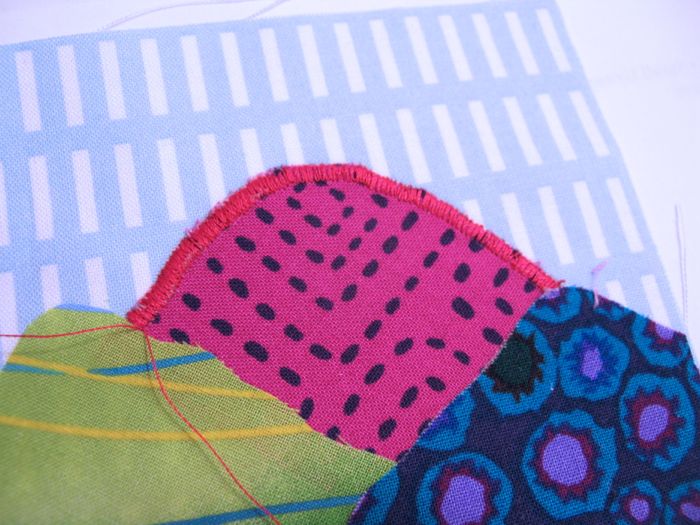
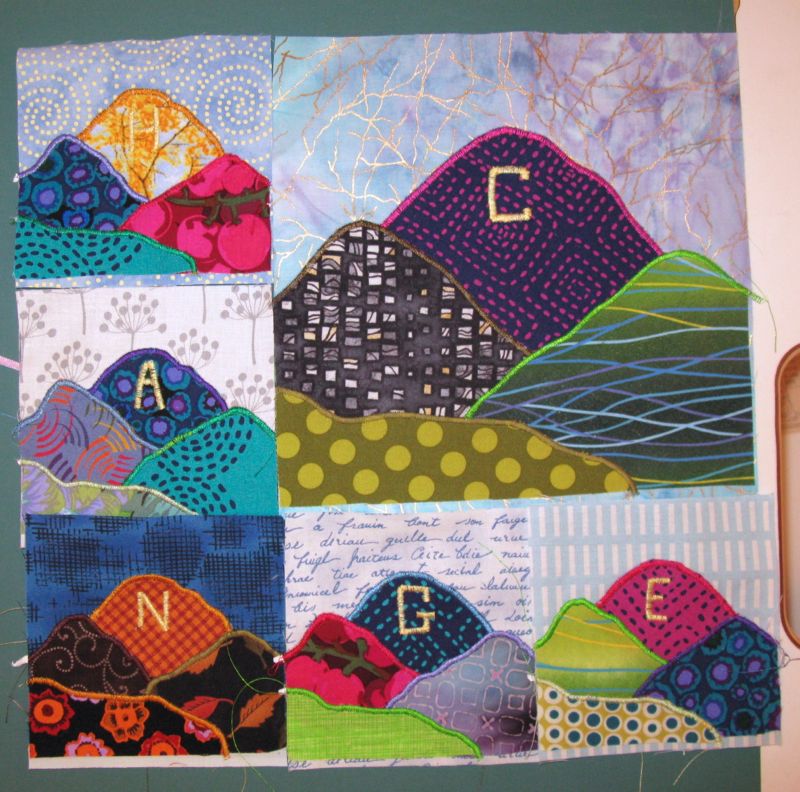
I have always (ALWAYS) used two pieces of paper underneath my stitching and I *lower the upper tension* on my sewing machine. I want the bobbin stitches pulled to the underside. Because I use paper, that’s what I kind of hold onto as I “hold it back.” And by using paper, I also don’t have any buckling of the fabric. After I finished all my mountains, I stitched my hillside letters.

It’s really easy to rip that paper off after you are finished. This is what it looks like after the paper is removed. Look Ma! no buckling of the fabric! (I’m not kidding–use two sheets of paper–it works like a charm.)
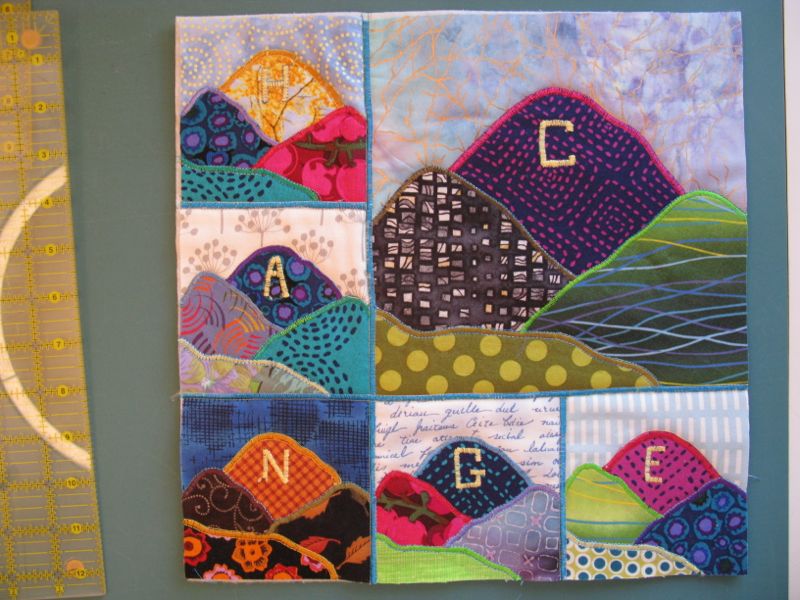
After all the blocks are all satin-stitched (and paper removed), I trim them down. I had decided I didn’t want to seam them, but instead butt them together, as I didn’t want that heavy ridge line that a seam would bring (all those layers!).
After I trimmed, I cut small strips of interfacing 1″ wide and laid the blocks side by side, fusing them onto the strip. (I did have a photo, but it was too blurry.) I assembled the quilt in units: (first) the three minis below the larger block, then (second) the two minis to the side of the larger block. Then (third) I attached the two side minis to the large mountain image, and fused those together. Then (last) I added on the lower three minis. Hope you are following all this.

I then satin-stitched the raw edges, using a slightly larger width (about a 3.5) to cover the seams. I layered it up with a backing and some batting, and then went to town quilting it.
I decided to quilt it by emphasizing the satin-stitching; I straight stitched on either side of that. Sometimes I’d use matching thread, sometimes I wouldn’t. I also lowered the upper tension for this step, but not as much as I did when I was doing the satin-stitching. I was happier when I had some King Tut thread to outline my satin-stitching (it’s a bit weightier thread and shows up better).
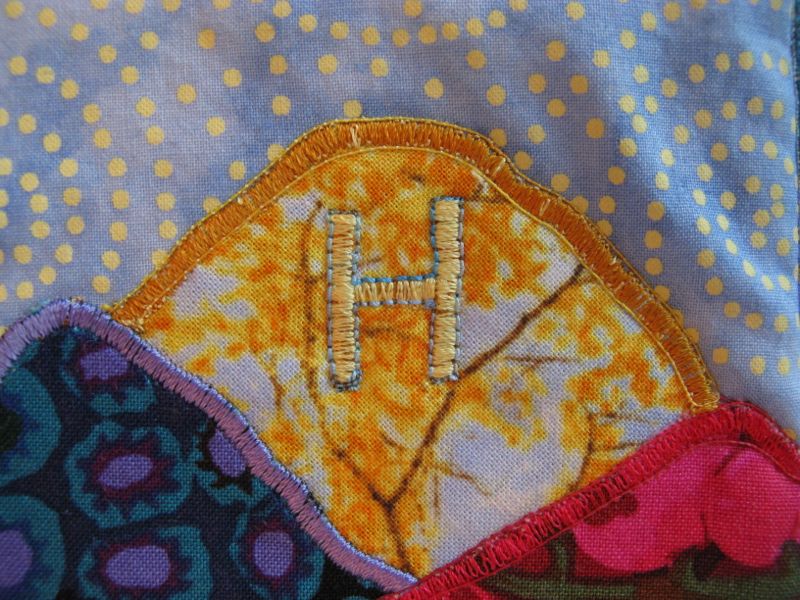
I also stitched around the H, as it just disappears into that autumn-colored mountain.
Here it is, quilted and trimmed. I used my preferred binding, of a strip 2″ wide, folded in half (this *post* tells how), as I like that look.

I made the usual triangle pockets in the corners for hanging, then attached the label.
Thanks for enjoying our little art show yesterday, of all the Four-in-Art Quilters. As per my usual (and I hear others in our group do the same thing!), I procrastinate too long, letting other chores, correspondence, phone calls and the usual detritus of life take up the space I need for creativity. The deadline gets me focused again, and I’m pretty happy to have this little quilt at the end of it all.
˚˚˚˚˚˚˚˚˚˚˚˚˚˚˚˚˚˚˚˚˚˚˚˚˚˚˚˚˚˚˚˚˚˚˚˚˚˚˚˚

If you want to make yourself a little mountain quilt, with your own set of letters, here’s a jpeg of the mountain, which should measure 4″ when printed. Enlarge it 200% for the bigger mountain so it’s double that, or 8″. This idea and technique can be used for any simple sketch: a baby’s hand, a simplified portrait, a household object (like Warhol’s Campbell’s Soup Cans?). Let your creativity lead you where it will, and if you do make a similar art quilt, drop me a note and let me know!
Our next Four-In-Art reveal is August 1st.
Discover more from OccasionalPiece--Quilt!
Subscribe to get the latest posts sent to your email.

I love everything about your latest art quilt and especially appreciate the tip about doing satin stitch with paper behind – how absolutely clever! Funny how we both used this favorite stitch in our entries this go round.
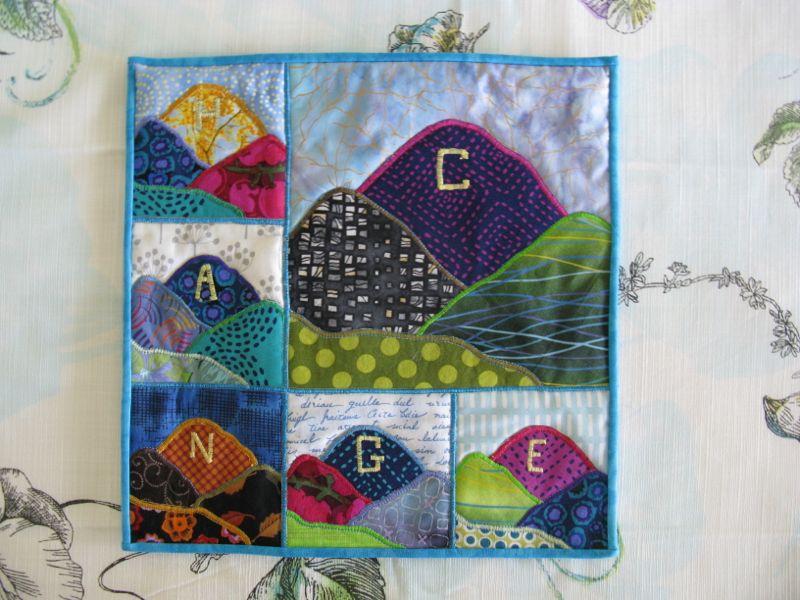
Thank you for sharing your tutorial. The tip about the paper is great. I wonder why you chose CHANGE for your letters ?? I like the changing colors of the mountains. Makes me think about how the light changes the view on the horizon during the seasons.
I’m glad you share these deconstruct posts about your minis. I didn’t even realize all the steps involved. Will keep the 2 sheets of paper in mind in case I ever use the technique although by then I will have forgotten.
The paper would work well, thanks for the tip but how does it handle in the wash as there are little bit left under the stitching, right? I always enjoy these posts , thank you.
I enjoy ALL your quilts you display via the blog but this one I really resonated with as I also love the hillside letters. So glad you also shared the method on this one as it’s a really strong “make it” possibility. Behind all the other many others listed on my possibility list.
I love the mountains, seemingly immovable and unchangeable, as your visual. It reminds me that sometimes change takes time–lots of it!
I like these construction posts because I feel like I get a better feel for the little quilts, more in depth pictures and I like finding out how you did it. Have you ever tried tear away stabilizer for your satin stitching?
I love these posts. Thanks so much for taking the time to share your process. I always pick up something I want to try and really enjoy your thought process. process. process. process. I might have a process problem. hahaha!
This was fascinating. I agree with the other commentors about the usefulness of seeing the process reversed through all the steps. But I am also reminded of my reaction to pattern vs. plethora. This little, richly colored & stitched quilt seems large, substantial, and right because of the underlying pattern / order, which I guess my mind noted without my eyes seeing it. I’m sure everyone but me noticed that the image was actually the same for each panel. It wasn’t until I saw the last jpeg that I realized it. Hopeless :>) I’m glad my mind can see.