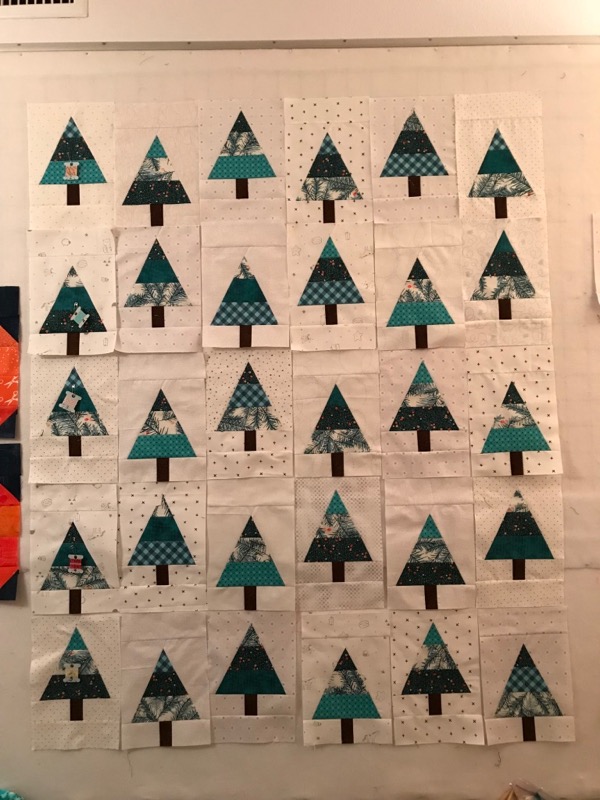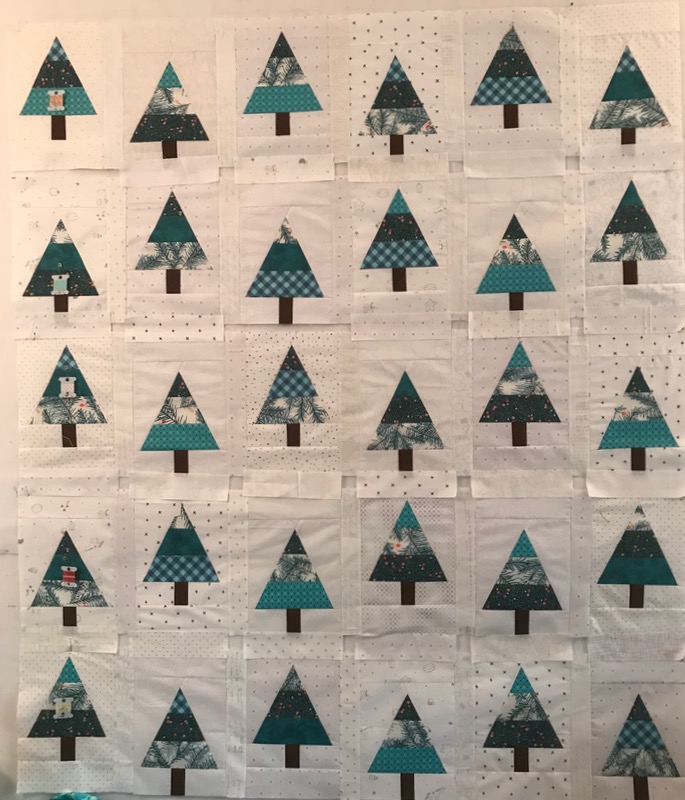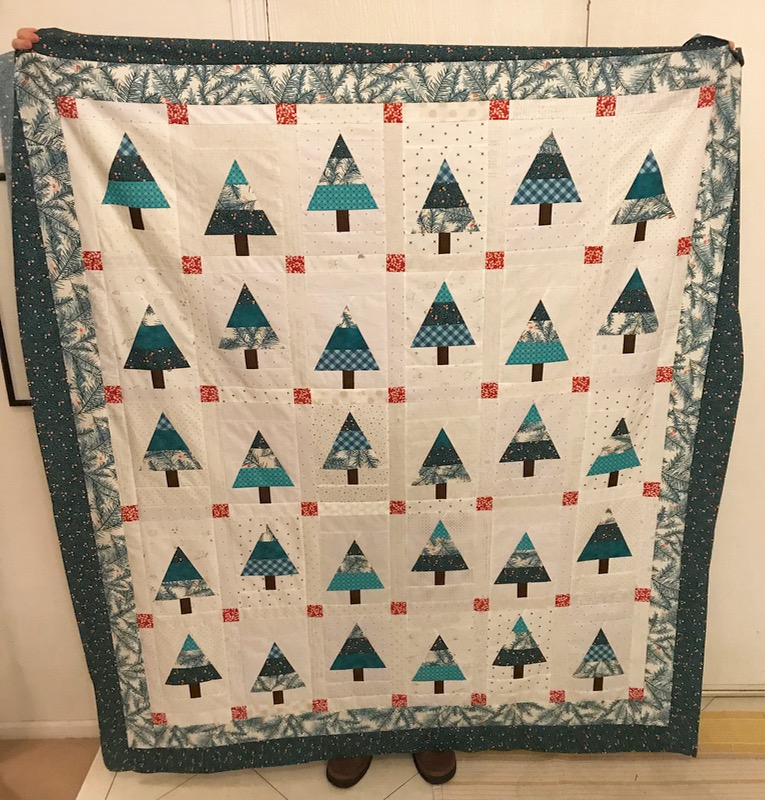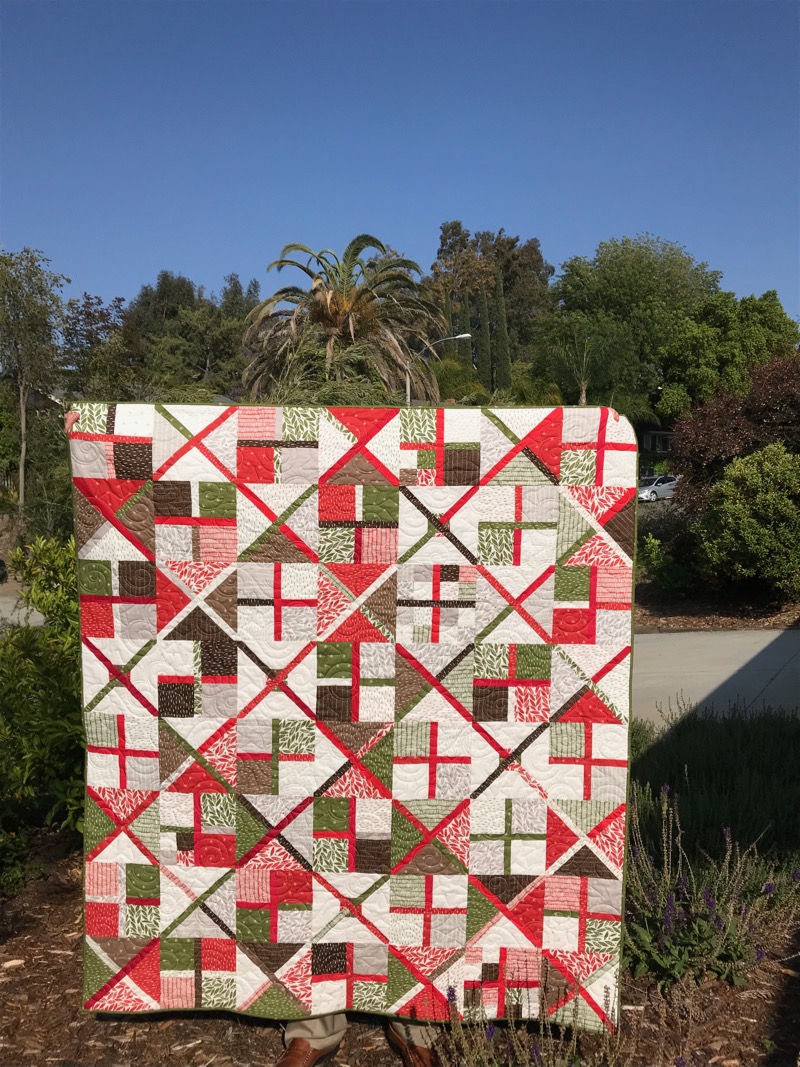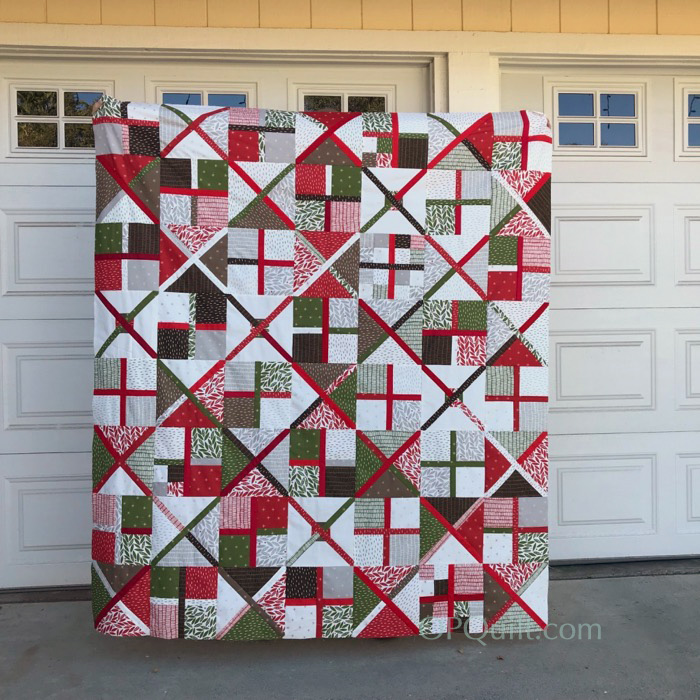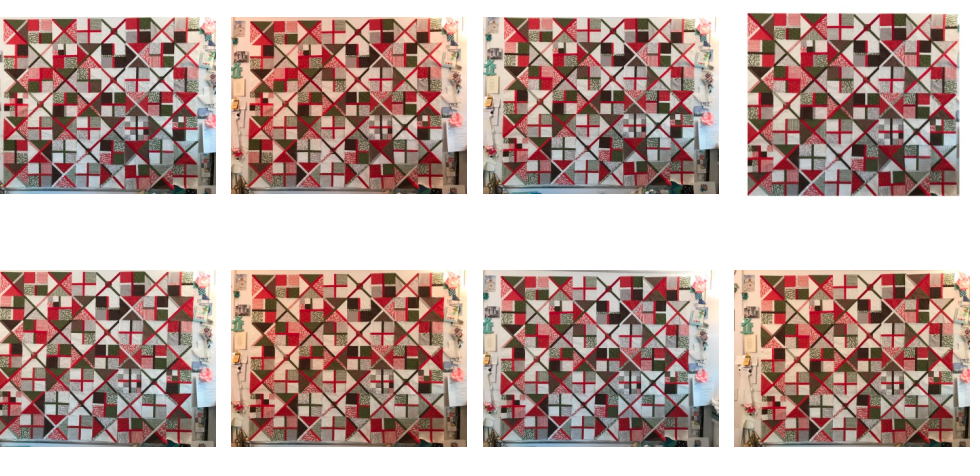
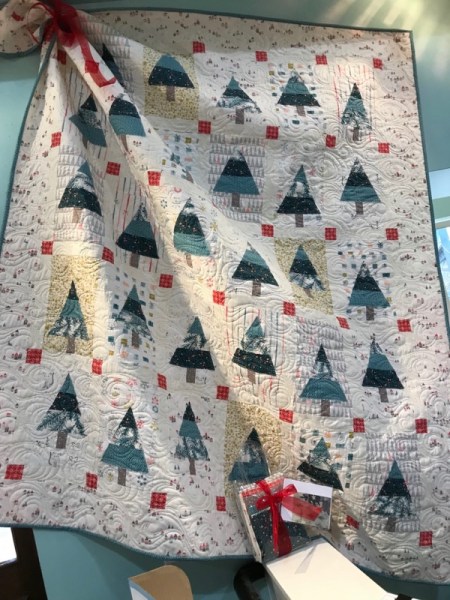
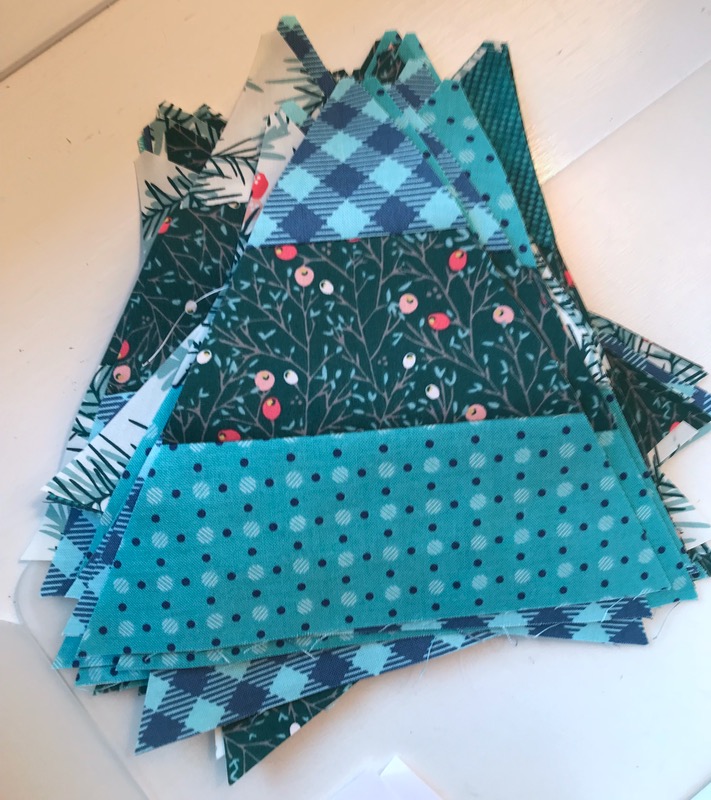
Criss-Cross Christmas Quilt, top finished December 2017
59 ” by 68″
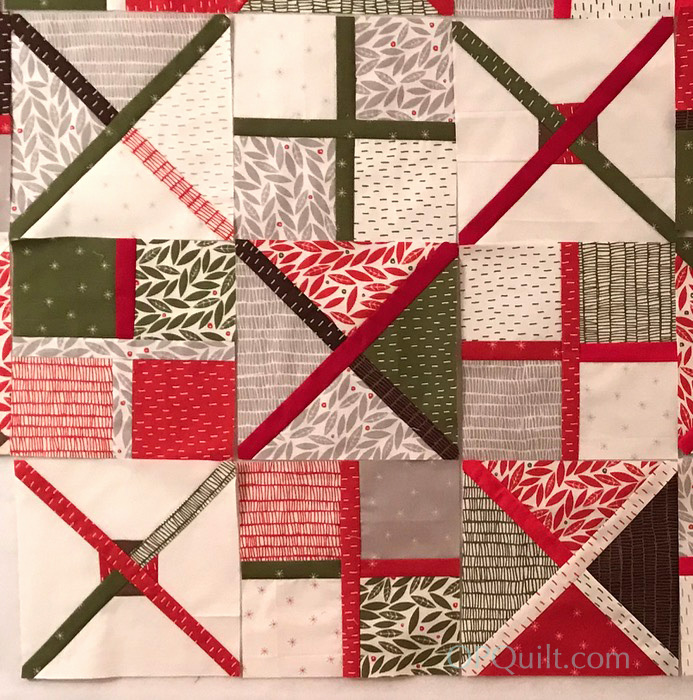
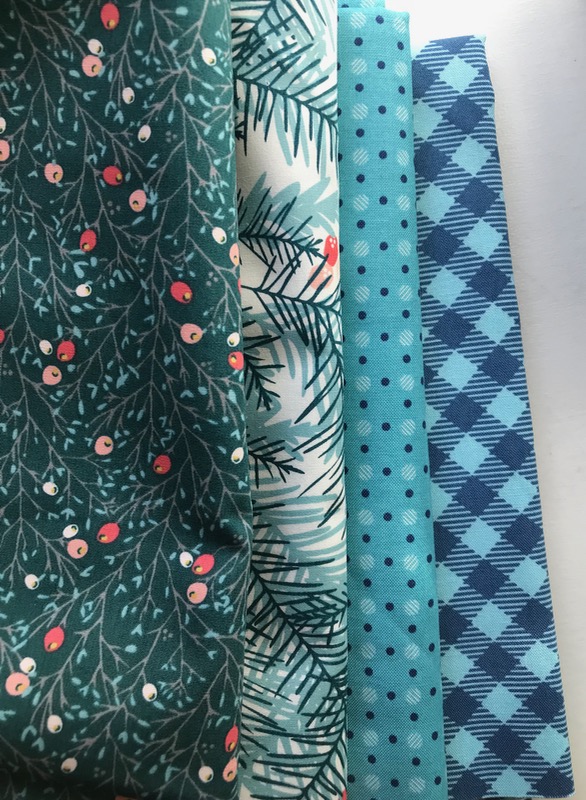
It all started when my friend Leisa gave me a mini-charm pack of Merrily fabrics by Gingiber. Then the Fat Quarter Shop had the fat-eighth stack, and then when my making dictated more, I scooped up a layer cake of the line, and I was set (and I still have some left). I added Kona Snow, and got creative.
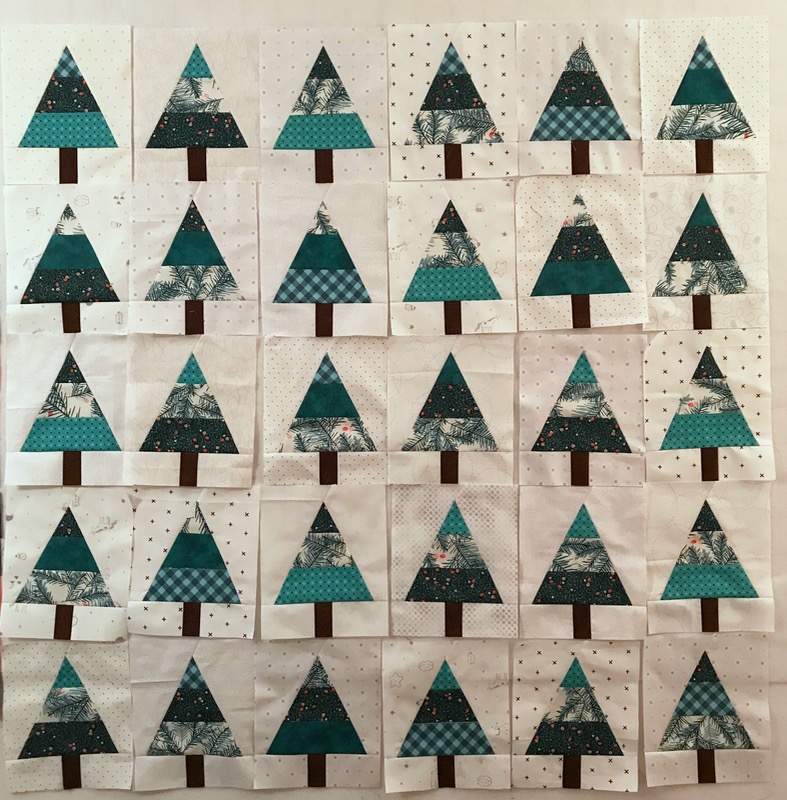
I just started making…and putting them up..and making…and deciding to enlarge it…
Then I moved around the blocks, making sure the light of the mini-charm-square blocks were balanced against the heavier “filled-in” blocks. At some point I decided I was done.
I sewed them together, stopping mid-way to celebrate Christmas and get the flu. Because the flu shot is only partially effective this year, more people will probably get the bug. The good news, though, that by having had the flu shot, the duration and intensity will be lessened. I hope so.
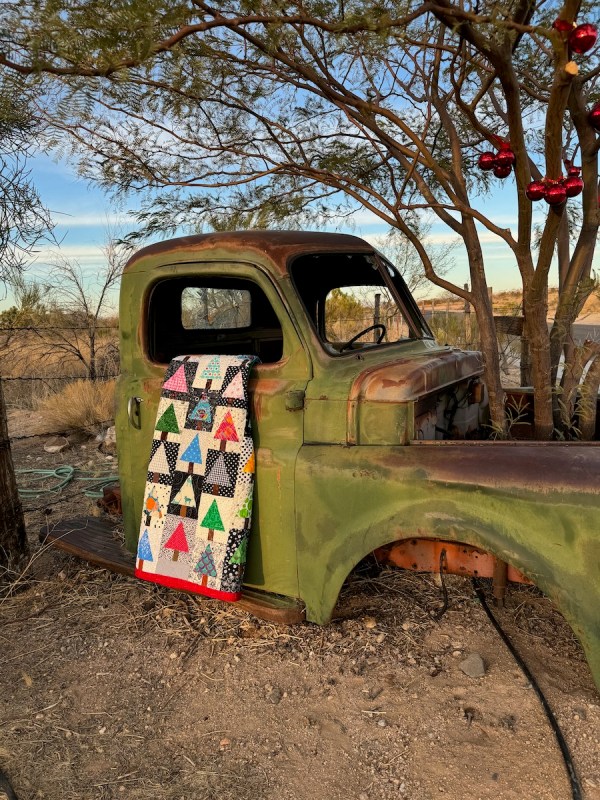
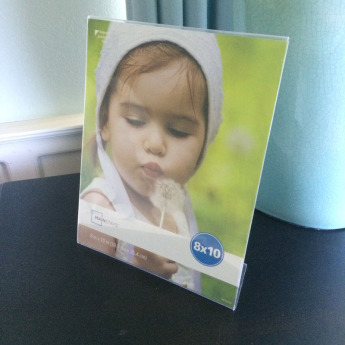
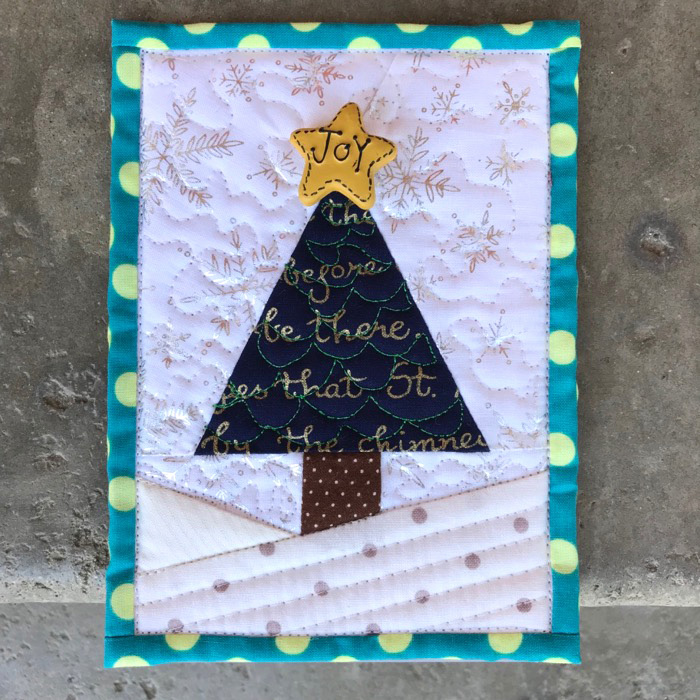
I’m decorating for Christmas and wanted to change out my Tiny Quilt from Autumn to Christmas, but then got wondering how a teeny-weeny quilt would look, so got busy. These little quilts fit onto plastic picture frames:
I have two free patterns for you here, but please remember the drill: Don’t print off umpteen for your next class, or guild meeting swap or your mother. Please send them here to get their own pattern.
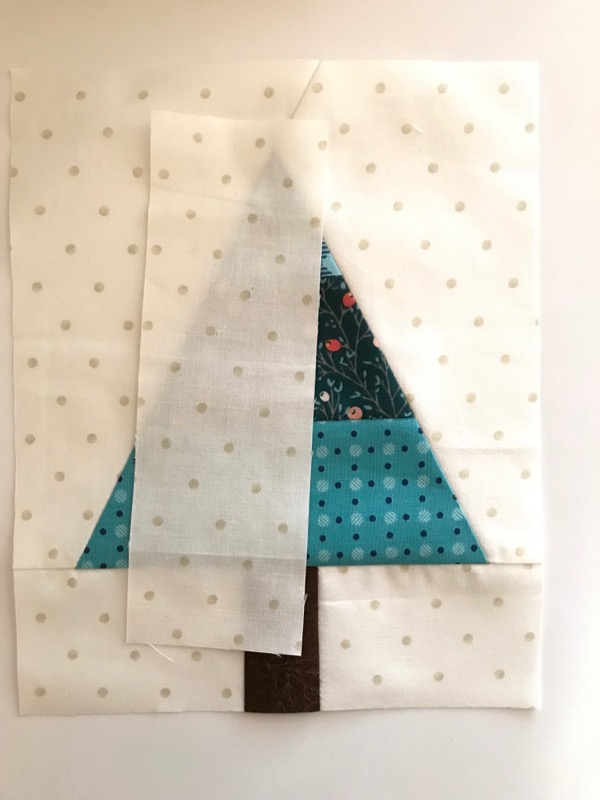
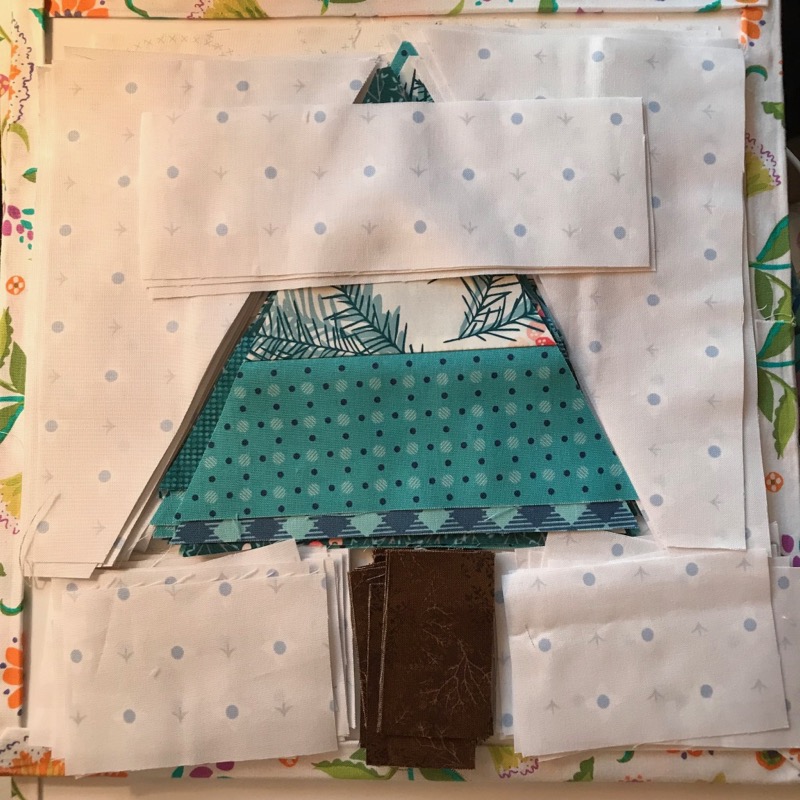
As you can see from the samples I made up, I play fast and loose with some of the placement of pieces, really using them more as a guideline for cutting, than anything else (although I did cut out the tree exactly).
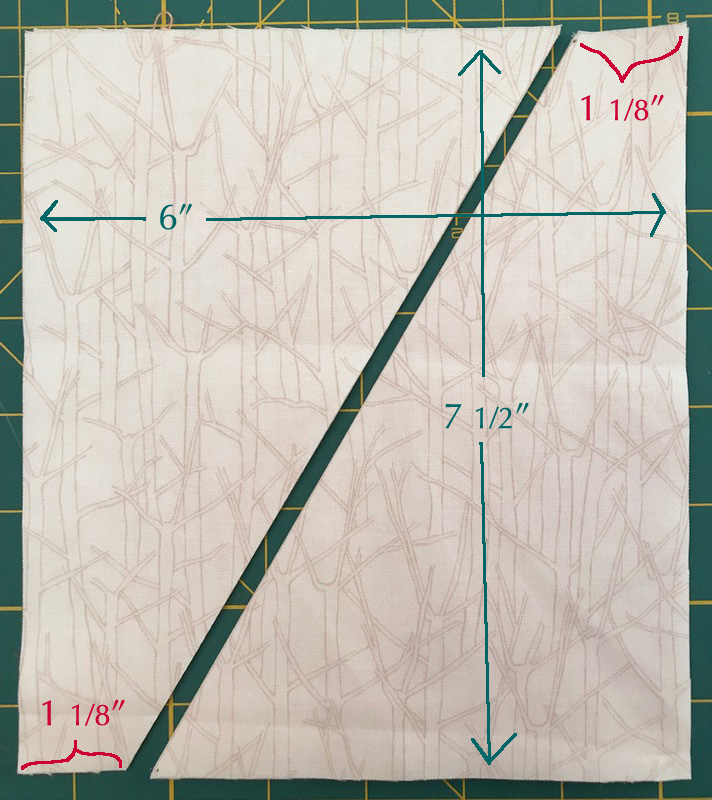
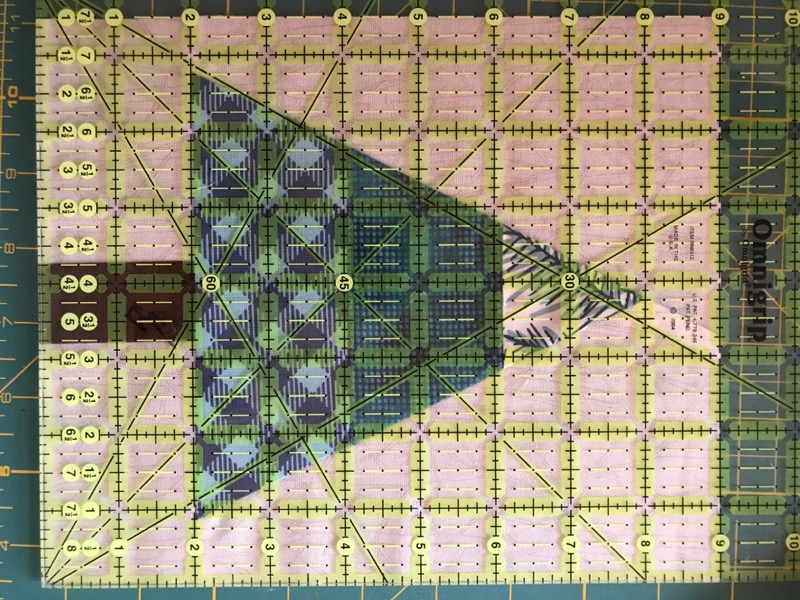
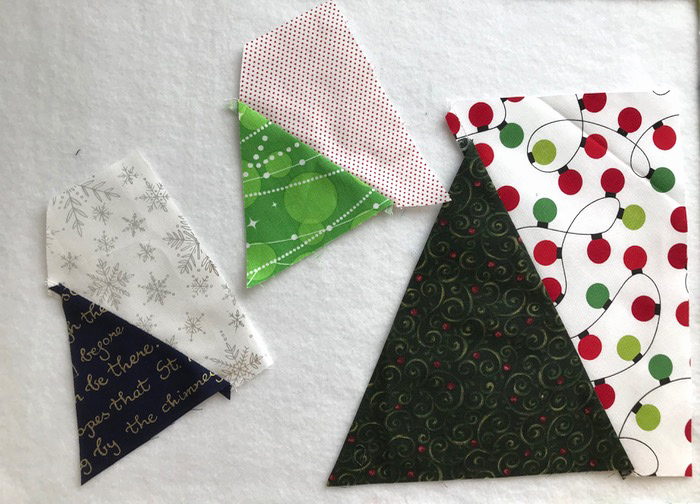
Cut out all the pieces for the pattern you’ve chosen. As I noted above, sometimes I used the pattern (shown here before I added the labels) as sort of a general guidelines. You need an accurate tree, and a nice straight edge where you’ll sew it to the tree (the diagonal line in the photo, above).
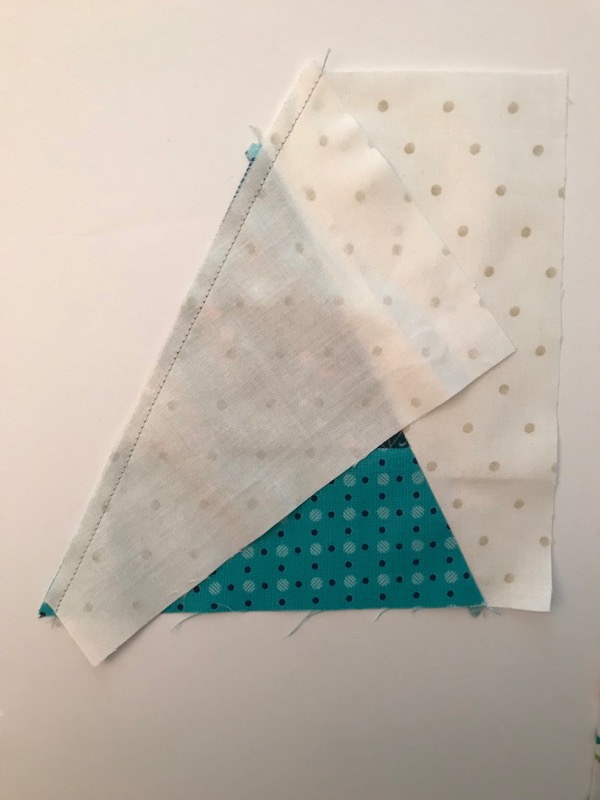
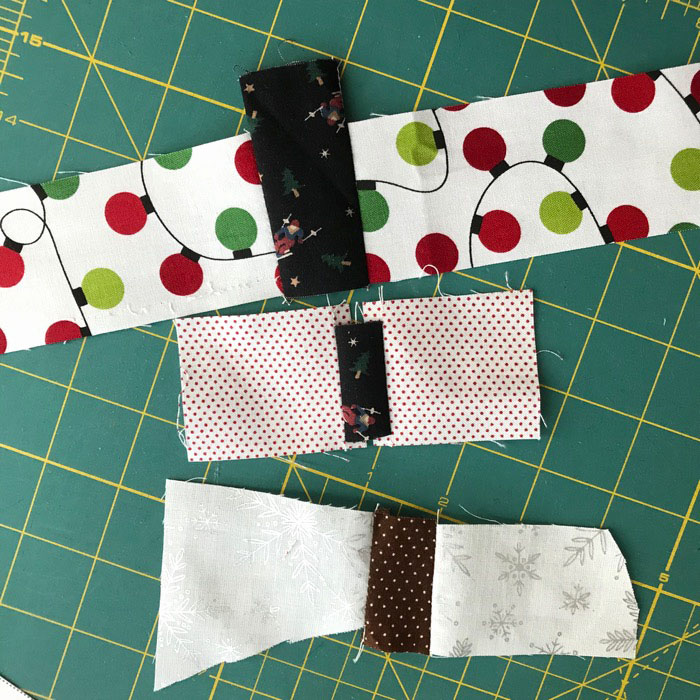
I sewed the “sky” pieces to the sides of the trunks then trimmed the edge that would attach to the tree. More detailed tutorial is also on my OTHER Christmas Tree block tutorial, which is sized somewhere in between these two tree sizes. (I should open up a Christmas Tree lot with all these patterns.)
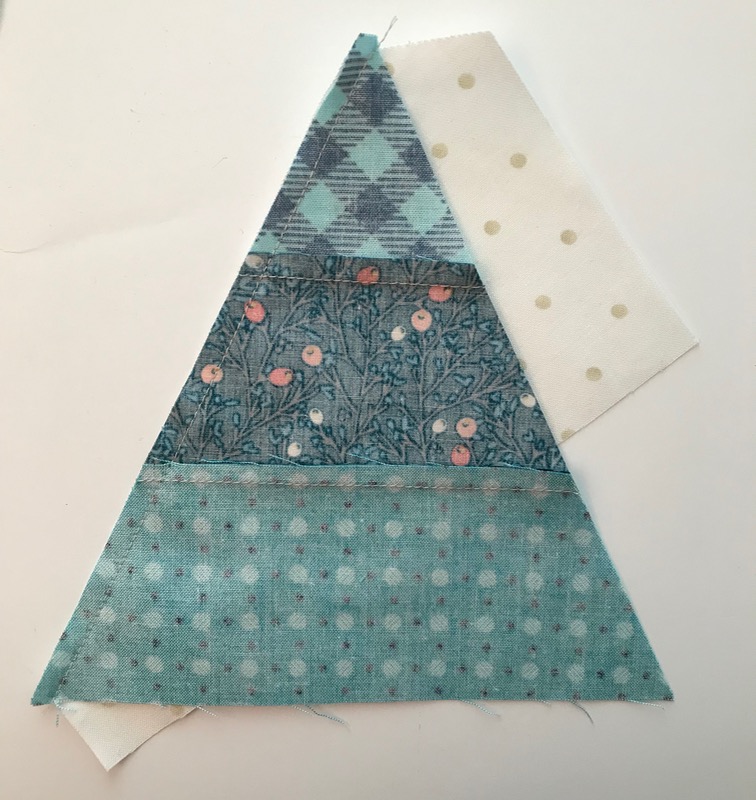
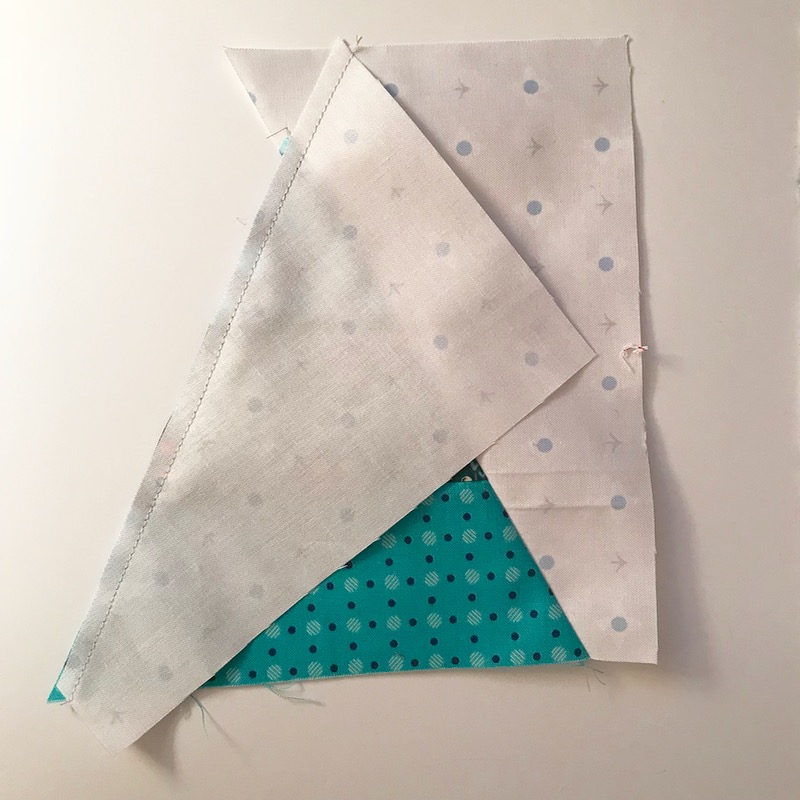
Sew the “right” side onto the tree. Make sure you keep the marked top triangle point pointing upwards.
Trim any stray areas (above), then add the other side.
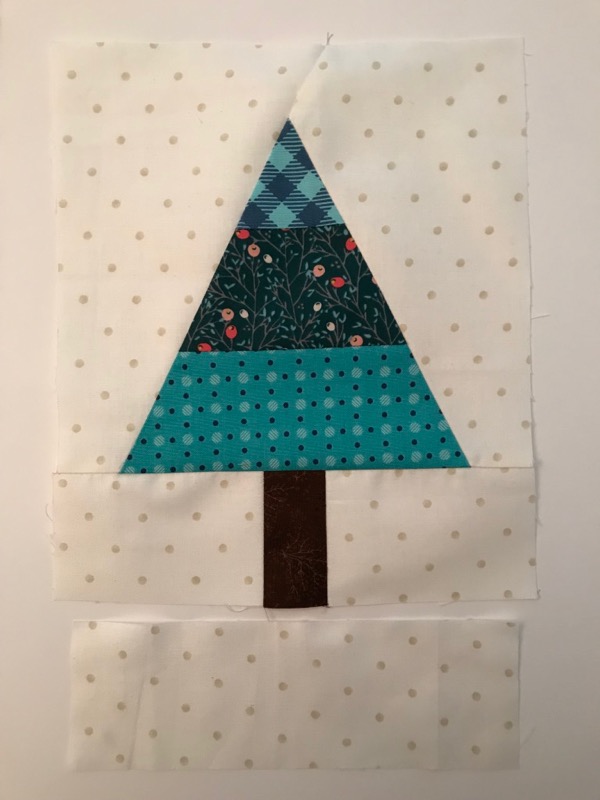
Straighten out the bottom of the tree assembly. Center, then sew on the tree-trunk unit, pressing seam towards tree (so it looks like the trunk is under the tree).
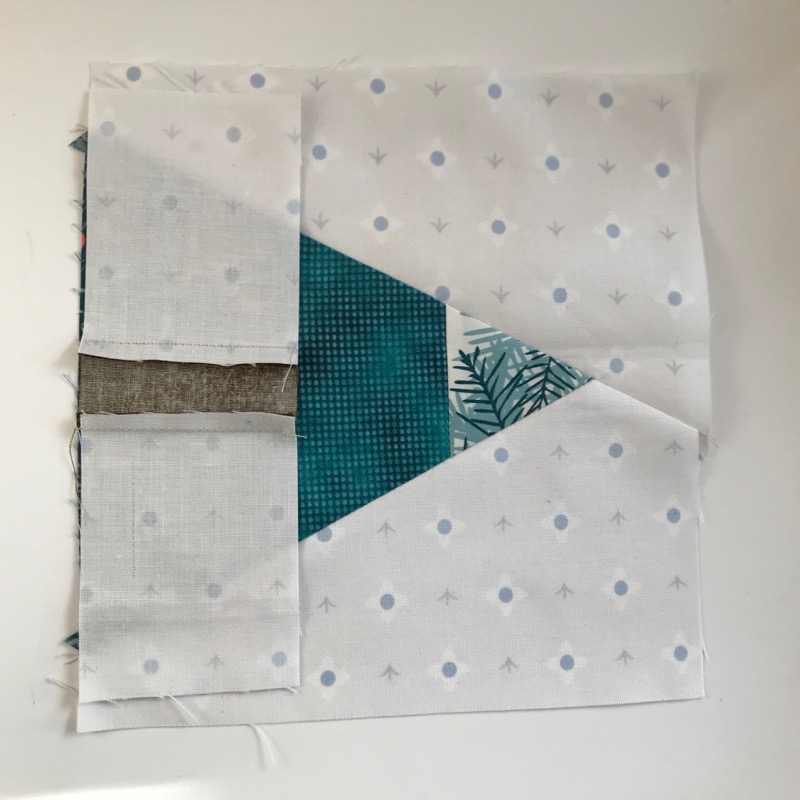
Now to add the snowdrifts on the little tree. On the left, I sort of place that wedge-shaped piece, determine the angle but flipping it up and down (on the right). When I have the angle I like, flip it back up so right sides are together, and stitch along the upper edge. Trim.
Repeat for lower snowdrift. Trim excess.
For the bigger tree, I added on 2″ strips to frame the tree. It needed something to jazz it up, so I got rid of the bottom strip on the pattern and just used strips all around.
Layer with batting and backing and quilt. I did a meander in the sky area around the trees, then some straight lines in the snowdrift on the teeny tree, and some straight lines in the frame around the bigger tree:
I also quilted some swirls in the center of the tree.
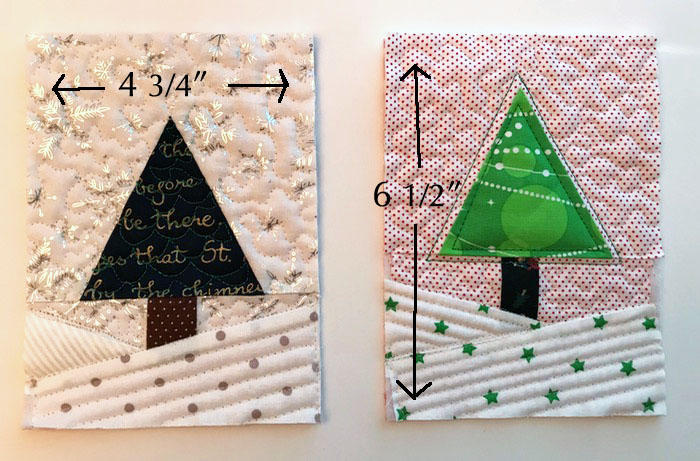
Time to trim. The teeny trees trim to 4-3/4″ by 6-1/2″ and the larger tree is trimmed to 8-3/4″ by 10-1/2.”
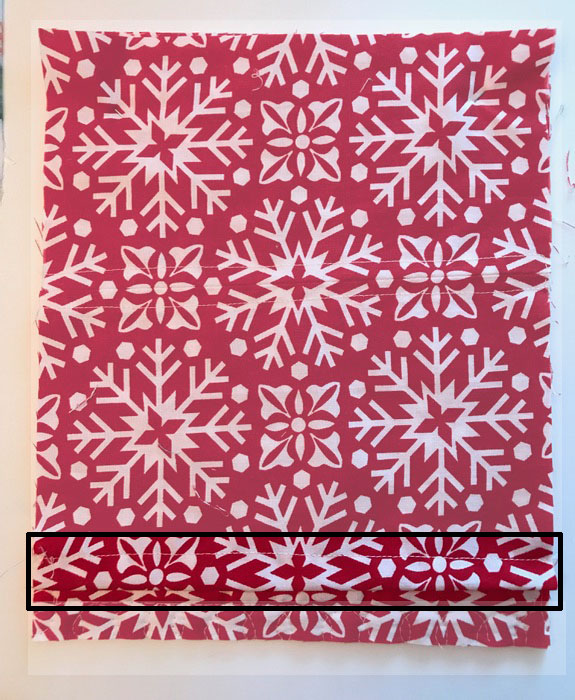
Make a sleeve for the back by cutting a piece the same size as the quilt top, but then hem the lower edge, turning it up twice and top-stitching. I know it’s hard to see in this print, but again, feel free to check out the other tutorials of tiny quilts.
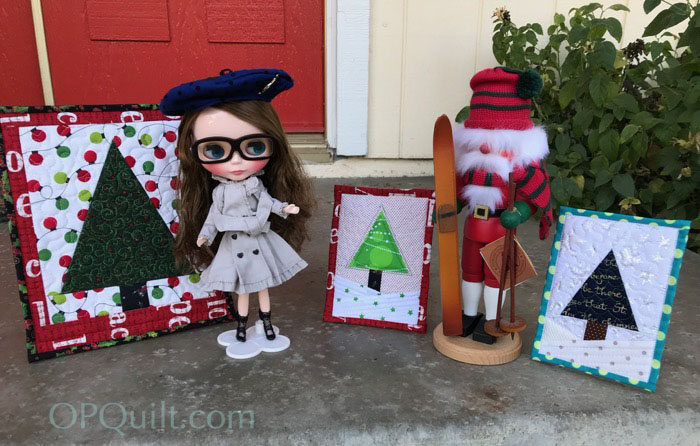
I brought out my Blythe doll and one of my husband’s nutcrackers to pose by the quilts.
Looks like Blythe has the hots for the Santa skier. And here I thought she’d go for the more traditional guy:
He does look a little formal. Hmmm. Evidently not her type.
Rescue boats fill a flooded street at flood victims are evacuated as floodwaters from Tropical Storm Harvey rise Monday, Aug. 28, 2017, in Houston. (AP Photo/David J. Phillip)
Okay–here’s what helps keep me busy while I’m watching hours of footage about the Hurricane Harvey disaster: hand-sewing. So I came up with my own little sewing kit. Start Here, with this rough sketch of a pattern: Sewing Kit_opquilt-pattern
and these dimensions:
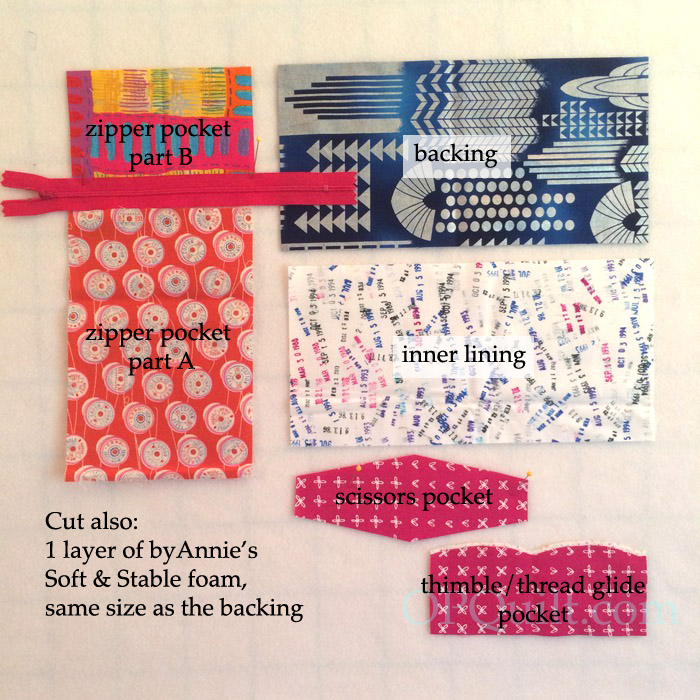
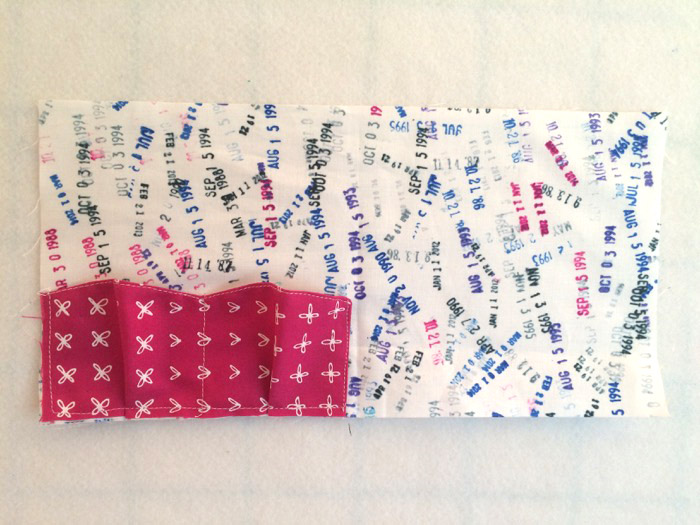
Cut out. Quilt Soft & Stable lightly to backing, as you just want to hold it in place, you don’t want to distort it. NOTE: although it doesn’t show really well, I cut two of the notions pocket (thimble and thread glide); the dotted one (you can see it below) is the lining. Remember to cut with wrong sides together, as the pattern piece is not symmetrical.
Stitch it together along the curvy top, and the right side. Turn inside out, topstitch along the curvy edges. and make the pleats. Top stitch along the two sides and the bottom, holding it in place to the inner lining. I like light linings, so I can see what’s going on.
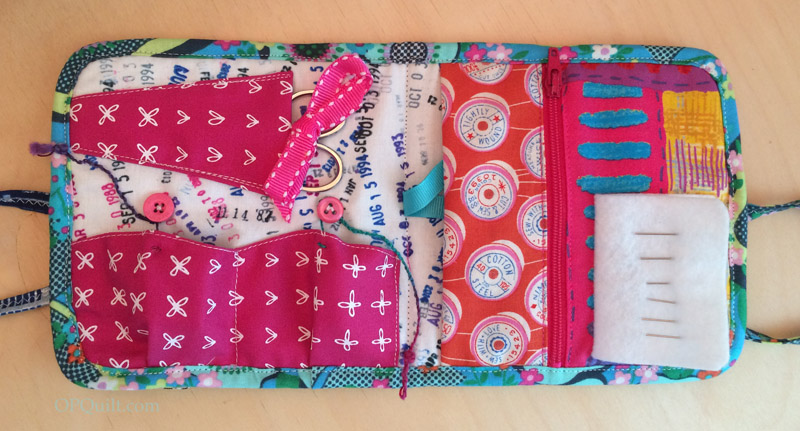
Refer to above photo for the rest of these sketchy detailed directions.
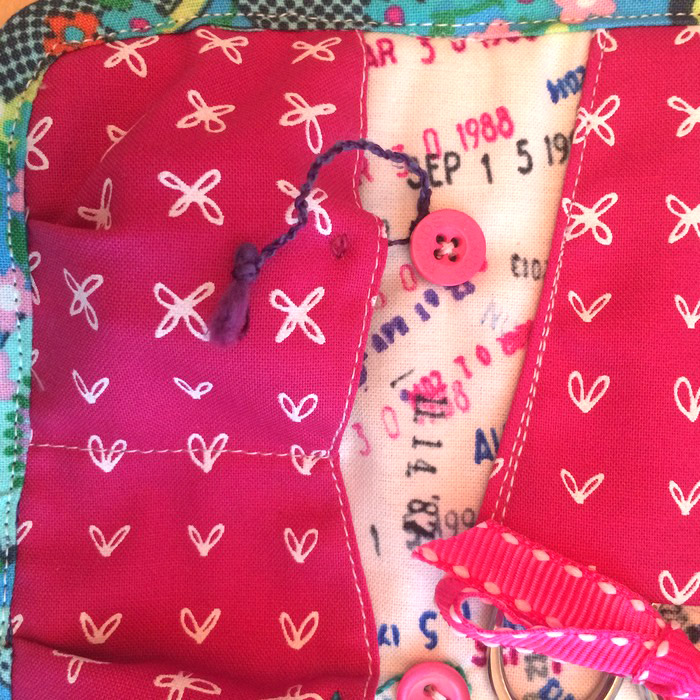
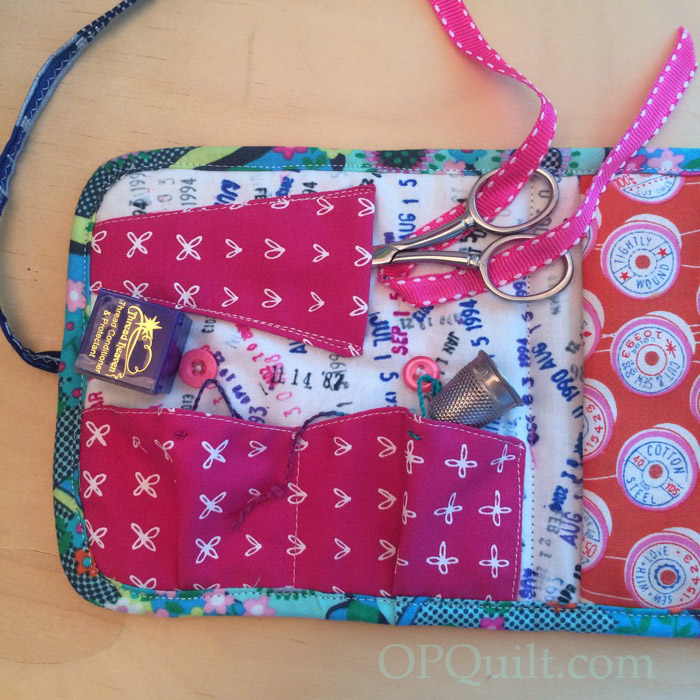
Sew down one long side of the scissors pocket; turn and press. Turn in 1/4″ on the other long side; press. Top-stitch the scissors pocket onto the lining. Slide your scissors into place, and figure out where the ribbon needs to go: backstitch a ribbon into place.
Match up the backing with the lining and all its decor, putting wrong sides together and pin. All the edges will be raw edges. Find the center line (where you will fold this closed) and stitch down the center to anchor the parts together.
Insert the zipper between the two zipper pocket pieces, cutting zipper down to size after sewing thread tacks on each end to keep the zipper on its track.
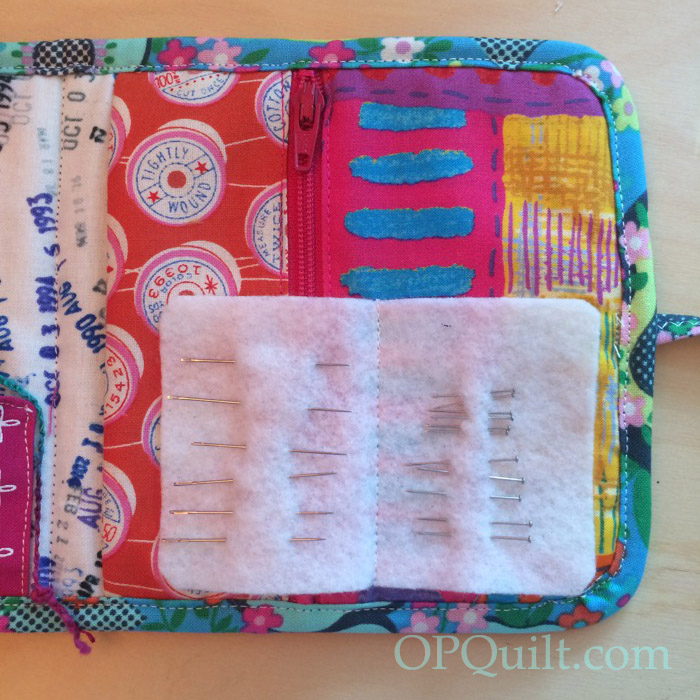
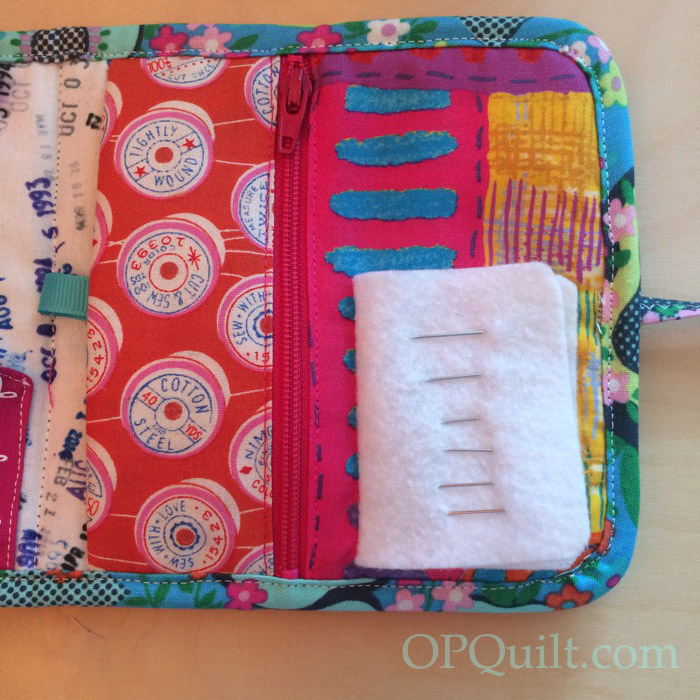
If you want a needle holder, cut a piece 1-3/4″ by 4″ and stitch to the zipper pocket as shown in photo above. Then fold the zipper-pocket-assembly in half, creating a pocket. (You can see the aqua ribbon sneaking into the pocket in the above photo.) Place zipper pocket on right side of lining and stitch around this narrowly–just to hold it in place.
Lay a spool of thread on all the corners and trace; cut the edges into a rounded edge. You can omit this step, and just do the corners like a quilt binding.
Bind the edges with a double-fold binding: cut a piece approximately 20″ long and 1-1/4″ wide. Fold raw edges into the center and press. Open out binding; first stitch WST with binding to back. Fold to the inside, pinning or glueing to keep in in place, then topstitch. Make two other double-fold pieces, roughly 12″ by 1-1/4″ and zig-zag. These are your ties. Stitch them to either side of the outer edge (refer to photo way below).
Add other trim: two buttons for the “String & Button” closure (yes, that is its official name). I found some interesting thick string and sewed that through the little pocket at its tallest point and then knotted it behind the pocket. I used Fray-Chek on all raw edges of string and ribbon and ties. To close, you wrap it around the button (shown, above).
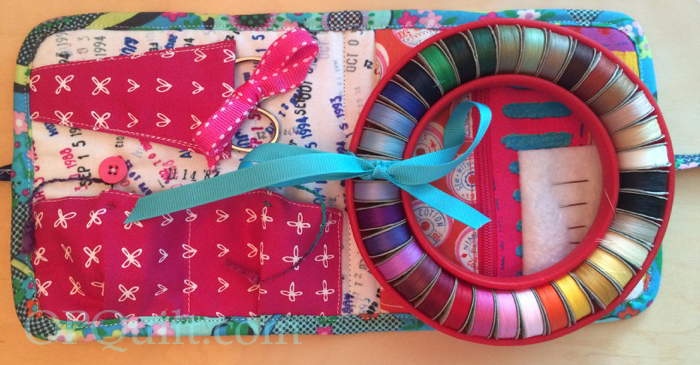
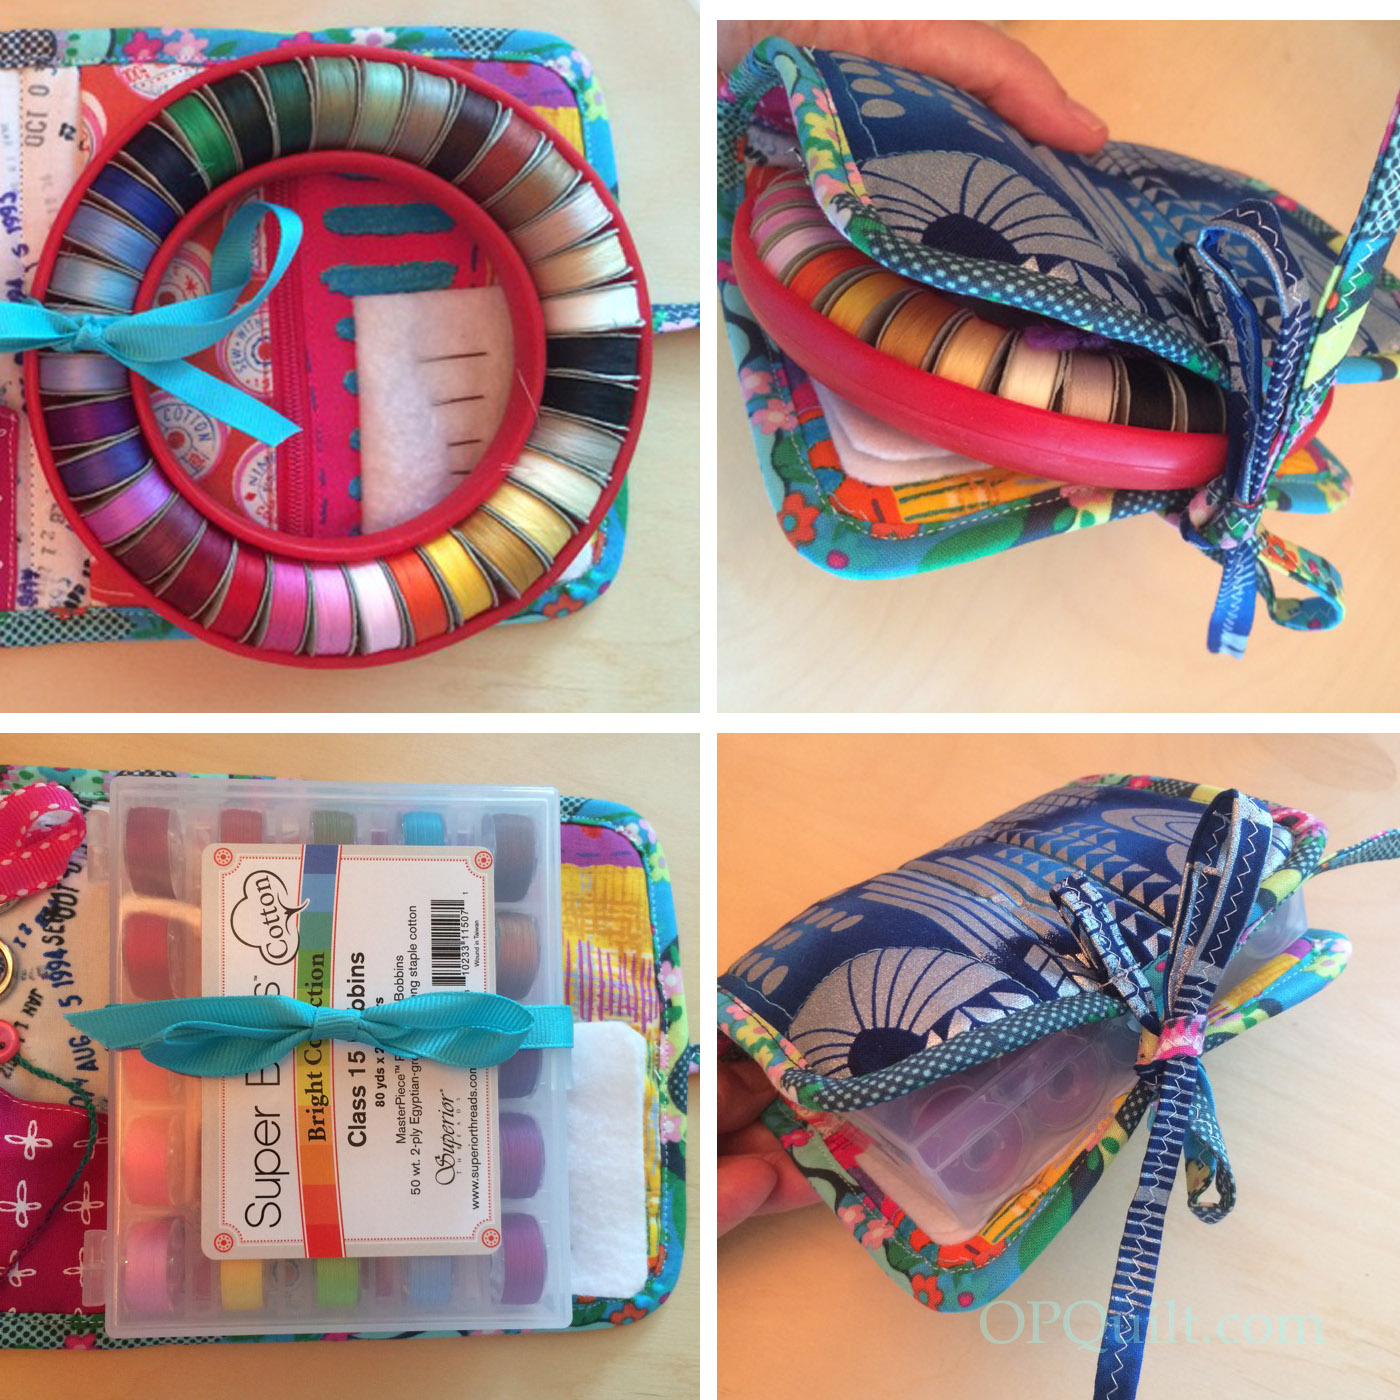
I use the Superior Threads Bobbin Donut in doing my hand stitching. I tried and tried to think of a way to get it attached, and finally resorted to sewing a ribbon to the center.
I also tried it out on their new Super Bobs box, which is what is replacing the Donut. They still have a few donuts for sale on their website if you hate to see it go. Truth: I probably won’t shove the donut or the box into the sewing kit…but I might.
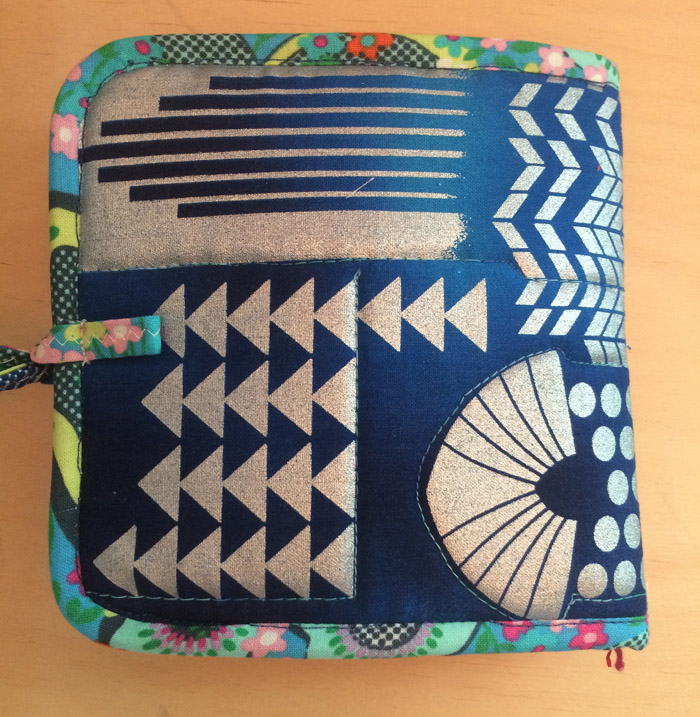
I realize that I assume you have some sewing knowledge when I posted this, but another Truth: it’s also for my reference if I ever want to make another one. The very cool fabric on the outside is from Timeless Treasures Fabrics a few whiles back. It’s called Lux, if you want to go looking.
Why did I make this? I have lots of pouches and bags and I love them all, as most came from friends. I also have a couple of sewing cases, too, but I found myself toting around my stuff in a zipper baggie, as nothing quite suited me. So I know this is what works for me, but maybe you can find something in here that will work for you.
It matters little how much equipment we use; it matters much that we be masters of all we do use. ~Sam Abell
I have to say that my attention has been preoccupied with the victims of the Houston flooding. My son and his family moved there a week ago (I know!), and I try to keep tabs on them as much as he is able to. I’m not the only one focused that way, with loved ones being flooded. We’ve contributed to the Google Hurricane Harvey Response (they’ll contribute matching funds), and there are many other charities where you can donate. Please consider helping in this way, as this is catastrophic.
And One More Thing: Get your own Emergency Supply Kit. Have water, basic necessities, food that’s portable. None of us can expect that rescue will be a part of our community’s offerings, in case of disaster (and you know what your own disaster can be). We have to expect that we’ll need to help ourselves first.
Samaritans help push a boat with evacuees to high ground during a rain storm caused by Tropical Storm Harvey along Tidwell Road in east Houston, Texas, U.S. August 28, 2017. REUTERS/Adrees Latif TPX IMAGES OF THE DAY – RTX3DRSF
Welcome to Day 4 of the Patriotic Palette Blog Hop, hosted by Paintbrush Studios and Painter’s Palette Solids!
Red, White, and Blue Star • Quilt #183
25″ square, made from Painter’s Palette Solids
NOTE: THIS POST HAS BEEN UPDATED, WITH A FREE DOWNLOAD OF THE PATTERN.
A couple of weeks ago, the fine people who make Painter’s Palette Solids sent me some fabric and asked if I would make something. At the end of this post, there is a giveaway so you can win your own stack of red, white and blue fabrics.
I’m part of a series of posts showing items you can make with just three reds, three blues and some white. Here is the complete list and the days that they are presenting:
The project I chose was a quick and easy mini-quilt, which finishes at 25″ square, and is perfect for a table top when you want to give a little patriotic flare to the kitchen. I’ve written up a free pattern, (see below for download), but the instructions are here if you need any tips and help with construction.
I was sent fat quarters in three shades of red, three shades of blue and a fat quarter of white. The white needs special cutting: cut the long borders first (see chart on pattern), then the squares for the half-square triangles. You may have enough the other way, but do it this way to be safe. I also was tight on the medium blue, as I used it for the binding, too. You’ll need to provide your own backing (about 3/4 yard, or pieced scraps).
I basically constructed this as a nine-patch, a favorite thing of mine to do with minis. I started by sewing four bright red triangles on the edges of the blue square, then pressed them all away from the center. I squared this unit to 7 1/2″. (This quilt is forgiving if yours is slightly smaller.) I squared all my nine units to the same 7 1/2″ as then I wouldn’t have to square up (or true up, depending on how you refer to it) the finished quilt top.
Next was the construction on this corner, sewing the medium and dark red triangles together to make a square, then sewing on the dark blue triangles to make a larger triangle.
Sew on the medium blue triangle to make it a square; true it up to 7-1/2″ inches.
Now make the rest of the blocks: sew the triangles together as shown, then seam those together to make a square. I always press to the side, if you are wondering. Only rarely do I press open, so avoid that.
Lay out all your squares (as shown above, left), then sew them together like a nine-patch (upper right). Measure the square; the sides should measure 21-1/2″. Trim your long white border rectangles to measure. Sew the darkest red blocks on each of two of the white rectangle borders.
Sew two white borders: one on top of the quilt and one of the bottom. Press. Then sew on the borders with the squares attached; press. Admire your quilt top.
Let’s get quilting!
Here’s a picture of the quilt in the sunshine, showing my quilting stitches. I always have the hardest time coming up with what to quilt where; yours may vary. The “bandstand swag” arcs on the outside were a happy accident.
This was all done on my Sweet Sixteen machine, but that functions like a domestic sewing machine. I did do ruler work (which is probably easier on my machine than a domestic) but it can be done on your regular sewing machine. Just make sure you have a thick enough hopping foot and thick rulers designed for this task (not your cutting rulers!); put grippy stuff on the bottom of your rulers, as you’ll use them to help you move the fabric under your needle.
Happy Fourth of July!
If you haven’t heard me tell you about Painter’s Palette Solids, made by Paintbrush Studio, you must be a new reader. It is my FAVORITE solid: it’s easy to work with, has a nice hand, deals well when I need to unpick and re-stitch (I had to do that with the quilting, but you can’t see it, right?). It’s a fairly new fabric to the market, but many brick-and-mortar shops, as well as online shops, are starting to carry it.
As is my custom when sewing for Painter’s Palette, I give away my scraps when I finish a project, so that some fortunate quilter can give this fabric a try. BUT! Paintbrush Studios has generously offered up a stack of the fabrics I used in this quilt — seven fat quarters — so you can make your own (giveaway is for domestic/US only).
To enter, leave me a comment telling me if you like fireworks, and why (or your most memorable). I’m not talking the little things that are lit up down on street level, but those glorious bursting displays of color and light. It will get us all in the mood for Independence Day.
I’ll activate the Husband Random Number Generator and pick a winner, to be contacted by email.
Giveaway closed. Winner has been notified and will be announced in next post. Thank you all!