A Tiny Spritz of Elements • Quilt #259 in my Quilt Index
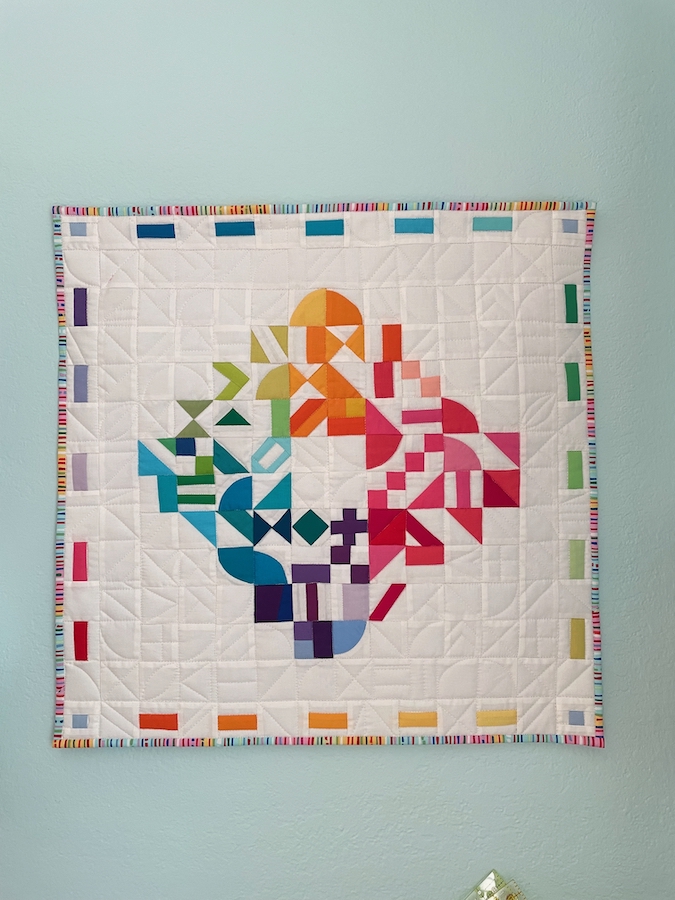
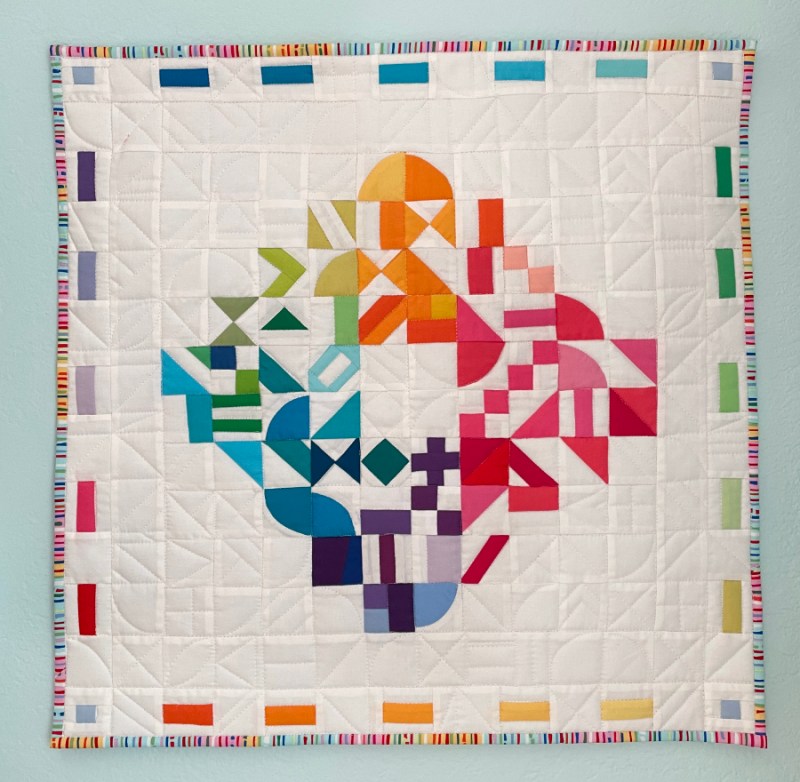
21″ square
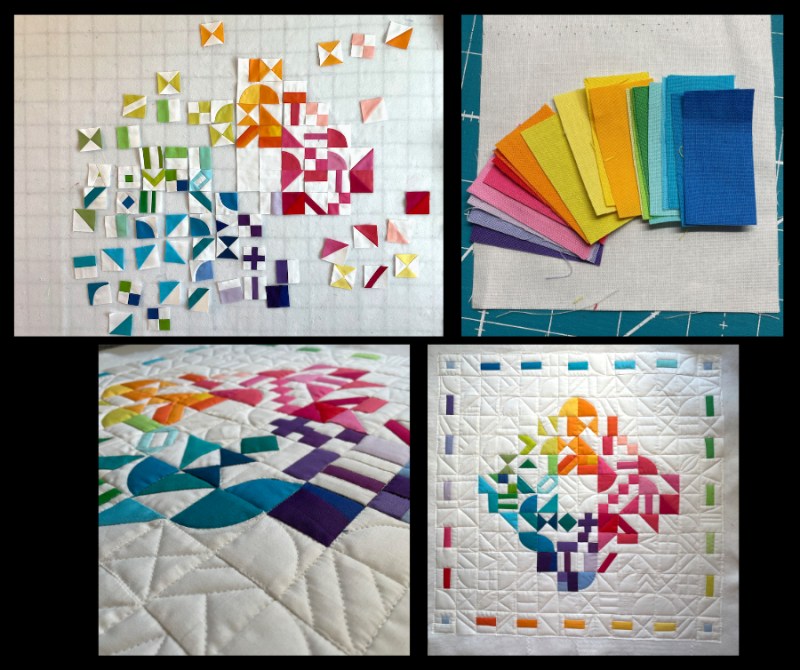
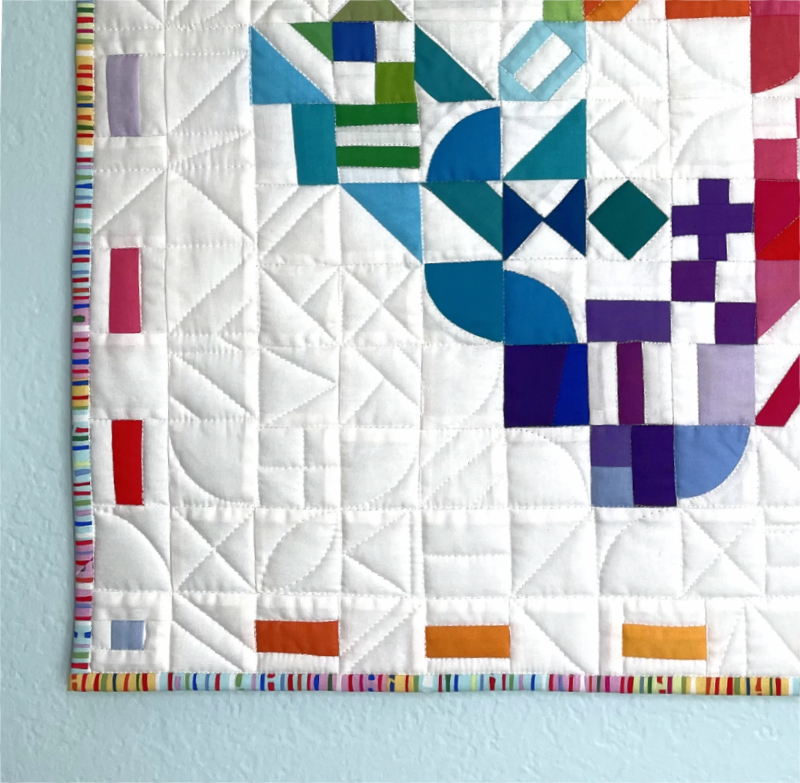
So my husband asked me if this was another pillow. He has a point, as that seems the size I can manage lately, but no…this is a quilt. A mini quilt. It started in a swap of small 2″ unfinished blocks from the guild members at the Inland Empire Modern Quilt Guild. I made more.
The past few months I seemed to have fallen into a streak of really sad days, bad days, tired days, and one of my friends sent me a meme indicating that October was just about to break her, too. What is it about this phase of covid? Those who will, are getting vaccinated, but those of us who are at higher risk also have to make decisions: how will we live with this disease, since we aren’t going to hit the vaccination rate we need to. A bog, a verifiable, certifiable bog.
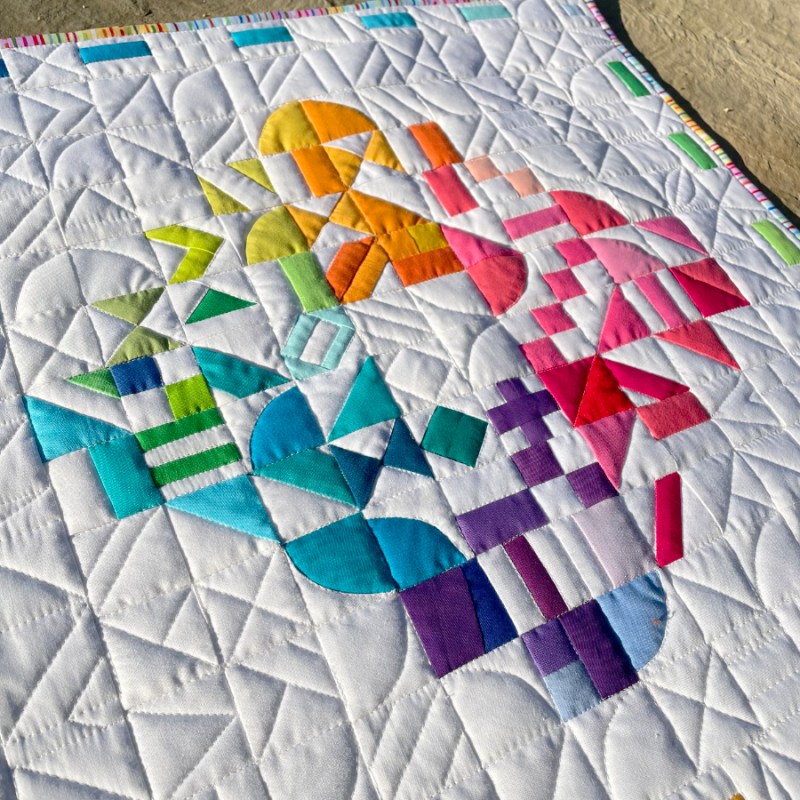
Then one morning I was sitting outside in the car, waiting for my perfect husband, and because the angle was right and having just shut the door, I was treated to a sparkling array of floating bits of light, the dust scattering flashing bits sunshine all around me as I sat. So often I’m in a rush, in a hurry, and don’t notice these tiny spritzes of cheer. I held the moment close; Dave got in and we drove off.
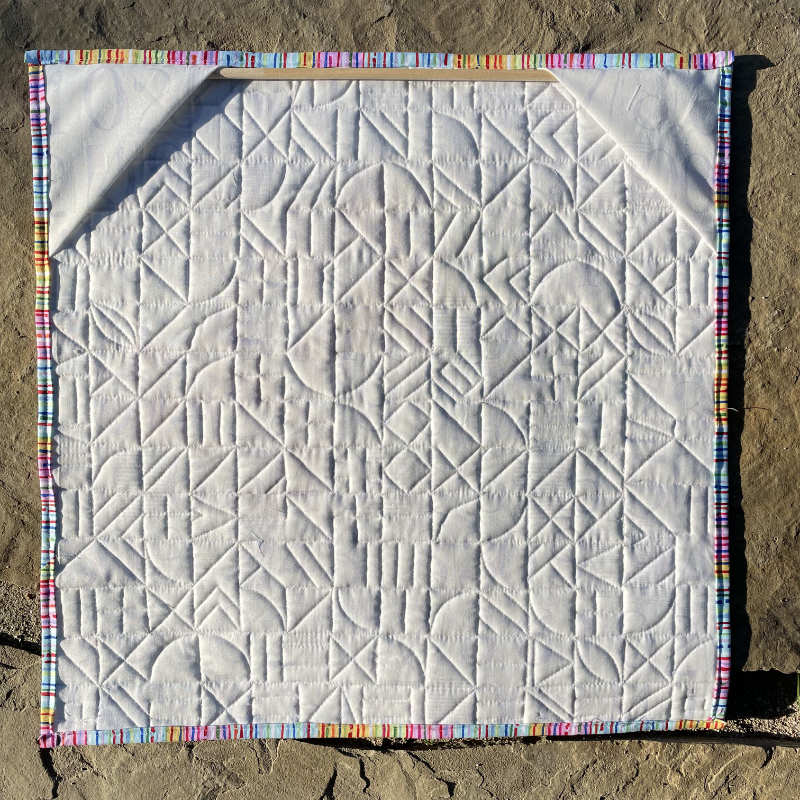
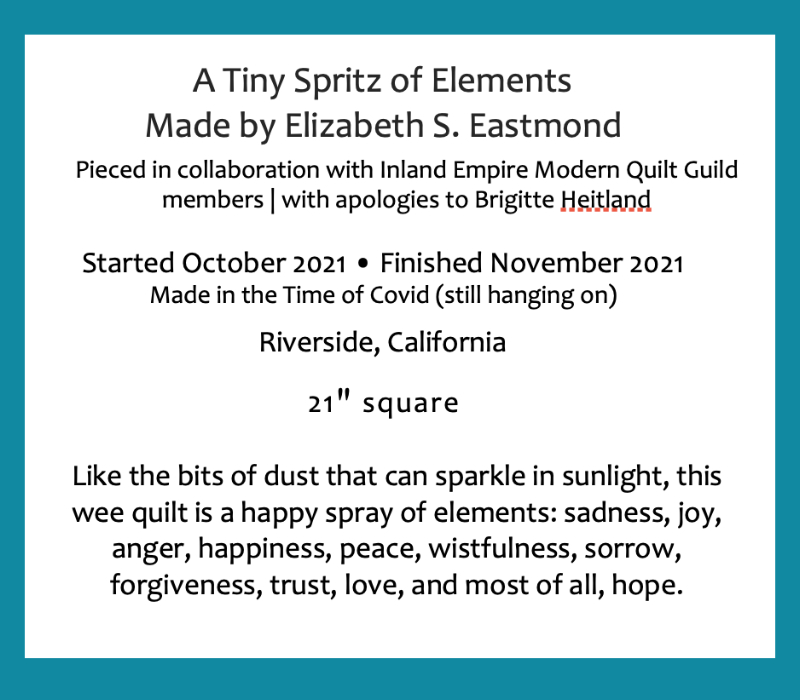
So that’s the name of this quilt made from tiny blocks, stitched with tiny quilting, each square representing those elements that come into our lives: sorrow, elation, peace, anger, frustration, happiness, forgiveness, repentance, sadness, love and most of all, hope.
When I finished making all my little elements, I saw a quilt from Zen Chic; I followed her lead in the arrangement. I’m also grateful to my fellow Guild Members for sewing and swapping. This little effort is due the first meeting in December, but I just finished it and wanted to share it now.
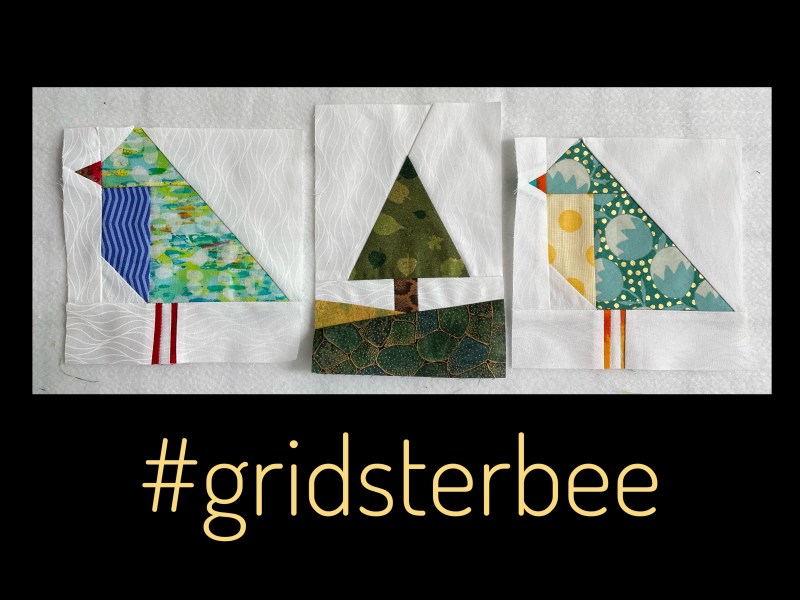
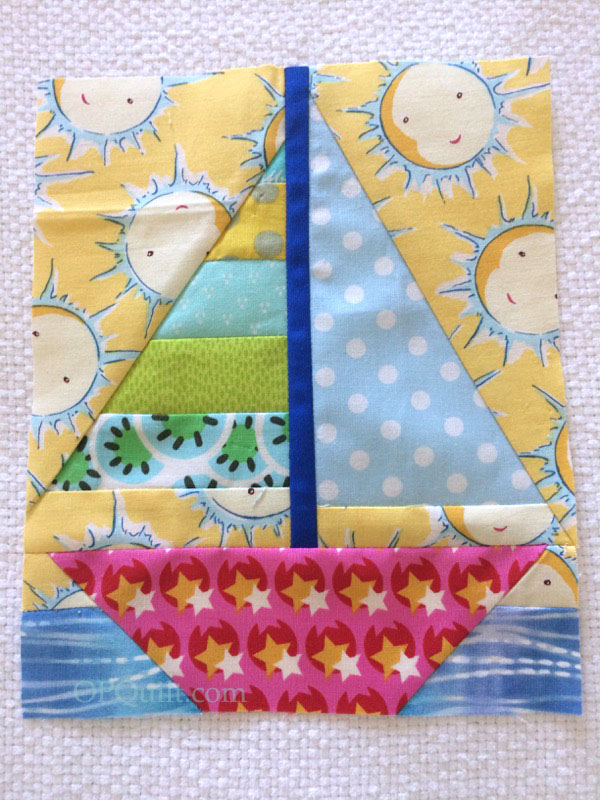
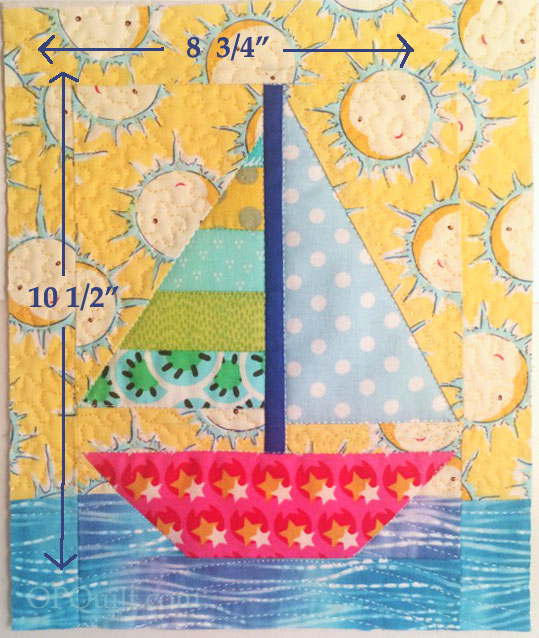
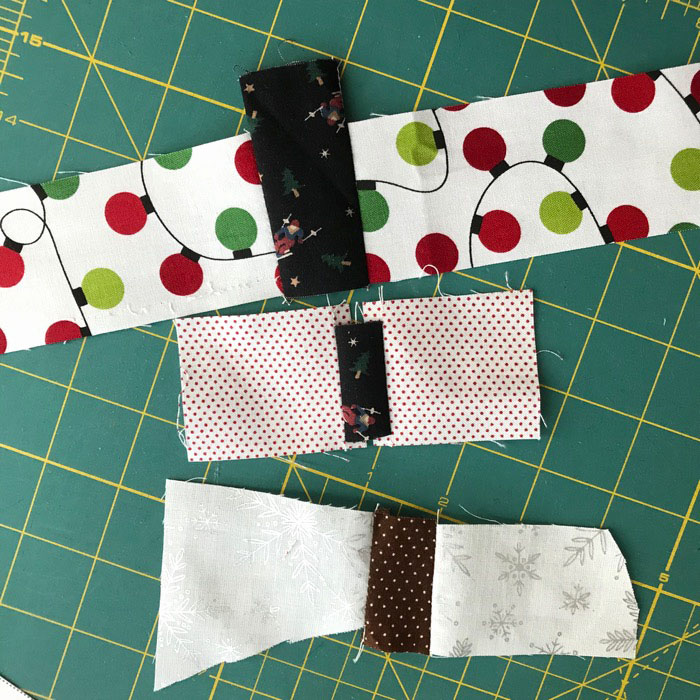
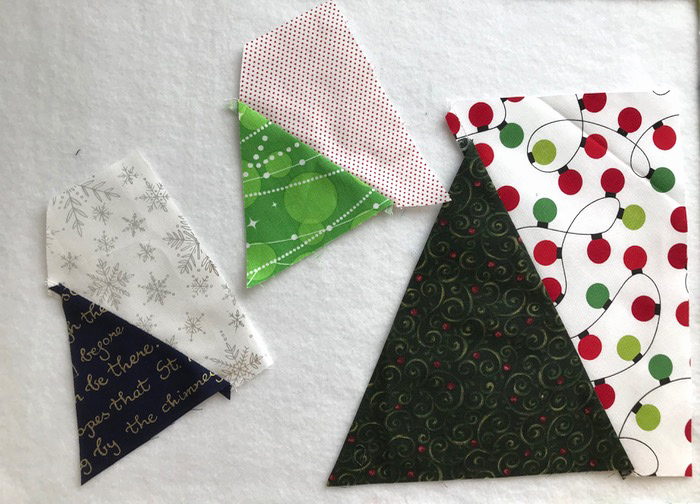
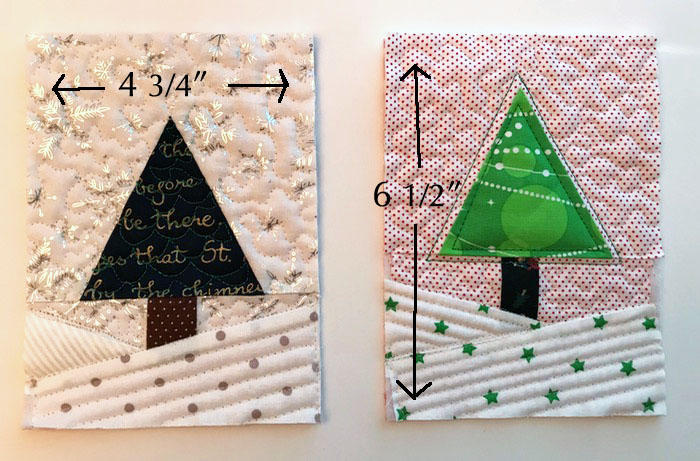
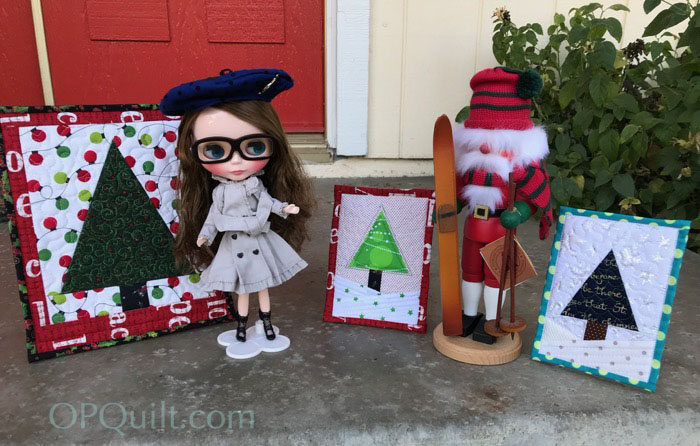
Melanie chose a birdie block for her turn as Queen Bee in Gridsterbee this month. Her signature block was my little Teeny Tree block–can’t wait to see what she makes of all these birds and trees. Free pattern for tree is here.
UPDATE: The Bee is filled! Thanks to those who joined us!
The Gridster Bee (#gridsterbee) is going through some changes next year. I’m stepping down from the head of the group, and we are looking for some new quilters who want to sew one block a month for your other bee-mates (check out the hashtag above for our wide-ranging style). We have several slots available; continental US only. We require you to have an Instagram Account and/or blog; those in charge will also vet you to make sure that all of us are at the same level of ability. So if you are a beginner who is just learning her stuff, this may not be the group for you.
But if you’ve happily been sewing for a minute or two and want to meet a few really cool women, as well as get a series of blocks made just for you when it’s your turn to be Queen Bee…leave me a comment below. I’ve been in over five bees, and they’ve all been great experiences. If you haven’t done a bee, consider it!
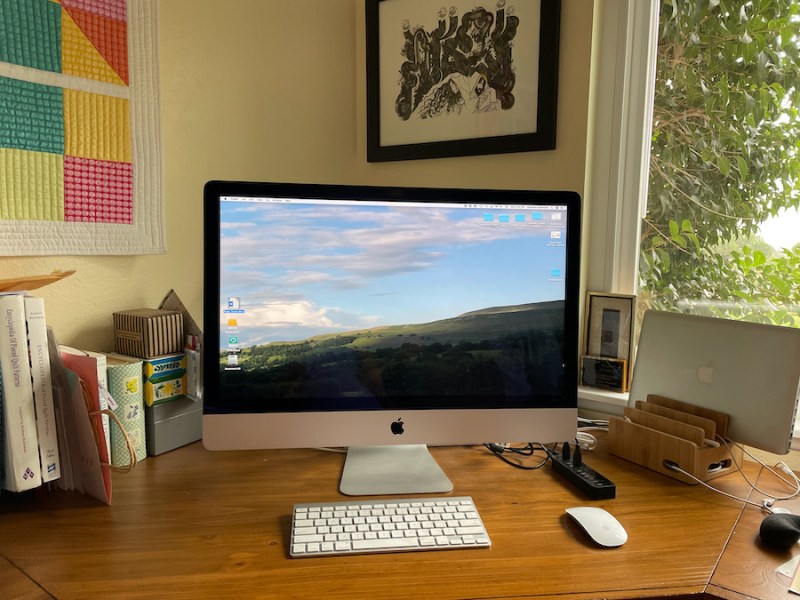
Occasionally I do clean up my computer desk. We got our Christmas present early this year (a nearly identical model to this one, but newer), so are passing this one on to our daughter.
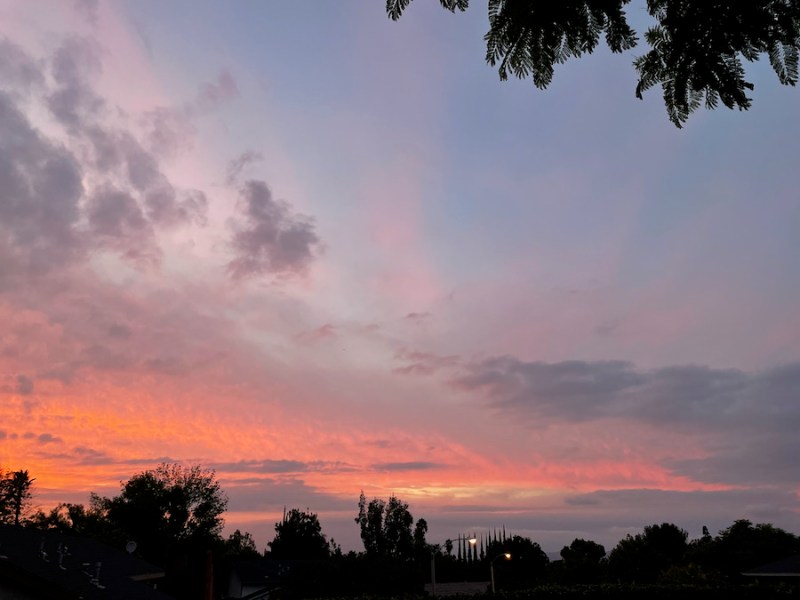
November must have known we were anxiously waiting for it, for it came in with this beautiful sunset. We were fixing dinner (see below) and went out several times to admire the color and take photos.

Dinner: Sesame Salmon Bowl. I didn’t have the slaw they called for so we just sliced up another Persian cucumber. We had the leftovers the next night–so good!
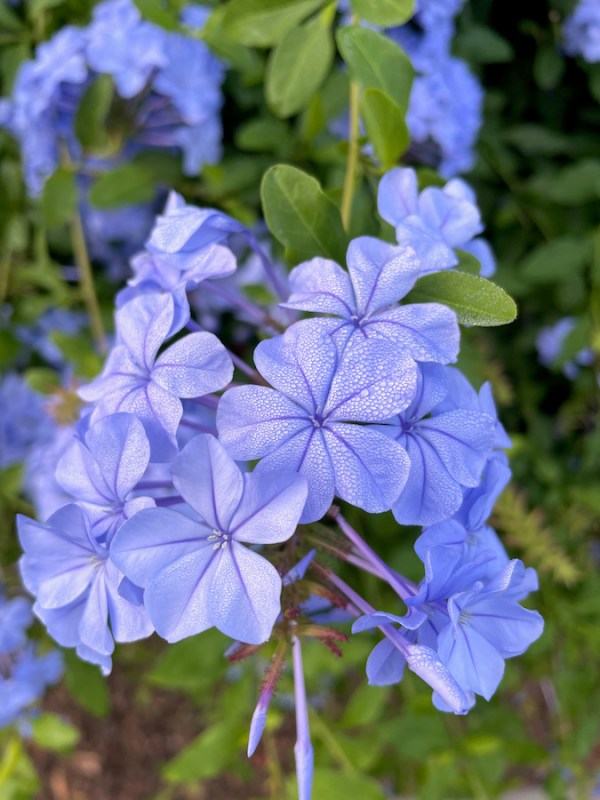
The Cape Plumbago is flowering, with its rare blue flowers.
One advantage of covid days…
Please leave me a comment, or email me privately (e.eastmond@gmail.com), if you are interested in becoming part of a great group of women in our GridsterBee.
Happy Quilting!


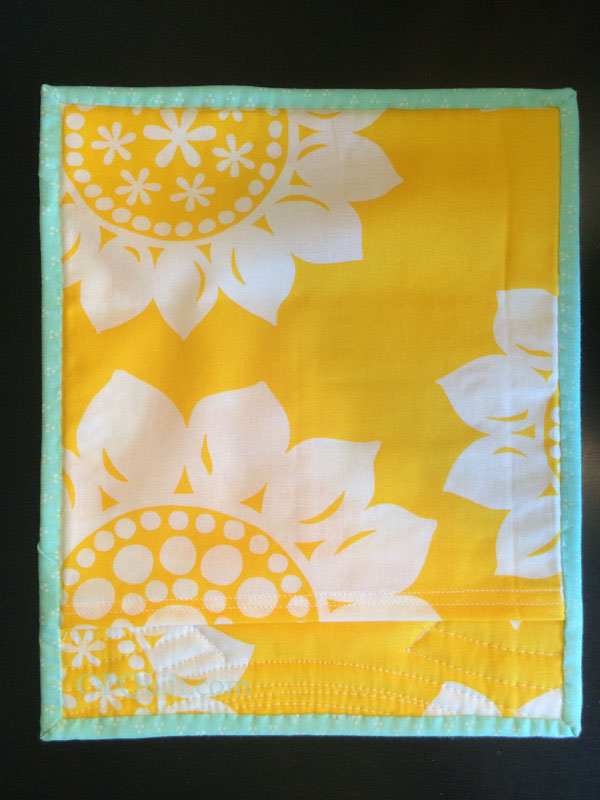
 I made this for an exchange at my Guild Night, but then my daughter and her family came into town and I didn’t go, so now I have my own little quilt.