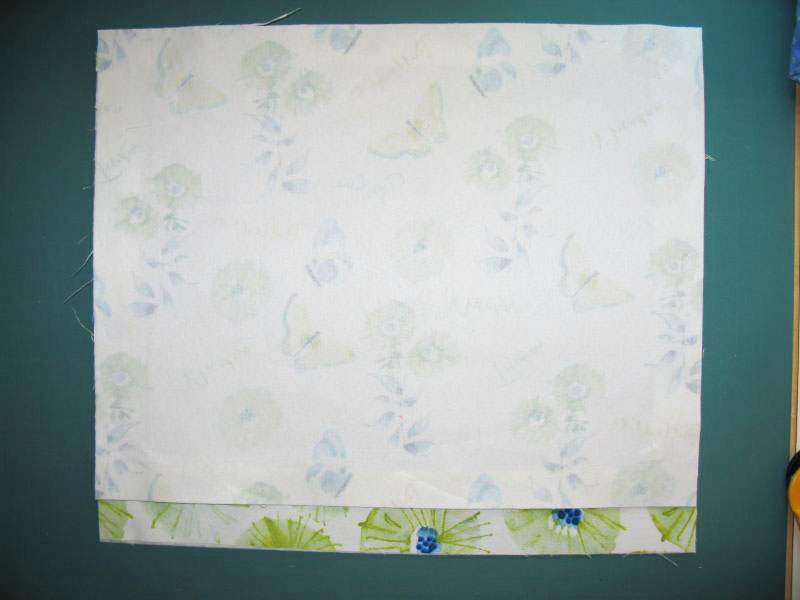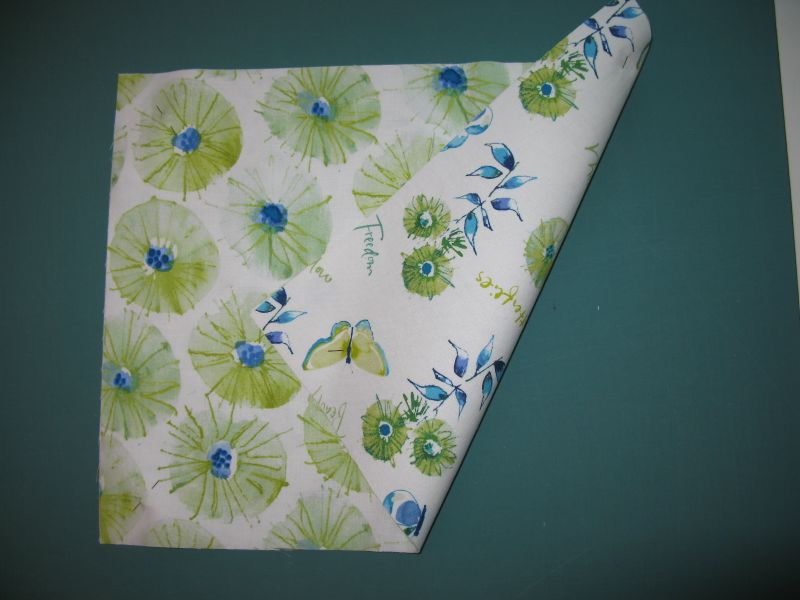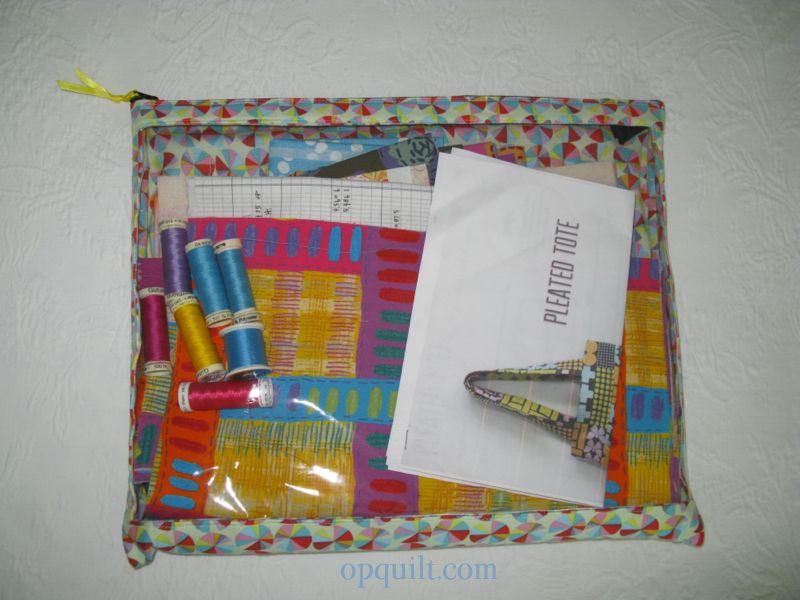
Elizabeth’s Project Folio, front and filled with my next project, a bag made of Keiko Goke fabric
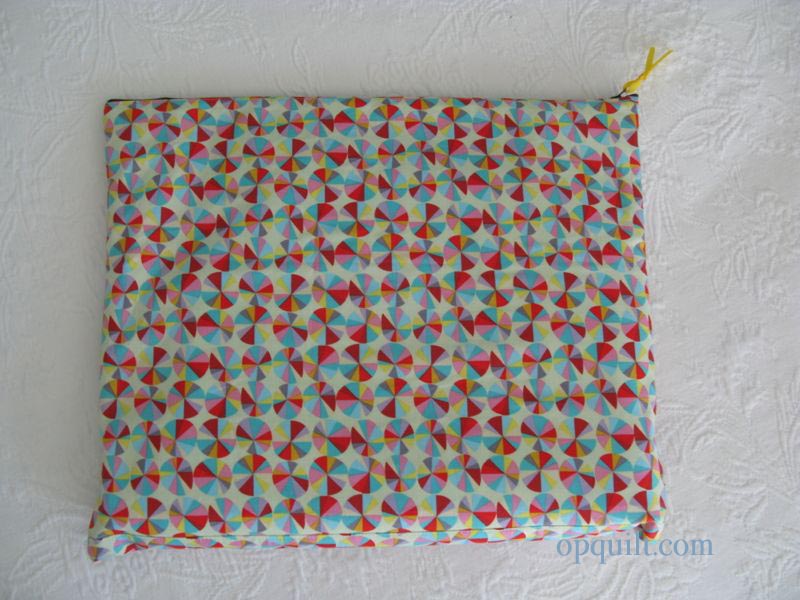
Elizabeth’s Project Folio, back

Elizabeth’s Project Folio, interior of blue folio
These are not only good for holding sewing projects they can also be used for:
• long car trips, holding each child’s stash of car junk
• teaching, corraling all the supplies for each lesson unit
• teaching, holding copied pages in place so they don’t go all over your bag
• errands–one for the Post Office, one holding grocery lists and coupons (you can make that one smaller by adjusting your dimensions), carrying swatches for decorating (one folio for each room you are working on)
• hand-sewing projects, such as cross-stitching a sampler
• knitting, as they are big enough to hold your needles, or needle-kit
• packing for a weekend away (one can hold lingerie, one your workout sweats, one can hold rolled-up T-shirts, etc.)
I’m sure you can think of others. Send me a note telling me what you used yours for!
Finally, to thank you for your readership, I’m giving away the white flowered project folio to one of my followers or Bloglovin’/Feedly readers. In your comment (at the end of this post), tell me what you’d use your portfolio for, and tell me how you follow me. I’ll close this giveaway on early Monday morning (8/26), and send it off.
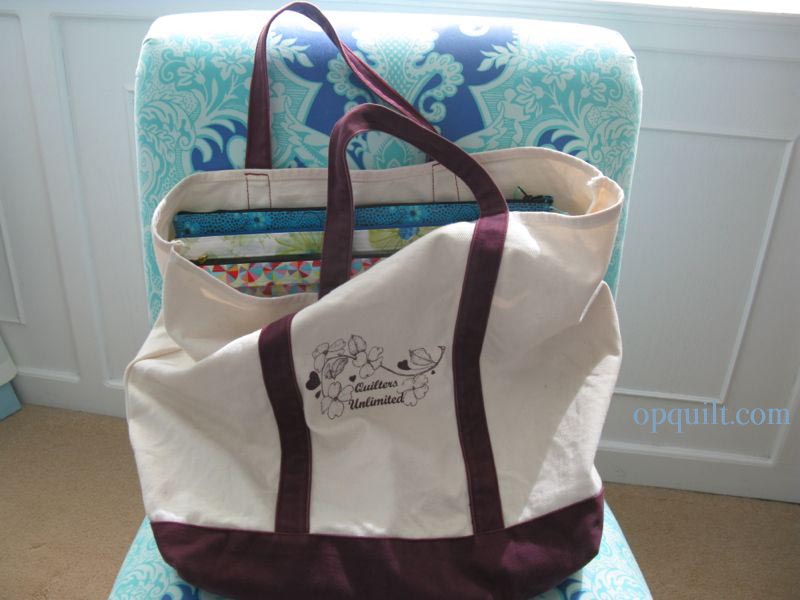
They fit in my tote bag easily. Because one side is vinyl, you can see what’s in there quickly. Because the other side is fabric, they don’t stick together and slide out without difficulty.
Reminder: All of these measure roughly 11 x 17. You are more than welcome to make these for your own use, or sell them in a craft faire, but please please, don’t take any of my tutorial and copy it onto your blog. Practice Friendly Attribution, if you please, by linking back here, if you would. And please please don’t steal borrow my content to make your own pattern, and call it your own.
Okay, the folios are in the home stretch. Let’s bring ’em home!
If you are coming into this tutorial mid-way, see previous posts Part I and Part II.
STEP FOUR: Zipper
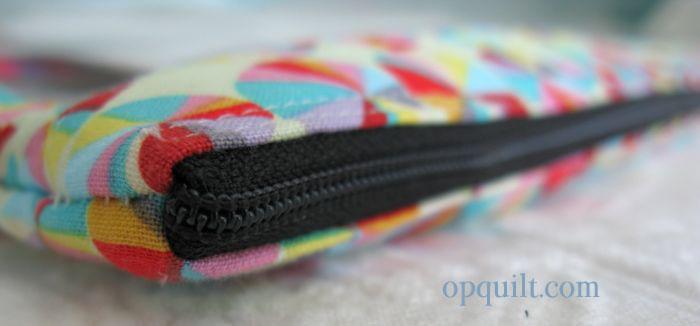
A zipper is made of two narrow pieces of tape (think of it as stiff fabric ) joined by an interesting plastic coil. Usually these strips of fabric are hooked together at one end. Years of no Home Economic Education has scared most sewers when it comes to zippers, but when you think about it as two strips of fabric that have to be sewn into a seam, tempers and anxiety seem to lower. And when you get to sew the zipper in flat, like in this bag, things couldn’t be easier. Note: Some of this tutorial is for beginners, so if you are experienced in zipper-putting-in, just scroll on down.
You’ll be stitching this to the interfaced backing piece. Set aside the fabric lining for a later step.

(You see the vinyl front window laid on top of the backing in the above photo, but you’ll be sewing the zipper ONLY to the interfaced backing at this point.)
I usually buy zippers a little bigger than what I need, so if you have done the same, lay out your zipper along the 17″ longer edge of the project folio backing. Put one pin 1/2″ in from the raw edge, and one pin 1/2″ away from the raw edge, as shown up above on the left.
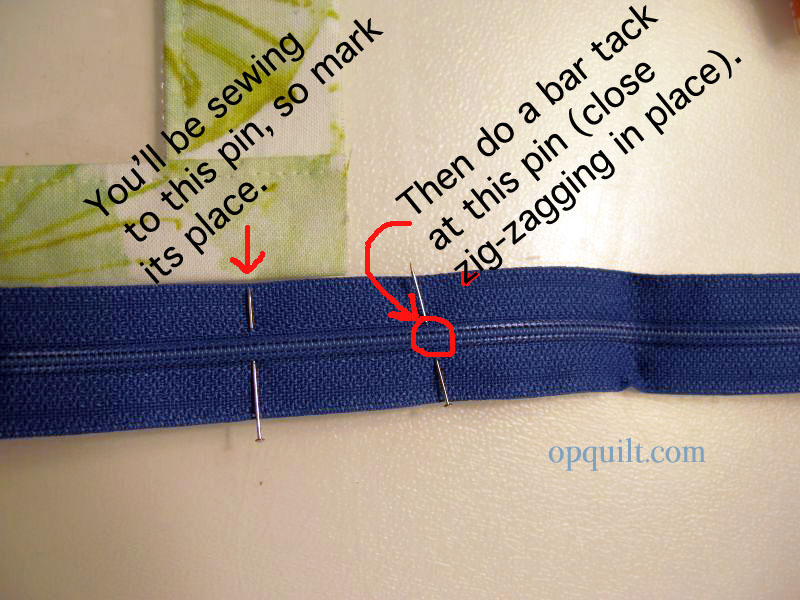
At the outer pin, you’ll be doing a bar tack, which is only a zig-zag stitch done in place. Set your sewing machine for a wide zig-zag (so it will clear the zipper teeth), your stitch length to zero, and sew the bar tack in place. Then about 1/2″ away from that towards the zipper stop, trim off the zipper tape. If you are using a plastic zipper, you can cut right through it. If you are using a metal zipper, snip the tape to the teeth, then kind of wiggle off the excess zipper tape.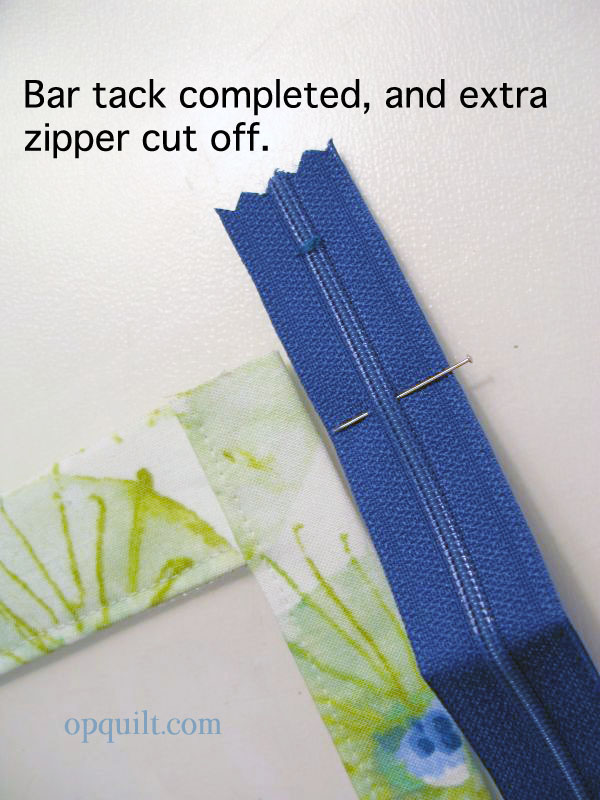
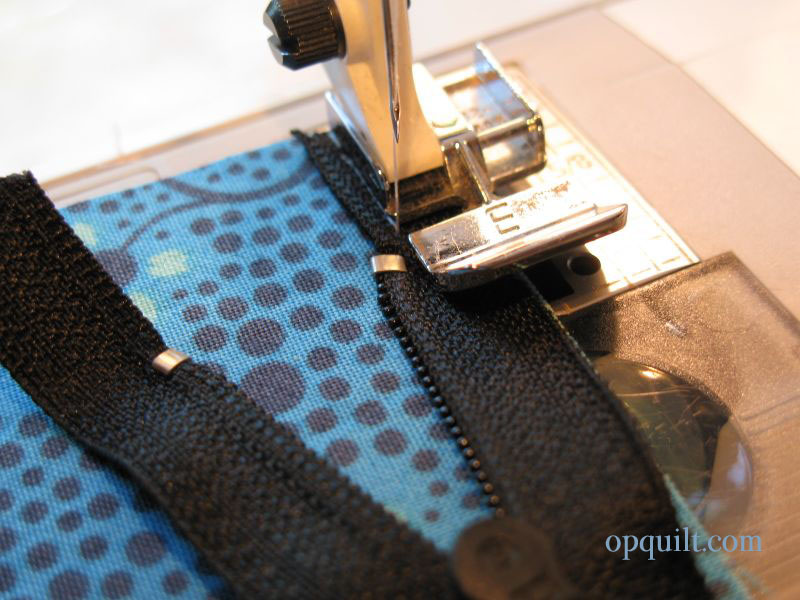
One of the challenges of zipper-sewing, is 1) sewing straight and 2) sewing close enough to the teeth, and 3) getting around that zipper pull. Use a zipper foot (shown above) for the second, and the first? Practice makes perfect, so don’t worry about it. I’ll walk you through the third, below.
First, unzip the zipper for about 4 inches, then:
• lay the edge of the zipper tape even with the raw edges, as shown above,
• zipper FACE DOWN
• on the RIGHT SIDE of the interfaced back folio fabric
• along the 17″ side.
I align the outside long edge of the zipper with the raw edge in this application. Stitch to the top stop (the silver metal piece), re-align the long edge of the tape with the outside edge and stitch for another couple of inches.

Stop, and put the needle down into the fabric. Then grab the zipper pull tab, and wiggle it past the needle and close the zipper. Now you have unlimited easy access to sewing it down.
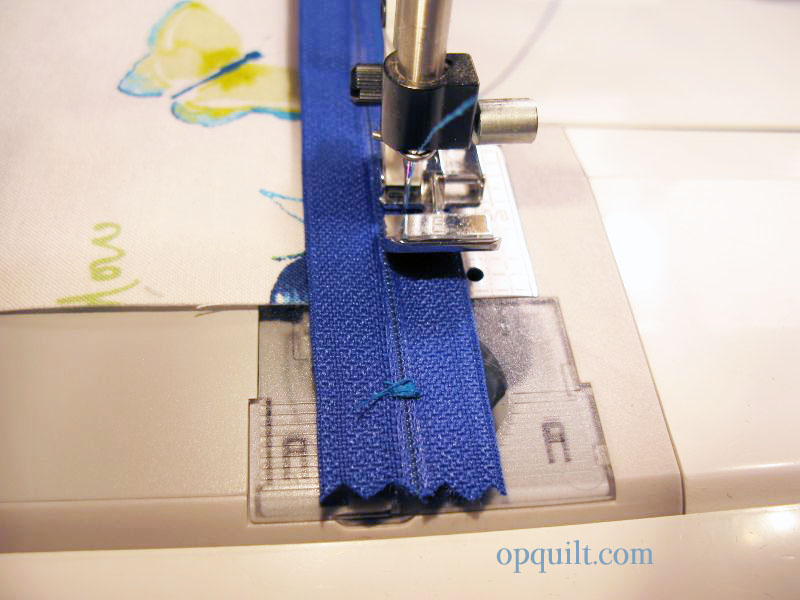
Remember that inner pin, set 1/2″ in from the raw edge? Sew to that spot. You want to leave the last 1/2″ unseen. I usually hit the stitch-in-place button on my sewing machine, but you can also backstitch to secure it. Now you’ll be attaching the lining to the back–that piece of fabric that is the same size as the back.
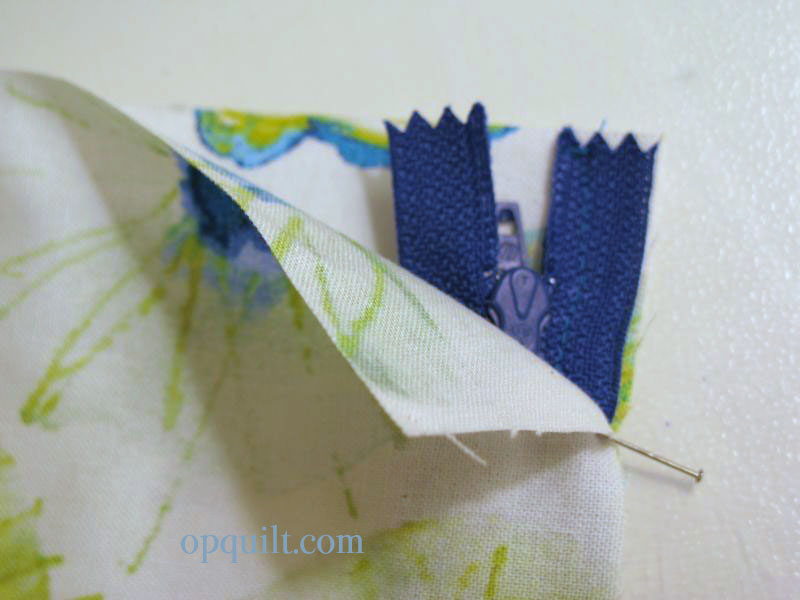
Lay the lining for the back on the zipper. The zipper is face down so the RIGHT SIDE of the fabric will be facing the WRONG SIDE of the zipper. I pin the raw edges of the fabrics together in a few spots so I’m not scrambling as I sew. You’ll be sewing from the OTHER side of things, along the already-stitched line, so FLIP over the assembly, as shown below.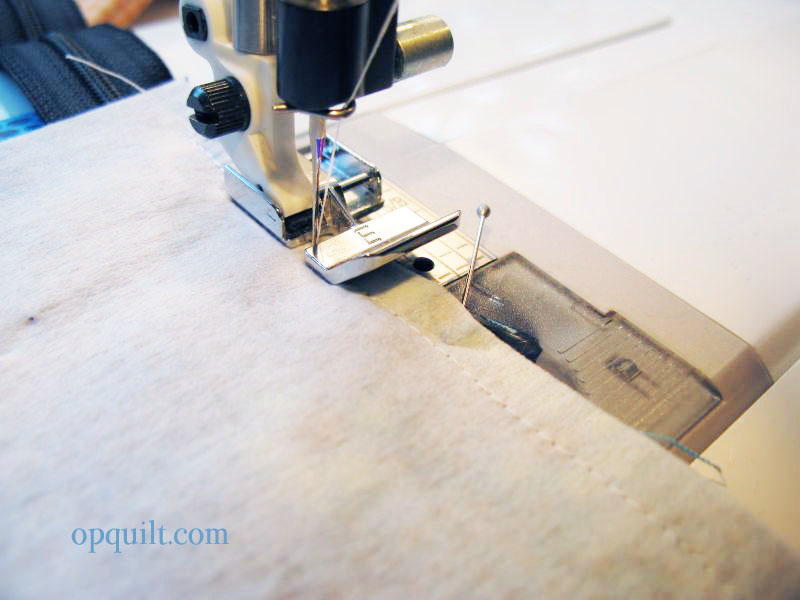
You’ll begin at the bottom edge of the sewn-in-zipper. Remember to stay 1/2″ away from the raw edge as you begin. Stitch along the already-stitched line until you get about three inches from the end. Stop, and leave the needle in the fabric. Reach inside and and slide the zipper pull tab down past your needle, wiggling it as you go by the needle, then continue stitching until the edge.

Press both sides away from the zipper, then topstitch close to the edge, about 1/8″ away.
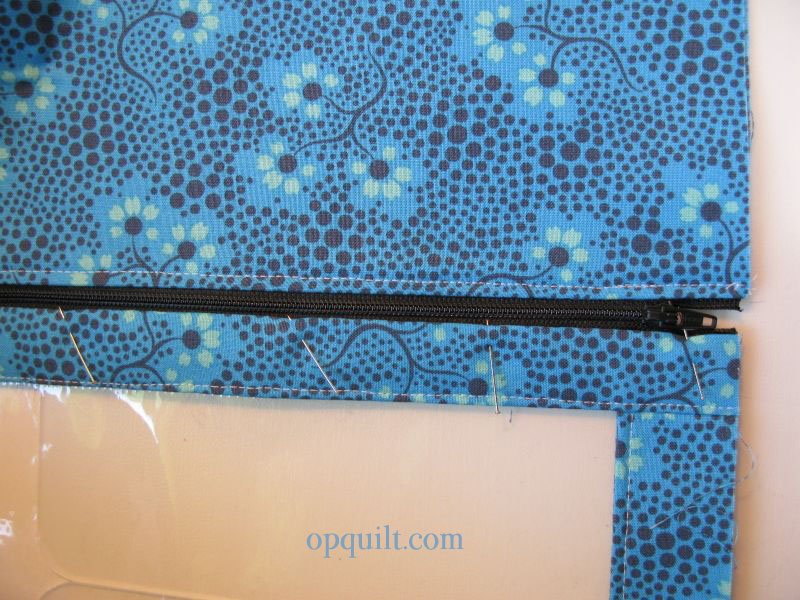
The other side is easier because you only have don’t have a lining to deal with. The zipper is now flat, intalled on the back. Working on a flat surface, line up the back with the front, aligning the side raw edges, as shown. Place a few pins anchoring the zipper tape to the front upper edge of the front vinyl window.

Slide the zipper pull tab down a couple of inches, and start stitching. When you get close to the zipper pull tab, keep the needle in your fabric, and ease the pull tab past your needle, closing the zipper. Continue stitching. Remember to STOP stitching 1/2″ in from the other edge.
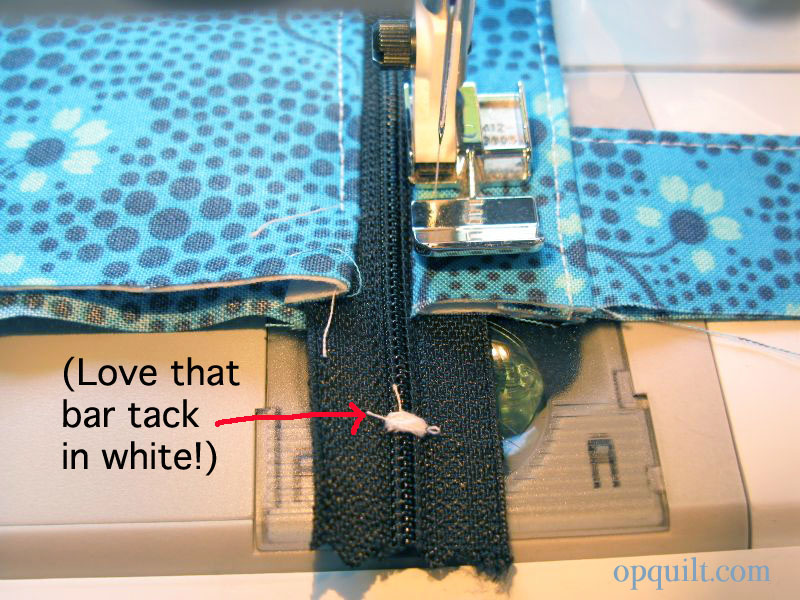
I was racing through making these, so you get to see my hideous white bar tack on my zipper in white thread. No one is going to see this, so don’t worry. But do notice that I stopped 1/2″ away from the side raw edges.

Stitch alongside your first stitching line, about 1/8″ away. Notice how both stop at the right place, above. This second stitching will help anchor the zipper tape. You can stitch 1/4″ away, if you like.
STEP FIVE: Bottom Edge Closure

Remember how the back of this thing is longer than the front vinyl window part? You’ll now stitch them together.
First, treat the back two pieces as one, pinning them together at the lower edge.
Now, lifting aside the lining on that 2 1/2″ piece on the bottom of the vinyl window, pin the interfaced strip to the back of the folio, matching raw edges, along the 17″ dimension. Another view is below.

This is taken from the vinyl window side, and you can see it gleaming there in the photo. But again, you are sewing the interfaced strip along the lower vinyl window to the two pieces of the back, treating them as one piece. Stitch in a 1/4″ seam, then press to one side, towards the front.

Fold down the loose piece, tucking the raw edge up to the inside, and pin in place, hiding that seam you just sewed. You can sew this by hand, taking small stitches, or you can machine stitch this closed.

To do that, open up your nifty zipper all the way, and this will slide in right under your presser foot. Stitch close to the folded edge, sewing it down. Sorry it’s not such a great photo, but I’m confident you can figure it out. (Or just sew the edge down by hand.)
With both the bottom seam and the zipper seam completed, your portfolio is now a tube. Press that seam, keeping your iron away from the vinyl.
STEP SIX: Closing the Sides

Blurry Photo Apology!
Starting at the zipper edge, line up the sides, pinning occasionally, raw edges even. The bottom seam will loop around towards the front, so don’t try to force it. Stitch, then stitch again, 1/4″ inch away.

Trim. This is a better photo, and you can see how the seams don’t match up to where you think they will at the bottom. Just let them go where they want to.
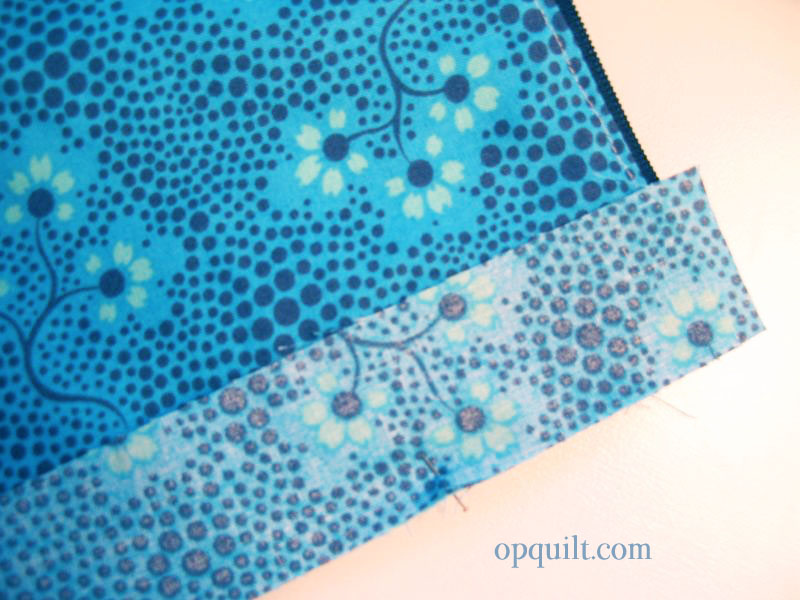
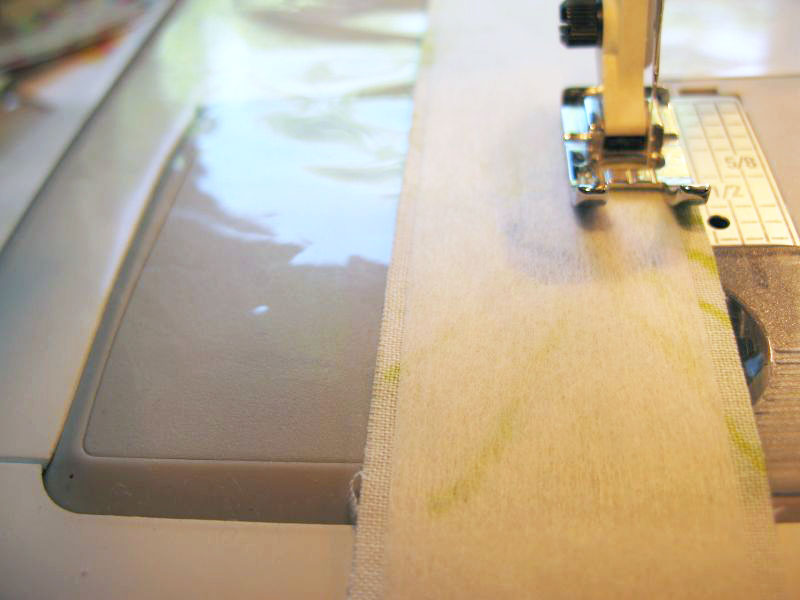
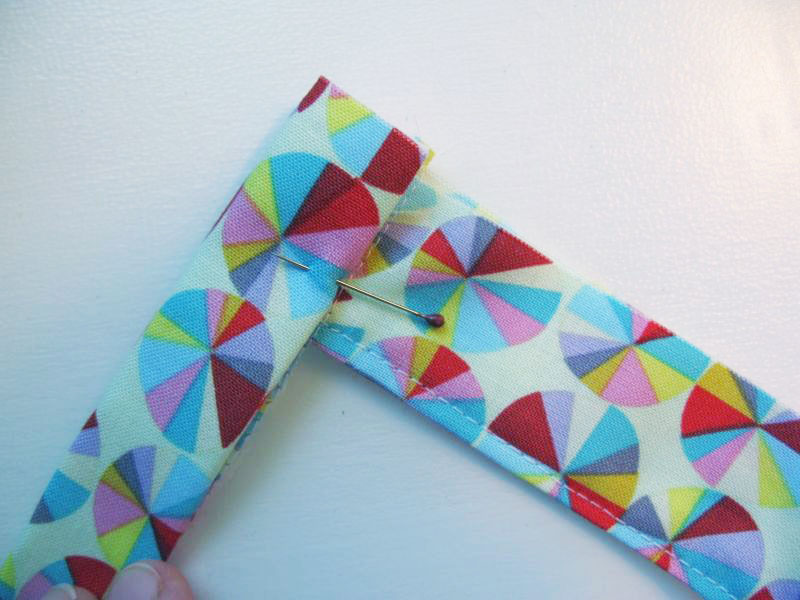
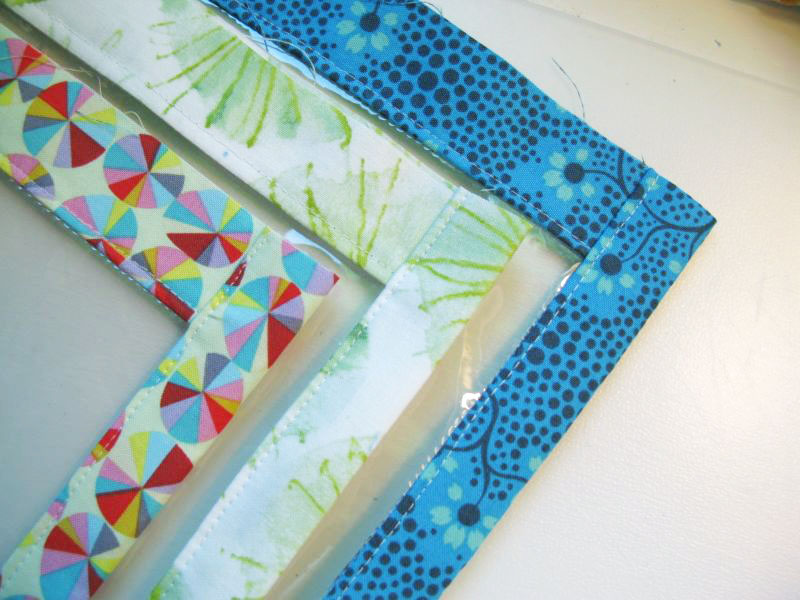
You can simply zig-zag those side seams to finish them, or make a simple binding. Cut a piece of fabric about an inch and 1/2″ wide and a bit longer than your sides (should be about 16 x 1.5″ in a perfect world). Matching raw edges, sew the long side of the binding strip to the portfolio side seam. You can pin it, and then flip it over to stitch over the previous stitching, like you did with the zipper, if you want.

Then fold the long raw edge in and fold the binding over the raw seam allowances. Pin, as shown above, and below.


Stitch close to the folded edge, securing the binding in place.

Make sure you do not stitch the zipper into your seam. Lift it up and out of the way.

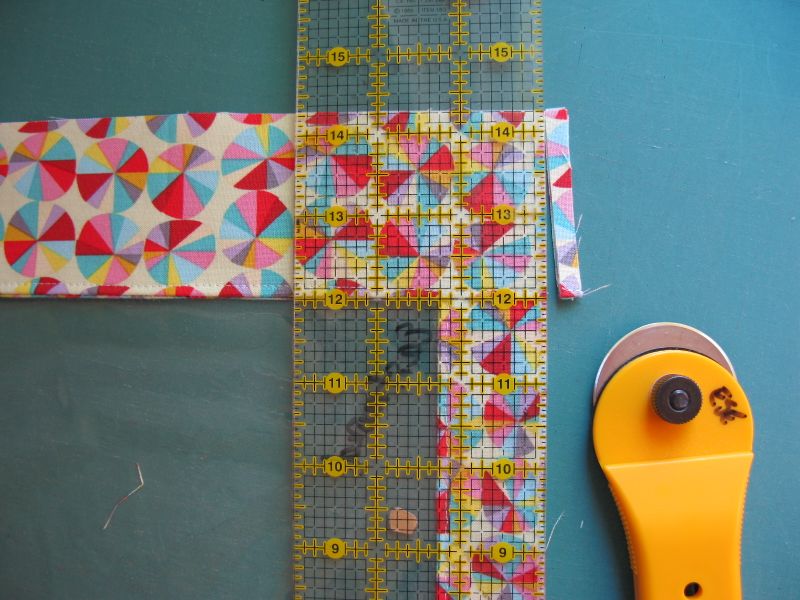
Trim the binding even with the side seams, then zig-zag (overcast it) to keep the ends from fraying. Again, lift the zipper up and out of the way.

Flip the folio inside out and wiggle that end of the zipper to a nice squared-off edge. Congratulate yourself! You are done!

Here’s what the other side looks like, interior view.
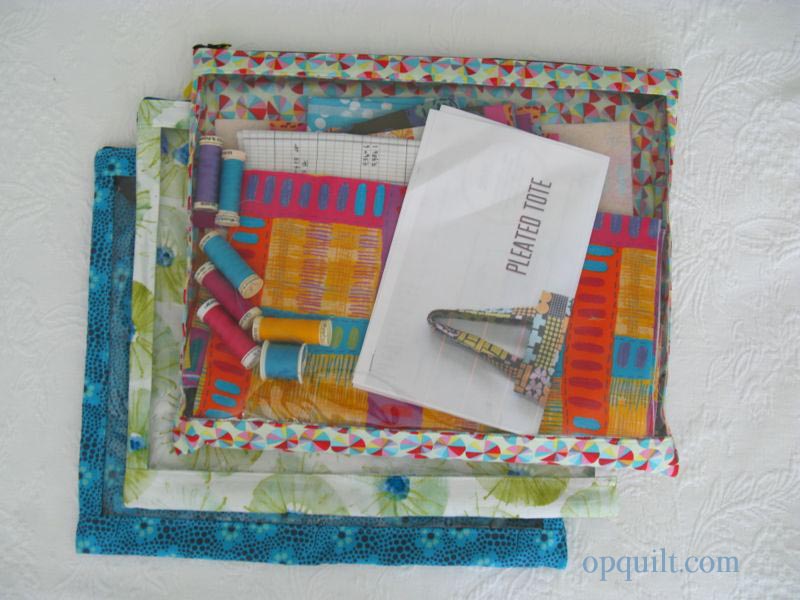
I made a conscious choice not to “box” the lower corners to create a dimensional folio. I want to be able to lay in flat things (books, patterns, fabric, etc) and then, when done, store them flat. In use, I haven’t missed the boxed corner at all. Everything flexes around what I want to put it (refer back to the original post and that overstuffed folio *here.*)

I thread a bit of ribbon through my zipper pulls to make them easier to grab. Trim the edges at an angle, and apply a little bit of Fray Chek to them, if you are worried about fraying.


Okay, now tell me how you’ll use your flowered Elizabeth’s Project Folio in your comment below, and how you follow me (email, Feedly, Bloglovin’).
˙˙˙˙˙˙˙˙˙˙˙˙˙˙˙˙˙˙˙˙˙˙˙˙˙˙˙˙˙˙˙˙˙˙˙˙˙˙˙˙˙˙˙˙˙˙˙˙˙˙˙˙˙˙˙˙˙˙˙˙˙˙˙˙˙˙˙˙˙˙˙˙˙˙˙˙˙˙˙˙˙˙˙˙˙˙˙˙˙˙˙˙˙˙˙˙˙˙˙˙˙˙˙˙˙˙˙˙˙˙˙˙
Note: the Giveaway is closed now, but thanks for stopping by!