
A long time ago, in a foreign market, I bought zip portfolios to hold stuff. But they weren’t always quite right–too small, too rigid–for my projects, too wrong-sized. So I decided this summer to make my own.

But that’s just a way to lead you into thinking about your fall, now that schools are beginning to start and you can finally finish a sentence — or a seam — without being interrupted by your offspring or husbands or pets or whatever. And now you are going to be sewing up a storm, and need a way to keep all your projects organized as you head out to sewing circles, sew days, quilt nights, or just stay home and quilt in your jammies. Because it’s almost fall, after all, and you can. (My apologies to my Southern Hemispheric readers–just substitute in the appropriate season.)

Materials:
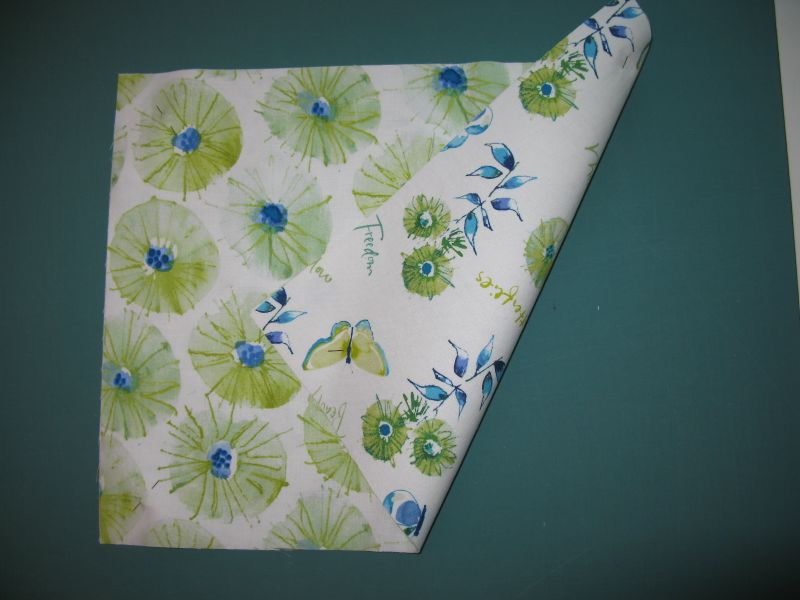
Two coordinating fabrics. One will show on the outside, and the other will be the lining, but will show through the vinyl window
Clear medium-weight vinyl from the upholstery department. Save the tissue they have with the vinyl–it’s easier to store that way
Fusible medium-weight interfacing
Zipper, approximately 20″ (you’ll be trimming it to size)
Matching thread
(Note: I am using three different fabrics in the following illustrations, so you may see some switching out.)

STEP ONE: Fusing

Lay the fusible interfacing shiny side (resin-coated side) down onto the Wrong Side (WS) of your outer backing piece. If you like to live dangerously, don’t use a press cloth while fusing the interfacing to the back in an ordered fashion: overlapping the iron shape, giving it a shot of steam, counting one-two-three-four in each position of the iron.

Lay the interfacing fusible-side down and fuse to TWO of the four narrower pieces that will border your clear vinyl window on the side.
Then fuse interfacing to only TWO of the wider strips, as these will be used on the upper and lower edges of the “vinyl window.”
The results are above: one large rectangle of interfacing fused to main back fabric, and four pieces of interfacing fused to the four strips of main fabric.

Trim up so the backing is even with the interfacing. Try not to fixate on the fact that now your portfolio will be a hair smaller. It’s really not important what the final dimension is, as you can still pack a ton of stuff in there. Trust me.

Lay the fused backing piece on top on the lining piece, making sure that both right sides of the fabrics are facing outward. Pin. Trim.
So this is what you’ll have: a two-sided rectangle. Unpin the two layers, and set aside for now.
Tomorrow’s post will show STEP TWO: Making the vinyl window front.
All of these folios measure roughly 11 x 17. You are more than welcome to make these for your own use, or sell them in a craft faire, but please please, don’t take any of my tutorial and copy it onto your blog. Link back here, if you would. And please please don’t steal my content to make your own pattern, and call it your own. Practice Friendly Attribution, if you please.
Discover more from OccasionalPiece--Quilt!
Subscribe to get the latest posts sent to your email.

I think I need to make about 10 of these! So good to finally meet!
Awesome idea!
this is very intriguing. thanks for that. we need more sites similar to this. i compliment you on your great content and ideal topic selections.�