The famous and prolific writer Joyce Carol Oates was once asked,
“What do you do when you finish a novel?”
“I’m spent,” she said. “Can’t write another word of fiction. So I turn to writing poetry.”
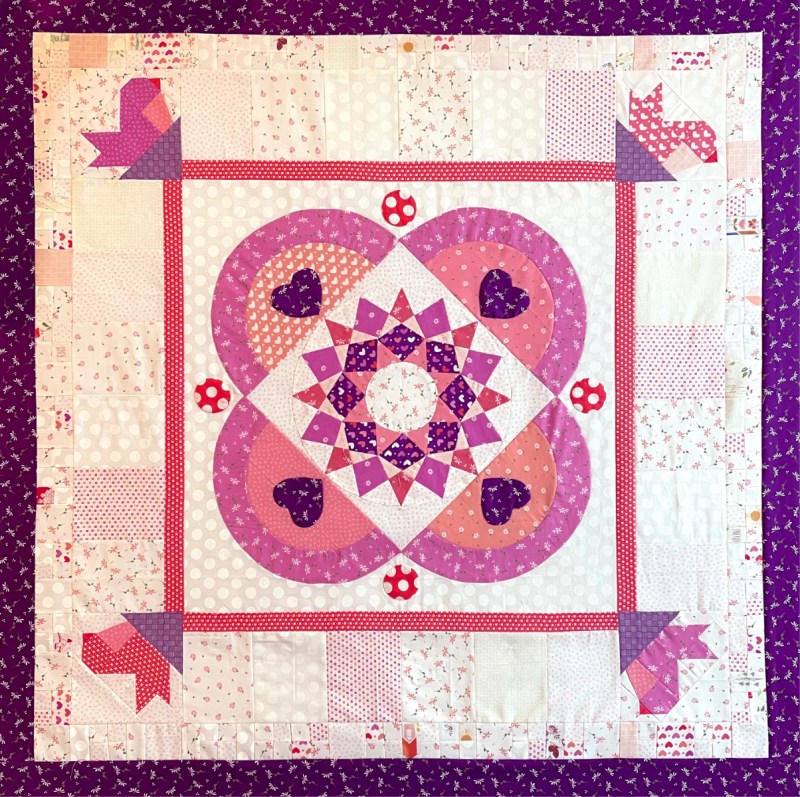
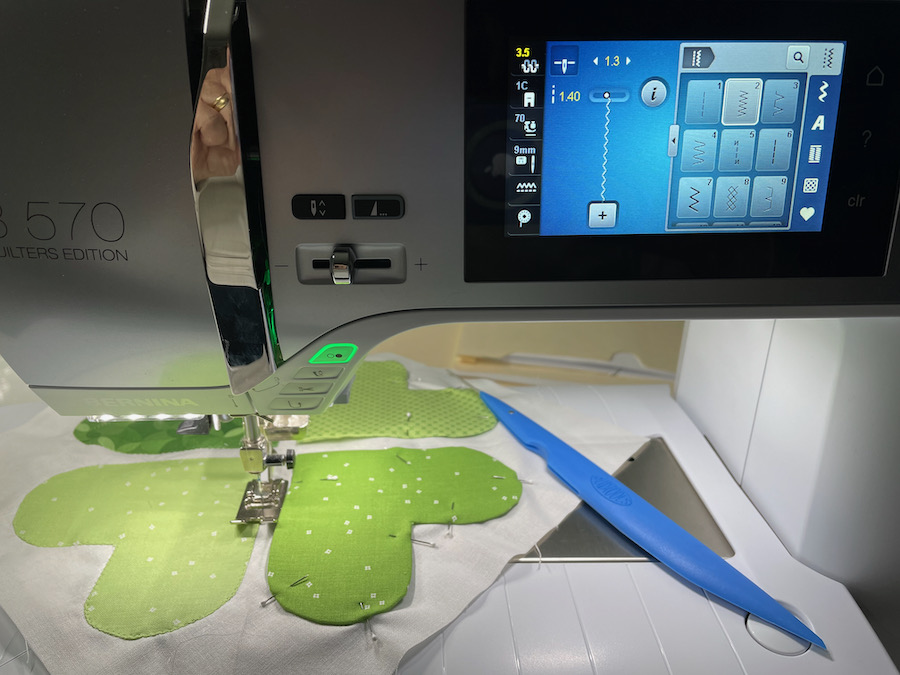
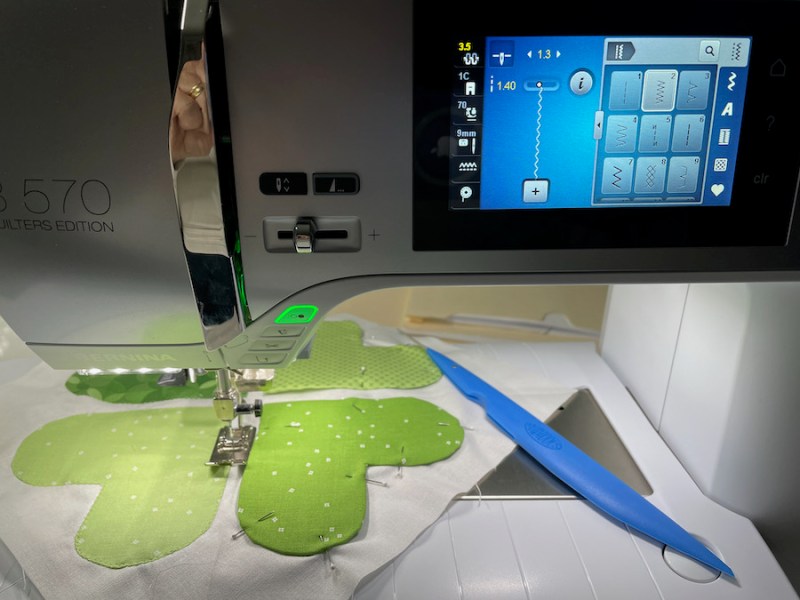
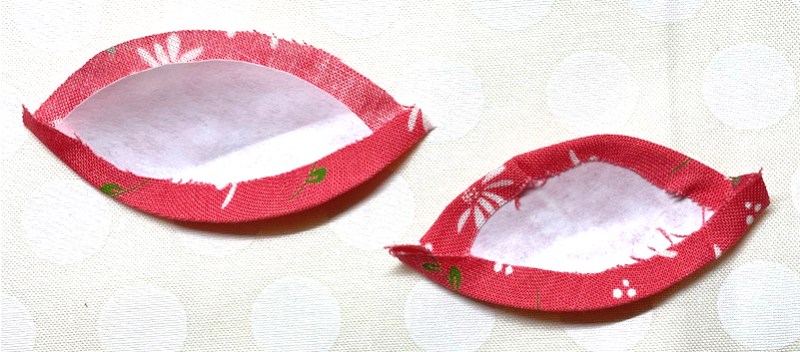
Late Friday night, I finished stitching on the final border of the Heart’s Garden Mystery QAL (the slice of pink in the picture below). I sunk down into my sewing room chair, took a couple of photos and went to bed.
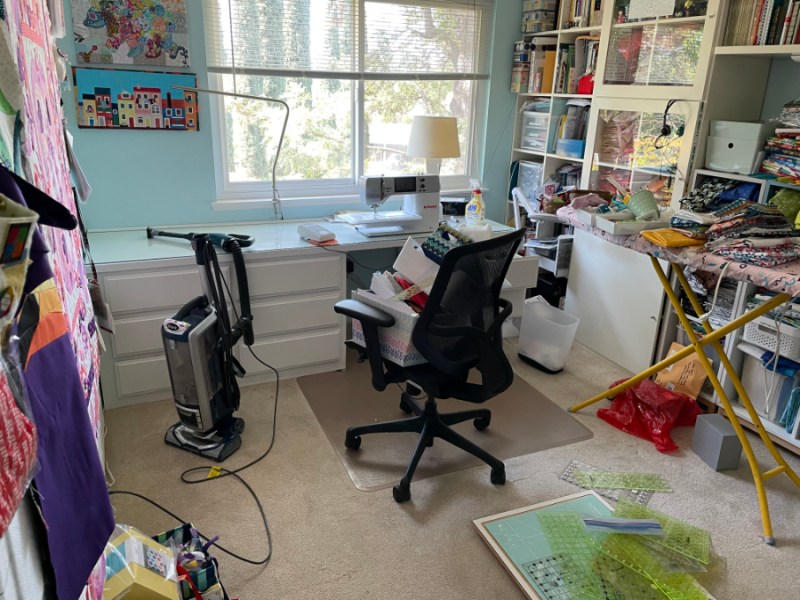
The next morning, her quip — about poetry — began boinking around in my head. I started my day by cleaning up my sewing space: emptying bins, throwing away junk-that-accumluates, vacuuming crevices and window frames. Then my husband came in and asked me to go out to lunch with him.
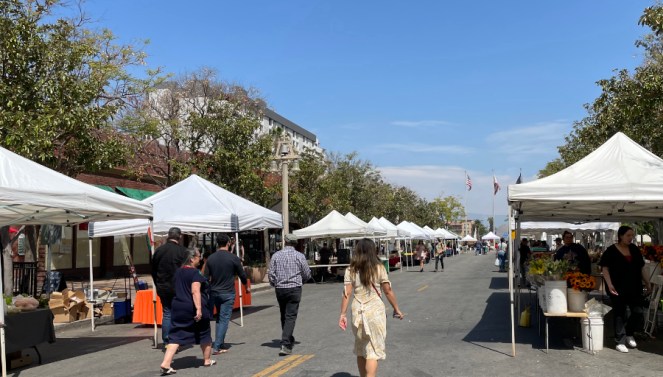
We happened on our town’s Saturday morning market and bought vegetables, a perfect tray of strawberries, and lunch at the local deli.
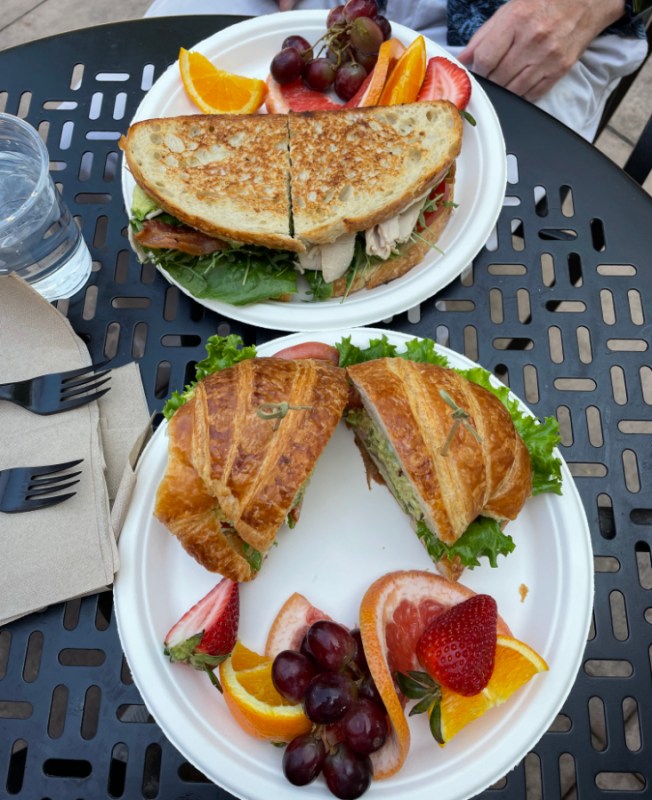
We ate outside on the plaza, escaping before the BoJangles Man set up with his amplifier, microphone and guitar.

We walked down the pedestrian mall and shared a Crème Brûlée donut complete with a crackling sugar top.
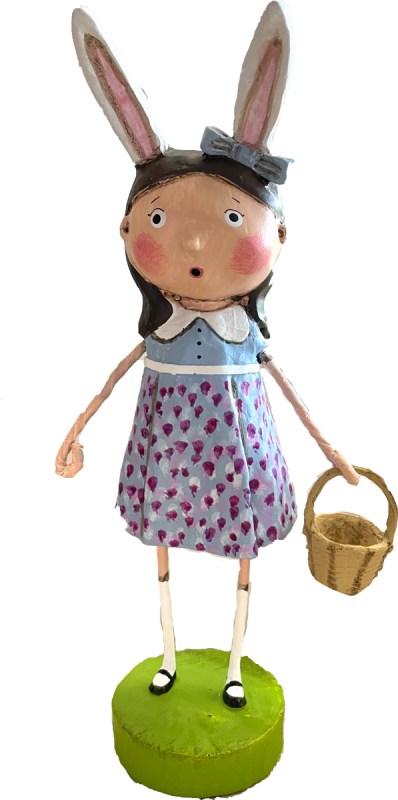
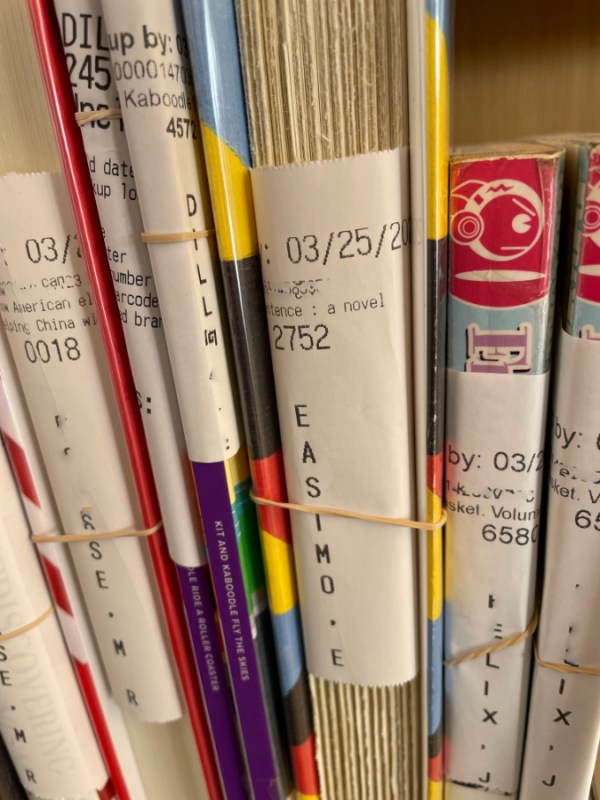
We wandered into Mrs. Tiggywinkle’s shop, and came out with this small Elenor Easterly figurine by Lori Mitchell. I sometimes find that aimless wandering and buying tchotchkes can often help a Mood.

Back home, I finished cleaning up. But I kept thinking about poetry. I used to write poetry, and was once Poet Laureate for University of California-Riverside as an undergraduate. I do have times when I hop onto Poetry Daily and just read for a while, sometimes typing in a search keyword but other times, just reading at random. It’s also great for quilt titles, if you need them.
I think, with poetry, there is an assumed connection between the external life and the interior life–one is linked to the other in a reciprocal relationship. But I feel that as well with creative or quilting projects. How I’m feeling internally will affect what I do externally, and if I’m exhausted or unsettled or wrung out, I have to deal with this. However, sometimes that creative connection is automatic — and I have to try to shut it down to relax (like wanting to take a photo of the table because it looked like it could be a quilt design or something.)
Oates’ poetry allowed her to keep creating, yet still leave the scene of her most arduous work. One example of this that we know all too well is our past two years which has kept us immersed in a strange world; many of us turned to our creative connection to help keep ourselves sane. We have all spent our two years chipping away at the gloom while trying to stay mentally and physically healthy. More than once I’ve wondered how my grandmother got through the 1918 flu, but she didn’t write about it. We’ve obviously found tiny slivers of poems (in the abstract sense) to help us — a child’s drawing, a phone call, or just taking a walk — things that can bring us back to ourself.
So after thinking about it, here were my poems for today:
I created a clean space.
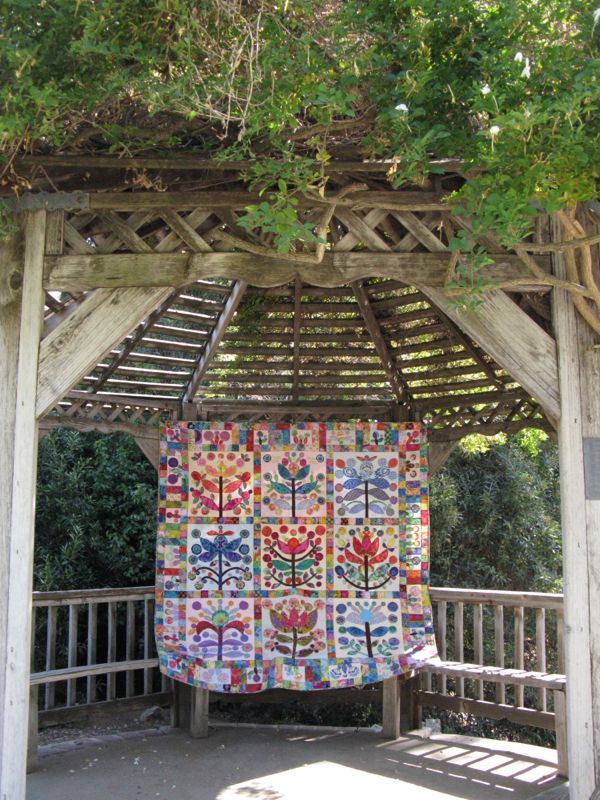
I admired the completed quilt top Heart’s Garden on the design wall.
I created a space for me to listen the jet that roared through the skies, shaking our home, its contrails like two steaming taillights.
I opened the window to feel the breeze.
I let myself rest.
I let myself empty out.
Saturday afternoon, I sat at my neatened desk and read poetry, then copied and pasted two poems in below; hope you have time to glance at them.
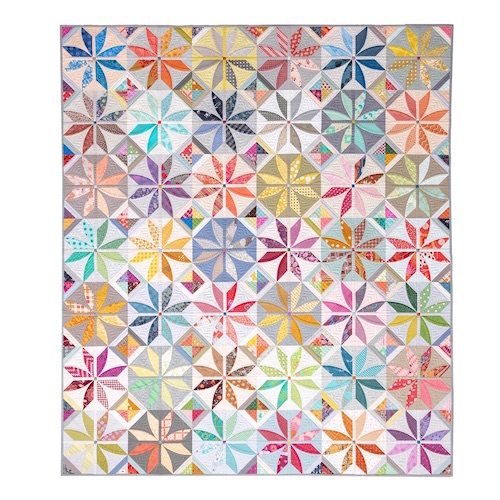
And…I have already found two quilts that intrigue me, here and here.
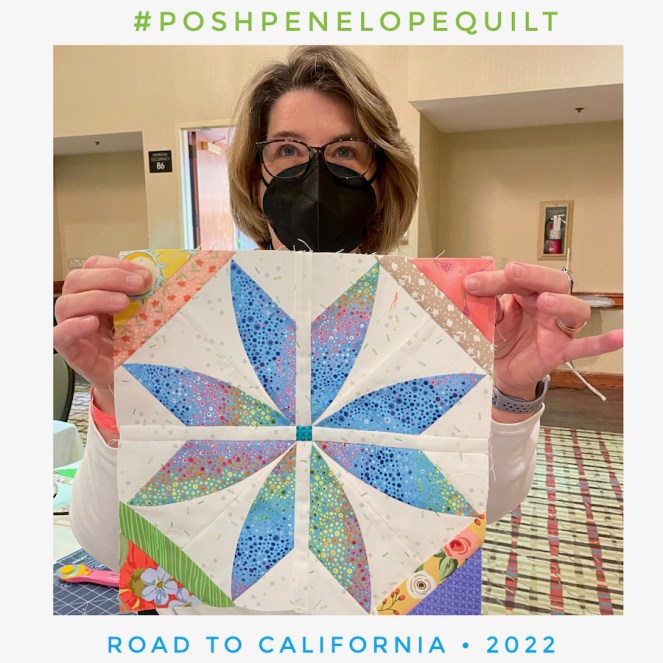
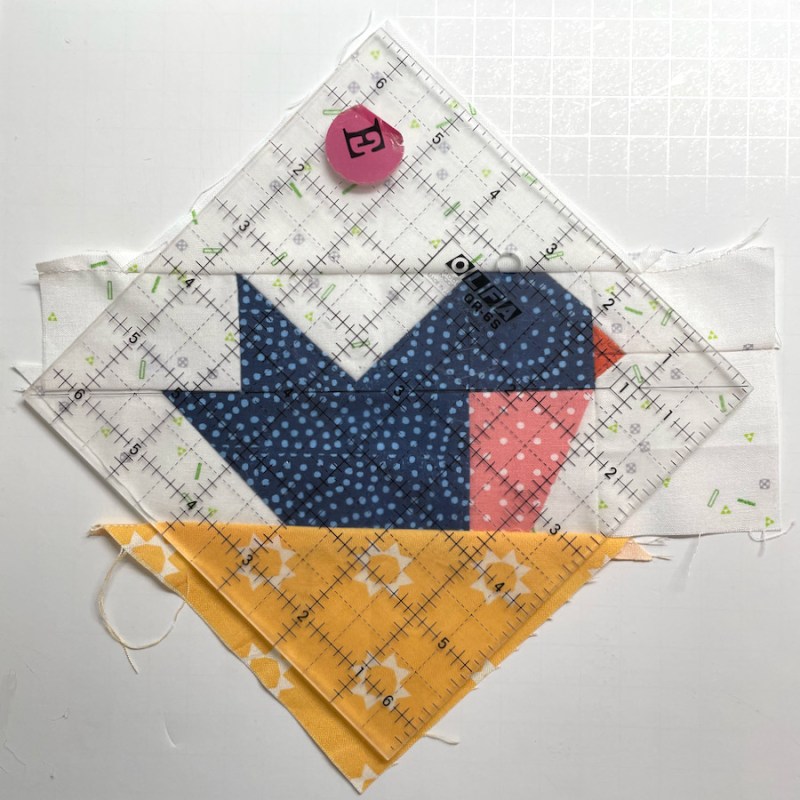
I took a look at the quilt I started at Road, and thought I’d like to make some more blocks. I do have one extra pattern from that day, and will send it to someone, if you are interested. To enter to win the pattern, please tell me what your “poetry” is when you are wrung out–how do you restore yourself…to yourself? How do you replenish that creative urge? How do you find your way back to creating again after a long project?
Leave me a comment below!
Happy Quilting!

Links, etc.
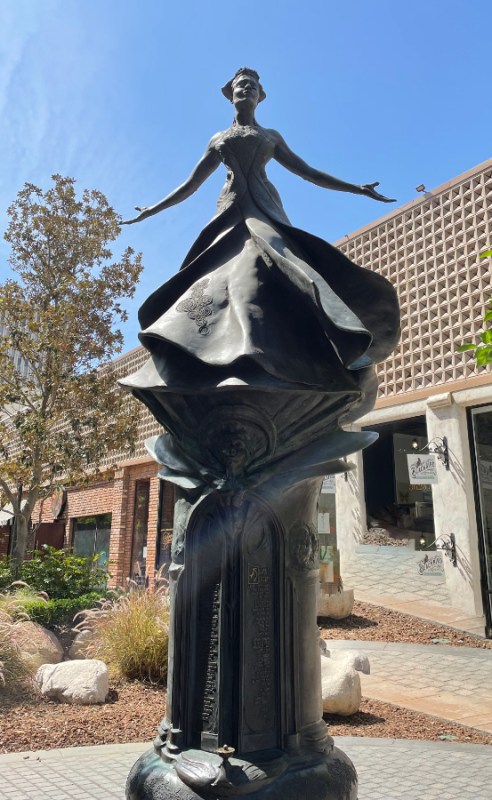
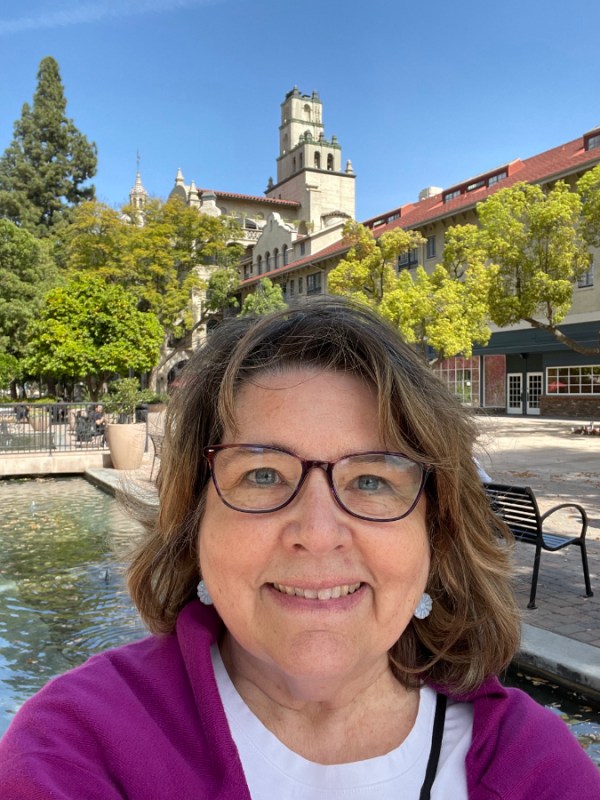
That’s a statue of Eliza Tibbets up there in the collage, with her skirts flowing. Tradition has it that when the first batch of navel orange seedlings arrived in the United States from Brazil, she persuaded the Plant Importation Program to give her some. They sent two, and they flourished — so the story goes — because she watered them with her dishwater. (She really didn’t look like that, but I still love that statue.)
Poetry Foundation, where you can read poems daily, and from where I pulled the following two poems.
I also like Poetry.com for reading poems.
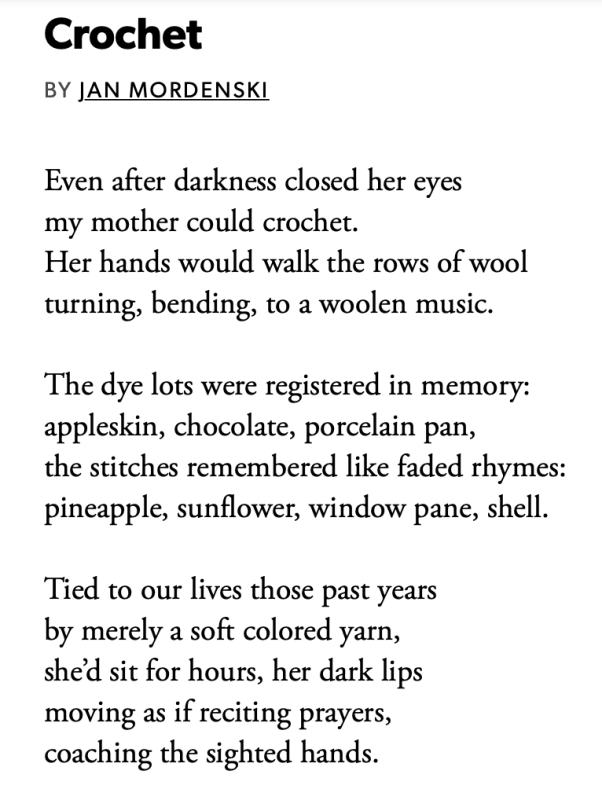
My mother has gone blind over the last decade, but she sewed intricate needlepoint canvases. All three of my sisters and I worry about losing our sight. After reading this poem, I should probably take up crocheting.
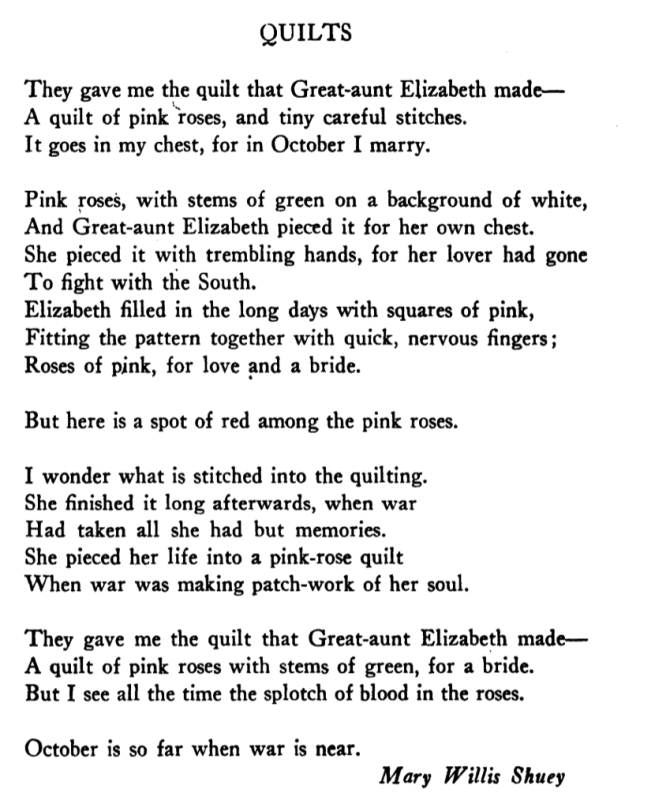
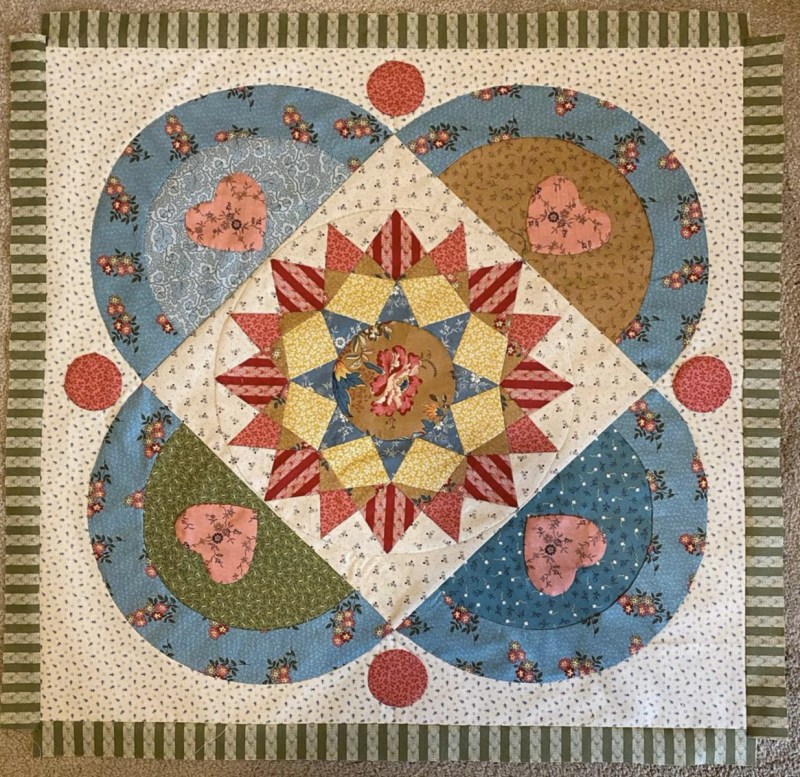
This poem is haunting, reflecting our world today, but instead of pink roses, we stitch blue and yellow patchwork. Armistice Day for World War I was a month later: November 11, 1918.

Leave a comment about what your “poetry” is, to enter the giveaway. Thanks!