Books · This-and-That · Tiny Quilts

Happy July 2019 • This and That!

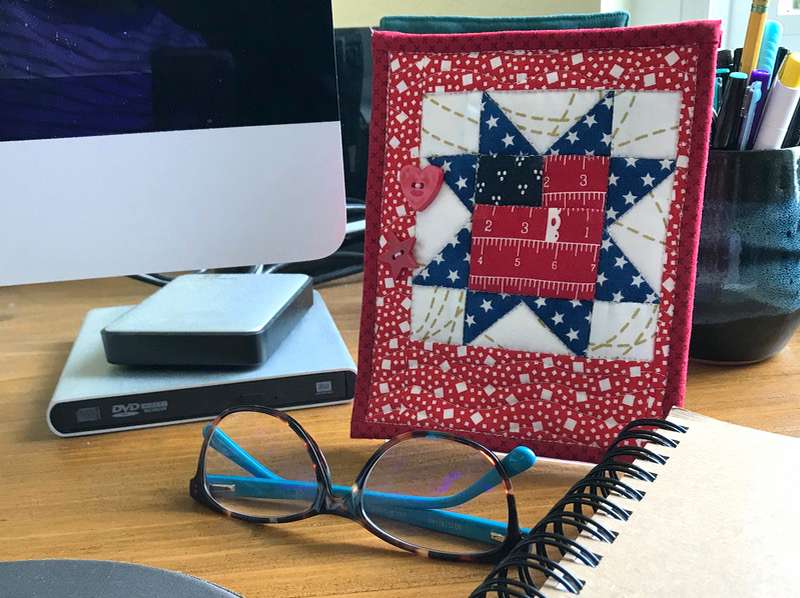
Teeny Tiny Flag Quilt_3

In this episode of This-and-That posts, I wanted to lead off with a little freebie for your Fourth of July: the instructions for a Teeny Tiny Flag quilt.  You can whip this up quickly, and it slips over a dimestore 4″ x 6″ acrylic frame.  I made one recently for a friend in the hospital: no flowers or balloons were allowed.  This brought some cheer to her stay as she loves red, white and blue.

Teeny Tiny Flag Quilt Illustration

I thought you might like the how-to’s, so download the PDF file (please re-download this new file–earlier this morning, there was a glitch):

Teeny Tiny Flag Quilt

I finished it off with some cute buttons.  For more Tiny quilts (and Teeny-Tiny quilts), visit the Tiny Quilts tab, above.

Sunday Best

Here’s a new favorite book of mine, Sunday Best Quilts, by Sherri L. McConnell and Corey Yoder.  Sherri and I have been friends for a while ever since we shared English assignments for the classes we were teaching, at two different community colleges in two different states.  I also appreciate her wonderful quilt designs, and have enjoyed her fabric lines (favorites are Bright Sun, Creekside and Front Porch).

I expect certain things out of books these days.  I’ve stopped buying everything that’s new as I was pretty burned out with what I call “vanity” books — a famous quilter gets a book and really, it was nothing new under the sun.  So now I am pretty selective about what I’ll add to my quilt library.  The book has to have 1) a new way of looking at familiar quilts, 2) a thorough (but not mansplained) direction section, and 3) great photographs, plus 4) the writing has to be pristine and readable, no small feat.

This book fulfills all four of those criteria. If you are looking for a new book to add, I can recommend this one.

Scissors and Negative People

Truth.

Guild Rummage Sale_3

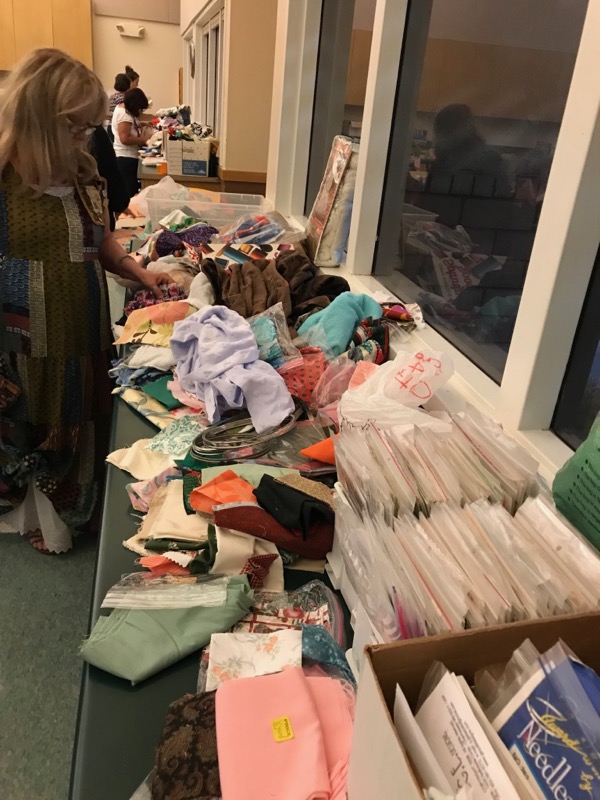
So our Guild had a rummage sale this month, well, really it was a Clean-Out-The-President’s-Sewing-Room/Garage sale.  Evidently people had been bringing her stuff for many years; husbands would call when their wives had moved to Assisted Living, and leftovers from classes all just sort of congregated in her garage.  Time for it all to go.
Guild Rummage Sale_2

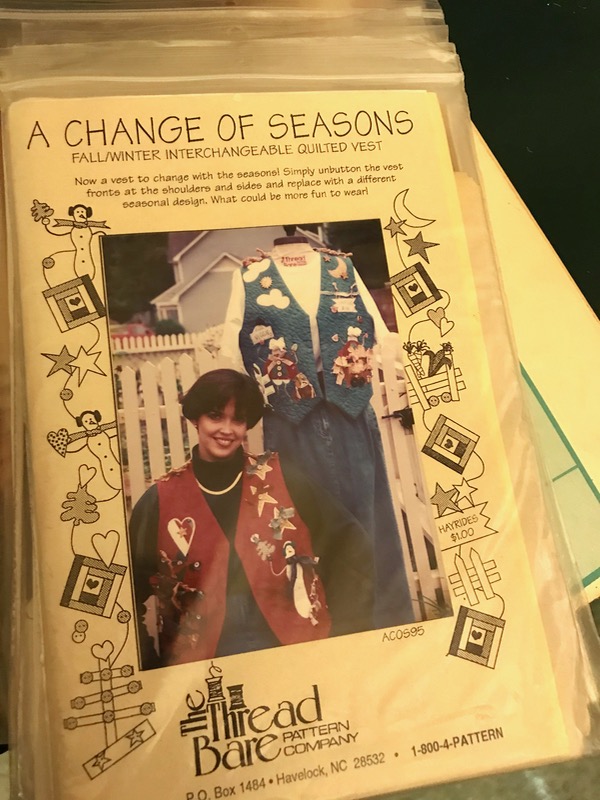
I am always fascinated by what quilters used to do Back in the Day.  Like these vests.  Did we really a) have haircuts like that, and b) dress like this?
Guild Rummage Sale_4

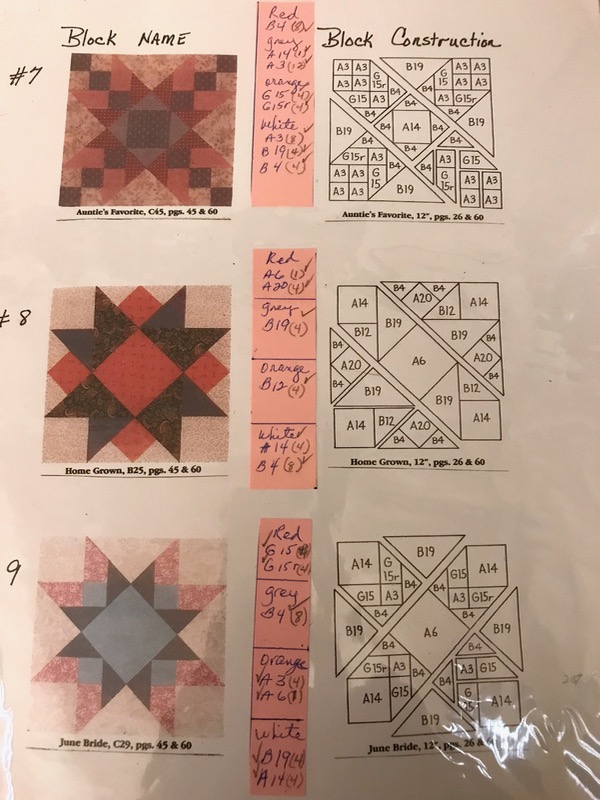
Another binder had templates with lots of code numbers on them, and then these illustrations.  I loved “Home Grown” #8, and think it would make a great block in a quilt.  No, I didn’t bring that one home.

Guild Rummage Sale_1

But I felt like I scored with this box of “vintage” magazines (really, they are just 20-30 years old–how is that vintage?).  I’d bought a few things here and there, stuffing my dollars in the Rummage Sale Jar, but at the end of the night, when so much was left, she said, “Take it all away!” So we did.

Ladybird Prep_2

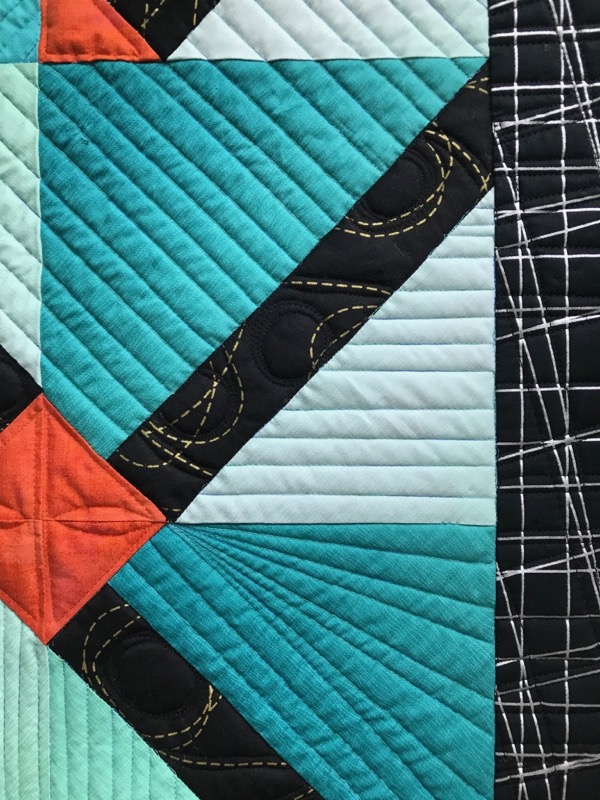
I wanted to post some construction images from Ladybird, the quilt from the last post. At this point I was thinking: what am I doing? This was the quilting after the first day. I threw it on the spare bed and left it there for two days.

Ladybird Prep_3

Better.

Ladybird Prep_4

In the end, I was pretty happy with it, finding lots of ways to be creative with mostly straight lines.
SAVE ME THE PLUMS -- cover

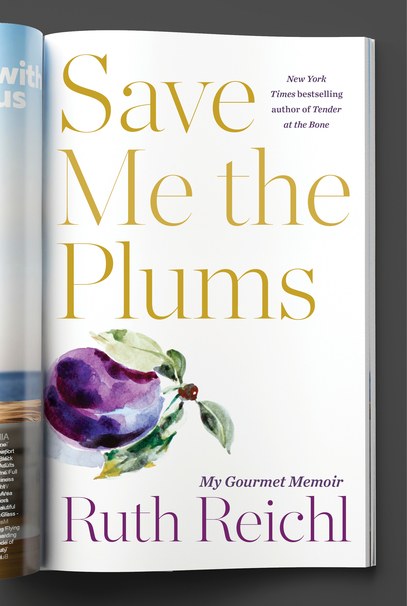
Finished this book.  I loved it and I’m not a New Yorker.

I had wanted to leave you with my larger flag quilt, all quilted and bound, but it didn’t happen.  So Happy Fourth of July, with a quilt top:

BetsysCreation_4thJuly

Long may it wave! (click to see it in action)


Quilts · This-and-That

January’s Odds-N-Ends

IMG_1292

One of the Christmas gifts I gave was a Snap Bag, which uses lengths of metal measuring tape to keep it closed.  I had wanted to try these snap bags forever, so I bought a cheap-o metal tape measure in 3/4″ size (and also one in 1/2″ size) and went to town.  It was really fun.  One tutorial that I looked at was from Wilma’s World.  But I tended to follow was Paulett’s at Sweet P Quilting and Creations, as she had placed batting in hers.

IMG_1293

The one that that I found confusing was how to place the measuring tape.  So here it the answer: like this: ) (  with the curvy sides towards each other.  [NOT like this: ( )]

UPDATE: I was referred to the Gourmet Quilter’s video where she places the tape exactly opposite.  Before trying to decide I’d read probably 20 tutorials on the web and watched a couple of videos and had tried to decipher it from that.  Rose Smith has a video where she places it exactly opposite (like I’d done).  However, I like how the one I made fits together, so I give up!  Maybe it doesn’t matter which way you place it.

I put the little tabs there to help pull it open, but really, that measuring tape made it pretty hard to get open, so I just used my fingers.  I wouldn’t use the 3/4″ tape on anything smaller than a finished size of 6″ by 9″ or thereabouts.  Use the narrower 1/2″ tape.  I expected it to be hard to cut with my old scissors from the kitchen drawer, but really it cuts easily, so I don’t think you need tin snips or anything heavy duty.  DO use the tape on the ends (I used duct tape) to protect it from poking through.

IMG_1450

This past summer my husband and I did some traveling to Croatia and we picked up a ton of postcards from the Naive Art Museum in Zagreb, Slovenia.  He kept talking about trying to find a way to display them, so for Christmas I made him this bulletin board.

I went to my local hardware store and asked for “acoustic ceiling tiles,” when come as a unit of two.  I cut it in half so I’d have two squares.  How did I cut them?  The man who helped me recommended a steak knife with serrated edges, but I found a linoleum blade on our work bench (it’s kind of like a Pirate’s Chest out there–you’ll never know what treasures you’ll find) and made that work.  After cutting I sanded the edges to smooth out any bumps from the cutting, then hid one behind the laundry room shelves in case I needed to make him another (in case he didn’t like the fabric I chose).

IMG_1452

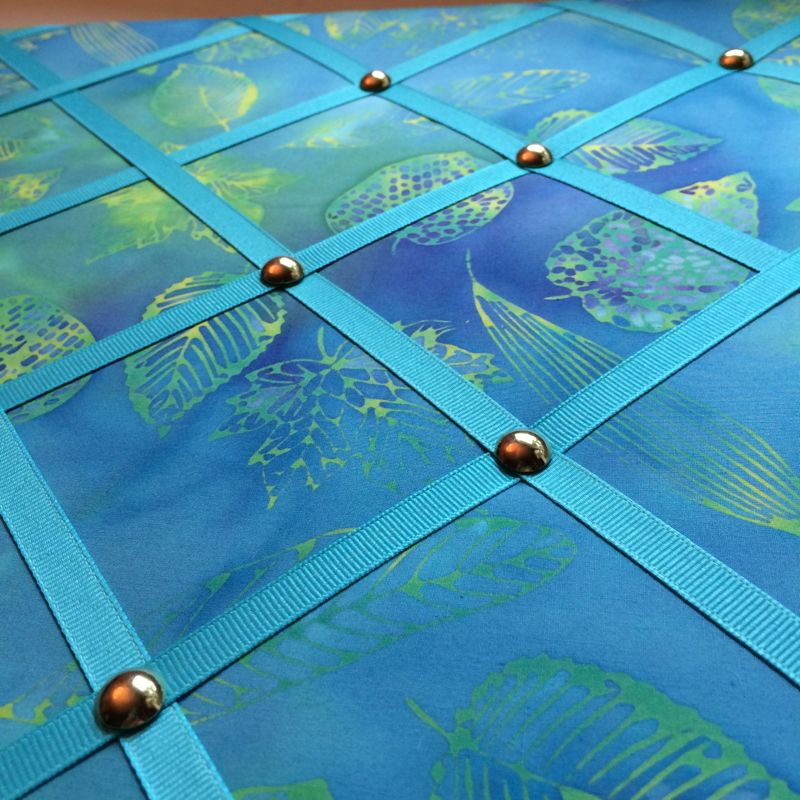
I placed the ceiling tile face down on some batting, then tacked that in four places to keep it on.  My husband’s favorite color is blue, and all the postcards had a bluey color in them (wonder why?) so I chose this muted leaf print.  Really, the limiting factor was the colors of ribbon at JoAnn’s.  You think it wouldn’t be that hard to go and get a couple of spools of ribbon, but those of you who have to shop there know it’s an Eye-Rolling Experience at best.

I had ironed the heck out of my fabric so it was flat flat flat, and then I began the process of stapling it down.  I cut the batting out of the corners, then carefully folded and stapled the fabric down, trying to create the flattest corners I could.

I criss-crossed the ribbons at even intervals, stapling them down as I went.  At the hardware store I had purchased some furniture tacks (or brads) and hammered them in where the ribbons crossed.  On Christmas morning, I don’t think he was all that crazy about the color/fabric choices I’d made, so I showed him the extra and said when he decided what he really wanted, I’d make him another one.  Within a week, he’d propped this up against the wall in his study, the postcards artfully arranged (better than I’d done, above).  Within another week, it was propped up on his chest of drawers in our bathroom, where I thought it might go.  He and I talk about it often, so I’m guessing it’s a keeper!

New Classroom

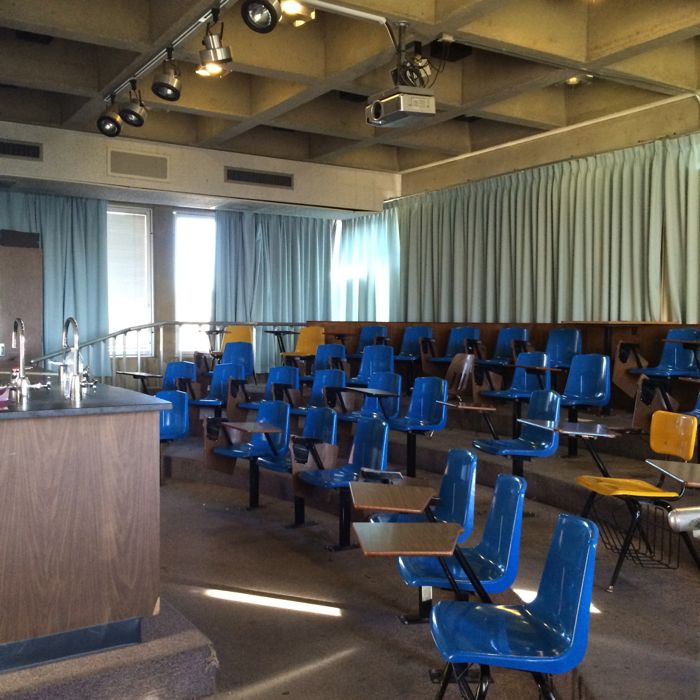
For those of you who are following the saga of my classroom, here is the new one.  It’s dimmer than this photo shows, and is complete with a “stage” where I stand and blather on about Critical Thinking.  It’s a step up from the old one, but still not as great as a regular classroom.  And I had NINE students add on Wednesday.  Nine.  Where were all these students when everyone was registering before the semester started?

Pineapple Spears

After Brenda commented on eating pineapple spears (last post about my pineapple quilt–I’ve got to get a name for that one), I found myself wandering the aisles of Trader Joe’s, looking for pineapple spears.  Now if it would only help me finish that quilt.

Button for QuiltShows

I’m going to QuiltCon in a month (a MONTH!!) and I’d read about people and their buttons.  So I worked up this incredibly ornate design with my magnificent Photoshop skills (*cough*) and sent it off to WackyButtons.com to make me some cute little one-inch buttons to trade.  When I get them, I’ll figure out some giveaway so you can win one.  In the meantime, I’m finishing up my next Circles Block post (which will be early) and hoping to finish up my still-to-be-started Four-in-Art quilt, although I do have a sketch.  That’s progress!

4-in-art_3

Four-in-Art Art Quilt Group, with reveal coming on February 1st