Thank you to all who are participating in the Mad for Solids 2018 game, and thank you very much for your votes. I’m happy to announce that I’ve made it into the Final Four of this quilty March Madness. The penultimate vote in this process is today at 6 p.m. CDT, and if you wish to vote for my bundle, or vote for the bundle of your choice, please head here to cast your votes:
• Paintbrush Studios Blog
• Paintbrush Studios on Instagram
• Paintbrush Studios on Facebook
The Championship Game (love these terms) will begin Sunday night 6 p.m. CDT, and according to the Paintbrush Studio website:
We’re now down to just four color palettes, and the voting won’t get any easier! We’ve also raised the stakes! Everyone who votes in the Championship Game (starts Sunday at 6 pm CDT) will have a chance to win a fat quarter bundle of the winning palette. But even if you don’t win, you can still play with these colorful combinations!
After we announce the Champion on Monday, we’ll be selling fat quarter bundles of the four Painter’s Palette Solids color palettes that made it to the Final Four. Any of these Final Four palettes can be yours! Watch for more details Monday.
I was happy to see that, as I really love a lot of the bundles that quilters have put together. I promised another border, and it will come soon, but the fabric (I ordered more from Pineapple Fabrics) is on its way.
As fun as all this is, it’s time to go back to our regularly scheduled show, now in progress.

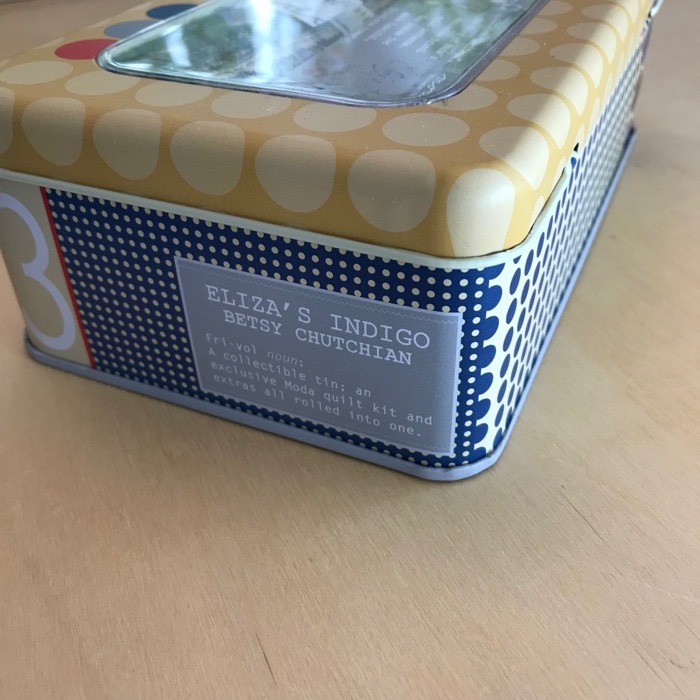
And that regular show I’m working on is sewing my way through my series of Frivols tins. I finished up what I started about a month ago, when sewing on Frivols #3, with fabrics from Betsy Chutchian’s line titled “Eliza’s Indigo.”


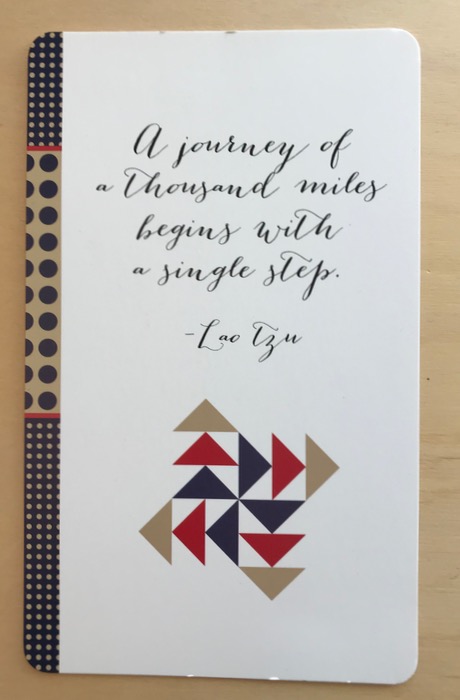
I ditch-stiched in-between the squares, then quilted circles around the inner squares. Really imaginative, but hey–I always remember that quote I printed at the top of all my syllabi when I taught college English to incoming freshman: The Perfect is the Enemy of the Good. And in this case, The Done.


The back is a tea towel from Queen Elizabeth’s Jubilee that my son brought back to me from his trip to London. The title is Betsy’s Quilt, borrowing not only from the name of the designer, but also from a childhood nickname of mine, and since I’m also named Elizabeth, I thought it was fitting. I came in from photographing it and set in on the kitchen table, which is next to our family room. Sometimes small quilts can hang around like this, adding a nice touch to the same old same old.

This is the third Frivols I’ve finished, so that means I’m one-fourth of the way through my year-long quest to Make the Frivols. So I don’t completely bore you with my attempt to clear out those tins of their fabrics and finish them up, I’m combining Finish #3 with Start #4.


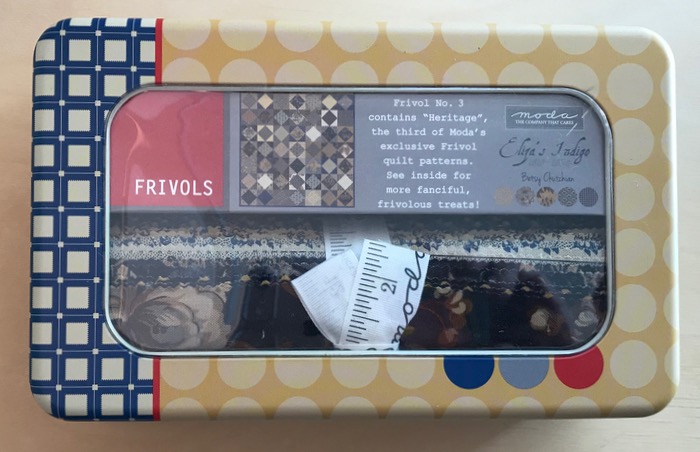
Tin #4 is a collection by Brenda Riddle, titled Windermere, and there on the end you see the definition of Frivol: a quilt packed into a fanciful limited edition tin. Although you can still buy them on Amazon. Maybe I should stop sewing these up and just re-sell them? I suppose I could, but I follow Mary Poppins advice: “A job once begun is a job half done.” I’m pressing forward.

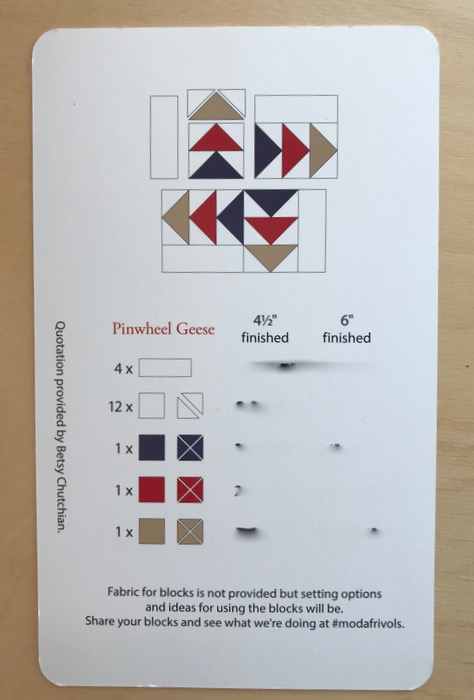
Yeah, it only took me three tins to realize that I should look at the bottom of the tin for relevant info, such as additional fabrics and how big the quilt will be. I’m using Paintbrush Studio Solids in white from Pineapple Fabrics for my background. I think I should buy bought a bolt of this stuff. It’s really so great to sew with.


The tins always have these things:
- roll of 7″ squares
- make-it card, with instructions
- cardboard “frame” for the stuff inside
- an extra…and this tin’s extra was two skeins of embroidery floss that accent the quilt’s colors. Maybe I should take the hint and plan on some hand-stitching? That is to be determined, as this quilt is bigger than the others, measuring about 50″ square when finished.


All pieces cut. Now to start sewing. Thank you all!