“Time is draining from the clock,” says 2022 and Mary Oliver. Your loss, my gain says 2023. And here we are again, in a quote/poetry slam. (Quoted works are at the end.)

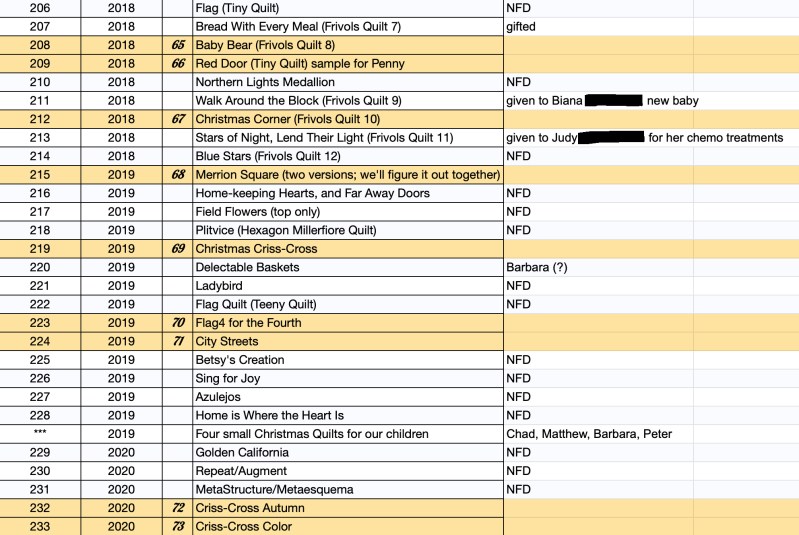
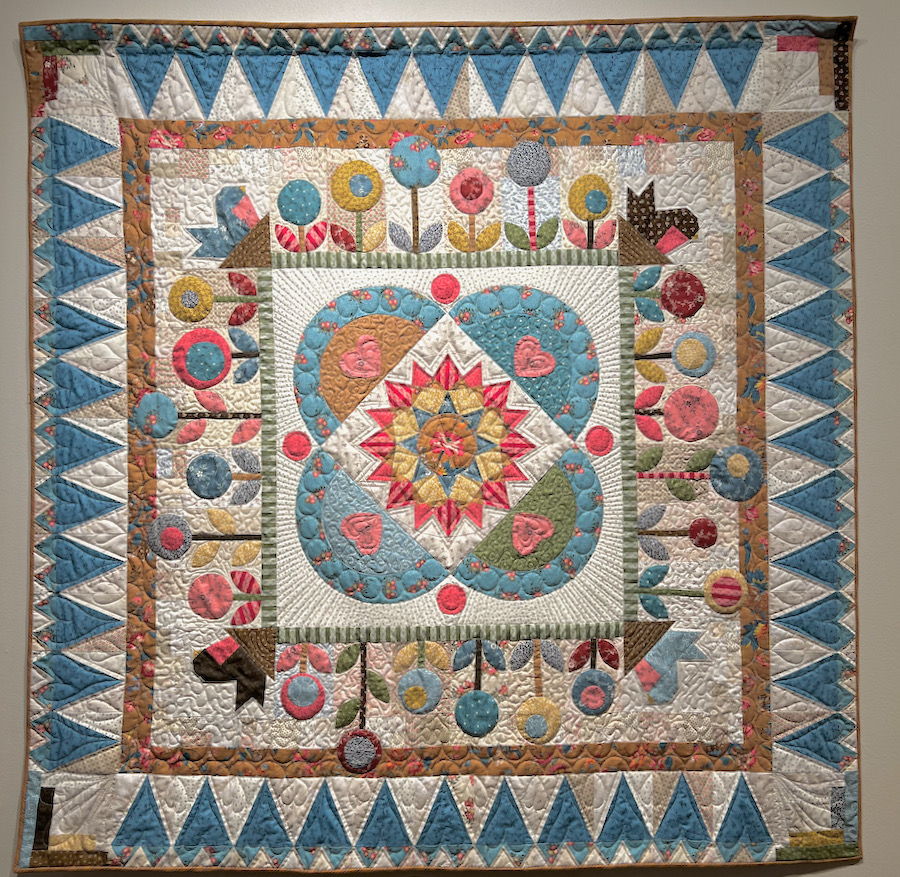
I made a few quilts, but not as many as usual. I think I made a lot more small makes, like a purse, or pillow tops, or patterns. Or maybe my “time is draining from the clock” and as someone who once had a “confident and quick” walk, I may be slowing down. Or distracted. Or sad. Or really happy. Or on a road trip. Or maybe it’s something else. Maybe it’s like Oliver Burkeman says, that “The world is bursting with wonder, and yet it’s the rare productivity guru who seems to have considered the possibility that the ultimate point of all our frenetic doing might be to experience more of that wonder.”
Or making quilts. Or immersing in creative endeavors. Or writing a thank you note to someone who doesn’t expect it. I took this last one from another book I read, where the author’s mother noted that we should be thanking everyone for everything.*
So, thank you for reading. Thank you for your letters. Thank you for the conversation that allows me to know people from all over the United States, and from all over the world!

QUOTES/POETRY
*THE GIFT by Mary Oliver
Be still, my soul, and steadfast.
though time is draining from the clock
and your walk, that was confident and quick,
has become slow.
So, be slow if you must, but let
the heart still play its true part.
Love still as once you loved, deeply
and without patience. Let God and the world
know you are grateful.
That the gift has been given.
TO BEGIN WITH, THE SWEET GRASS by Mary Oliver (excerpt)
The witchery of living
is my whole conversation
with you, my darlings.
All I can tell you is what I know.
Look, and look again.
This world is not just a little thrill for the eyes.
It’s more than bones.
It’s more than the delicate wrist with its personal pulse.
It’s more than the beating of the single heart.
It’s praising.
It’s giving until the giving feels like receiving.
You have a life—just imagine that!
You have this day, and maybe another, and maybe
still another.
What I want to say is
that the past is the past,
and the present is what your life is,
and you are capable
of choosing what that will be…
(excerpt from MORNINGS AT BLACKWATER, by Mary Oliver)
Arguably, time management is all life is. Yet the modern discipline known as time management—like its hipper cousin, productivity—is a depressingly narrow-minded affair, focused on how to crank through as many work tasks as possible, or on devising the perfect morning routine, or on cooking all your dinners for the week in one big batch on Sundays. These things matter to some extent, no doubt. But they’re hardly all that matters. The world is bursting with wonder, and yet it’s the rare productivity guru who seems to have considered the possibility that the ultimate point of all our frenetic doing might be to experience more of that wonder. (from Four Thousand Weeks: Time Management for Mortals, by Oliver Burkeman)
“We all owe everyone for everything that happens in our lives. But it’s not owing like a debt to one person—it’s really that we owe everyone for everything. Our whole lives can change in an instant—so each person who keeps that from happening, no matter how small a role they play, is also responsible for all of it. Just by giving friendship and love, you keep the people around you from giving up—and each expression of friendship or love may be the one that makes all the difference.”
from Will Schwalbe. The End of Your Life Book Club. Knopf Doubleday Publishing Group. Kindle Edition.