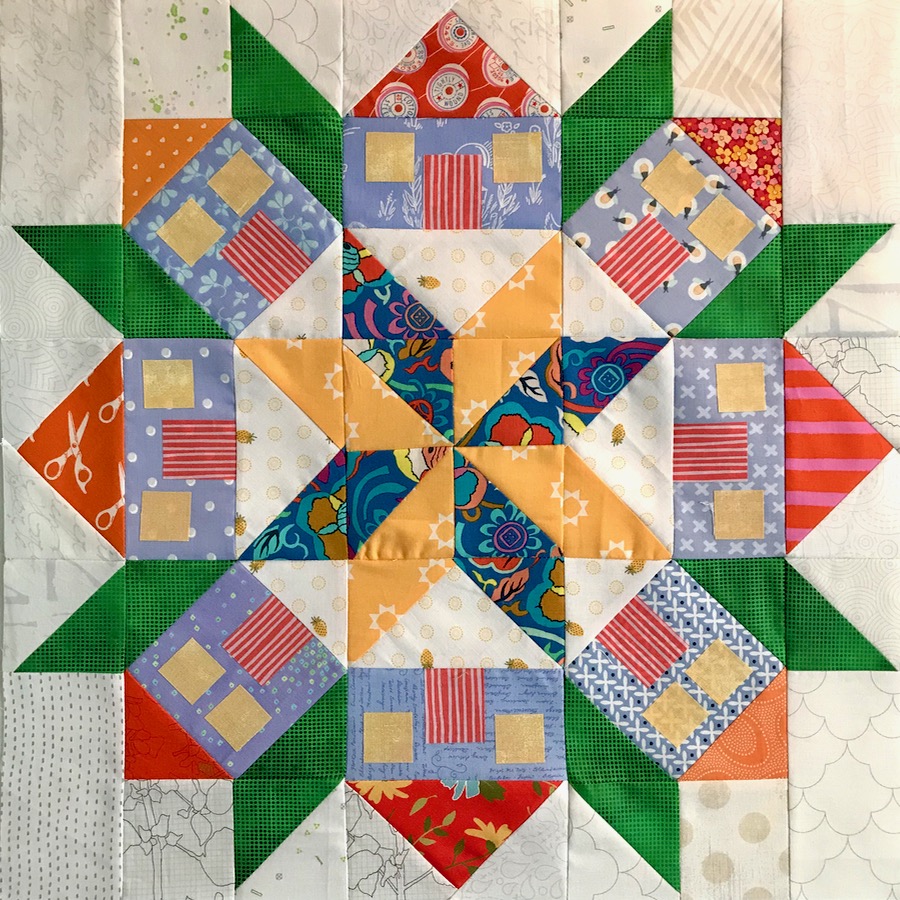
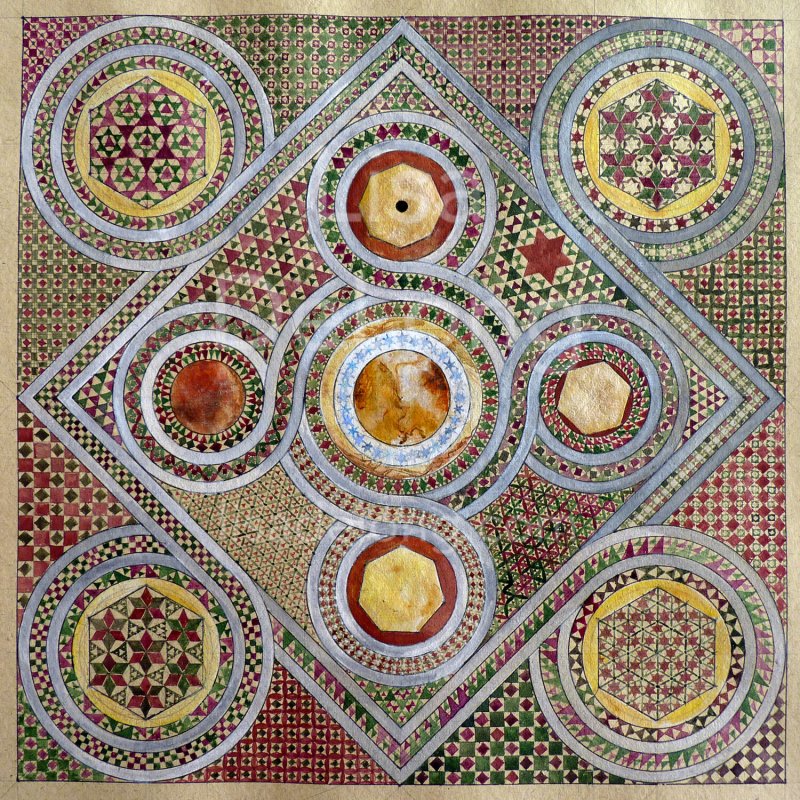
This is a quilter’s visual paradise: triangles, circles, squares, bits-and-pieces; it’s the Cosmati pavement in Westminster Cathedral, which got a lot of press recently with the coronation of King Charles.
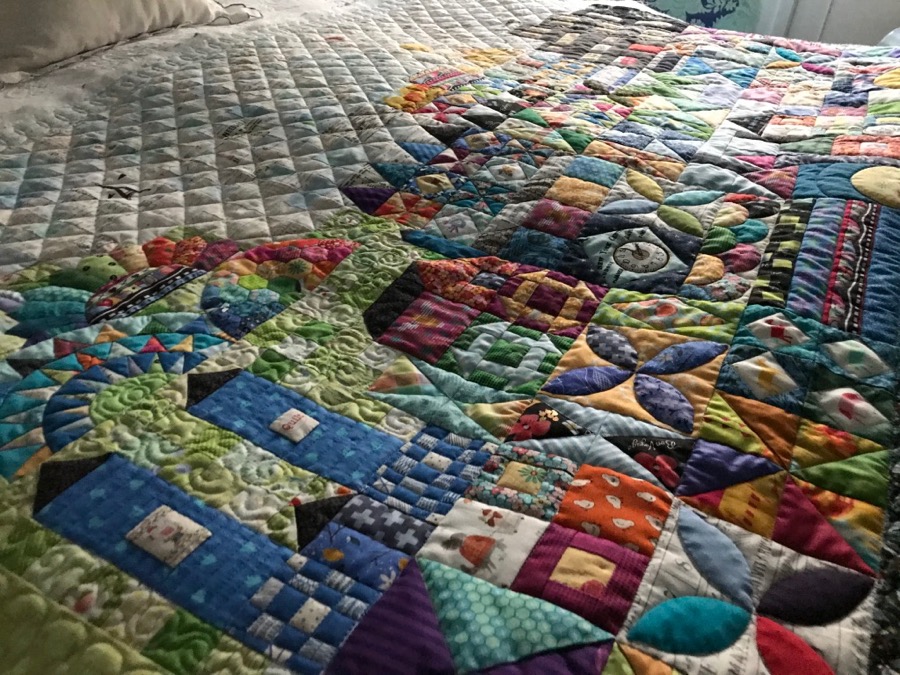
And this is an entirely different view of pieces and fragments and color. These two images remind me of something I’ve been thinking about for a while: the concept and idea of Community. Obviously these two art pieces present different depictions of together, of belonging, of interacting: ordered or overlaid; yet as a whole, the colors and shapes are part of a whole.
The idea of community has many parts, but “first is the territorial and geographical notion of community—neighborhood, town, city. The second is ‘relational,” concerned with “quality of character of human relationship, without reference to location”….[T]he two usages are not mutually exclusive, although….[and often] modern society develops community around interests and skills more than around locality” (from here).

I always imagined community as being a local sort of thing. Quilt Village de Provence, an original quilt made by Frédérique, is a lovely and perfect depiction of that: a beautiful central sun lighting all the town. Her circular quilting reinforces this idea: we are all together in a great, broad and enveloping circle. (She granted me permission to share this.)
Some of this thinking was triggered by the recent events in my own life: of the passing away of my mother, a breaking of one of my most central relationships. I found myself deep in mourning and all its attendant ills and challenges, yet found a community of women who had gone through something similar, and they buoyed me up. I loved the comment by Tina on the last post, who recommended patience with the process, reminding me that “It takes as long as it takes.” So community, in this sense, was like the second definition, above: “interests and skills more than around locality.”
Recently, I volunteered to serve as a website admin/blog poster for one of our local quilt guilds. In diving in to this, I discovered many tightly bound communities in this larger whole, some accepting of a newbie, yet other groups resistant, with the gates shuttered and the drawbridge up. It was an interesting experience and I was surprised by how fiercely some guarded their particular little fiefdom. Community is not new to me; I’ve been a classroom teacher. I’ve been a Guild teacher. I’ve taught in quilt shops. I’ve been a part of a worldwide church community my whole life, and worked locally within that, coming to love friends and neighbors — thankful for those who accepted me with a large measure of grace and patience — yet I also figured out who was prickly and deserved a wide margin. This guild experience was no exception.

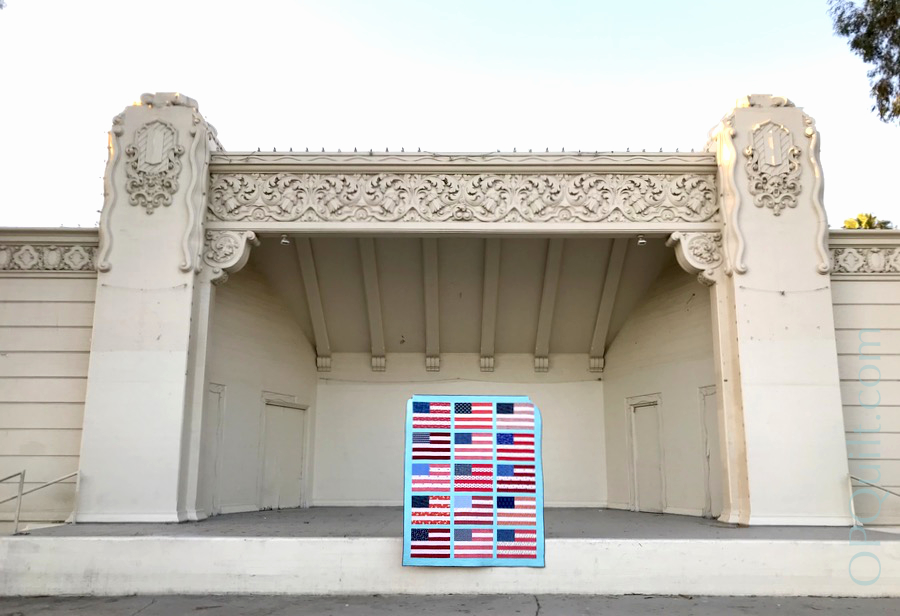
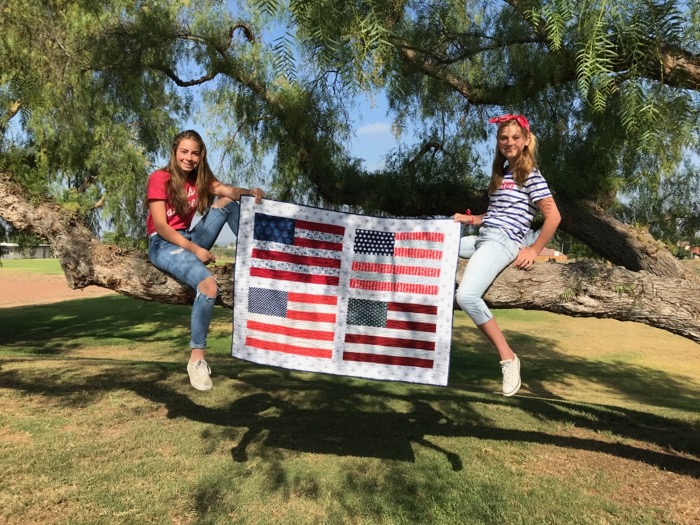
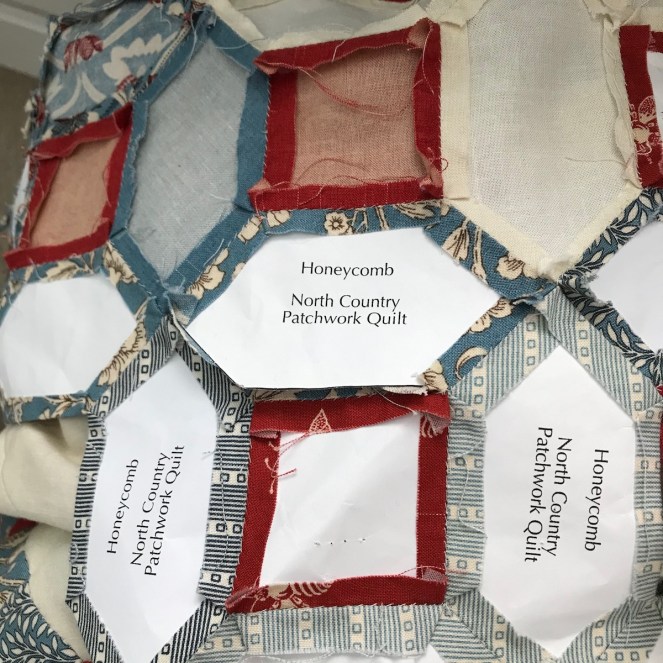
I have also loved having a larger quilting community due to social media, making many friendships even though we lived far away from each other. This is not a new concept to any of you. But the final thoughts about people and connections are because of this quilt. It’s my version of an antique quilt from another community, far far away:

Found on Instagram, I loved the red patches floating on the creamy background of this quilt from the North Country of England, perhaps where my great-grandmother was from? I don’t know, but I like thinking that she may have made something like this, so many many miles and years ago.
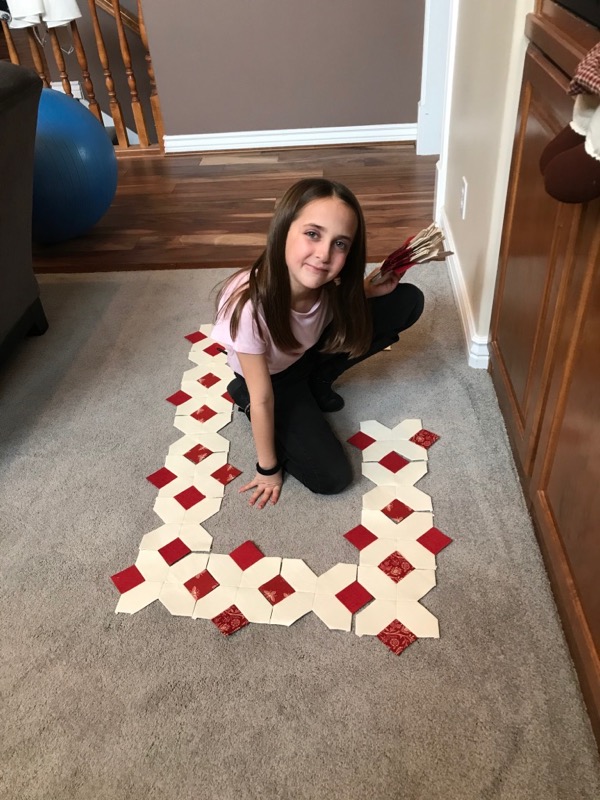
In 2019, my young granddaughter Dani played with it in her living room, helping me lay out the center. I have carried this with me on trips, and have taken this quilt to my local quilt guild meetings, ready for it to come to its completion, bridging my connection with this young girl to the older British/American quilter sitting next to me, telling me about her connection to King Charles via her church parish from when she was a girl the same age as my Dani.
At the heart of it is this: I cannot live without my community. It’s been a hard slog to feel easy again in a crowd post-Covid, their faces close to mine as I listen to them, share their joys, carry their sorrows. Loneliness has dogged a lot of us, and we are rebuilding. I am admittedly less patient with those who willfully bar the gates to friendship, but I try to offer them a measure of grace and move on, looking for others who want to form connections.

In a paper by McMillan and Chavis, they define a “Sense of community [as] a feeling that members have of belonging, a feeling that members matter to one another and to the group, and a shared faith that members’ needs will be met through their commitment to be together” (from here). This idea keeps me going, keeps me making friends (and quilts), and helps me find acceptance, no matter whether we are from the North Country or South Country. No matter what slice of life we are from — old or young, happy or cranky, hesitant or willing — I hope we find community.

Other posts about North Country Patchwork Quilt:
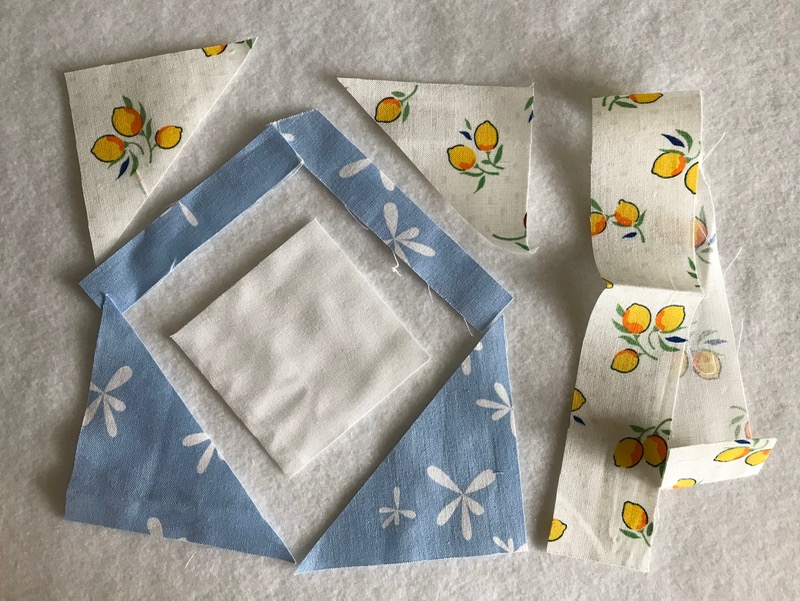
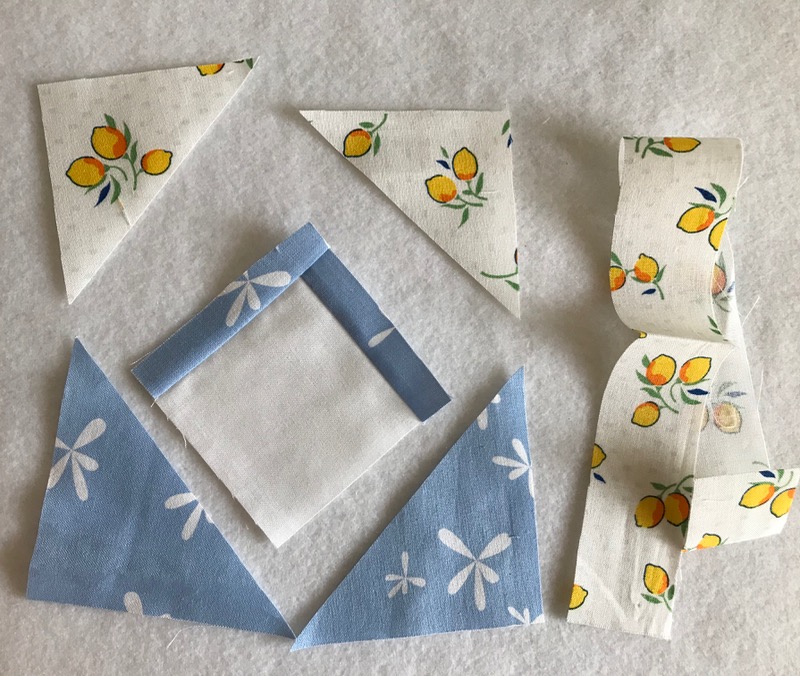
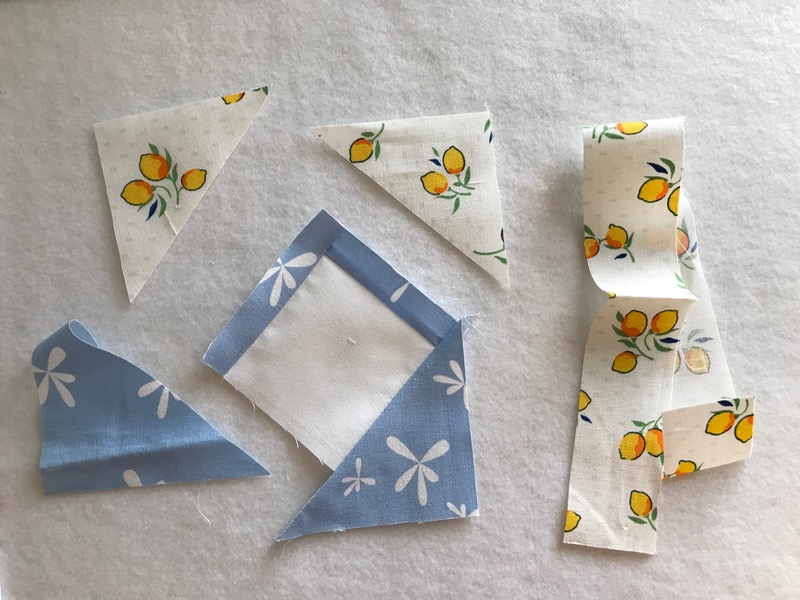
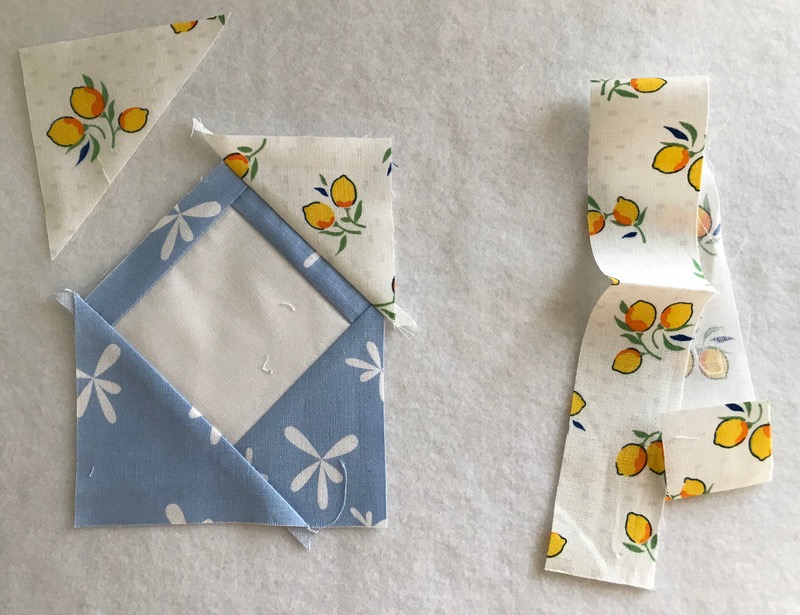
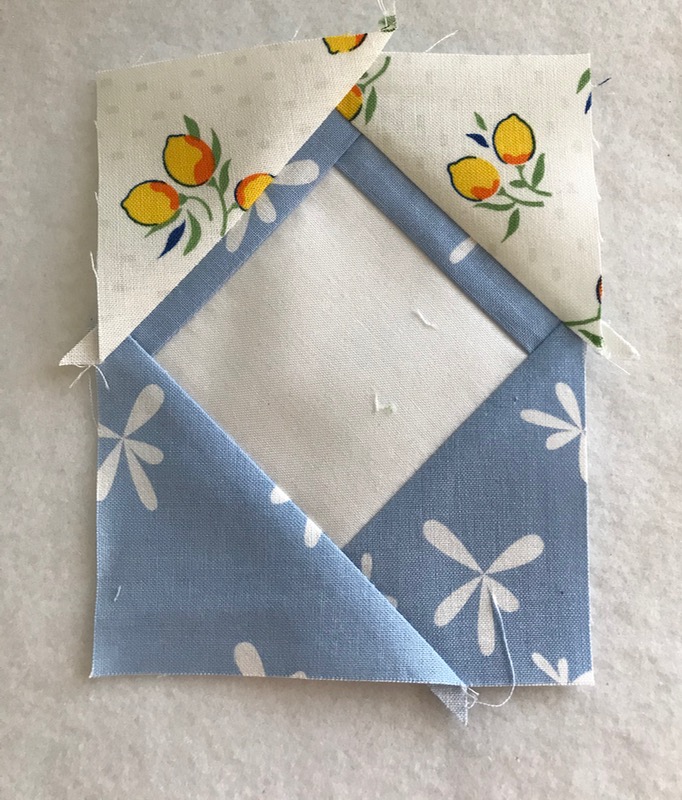
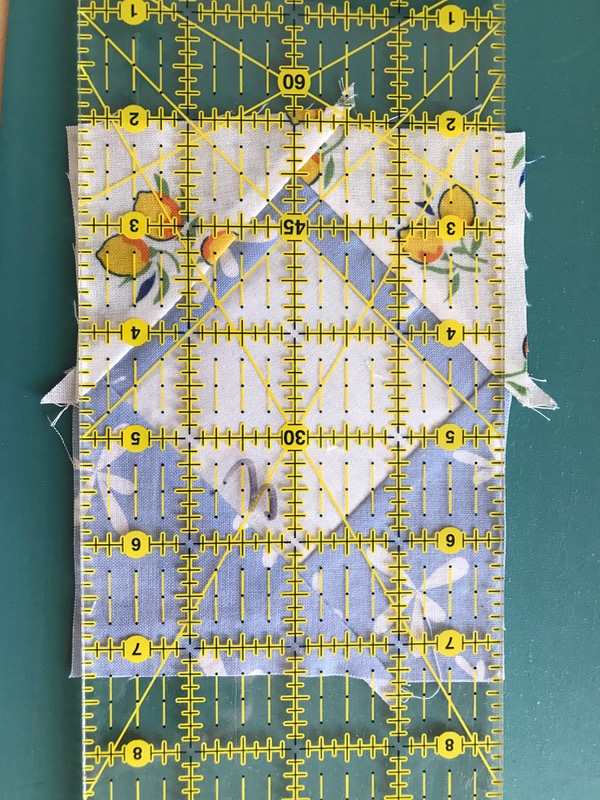
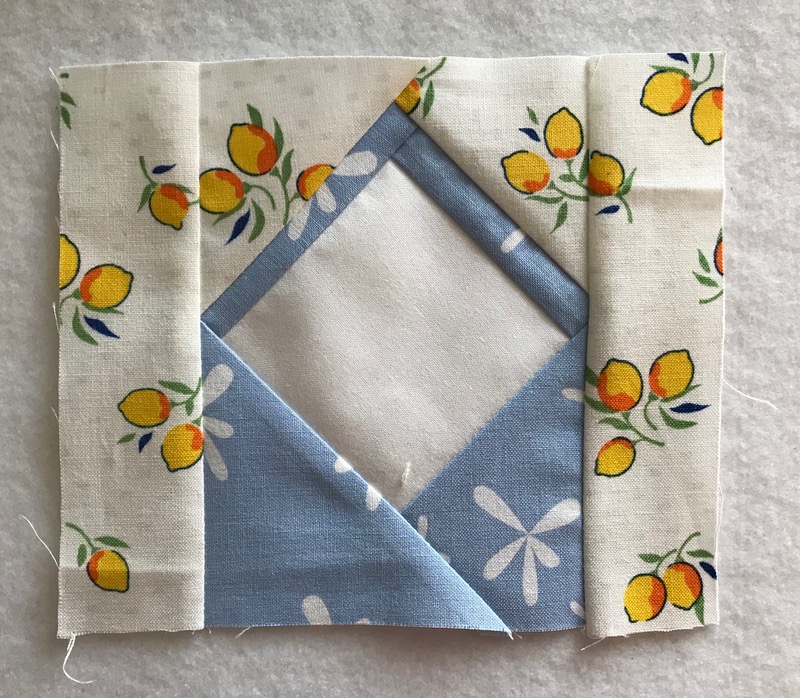
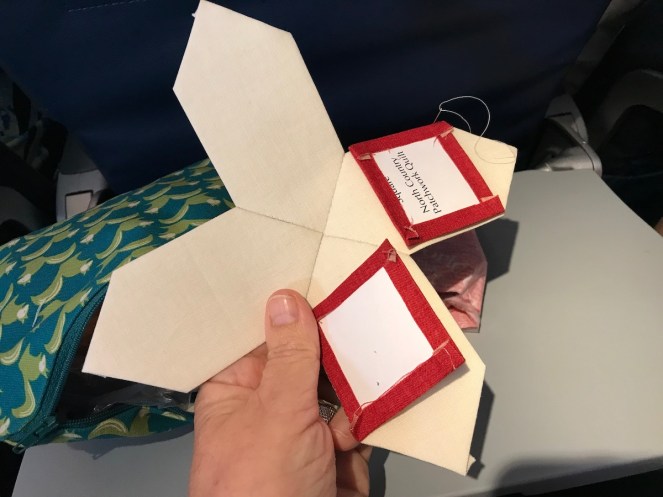
EPPing again with French General (and the printouts for the papers to make this)
Do You Tweet?
First Monday Quilt (where I thought it would only take me two years to finish. Haha.)


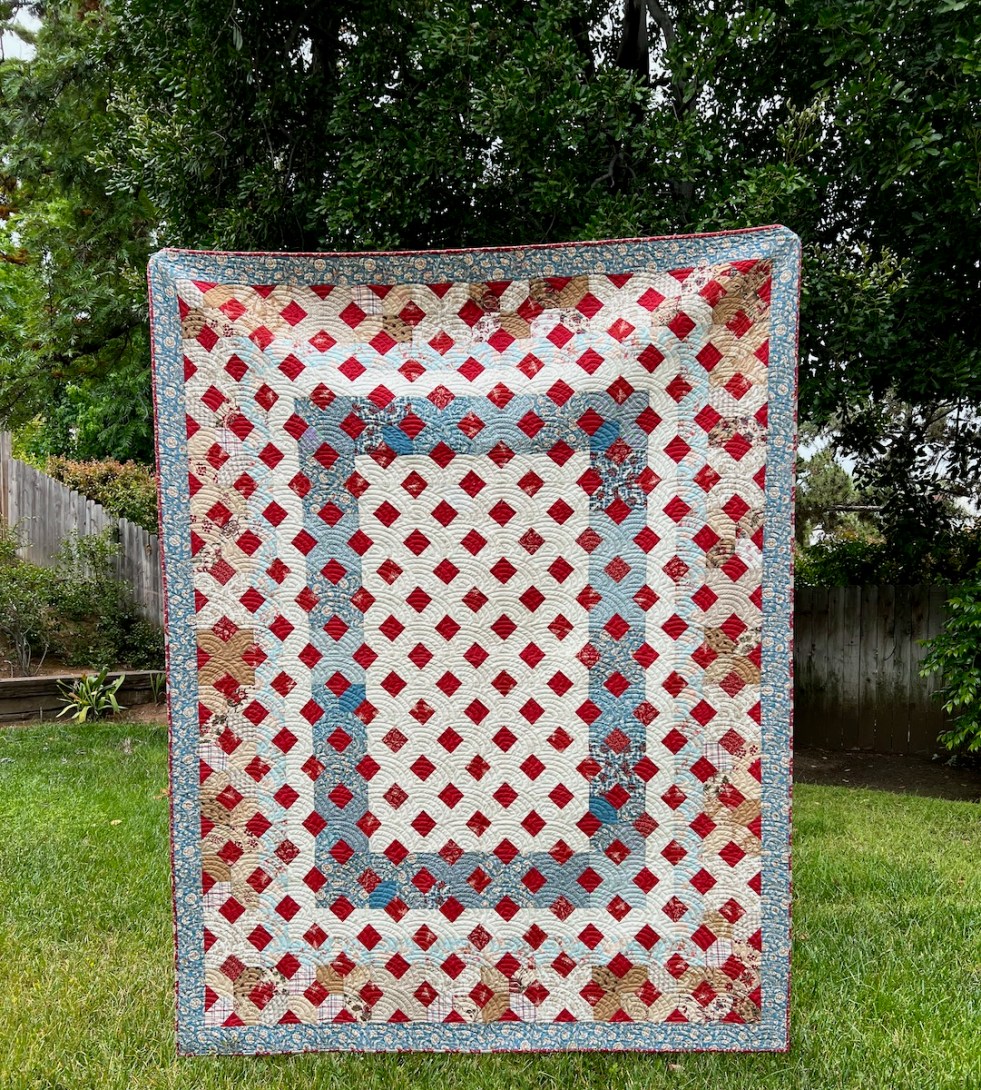
Yes, it plays nicely in the kitchen. Quilting by Jen of Sew-Mazing Quilting. I love any version of Baptist Fan!
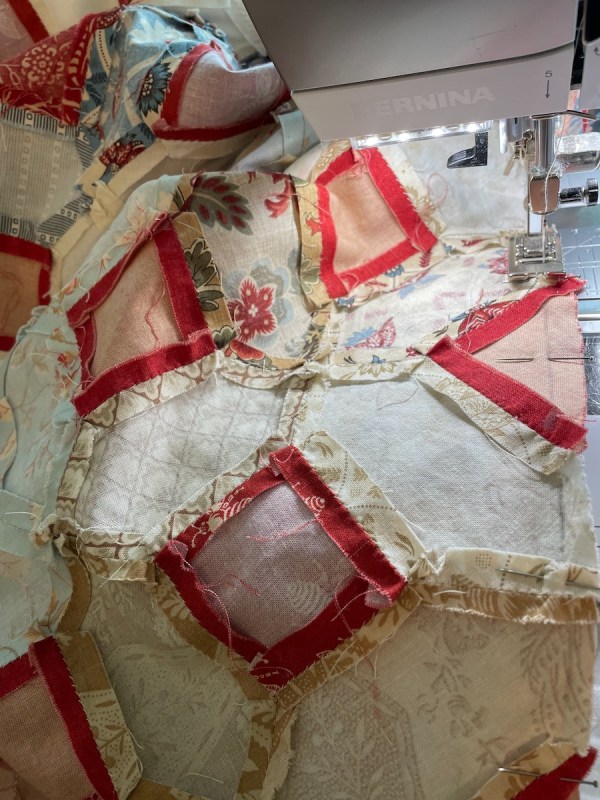
All but the final border was sewn by hand.


The reverse, a combination of two lengths of fabric. The right side is the same that’s on my sister’s quilt, New Journeys, made from French General fabrics, some years ago. Thank you goes to my wonderful quilt-holding husband.
This is Quilt #277 on my Quilt Index • 66″ x 86.”