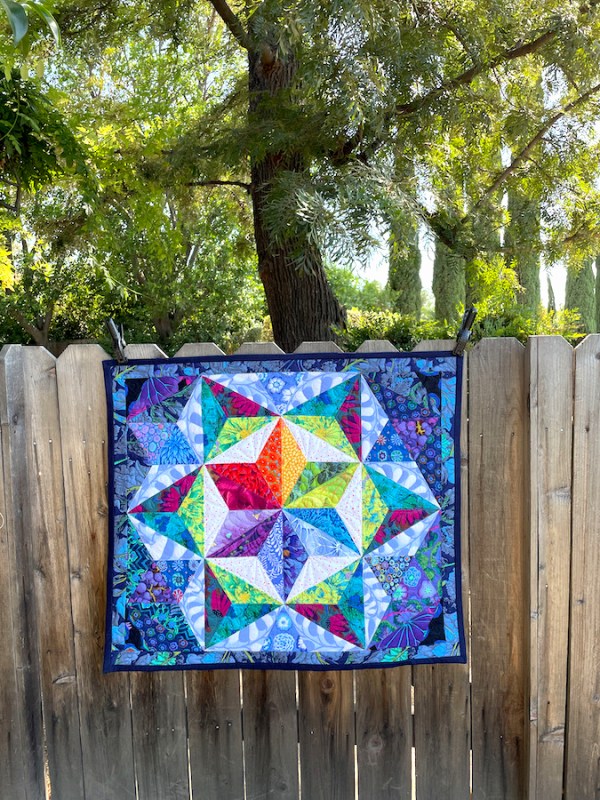
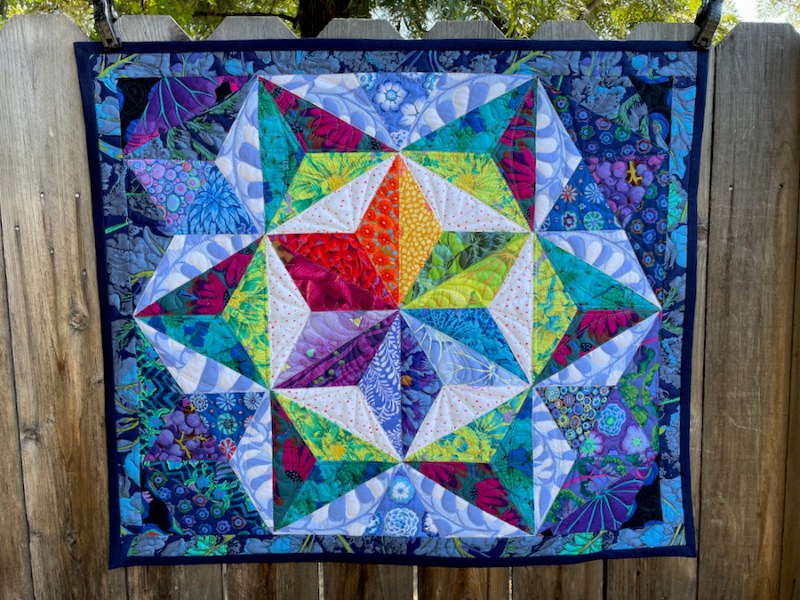
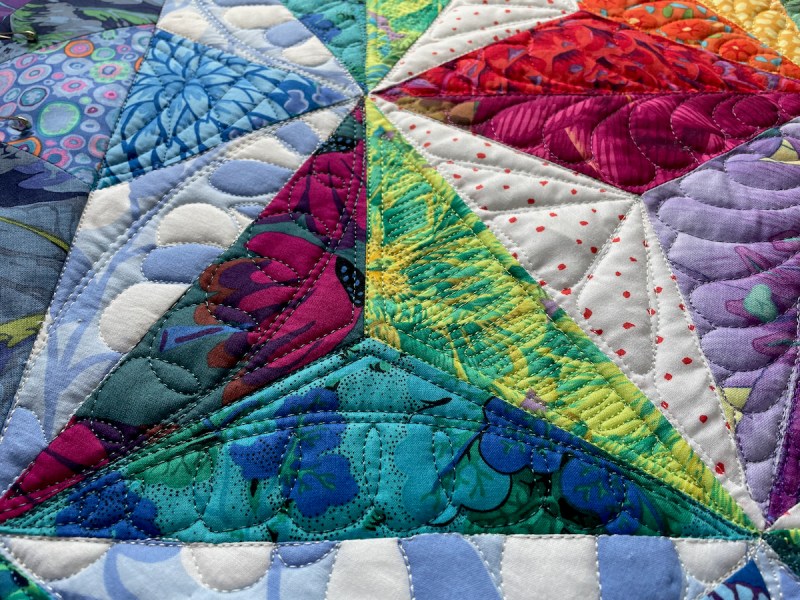
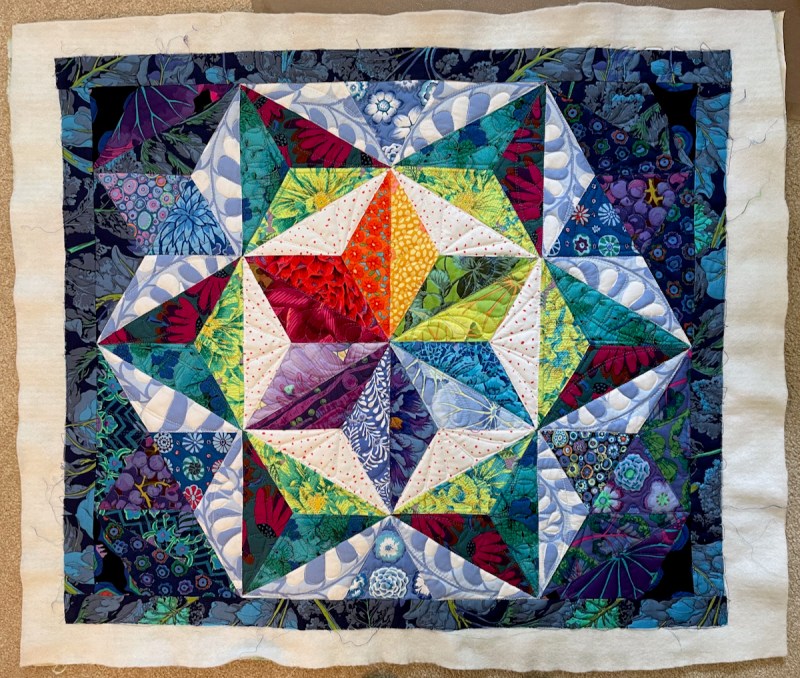
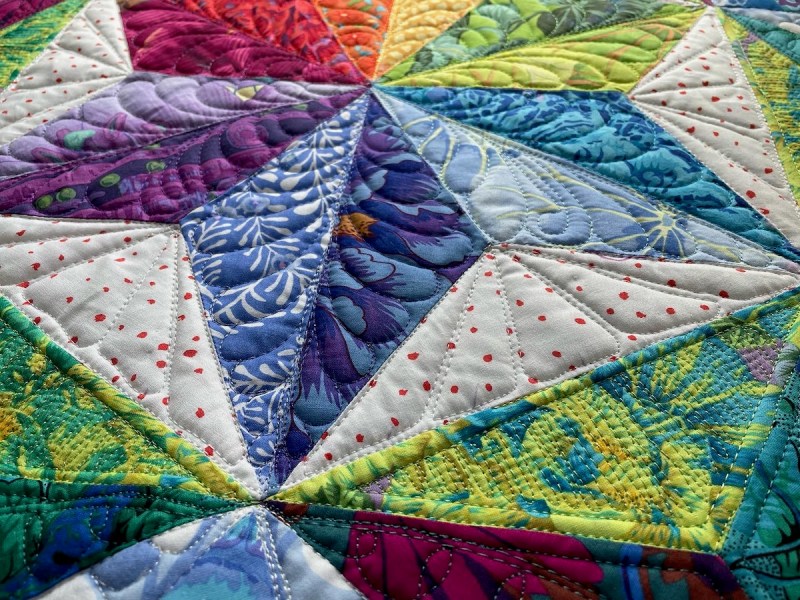
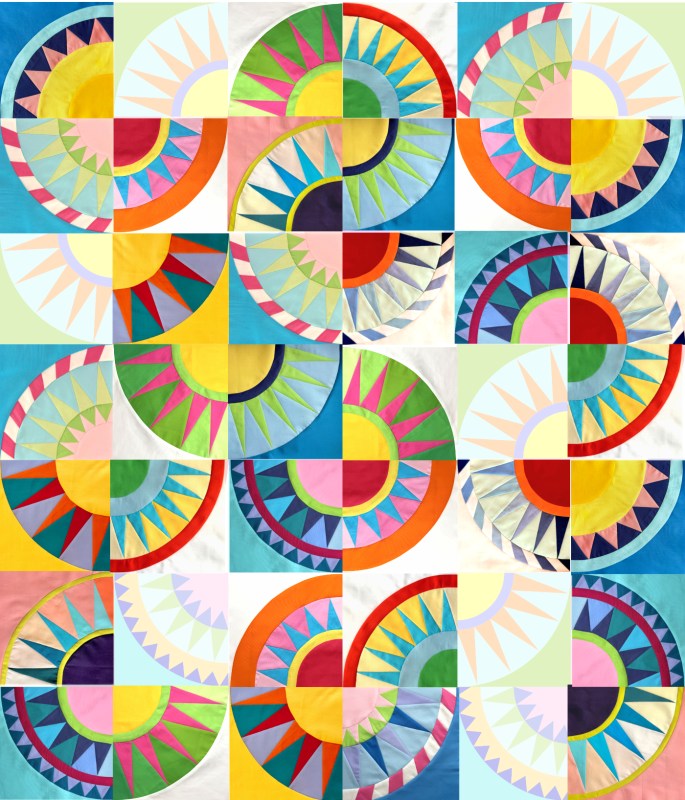
What is it about Kaffe Fassett fabrics that pulls us in? The rich hues and full range of shades? The interesting patterns, many from old wallpapers and fabrics? I have a couple of stacks of his fabrics and it’s always a delight when I can pull them out from my shelves and start playing.
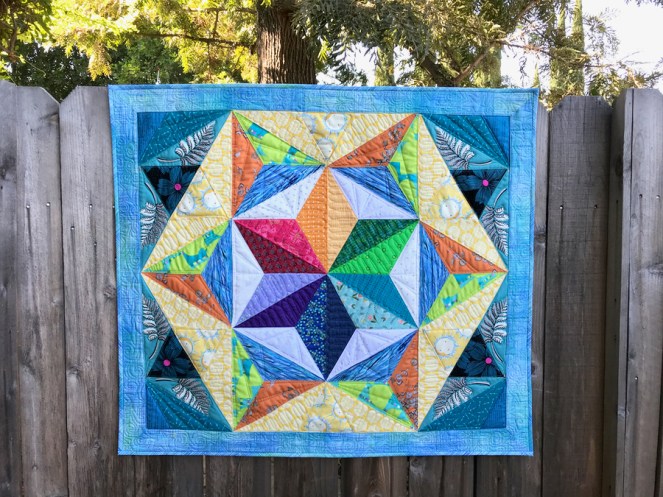
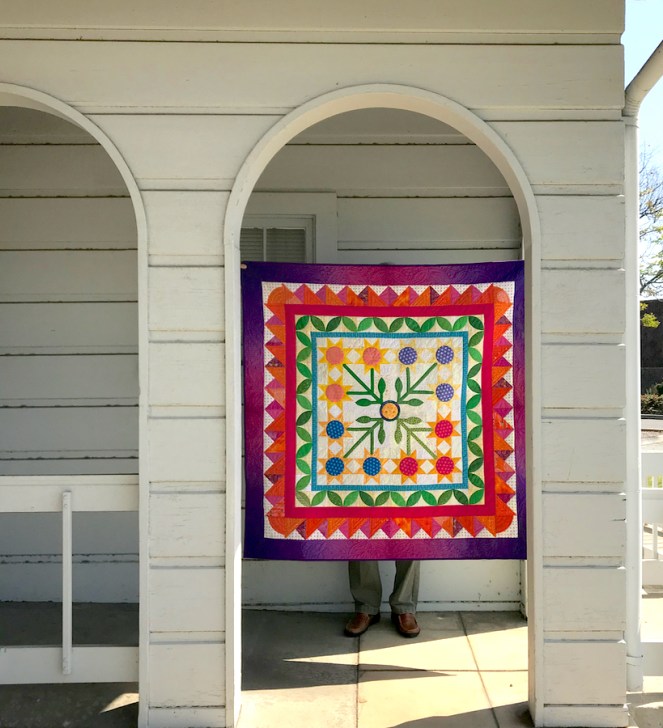
Secret Garden, quilt number 235, is the original size of my Triad Harmony pattern, measuring 28 1/2″ by 31 1/2″ and was made for a class sample, since my friend Susan loved Kaffe fabrics. She was the program chair and had me teach this class for their Guild.
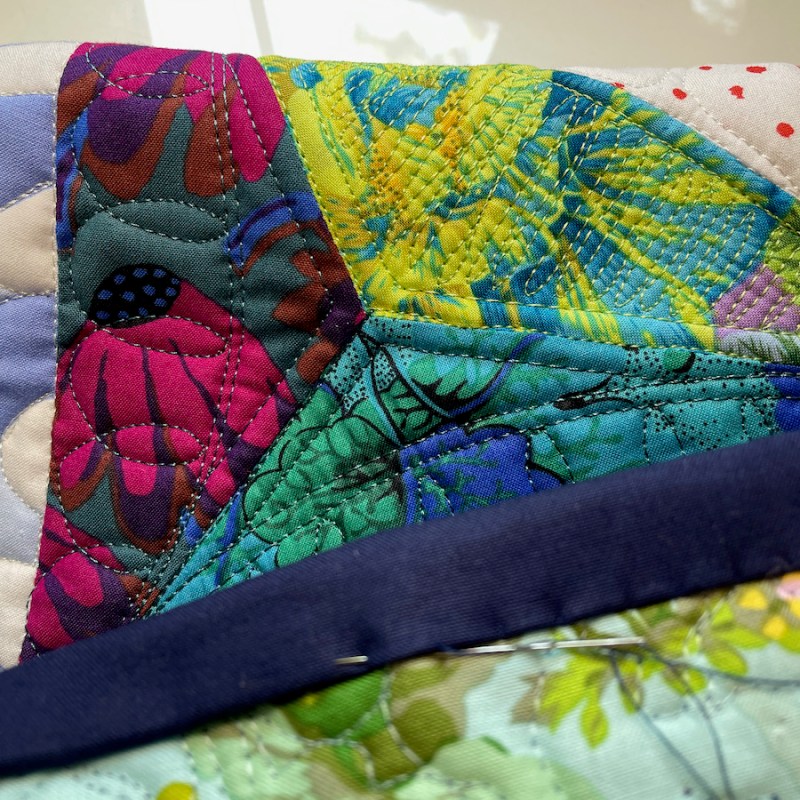
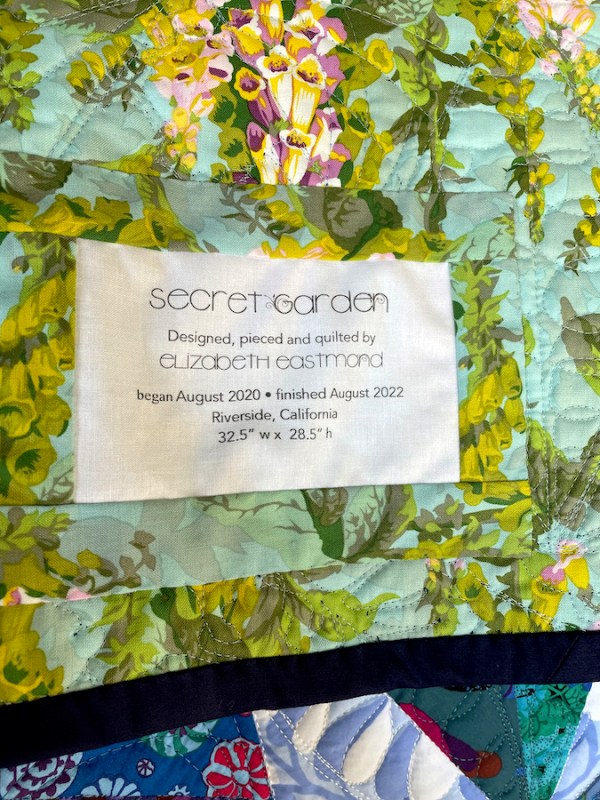
After several weeks of lallygagging around — or so it felt — this week I put on the binding and the label:
The quilting goes fast with this size! (Click any image to enlarge.)
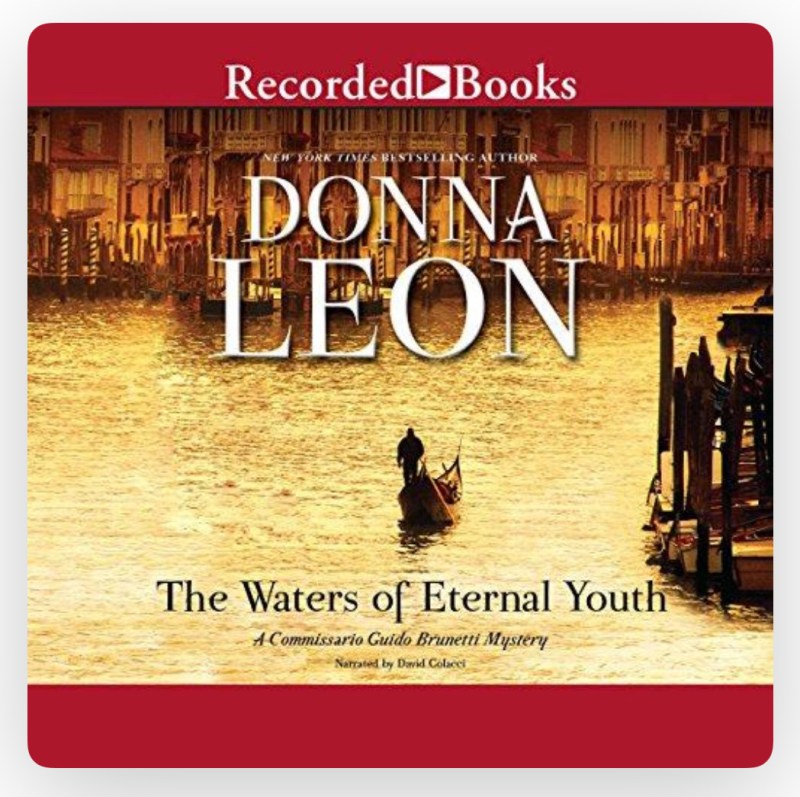
It also helped to get back into a Guido Brunetti Mystery, after a long time away.
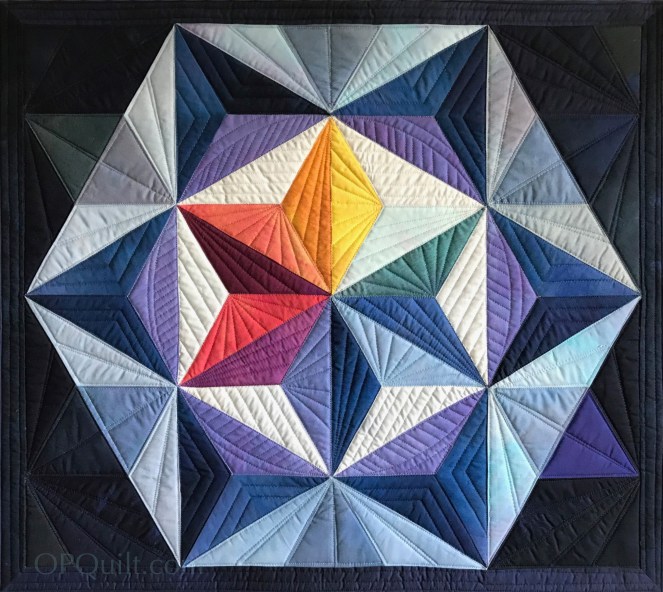
And the first in the series in Jennifer Sampou’s ombré fabrics. I put them all together in a reel on Instagram. (See my tip in my next post for how I deal with that app.)
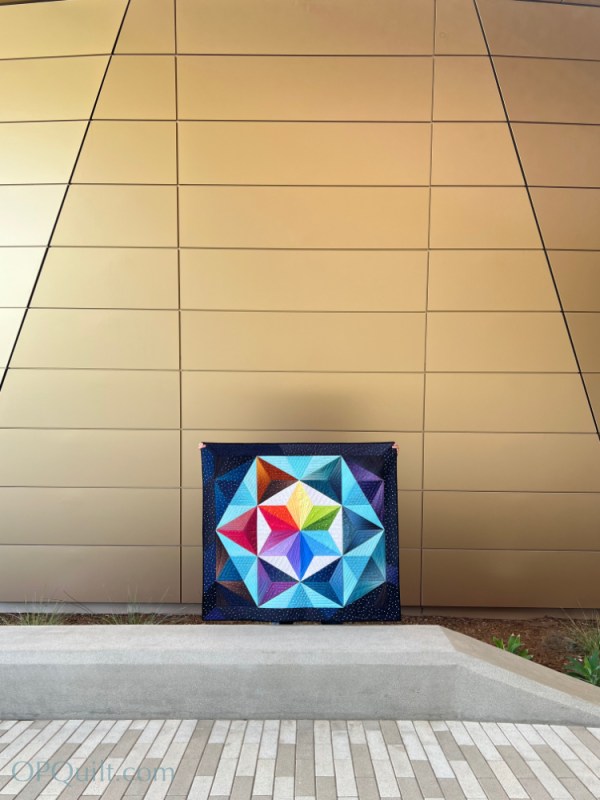
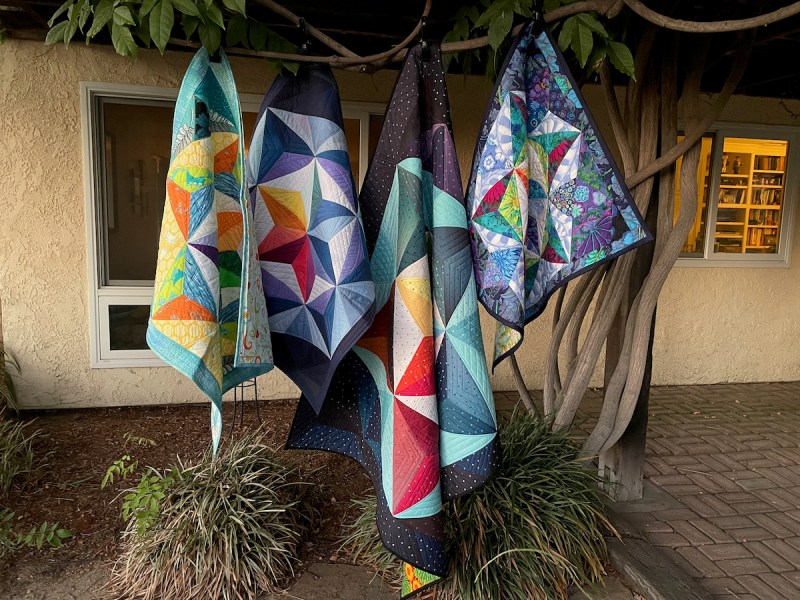
Triad Harmony and her sisters. One more is coming…
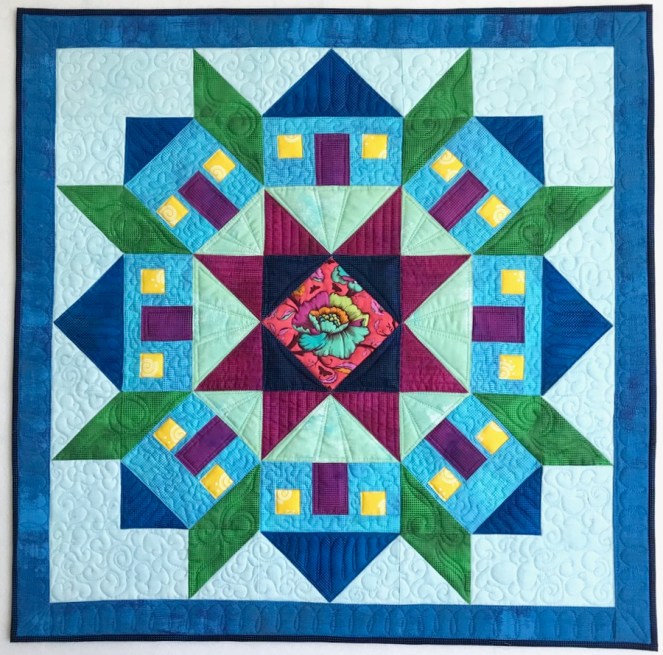
This block, also known as Rolling Star (Brackman 3795) has several variations that are well-known. I’ve seen this block used in multiple quilts including mine, but what amazes me is how versatile it is just by changing up the colors and the center.
Here’s a line-up from one of my Home, Sweet Home classes — the quilts are similar, but different.
I changed up the center block and added seaming for windows and doors to get this one, after I saw so many quilters turn away from the fused doors and windows, wanting to seam them instead.
Several years ago I’d written a post where I talked about making up some block ideas for my neice-by-marriage, and I still can’t believe how popular the poppy block was from that post, but of course it was a free download and those are ALWAYS popular (I don’t mind). See Notes (at the end) for link to block.
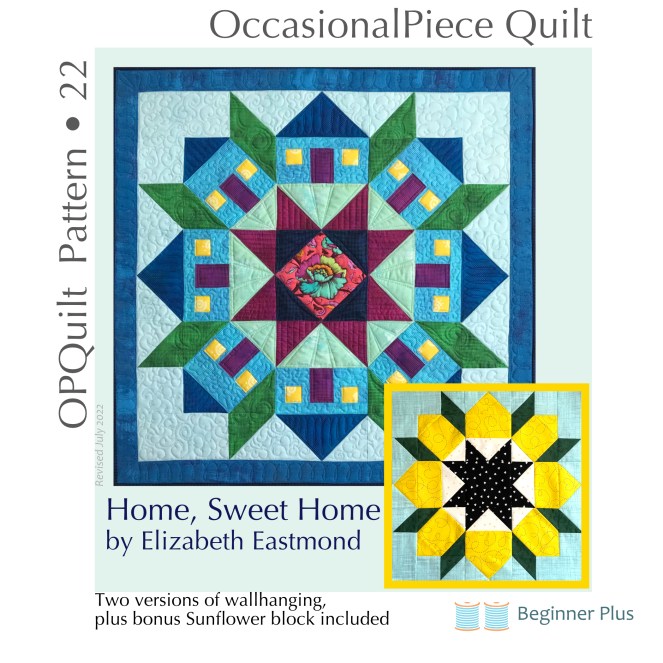
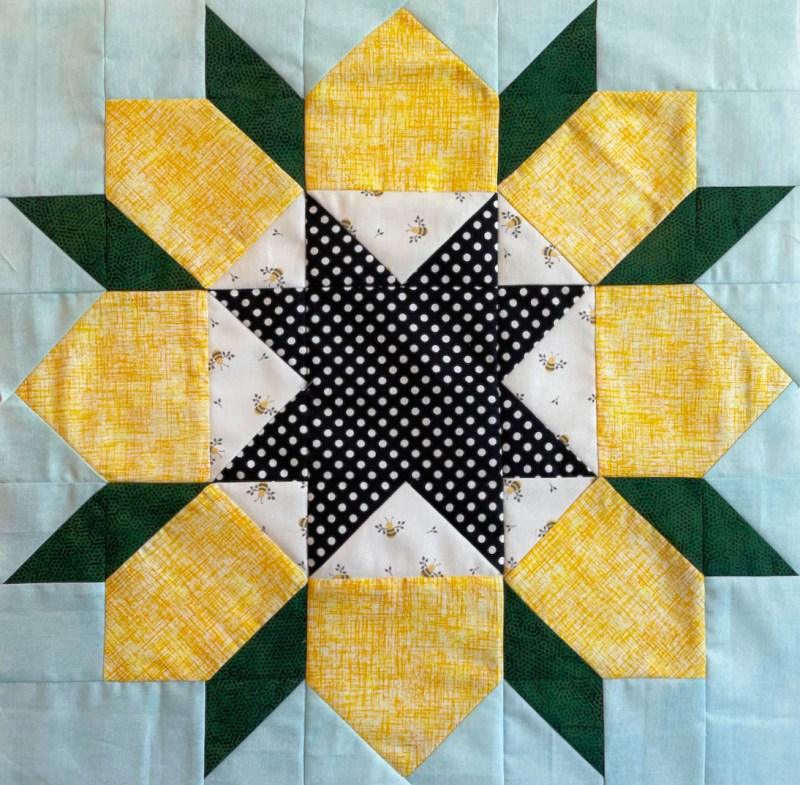
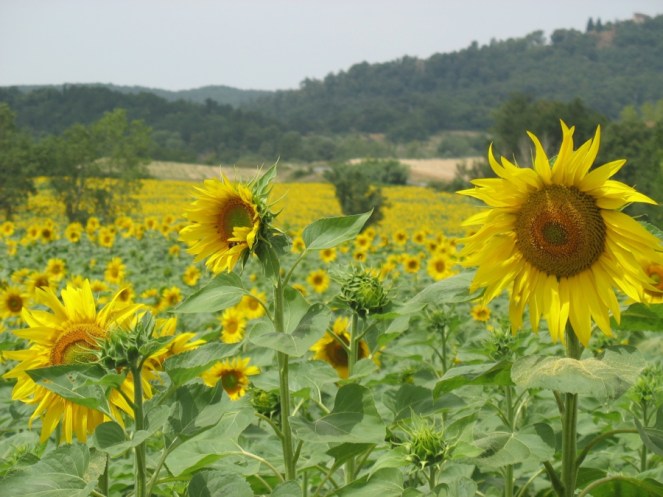
So I thought I would slide down the sunflower rabbit hole this week, and finally get the sunflower version added to my Home, Sweet Home pattern:
I put the pattern on sale (now only $7 instead of the usual $12) as a way of making it easy (no coupons to enter), and hope those looking for this pattern will enjoy it.
Home, Sweet Home with Bonus 18″ Sunflower block available here.
But the rabbit hole of sunflower blocks got deeper and I decided to do a PatternLite pattern (costing less than a Pink Drink at Starbuck’s) with a changed-up method of piecing, to emphasize the petals of the sunflower. I also added a detailed series of instructions for a Four-in-One Flying Geese block, as well as how to trim it up accurately. I put a lot more in this one than usual, but I just kept going, making blocks and having fun.
About every other month, someone writes to me, asking if they can buy that sunflower pattern, which was an illustration on the Poppy Flower post (which was very popular in Australia). I popped it into a Google Search, trying to figure out what rando had taken off with my image, and found this:
It’s a sham website, ranking dead last in safety, in security. Don’t go there, but these guys are in the habit of stealing images and trying to sell them off to unsuspecting quilters (9 Pretty Barn Quilt Patterns for $42.88?).
Make this one, instead. It’s a lot cheaper!
Other posts about other Flower Blocks Poppy Block and debut of Sunflower idea with the free Poppy Block download April Flowers with a link to Totally Tulips Quilt from Missouri Star Field Flowers with a link to Sherri McConnell’s pattern Flowers for Emma June Flowers — a really early day post of mine, with a tutorial for a nine-patch tulip It makes me snort smile to see this post from nearly a decade ago. I still love Blossom, which has flowering snowball flower blocks in three sizes. Last, Sunny Flowers quilt, another PatternLite.
Hope that’s enough flower blocks for you. Since August is right around the corner, so many of mine in the garden have dried up with July’s heat. Guess we’ll just have to make them in fabric!
THIS IS AN UPDATE ON THE MAKING OF THIS BLOCK. JUMP BELOW TO THE FOUR SQUARES TOGETHER FOR THE EARLIER POST.
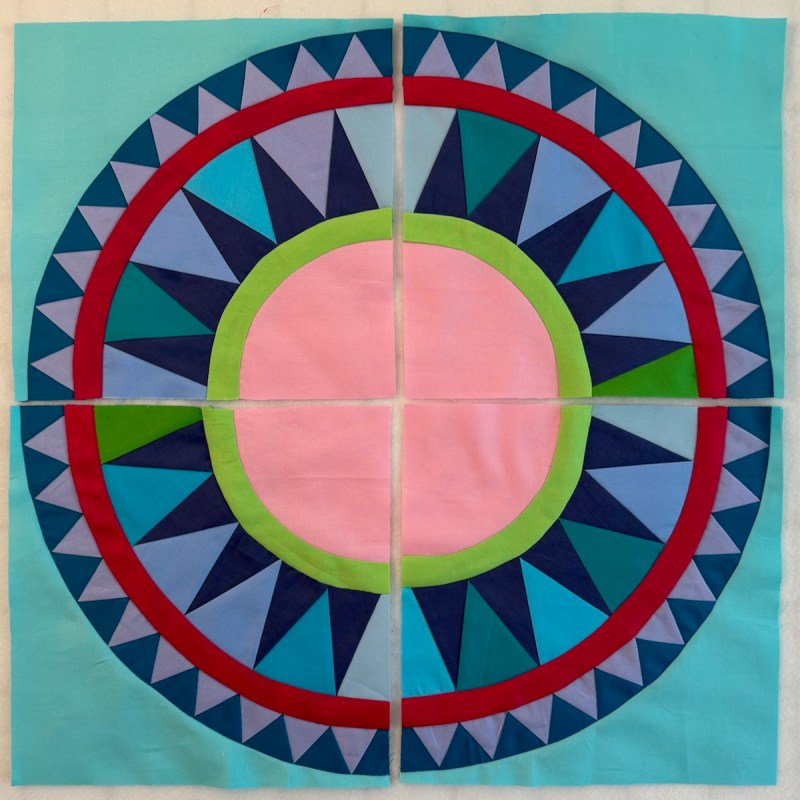
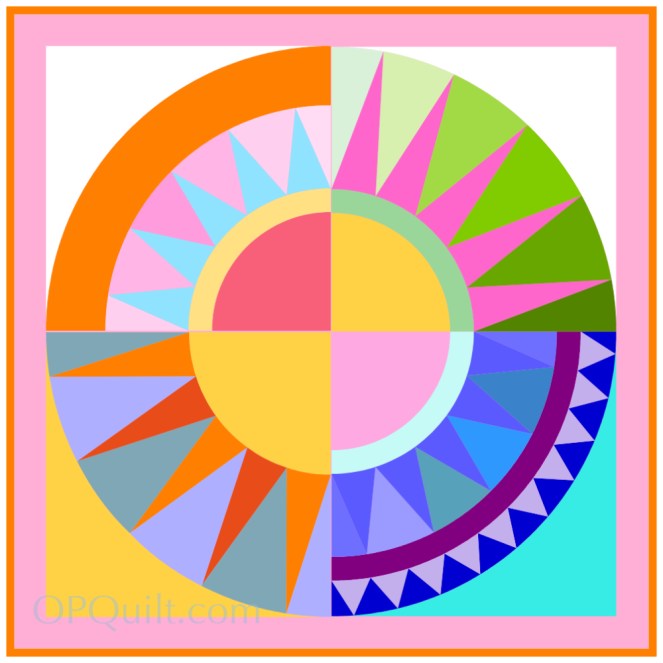
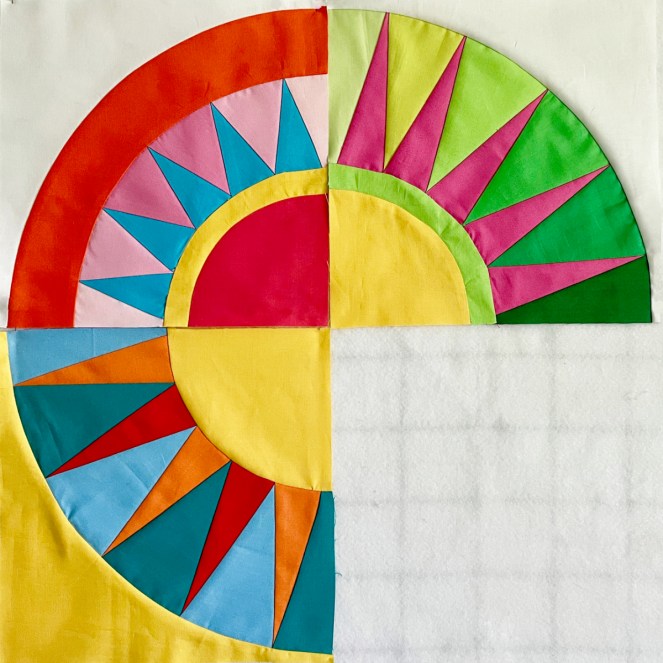
The original post was published just about exactly two years ago, and I needed to make four blocks for the quilt. I changed the colors slightly . They are updated on the Main Page for the New York Beauties, or on the free download on the pattern, which can be found in my pattern shop. Okay, now that we got that business out of the way, here’s how it looked when I was doing freezer-paper piecing.
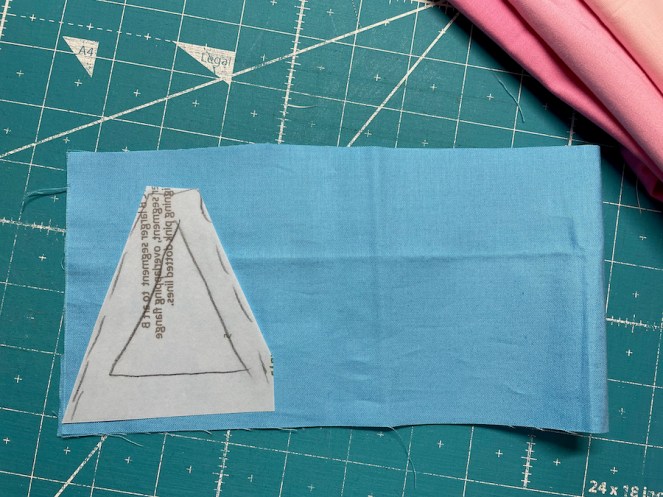
I decided to cut some triangle-shaped blobs to make it easier for piecing.
The top one is all trimmed.
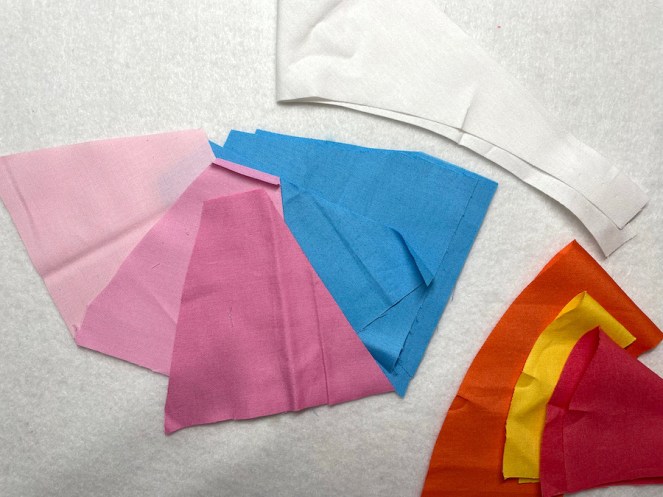
I’ve pulled back the freezer paper a little bit so I can join the two sides.
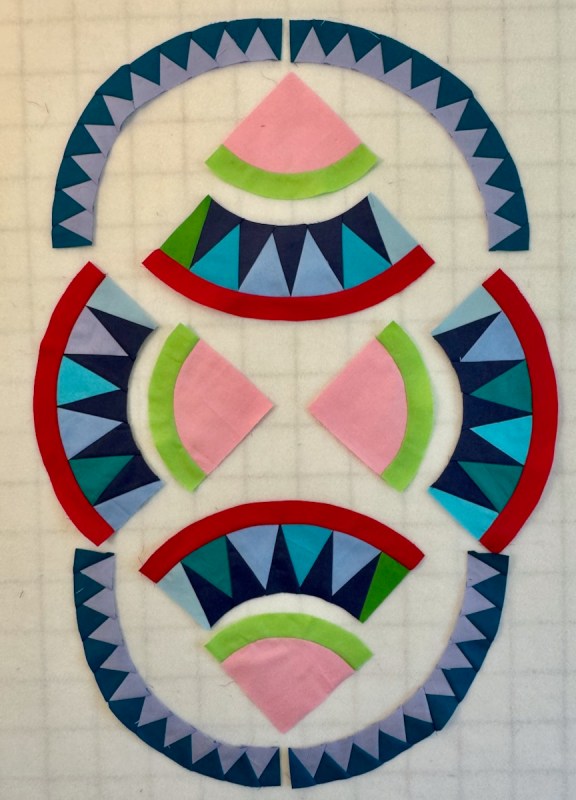
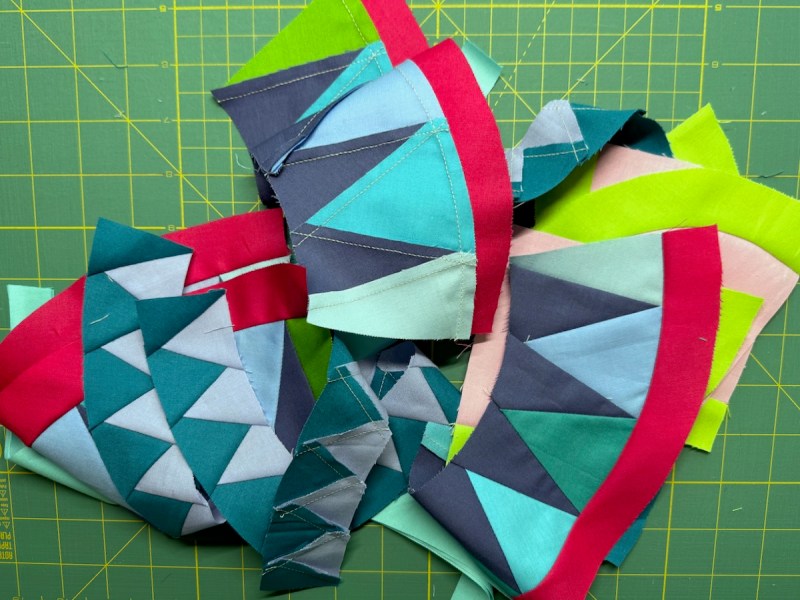
Just playing around with the pieces. Just so you know, all four of the Large-Ray backgrounds are differently arranged. I really did use scraps.
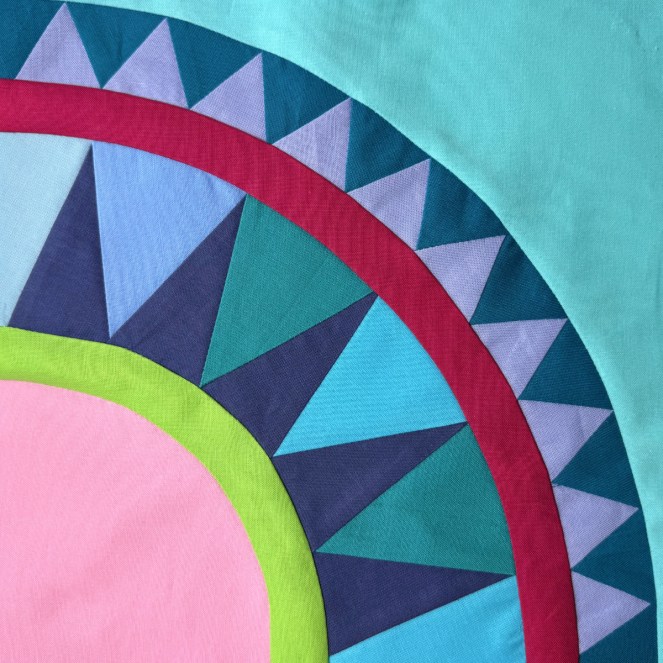
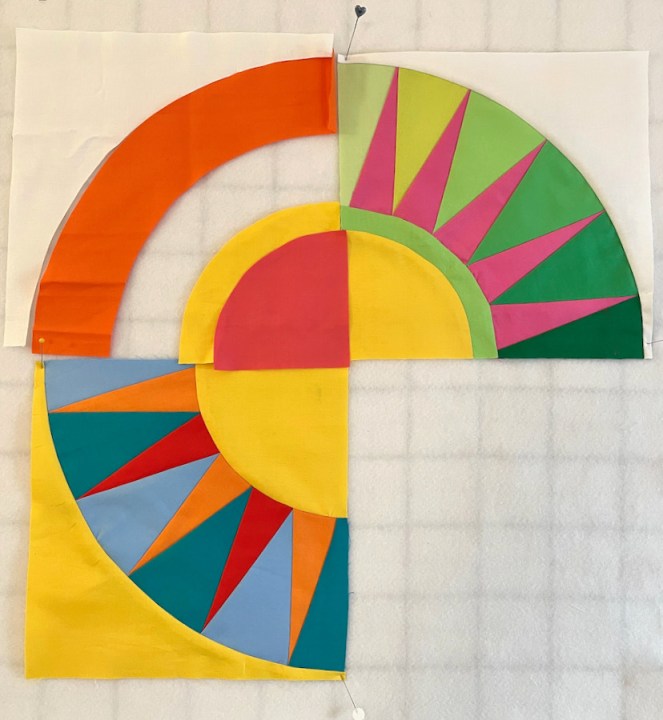
Sometimes I make a block at a time, and other days I make all the parts and then sew them together. My light throws off a yellow cast; I promise that the green band next to the center is not that neon-y.
(Inspiration)
Goofing off with the blocks. All work and no play makes for a dull quilter.
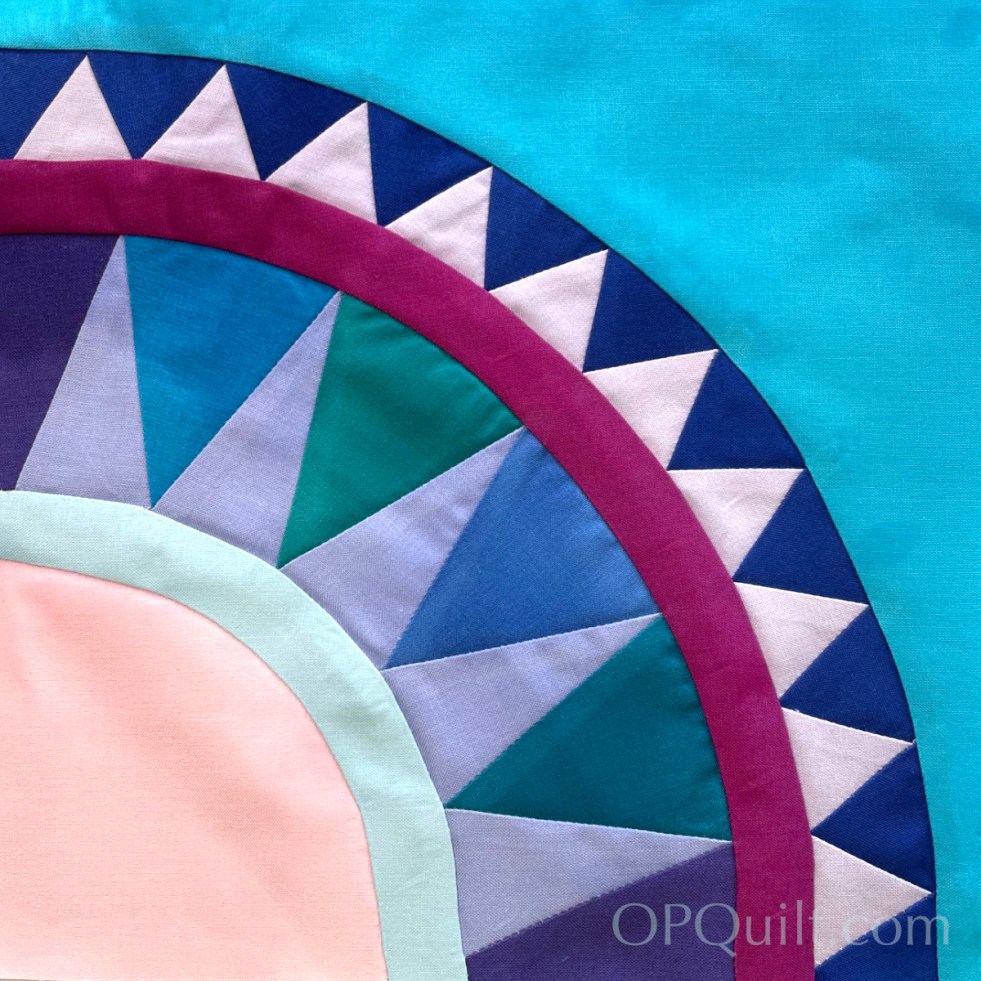
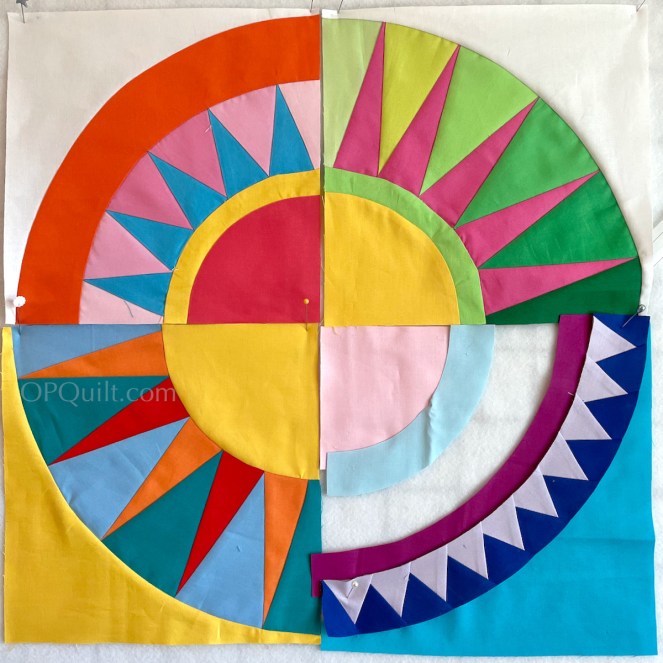
Here’s Ocean Gleam pasted in digitally to the quilt. Looking fun and fancy!
Okay, read on for a jump to the past. Congratulations for making Block Four: Ocean Gleam!
We should stop meeting like this.
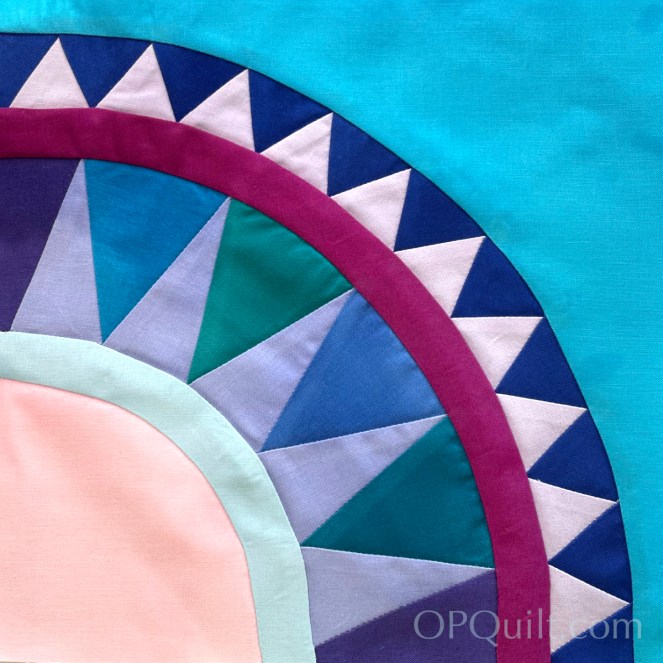
But it’s Wednesday, it’s June, and we’re ready for the fourth make in this series of New York Beauties. And the last in this foursome is Ocean Gleam, the dark dapples and glints that show up when you are lying on that proverbial beach and the ocean’s waves lull you into relaxation. Or something like that.
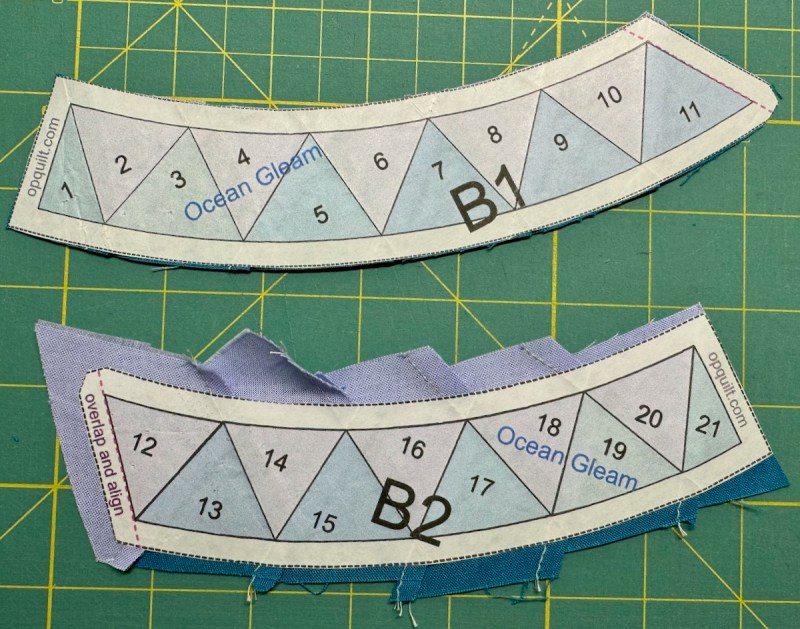
I dedicated a lot of digital real estate in the last New York Beauties Quilt post talking about how I work with FPP. Head over there if you need more info; scroll down as it is below Block Three. This block has two rows of rays and two bands, but you are up to this task, I know.
Q: How did I get here so fast? A: Read this. (Scroll down)
Checking for colors: bits of Block Four pinned up next her sisters.
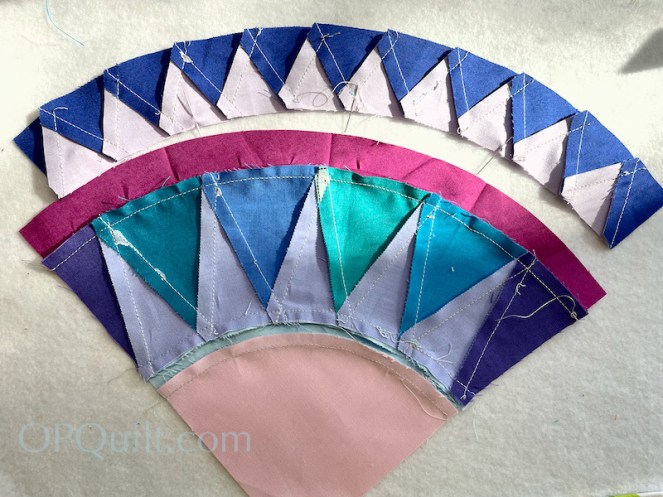
Sew the parts together, and as usual I have the convex on top.
Yes. I am trying out colors again, but I have committed and am starting, judging by the sewn triangles on the upper arc. (The lower arc’s pieces are just laid out.)
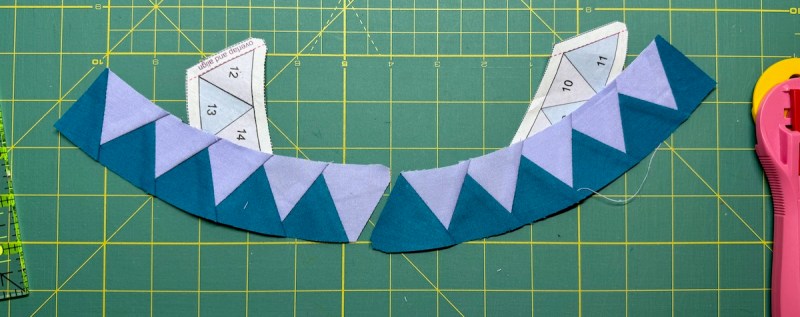
Do you remember in the last post that I told you I figured out I didn’t need the paper on everything? It came from sewing this together. First I ripped off the seam allowances, like I’d learned. I was still wrestling with it under the needle, so I started ripping off the paper on the triangles. This photo was taken when I stopped to rip ALL the paper off. I had already pinned my four marked intervals together, so I didn’t need the paper for that.
Back view. You can see the press marks on the burgundy arc, and the pins on the upper arc, ready to be matched up.
Stitching, again without paper. I use those tweezers to help grab parts that need lining up. Tweezers are definitely recommended.
I just noticed they made a heart! These patterns come with a lot of love, so I shouldn’t be that surprised.
Time to sew them all together. Do your best, but really…remember that the perfect is the enemy of the good.
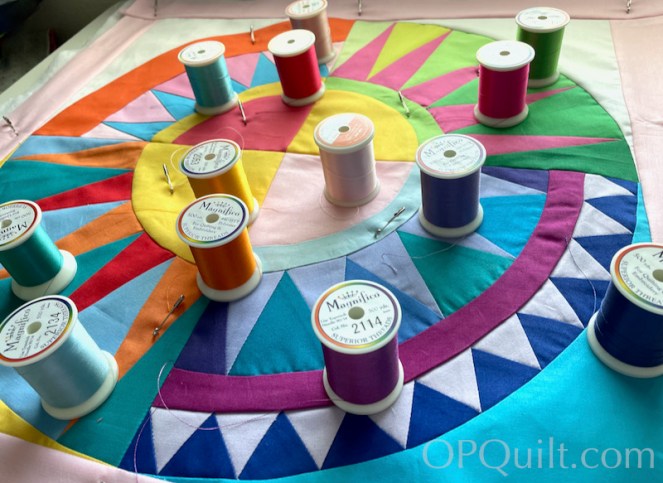
Magnifico Thread into action!!! (Kind of like a super hero or something.) I use either So Fine or Bottom Line from Superior Thread in the bobbin. Test, test, test.
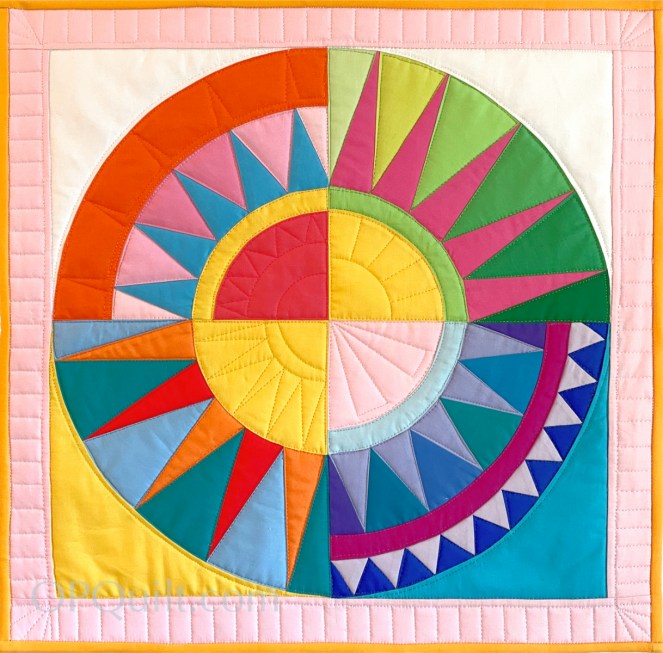
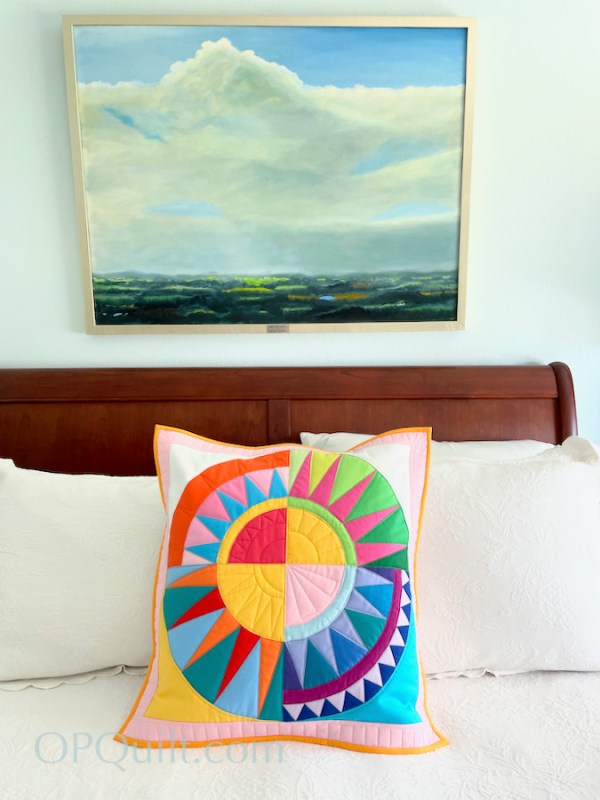
I love a heavily quilted pillow, and I sketched out a lot of possibilities. But in the end, I decided not to have a Battle with the Beauties, and did a lot of outlining and stitching around the bits. But that doesn’t mean I can’t have a little fun:
New York Beauty Mini Quilt/Pillow • 20″ square • Quilt #266
Now I have some ideas for more blocks!
This all started when the pillow-of-the-month came from Riley Blake and I wanted something a little brighter. And yes, I know we have four, if not six blocks, and possibly a quilt hanging out there, waiting in the wings. So let’s keep going.
Our hashtag on Instagram is#newyorkbeautiesquilt so please post and tag and share your beautiful blocks. If you feel inclined and want to say a thank you, I’d appreciate a follow on either my blog where I post weekly (or occasionaly bi-weekly). You can also follow me on my Instagram.
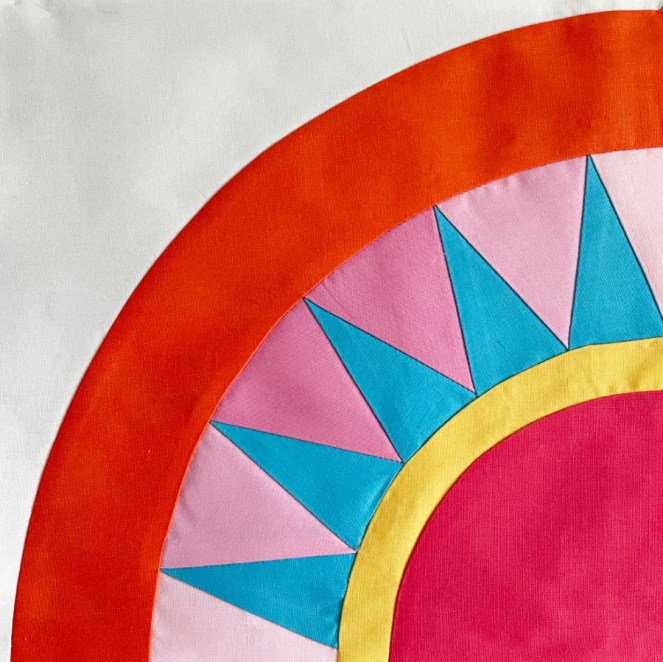
Third Wednesday of June means the third block of New York Beauties, and since I love that orange band out there and it reminded me of the glory days of being a teenager and feeling the warm sun on my face, I called it Radiate.
Stats: It will measure 9-inch when finished. Remember to print it off so that the size gauge of 1″ is one-inch square.
Honey, I shrunk the rays. But then I added the band, so all is good. Are you getting the hang of this? I’ve written a longer post about how I manage foundation paper-piecing (FPP) if you aren’t. Keep reading.
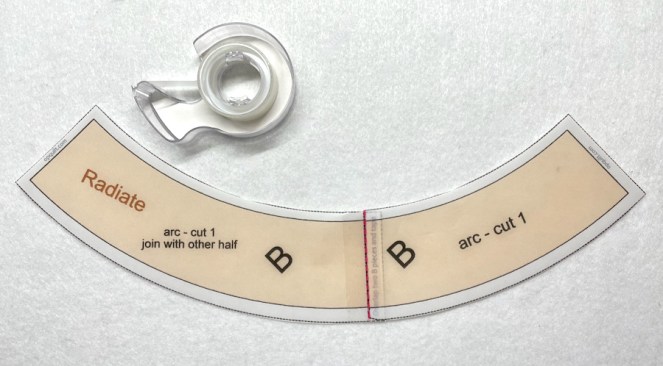
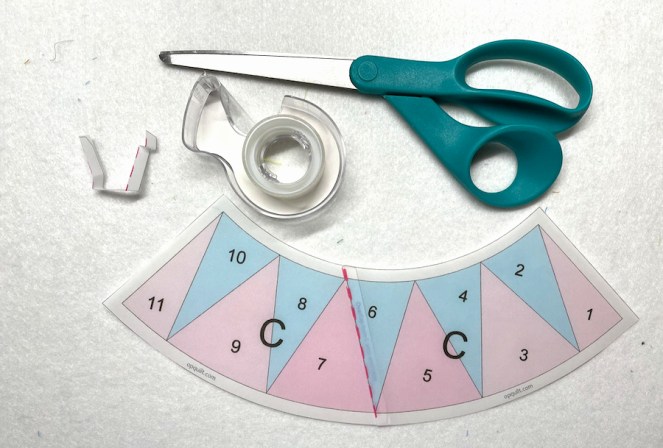
You know the drill by now: overlap and tape or glue at pink dotted line to make the larger arc.
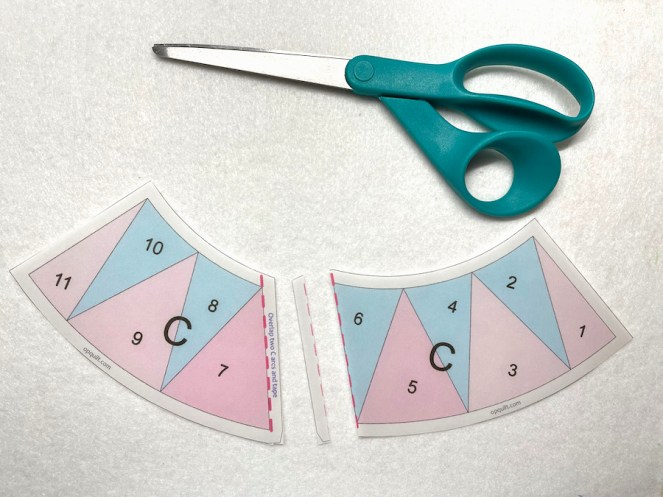
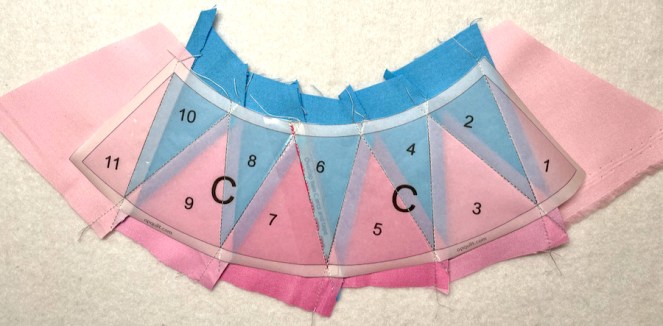
And then do the rays, Piece C. I cut off the little bit of overlap on the top piece and throw it away.
Remember in Block Two how I cut out a rough shape of the ray? I did the same thing here.
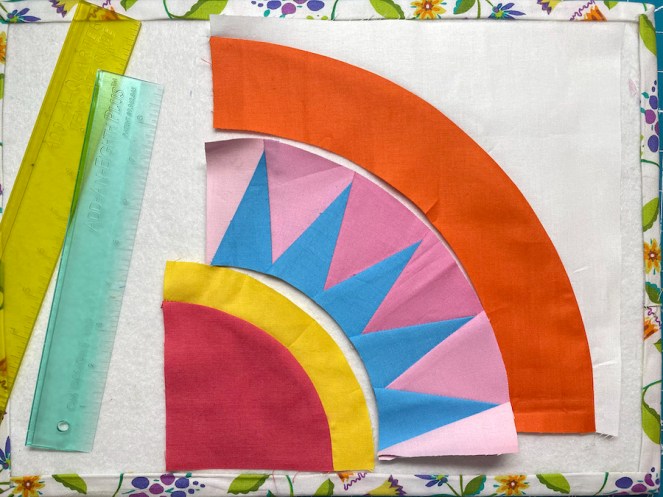
Checking colors. I also did a half-ombre on this set of rays — from lighter pink on the outside rays to darker pink in the middle. I like how the blocks all play together nicely with the shaded areas leading the eye around the circles.
More checking colors. The arcs are just pinned up for the Radiate Block.
Rays block, before the haircut — er, trimming. You can see the gradation of the pinks here. I also tried to color them slightly on the pattern; hope that helps. I pressed this, trimmed it, then set it aside.
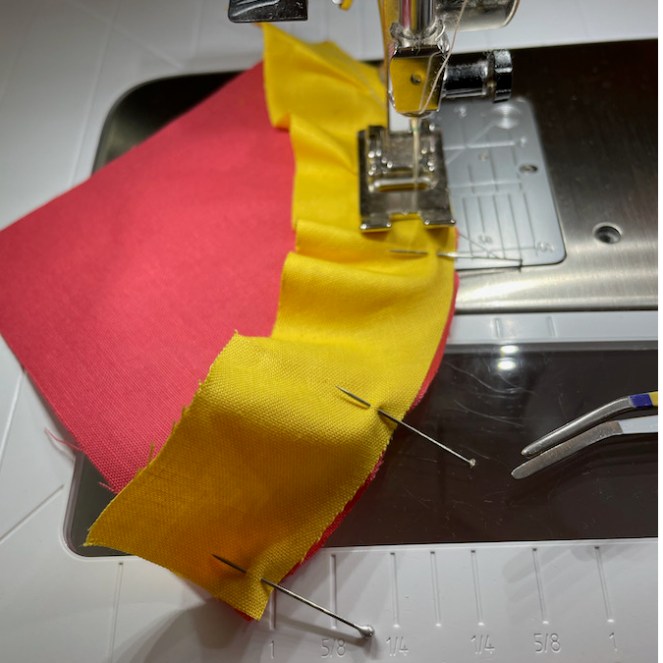
I started from the center, sewing the coral-orangey-red quarter circle to the yellow band. I always press marks at the center, and half-way to the center on both pieces to help with pinning. I have more success with the concave piece on top, and the convex piece on the bottom.
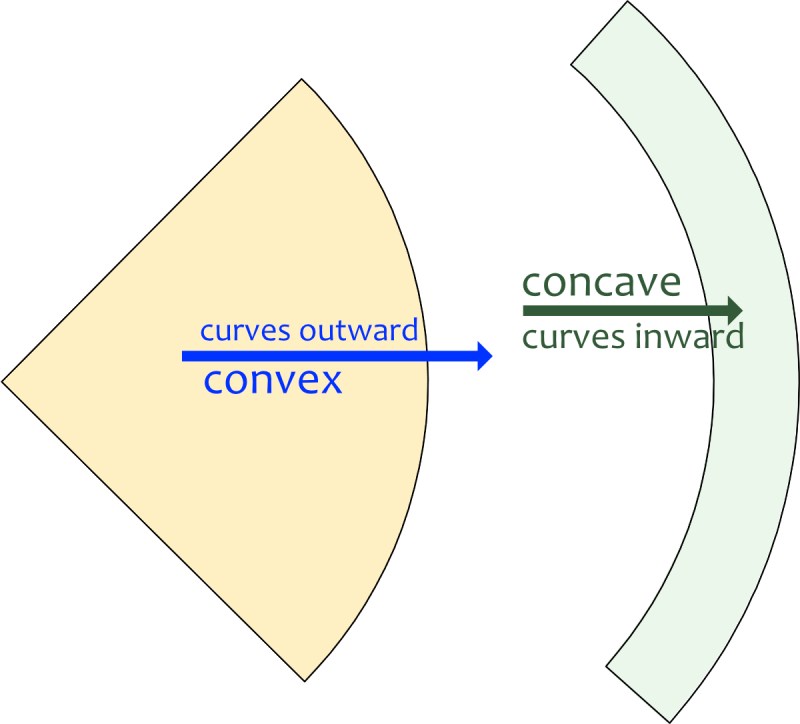
Here’s a drawing for you, if you need it like I always do. The green arc actually has both a concave surface (where it faces the yellow quarter-circle), and a convex surface (on the right side of the arc).
In the top photo, you can see my press marks to help in sewing the arcs evenly onto the matching convex surfaces.
And in the bottom photo, three are finished. I’m working on the fourth one now, and I think I can probably share how I think about the weird-o parts of FPP. The first time I did this ever, it was a nightmare: limited fabric, doing it for someone else, and too much for a novice to tackle. I was terrified about running out of my beemate’s fabric because I was always sewing and cutting it backwards.
Verushka (and you might really really want to take her class–so many good things and I think she explains them well) taught us to fold the next segment backwards, gauge the size of the fabric piece you’ll need, then proceed from there. I’m am using segments from Block Four in these illustrations, and I know so so many of you are Total Pros and will find these tips sophmoric or useless. (Then just move on…it’s for the rest of us.)
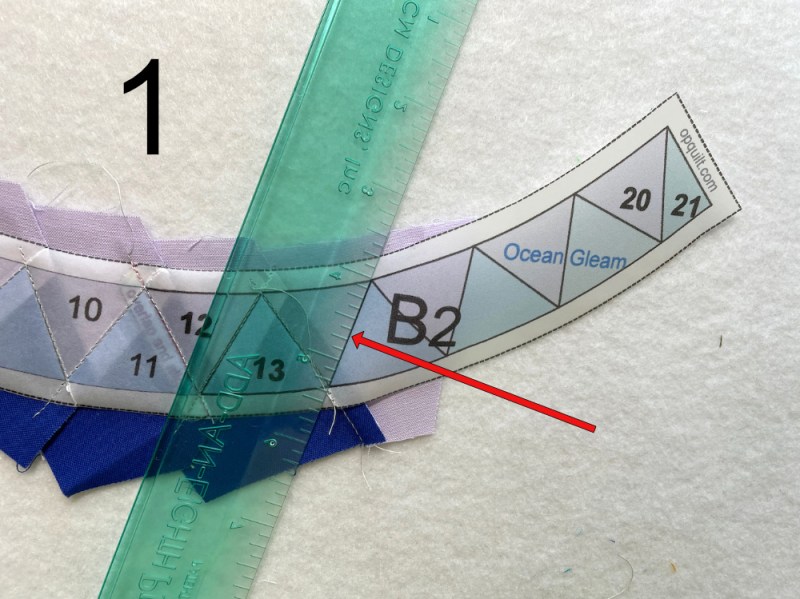
There are two basic rulers used in FPP. One is Add-A-Quarter-Inch and it’s yellow. The other is Add-An-Eighth-Inch and it’s the green one, above. This green one has the sweetest edge, right there by the red arrow. It’s really thin, so it helps in folding (this step). Align that thin edge with the line for the next seam. In this case, we are working on the blue triangle.
Keeping it in place, fold the paper back over the edge, and put a good crease in it.
Remove the ruler. I know you are probably rolling your eyes at this step, but it’s just in case you are sewing at night and your brain is fried.
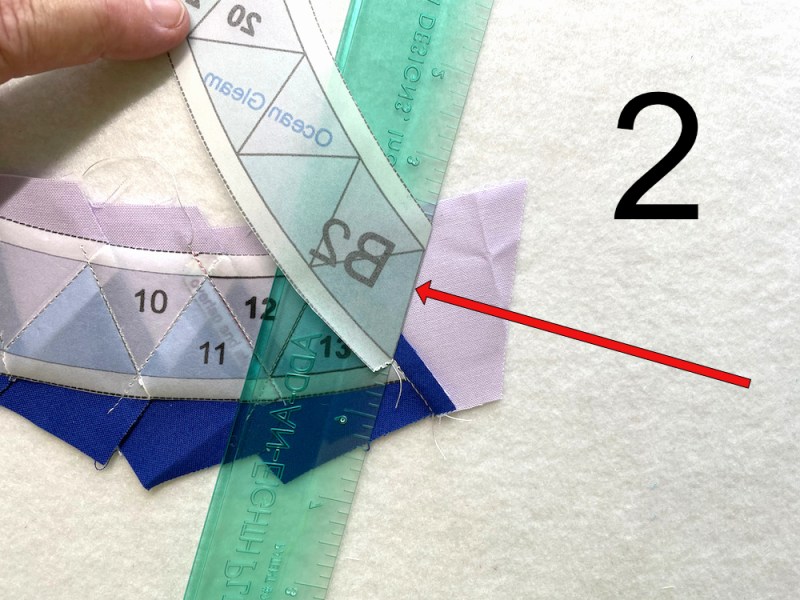
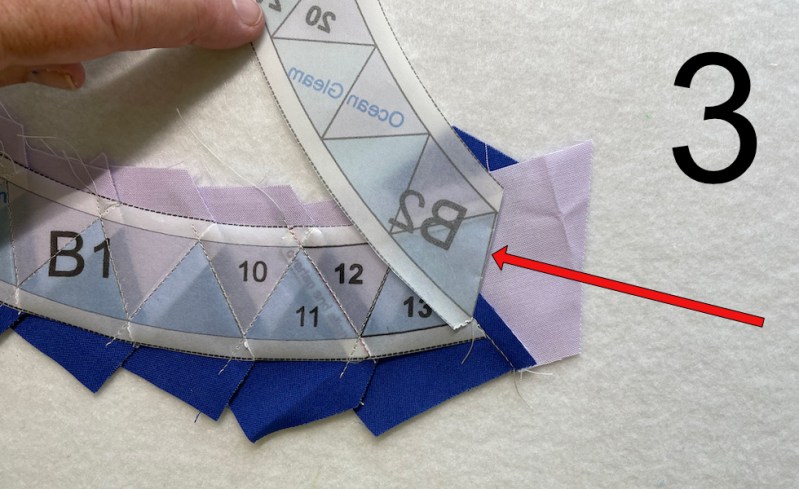
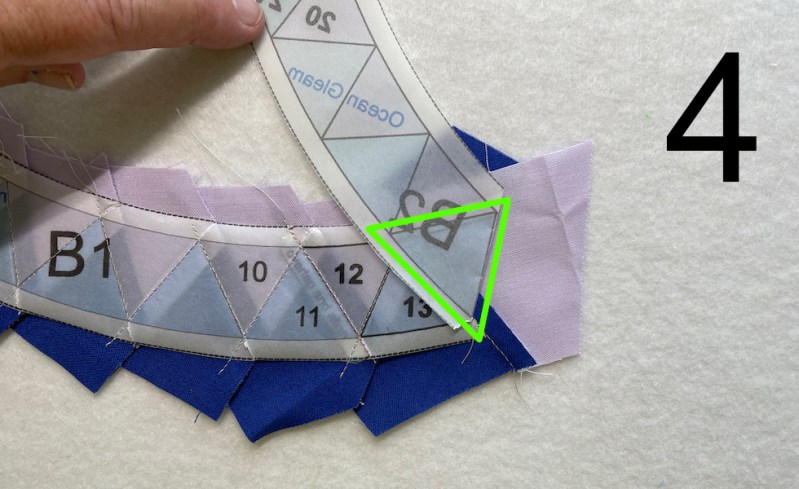
Notice the position of everything: the completed rays are to my left. I work left to right, and concentrate on keeping this oriented this way. Also notice–that triangle marked in green (the blue ray) is what I’m focusing on. If you compare FPP Tip #2 with FPP #4, you can see I’ve brought in a blue fabric triangle and laid it in the approximate position I’ll need to sew that seam (*marked in Tip #3 with a red arrow*).
Now I’m going to show you this step from another set of rays–a little bigger so you can see more easily.
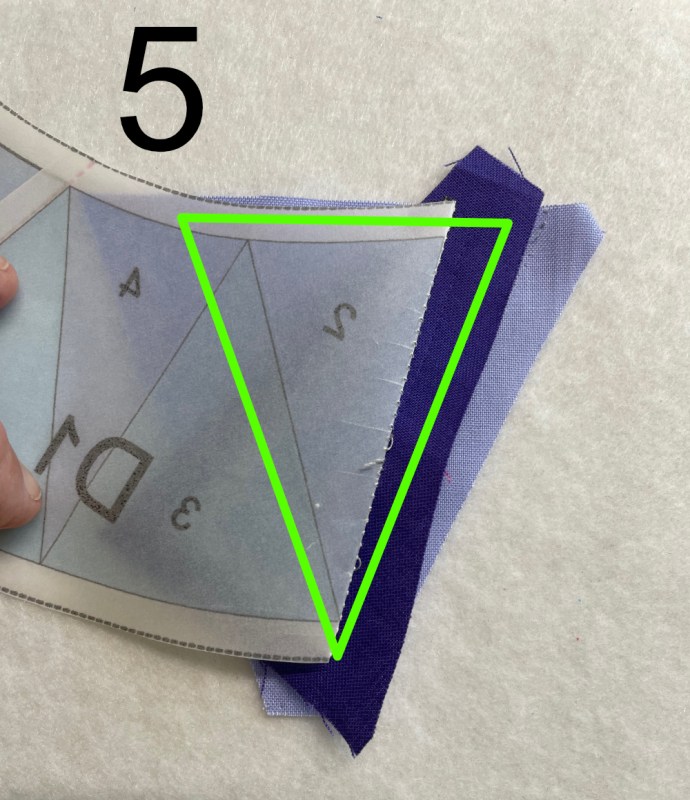
A bigger triangle, same green outline. If you can see behind the deep purple seam allowance, I’ve positioned a lavender piece of fabric, which is cut larger than I need, but in the approximate shape. (Remember how I always trace the ray, but a bit bigger? This is that piece of fabric.)
Okay, back to the small rays.
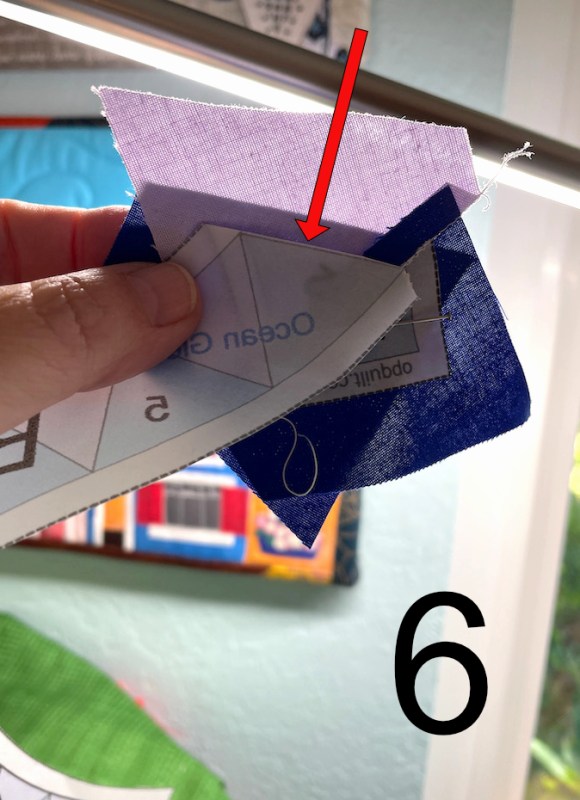
I’m holding it up to the light (this is where some people use a light table, which is a great idea).
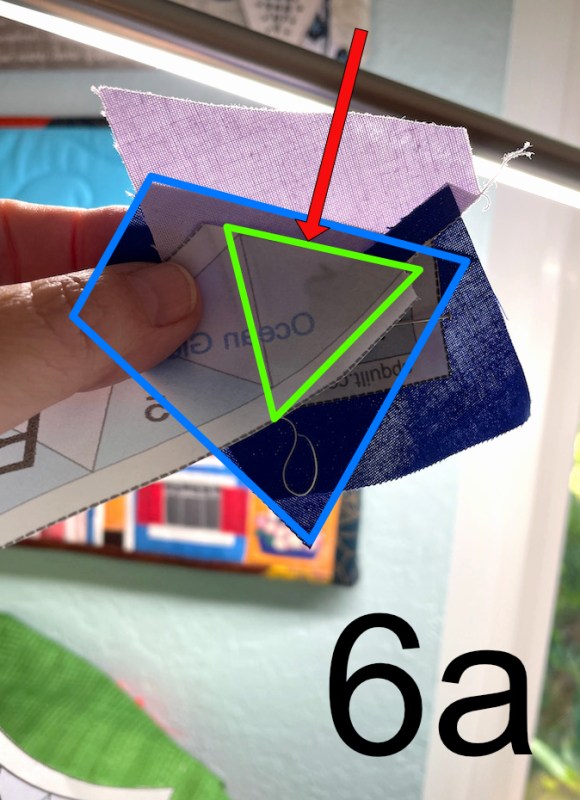
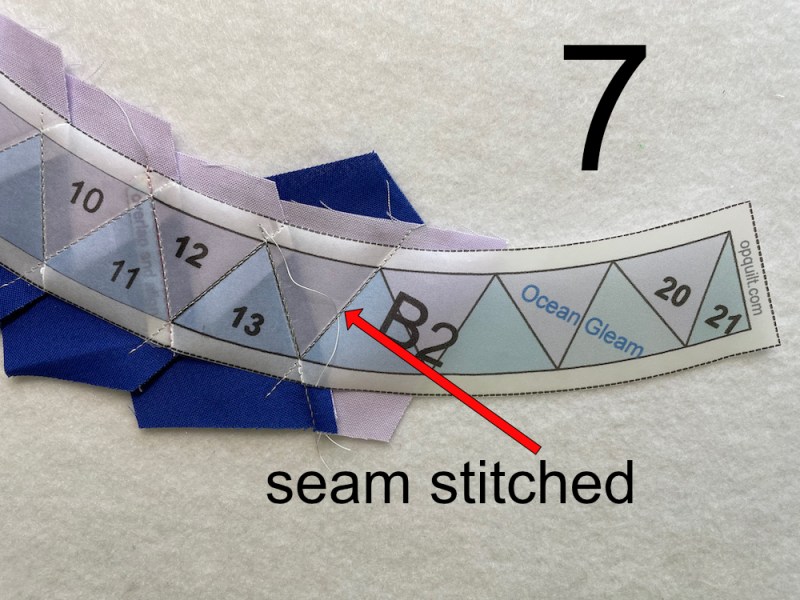
Now here, in 6a, You can see the oversized blue triangle piece behind the FPP assembly (marked in blue). I try to line up the side edge about 1/4″ away from where the seamline will be (red arrow). Some people like to trim this edge to 1/4″ before lining it up. I’ve done that. But when I’m working with small bits and am on a roll, it’s another step. Your call.
Pin the fabric in place, or just hold on to it tightly. Unfold back your paper, exposing the marked seamline. Stitch with a 2.0 stitch if you are using vellum, or something a bit tinier if you are using computer/copy paper.
DON’T GO ANYWHERE OR PRESS ANYTHING YET!
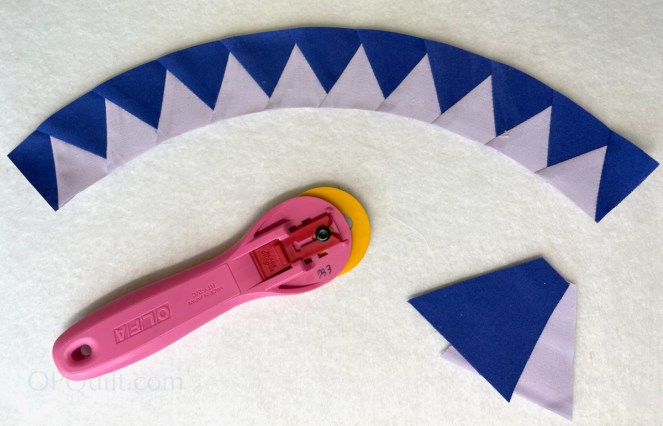
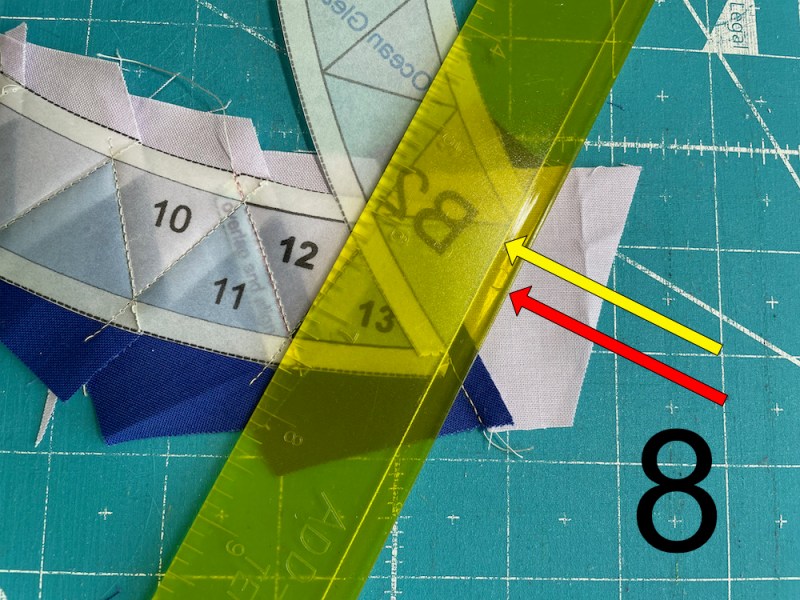
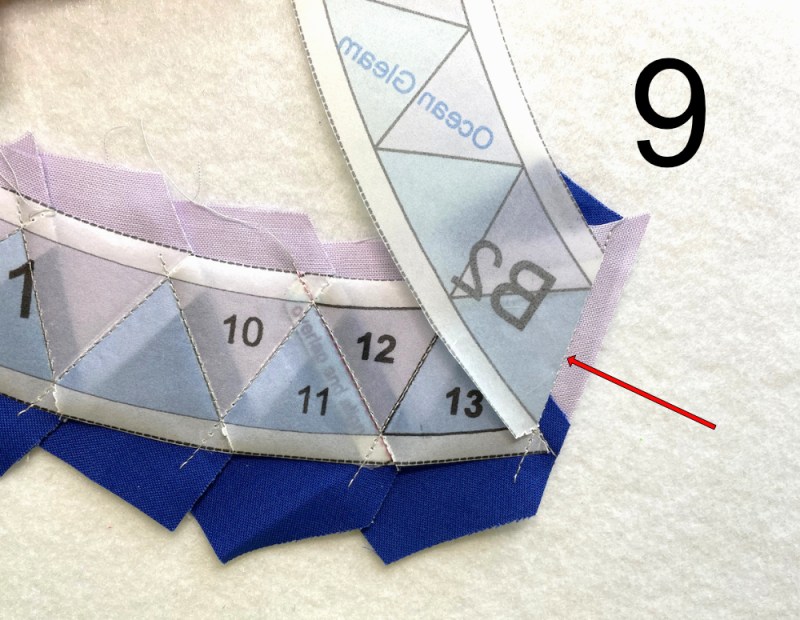
Head to the cutting table. Fold back the paper one more time. Reach for the yellow Add-A-Quarter-Inch-Seam ruler. Lay the inner edge (yellow arrow) bumped up against the folded edge. Lay your rotary cutter against the outer edge (red arrow) and slice off the excess.
Please notice that I still keep the orientation the same: the active place is on my right. The completed and sewn section is on my left. (Verushka has a great way of describing it to help you remember. I am forever indebted to her!)
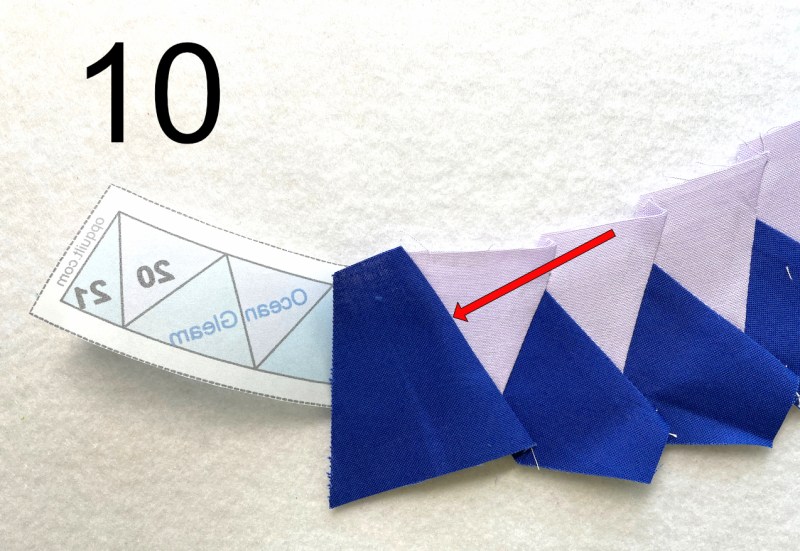
Now you can go to the ironing board. Unfold the paper (again), and smooth the fabric over. Press from the “right” side. Remember that everything looks reversed now, but this is the weird-o-ness of foundation paper piecing. You’ll start this whole process again, this time with a lavender triangle/ray.
I’ve become much faster at this, and if you are not already a pro, you’ll get get faster, too, as you go through these New York Beauties.
Final Tip
After working on these blocks, it suddenly occurred to me that after I made each arc of rays, and trimmed them up…I didn’t need the paper in there anymore. So I peeled it off before sewing the ray-arcs to the plain arcs. I referenced this a little bit in the last block, where I tore off the paper at the seam allowance. Generally, in FPP, you only need the paper where the seam lines will be lining up. Generally. But in these NYBeauties, the paper just got in the way. Without the paper, I can use a more reasonable stitch length, and the fabrics will work together. Try it and decide if you like it.
Because it’s June and Why Not? Try making Blocks One and Two. Now, with this post, you have three (and a peek at Block Four). I love all the sweet notes you write–if you feel like following this blog, that is also a nice thank you. I post weekly (but this June, it’s like bi-weekly). I’m also on Instagram, if that’s more your style.
Our hashtag on Instagram is #newyorkbeautiesquilt so let’s post and tag and share our beautiful blocks!