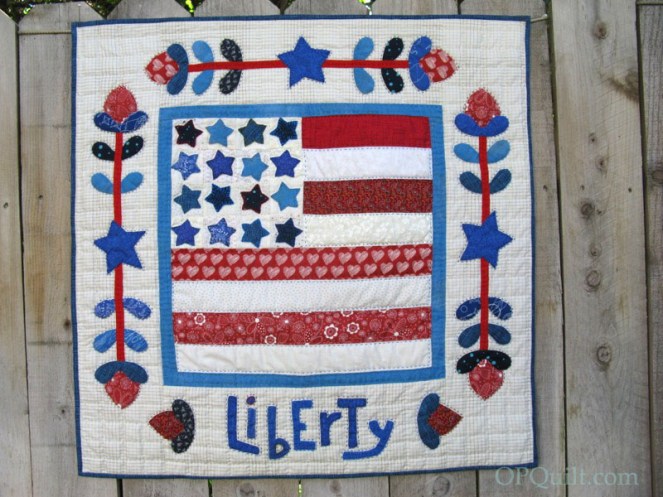
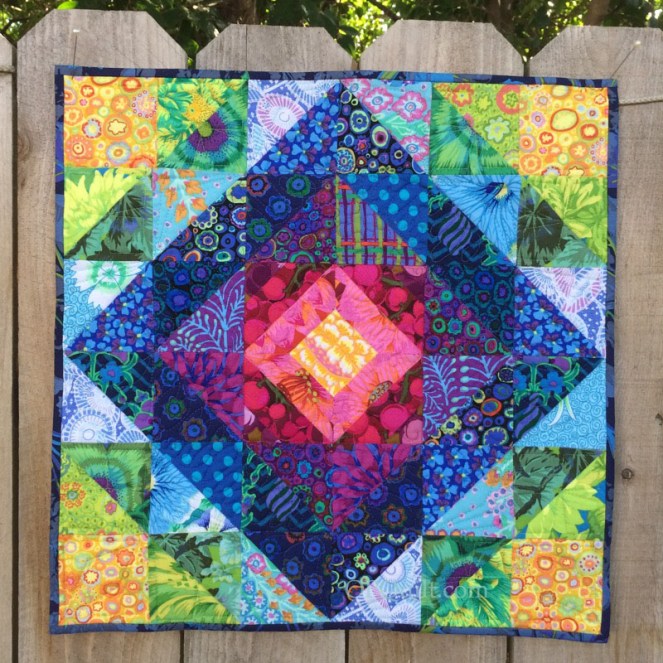
 Sweet Land of Liberty
Quilt #182
28″ square
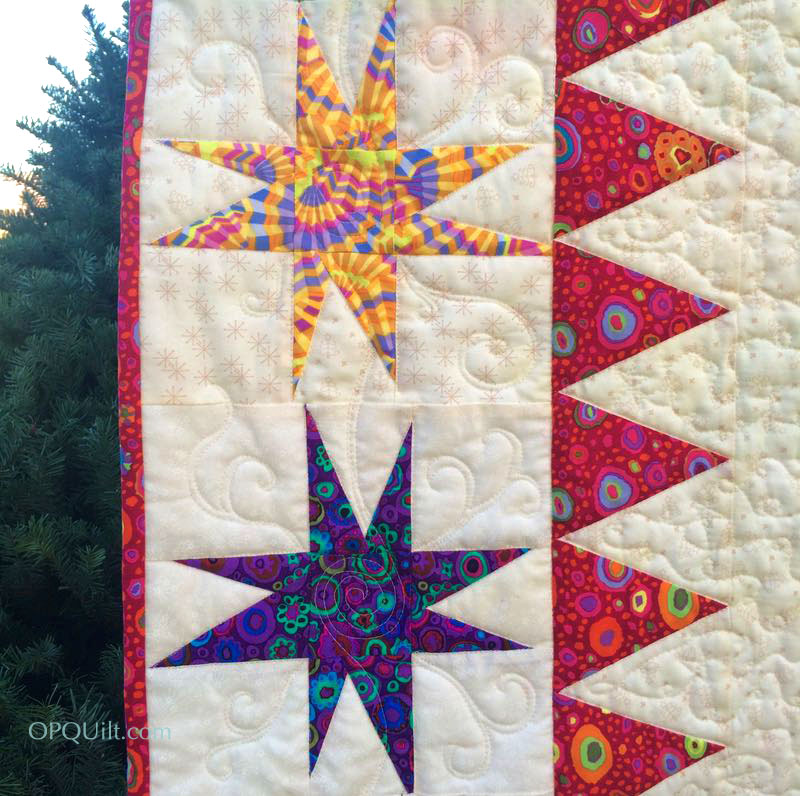
I started this in January, prepping up the stars and beginning the hand-blanket-stitching a couple of days after my rotator cuff surgery. This was a bright spot during that time, keeping me focused as I moved forward through different steps of what I was calling my “Liberty USA” quilt.
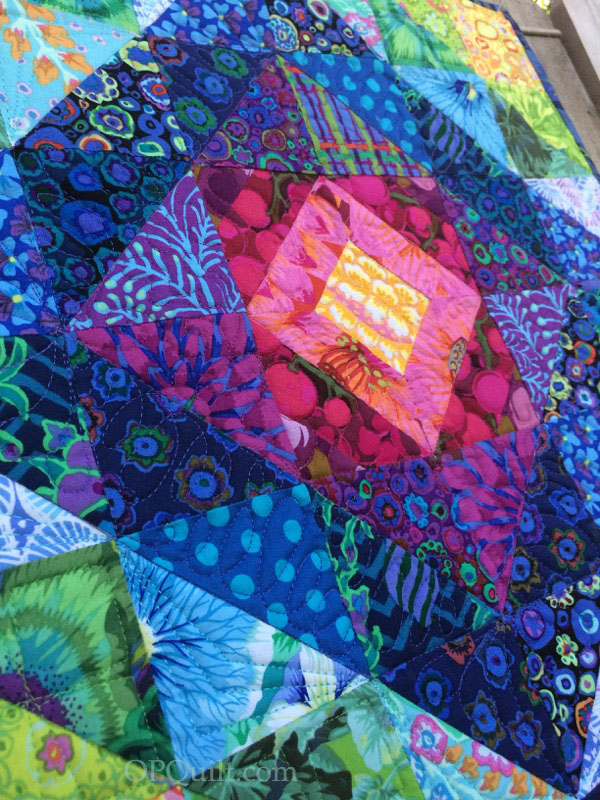
My friend Susan of Patchwork N Play, in Australia, is always hand-quilting her quilts, and I wanted to try that, too.

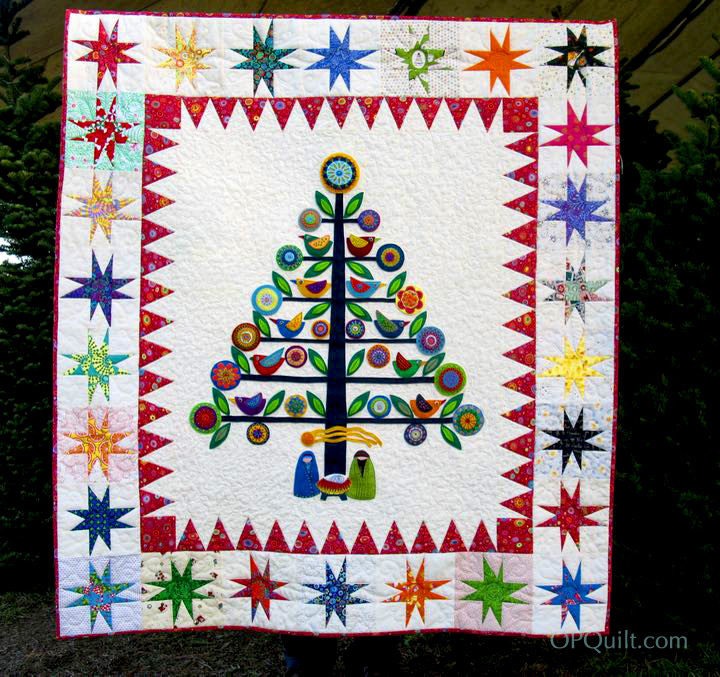
So I rustled up some patriotic colors of perle cotton from my Oh Christmas Tree quilt, and went to town…well, riding on a pony and all that, because it took some time to do this.
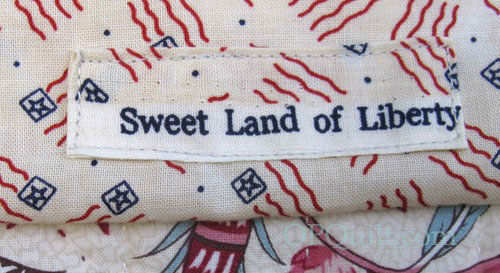
I cut some fabric for the rod pocket this week and on the selvage, I saw this. Perfect for my title, I thought!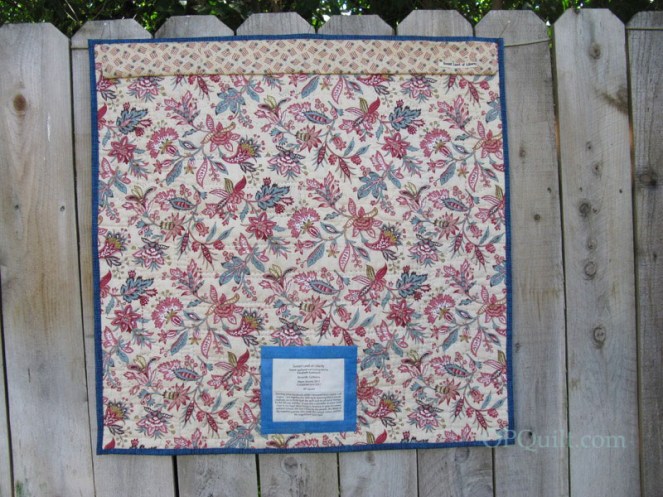
It’s up there, stitched onto the rod pocket in the upper right corner.

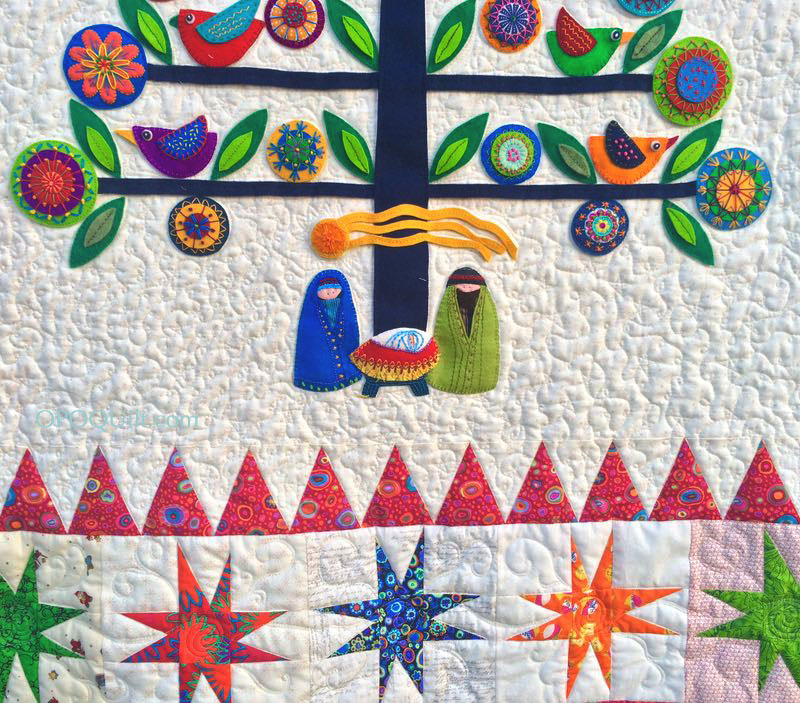
I listened to Hamilton, the novel, last year and one take-away for me was how imperfect our early Founding Fathers were, but what a magnificent thing they created as they pulled together and figured out our country and its laws. They had patriotism in its purest form: e pluribus unum, out of many, one (our country’s motto). I try to keep that ideal in my head every year as I celebrate our Independence Day.
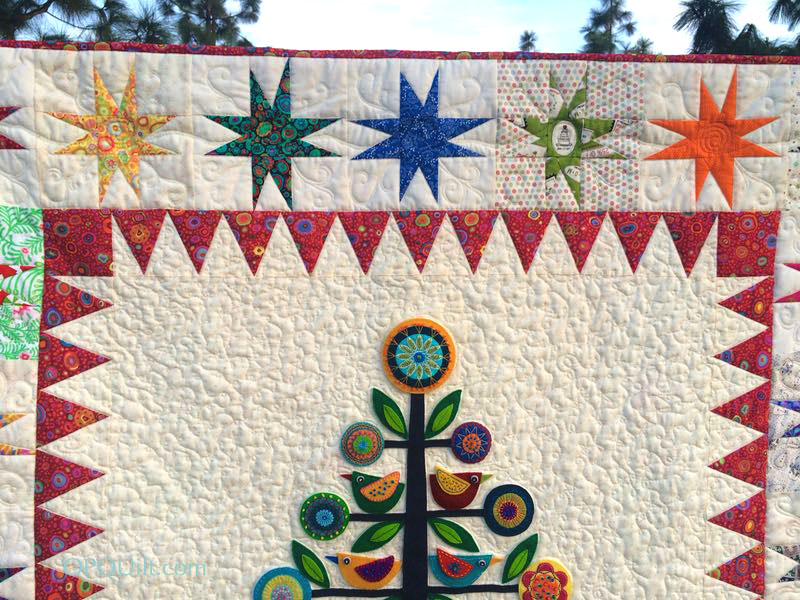
And yes! I finished the quilt by my self-imposed deadline of July 4th, so that’s great news.
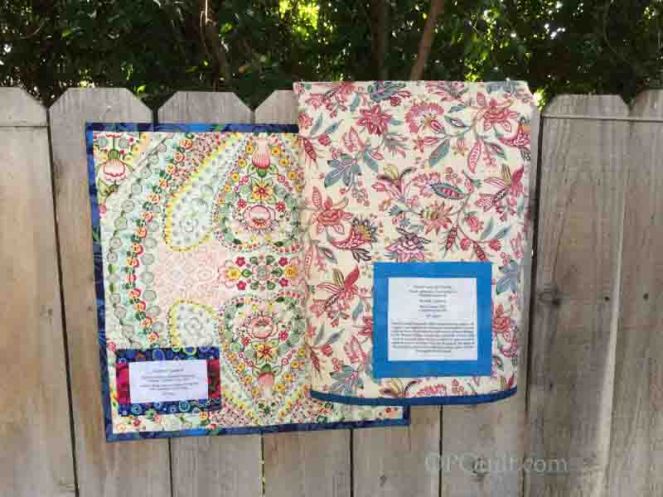
This makes three red, white and blue quilts for me.
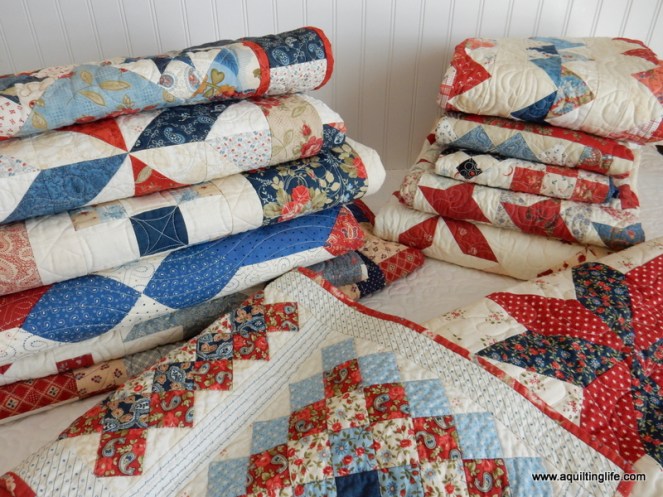 I’m way behind my friend Sherri, of A Quilting Life, who has over a dozen in this collection. Head over to her blog to get a tour. I’ve got to get busy to catch up with her!


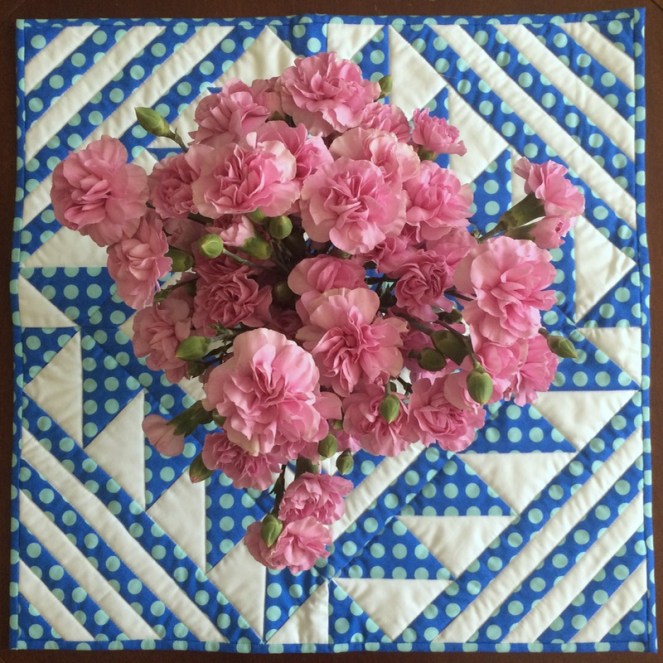 We all put double layers of fabric bindings on our larger quilts, but have you thought about using a single binding on a smaller quilt? It’s quicker, flatter, and really–are you going to wear out those edges any time soon? And if you do, won’t you just repair them? That idea came from Gwen Marston, in one of her last workshops. That idea — that a quilter would just repair them if they became worn — is why she uses single bindings on all her quilts.
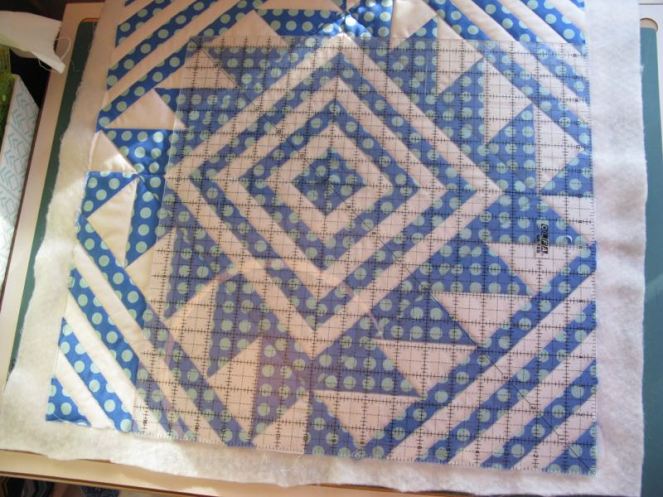 Start by squaring up your mini-quilt. Yes, that is a gigantor square ruler, and I use it a lot, actually.
 Prepare your hanging corners, by cutting a larger square (for a 24″ quilt, I use a 5 1/2″ square), folding in half, diagonally, and pinning it in the upper corners of your mini, against the back, matching raw edges to the edge of your quilt.
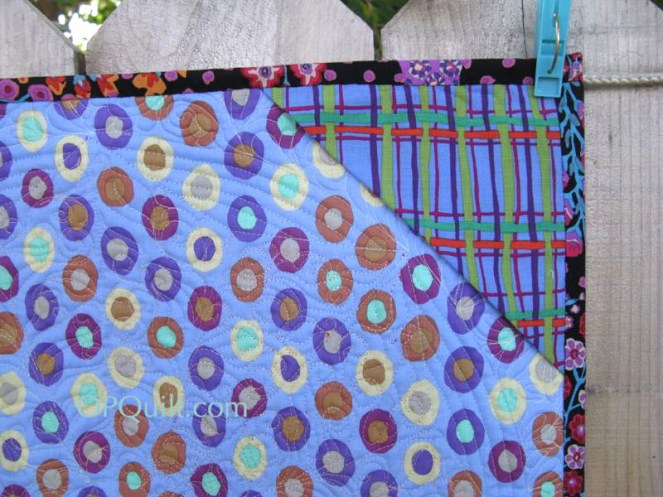 (Here’s what it looks like on another quilt, as my corners just disappeared on this one.)
 Cut strips of fabric (lengthwise, if you can) about 1 1/2″ wide and the size of two sides. Pin, then stitch on, using a 1/4-inch seam.
 Repeat for upper and lower edges. Pin and stitch, but watch out that you don’t veer off on those corners (I pin them).
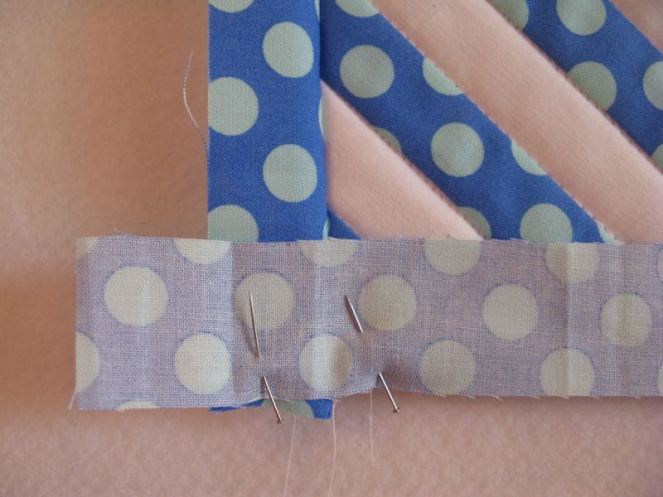
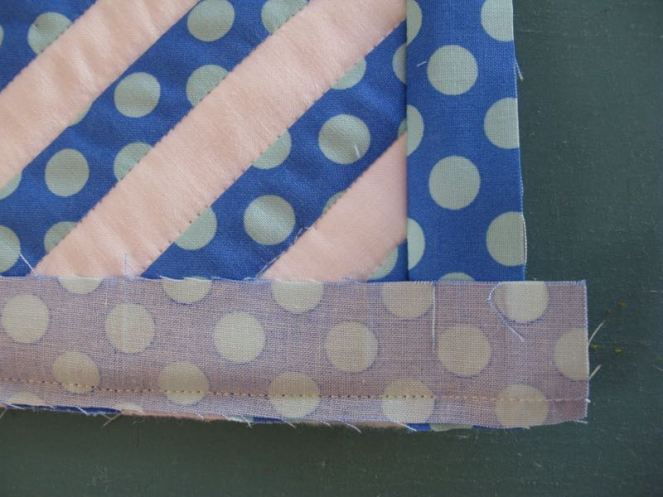 Square up the corner, and cut off the excess, both underneath (above) and on the outer edge (below).
 While this looks angular, it isn’t.
  Press binding out away from quilt.
 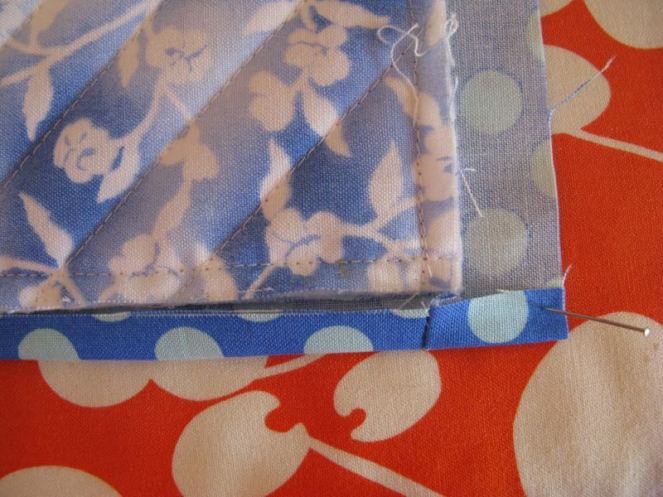 Fold up lower edge, so the raw edge of the binding meets the raw edges of the quilt.
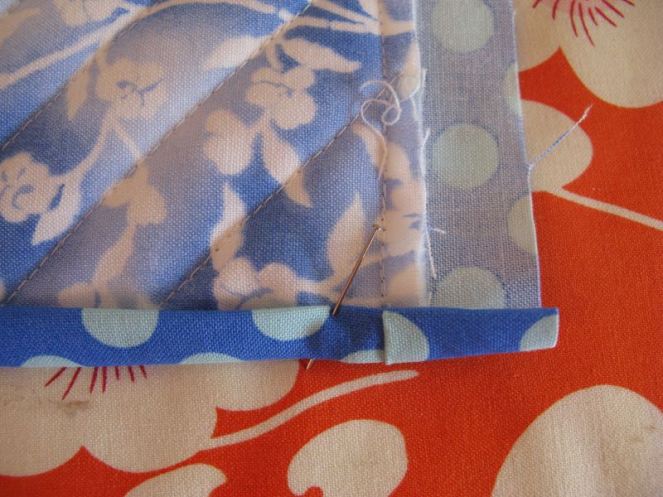 Fold it up again, covering the raw edges of the quilt. Pin in place, and then repeat with the sides:
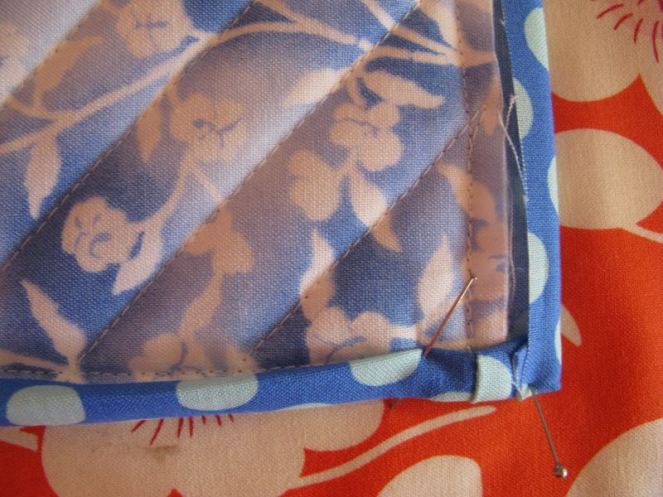
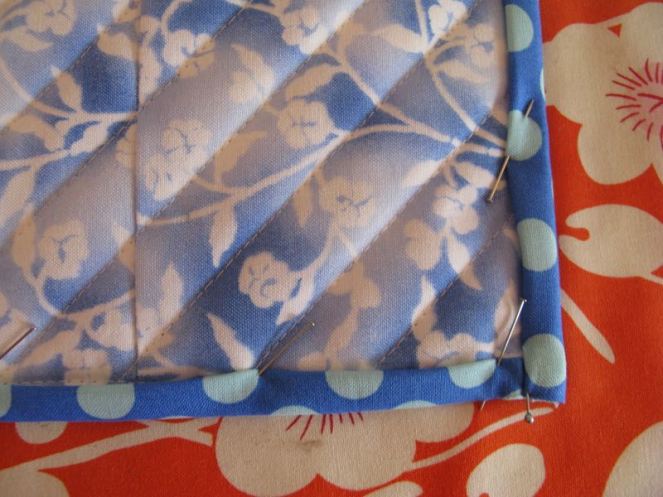 Hand stitch all the way around, or if you are a confident quilter, you can use a glue stick to affix the binding edges down, then machine stitch. I personally don’t like the machine stitching, as I think it makes the edges too rigid, but “To each his own,” said the Old Lady as she kissed the cow. (My Dad used to say that all the time.)
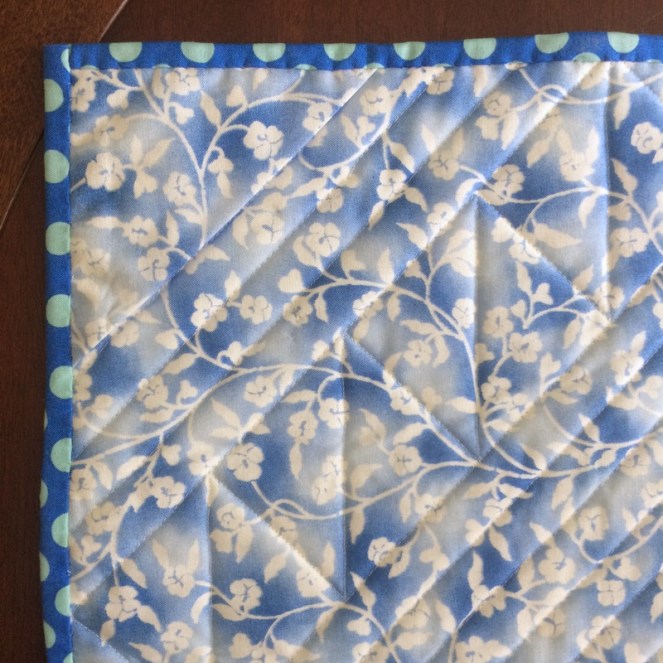 Here’s the corner already on, but it’s hard to see. I cut a dowel the width of the quilt, minus 2″ and slip it into place. Then I hang my minis, balancing it on a push pin.
 Thanks to all who came to the Trunk Show and to all who sent their best wishes. It was a lovely evening! If your guild would like to see my Abecedary of Quilts Trunk Show, just drop me a note.