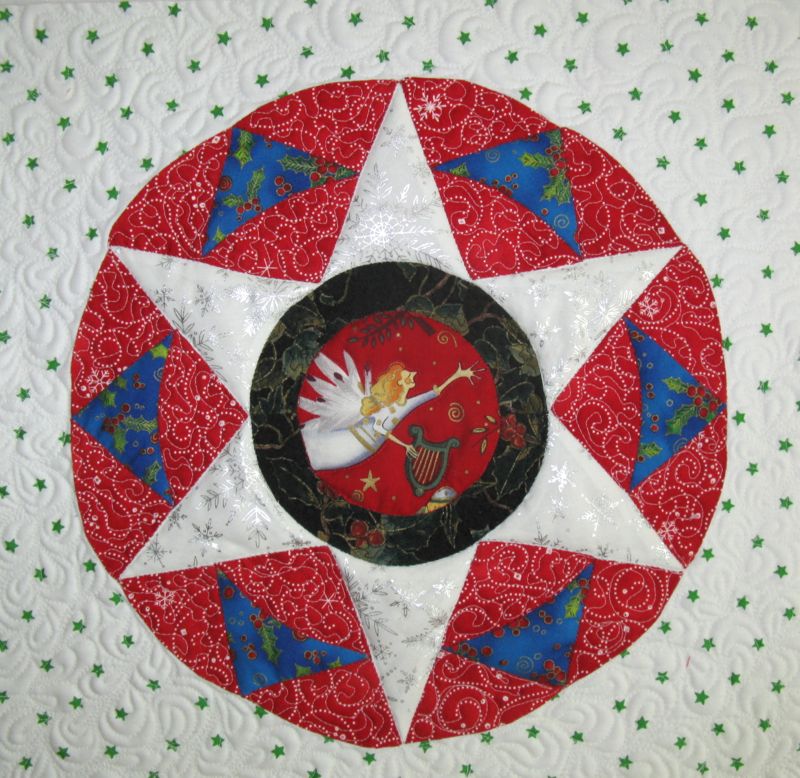
I told you in the last post that I’d made up another version of Circles #6, and today I’ll show you what I came up with.
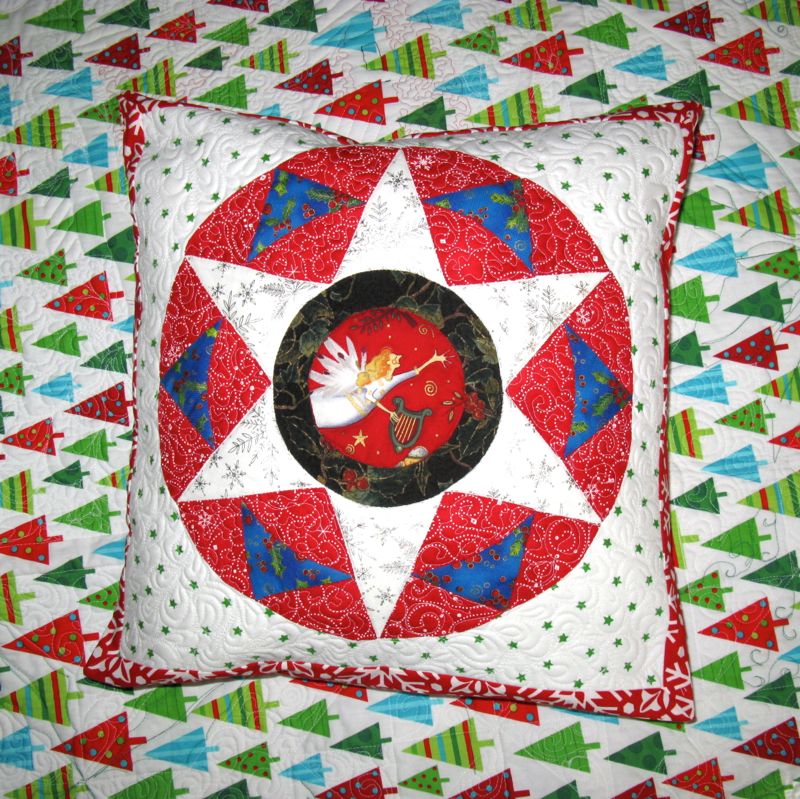
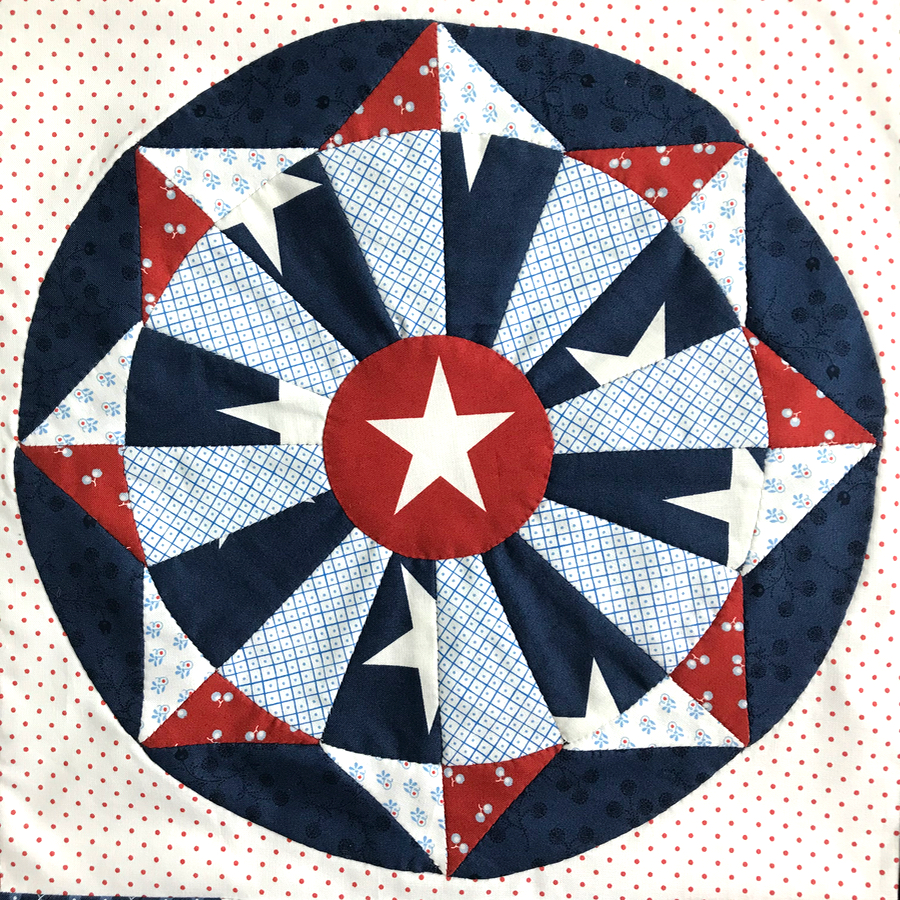
When I was sewing this up, I kept thinking what a great Christmas pillow it would make.
So I made one!
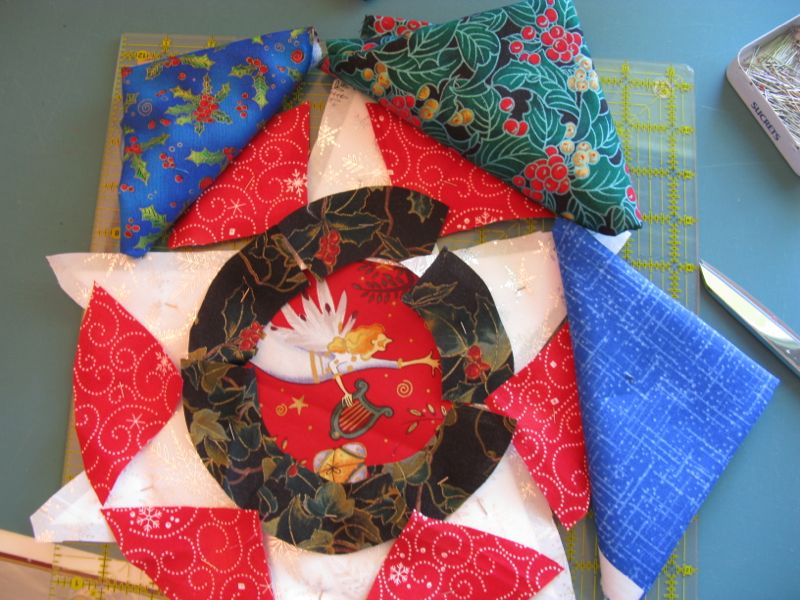
As usual, I audition fabrics to see what I like. You can see which won.
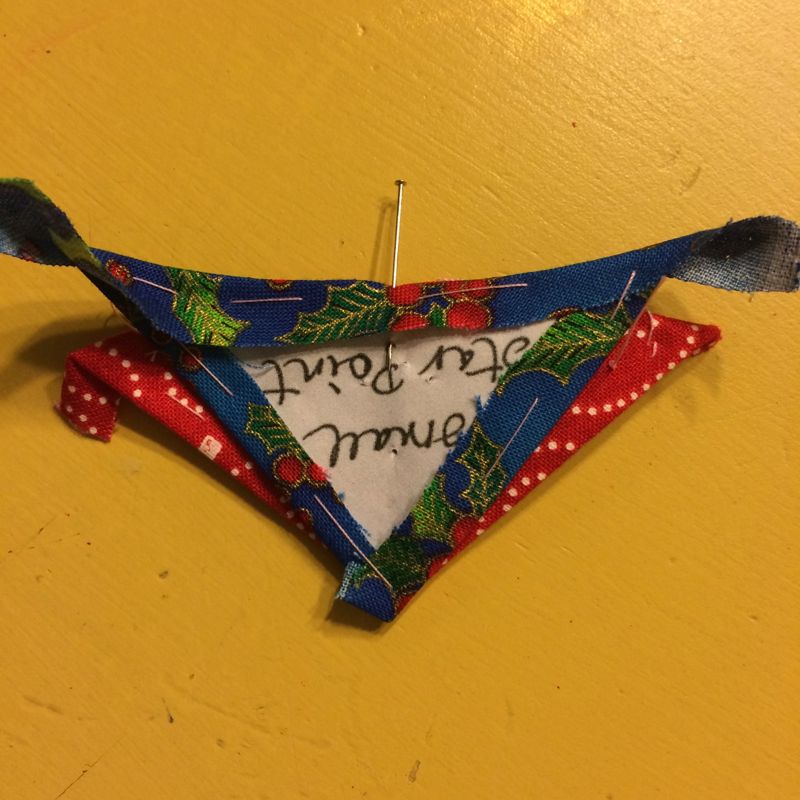
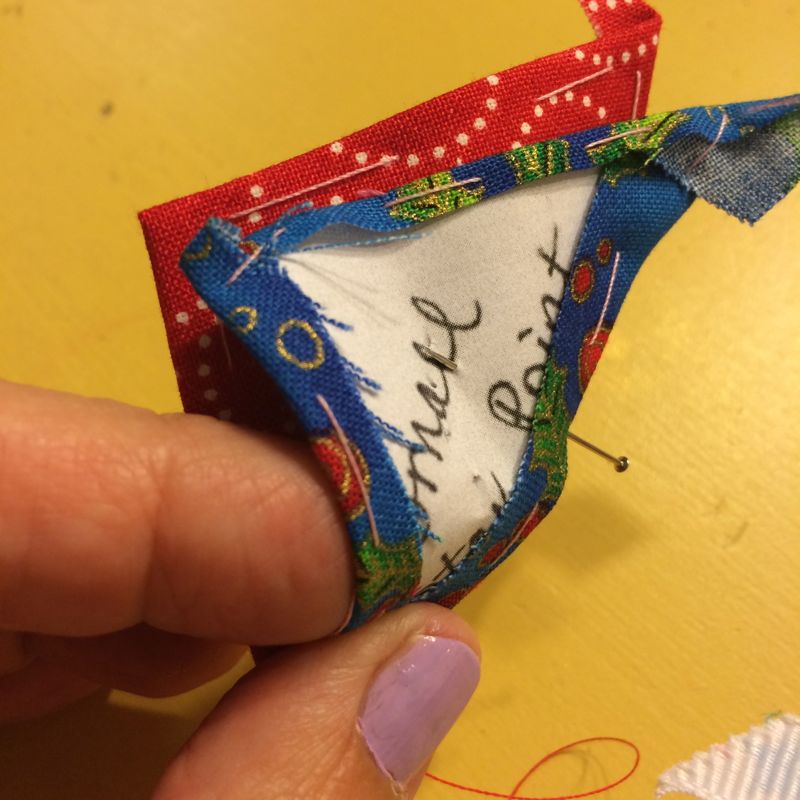
I lined up the Star Point with the lower inner arc and put a pin through the centers.
It’s easier to stitch when you do it three-dimensionally.
Cute little thing, isn’t it?
I made this circle differently. I think the method I showed you on the first post is much better, but here’s this one: Stitch the inner ring pieces together, then stitch to the center circle. There’s no need to ease; it should fit together neatly by taking a stitch or two at a time, then moving along. Sew the final inner ring seam together.
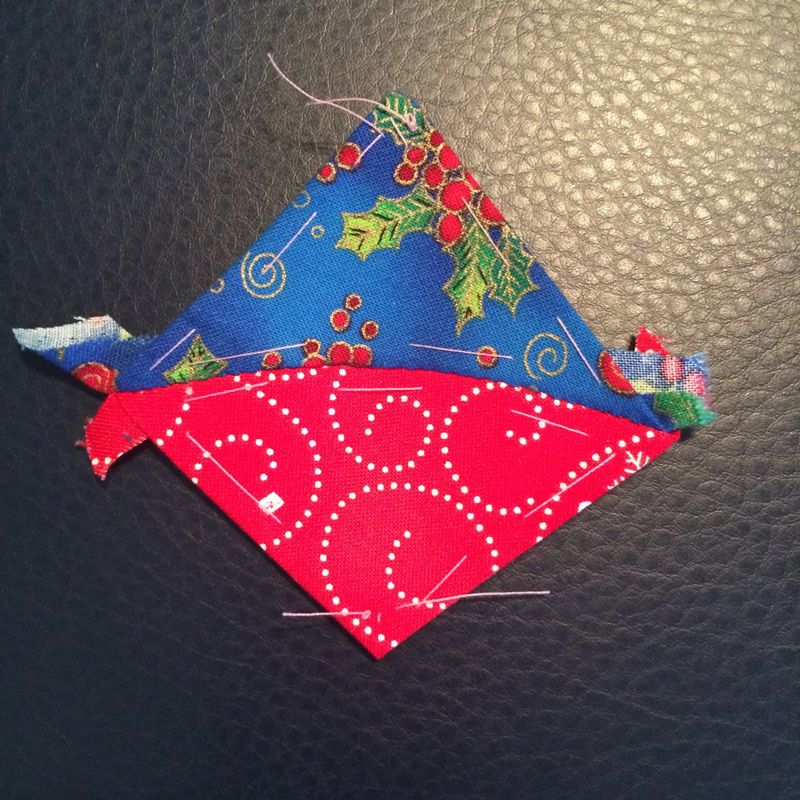
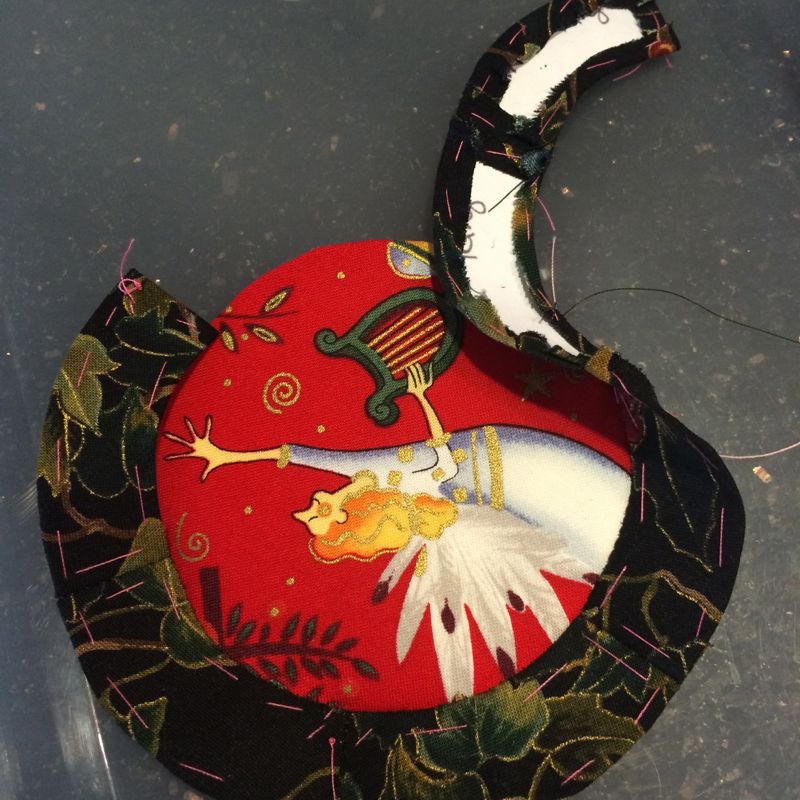
Now stitch together the inner arc (red) and the small star point (blue) and add the left star points (more red, on either side of the blue). After you’ve made six of those little units, start making the larger outer ring by attaching the large star points (white). Like the first ring onto the center circle, it should “match” easily onto the sign. You can see how I began here, by dropping the ring down and starting the stitching. I did take time to figure out how I wanted the white star points to be aligned on the final block.
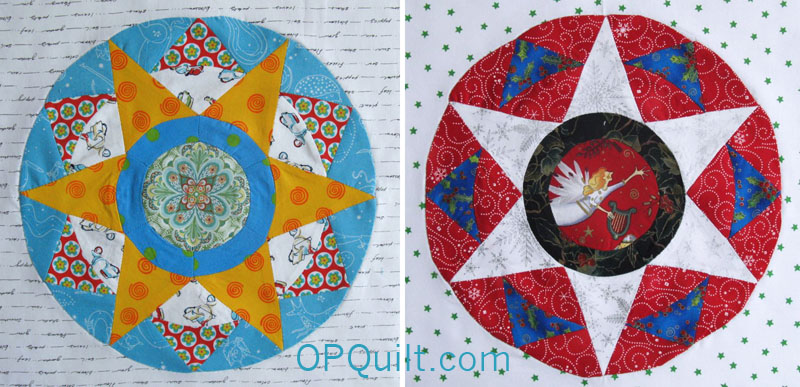
See the two circles side-by-side, above, to see the different alignments. The Christmas Star has a star point centered, pointing North, but the other circle has it differently.
Like I said, I think the other method is much easier.
Done!
Ah, you know I love this view!
I had several backgrounds to choose from, but my granddaughter Emilee helped me choose the white one with the stars.
Papers out, and here we go a-quilting!
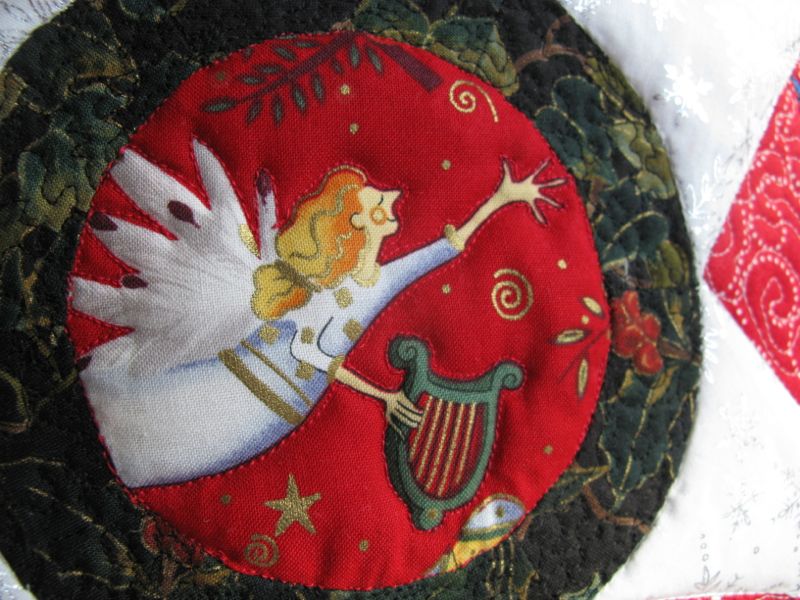
One thing I learned from Sandra Eichner’s blog is how to let the batting poof up under a design element by stitching towards it. First I did the red pieces in between the star points in a meander, trying to quilt toward the star points large and small. Then I went for the outer margins, having fun and letting the machine roll. Black thread and a tiny stipple for the inner ring, dodging the berries, and then outline the angel in the center in order to control the fullness of the batting. Lastly, I outlined everything, using my even-feed straight-stitch foot.
Yay! A new piece of Christmas fun. Hope you’ve enjoyed seeing both of these Circle Blocks. I’m taking a break during December and will be back in January for the last six circles in this project. Yes, I’ve decided I’m stopping after twelve EPP circles. That ought to give you enough to play with! If you are making these blocks, please shoot me a photo, and I’ll post it up on the blog.
Circle #6: Star of Wonder
(but stay tuned. . . another variation of Circle #6 is coming in a couple of days)
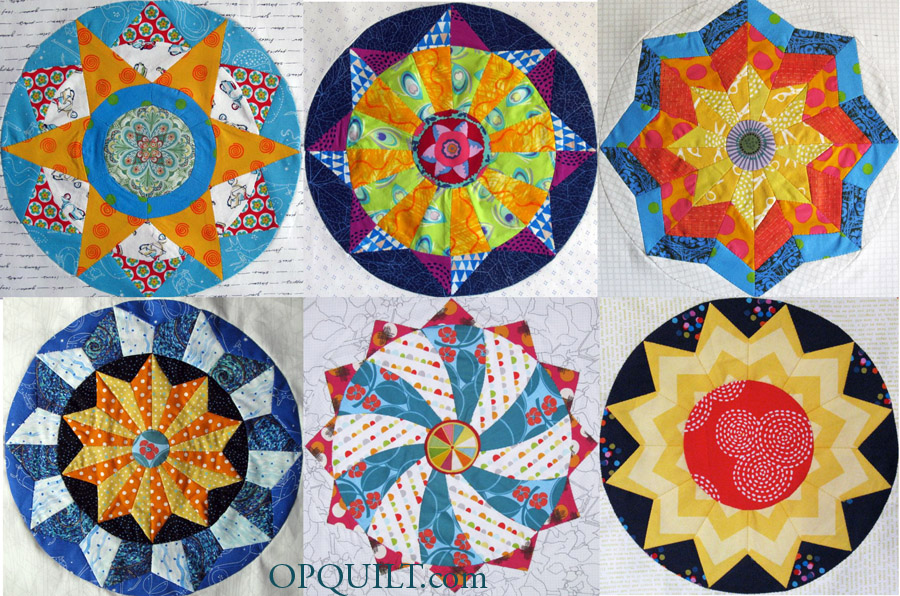
Welcome to my series of English-Paper Pieced Circles! I decided some time ago that I needed a new hand-work project for those night when you just want to sit around and stitch and watch TV or a movie. I liked circles, and hadn’t found any EPP versions, so decided to create my own. All my patterns are hand drawn, but they are free. I do test-make them to get rid of any quirks before I present them to you. I’ve already done five circles and this post gives you the sixth. Here they all are together:
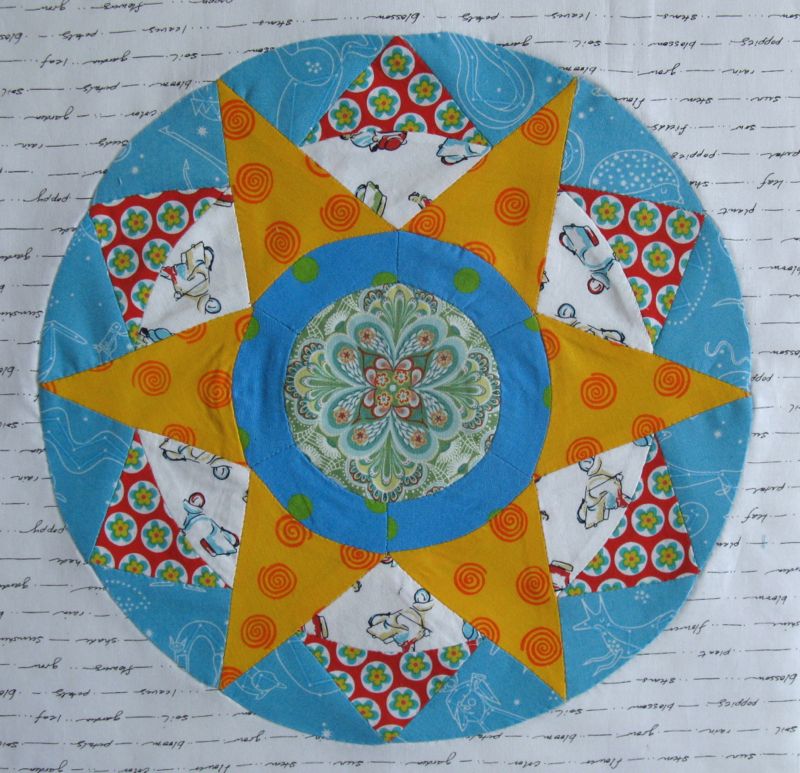
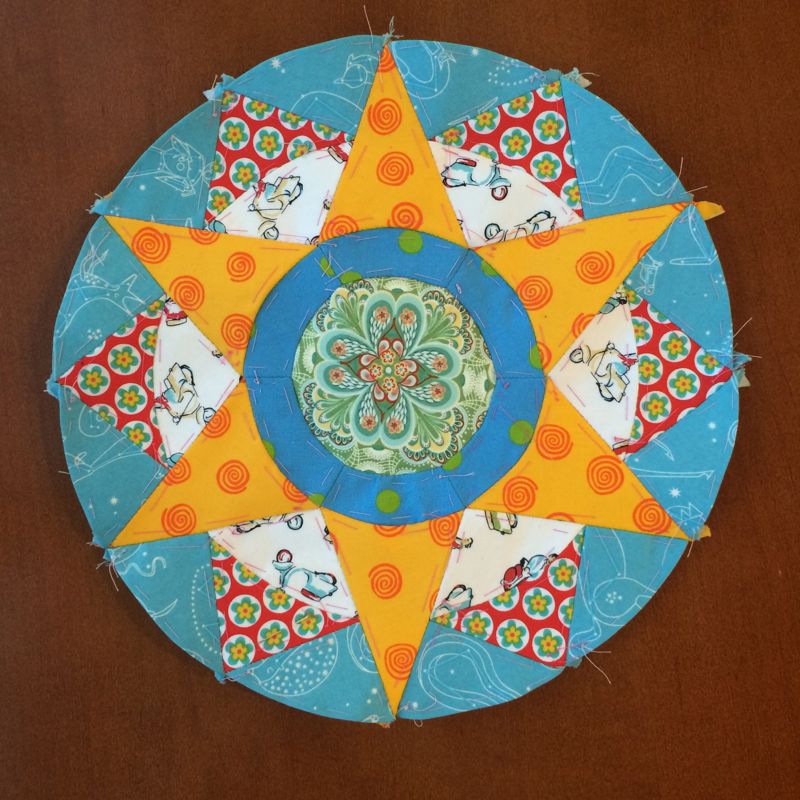
This sixth circle, based on a six-pointed star, is all English Paper-Pieced, except that I do appliqué the larger circle onto the background square, as the results are better that way. And since this center circle does not need go over a series of joining seams, it can be paper-pieced right into the circle. I can’t remember where my inspiration for this one came from, but I do like that secondary star pattern that forms in-between the golden star points. The center of this star is suited to a medallion-type piece of fabric, so drag out those large prints and see which one works.
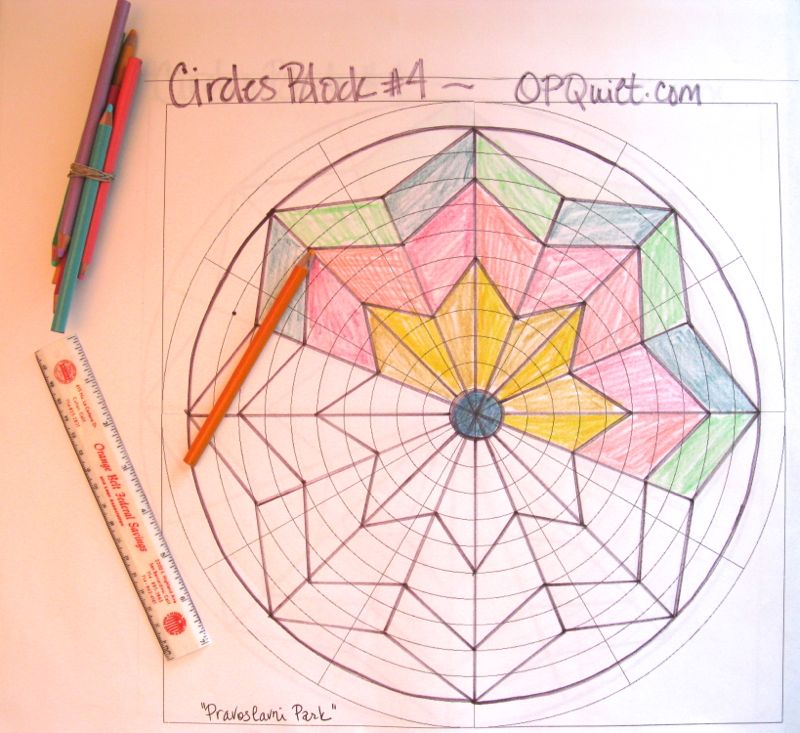
As usual, these blocks start with a hand-drawn circle, and then I trace off the patterns. And then I realize that it would be better if I had one more of THAT star point and one less of THIS arc.
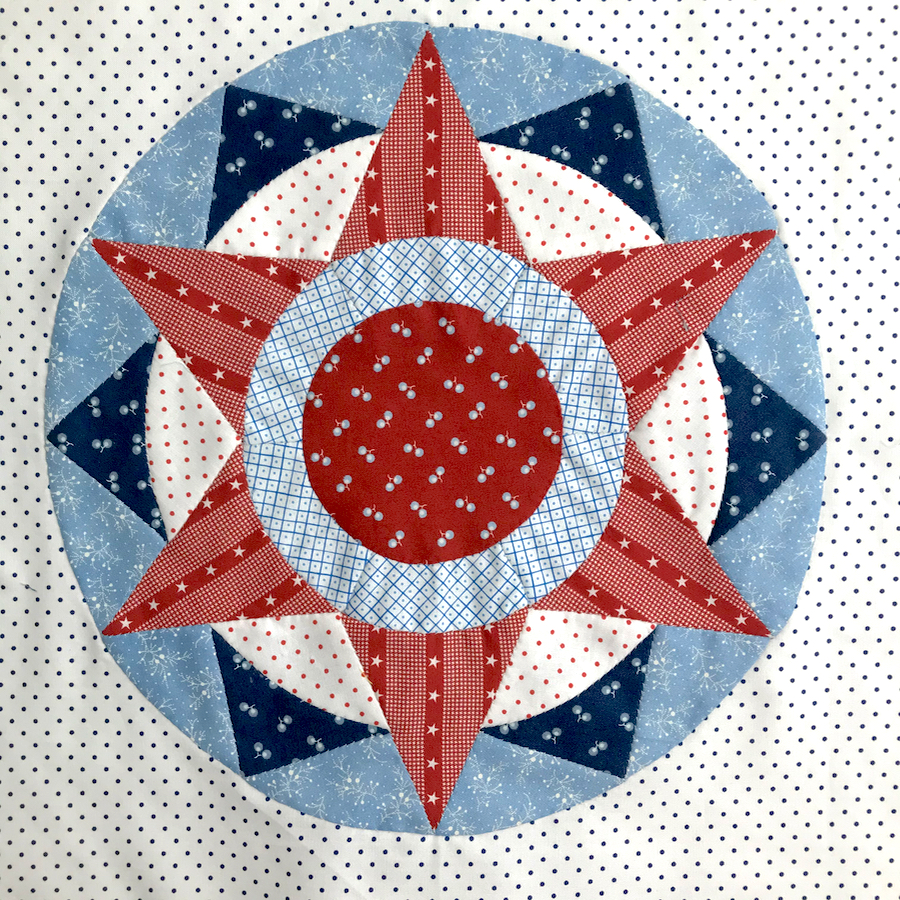
The free patterns are now returning (Red, White & Blue version is above). I request that you not distribute them, but send people here to this website to get them. Click to download a PDF file:
Please remember to set your printer settings to 100% and check the little scale square included on the pattern. It should measure 1″ in size. Illustrations below are with the OLD version of the pattern, so it may vary from what’s included now.
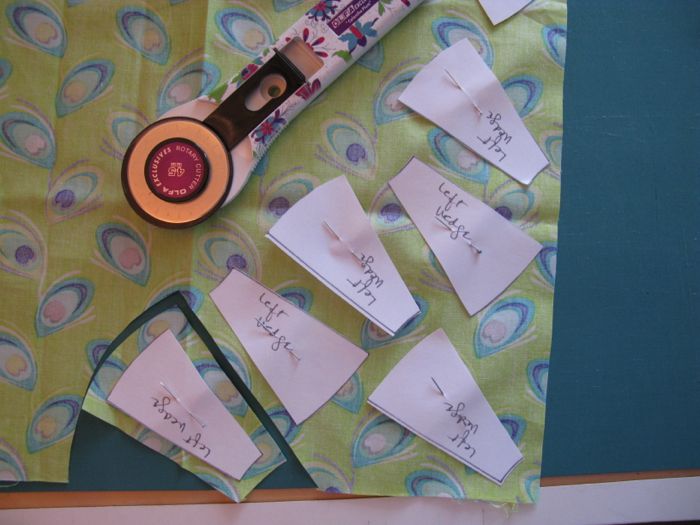
This time I didn’t staple the wad of three sheets together, as I used to in the past, but instead cut more carefully around each piece. Tedious, but they go together better at the end, I think.
I’ve pinned the pieces on, cut around them, then I lay them out to check for color/pattern. I liked it so I moved forward.
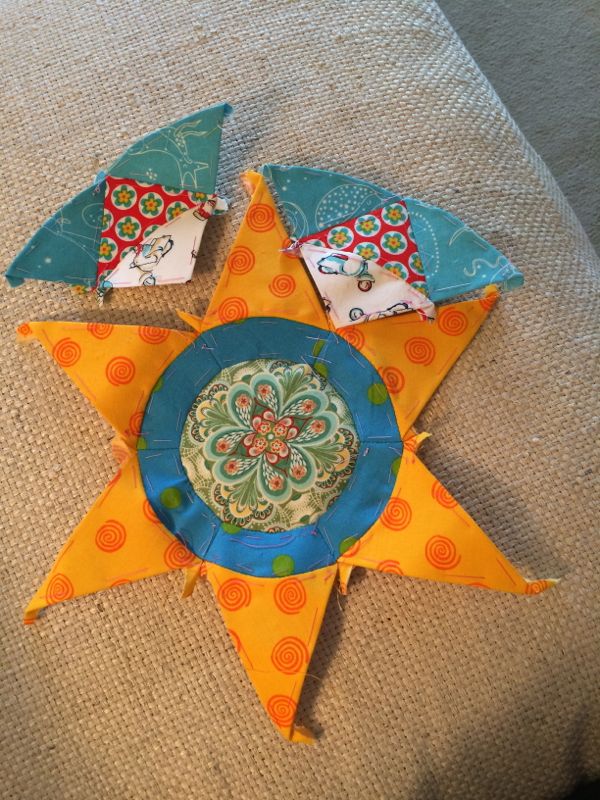
I did this circle in three different states at five different houses and a hospital room. EPP travels very well. Here I have stitched the ring pieces together, sometimes attaching them to the circle as I go. Now I’m starting to attach the star points. I think it looks like a clown hat at this juncture.
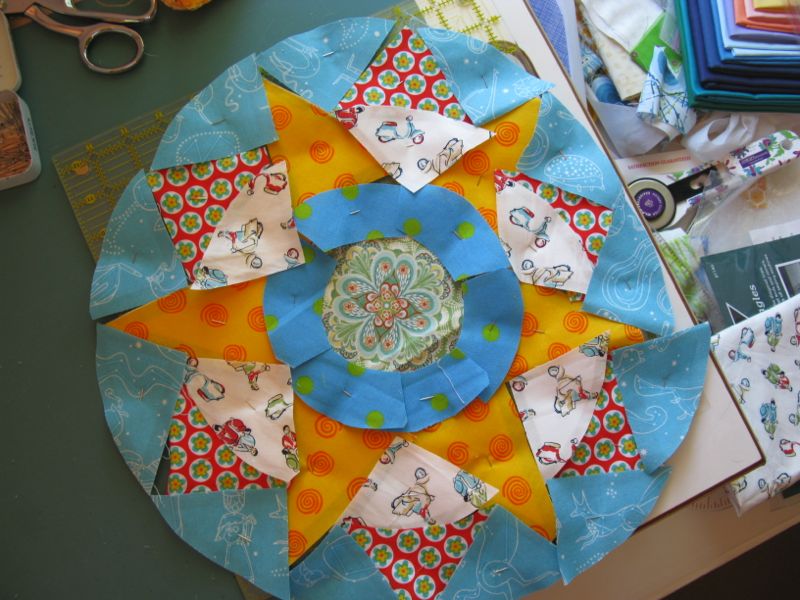
I try all the points on, lining up with the seams in the blue-and-green polka-dotted ring. I stitched them on, one by one and set it aside.
Next is stitching the inner sections together. First join the upper small star point (red) to the lower wedge (white). Then attach one (blue) arc to the side, then the other. The first time I tried this I got all confused, but remember to lay the longer flat side of the arc along the small star point and you should be fine.
Trying this out.
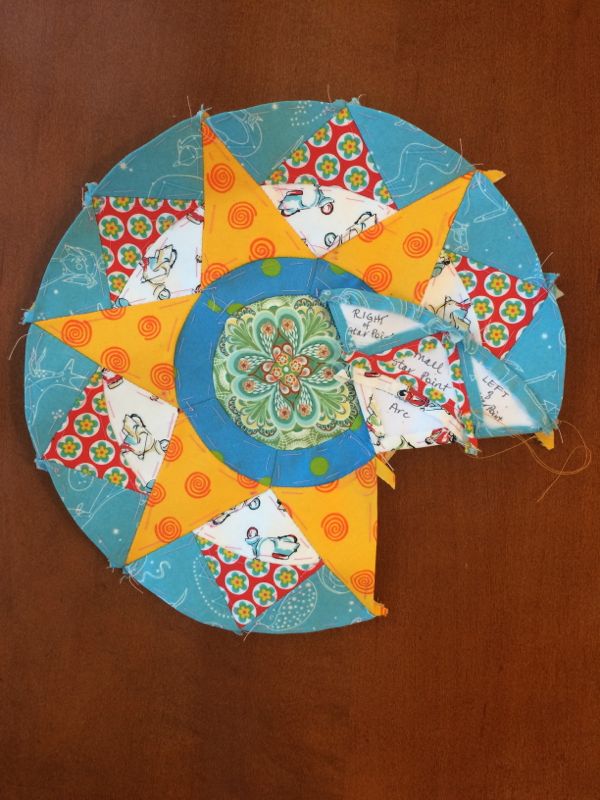
I took this photo to show how I attach those inner wedges: first one side, a stitch at the point, then the other side. I also take a stitch at the top of the blue arcs, holding one to the next.
Ta-DONE!
I lay the circle on my 14 1/2″ square of background fabric. I’m visiting a brother-in-law in the hospital at this point and am doing this on his bedside table while he is sleeping, so instead of being able to iron four neat creases into the background fabric to help guide me for placement (as before), I finger-pressed in what I could and eyeballed the rest. As you’ve noticed, there is a bit of extra fabric all around the circle, so I’ll be able to correct any missteps later. It was at this point I realized that my center medallion was not centered on its axis. It was kind of keeling on its side, pointing a bit to the Northwest. AAAGH. I still appliquéd the circle down and checked my suspicion with my husband when I got home from traveling. Yep. It’s a re-do.
The circle without its center. I just snipped loose the stitching (it’s amazing how easy it was) and centered it again. This time I loosely (about a stitch per seam) basted in the center and checked it often as I did the regular EPP stitch. I did this step as we drove to see our grandson at his eighth birthday. Circles on the move, I say.
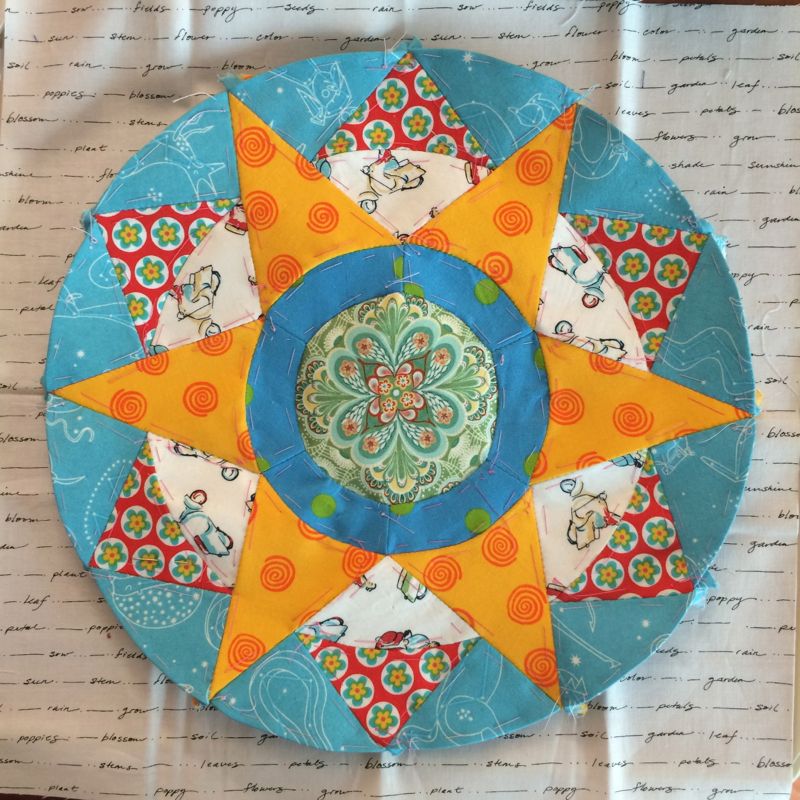
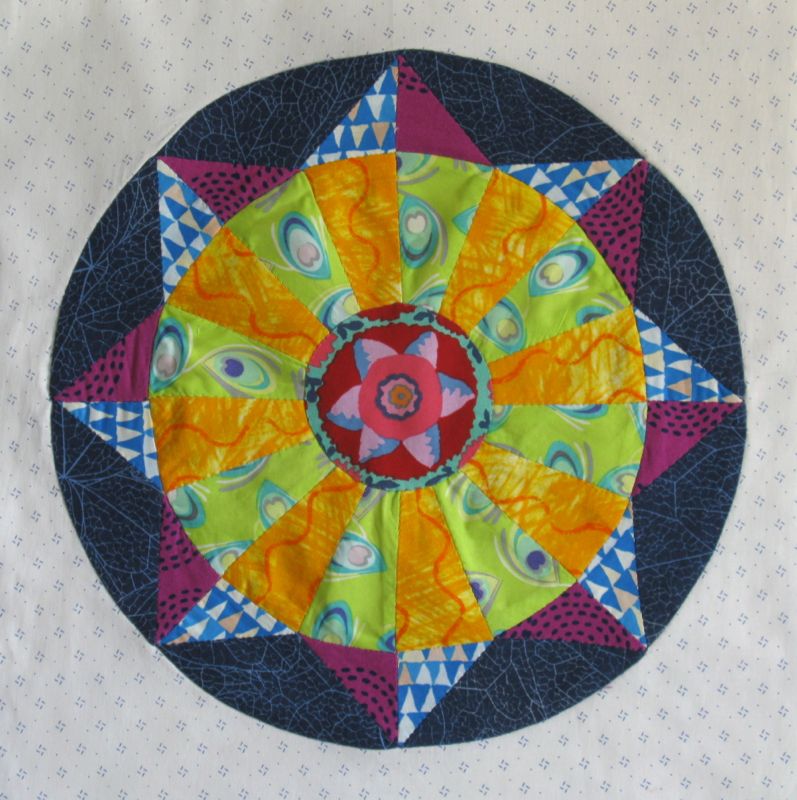
So here it is. . . all done, and ready to go into the quilt. I made this circle up in a different coloration and will show it to you at the next post.
But here are the first six, arranged digitally. I hope you have been able to keep up with our progress, but these patterns will be here for a while if you haven’t.
Now come back for the next post, where I show a completely different look to this circle.
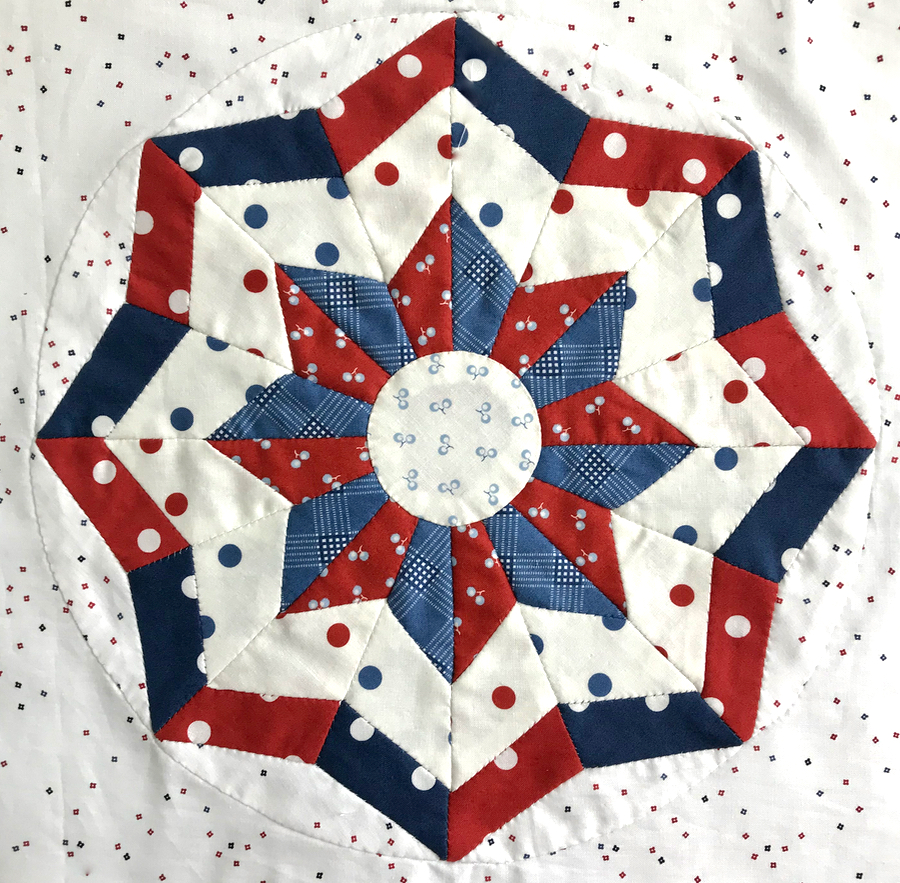
This is the fifth in our series of circle blocks, inspired by circles I’ve seen in my travels, as well as found on other quilts. I think this one was found in Barbara Brackman’s Book, Encyclopedia of Pieced Quilt Patterns and modified slightly. I chose an eight-pointed star to keep the variety in our English Paper-Pieced blocks. I assume you have some knowledge of English Paper Piecing, which is the method of printing out a pattern, cutting it out, then wrapping and sewing your fabric over the little pieces before sewing them together. When I read that last sentence, I know for sure we quilters are a bit insane.
A word about cutting out the pieces and another couple of words about fabrics. The patterns are drawn to the best of my ability, and although I long to be a machine, cranking out the patterns, I am not. So sometimes I might cut the pattern right on the line, sometimes I may fudge and cut it slightly inside the line and sometimes I cut it on the outside of the line, just like it used to happen in those Famous Old Days.
My favorite fabric to use is one that has a soft hand, and is 100% cotton. Why? Because I need to be able to shrink up — using a hot steam iron — any excess caused by my human imperfections. All the fabrics above, except for the green print, are those type of fabrics and after working the circle, they lay nice and flat. The green ones caused many moments of ill will at the ironing board, because it is a sheeting, like what you find in a batik and is very tightly woven. Many Art Gallery fabrics are made from this type of weave. This fabric generally doesn’t move or shrink or give once it has been stitched. It is what it is, so if you need to shrink in a bit extra of the ease. . . um, not happening. I know that when I quilt this thing, I’ll put some extra stitches in those wedges and they will flatten out and be fine, but there were some tense moments earlier this week when I discovered the problem.
The free patterns are now returning (Red, White and Blue version, above). I request that you not distribute them, but send people here to this website to get them. Click to download a PDF file:
Please remember to set your printer settings to 100% and check the little scale square included on the pattern. It should measure 1″ in size. The illustrations of the patterns below vary from the newer version of the pattern.
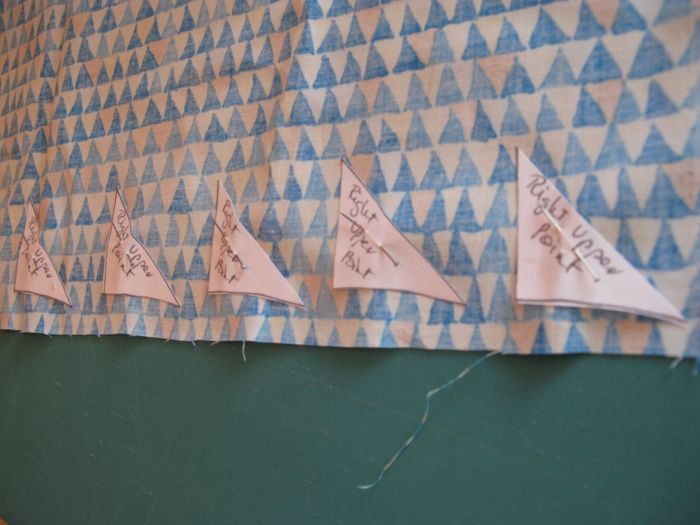
Those outer arcs I knew would be confusing once they were covered with fabric, so I prepped up the pattern by drawing arrows pointing to the top center-most point. This will help when I try to sew them together later. (I should have drawn them on both sides, as I ended up putting the printed side UP. Sometimes I am my own worst sewing enemy.)
I wanted to try to fussy cut some chevron fabric so that the zigzags were going down the middle of the double-wedge piece. I matched the chevrons, then lay on the pattern.
And once I’d sewn a few together, I just didn’t like it. Call it a gut feeling, but it just didn’t feel like it was made of the Right Stuff. Back to the cutting board. I printed out another set of patterns, cut them apart, and started again:
Remember to be aware when you are laying out your pattern. Mine are laid with all the printing UP. And yes, I can see where I should have trimmed off those pieces a bit. So don’t be in a hurry.
Again, I use my rotary blade to cut the fabric roughly 1/4″ away from the paper. I can trim it more closely when I am hand-sewing if I want.
This is from the BEFORE block, but you can see my general layout.
If you have a motif and you want to make sure your circle is centered, one way is to fold the pattern into fourths, and put the tip of the fold in the center of your motif. Pin one side, then carefully unfold and pin the rest.
I stitched all my wedges together, then I constructed the star-point ring: I sewed all the star points together, then joined them to the blue outer arcs.
This is my attempt to figure out if I wanted the blue-triangle fabric over the green, or over the yellow. I try out my combinations as I go. I’m spending a lot of time sewing this and I want to like it when I’m finished.
Blue-triangles over the yellow was the winner. Here is the back with all the paper in it. I will never tire of this view.
But boy, does all the paper make it lumpy. (And that unforgiving green sheeting-type fabric didn’t help either!)
I took out all but the blue outer arc papers and gave it a press. Much better. Now I need to audition that center. The first flower (above) was a definite NO.
I cut out several more. I use a running stitch around the outside, then laying it on a piece of fabric to protect my ironing board, I give it a shot of spray starch.
I slip in my cardboard or plastic circle template, then lightly press it, pulling that thread taut to draw the gathers up around the circle.
I turn it over and give a good press. Pick the iron up and down so you are NOT sliding it around–you want your circle to be centered, not skewed and moving the iron can throw it off center. You can moosh it into place with your fingers if it does move off-center, then press it again. Let it cool, then cut the thread to about 4 inches and slip out your template. Tighten the thread back up again.
Aren’t we having fun? Yes, I tried seven different circles. I do keep these little circles though, as they may come in handy further on in our series.
You can choose to English Paper Piece your outer edges onto your circle (pattern is here: EPP Corners) but I think this method of appliqué yields a better product. Prepare a square of 14 1/2″ fabric, then fold it into quarters and give a light press to give you some guidelines for placement.
You get to decide how you want your block placed. This one emphasizes the outer points.
This one emphasizes both the outer points and that cool inner square thing that is happening around the wedge circle. I like both placements, but went with this one.
I smoothed out my circle onto the large square, then used appliqué pins (you can use regular pins) to attach the circle to the background. I leave that mess at the edge of the arc to deal with as I come to it, as I am appliquéing around the circle. When I do get there, I snip out the extra seam allowances from behind to remove bulk, tuck in the raw edges, smooth out the outer line and stitch it down. (I wrote about it on Circles Block #3.) Monkey with it until it is a nice and smooth outer line.
I know there is a lot going on in this little corner of your sewing, but be patient and work with the cloth, use the pins and the tip of your needle to smooth the fabrics into place, and it will happen.
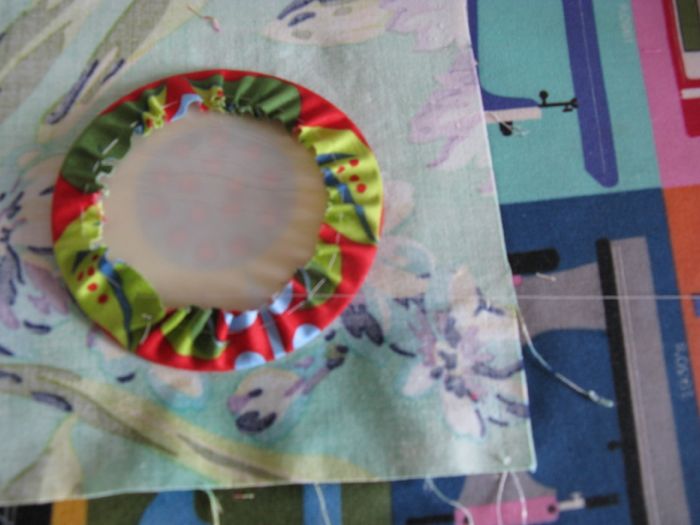
After this large circle is appliquéd on, I cut away the background fabric from behind the circle, leaving a 1/4″ seam allowance. (Again Circles Block #3, shows this step.) Center your chosen small circle over the hole. I like to do this on a hard, flat surface, so that there is no distortion. Pin, then appliqué it on, making sure you have sufficient coverage with no gaps.
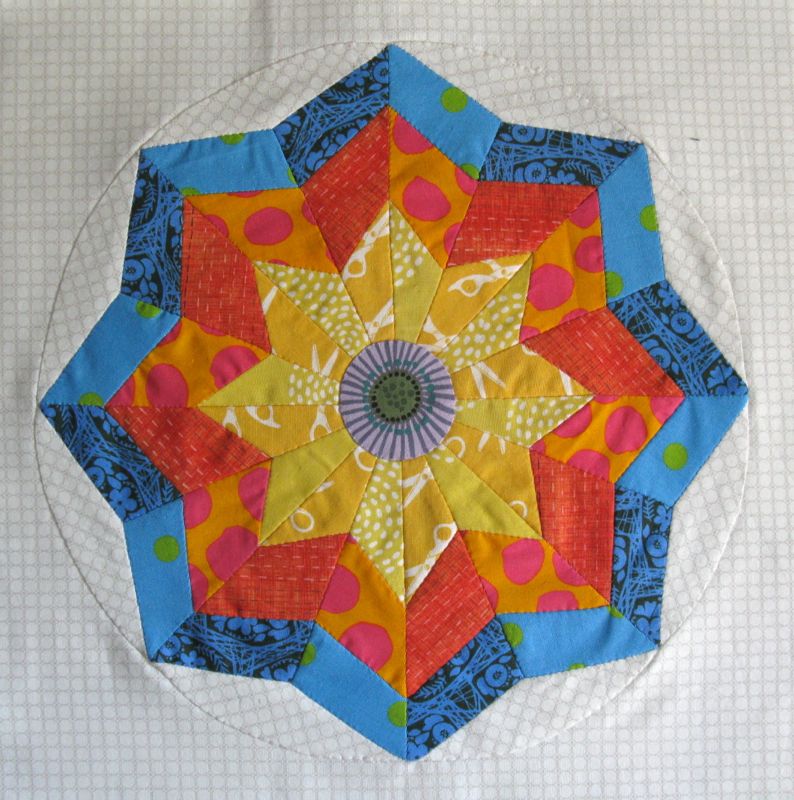
And there you have it!
I’m thinking I’d like to do at least twelve circles, but again, feel free to move at your own pace, stopping when you feel like you’ve done enough. I do want to remind you that Downton Abbey is just a short three months away, so you may want to get a hand-piecing project to do in front of the TV come January. These circles might work for you. If you do make a circle, shoot me a photo and I’ll post it up here.
Since this is a free pattern, please do attribute the source of this to Elizabeth at OccasionalPiece-Quilt (or OPQuilt.com) and do not print off copies for your mother or your friends. Please direct them here to get their free copies. Many thanks.
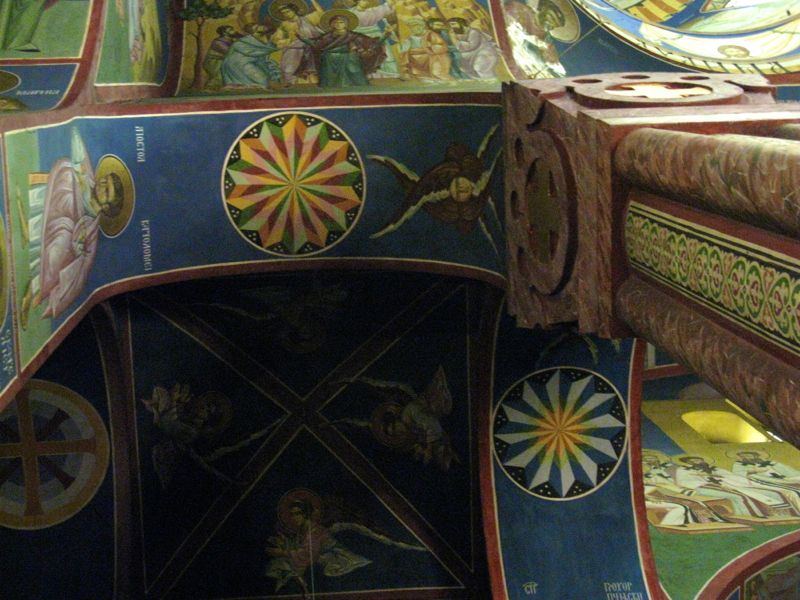
Here is the fourth circle in our EPP Sew-A-Long, another circle taken from Ljubljana, Slovenia in an ornately painted church. I chose not to make the outer arcs in a different color in order to let the star points pop out of this eight-point star. (If I were doing this one again, I’d make the arcs in a different color. I just like the look of that circle shape.)
Here they are all together, all different, but they play nicely together, I think. I was asked about color selection for my blocks. I have to admit I just have chosen my favorite fabrics from my stash. I do keep in mind that they need to coordinate, but I also know that the repetition of this circular shape would also tie the blocks together.
The free patterns are now returning (Red, White & Blue version is above). I request that you not distribute them, but send people here to this website to get them. Click to download a PDF file:
Please remember to set your printer settings to 100% and check the little scale square included on the pattern. It should measure 1″ in size. Illustrations below are with the OLD version of the pattern, so it may vary from what’s included now.
As before, print out enough copies so you can make your eight-pointed star, then staple them all together heavily so you can cut them out without them shifting.
Again, if the pieces have no direction (are the same shape if folded along an axis line), lay them with the printing either up or down. If they are specific, like the point-pieces, lay them out on your fabric with the printed side facing the wrong side of the fabric, and then cut them out. Sometimes if I whack off too big of a seam allowance, I’ll trim it later as I’m basting around it. It’s all very forgiving, so don’t stress. There are more tips and instructions on Circles #3, Ljubljana.
The inspiration for this block came from a combination of the two above blocks. I wanted fewer points than are shown in the church paintings but I did like the division or the “layers” of points. Again, these circles are high above floor level, so they are a bit hard to capture in a photograph.
Here’s some “making” shots:
All three sections joined together, the left side and the right side done separately.
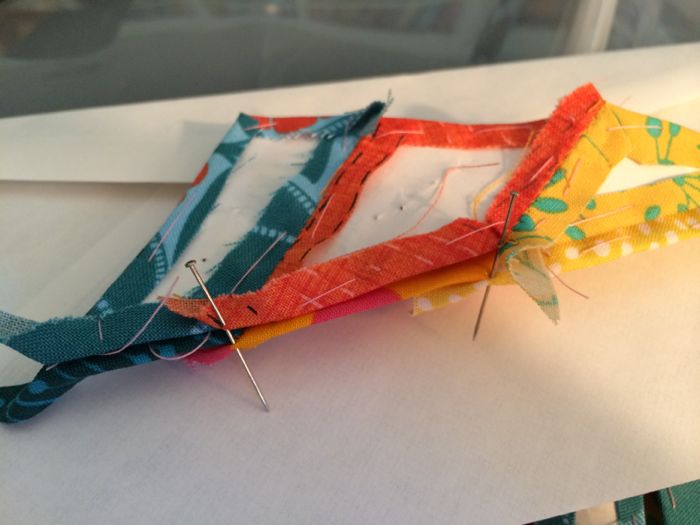
I put pins in the joining seams to keep them aligned as I sew.
I located the tip of the paper inside my basted piece and started sewing them together from the bottom, matching that teensy end first.
This is when I had one done. I laid out all the pieces to see if I liked it. I didn’t.
I had started in the usual way,with the fabrics like this, trying to lay them out as I think they will work in the design.
It looked okay as laid out, but after I finished one, I didn’t like it at all. I brought out more fabrics.
I liked this better, but I kept trying. As usual, I try not to obsess too much about perfection in design and color and pattern and all those other things we quilters worry about. Scrap quilts can sometimes boggle our minds as they don’t fit together as easily as those ones we make from one line of fabric, that line of fabrics perfectly keyed to work together. These kinds of quilts can stretch us as quilters, as well as teach us patience and confidence. But it’s good practice to make up one point of your star to see if you like it, knowing that with a few snips, you can change it out. I kept doing this until I was happy with my choices, and again, made one more star point to check.
I liked it a lot better. Carry on!
This is the photo I took this morning before I starched and ironed it, and you can see how it looks, all soft from the handwork.
Back.
I used the same technique I used in Circles #3, of appliquéing the large pointed circle onto a 14.5″ square of background. Then I appliqué that smaller center circle on, cut out the underneath, snipping away the yellow points. Before I’d done that, it was a bit lumpy there, but it all flattened out once I cut away the points.
I love that color of blue against that tangeriney orange in the second division.
A couple of quilters have written to me, showing me their circle projects. Here are a couple: