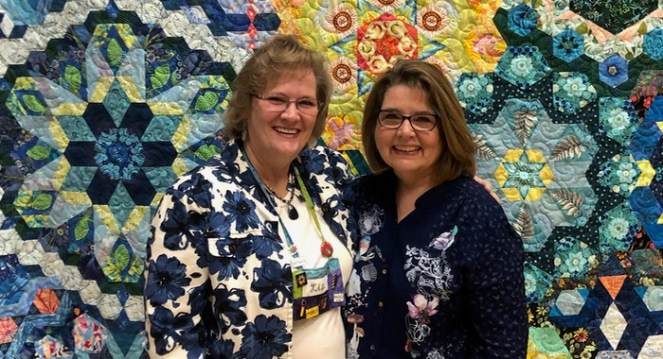
This is the Utah Valley, where the Utah Valley Quilt Guild lives, meets and has way too much fun (check their website to see what I’m talking about). In April, I was invited as their National Teacher, an annual honor, to present and to give a workshop. As I was born and raised in this valley, it stands to reason that I would know some people here…
…like Lisa, my “minder” and a sweet friend who recently moved here from SoCal. I was actually invited by Brenda S., who is serving an 18-month mission for the Church of Jesus Christ of Latter-day Saints, and have looked forward to coming to speak to this guild for over a year. Thank you, Brenda!
First up: teach a Workshop for their Guild. They actually wanted two combined into one, and I loved seeing all the different houses-on-a-square that resulted from this class:
Scenes from class that day.
I knew that Leslie (L) was a total geneology expert, so we figured out (via an app that we are both registered on) that not only was she my 9th cousin, I was also ninth cousin with another quilter (R), too!
Lisa took me to The Quilter’s Lodge, where I indulged, and where we saw Simone’s fabric. Truth: I went back two days later. Actually, you should all go!
Next up: the Trunk Show, where I was to give my Abecedary of Quilts lecture.
Because they have their lecture after their workshop, all those class ladies when home and sewed their brains out, and came up with the beginnings of their Home, Sweet, Home and Merrion Square mini quilts. Impressive!
Lisa, as Quilt Minder, had too much on her mind and left hers at home–she later sent me a photo of how cute her quilt had turned out. I love this version!
The guild was really responsive, and we laughed together–I was so appreciative of their keen interest. I was also impressed with all the good projects this guild is doing, so much that I joined the guild before I left!
While I was at the Workshop, my husband went to an art museum in Salt Lake City, that because he is also a well-trained quilter’s husband, zeroed in on these two pieces that were there. It’s nice to know that others see our art in cloth and thread, and want to include it in their exhibits.
I thoroughly enjoyed my time with this quild; they are incredibly friendly and welcoming. Thank you, Utah Valley!
I’ve done several types of signature blocks, so thought I’d update my tutorial on how to make a signature block for friends. The basic kind I make (L) is a small block, that the people in the Bees I participate in, send with their blocks. The larger size (R) is suitable for a friendship quilt, which we made for our friend Lora when she moved away.
Cut one white, or light, 3 1/2″ square and two 2 1/2″ squares. I like to use the fabric that was in my block that I sent. (Click on any circle to enlarge it.)
Place the smaller block on the top of the larger block, aligning corners, right sides together, and draw a diagonal line. Stitch one-to-two threads away from this line, towards the corner. This is the same technique used when making snowball blocks, in order to give room for the fabric to turn over the stitching line. Trim off the excess corner, leaving 1/4″.
In Circle 1, I’ve trimmed away the excess fabric and pressed the block. The center should measure about 1 1/2″ wide (Circle 2). In the last circle (seen from the back), I pressed a scrap of freezer paper, shiny side down, to the wrong side of the white strip in order to stabilize the area where I’ll be writing.
I’ve made myself a card that I place underneath the white area, to help keep my writing aligned; I use paper clips to keep it in place. I use a Micron Pigma 08 pen to write.
What to write on a Signature Block that is included with bee blocks? In our bee, we suggest: Name, IG name, the date (in smaller writing) and the city where the quilter lives.
When making the larger signature blocks (quilt shown above), I used a 6 1/2″ white square and a 5″ contrast square. It gave a good amount of room for Lora’s friends to write their names. I did back every white part with strips of freezer paper, and collected signatures from all the church ladies to give her a good send-off. Many wanted to write a message, but we encouraged them to just leave a signature.
I’m sure you can see the double stitching on the corner. Because this was a larger block, I did two lines of stitching on those corners, 1/2″ apart, then cut right down the middle when I trimmed. That yielded a sweet-sized HST to use for other projects.
Some time ago, I made myself a signature quilt, collecting names of those who were significant to me at that time in my life. Some six years later, all these sweet granddaughters who signed a block (above) have grown up.
Silver and Gold, 2013
In this case, I used the center of the King’s Crown Block (also the basis for the popular Meadowland block that is currently all the rage; see below), sending around white blocks of fabric backed with squares of freezer paper all over the country, asking them to write their names in pencil (which I later traced over with my Micron Pigma 08 pen).
However or whatever your need for signature blocks are, I hope these tips are helpful!
I’ve circled where I used my beemates signature blocks.This shows the signature blocks of my beemates set in the back of a recently finished quilt, like kiss marks (sweet thought!).I inserted the signature blocks in a row on the back of this quilt, with my “label” the same size and shape in lower left.
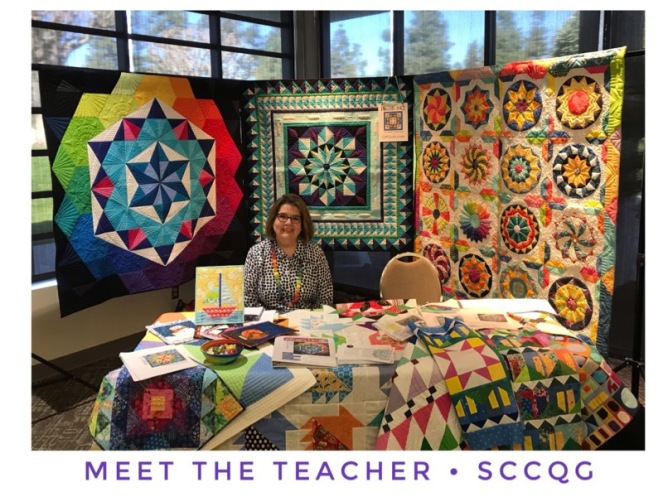
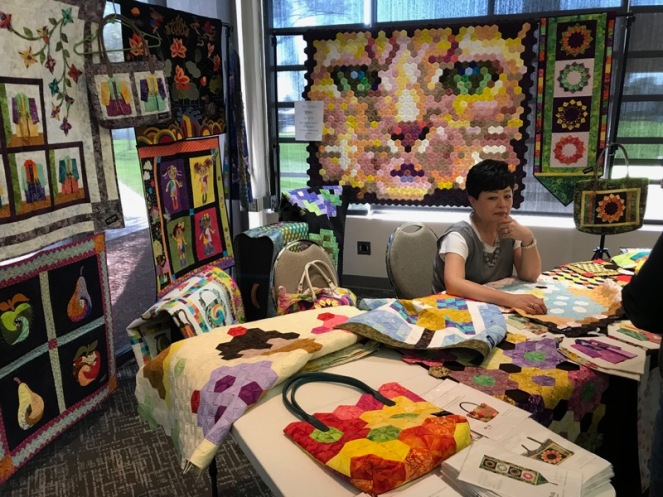
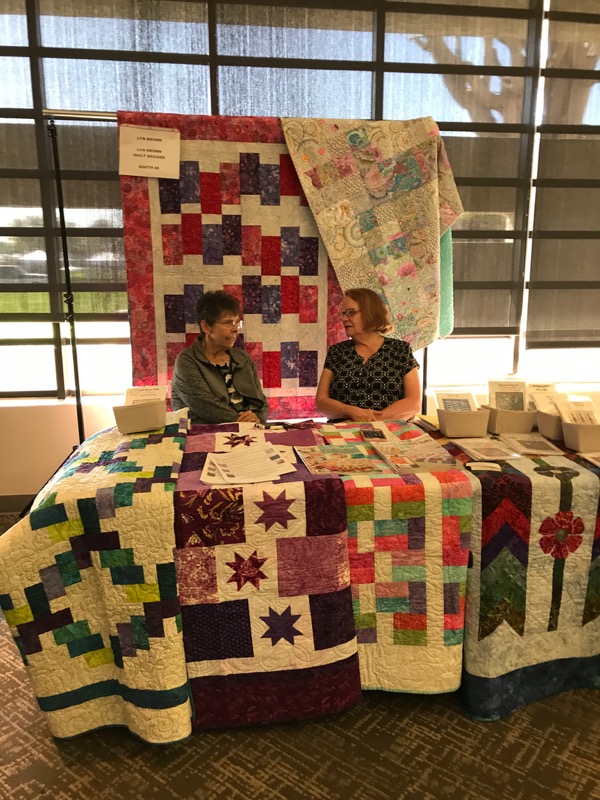
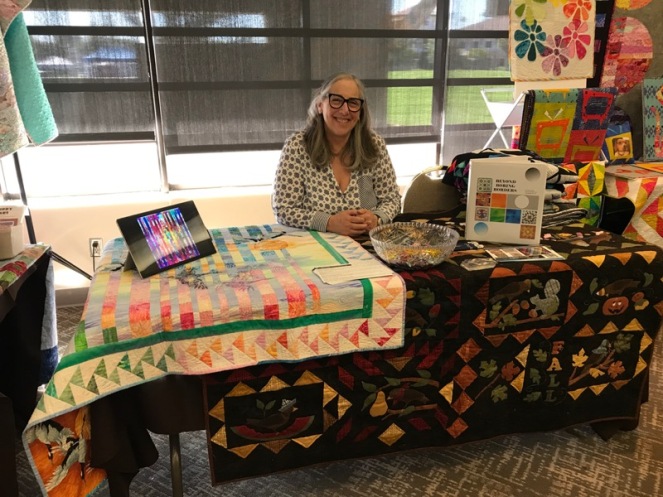
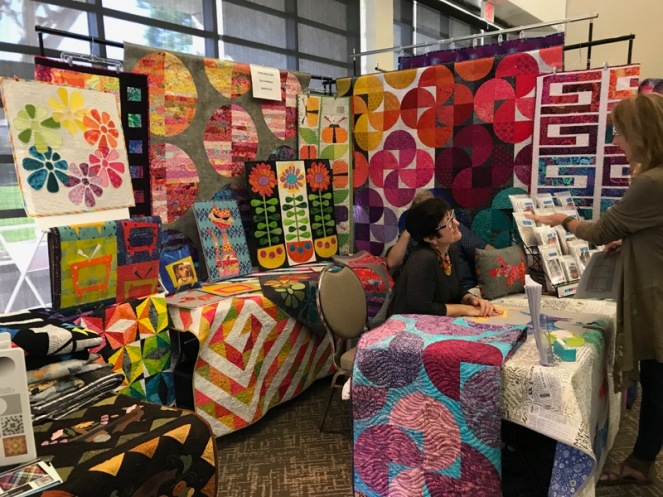
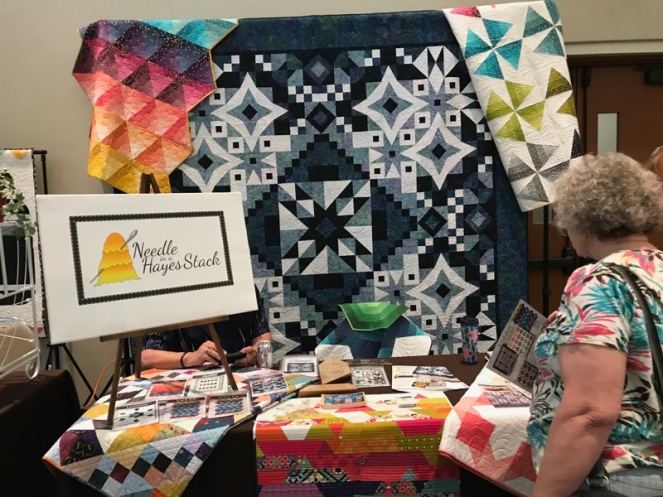
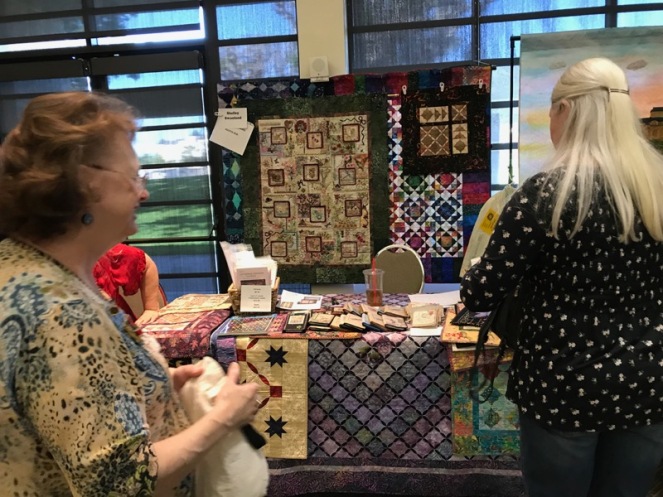
I participated in a new experience this month, when I signed up for a booth at the Southern California Council of Quilt Guilds‘ Meet the Teacher meeting. I had been encouraged to do this by a fellow quilter, and she was really helpful in sending me tips of what to do. In my more fretful moments, I searched the internet for more information, so I write this post to document my experience, to show what kinds of booths were there, to help others who may choose to do this. This post is picture heavy, but full of wonderful quilts.
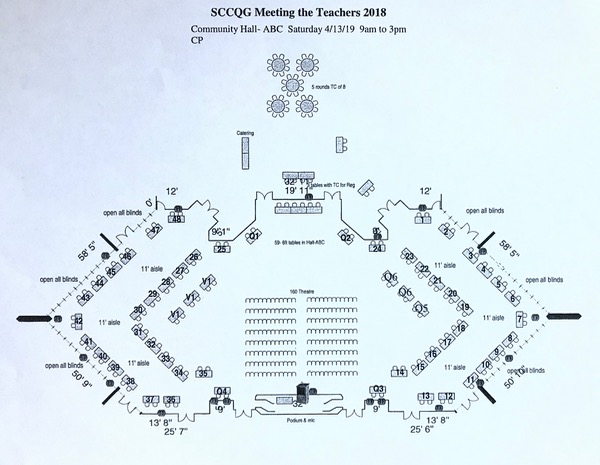
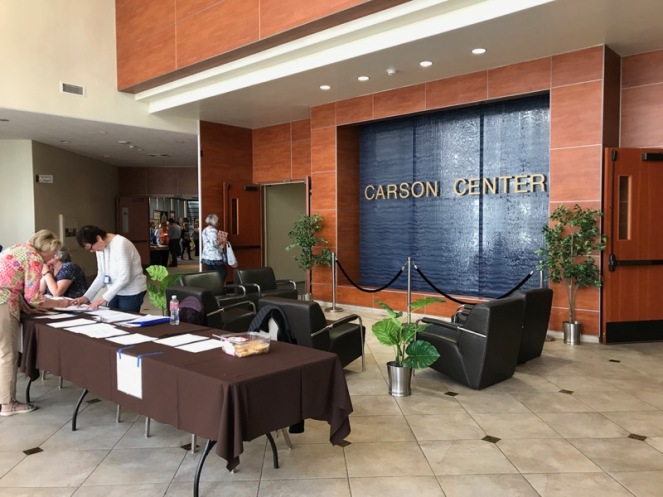
It was held in Carson, California at the community center. The area we had of this center was one large room, with “wings” of rooms, open to the main room. You could hear all that was going on, and it was a busy, fun feeling. We entered the area at the top of this paper, checked in (we received a cookie!) and went to our booth areas, which consisted of two chairs, a cloth-draped 8-foot table that was about 24″ wide. I was on the left side of the above diagram, next to a really lovely woman who did embroidery. The people on the other side didn’t show, so we used that table for eating lunch, as did others.
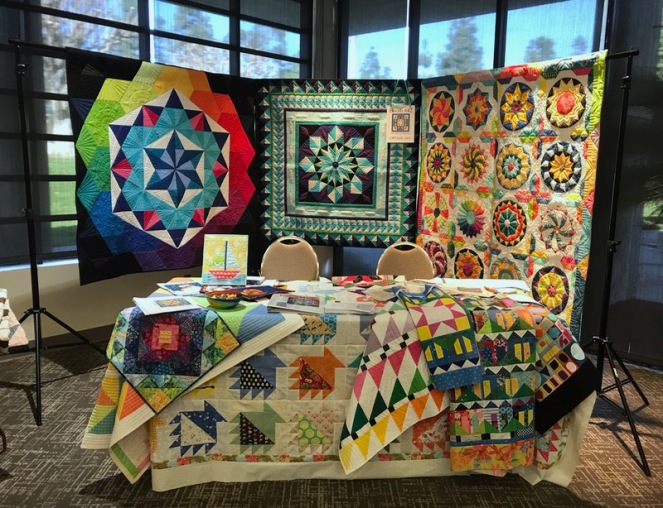
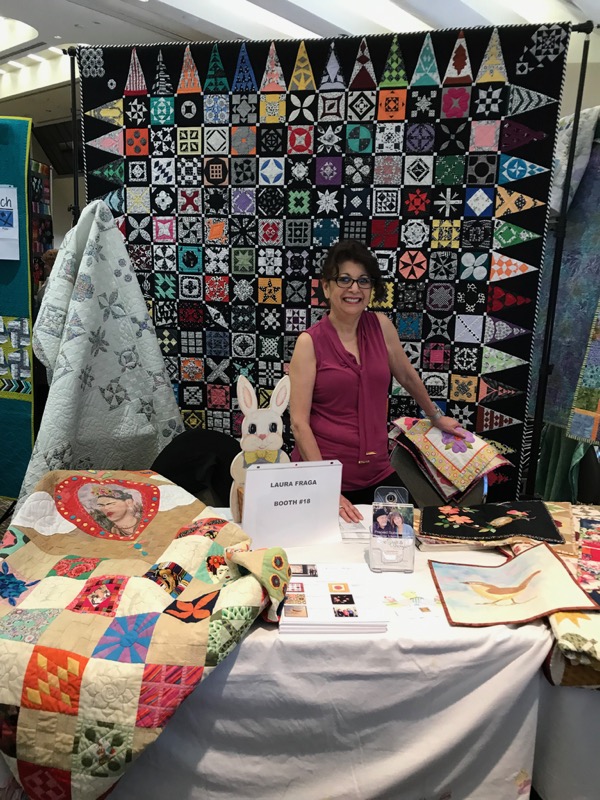
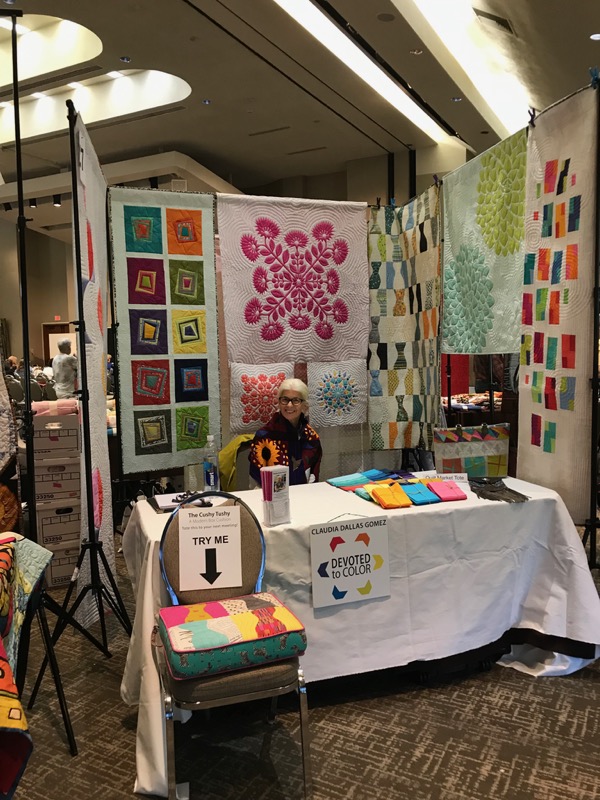
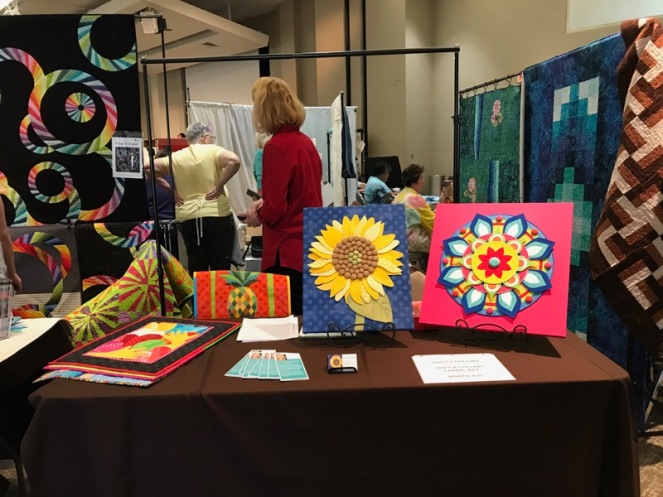
My booth at Meet the Teachers• April 2019
What to bring? Here’s a listing of what I would suggest (you can get more ideas from the pictures that follow this list:
• 1 or 2 quilt stands. We strung a pole (one of my HangIt Dangits) between the two so I could show three quilts.
• A sign for your booth. They did provide a sign, but mine had migrated and was two tables over (I found it later).
• Quilts that you want for background atmosphere and backdrop. You can see I draped the table in my basket quilt.
• A book showing classes you’ll teach. Keep it simple. The Guild Board Members always seemed to be in rush, so they don’t spend a long time at your booth.
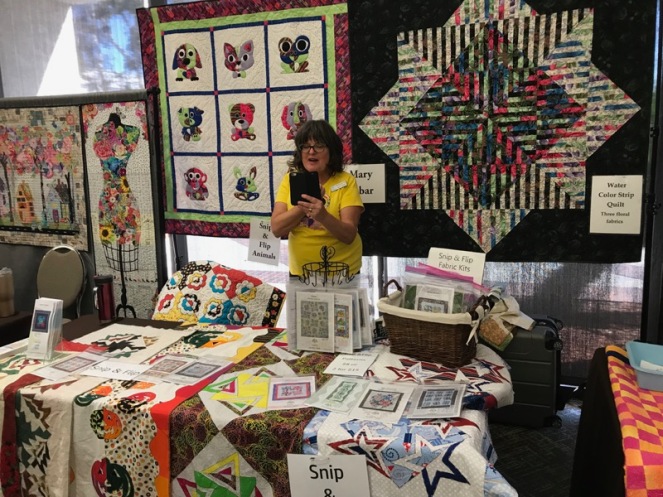
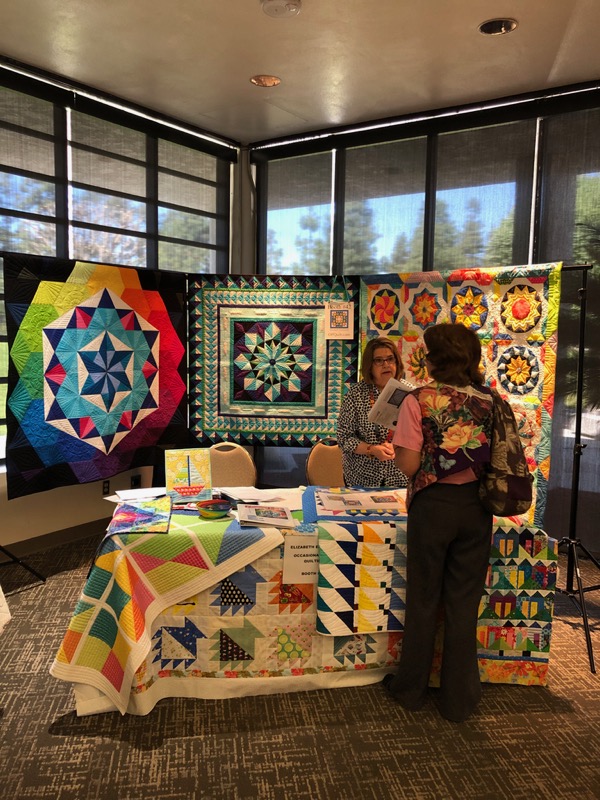
• Quilts that are samples of classes you will teach. These were invaluable, as people want to see the class samples. Many took photos of the quilts to show to their Guild.
• Bowl of wrapped chocolates. I went to the store and bought two bags of foil-wrapped chocolates (Dove Mixture and a Reese’s peanut butter candy). These were a hit.
• Fliers showing a brief bio, a photo, one of your quilts (if possible) and contact information. I did 100 half-sheet fliers which yielded 200. I put some out on the Flier Table in the front hallway, and offered up chocolate and a flier to everyone that came by. Because I had too many fliers, I wasn’t worried about running out.
• Decorative items for your table. I brought my Tiny Quilts, showing what was available on my blog for free. (I am not a pro on this one, but you’ll see other booths who had more.)
• Lunch will be a rush. While I did buy the offered lunch, I only ate about 1/2 of it. For us, it might have been better to have brought small grazing items, for when we were hungry, I think. We brought a small cooler that we tucked under the table, filled with three bottles of water (could have used four), a soft drink and some snacks and grapes. They had iced tea and water with lemons in it in the main welcoming area, it that interests you.
• I also brought a cushion to sit on, not knowing what kind of chairs they had. They were fine, but it was helpful to be a bit higher in my chair when I was doing business.
• Pen(s).
• Put an app on your phone so you can take a photo that will scan the contracts you sign. They carry away the copy, and you’ll probably want to know what you signed.
• Printed out calendars, with the dates you aren’t available blocked out. Most of these Guilds are working two years out, so bring three years’ worth of calendars.
• A helper. I brought my husband, and he was invaluable. They do have booth sitters that come around and can give you a break.
Here’s my Instagram post, with videos, showing bits of this day. We arrived about 8:15, and set up; we were ready to go in 30 minutes. At 2 p.m. it was all over with, and we packed up and left.
You’ll also be asked to give a 3 minute talk, and they are serious about 3 minutes. I wrote mine out, using one of my blog posts as the basis, and showed only two samples of things I could teach. Others brought oodles of samples to show and talked mainly about their classes. They have two helpers onstage to hold up your items while you talk. I’d suggest timing your talk so you know how long it will take, but they do have a woman at the front with signs, telling you when to get off the stage (they run a tight ship). I’m guessing the Guild board members basically want to see what kind of person you are, and if you are coherent. It can be a mind-rattling experience, so be prepared. Because I was, I thought it was fun. The talks go on throughout the day, with breaks in between every so often so the guild members can get to the booths.
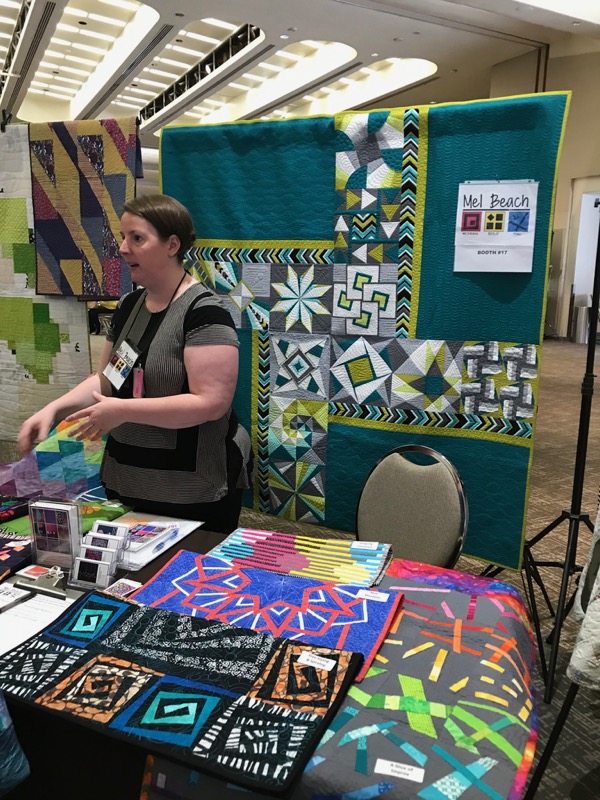
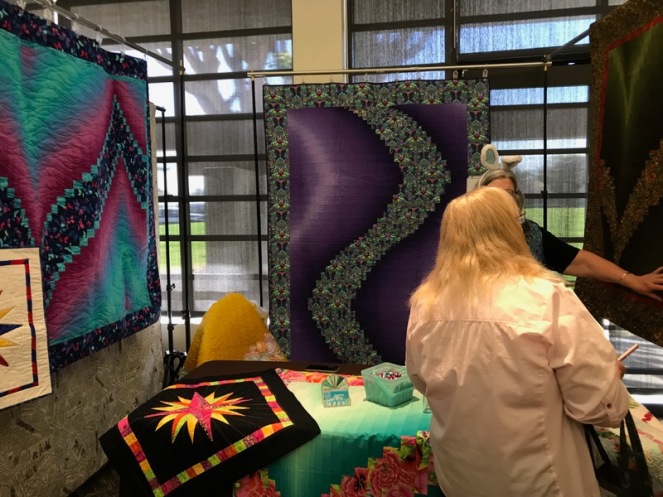
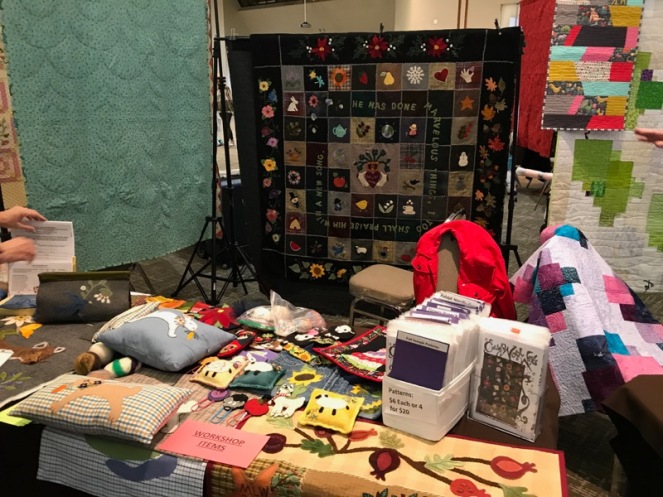
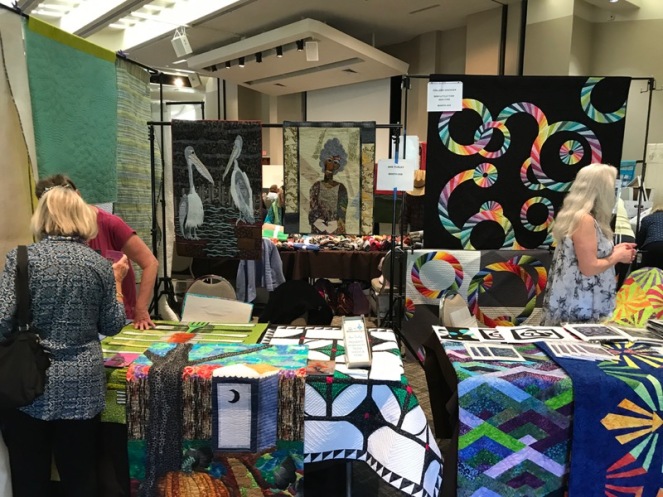
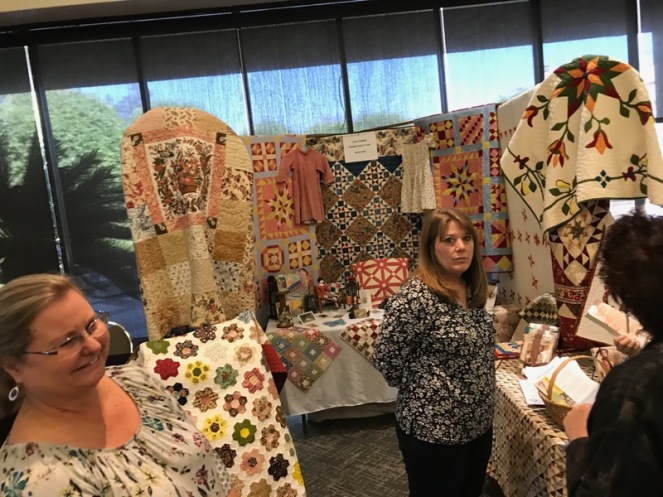
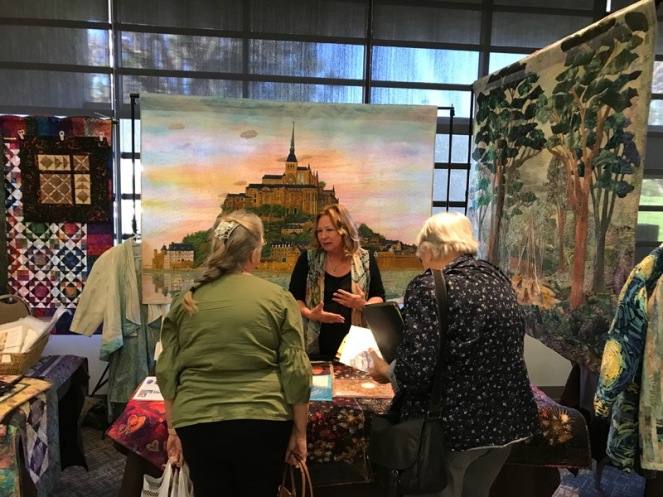
Here come the photos. They are meant to be helpful, if you are planning to do this, so draw from them what might work. For the rest of my readers, have fun looking at the quilts!
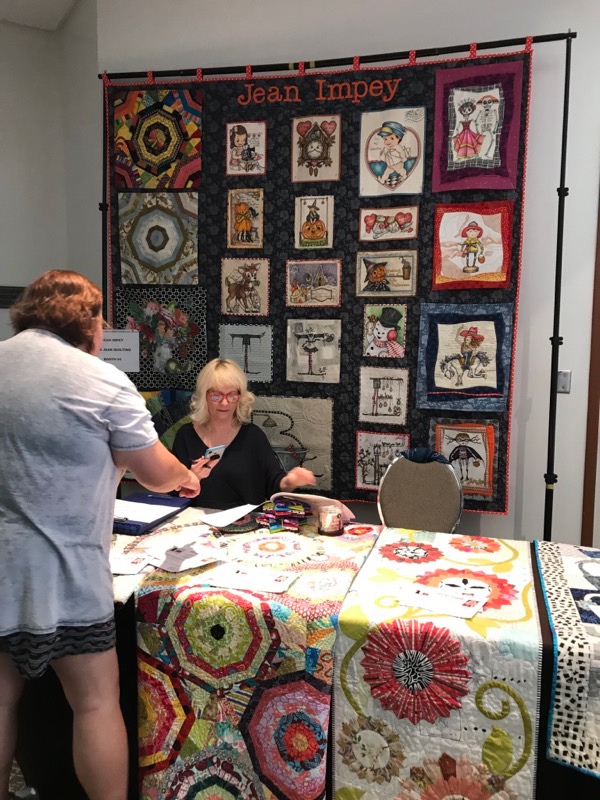
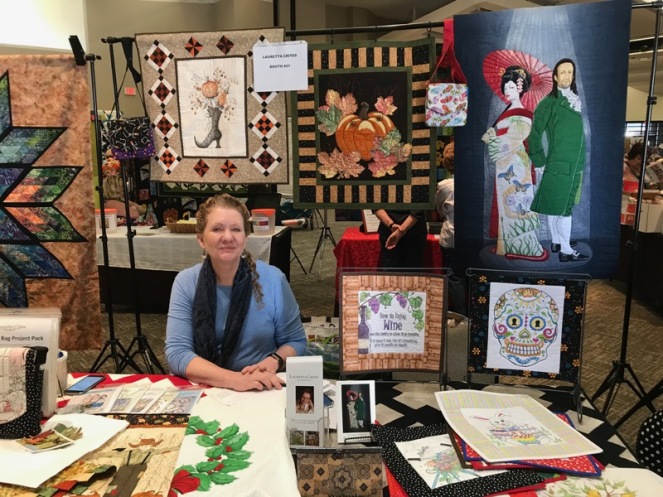
She obviously was a pro–with lights! They do ask you if you need electricity in your registration form.In case your booth shows the backside, I thought this banner was clever in showing her quilt and her name.
I want to take a class to make that bag!
Looks like she brought a skinny table to put behind her.
She wore bunny ears. I saw another woman with a tiara.Many brought things to sell, as you can see by her box of patterns.
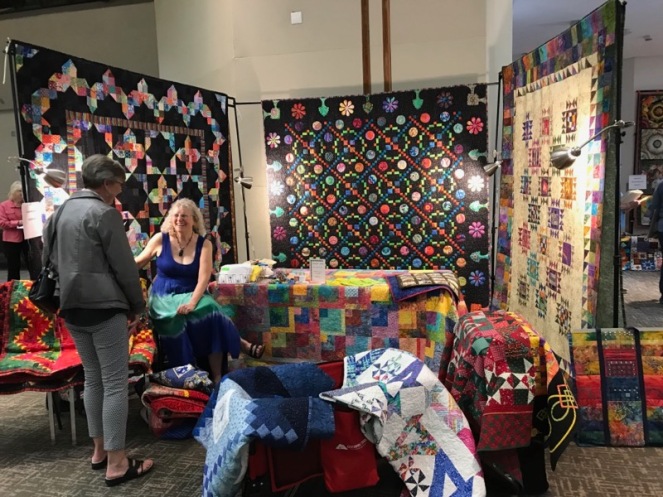
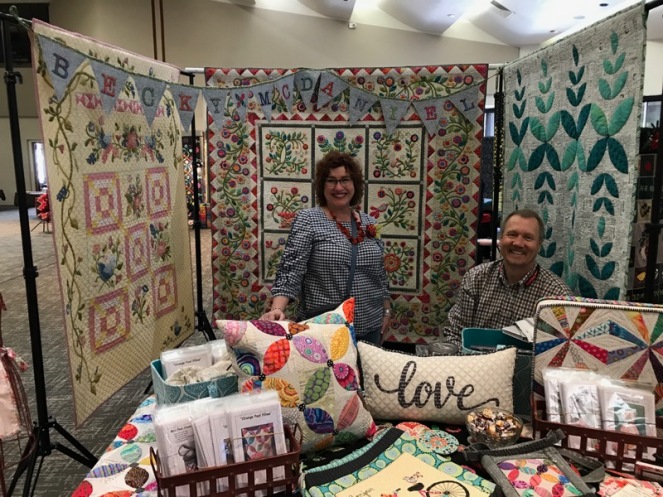
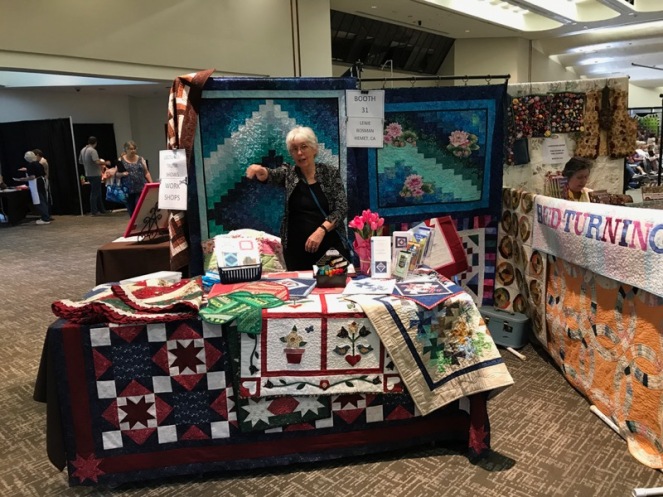
Becky is the one who told me I should do this, and is my hero. You can see how fun her booth is with her banners (I want to make one!). I met her while taking her cushion class (in front, right).
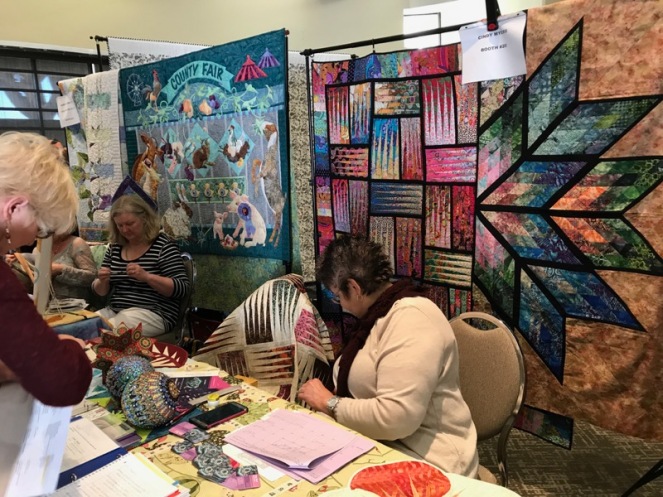
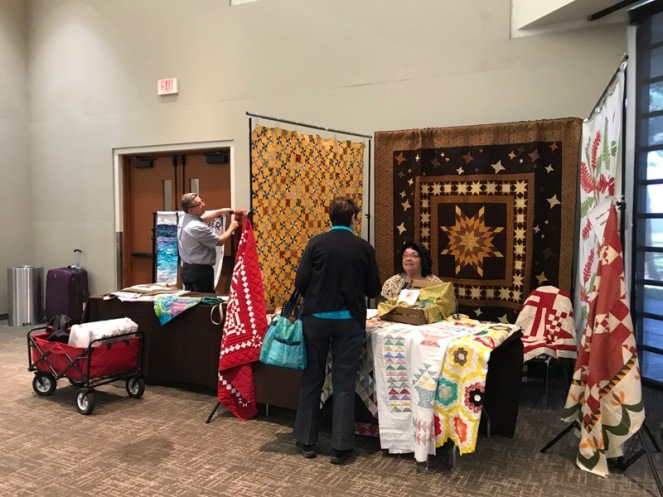
One of the guilds was selling rolls of donated fabric, so you are actually looking through a couple of booths to the row behind.
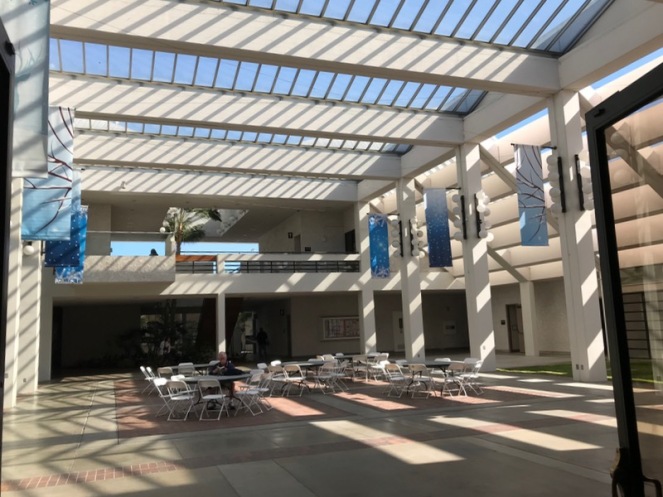
Courtyard outside. Beautiful location!
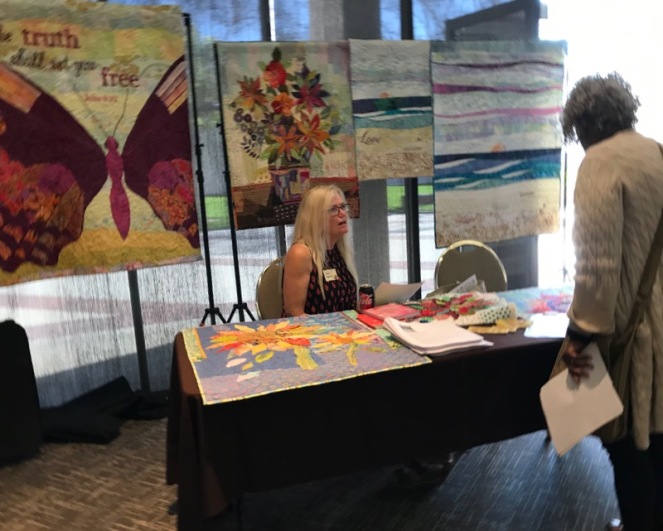
This is Sheila Collins’ Fabric Art booth, and she came down from Sunnyvale (Northern California). I loved her work!
I thought this might be a good excuse to get one of those cute little red wagons, but we brought everything in one giant suitcase instead.
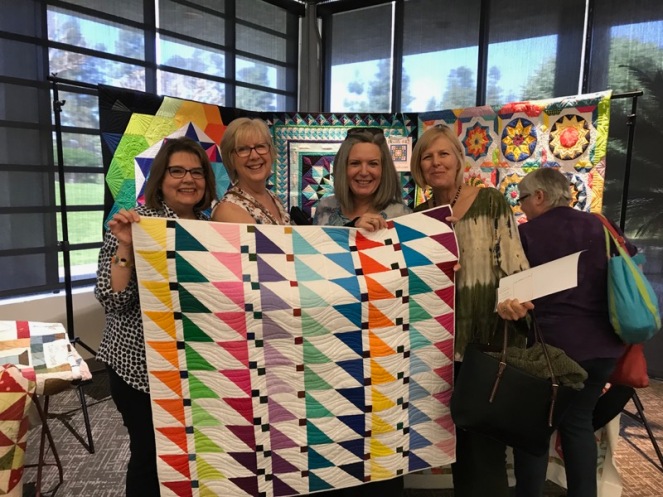
Posting with our local Modern Quilt Guild gals, who’ve chosen this quilt for a half-day guild workshop, along with my lecture.
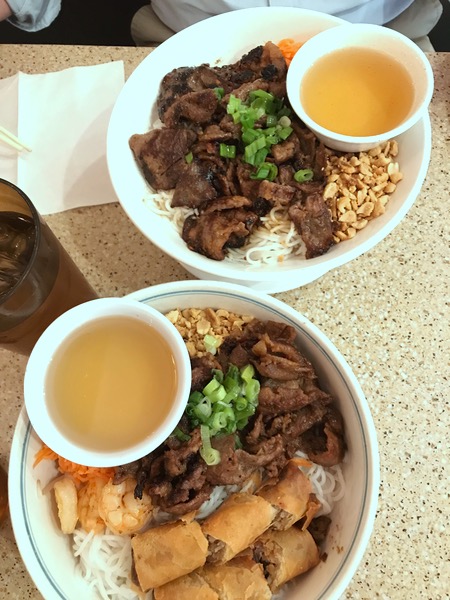
Two vermicelli bowls at our local Vietnamese place.
We drove home through intermittent LA traffic (part of life, here), arriving home tired, but happy. I put this photo here to let you know you won’t be cooking–go out and enjoy a meal after all your hard work!
Hanging from the thick strands of my wisteria vine, my baskets quilt found a home for a few minutes, while I took photos. Many of these blocks were made for me by my beemates in the Gridsters Bee, and while I was in recovery, I made some more. I finally got them all sewn up, after trying to figure out the arrangement, and got the borders on. I’ll send it off to Darby soon (I’m working on finishing another quilt top, and want to send her two), and then finish this up.
It seems like I’m in a Finishing Mode right now, and it feels good to get some of these quilts out of the cupboard and done.
This giant cookie is a first for me: first gluten-free recipe ever made, and first recipe that has tahini as an ingredient. Recipe from Joy the Baker. Review: I liked the tahini, but husband didn’t. Baked it in a 9-inch cake pan, it needed 10 more minutes baking than she said in her recipe, but 8 more minutes would have been better. I thought it was yummy.
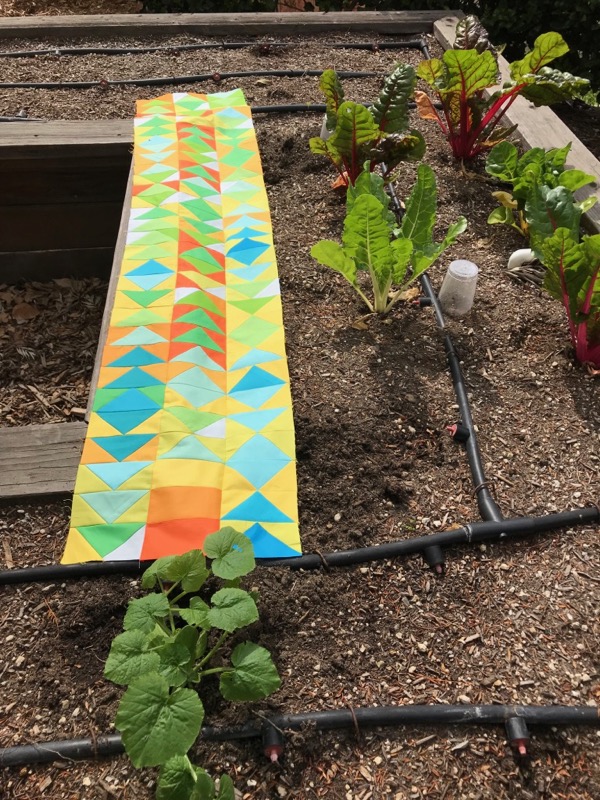
The garden is slightly underwhelming right now, as we’ve been eating the winter vegetables of Rainbow Chard and lettuce, but the addition of March’s blocks to my Temperature Quilt livens things up! I decided to plant my tomato seed directly into the garden, and then put plastic cups over where I’d planted, so I could keep it moist. I’m happy to report that all four varieties have now sent up sprouts. The big-leafed plant in front is a zucchini, from the garden store.
From food baskets, to a giant cookie, to gardens, this post is now at an end. To bring it full circle, the genesis of the basket quilt was that I had been saving food fabrics for eons, and finally decided I wanted them to go into baskets. So I close this post with some food quotes:
Since Eve ate apples, much depends on dinner. ~Byron
“Here, dearest Eve,” he exclaims, “here is food.” “Well,” answered she, with the germ of a housewife stirring within her, “we have been so busy to-day that a picked-up dinner must serve.” ~ Hawthorne
Better is a dinner of herbs where love is, than a stalled ox and hatred therewith. Proverbs 15:17