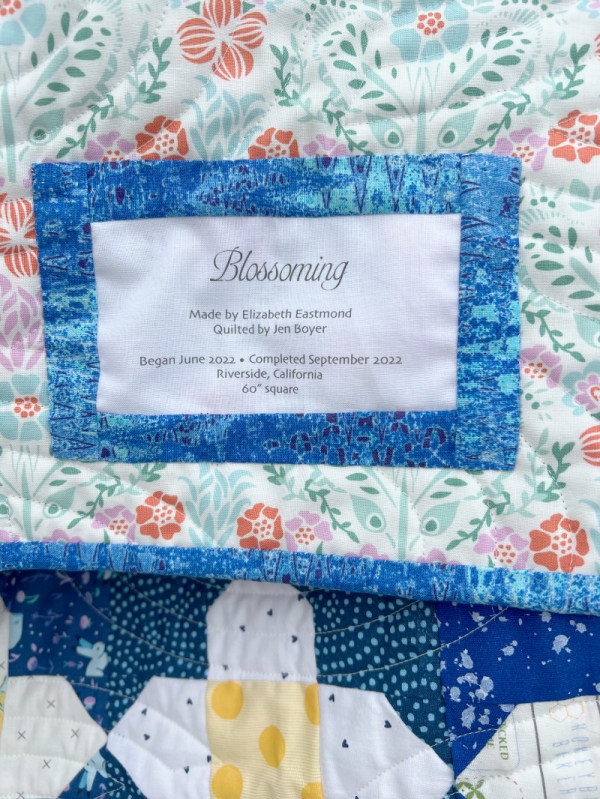
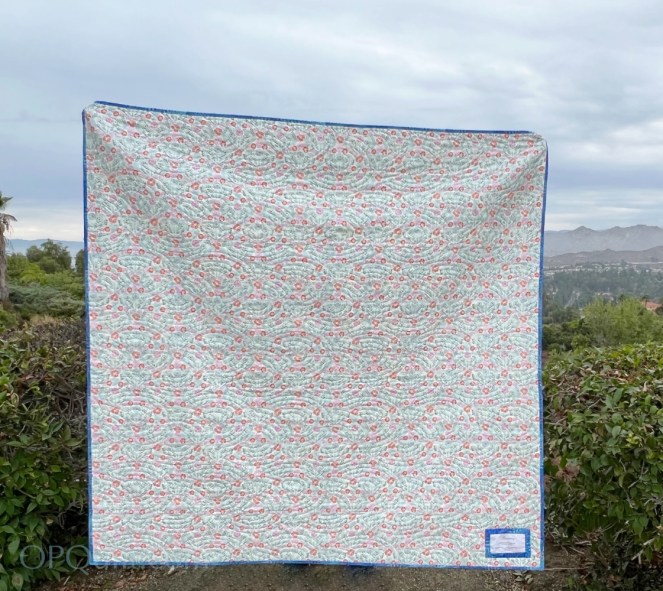
I got this back from the quilter, cut the binding, and in the last gloriously awful days of our heat wave, I sewed on the binding while listening to Hamnet, a novel I highly recommend. Finally(!) we get a view of Shakespeare’s wife from a woman, and I was fascinated with the things I learned about running a household in the 1600s.
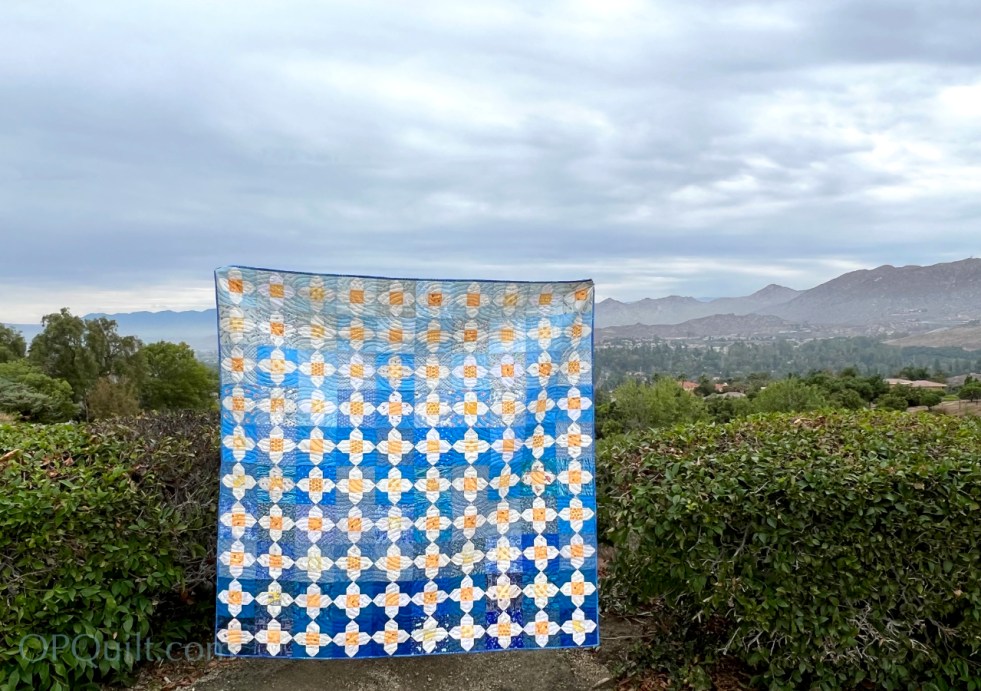
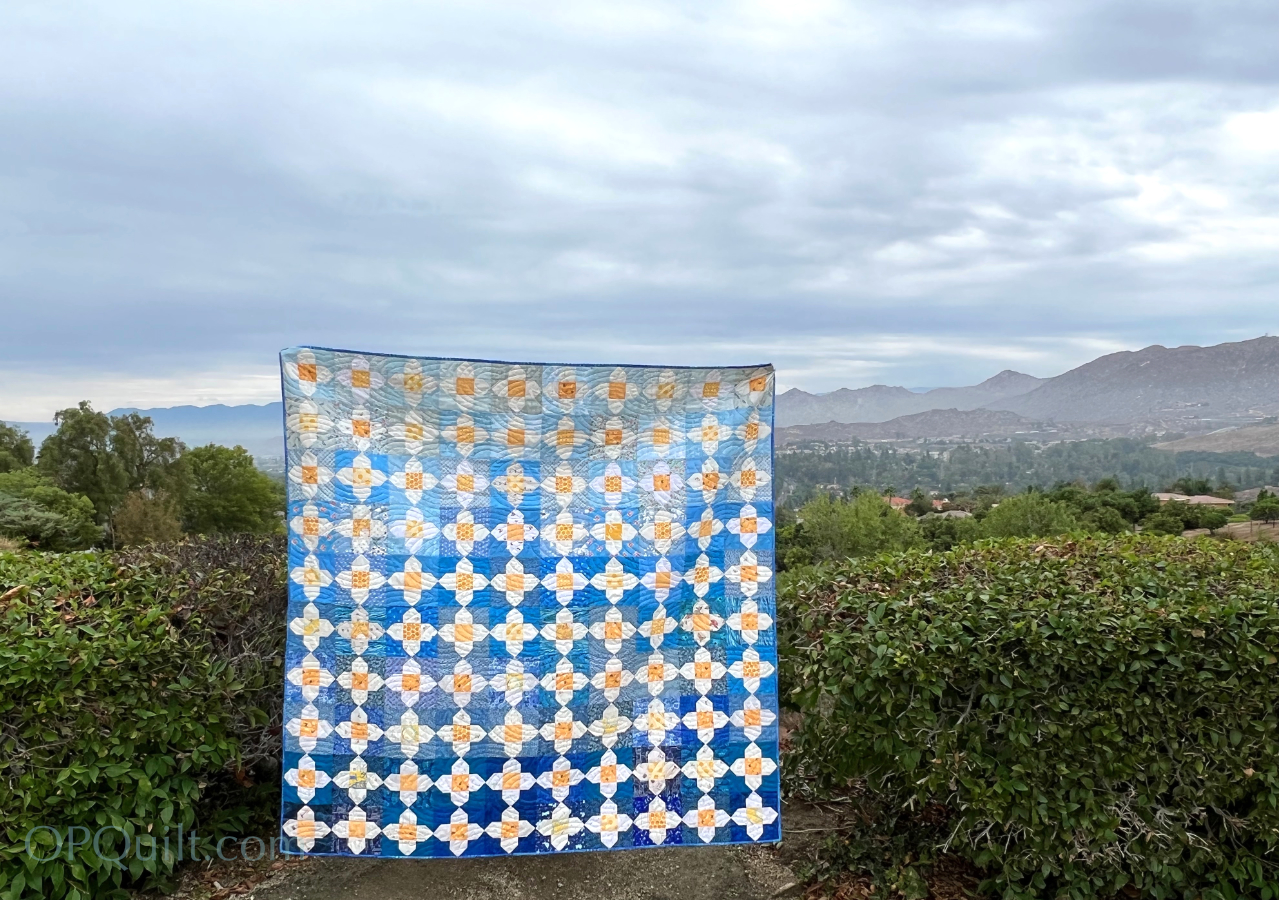
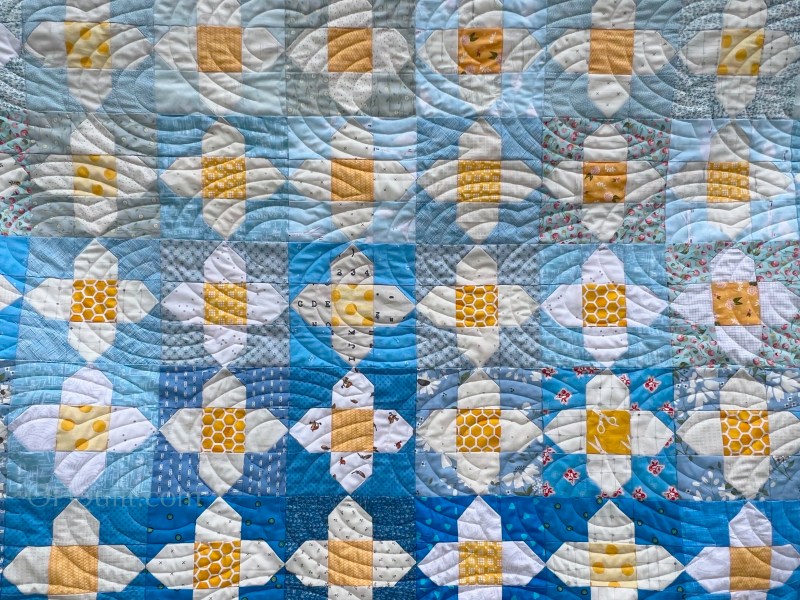
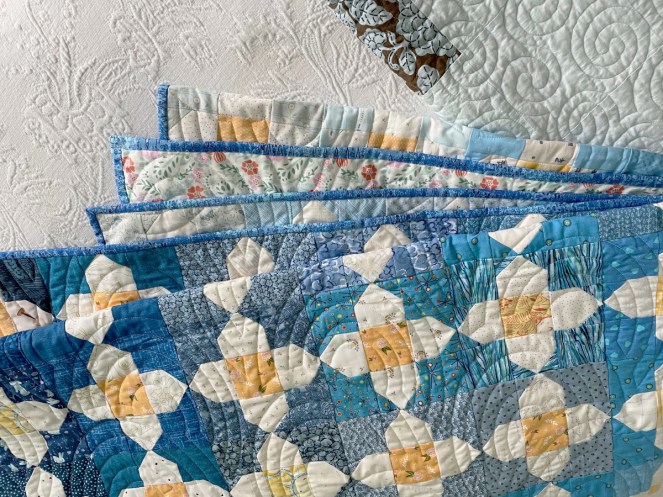
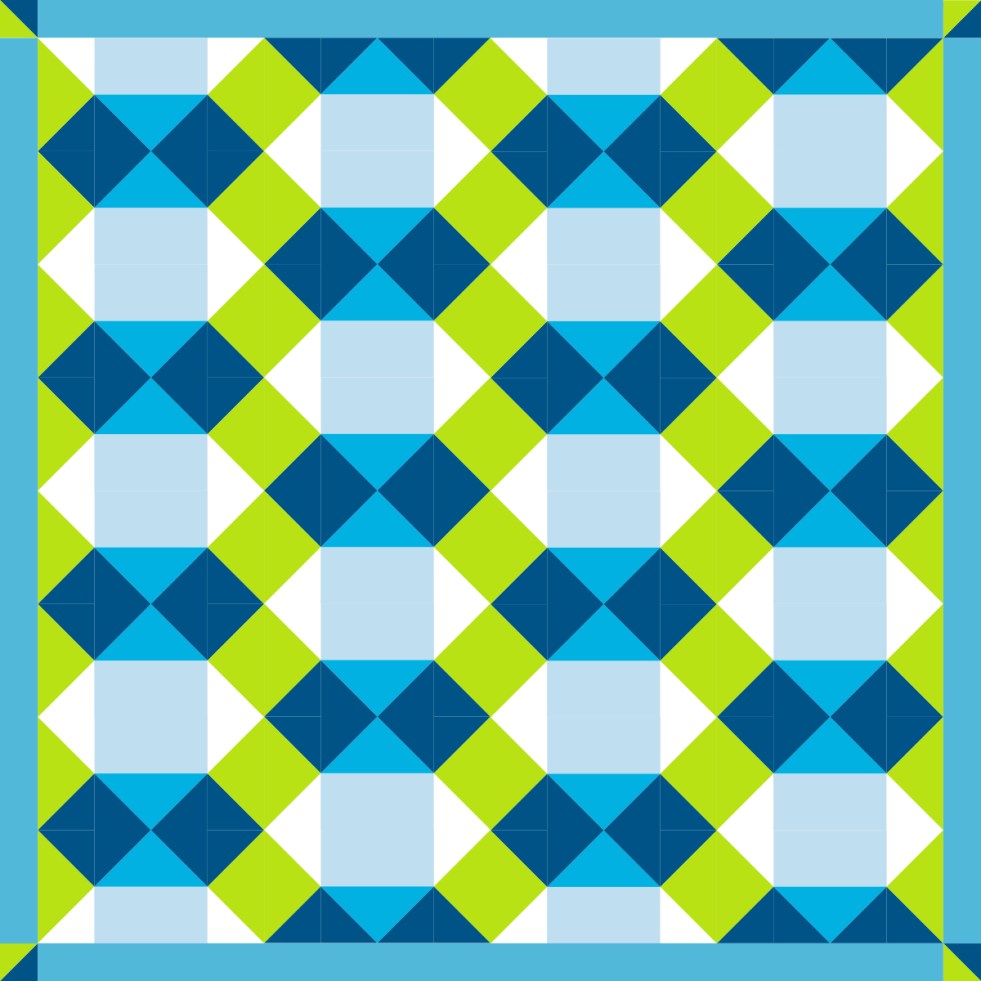
Jen’s quilting, using the E2E pattern Funky Fans really complimented the repetitive nature of this quilt. I think of this as a calming quilt. I have another blue quilt, also quilted in a repeated curving design, also calming. Here they are talking together:
The photographs were taken right after the outer edges of Hurricane Kay graced our area with a full day-and-night of steady drizzle, breaking the heat wave, bringing wanted moisture to our parched area. Now all we’ll need is an earthquake and we’ll have covered all the bases. Oh, wait. We did have a 3.6 earthquake, with an epicenter about five miles from our house, so we’re good on the disaster front.
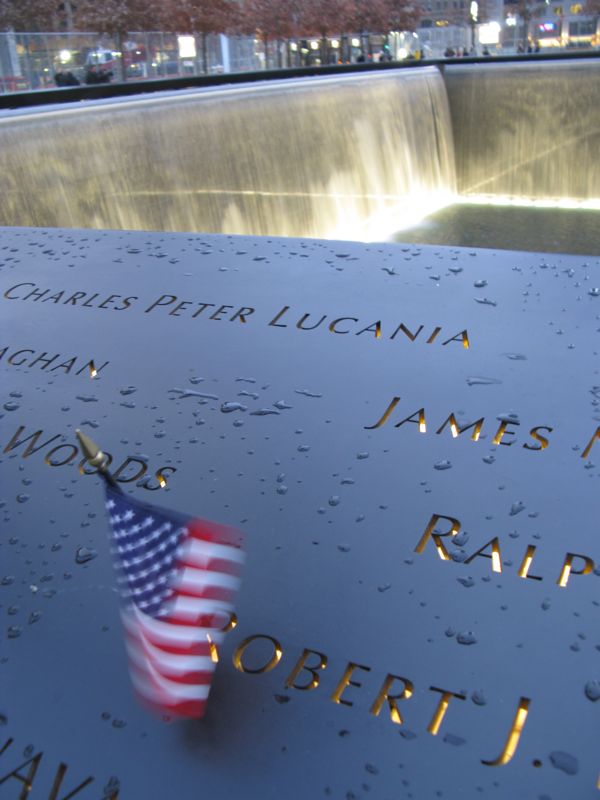
And in a measure of how time (maybe) heals all wounds, I thought of 9-11 in passing, and only when I scheduled this post. Yes, I have been immersed in disasters: reading a book set in the 1600s with people dying of the plague; Pale Rider, a book about the 1918 flu; watching all the events associated with the death of Queen Elizabeth. I guess those were prominent in my mind. But today, let us remember.
It’s too hot to think, but here’s a fun sketch from a traditional block, originally called Boise (Brackman 2306). The periodical, Hearth and Home, which published this block, was in operation from 1885 to the 1930s.
The block, exploded.
The 7″ block, set on alternating verticals. All of these can be found in BlockBase+ which is software that is basically the Brackman Encyclopedia of Pieced Quilt Patterns. I modified this in my design software, Affinity Designer by Serif, a reasonable cost design software (NO, you don’t have to buy Illustrator. YES you should buy BlockBase+.)
And I think we should give the quilt a name. I know it’s the capitol of the state of Idaho, but I’d like to give it a more contemporary name: Blockchain. What does that mean? Since I just donated to Wikipedia (you should too), here’s their definition:
A blockchain is a type of Digital Ledger Technology (DLT) that consists of growing list of records, called blocks, that are securely linked together using cryptography.
So couldn’t we define a quilt as “a growing list of blocks that are securely linked together with thread”? I think so. I was amused to see that a lot of the images used to depict the idea of blockchain are some of our traditional quilt blocks, like baby’s tumbling block, among others.
If you’d like the 8-inch version, I’ve got that for you here, as a free download. I didn’t monkey around with it too much, so it’s rather a no-frills set of templates (remember, it’s too hot), but you can see how nicely the templates are generated for you by Blockbase+. [Okay, I did do a bit of monkeying…]
Here’s the 12-inch version, which finishes at 52″ square, with those 2″ borders and cornerstones. To get this layout, I did four columns of the Blockchain block, doing half-blocks at the top and bottom of columns 2 and 4. I’m sorry I didn’t include the 12″ size block, but it’s hot, and we are about to head to our traditional Labor Day Cookout: a trip to In and Out Burger, where they do the grilling for me.
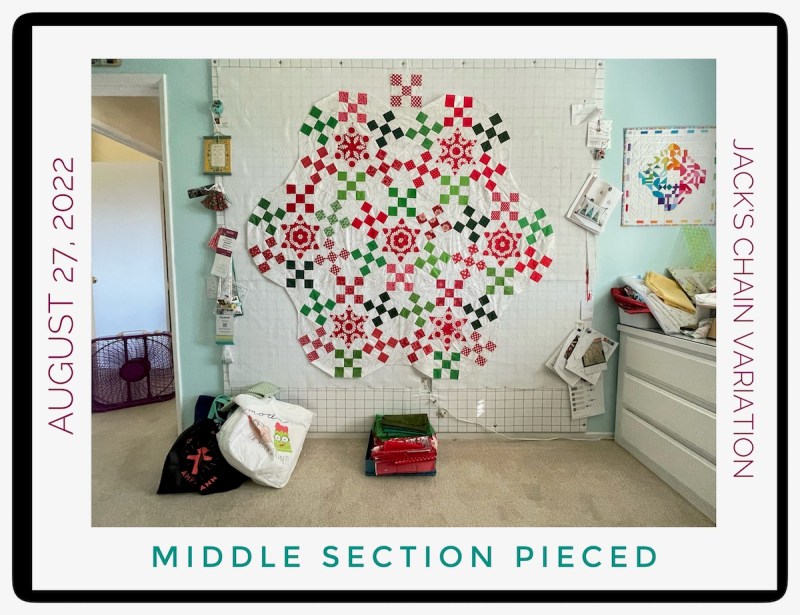
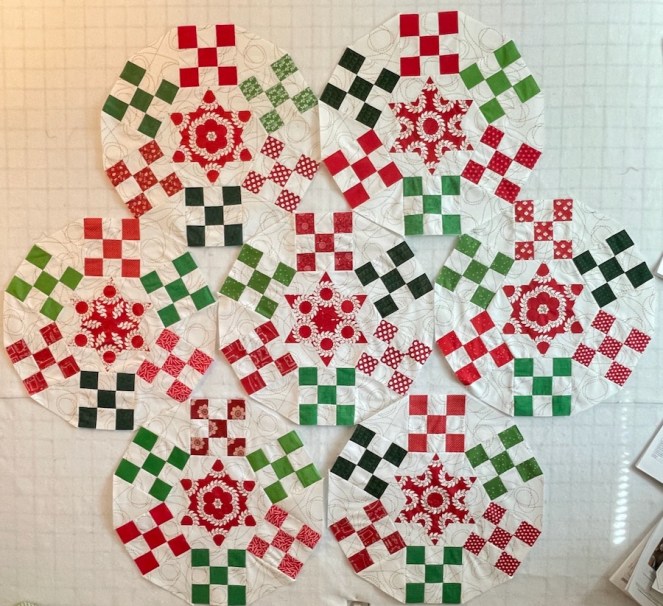
Decided to pick this one up again. I don’t know why my mind will flit to an once-begun-left-unfinished quilt, but at least I am well ahead of Christmas.
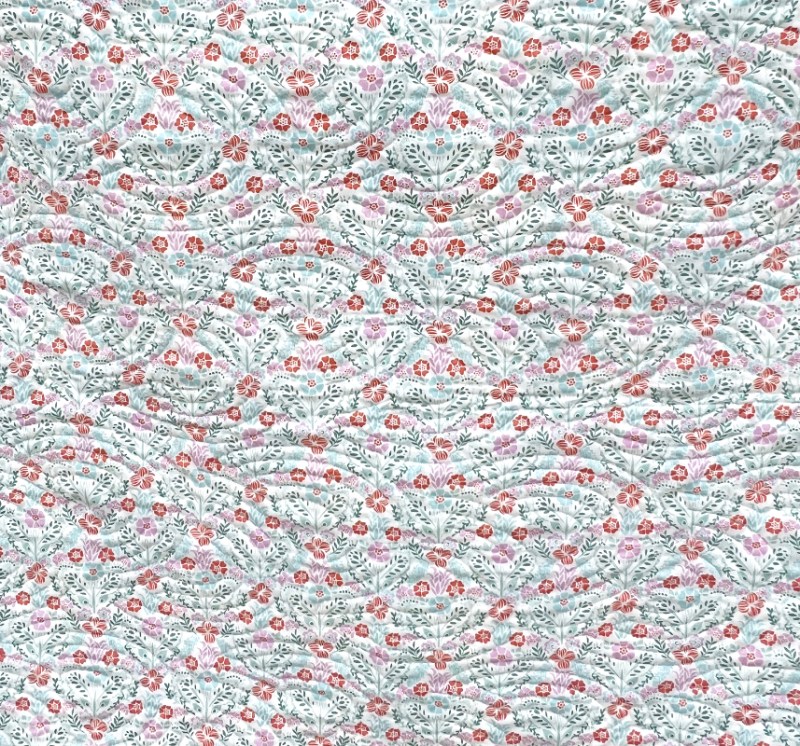
I chose the red Sassaman print for the centers, and for the background, I knew I wanted to use the white-with-gold Heavy Metal fabric, so last time I was rummaging around in ETSY, I purchased a bit extra (it has disappeared from the marketplace).
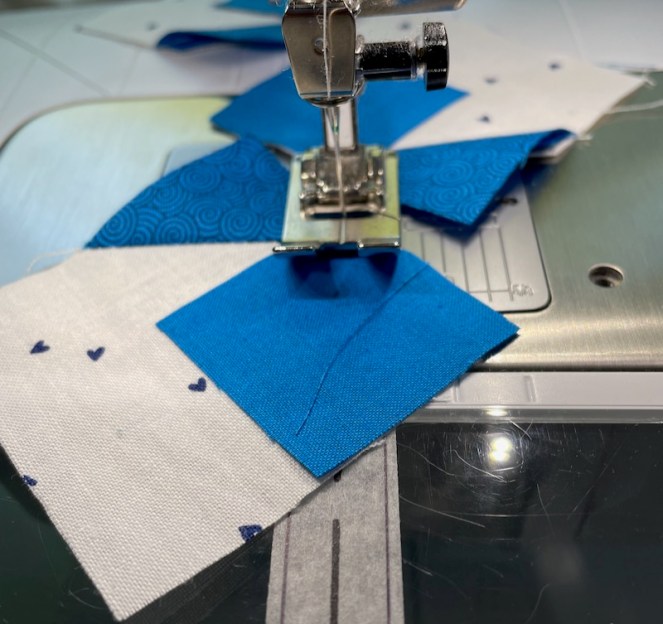
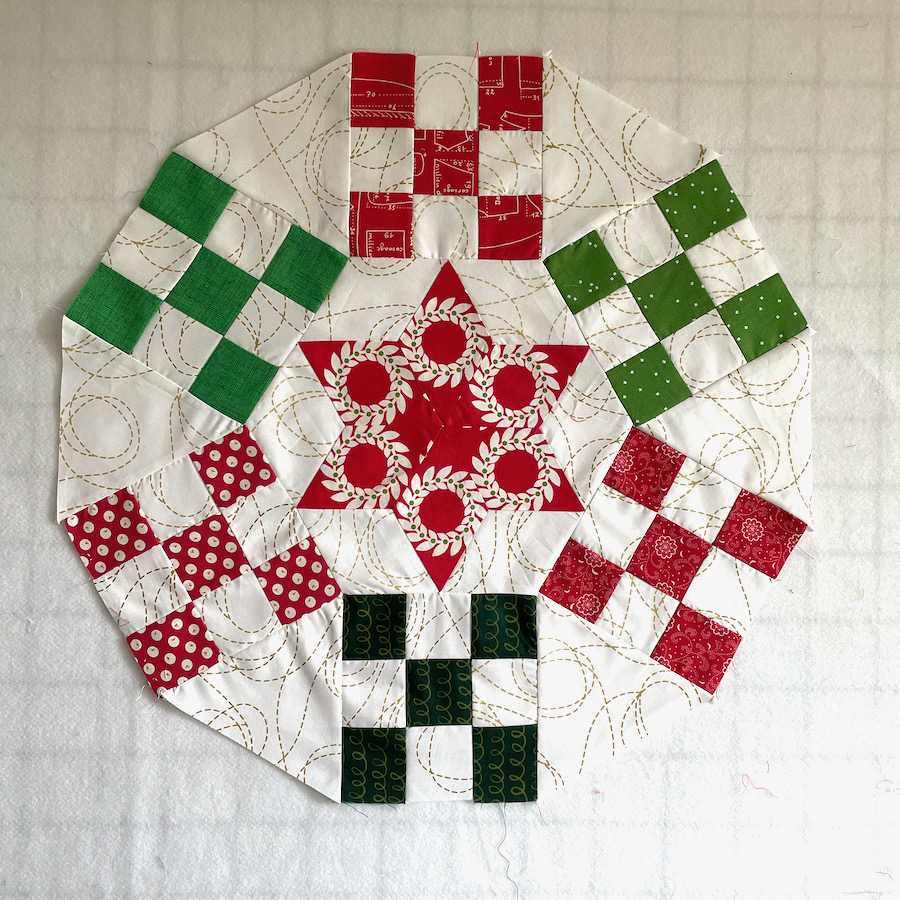
My first block. The center was a challenge, so I kept trying. I had another reject, but then figured out three more that would work.
It’s a dot-to-dot sort of construction among the angles.
I press toward the colorful fabrics.
This photo is before I stitched in the white triangles in between everything.
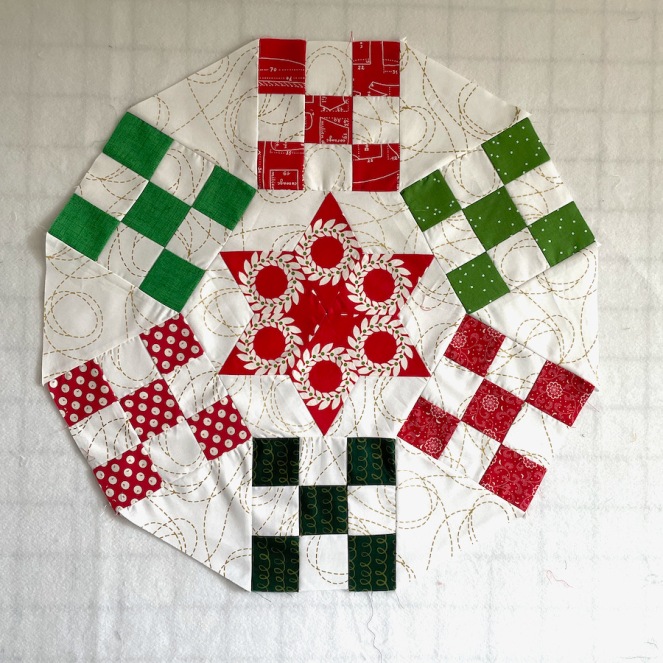
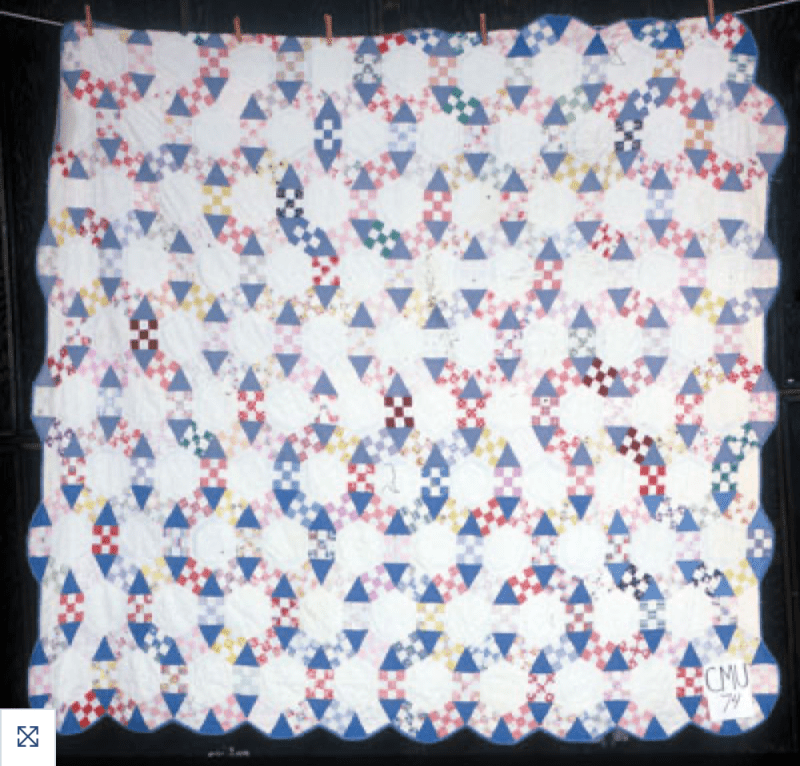
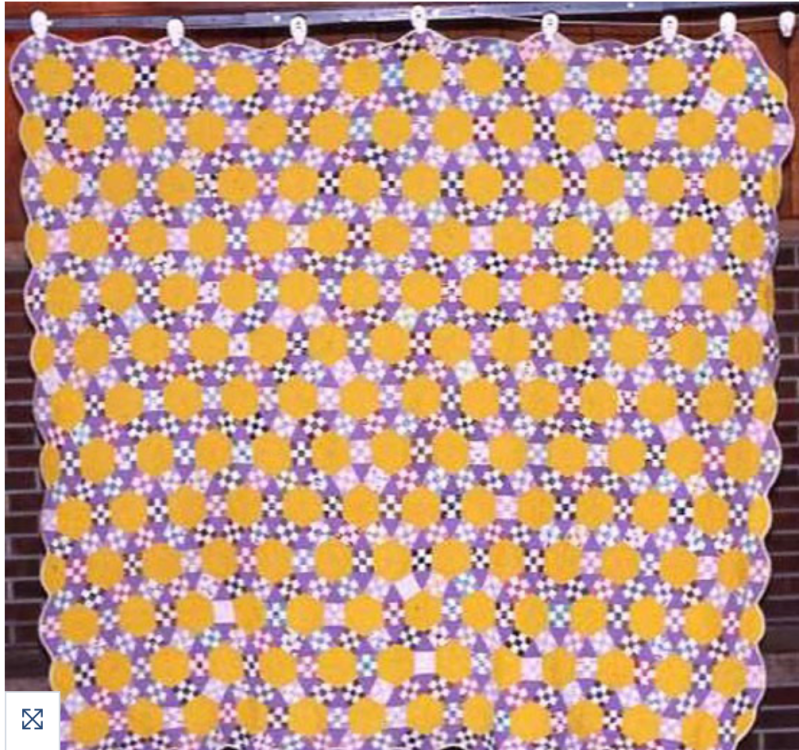
In chatting on IG with Marla (@mingamonga on Instagram), she alerted me to the other name of this block.
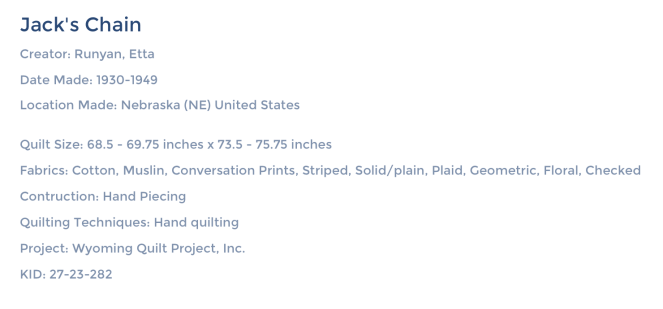
(credits are at end of blog; both of these are called Jack’s Chain)
I went over to the Quilt Index, and these were the two earliest quilts listed under Jack’s Chain. This block, shown below, had a Barbara Brackman number of 430, and was first published in late 1939 as Rosalia Flower Garden.
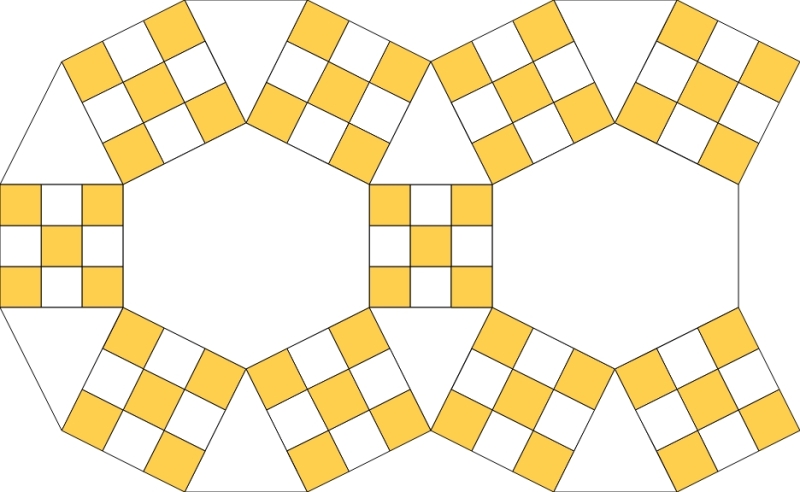
from BlockBase+
It’s drawn a bit wonky; the center is a true hexagon. But in the newest variation, the rings are pulled apart, set next to each other. That’s what allows that secondary pattern to emerge that we all love.
I did put this up on Instagram today (sorry for the redundancy) but still continue my plea for quilters to acknowledge the deep heritage they have from other quilters. I love stories where “old” blocks are given new life, but let’s not make their works anonymous.
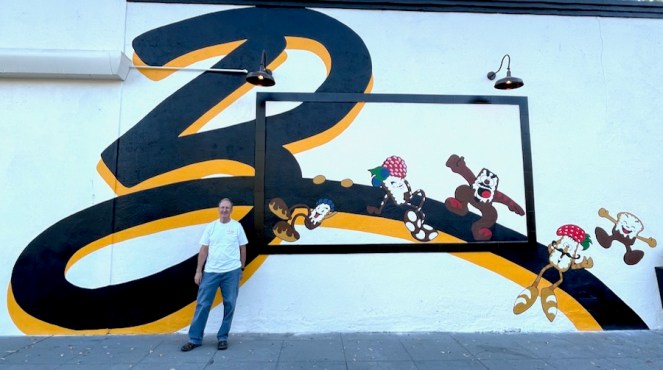
Beignet Spot mural
After figuring this all out, my husband Dave took me down to the Beignet Spot, where we shared some small beignets and a Cajun Chicken sandwich. I like those kind of dinners. The temperatures are supposed to soar up into the 100+ next week, so since it was a mild evening, we opened all the windows to enjoy the fresh air. Then we promptly closed them again: smoke from a nearby fire was wafting into the house. One.More.Month. Hopefully by the end of September, we’ll be through the worst of it.
I can recommend this Cold Soup with Noodles & Tomatoes for supper, if you are having the same issues. We used somen noodles and added some poached shrimp. It was also great as leftovers.
And now for a giant leap from Jack’s Chain to AI, aka Artificial Intelligence:
I’ve become most interested in the part of AI that is text-to-image.
DALLE-E was the first one I’d read about, and I think it is one of the original AI text-to-image generators. The operator would type in something like “Teddy bears working on new AI research underwater with 1990s technology” and a the computer would scan gazillions of images, and generate a new image, using the parameters given:
It can generate different types of styles, and while I don’t know where this will eventually lead, neither did I understand where the iPod would go, or how it would be combined with the portable telephone. And so, ever since I read about the ability of Artificial Intelligence (AI) to be used with images, I’ve kind of kept my antenna up when I scroll Instagram. I’m going to throw in a bunch of links here, and just briefly mention some places where you might want to explore, then head back to quilting.
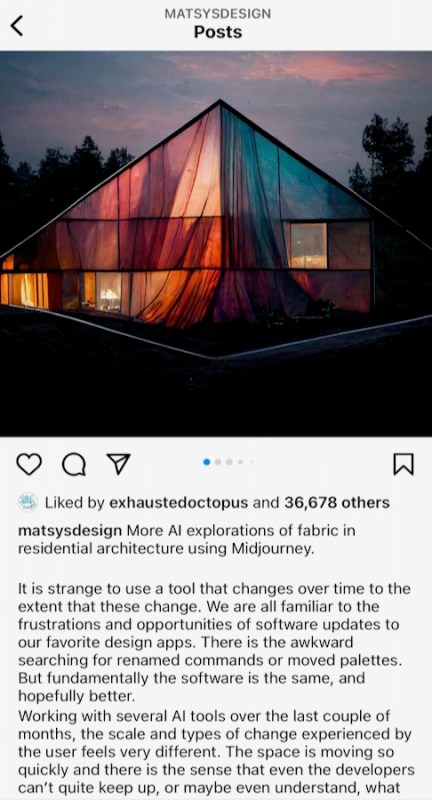
Andrew Kudless (@matstydesign) has some explorations in this text-to-image process, and this post and this post have quite the discussion. MidJourney is an AI Art Generator, and you can read more about it here. The Instagram hashtag #midjourney is also interesting, but I find that the heavy dependence on dystopian, creepy, and frankly evil-looking images get in my way. (Maybe that is the true hidden character of computers? Just Kidding.) If you have access to this software, and make something cool with this new medium, send me an image.
But mostly I’m interested in thinking about how quilters might use AI with say nine-patch blocks, or Jack’s Chain, given that AI imagery can think up this for a house:
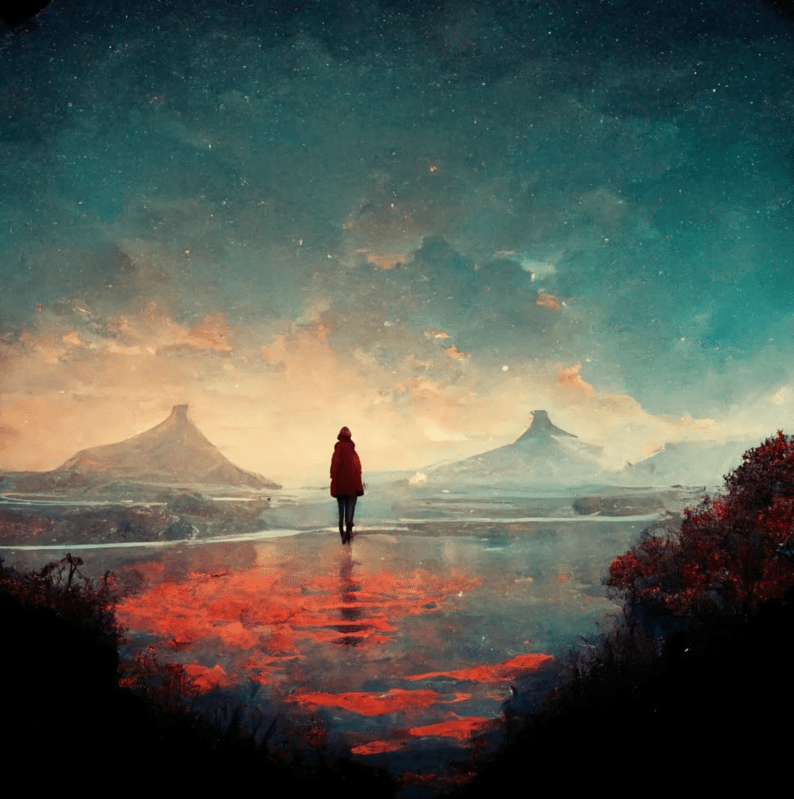
But maybe it’s not possible to break out of our grid. Maybe we as quilters are doomed to forever lifting patterns from those who have gone before, or subject the people in our IG feed to endless demonstrations of our improv or block-making techniques. [I could apologize, but it’s probably not going to stop.] However fascinating the exploration of improv, or AI, or geometric iterations may be to us, maybe we have to acknowledge that there might be an end point, although I won’t venture to say where that is. In looking at bunches of AI images for this post, I found they can sort of run together in concept, even if they are somewhat singular in design.
I’ve seen some pushing outward, some new quilting ideas, like we are all taking baby steps towards a new language of our own making. But we aren’t there, at least not yet. But it is this sort of challenge: beginning with hundreds of blocks, a full range of values and colors, and multiples of shapes, all being input into our brains as we try to become our own AI machines, combining and recombining. We are forever hoping from this process that a new quilt idea will burble up from the primordial ooze* of our sewing studios/rooms/spaces, and emerge into a full-blown fabulous new quilt. Aren’t we?
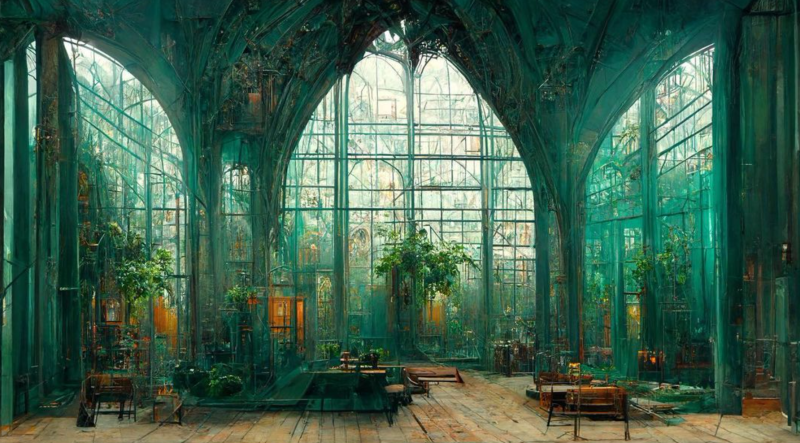
Or maybe your sewing room looks more like this? From here
No answers from me about this. I imagine us exploring together, pushing outward here, and combining it with a new technique there and using yet-undiscovered tools to create new quilts. Maybe it’s all a bit too Brave New World-ish for you. Maybe for me, too. I love the grid, and I love standing on the shoulders of the women who have come before. I just don’t want to let them down, nor rob our evolving quilt world of potential new and exciting iterations.
NOTES:
*I was kidding about primordial muck on our sewing room floors. Sort of.
If you use an image from the Quilt Index, they like you to include the following info:
So as I served up the bibimbap with bolgigi the other day, placing the bowl on the impossibly old placemats, I thought: it’s time for new placemats. When I went out looking, they either had newer versions of my impossibly old placemats, or versions that looked like they’d been made with fabric from France.
Hey! I have fabric from France. Like from about 20 years ago.
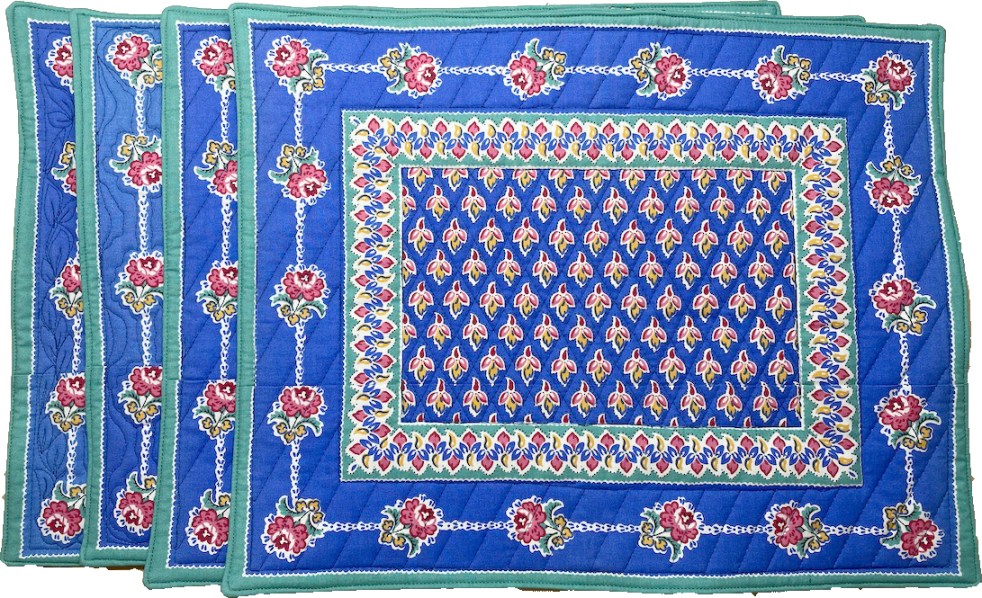
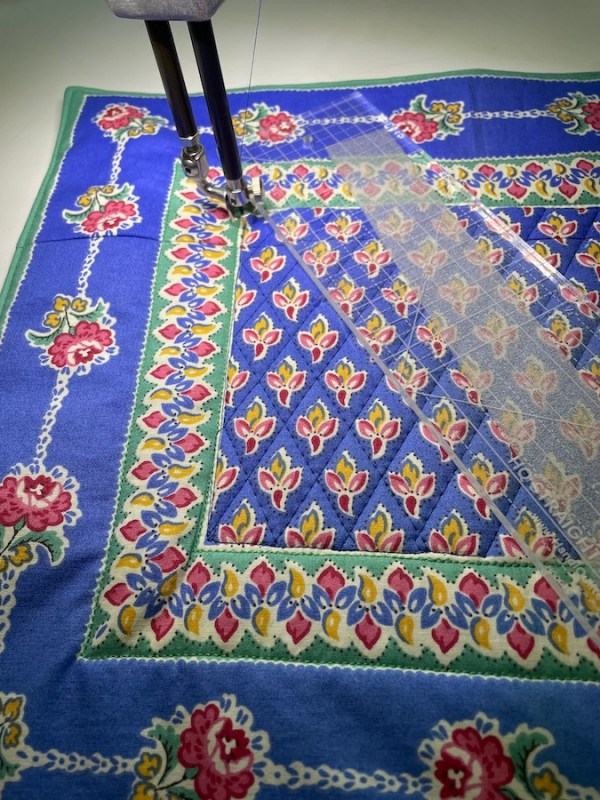
Yes, it is also impossibly old, but it should do. So in the late afternoon sun (important for a plot twist later on) I folded down this fabric that was made for napkins, attempting to herd it into in a size like the impossibly old placemats.
I glued down the fold, stitched it, backed it with some batting and more impossibly old fabric, turned it inside out, poked out the corners and stitched the opening closed. I went on an adventure with quilting, moving from WhatWasIThinking to ILikeThisPrettyWell.
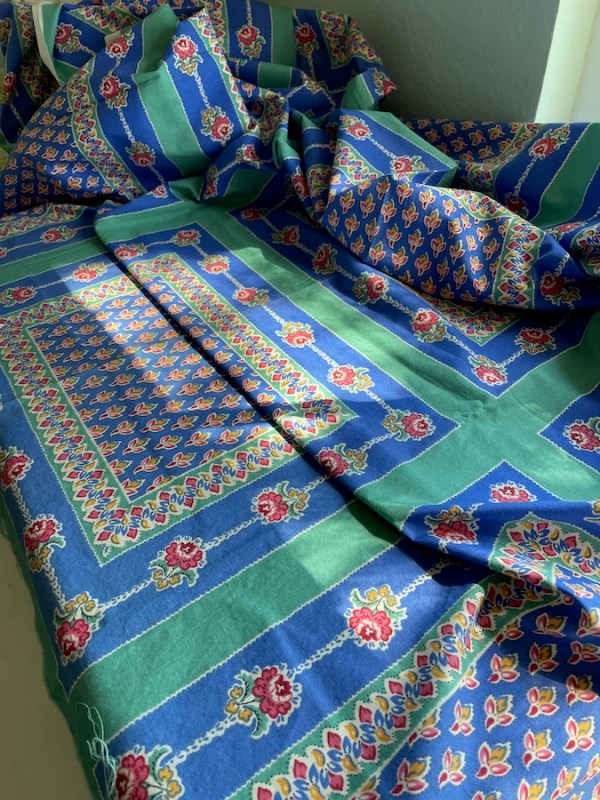
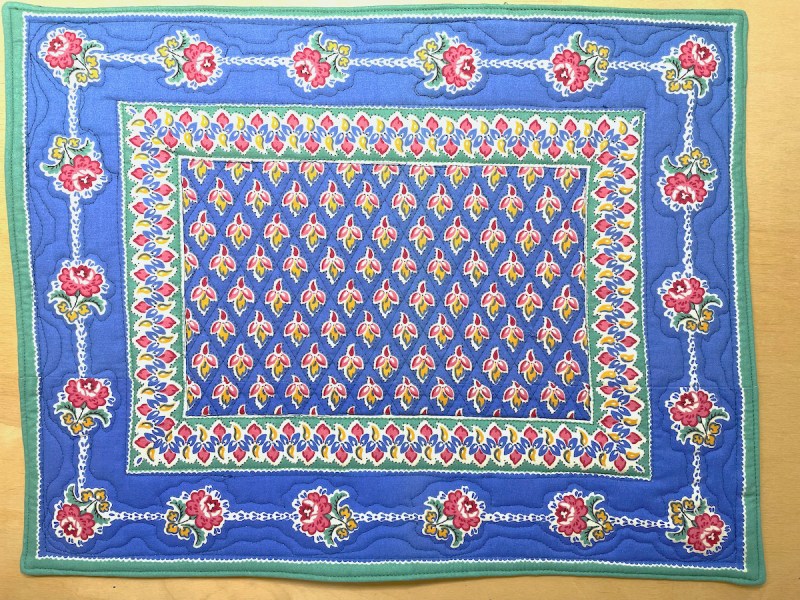
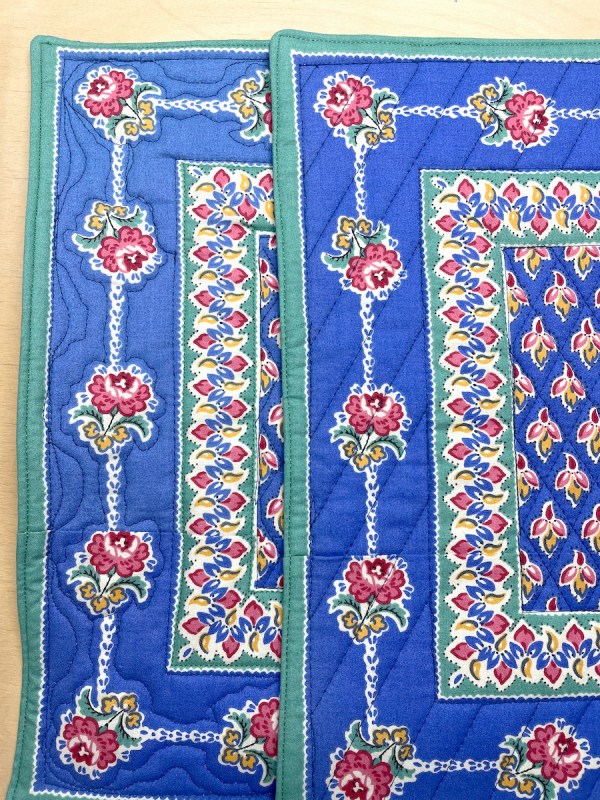
Then as I was finishing up today, I noticed that hmmmm. The fabric is darker on one edge — or faded on the other (however you want to think about it). I guess laying out that fabric in the late afternoon sun on the first day complicated my laser-like color vision. (lol)
Four placemats finished.
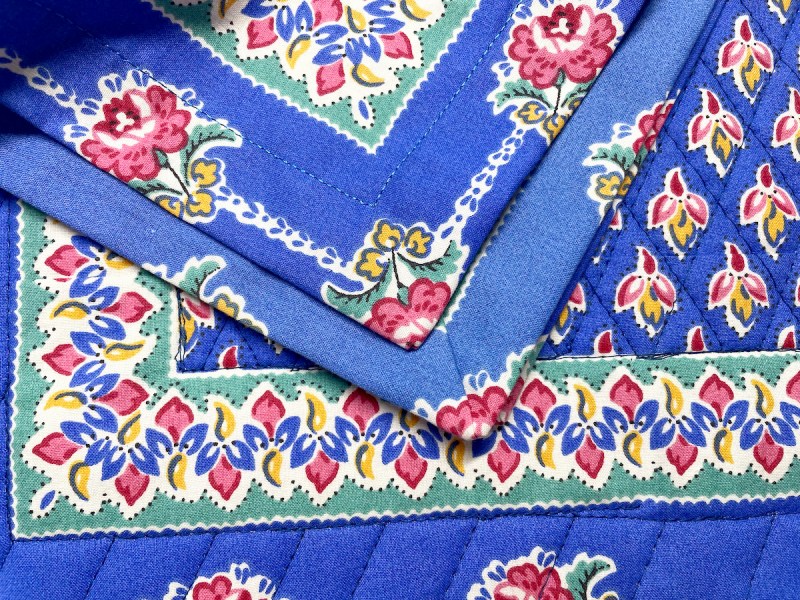
And when I went to make the napkin, yep. I can really see the fade. I used this tutorial.
I have more unfaded sections to make into napkins…and some faded sections, too.
Remember this quote from a couple of posts back? I may have this etched in my brain, because it applies to this, too:
This was my 2021-22 year-long making of pillows to go on the bed, shown from January (upper left, snowflake) to November (middle bottom row, lilies). I kept thinking I needed to get December’s made. But that idea — that some things end because we are finished with them — rang in my head. I’ve made a new Christmas Quilt for the bed, and don’t know if my idea will “go” with it, plus Evergreen, EverLife has a lot going on. It probably doesn’t need a pillow. So I’m finished with this. Pillows-of-the-Month are done.
Lastly, thank you for your observations and responses on my last post, Age of Subtraction. A lot of what you wrote has reverberated out into my life, into conversations with my family, and given me a lot of think about. I appreciate your taking the time to write and be a part of this conversation.