Quilts

Ay-Yi-Yi! It’s Christmas!

Nutcrackers

Well, that tune is playing right now on the iTunes list, and it’s true–no presents yet.  But we’ve started setting out my husband’s nutcracker collection, and pretending that Christmas isn’t 22 DAYS AWAY!!

Quilt Doodles

So in order to really tackle that list of Christmas jobs, I got right to work doodling some quilting ideas on my Santa Quilt mock-ups.  I set the intensity to 50% and print them out, then doodle away.  It’s my map, because I don’t feel uber-confident in the FMQ Skills Department.

SantasVillage Center Quilt

I should be joining the crazies at the Mall, but instead I’m listening to Christmas Carols, working on my Santa–my main work in progress.  Besides, the Christmas cards.  And getting the tree.  And cleaning up the house. . .

Like I said: Ay-Yi-Yi, It’s Christmas!!

WIP on

Linking up with Lee of Freshly Pieced Fabrics.  Today it is hosted by Cindy Lammon from Hyacinth Quilt Designs.

Quilts

Friendship Cross-X Block Swap, part 1

ESEOctBlocks2013

First, start with four blocks, and plan to send two to Krista in October. Realize that this was merely a good intention, and as you missed October’s Friendship Swap post, you’ll save them to send later.

ESEBlocks_OctNov2013

Next, make eight more blocks and send four to Krista in November, along with the two from October.  (Actually, I made December’s and sent to her already, but you’re not seeing them until our Official Blogging Date of the Last Friday of Every Month.  Or so say the instigators of this fun swap, Carla at Lollyquiltz and Susan of Patchwork ‘n’ Play.)

KristaBlocksOctNov2013

Receive Krista’s blocks in the mail and do a happy dance, but remind her. . . hey lady, send me one more!

AllBlocks_OctNov2013

Put them all together: Krista’s and mine from October and November, plus one orphan block you had when you wanted to start this quilt about two years ago, but never did, so are infinitely grateful to Krista for inviting you to be her swap partner in this Friendship Swap.  Thanks, Krista!

Japanese+x+and+%2Bquilt

Here’s an inspirational photo, just so you know where we’re going with all this.  Every last Friday of the month until we reach 63 blocks and declare it a quilt!

P.S.  Some call it x and+ swap.  Some call it cross and plus swap.  Whatever you call it, take a look at our Flickr feed and join in the fun!

Quilts · Tutorial

Y-Seam Tutorial

During Thanksgiving Week, I thought it was time to re-post this tutorial from Leanne’s blog, from the Third Quarter Finish-A-Long Tutorials. As background, I’ve been sewing and quilting for more years than I should admit to, and during that time have completed over 120 quilts.  So I’ve faced down more than my share of the Dreaded Y-seams.

In June of this year, I made this quilt for my sister.  As you can see there are lots of peaks and valleys in this thing–lots of Y-seams going both ways (some people call them Y-seams and V-seams) but really, let’s keep it simple.

They are called Y-seams because the V-part of the letter Y usually has fabric with no seam, and the tail of the Y has a seam. I’ve marked the Y for you in red in the picture on the left.  The picture on the right is the other type of Y-seam.  I’ll show you both.

Let’s start with the first type of Y-seam, where the “tail” of the Y is facing toward you and the “V” of the Y is underneath.  Place a pin at the 1/4-inch mark through the seam, and into a spot that would be the peak of the 1/4″ seamline, if you could draw it on and imagine it.

Most beginners want to pin that seam to death.  Run screaming in the other direction.  The success of the Y-seam depends on the “float” of the fabric.

I sometimes will place one pin on either side of the seam, just to anchor it as I get going, then another pin or two along the starting point.  Then I take out the (above) pin.  I want my fabric to float — don’t want to anchor that second half of the seam too much, as I need it to pivot.

Start sewing from the left edge, as the seam faces you, using a 1/4″ seam allowance. Fold the seam toward you, and as you approach the seam, slow down and use a bit smaller stitch.  You are trying to anchor the stitching a bit.

When you get to the seamline, when you are on top of the thread marking that other seam, STOP.  Make a tiny stitch on top of the one before to anchor, but DON’T GO OVER THE SEAM LINE.

Lift your needle out of the cloth.  I pulled it away to show you what I mean, but you don’t need to do that.  Just give yourself a little room to smooth the (green) seam allowances out of the way, and to find the place to insert your needle again.

Re-insert your needle just on the other side.  Then line up the next two raw edges, smoothing the fabric away from the needle and your presser foot.  Sounds more confusing than it is.  Take a few tiny stitches to anchor, then change your stitch length back to normal.

Another shot of my needle placed just on the other side of the seam allowances (which I flipped to the back of my presser foot).

Depending on the amount of cloth in your Y-seam, and if you just feel better about it, go ahead now, and pin those raw edges together and stitch the rest of the seam.

When you are through sewing, clip the thread if it is restricting the ability of the seam allowance to open up and lay flat.  If you left a bit of thread there (pulled it away from the needle as in my photo above) there should be no problem. 

Press, keeping the tail of the Y-seam open.

From the front, it looks like this.

Now we’ll tackle the other kind of seam–where the seam of the Y’s tail is underneath, and you see the “V” part of the Y.

First locate the valley of the one-quarter-inch seamline and put a pin there.

Snip to within a couple of threads of the pin.  Leaving the pin there insures that you won’t cut too far.  If that happens, curse a little.  You can sometime rescue the piece with a bit of fusible interfacing.  Better to not cut too far.  Half of the seam (1/8″) is all that’s needed.

Find the 1/4-inch peak of the seam below, and poke the pin in to anchor.  You can leave in that center pin to hold it, and if you are afraid it will slip, it’s okay to put one pin on the backside.  If you can, try to avoid that pin on the right.  Again, the success of a Y-seam lays in the ability of the fabric to move and pivot.

Just as in the first type of seam, start stitching from the left side of the seam, towards that center pin.

When you get to the pin, STOP with your needle down in the fabric.  Remove the pin, then pivot the fabric so that you can match raw edges.  Move the first seam out away from you, as you align the new sides.  It may feel a bit bulky under your foot, but smooth any excess fabric out away from you.

Here you can see that I’ve pivoted, repinned the new raw edges together and am starting down the other side of the seam.

This is what it looks like from the back. That deep fold is the V part of the Y-seam.

The front.  Give it light press.  Resist the urge to saturate it with your pressing goo and mash it flat with your iron.

Sometimes your seam gets a little jig-jaggy.  As long as it’s not too bad, it will be fine.  I did the same kind of stitching process on this one: shorten your stitches as you approach the point, then lengthen them out on the other side.

A better point.  All of these work fine in the quilt, because you haven’t a) stitched it to death, and b) murdered it with your iron.

You can see one type of Y-seam where I joined the green roofs to the yellow houses.  And you can see the other type where I joined the purple roofs to the sky.

Now you know all my dressmaker/quilter tricks: never be afraid of Y-seams again!

One more time, thanks to Leanne, of She Can Quilt, for hosting a series of guest tutorials for the Finish-A-Long Motivational Program.  (Just kidding on the name of it, but it does help get those UFOs out of the closet and onto the bed.  Or wall.)

Finish-A-Long · Quilts · Something to Think About

A Quiet Week

AMH tote bag

AMH tote bag pocket

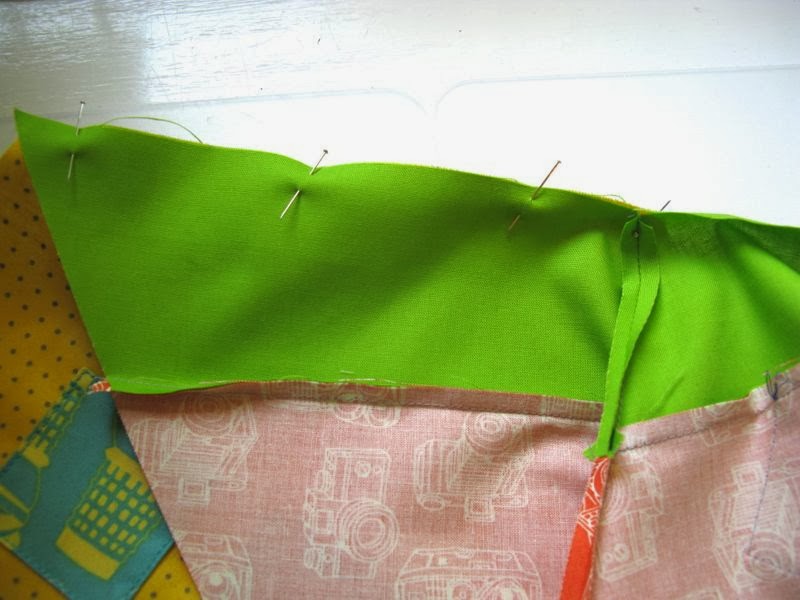
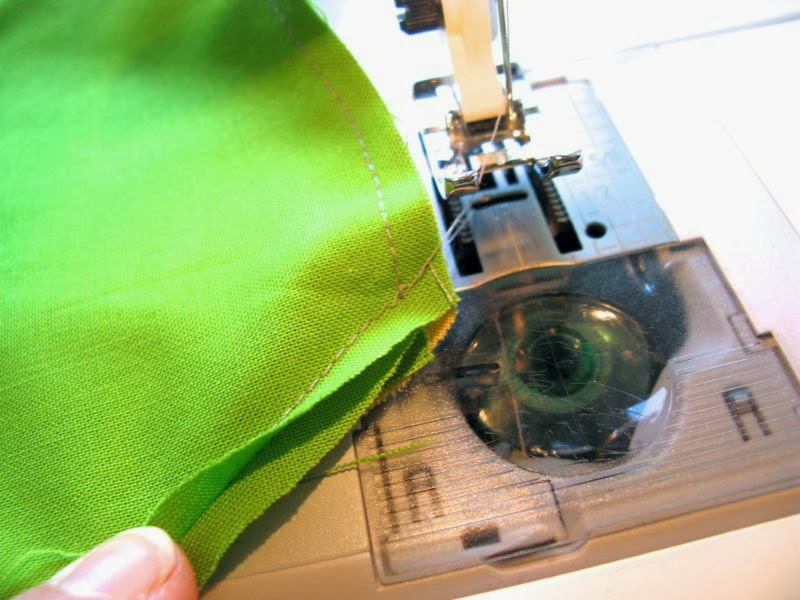
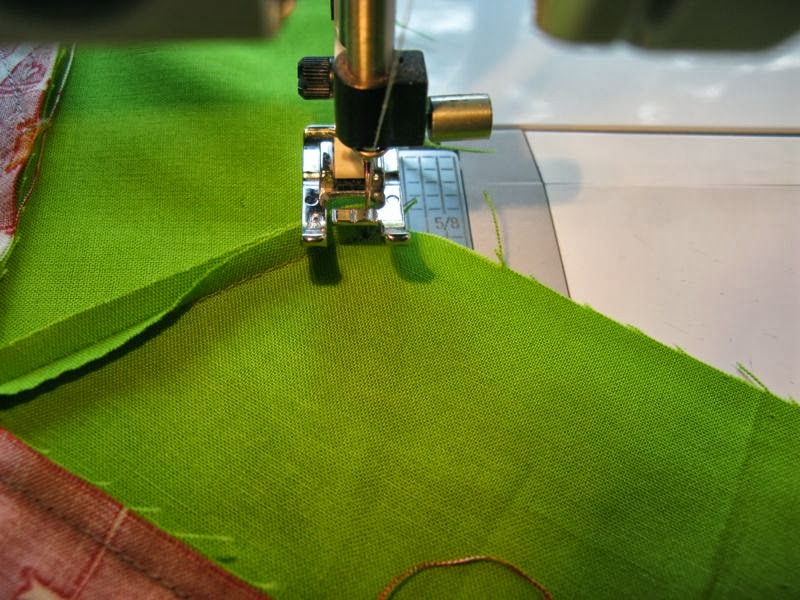
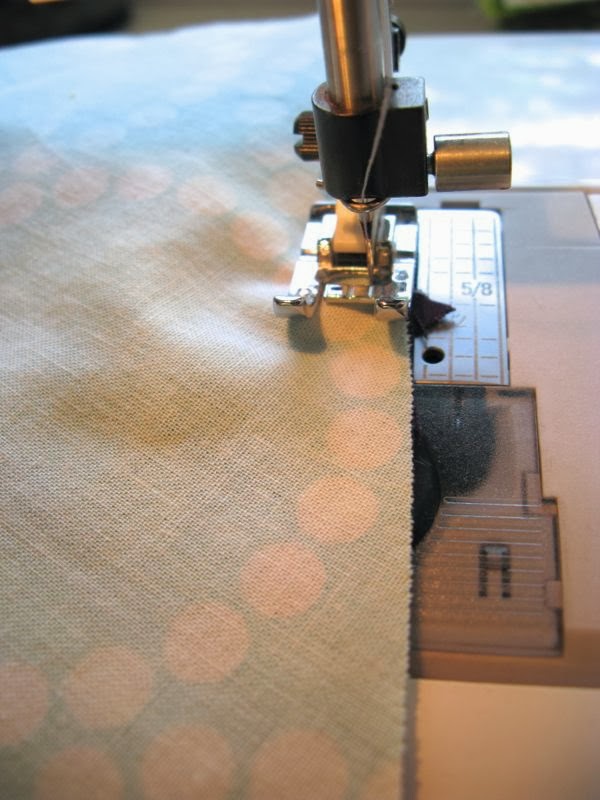
After the big TaDa! moment of getting Santa and his blocks and his neighborhood all done, it was a quiet week.  No bee blocks.  No quilting.  No sewing, unless you count the samples that I put together to teach my Pleated Tote Bag class on Tuesday night.  Tonight, I finished the bag that I’d used as a teaching sample (above), putting the pieces together, arriving at completion.

IMG_6050

And because I have a quiet week, and I’ve had a chance to reflect on recent events, and because we are approaching the Thanksgiving holiday, it’s time to count my blessings, quilt-wise.  In the photo above, Cindy, of Live A Colorful Life is seated at my dining room table, sewing on my little featherweight.  This was the second year she has come down for our Good Heart Quilters Potluck Event, and I’m so glad she did.  One of the blessing of modern quilting is the internet, the connections we make through Instagram, through blogs and their comments, through emails, and through bees (Cindy organized the Mid-Century Modern Bee, of which I’m a part).

Pho and Flatbread

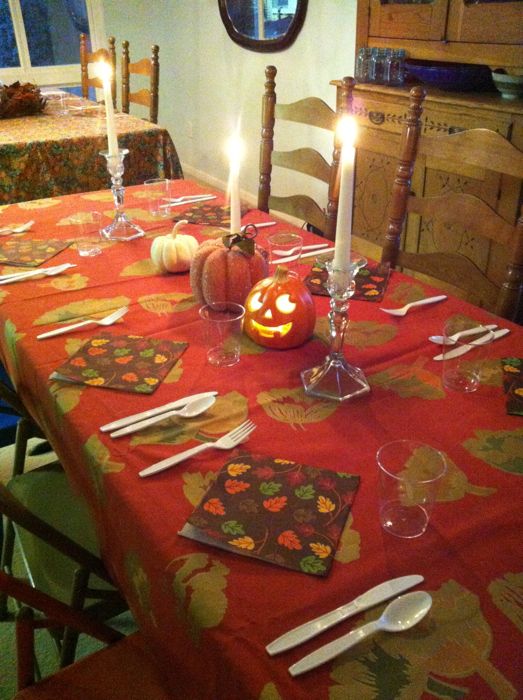
When she arrived, on Halloween Night, we turned out the lights on the porch and went out for Pho and flatbread from a new restaurant in town.  She was pretty adventurous, even so far as to have the Korean-style flatbread, with kimchi on top.  Later, we came back home and talked and sewed (my husband was out of town, so we had the run of the place).  Cindy’s gift of collecting people and connecting people has greatly blessed my life.

TAble setting

After sewing all day Friday, we set up the tables in my dining room, and hosted the Good Heart Quilters, or about half of them.  It seems it was a very busy weekend, and we were missing a good number of these fine quilters.

Cooked Stuffed Pumpkin

Stuffed Pumpkin_open

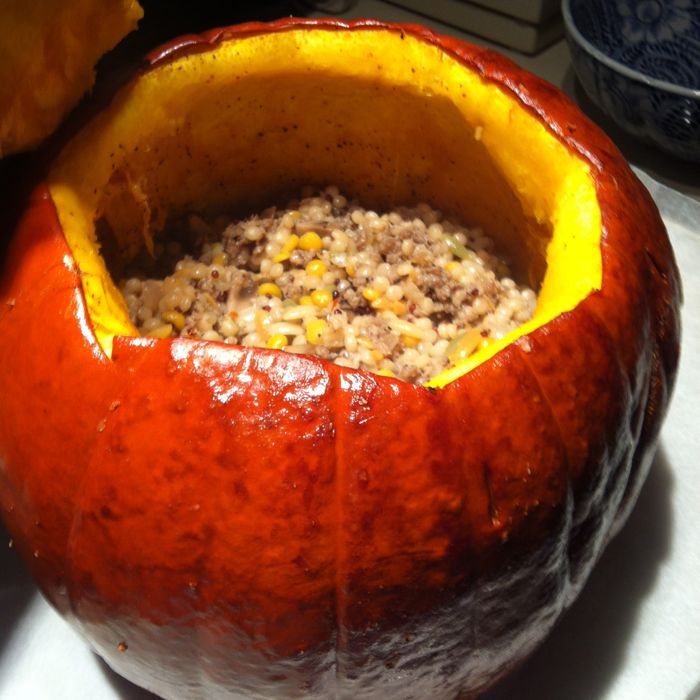
This was what I made for my contribution to dinner: stuffed pumpkin (recipe found *here*).

Quilt Night_1a

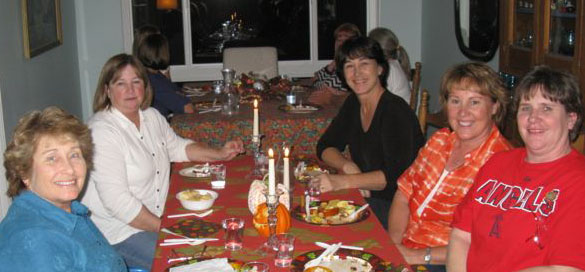
from l: Carol, Laurel, Janette, Leisa and Tracy

Quilt Night_2a

from l: Simone, Caitlin, Cindy and Lisa

Quilt Night_Laurel

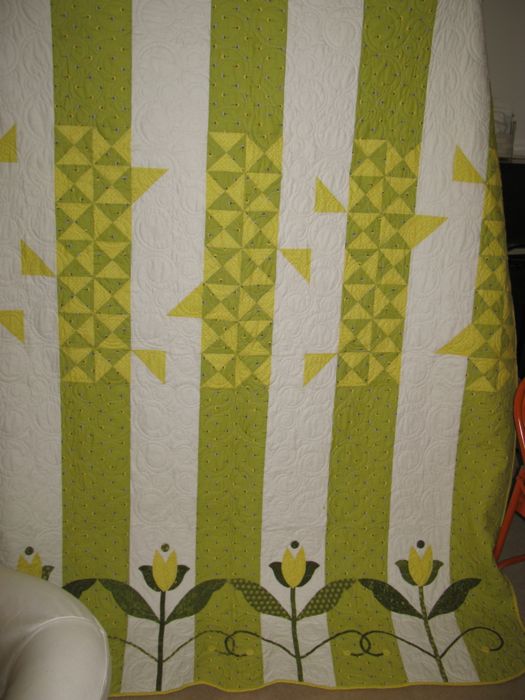
We always start (and usually finish) with Show and Tell.  This is Laurel’s finish–a quilt for her sister.  It’s very tall, so the angle isn’t the best, but as always, Laurel combines piecing with appliqué to create something we all want to sneak off with, into our cars.

Quilt Night_Lisa

Lisa got her borders sewn on tonight–a Hallelujah! moment because she’s been busy getting ready for her daughter’s wedding in about three weeks, and she has sewn her own dress and most of Bridget’s trousseau, amidst working all day.  We were thrilled for her.

Quilt Night_Simone

Simone started coming this spring for the first time, and has her first finish: an apple core quilt done in modern fabrics.  It’s fabulous.

Quilt Night_Simone2

But she didn’t stop there–she used the scraps to create a table runner.  A clever quilter, wouldn’t you say?  Last year, we ate and then just chatted, but this year we ate and then got to work and everyone made progress on their projects.  Next quilt night is at Simone’s, on Saturday, December 7th, a shift from our usual Fridays (the church Christmas supper snagged that Friday!).  In counting my blessings, this quilt group is one of my big quilty blessings.  Sometimes we’ve been only a few ladies gathered at a house for munchies and sewing, sometimes there’s been a lot of us, but after meeting for sixteen years, roughly 8-10 times a year, we’ve all become close friends, and are always ready to welcome in a new quilter (like Simone and Caitlin).

Hello Kitty on Ceiling

I don’t know if you can see this, but when I went to Arizona to spend time with my daughter and her family while her husband was in Tonga doing free dental work, I got to sleep in her daughter Keagan’s room.  I turned out the light, pulled up the covers and was greeted by a giant pink Hello Kitty and the time, all broadcast to the ceiling.  It made me smile, and count my blessings of having grandchildren who like to know what time it is.  Even if it is in the middle of the night.

Santa Backing

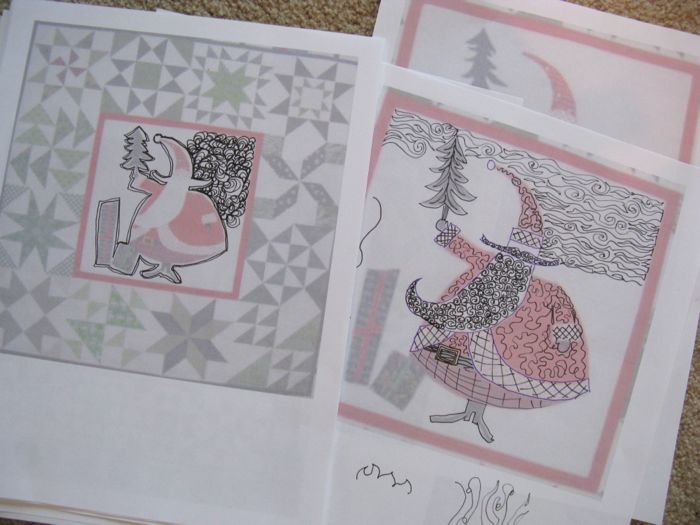
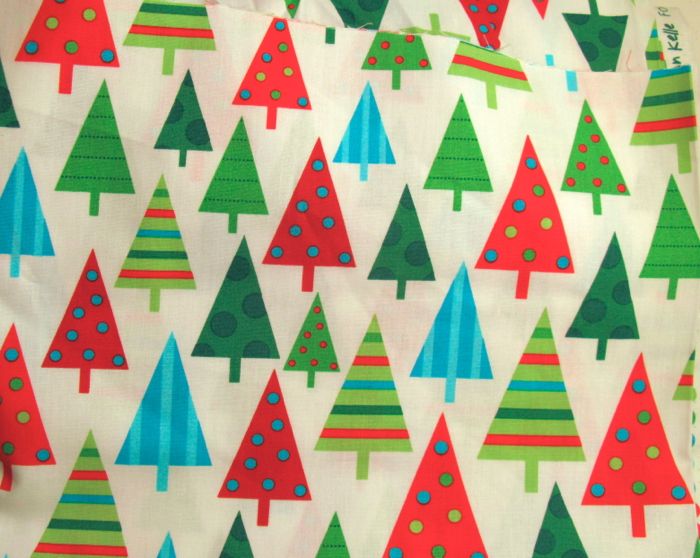
While I was there, Barbara took me to a giant fabric/quilt shop store where they had tons and tons of great quilt fabrics: 35th Avenue Sew and Vac, in Phoenix Arizona, where I found a piece of Ann Kelle’s Christmas trees for no good reason.  Ah, but the very good reason became apparent to me after I finished off the Santa top.  This will be the perfect backing (and I got it on sale!).

Friendship Quilt

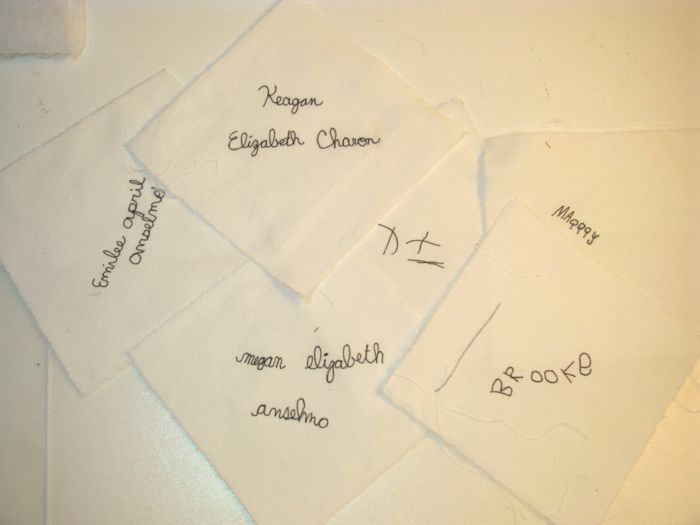
And lastly, about fifteen years ago I started this Friendship Quilt. At that time I wanted to remember lots of women in my life who had been my mentors, my friends, my sisters and sisters-in-law, my daughter and daughters-in-law.  Some of these women: two of my aunts, and my mother-in-law have passed away already.  It’s time to get it done.  I have put it on my Finish-A-Long list nearly every month, but hadn’t done much about it.  Recently I laid out the squares in what I thought I remembered as my original design.  Holes in the pattern were apparent.  I realized that I had just enough missing blocks that I could gather my granddaughters’ signatures, as well as the my most recent daughter-in-law.  It’s tempting to keep it going, to add those friends who are close to me now, but I decided some time ago that with the exception of adding those related to me, I would leave it as it was: a snapshot in time.  But because I am counting my quilty blessing on this post, from new friends and far-flung internet friends and old friends both near and far, and all those related to me, I must end by counting these sweet blessings in my life:

Signatures

These were the signatures I collected last week, from the three-year-old Dani to the eldest granddaughter Keagan, and all the others in between.

I am beyond blessed to know these little women.  They make my heart sing.

Cool quilt square from IG

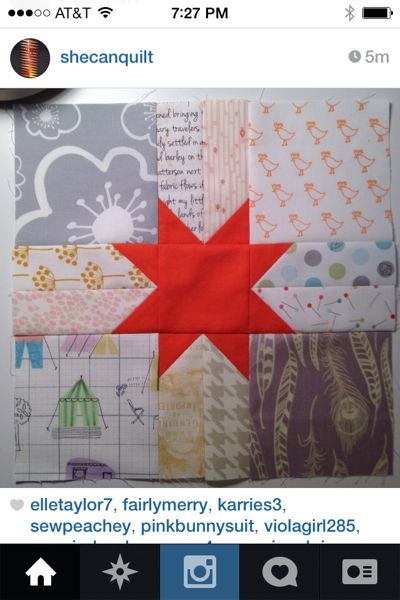
Happy Thanksgiving week, every one.  Don’t let the cooking interfere too much with the sewing (although, judging from what I see on Instagram (photo above), things are proceeding apace! (Nice quilt block, Leanne!)

˚˚˚˚˚˚˚˚˚˚˚˚˚˚˚˚˚˚˚˚˚˚˚˚˚˚˚˚˚˚˚˚˚˚˚˚˚˚˚˚˚˚˚˚˚˚˚˚˚˚˚˚˚˚˚˚

As a reminder, if you see an ad on this blog, it is because my blogging software puts it there.
 I make no money from their ads, but since I blog for free, I figure it’s a fair trade-off.