I have always wanted a patriotic mini-quilt, so before surgery, I prepped up these little stars, fused them down to 2 1/2″ squares of fabric and stitched them together in a block. I figured I could stitch on them while healing. I would use some of those pearl cottons I’d collected while doing Oh! Christmas Tree, and blanket stitch around the shapes.

The first day, all I could stitch was ten minutes.  I came back to it a week later and over a few days, finished them up. Now what?
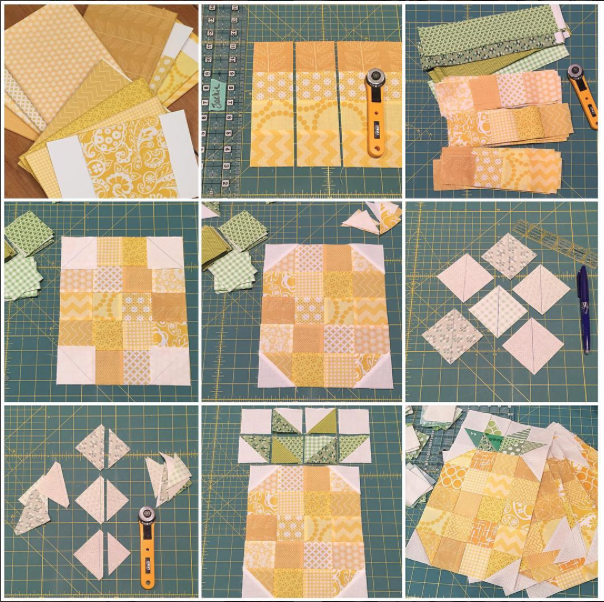
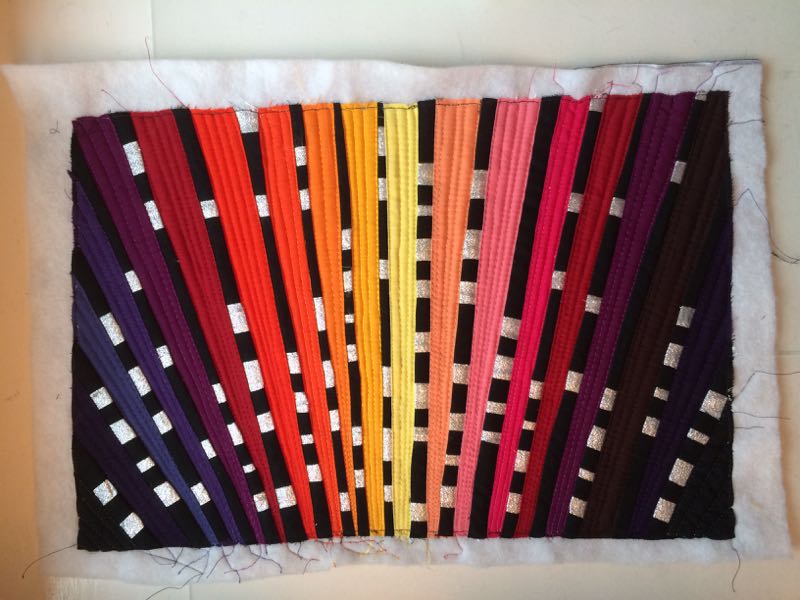
I taught my husband how to rotary cut, and we got some stripes together (short is 8-1/2″ x 2-1/2″; longer is 16-1/2″ long x 2-1/2″). I swapped out my big machine for my teeny Featherweight, and stitched them together, one-handed. At my first check-up the doctor gave me the go-ahead to do stitching, as long as I wore my sling, saying it would be “therapeutic.” Oh, yes.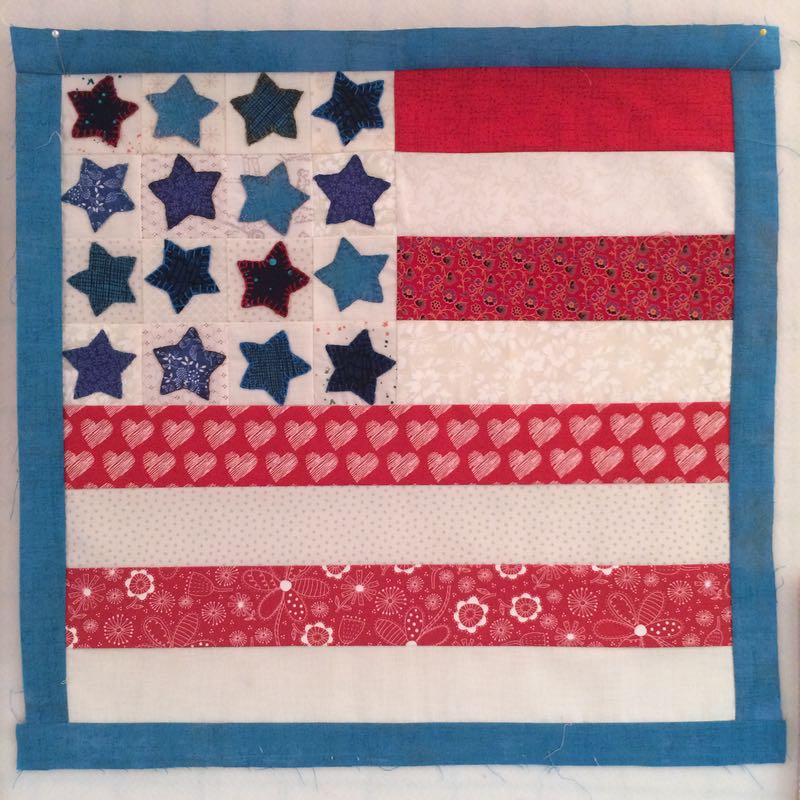
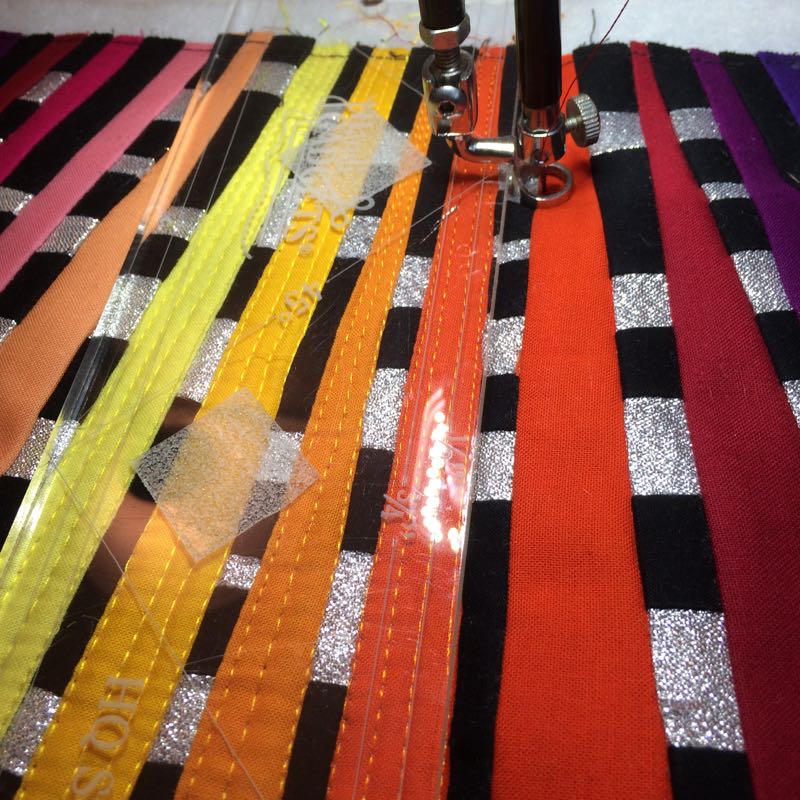
Putting on these scissor-cut 1-1/4″ borders was not easy (finish at 3/4″). I’m so used to man-handling the fabric for speed, I’d forgotten how to slow-stitch, or slow-quilt, or whatever you want to call it. Before, I would grab the strip in front and in back and put some tension on it, floor my foot pedal, and force that fabric into place. Since I only have one hand available to help guide it through the machine, this wasn’t going to work.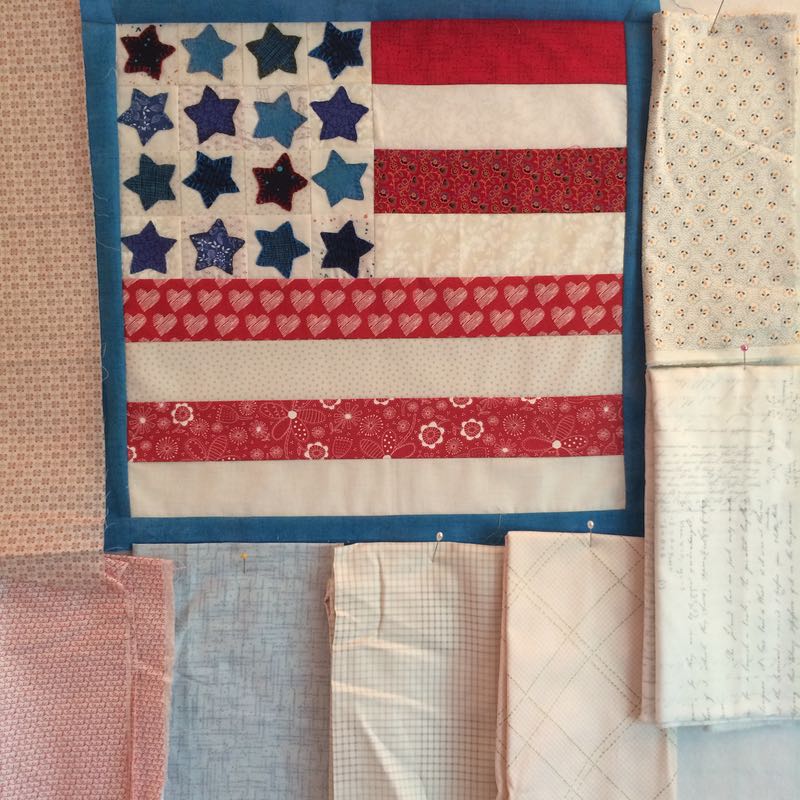
Auditioning the next border, with the realization that there is no driving, either, so no running to the fabric store if I don’t like what I have. I scissor cut the borders, laid out the little mini quilt face-up on the ironing board, and gave it a good press and smoothed it out. Next I laid the border face-down on top, and again pressed it. Since I can’t force these pieces together, I have to coax them. I pinned them together in many places, and fed the seam slowly through the machine. Flattest border I ever put on, with no puckers anywhere.

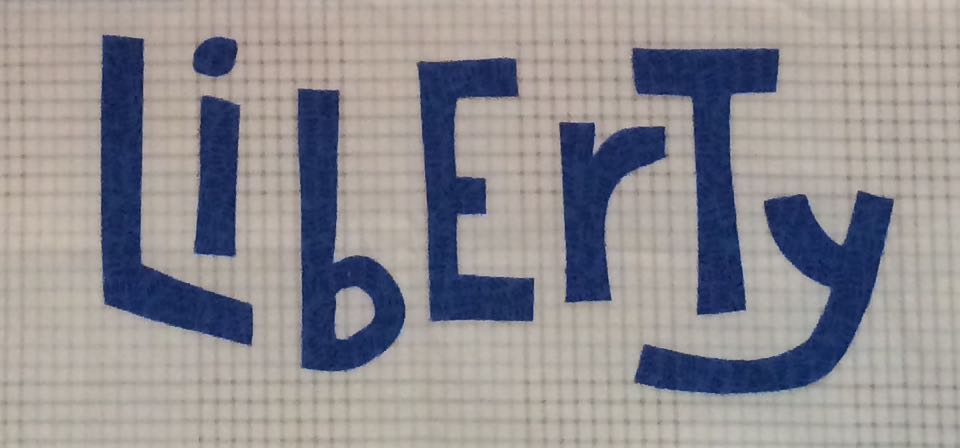
I had an old printout from the internet (couldn’t find the source when I went back to reference it) that had this word, so I drew two lines, 5″ apart, then another guideline 1″ inside the top and bottom and freehanded the letters. I fused them on to the quilt. They are about 5″ tall overall, as that outer border was 6″ scissor-cut.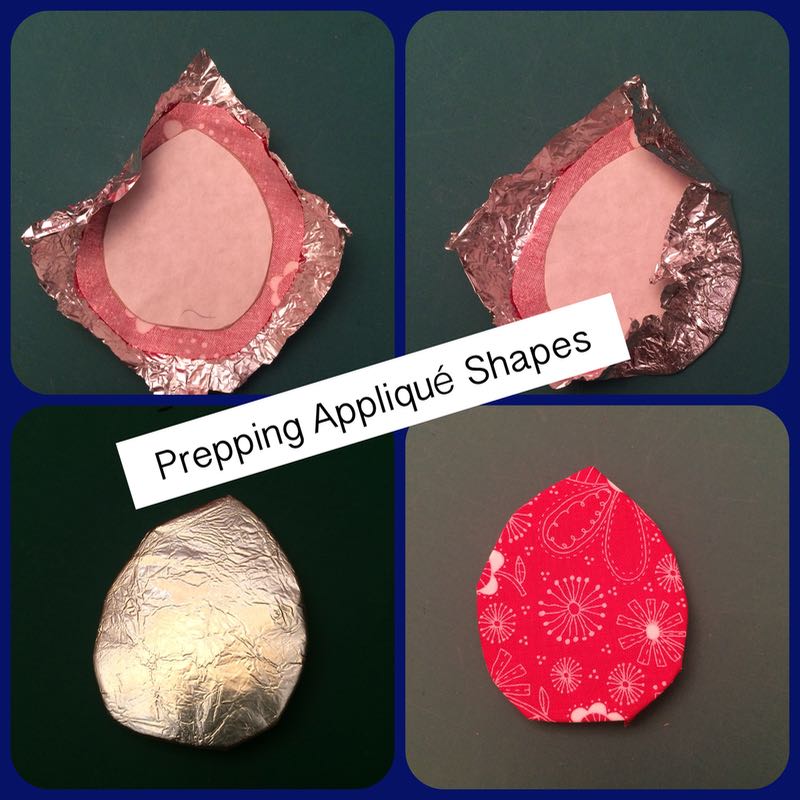
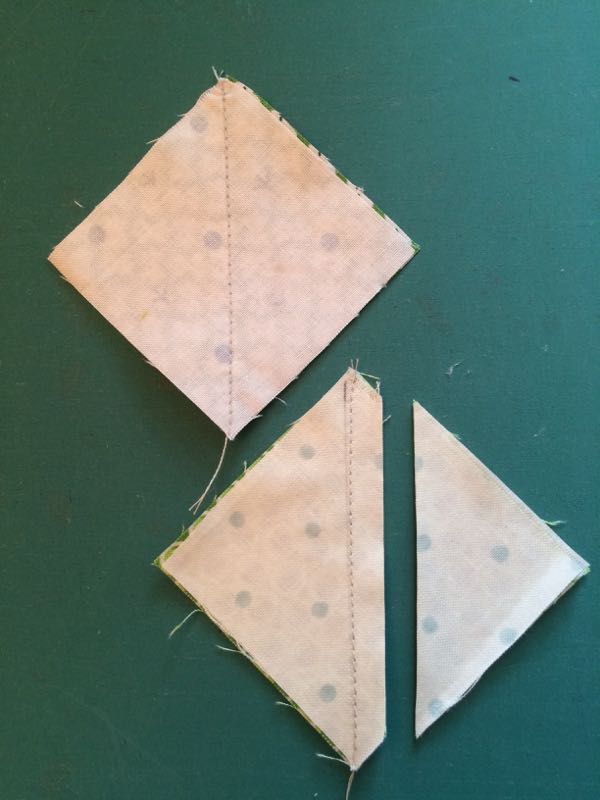
I sketched out a bud, figured out some leaves. I drew joined leaves, inspired by my love of samaras, or those joined helicopter seeds from maple trees, but also inspired by this photo [PDF of pattern shapes is at the end of this post]. Above, I am trying Sarah Fielke’s method of prepping up shapes for appliqué. It worked fairly well.

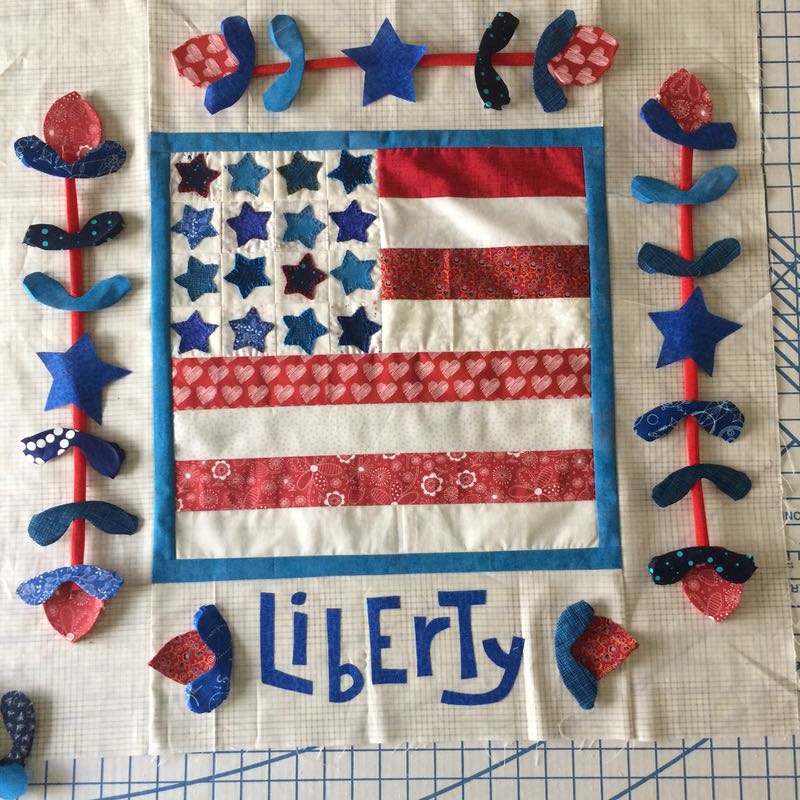
I laid out all the parts: leaves, byds (small and large), tubing for stems and more cut stars (on the pattern sheet), trying to decide if I like two leaf sets next to the word Liberty, or one. I’ll appliqué or blanket stitch down everything…then decide. Since I work in small segments of time, and ever so slowly, I might make my goal of July 4th. Here’s the pattern sheet in a PDF document: liberty-usa-quilt-bits
 Please be sure to set your printer’s settings to 100% so the large star will measure 3-1/4″ where noted. It contains: large flower bud (top and two sides), small flower bud (next to Liberty), joined leaf shape and the large star. You can either shrink this star for the 16 stars in the central star section, or look for a star online that will measure about 1-3/4″ to 2″ across.

Keep stitching, however s l o w l y !