Okay–here’s what helps keep me busy while I’m watching hours of footage about the Hurricane Harvey disaster: hand-sewing. So I came up with my own little sewing kit. Start Here, with this rough sketch of a pattern: Sewing Kit_opquilt-pattern
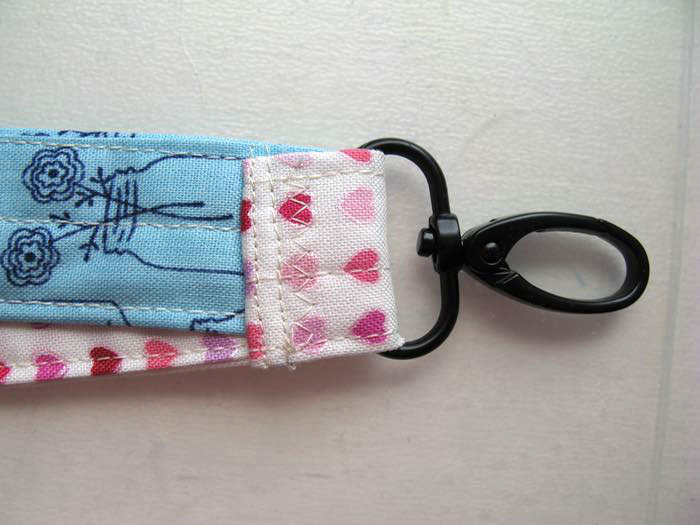
 and these dimensions:
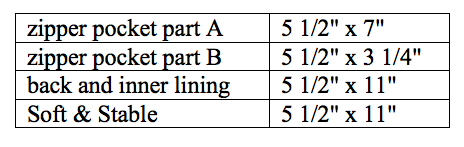
Cut out. Quilt Soft & Stable lightly to backing, as you just want to hold it in place, you don’t want to distort it. NOTE: although it doesn’t show really well, I cut two of the notions pocket (thimble and thread glide); the dotted one (you can see it below) is the lining. Remember to cut with wrong sides together, as the pattern piece is not symmetrical.

Stitch it together along the curvy top, and the right side. Turn inside out, topstitch along the curvy edges. and make the pleats. Top stitch along the two sides and the bottom, holding it in place to the inner lining. I like light linings, so I can see what’s going on.
 Refer to above photo for the rest of these
 sketchy detailed directions.
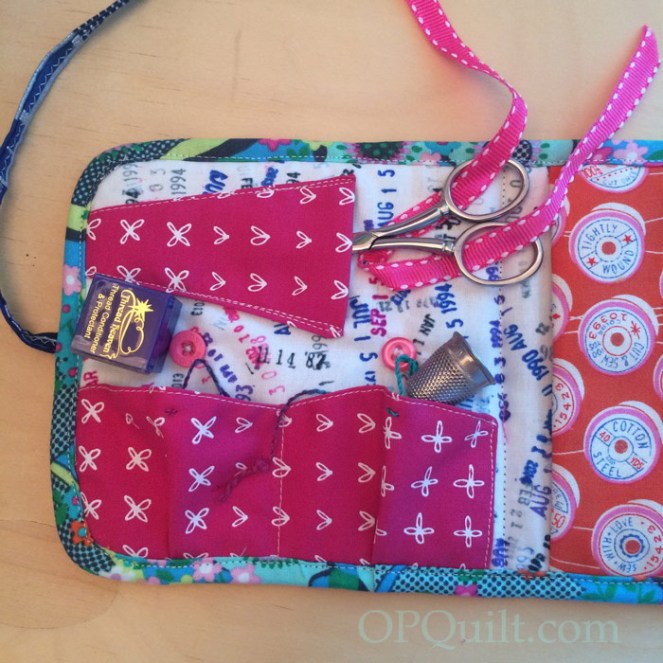
Sew down one long side of the scissors pocket; turn and press. Turn in 1/4″ on the other long side; press. Top-stitch the scissors pocket onto the lining. Slide your scissors into place, and figure out where the ribbon needs to go: backstitch a ribbon into place.
Match up the backing with the lining and all its decor, putting wrong sides together and pin. All the edges will be raw edges. Find the center line (where you will fold this closed) and stitch down the center to anchor the parts together.
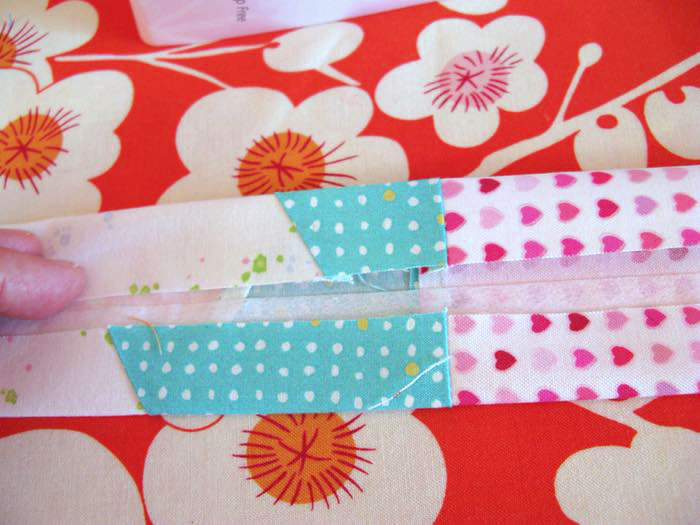
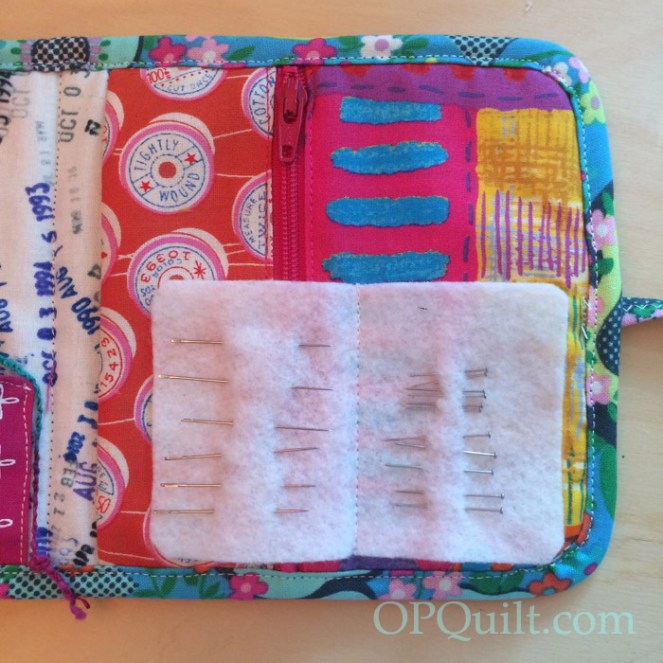
Insert the zipper between the two zipper pocket pieces, cutting zipper down to size after sewing thread tacks on each end to keep the zipper on its track.
If you want a needle holder, cut a piece 1-3/4″ by 4″ and stitch to the zipper pocket as shown in photo above. Then fold the zipper-pocket-assembly in half, creating a pocket. (You can see the aqua ribbon sneaking into the pocket in the above photo.) Place zipper pocket on right side of lining and stitch around this narrowly–just to hold it in place.
Lay a spool of thread on all the corners and trace; cut the edges into a rounded edge. You can omit this step, and just do the corners like a quilt binding.
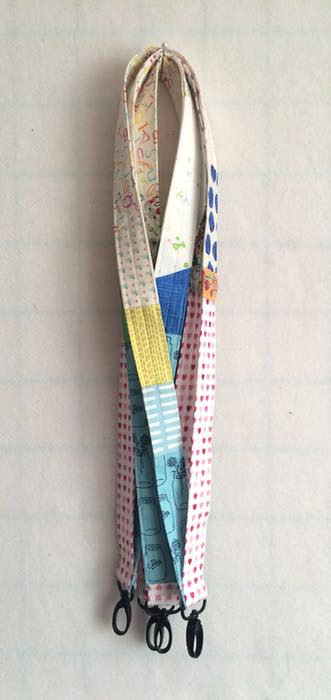
Bind the edges with a double-fold binding: cut a piece approximately 20″ long and 1-1/4″ wide. Fold raw edges into the center and press. Open out binding; first stitch WST with binding to back. Fold to the inside, pinning or glueing to keep in in place, then topstitch. Make two other double-fold pieces, roughly 12″ by 1-1/4″ and zig-zag. These are your ties. Stitch them to either side of the outer edge (refer to photo way below).

Add other trim: two buttons for the “String & Button” closure (yes, that is its official name). I found some interesting thick string and sewed that through the little pocket at its tallest point and then knotted it behind the pocket. I used Fray-Chek on all raw edges of string and ribbon and ties. To close, you wrap it around the button (shown, above).


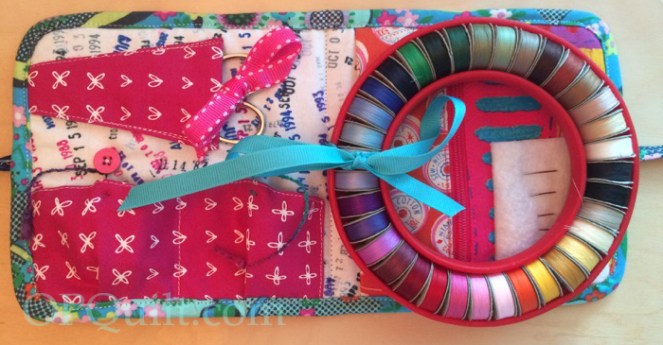
I use the Superior Threads Bobbin Donut in doing my hand stitching. I tried and tried to think of a way to get it attached, and finally resorted to sewing a ribbon to the center. 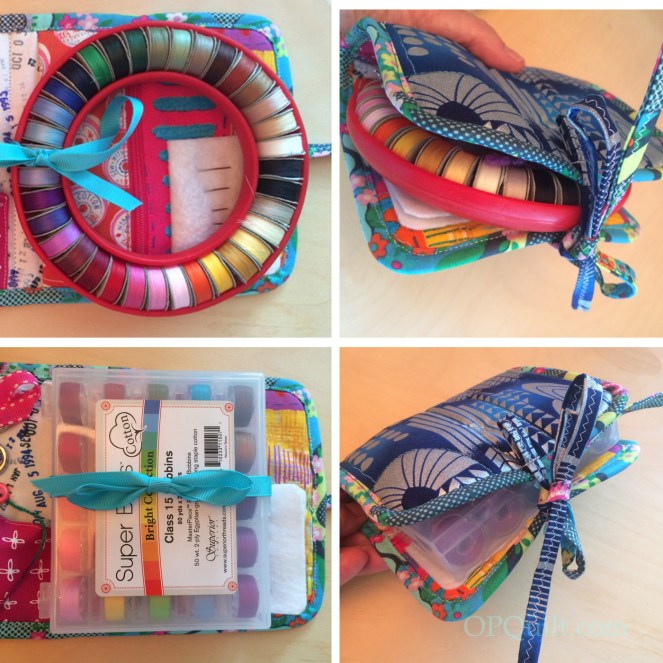
I also tried it out on their new Super Bobs box, which is what is replacing the Donut. They still have a few donuts for sale on their website if you hate to see it go. Truth: I probably won’t shove the donut or the box into the sewing kit…but I might.
I realize that I assume you have some sewing knowledge when I posted this, but another Truth: it’s also for my reference if I ever want to make another one. The very cool fabric on the outside is from Timeless Treasures Fabrics a few whiles back. It’s called Lux, if you want to go looking.
Why did I make this? I have lots of pouches and bags and I love them all, as most came from friends. I also have a couple of sewing cases, too, but I found myself toting around my stuff in a zipper baggie, as nothing quite suited me. So I know this is what works for me, but maybe you can find something in here that will work for you.

It matters little how much equipment we use; it matters much that we be masters of all we do use. ~Sam Abell
I have to say that my attention has been preoccupied with the victims of the Houston flooding. My son and his family moved there a week ago (I know!), and I try to keep tabs on them as much as he is able to. I’m not the only one focused that way, with loved ones being flooded. We’ve contributed to the Google Hurricane Harvey Response (they’ll contribute matching funds), and there are many other charities where you can donate. Please consider helping in this way, as this is catastrophic.
And One More Thing: Get your own Emergency Supply Kit. Have water, basic necessities, food that’s portable. None of us can expect that rescue will be a part of our community’s offerings, in case of disaster (and you know what your own disaster can be). We have to expect that we’ll need to help ourselves first.

 We all put double layers of fabric bindings on our larger quilts, but have you thought about using a single binding on a smaller quilt? It’s quicker, flatter, and really–are you going to wear out those edges any time soon? And if you do, won’t you just repair them? That idea came from Gwen Marston, in one of her last workshops. That idea — that a quilter would just repair them if they became worn — is why she uses single bindings on all her quilts.
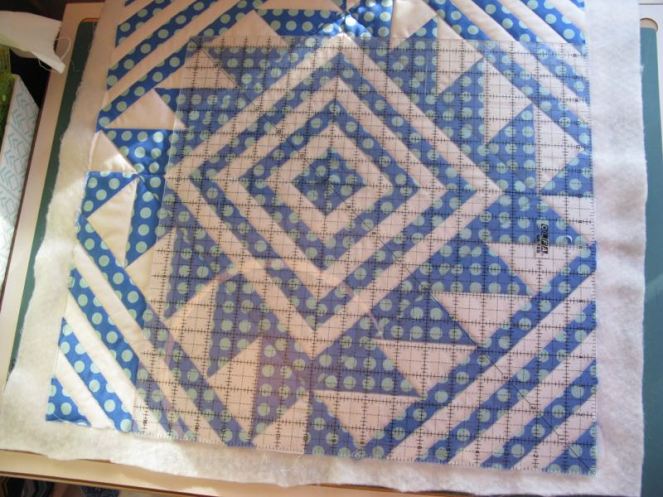 Start by squaring up your mini-quilt. Yes, that is a gigantor square ruler, and I use it a lot, actually.
 Prepare your hanging corners, by cutting a larger square (for a 24″ quilt, I use a 5 1/2″ square), folding in half, diagonally, and pinning it in the upper corners of your mini, against the back, matching raw edges to the edge of your quilt.
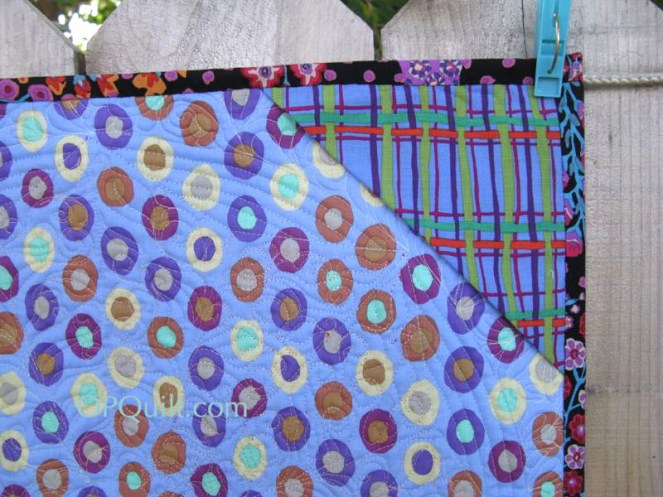 (Here’s what it looks like on another quilt, as my corners just disappeared on this one.)
 Cut strips of fabric (lengthwise, if you can) about 1 1/2″ wide and the size of two sides. Pin, then stitch on, using a 1/4-inch seam.
 Repeat for upper and lower edges. Pin and stitch, but watch out that you don’t veer off on those corners (I pin them).
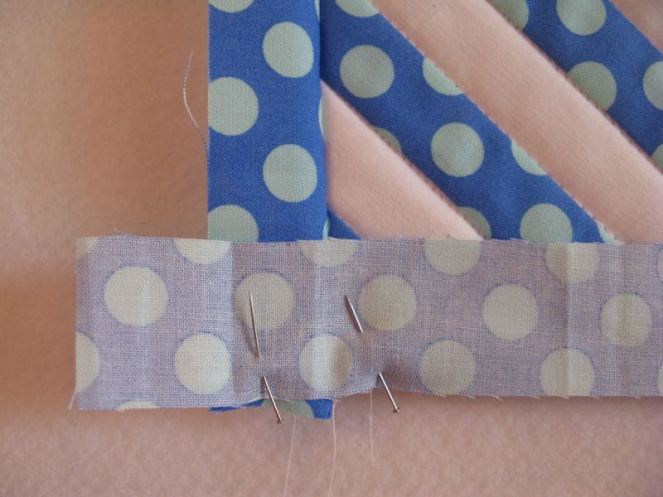
 Square up the corner, and cut off the excess, both underneath (above) and on the outer edge (below).
 While this looks angular, it isn’t.
  Press binding out away from quilt.
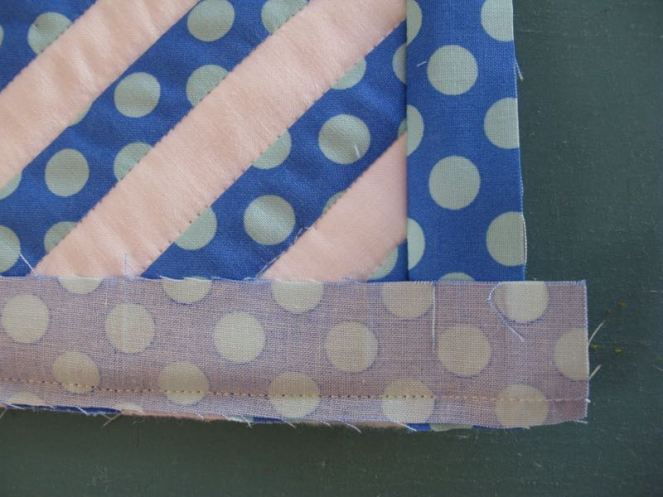
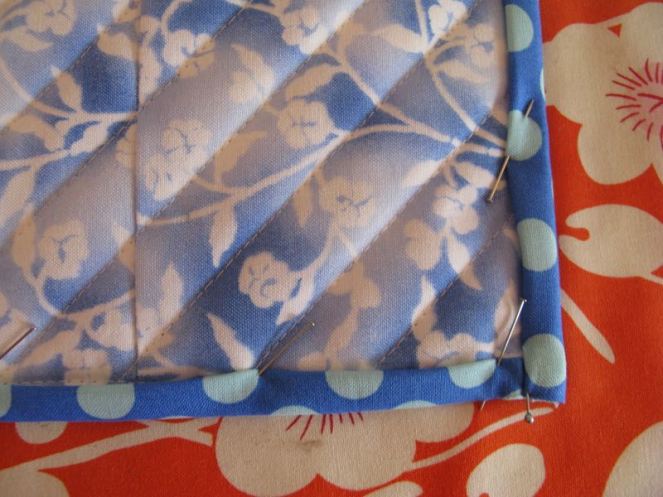
 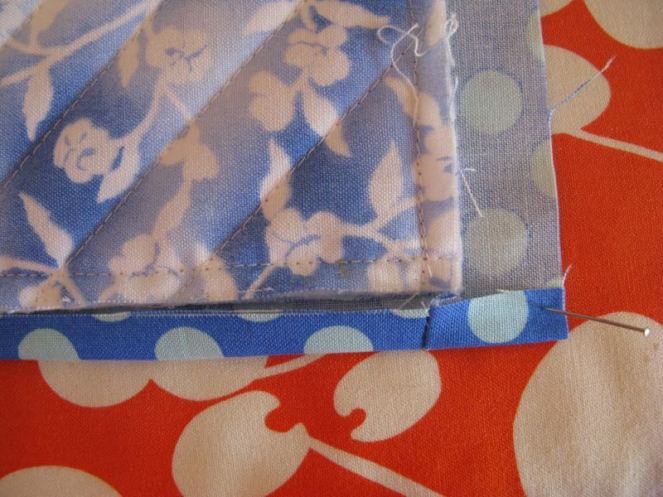 Fold up lower edge, so the raw edge of the binding meets the raw edges of the quilt.
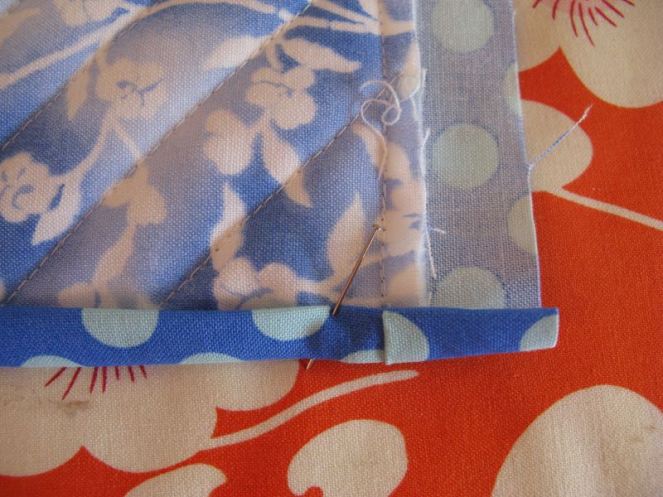 Fold it up again, covering the raw edges of the quilt. Pin in place, and then repeat with the sides:
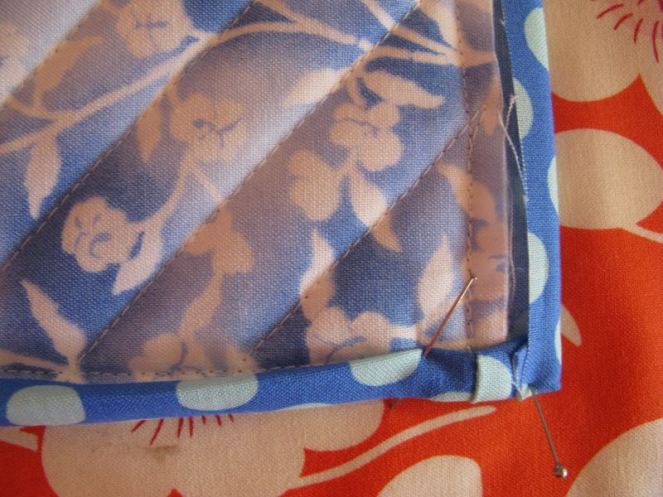
 Hand stitch all the way around, or if you are a confident quilter, you can use a glue stick to affix the binding edges down, then machine stitch. I personally don’t like the machine stitching, as I think it makes the edges too rigid, but “To each his own,” said the Old Lady as she kissed the cow. (My Dad used to say that all the time.)
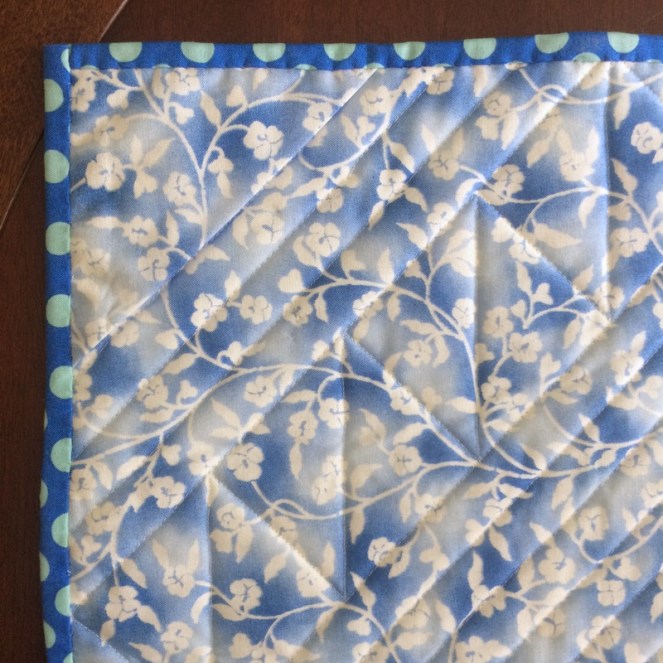 Here’s the corner already on, but it’s hard to see. I cut a dowel the width of the quilt, minus 2″ and slip it into place. Then I hang my minis, balancing it on a push pin.
 Thanks to all who came to the Trunk Show and to all who sent their best wishes. It was a lovely evening! If your guild would like to see my Abecedary of Quilts Trunk Show, just drop me a note.