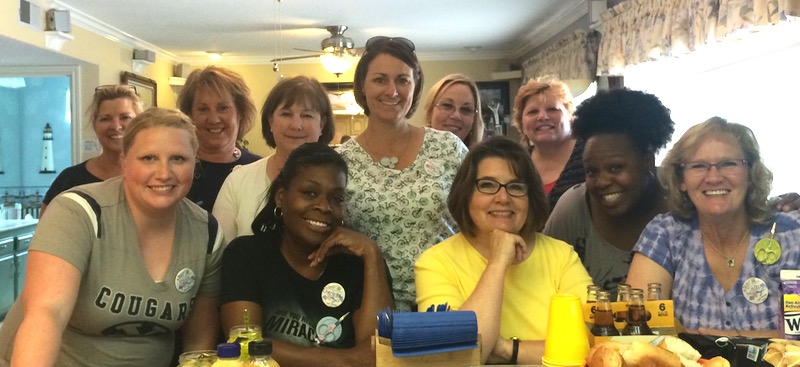
The Good Heart Quilters had their 4th annual quilt retreat at Lisa’s home this summer. She is the smiling blonde marathoner in the lower right (I am in the yellow T-shirt). Some of our group isn’t here, and we also had a couple of newbies join us this year. We meet at Lisa’s home Friday morning, eat lunch together (Lisa gets it all beforehand) and this year, we went out for dinner, then sew into the night. Saturday the group meets up again (we always lose a few on Saturday) and goes again until they can’t anymore.
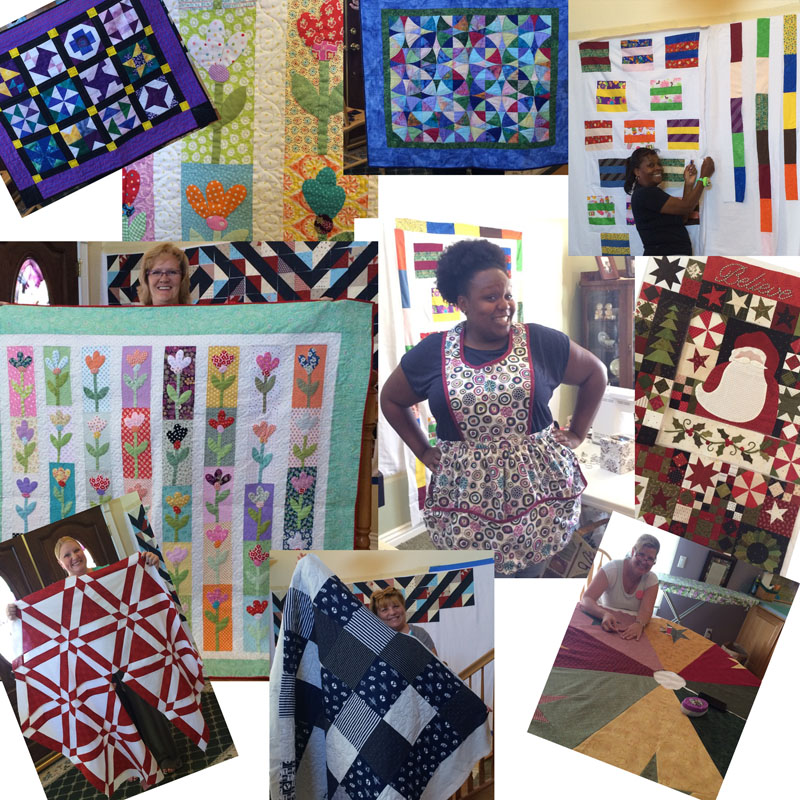
From this industry. . .
. . . came these results.
We had some handwork going. Laurel shows her Rosette #1 of the New Hexie Millefiore Quilt along, and the start of her third rosette is the inset.
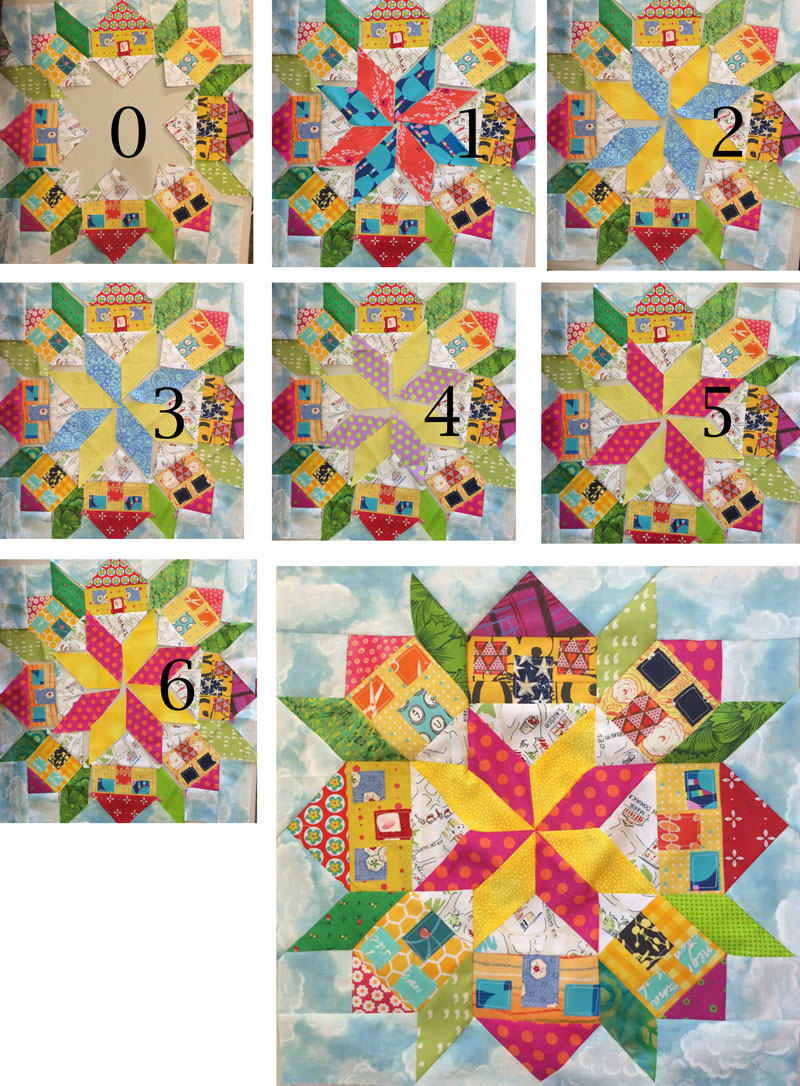
Lisa was more than patient with me as I auditioned centers for this house block for her to comment on. At 16″ it is to be a mini quilt for a swap I’m in. While the easy way would be to use the popular Swoon pattern, I went back to Barbara Brackman’s Encyclopedia of Quilt Patterns and went to the source: a block titled Rolling Star from 1932. This brilliant little house idea came from Blue Mountain Daisy.
After setting in umpteen Y-seams and a billion more V-seams, I finished the mini quilt top. I think using the Swoon Block method of half-square triangles would have been easier, but the center of the original Rolling Stone block is also a Lemoyne Star, rather than the a Sawtooth Star block, so inset seams it is (although I suppose I could subdivide them like the lower block on the right). I like to try this original Rolling Star block again, now that I’ve got one under my belt. We’ll see which one ends up going to my partner!
I know I’m late to this particular party on Instagram, but I have recently jumped right in and signed up for three swaps. These are little groups of crazy people who have more than enough to work on but think it would be fun to make a gift for some unknown person, include a boatload of treats in addition to the mini and send it off, hoping it arrives.
So here they are:
Mini-house Swap. This was started because the Denise, the organizer was moving and wanted to do a swap around the idea of a new house (blog post showing general info is *here*). I like house quilts, and had never tried a swap, so decided to try it. Then all these terms started floating around like Swap Mama, Swap Angel, Swap Moderator (which I think is the same as a Swap Mama). I thought I would just sort of play along and pretend I knew what they were talking about. Since I’m such a non-shopper, I’ve been taking screenshots of people’s “other extra items,” and will try to head out and find some since I’m such a newbie at this. For this swap, we have an organizer, and a Swap Mama, who has sent out emails letting us know what’s up.
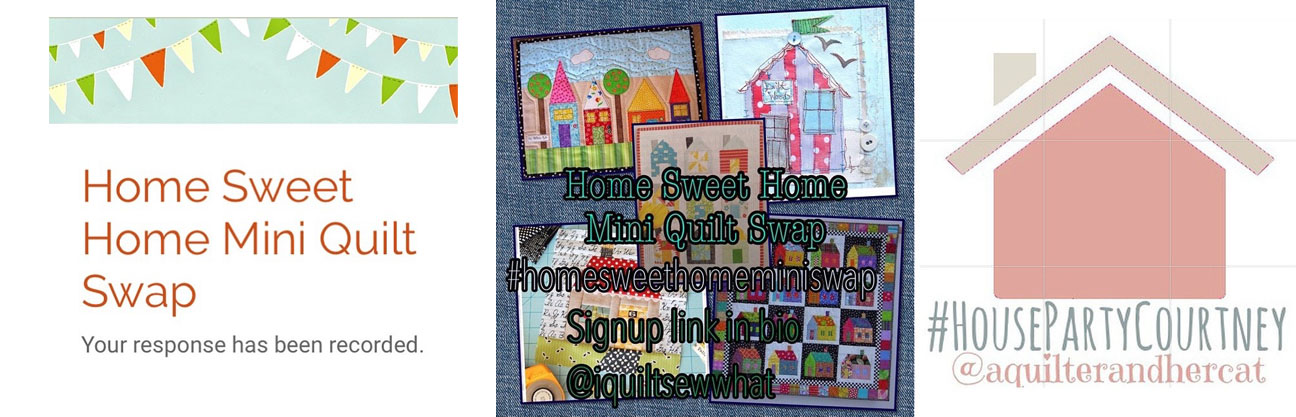
The first picture (above) is the confirmation I received after I signed up, then the logo for the main swap, then the logo for the group with our own “Swap Mama.” Believe me, the State Department has more code words than these do, but we do come close.
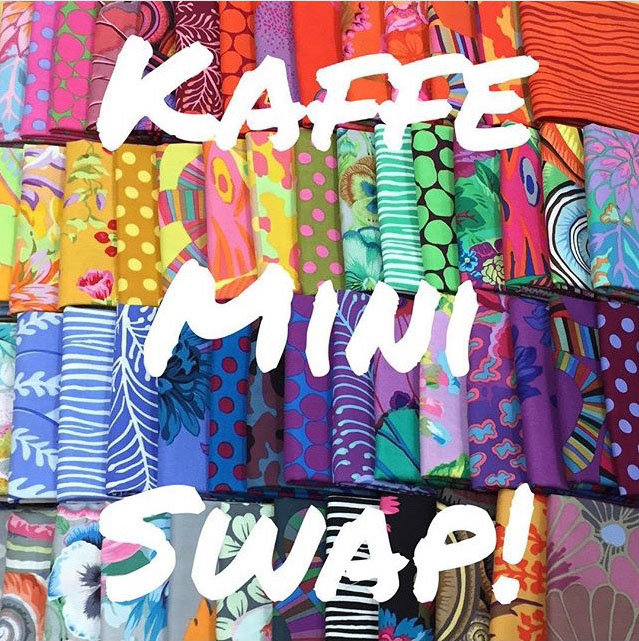
Kaffe Fasset Swap. How can you pass up something like this? The sign-ups closed July 5th, with partners posted on July 13th, so I haven’t heard anything from Leslie Piper, who is the organizer. Here’s their Facebook page, though.
Simply Mini Swap. This may turn out to be my favorite because all we can send is a mini quilt and a hand-written note to the recipient. Brianna, the organizer has already sent out guidelines, and I love everything she is doing. We have three check-in dates, a request to post a Mosaic, and shipping dates. Above you see the interest post, then the IG post that the swap was a go, and the rest of the images are pretty self-explanatory.
She also gave us a link to a fine post about Rules for Swapping from Karri Garza. Loved it. If you click on Karri’s “swapping” hashtag on the bottom of that post, there are a few other posts she’s written about swapping. From this I learned that some people sign up their dogs. (!!) And their children. (!) Hmmmm. I’m hoping I’m on the receiving end from another grown-up human quilter, and that all these turn out to be a cool way to meet new people and create something fun.
If you want to try a swap, Amanda of Openquiltswap on Instagram has started a clearing house of swaps–such a great idea to help people like me find their way. I did a search on other “swap rules” posts. Here are some:
I also found out that there is an informal Black List that circulates among the swap organizers of flakey quilters who receive a mini quilt, but never send one out. I’ve been in block bees like that, or have received quilt blocks that were at best questionable and at the worst, hideous. So maybe being in a swap is like a big fun roll of the dice.
Are you in any swaps? Have you thought about being in a swap? Any interesting stories to share?
America Is a Tune: It Must Be Sung Together
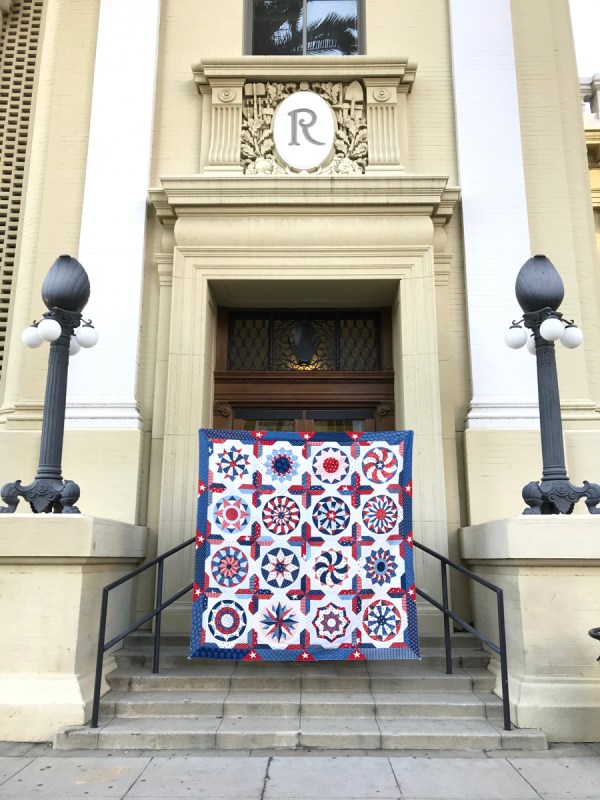
Happy Fourth of July, everyone! Here’s a little patriotic quilty eye candy for you, plus a mural that is on the hallway ceiling in the United States Capitol Building in Washington, DC.
(Back of the quilt that uses a tea towel showing lot’s DC’s Memorials.)
The boys and I hope you have an outstanding Fourth of July!
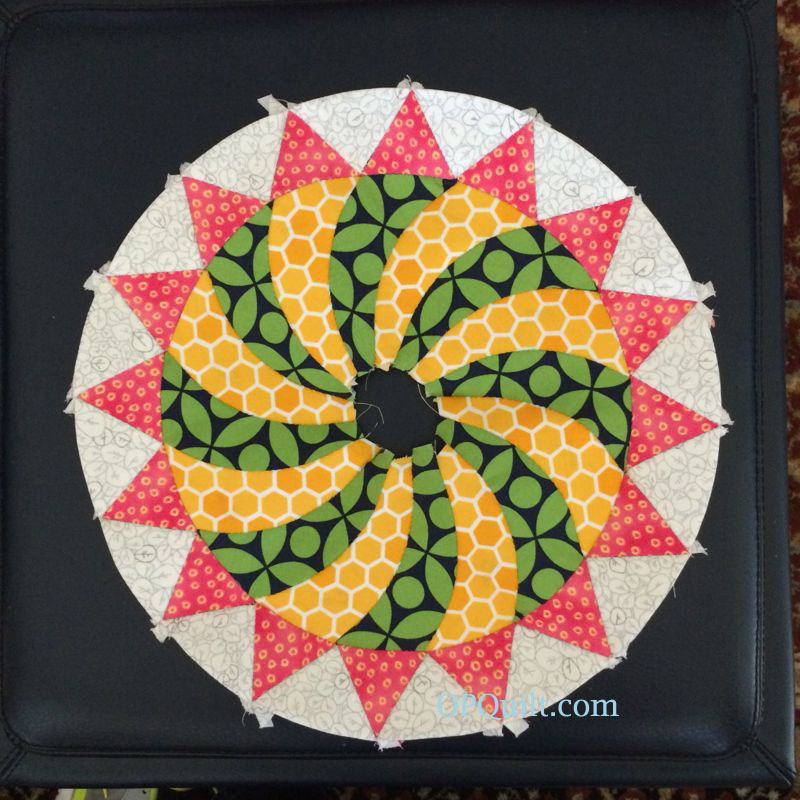
Tiny Swirly Gig Circles Block #13 of the Circles EPP Sew-A-Long
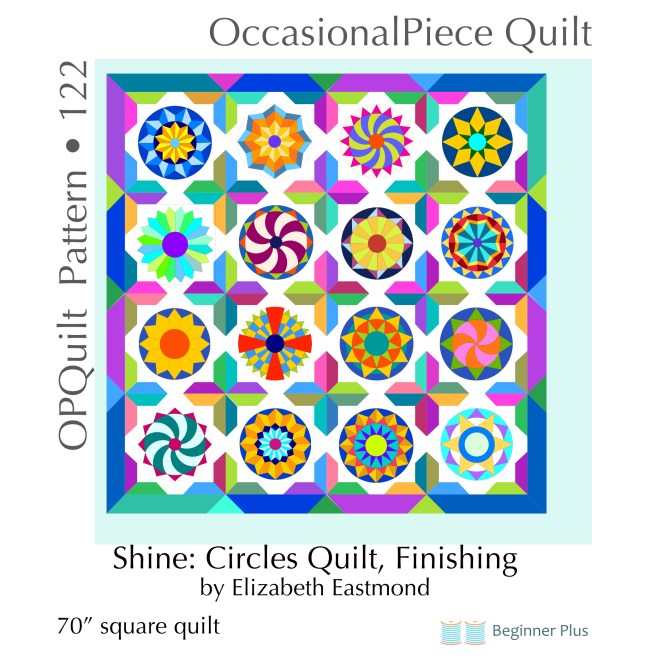
Since I so rationally decided that I needed SIXTEEN blocks to make up my quilt, all I can chalk it up to is summer heat (coupled with our drought, we are going to have so.much.fun), regular old garden variety stress (having cloth in your fingers lowers blood pressure so I heard), or a blissful existence of sitting on sofas eating bonbons while watching videos and stitching. Choose one.
But here I am again on the Final Four of the Circles Blocks, created because I wanted something more than straight lines to English Paper Piece.
As usual, I assume you know how to do some EPP, but do like to give tips and more instructions here on the blog. For starters, I print out my papers on 24-lb. weight copy paper, a bit heavier than the usual stuff, and make sure my printer scaling is at 100%. Print off four copies of the pattern, and cut them out around all the lines. You only need one circle, though.
I also print off a color picture of the block (this one made in EQ7) and keep it in my little baggie full of pieces. It helps when my brain fades, or too much is going on around me, or I’m trying to remember what the heck all those little pieces are for.
Fabric selection is usually based on what falls out first of my stack, as I glance over at all my blocks up on my pin wall and try to find fabrics that I’ve used before, so the quilt will blend.
The other day I put a photo up on IG and someone asked me what my fabrics were. If you’ve been following me for any length of time, while I am totally impressed that a designer can make up a line of 14 fabrics that all go together, and I love love love them, doesn’t mean I’m going to use them all in a quilt at the same time (although I have done it once. Or twice.) And I’m a selvage cutter-offer, so the chances of me knowing what they are might probably be very slim. I’ll probably know the designer, but the name of the fabric? I have a thing for using a LOT of different fabrics in a quilt. I mean, it’s a great big fabric universe out there. Why not have fun?
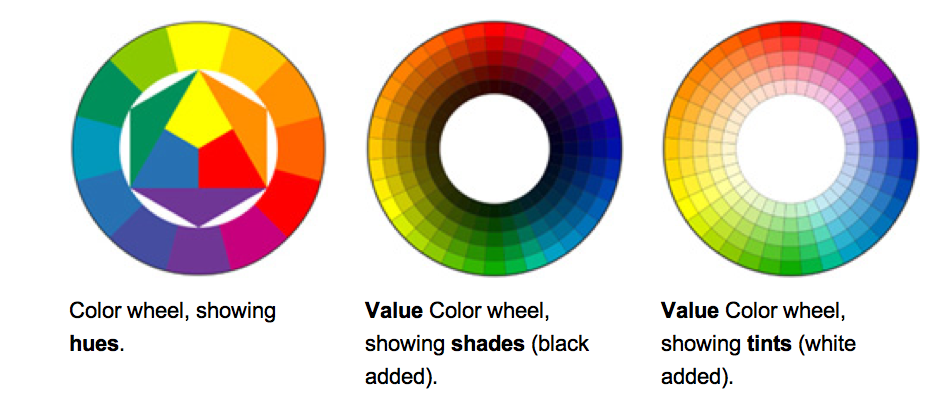
The other tip to picking good fabrics is to know your color wheel–how it works, as well as your value scale (light-to-dark). (Illustration above from *here* which has a quick primer on color and value.) More quilts have been ruined by the inclusion of medium-value fabrics only, especially by the use of medium gray (ACK! ACK!). Try to get a range of hues (colors) in light (tints) to dark (shades).
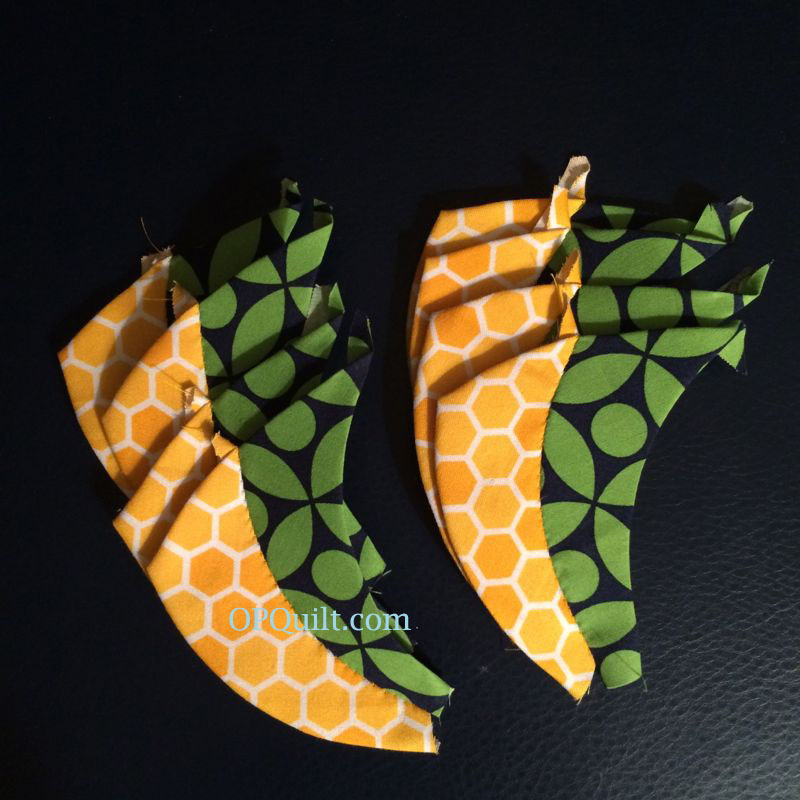
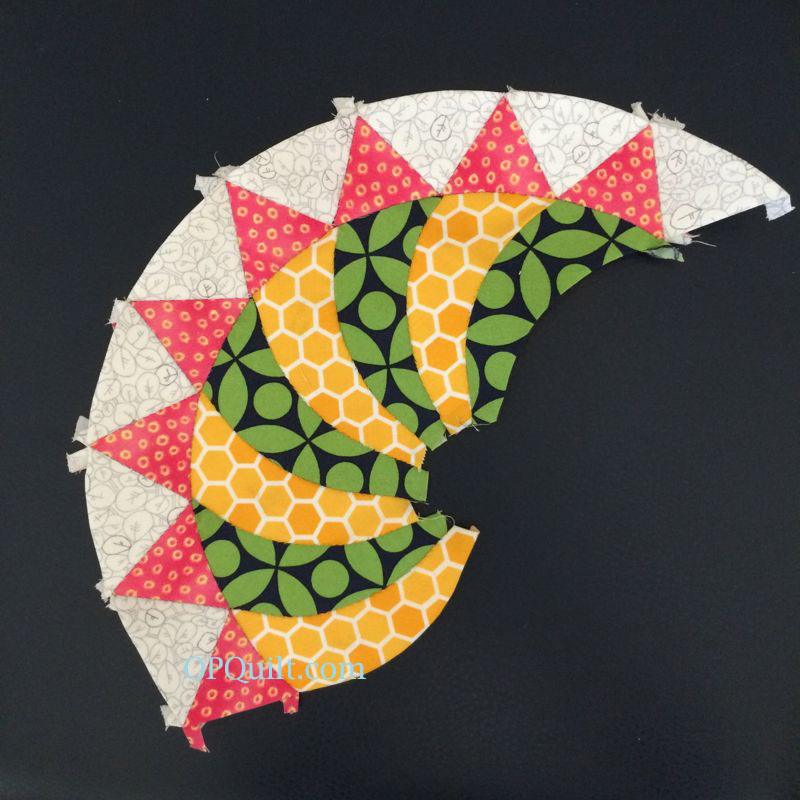
Which direction do you want your swirls to go? If you want it to look like the pattern, place the printing face down on the wrong side of the pattern. Whichever way you do it, be consistent on both colors of swirls. I pin the pieces, slice around them with my rotary cutter (no, I am not exact), then use the glue method of getting the fabrics on the papers. (Your pattern pieces will look different than what is in the photo above, as I have revised and improved the pattern multiple times.)
Ta Da! All glued down. I don’t glue down that inner bit as it will be covered by the center circle.
I like to lay out all the pieces to see how they play together. I like this bunch. Often this is where I’ll switch out fabrics, trying to catch it before I get everything sewed together and then hate it. If the choices will fight with each other, let it be at this stage.
Sew a light swirl to a dark swirl, being consistent as to which color is on the left or the right.
Sew the sets of two into sets of four.
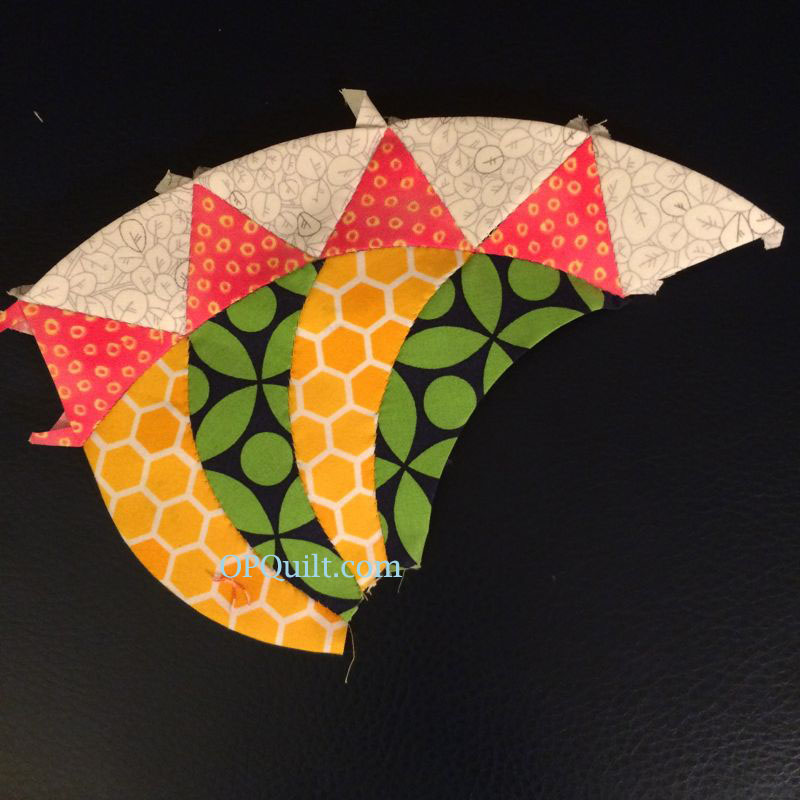
Add the points to the sets of four, attaching the rounded edge of the pointy piece to the swirls.
Stitch the background points in between those. I make sure that the “extra” background point always ends up on the same side, in this case, the right.
Don’t they look great?
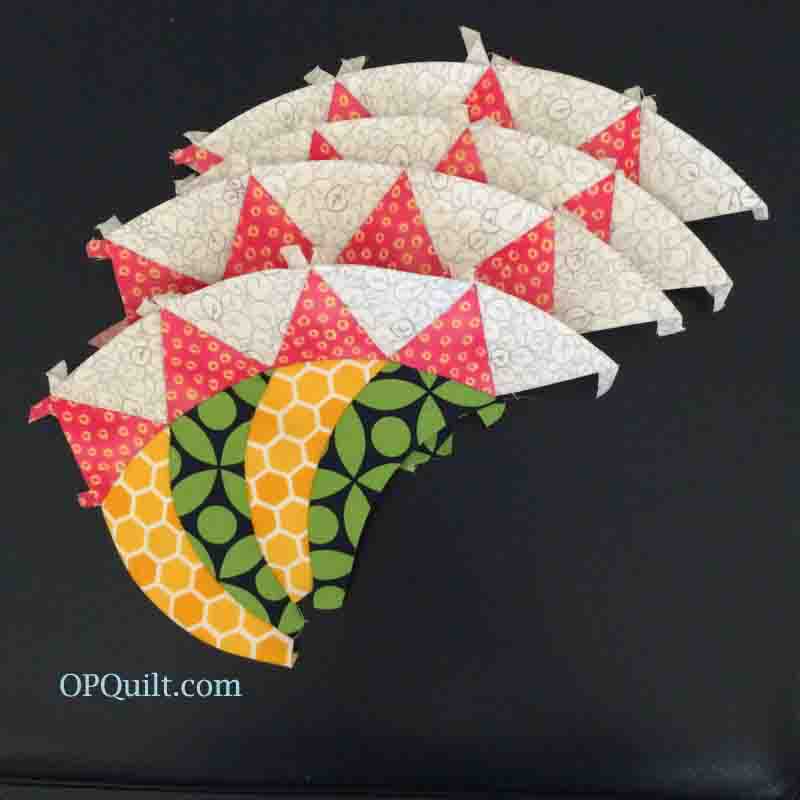
Now join two sets of four to make a set of eight. Beauty shot. I stitch at night while watching movies with my husband and this dark leather foot rest makes a good backdrop.
Now join the last two seams. Yes, it’s okay to switch thread colors if you want to along one seam. In this case I used yellow on the swirls and white on the points.
Another beauty shot.
And another, from the back.
Cut a 14 1/2″ square of background fabric, fold in fourths and lightly iron in the creases so they will serve as registration marks for aligning your circle. Remove all but the outer-edge papers. If you see some wild seam allowances, trim them now (you’ll do it again at the end). While this is what you will cut for a background, in the Finishing Pattern, the block may be smaller when trimmed.
You know the point-up or point-down drill by now. (If you don’t know what I mean, I have lots of tips and tricks in the other twelve circle patterns. Click on the SHINE tab, above, to see the other circles.) Take time to try yours out on your background. Obviously I went with point up. Now I am not liking the center circle I had planned.
I have a bag of Rejected Center Circles, and I’m trying more out now.
But in the end, I went with this one, because often you just need a dark center to anchor the circle. Appliqué the large circle to the background, then cut out the back, as shown in earlier circle posts (again, you can access them all by the tab up above). Remove all the papers. Now is the time to trim any wild seam allowances.
Now appliqué on your middle circle, using tiny stitches. When finished, press face down on a well-padded ironing board (or a folded towel, if your board isn’t padded). Now you have another circle!
The circle patterns for numbers 13-16, plus new blocks 18-22 are available in my pattern shop.



 Lisa was more than patient with me as I auditioned centers for this house block for her to comment on. At 16″ it is to be a mini quilt for a swap I’m in. While the easy way would be to use the popular Swoon pattern, I went back to Barbara Brackman’s Encyclopedia of Quilt Patterns and went to the source: a block titled Rolling Star from 1932. This brilliant little house idea came from Blue Mountain Daisy.