200 Quilts · Quilt Patterns · Quilts

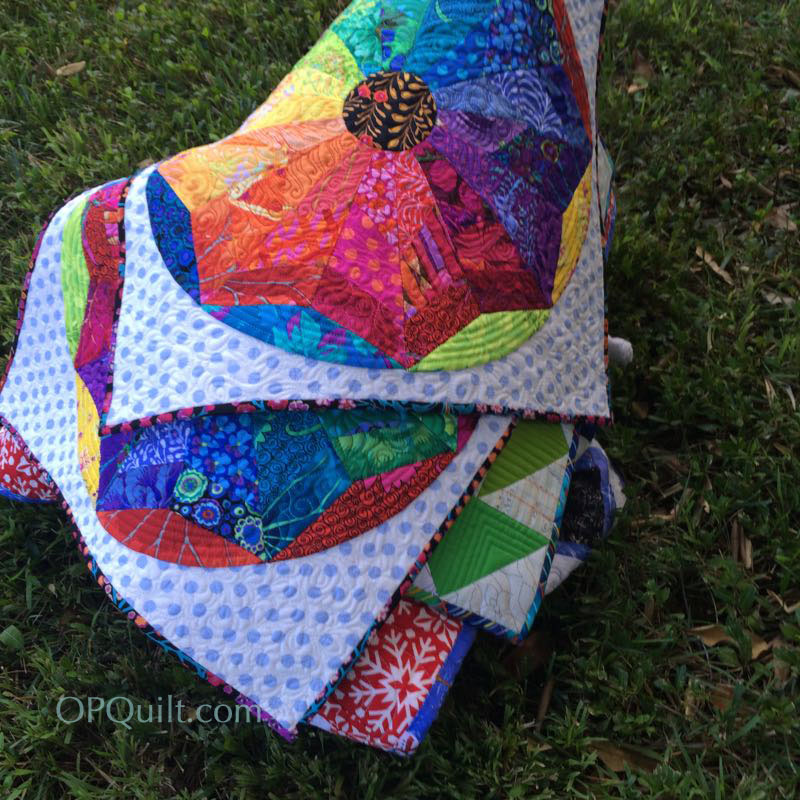
Spectrum: A Colorwheel Quilt

Spectrum_labeled

Spectrum: A Colorwheel Quilt
Quilt No. 153

Spectrum_Quilting1

You’ve seen this beauty before, as I’ve been working on it steadily since last summer.  Since this summer is about to arrive, I thought I should finish it up and get it up in my shops at Craftsy and PayHip (for EU quilters), in case anyone wants a colorful wheel of color on their sewing studio wall. Spectrum_detail

It’s also great for quilt swaps, or special gifts.  I started on mine for a swap, but soon realized I wasn’t going to finish it in time, so made for her instead another colorful creation of mine, Colorwheel Blossom.  (It was a colorful Kaffe Fasset fabric swap.)  But then I had two quilts, so I gifted one to someone who loves and uses Kaffe Fasset fabrics, keeping one for myself. Stack of colorful quilts

Before I sent my swap quilts off, I took them outside for some photos, and love this stack of fun (colorful?) quilts, a prism of quilty delights.

The pattern has templates for English Paper Piecing, if you like to do that sort of thing (I do!) and full instructions for how to put your quilt together.  While the color wheel is 16″ in diameter, the quilt can measure up to 18,” depending on the size of your background.  It is stunning made up in Kaffe Fassett fabrics, and I’m teaching it that way this Spring in classes at my local quilt shop.  Enjoy!

Oh Christmas Tree QAL · Quilts

Oh Christmas Tree QAL –STEP 4

5XmasTreeMay4

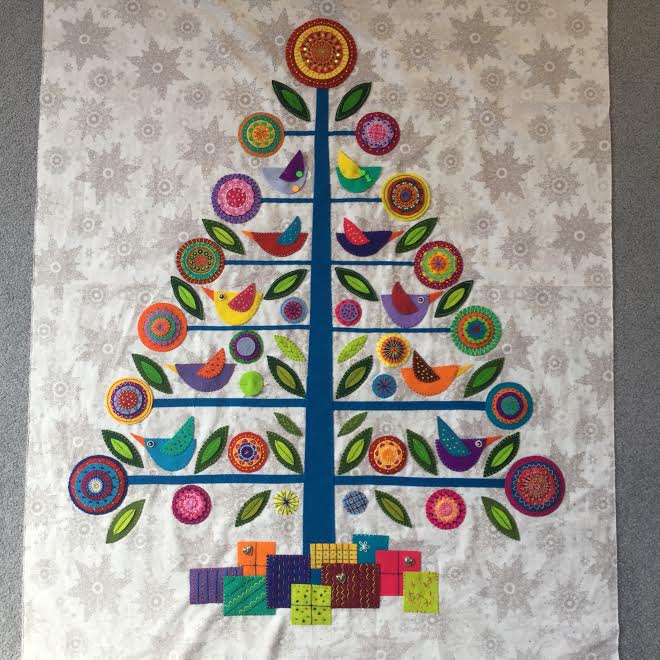
Today is Step 4 of our Oh Christmas Tree Quilt-a-Long (#ohchristmastreeqal), following a pattern by Wendy of FlyingFishKits and which was published in Simply Moderne issue #3, by QuiltMania. As always, we have an assist from Wendy of  Wendy’s Quilts and More (blog) and wendyquiltsandmore (IG), as she is slightly ahead of us in her creating.

ohchristmastree4_0treejpg

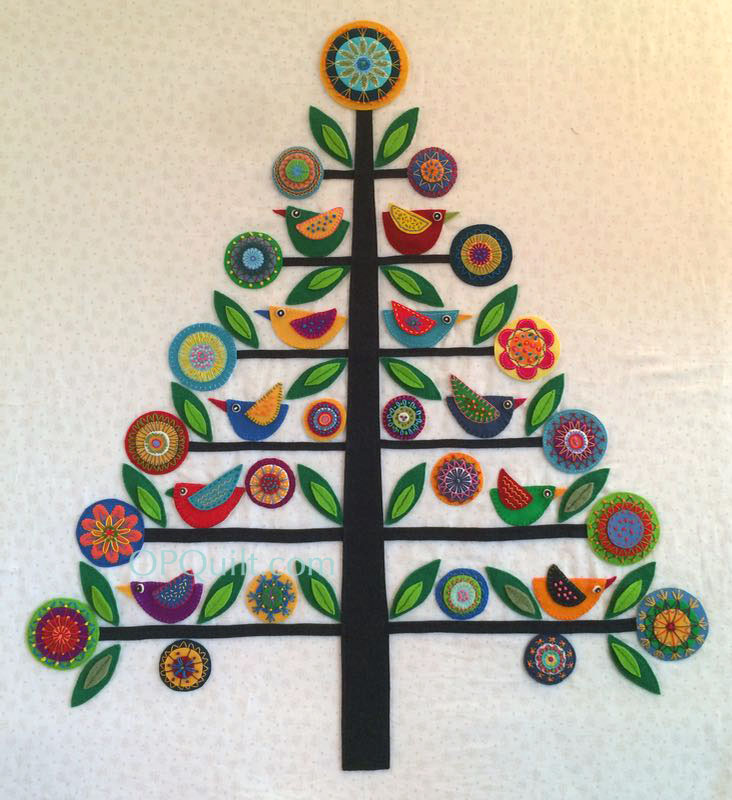
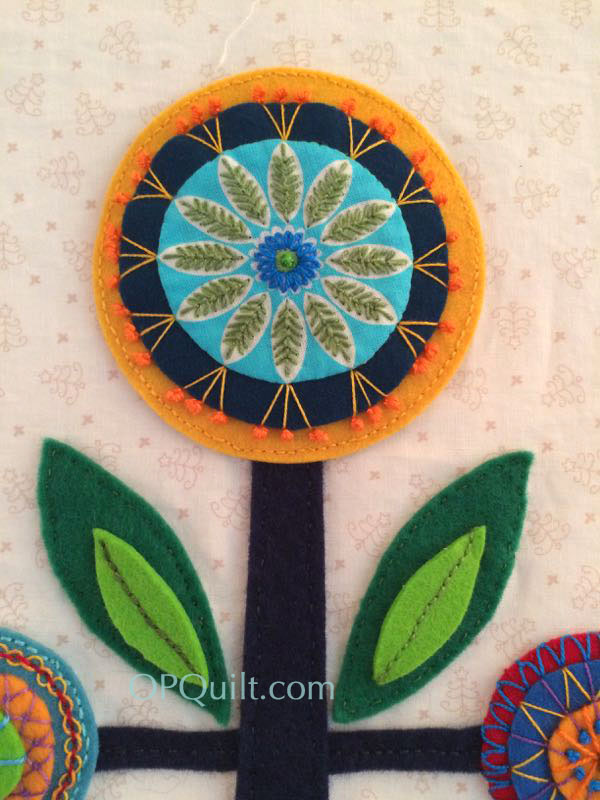
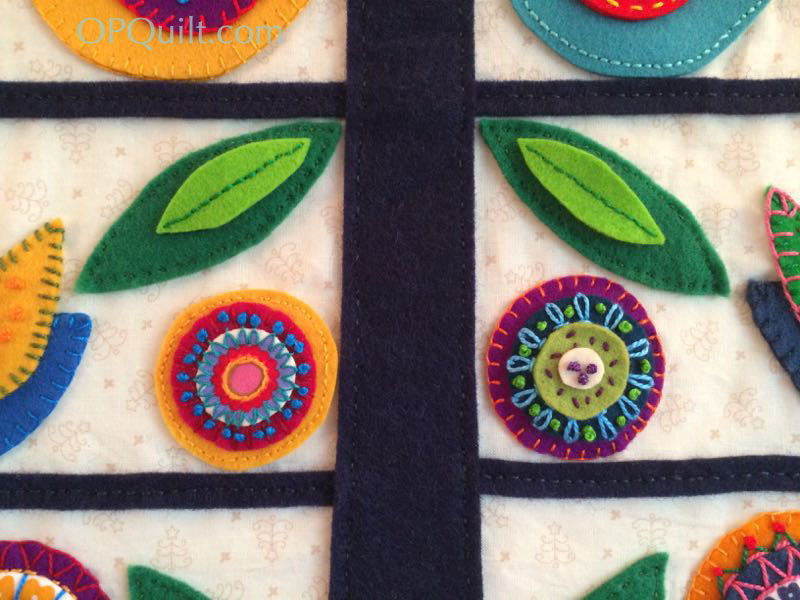
Here’s the twist: instead of creating the under-the-tree scene this month, I’ve gotten so many queries about sewing these things on to the background and the tree, that I think we’ll head that direction instead.  Go with the flow, right?  Above is my tree, everything sewn on.  I’m heading this direction because a lot of those questions have to deal with the idea of how much embroidery to put on that outer edge?  Should you leave a space for attaching and more embroidery?  Should you go right to the edge?

The basic idea for attaching is this: lay out your circles, birds, and leaves to your liking, using the pattern and photos as a guide.   As I go through the rest of the flower photos, I’ll have some tips, so please read through to the end.  But first! Wendy has some tips for us about what’s ON the tree:

ohchristmastree4_20

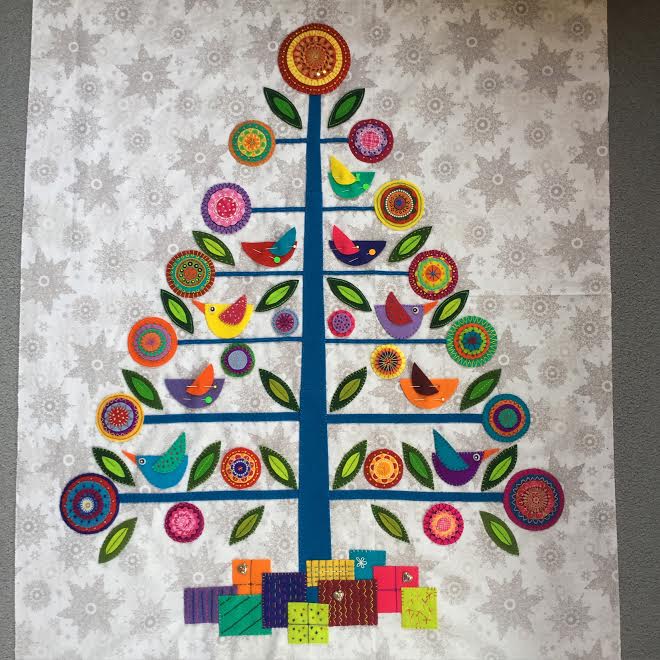
She writes: “I thought I had too much white space in certain areas.  I’ve added 4 more small leaves and 4 more small circles, keeping the additions symmetrical because the gaps were symmetrical.  I just felt some areas were less densely filled than others and I didn’t want gaps in the middle of my tree.  That’s probably because I didn’t exactly follow the pattern for the size of my leaves and flowers, but also because things move slightly as you sew them on.”  She sent me two photos.  The “before” is above.

ohchristmastree4_21

This is the after.  You can see extra circles and extra leaves.  (And yes, I love her under-the-tree scene!  Next month, next month.).  In addition to adding these extras, she attaches them differently than I do.  First she lays them all out, takes a photo so she can remember where they are, and then takes all off but the items closest to the tree trunk.  She sews those down first then adds in the decorations bit by bit, moving from the center to the outside, because she said she got tired of being stuck by pins.

ohchristmastree4_10

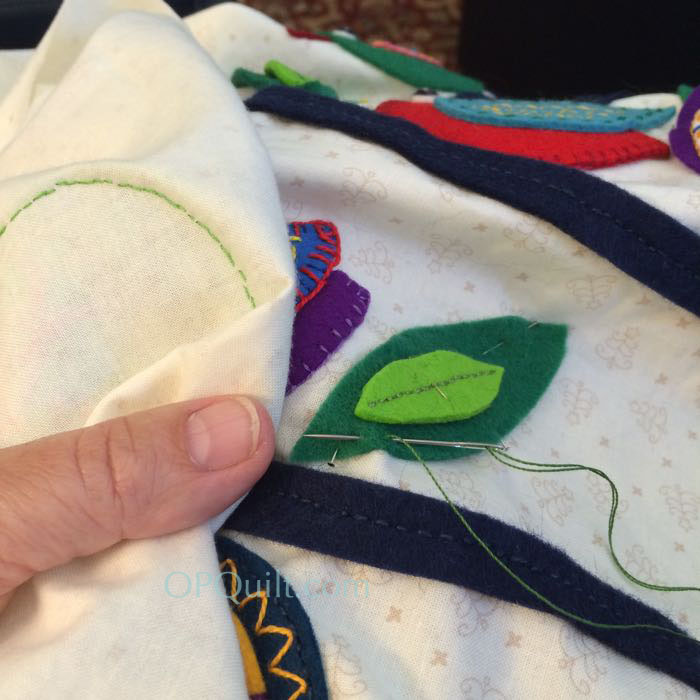
I couldn’t face the thought of re-attaching the flowers after I’d gotten them arranged, so I used appliqué pins (shorter than usual) and sewed on the decorations moving from the outside toward the center. Since I use really small pins, and put my hand around the flowers and birds as I sew, I didn’t have too much trouble.  One IG reader said she used a bit of glue to secure the decorations and from her photo it looks like she’s attaching them from the inside to the outside. Again, try what works for you.ohchristmastree4_11

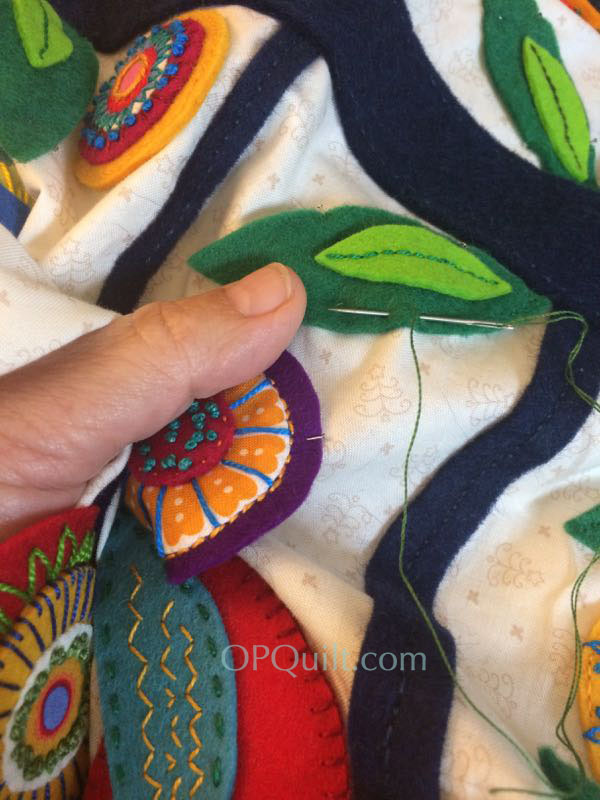
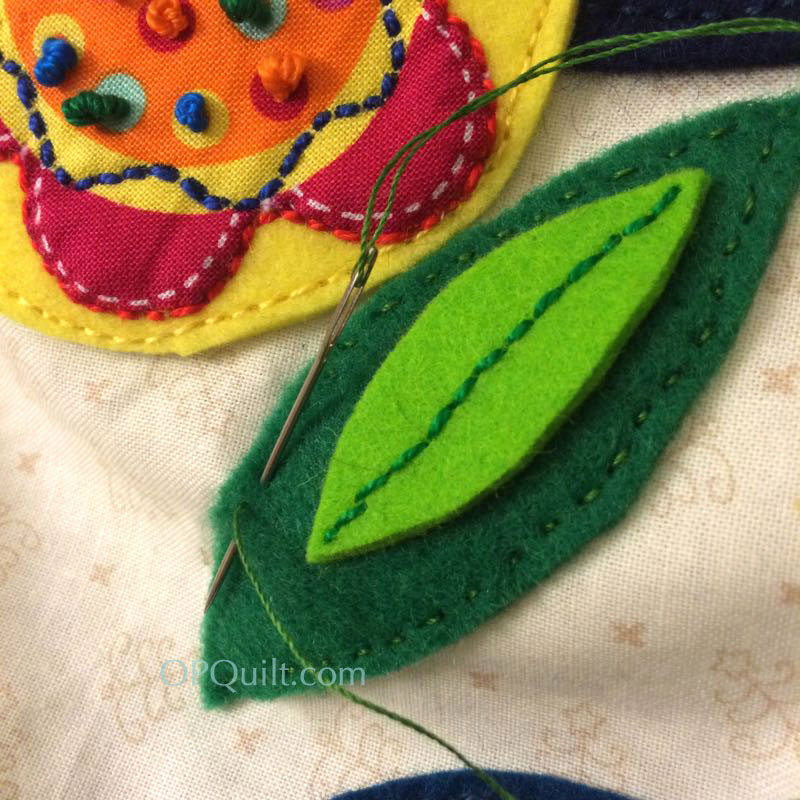
You can see me scrunching things up in my hand.  Since I worked from the outside in, I had very few pin pokes.  I attached the leaves by using the same stitch I used on the trunk: a separated back-stitch (refer to this post for more info).

ohchristmastree4_14I was intent on getting them all on, and doing it quickly.  You could take more time than I, adding an extra embroidery stitch, if you wanted, for it’s YOUR tree.ohchristmastree4_12

I also learned to put a regular pin right in the middle of my decorations just before I started sewing them on, so they wouldn’t buckle.  I have one bird who looks like she is expecting, as the wool can shift as you are attaching, bubbling up.  I’ll show the Mama Bird to you later.

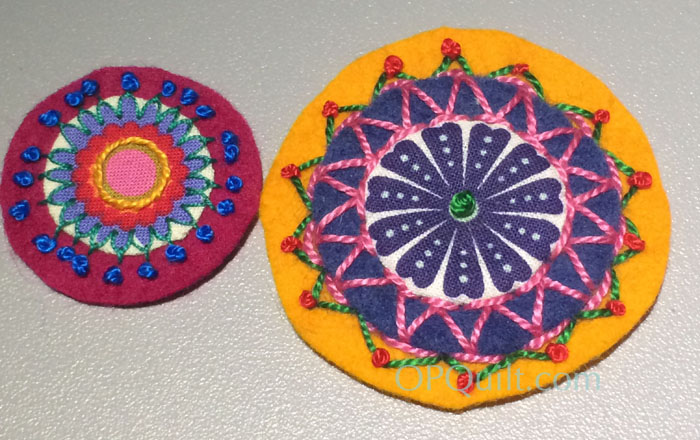
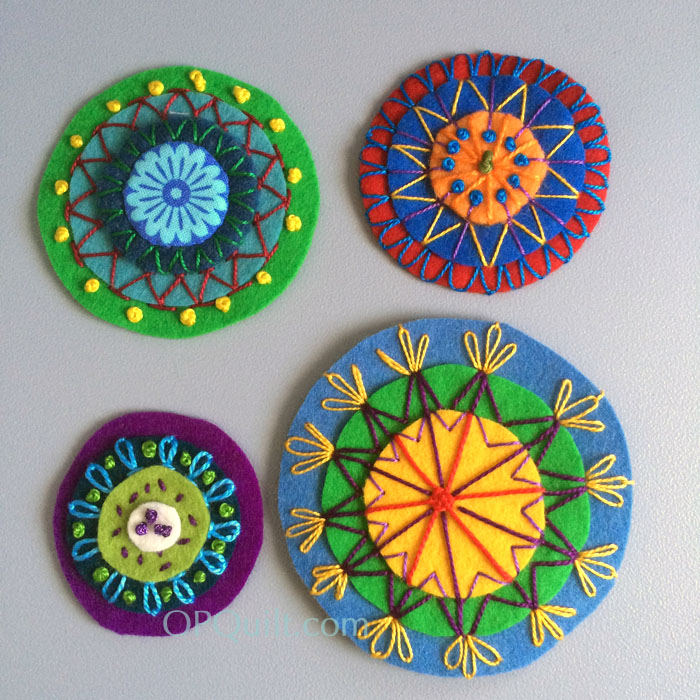
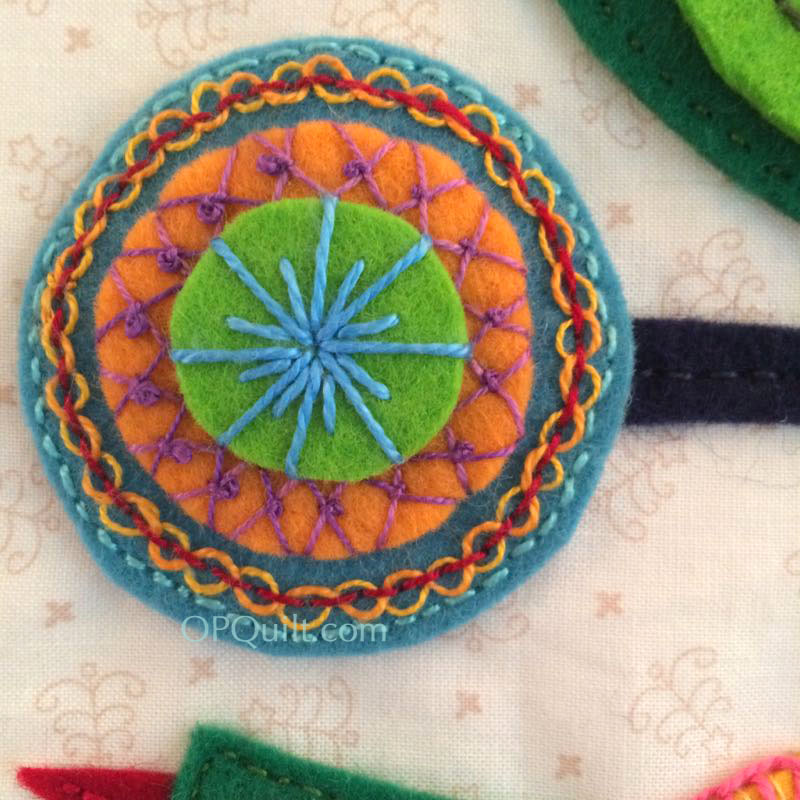
Now for some general tips about attaching the flowers and birds.  Before we talk about different ways to sew them to your tree, here’s a couple of photos of circles before attaching, showing various state of “close-to-the-edgeness” of the embroidery.ohchristmastree4_1flowers

After I pinned these to the tree, I went in and added another circle under the red one, giving it a bit bigger presence.  Ditto on the purple circle below.  You may find yourself making small alternations after you get everything pinned down, either adding leaves and circles as Wendy did, or giving another border to a too-small/wrong-color flower, like I did.ohchristmastree4_1flowers2

ohchristmastree4_5

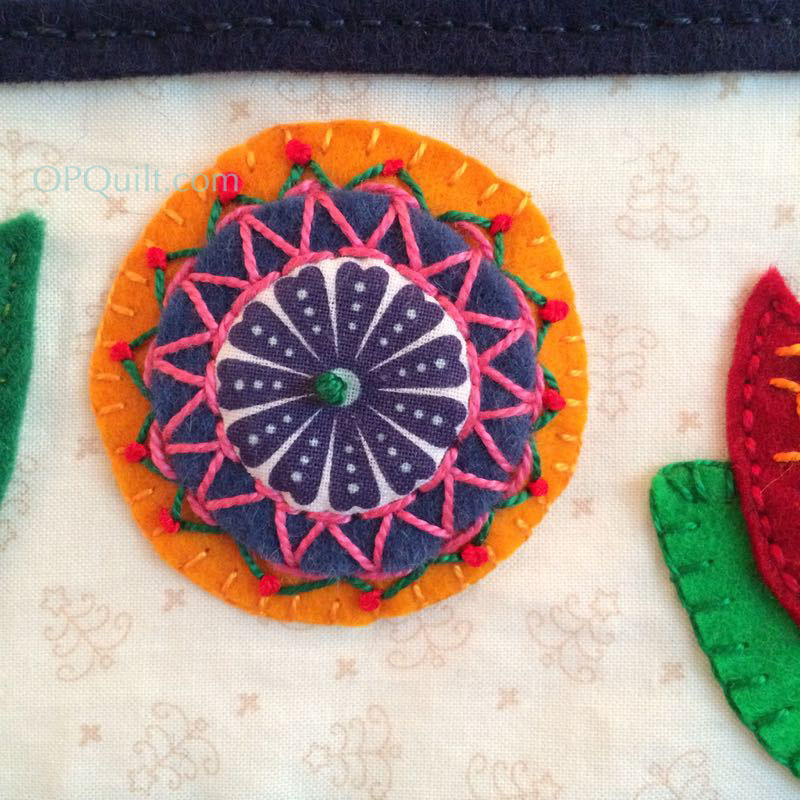
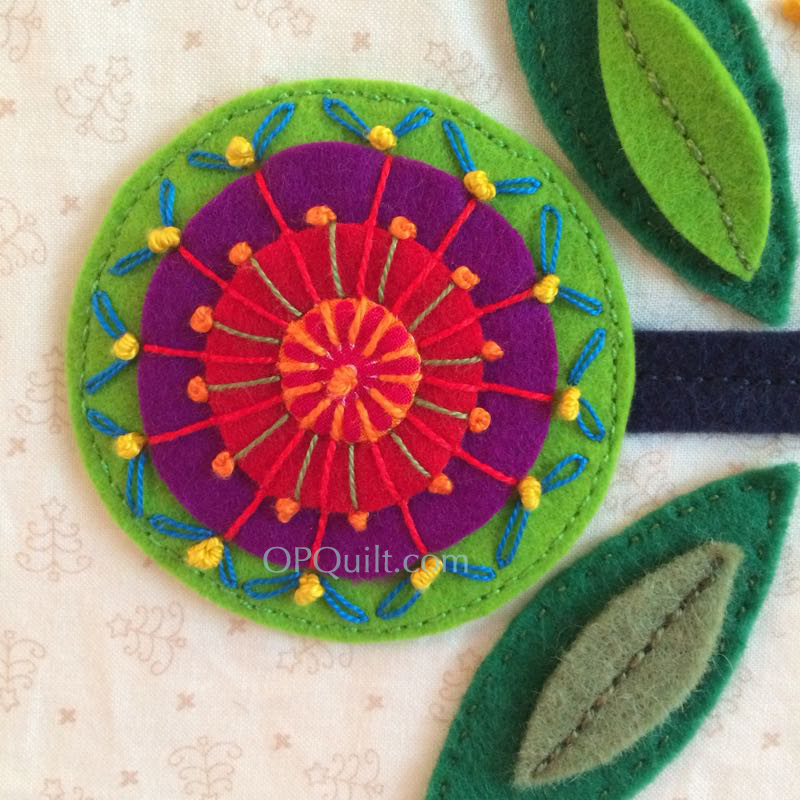
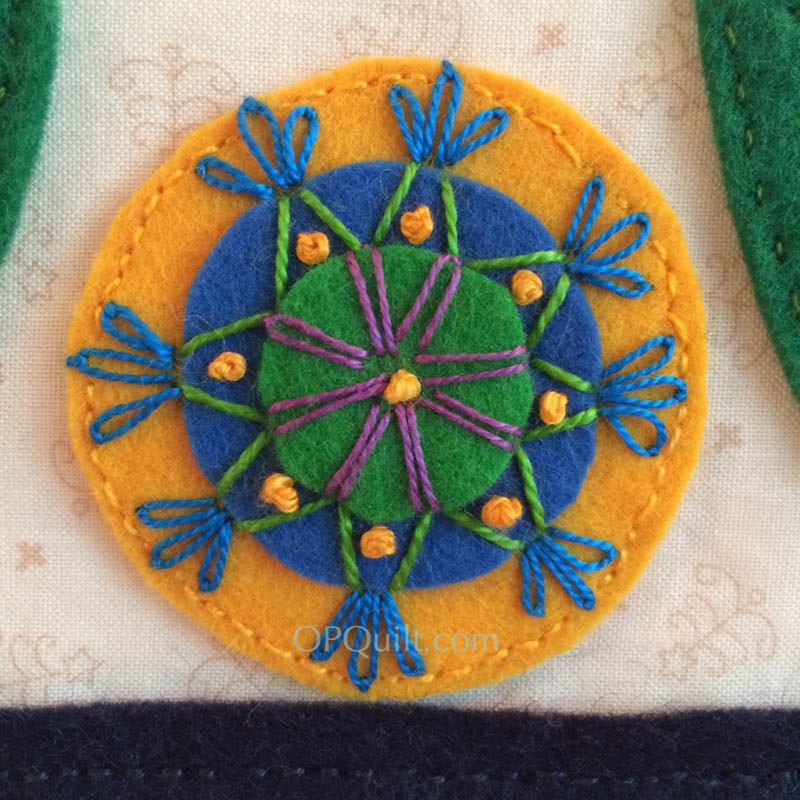
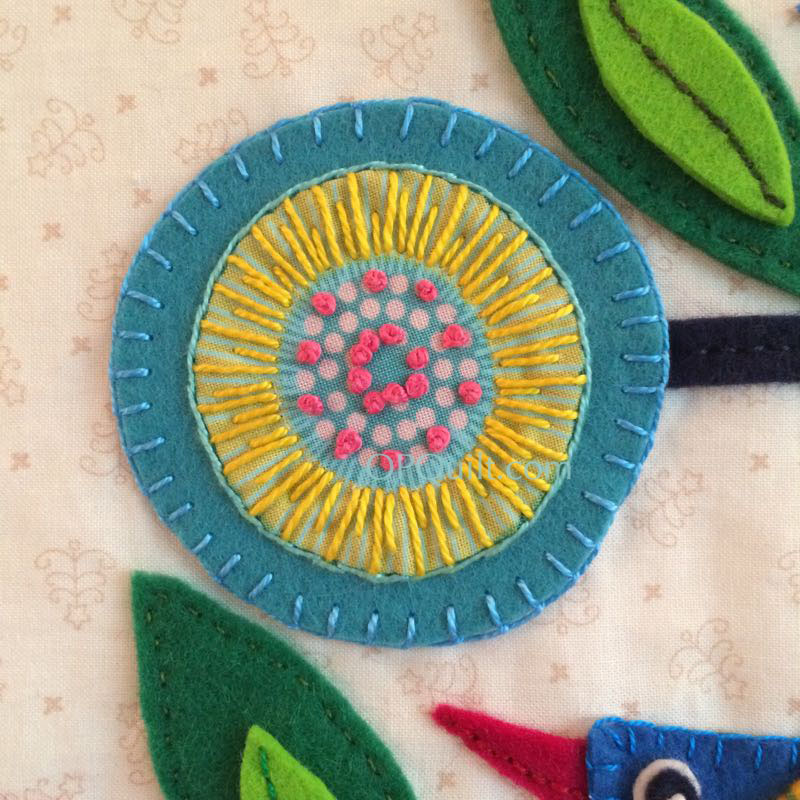
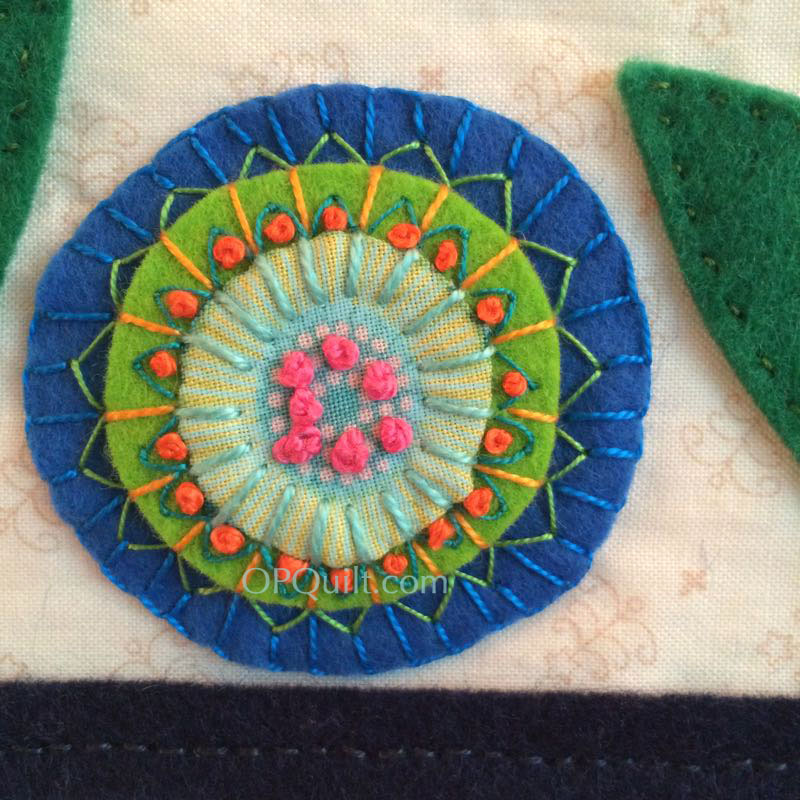
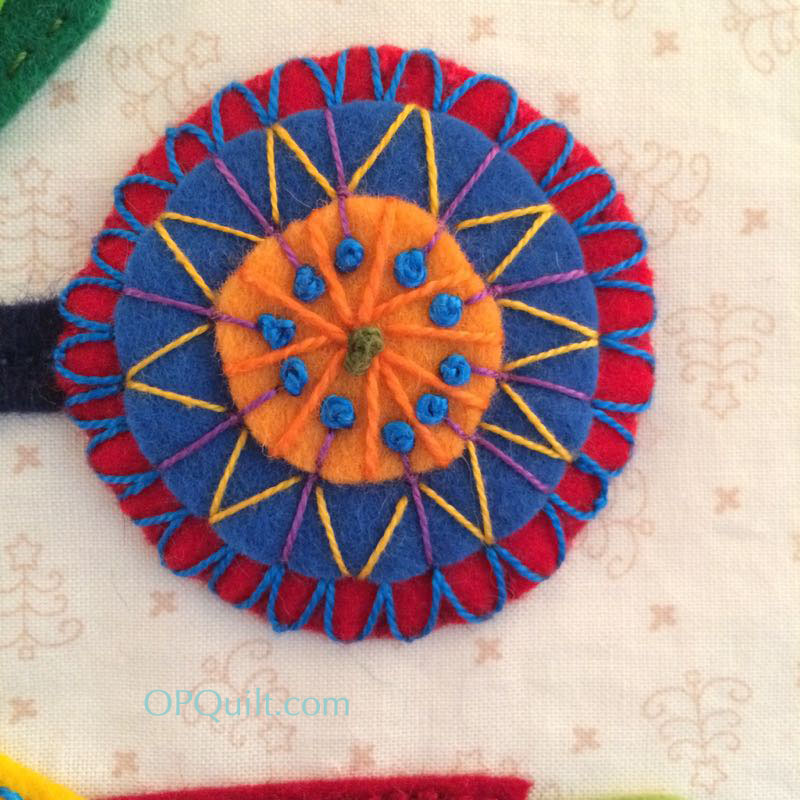
I group the way I sewed these down into two categories: A) snuggle a stitch in or around the existing embroidery, or B) adding another ring of decorative embroidery to affix it to the background.  Let’s do the A-category first.  You saw the flower medallion above; I attached it with tiny stitches at right angles to the outer edge in a matching thread.
ohchristmastree4_5a

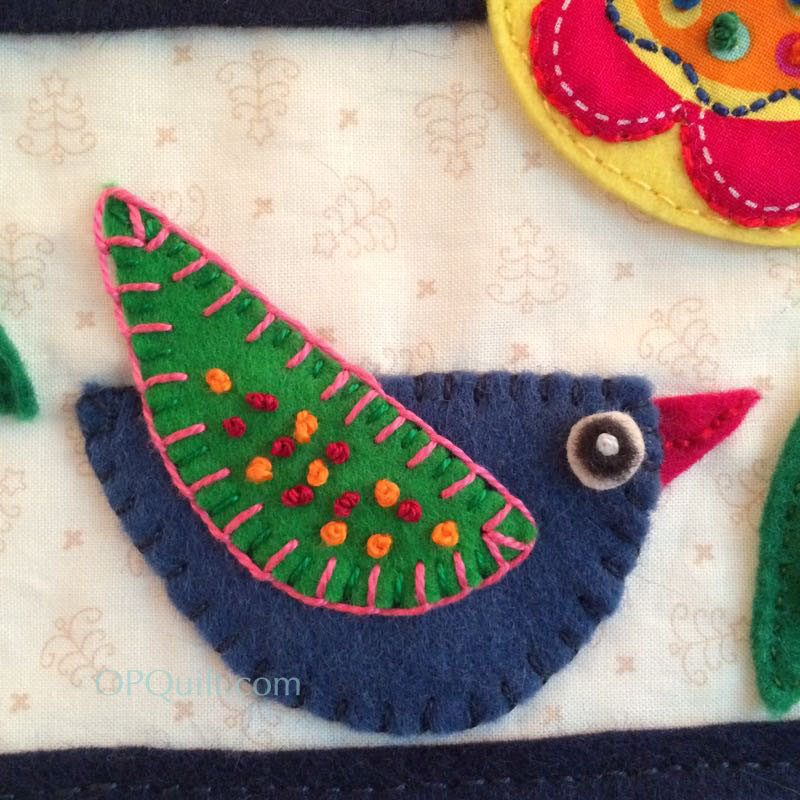
Wendy often leaves the wings undecorated, using the “attachment phase” to put the stitches on, but I’d already embroidered them when she told me this, so I sewed it down to the background by using a small matching (green) thread in between the existing decorative (pink) stitch.

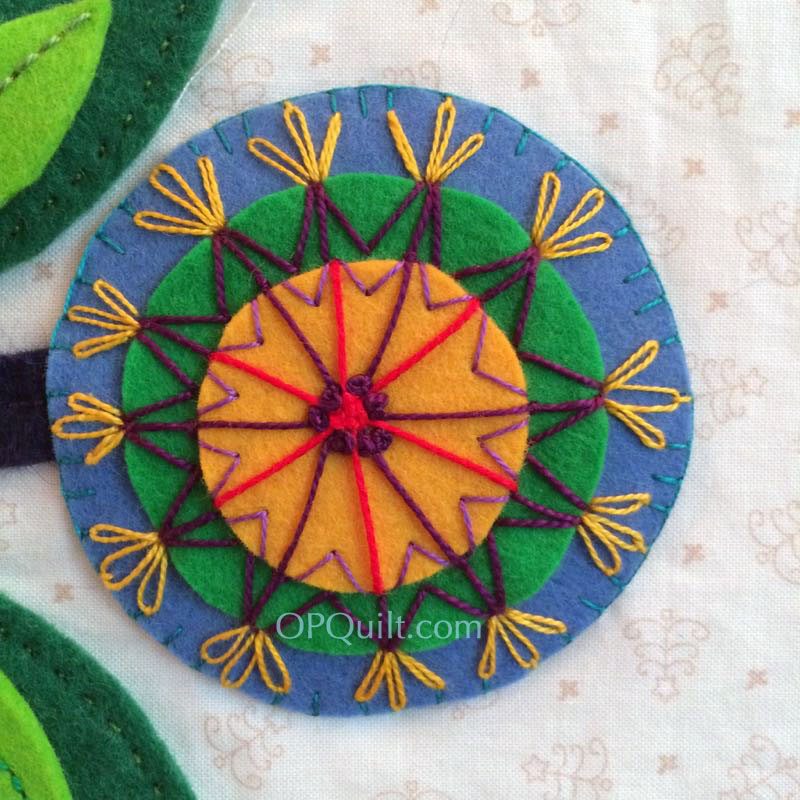
ohchristmastree4_5eI used the small perpendicular stitch again here in matching (blue) thread, but varied the length of them slightly, so the longest are between the yellow stitches and the shorter stitches are near the yellow.

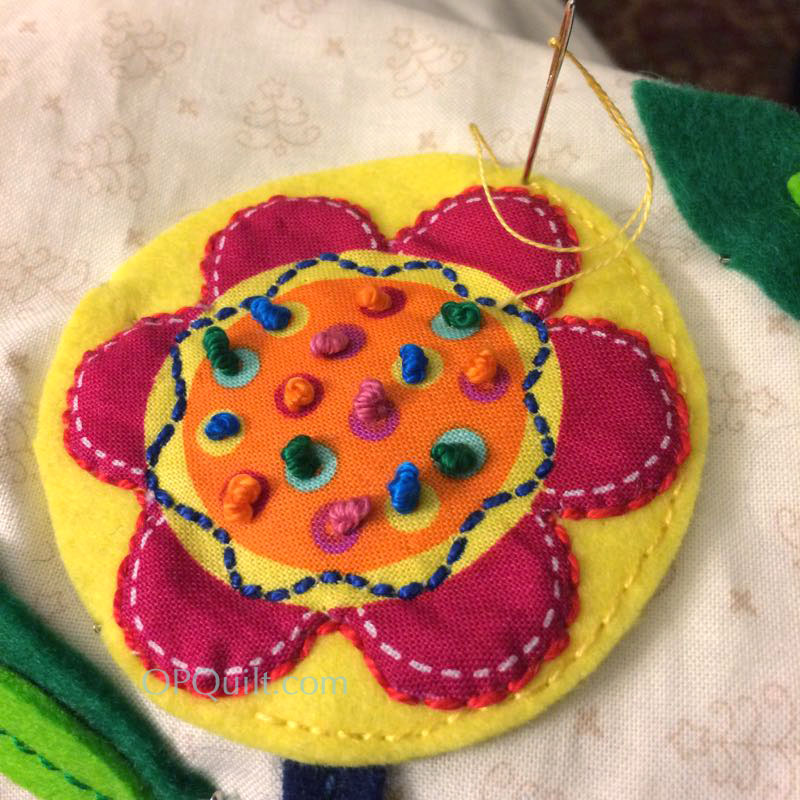
ohchristmastree4_15I also decided to keep some flowers simpler, and did a simple backstitch around the outside edge.  Keep it smallish and even, and you’ll get questions like I do: “Did you do it on the machine?”  No, and if you look closely, you’ll find the bobbly places.  Remember, this is folk art and we aim to enjoy ourselves!  More backstitching:ohchristmastree4_6 ohchristmastree4_6aohchristmastree4_6bohchristmastree4_6c

Now for some B-categories: adding another bit of embroidery to attach them.ohchristmastree4_5b

This is a slanted buttonhole stitch.  It’s done exactly the same as a regular buttonhole, but instead of keeping the needle perpendicular to the outside edge, you slant it.  I like the look of this one a lot.ohchristmastree4_5c

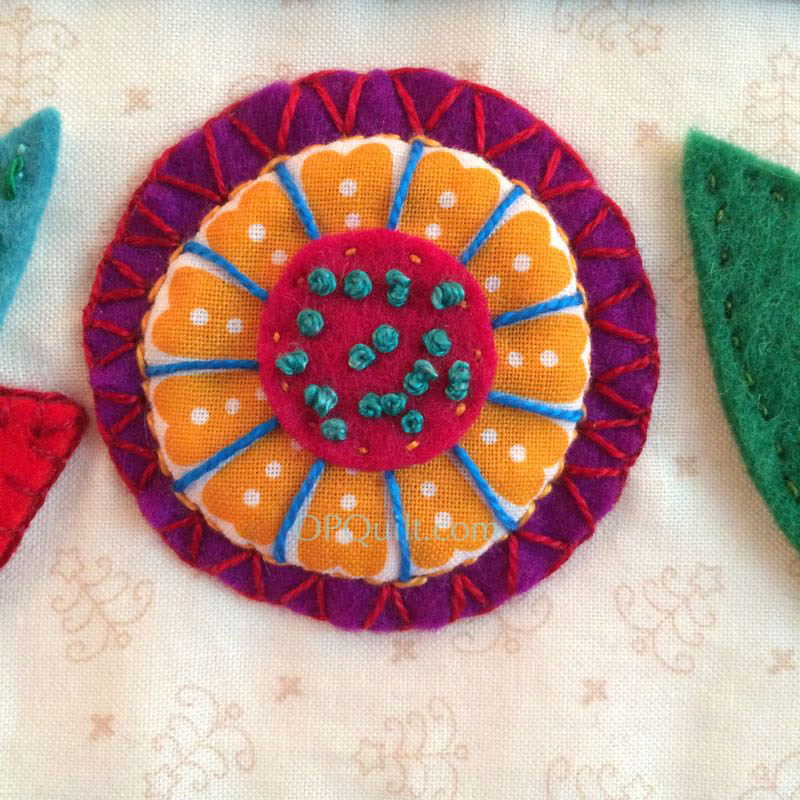
Regular buttonhole.  I used matching thread if I thought the flower was busy enough.ohchristmastree4_5d

Here’s where I used the backstitch (on the small yellow flower, left) and then used a different color of thread in a buttonhole stitch (magenta flower, right).ohchristmastree4_5f

Here’s an “un-even” buttonhole stitch, with shorter and longer “legs” of the stitch, co-ordinating with the existing embroidery.
ohchristmastree4_7

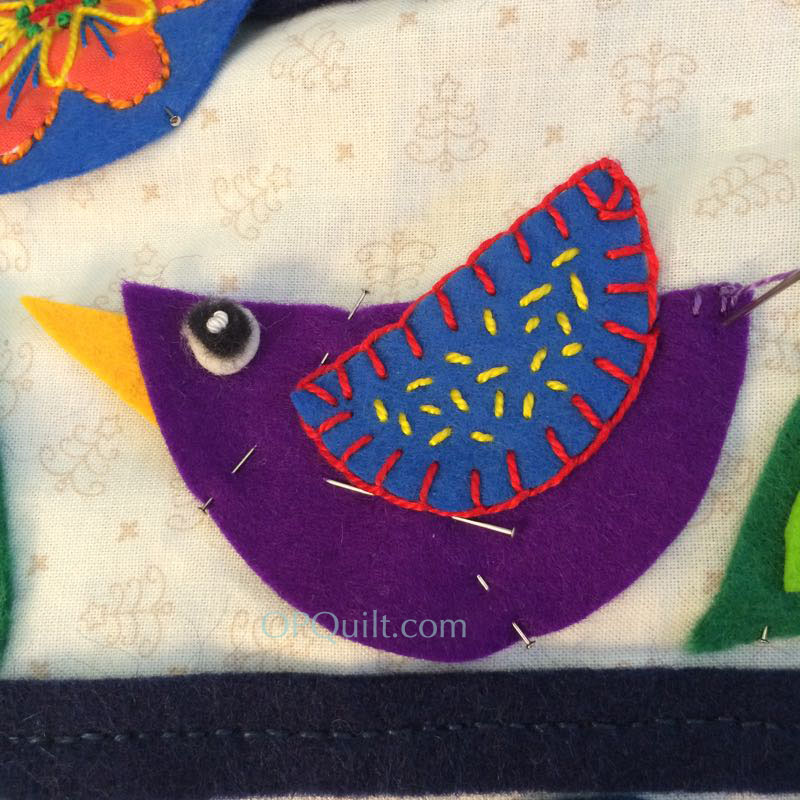
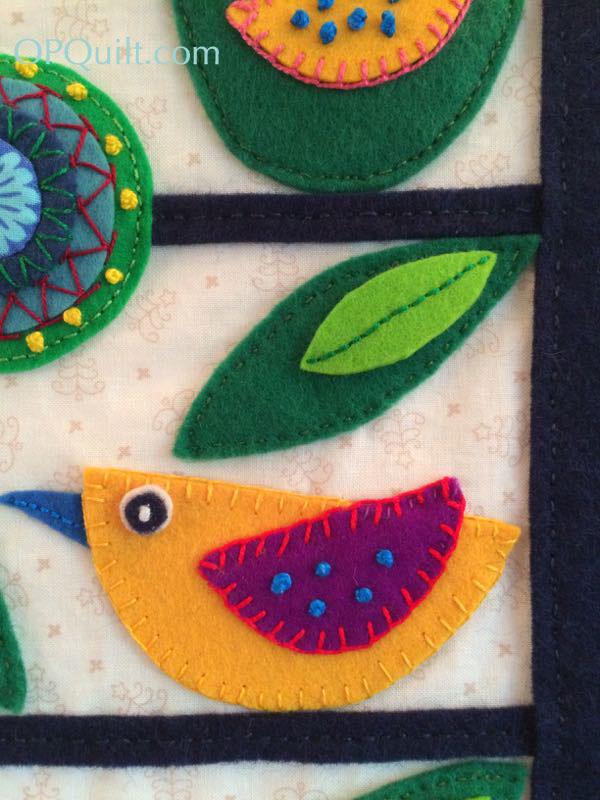
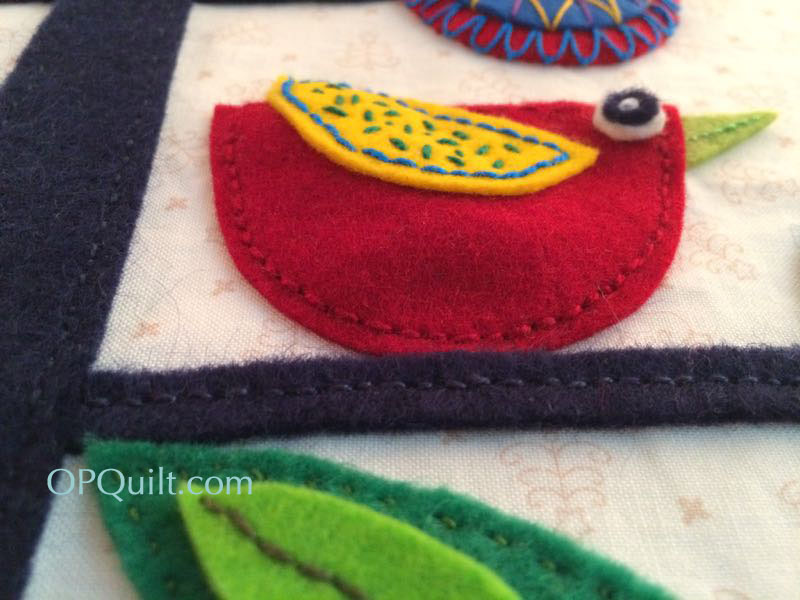
This bird was sewn on with a matching yellow thread, buttonhole stitch.  But I slipped a smaller seed (or regular) stitch in between the existing red buttonhole stitch on the yellow bird’s wing to sew that down.  ohchristmastree4_7a

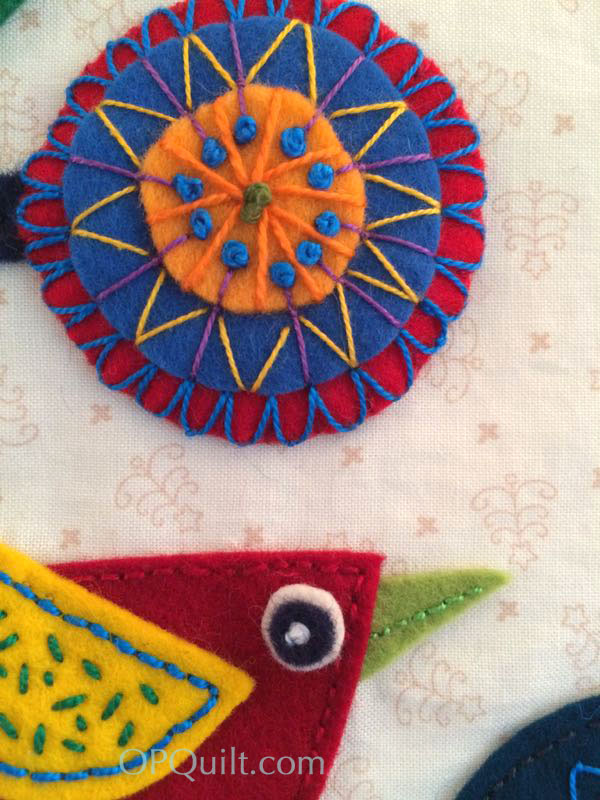
Photography of women depends on flattering angles, but I dropped the camera down low so you could see my pregnant bird.  She didn’t start out that way, but the wool shifted.  The bubbling up is exaggerated from this angle–it’s not really noticeable from the front, but now you know why I started putting that pin in the center of my birds and flowers as I stitched them down.  Didn’t have that trouble with the leaves, for some reason. She’s attached to the background with a simple backstitch.  I also did a line on the birds’ beaks.  I tried to make them happy birds (It’s Christmas, remember?) by the slight curve of the stitching, but some of the birds turned out a bit moody.ohchristmastree4_8

This is another where I snuck a small stitch in between the existing embroidery (A-category), and below, the last photo (!) where you can also see detail on the bird’s beak.ohchristmastree4_9

We are definitely getting closer to the end, now, and I’m pretty excited.  Next month (June 2nd), I’ll have an alternate scene for you for under the tree, and then we’ll roll out from there.
ChristmasTreeLogoSM

No giveaway this month, but here’s a recap of our schedule:

January, Step “prepare”: buy the magazine, books, gather your fabrics, buy the felt/wool, buy/find the pearl cotton.
February, Step 1: Make the tree on the background and stitch it down.
March, Step 2: Make 21 flowers.
April, Step 3: Make 10 birds and all the leaves.

May, Step 4: Appliqué down the flowers and birds.

June, Step 5:  Scene at bottom of tree–make, then appliqué onto background.

July, Step 6: Sawtooth border (reds); sew together and attach.

August, Step 7: (finish up Quilt-A-Long): Make wonky star blocks, sew them together and attach border #2.

September, Step 8 Show and Tell, just in time for school starting again.

Yes, we cut a month off our sewing, so you’ll have plenty of time to finish your quilt before December.

Happy Stitching and we’ll see you in June!

Quilts

Downtime Sewing • Odds ‘n’ Ends

chickentimeflies2

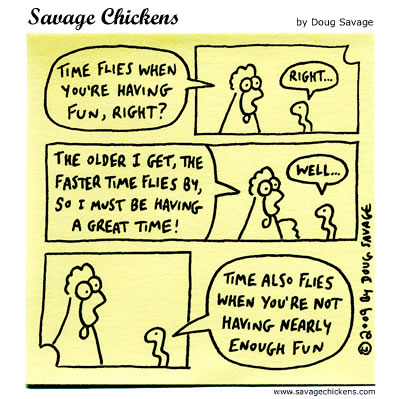
Or as my friend used to say, “Time flies whether you are having fun or not.” So what have I been doing?

Spelling Bee Blocks_April 2016

Blocks for our Spelling Bee for Carla, who has just opening a knitting shop.  I made two and then one more for Simone, whose daughter is getting married and she’s making the wedding dress.  She gets a pass, I’d say.MCM Bee Sewing

I made bee blocks for Mid-Century Modern Bee, for Stephanie, who doesn’t really run a blog, but is here on Instagram.  Actually she’s in Russia, but try not to hate her.  It looks like a fabulous trip.Shopping Bags Scout auction packet 4_16

Did (what I call) Duty Sewing to make an item for the Scout Auction at our church.  I was thinking Scouts=Food, so I picked up four boxes of treats at Trader Joe’s, a Dairy Queen gift card and two shopping bags, and wrapped them all up fancy.  It’s to help raise money to send boys to camp.  I used to be in the boat of forking over moolah for Scout camp (I had three boys), and am really really happy to be at this end: donating, rather than doing.planted garden_April16

Planted my summer garden.  This time we didn’t buy the fancy-schmancy tomatoes at the Swanky Garden Center, but instead went to the local nursery and Lowe’s.  They look much healthier.  Things that grow in my garden are an endless fascination to me, and I sometimes check the seedlings daily.  I’m #goofyaboutmygarden, thank you very much.Market Sewing

Did some market sewing for a friend.  I also made plans to go to market, courtesy of Painter’s Palette Fabrics, who I sewed a quilt top for. . . and now I get to see it!  Can’t wait–so excited.IG Fun April 2016

Perused Instagram.  I had no idea that people still crocheted granny square bedspreads.  My horizons are widened every time I follow a hashtag that’s new to me, in this case #makersmovement, which is for (duh) people that make things.  We used to be called crafters.  I like the term Makers much better.Halloween Blocks

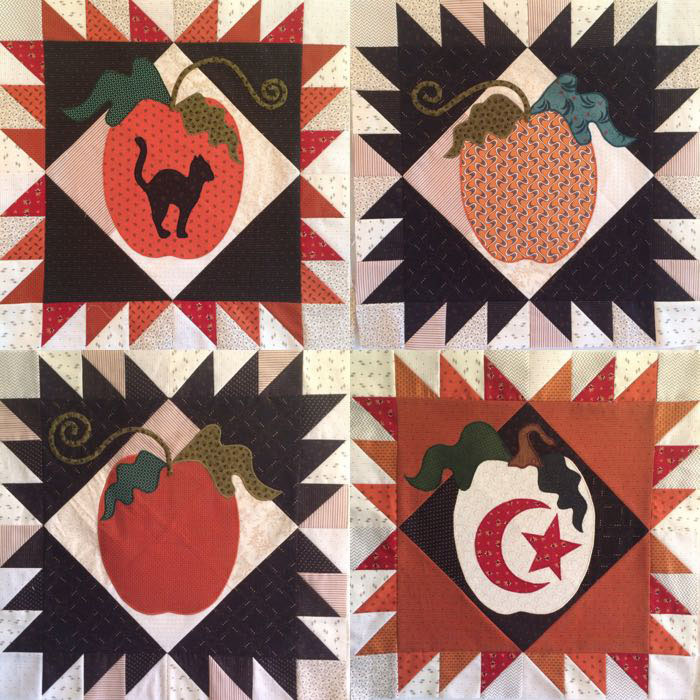
Finished up last month’s blocks for the Halloween QAL and got the blocks ready for this month’s post on May 13th.  You know, when you break down a quilt into chunks, it’s much easier.  And I know I would have never have gotten this far, if it hadn’t been for the fact that I had to make the bits of the quilts to post.  Thank you very much for putting up with me.First selfie

Cleaned out Started cleaning out the photo cupboard, where I found my First-Ever Selfie, painted when I was six years old and in Brownie Scouts.  Interestingly, we didn’t have a dog at that time, even though I painted one in the picture (wishful thinking?).GameThrones1 Dbrovnik street

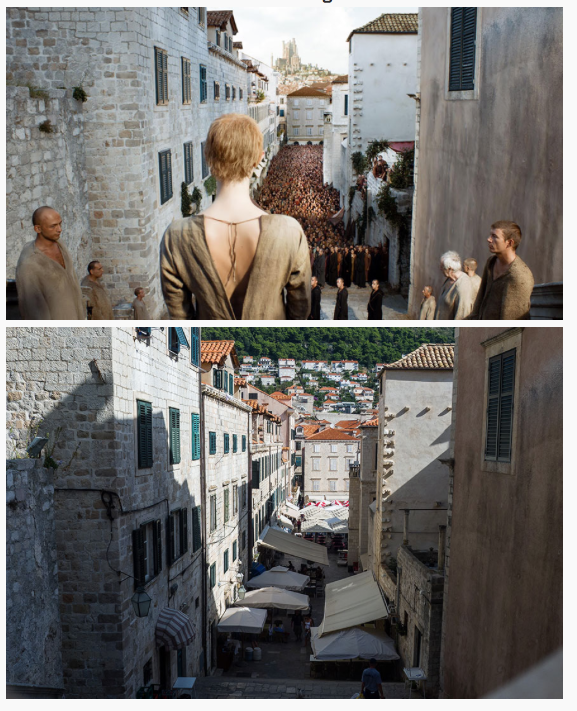
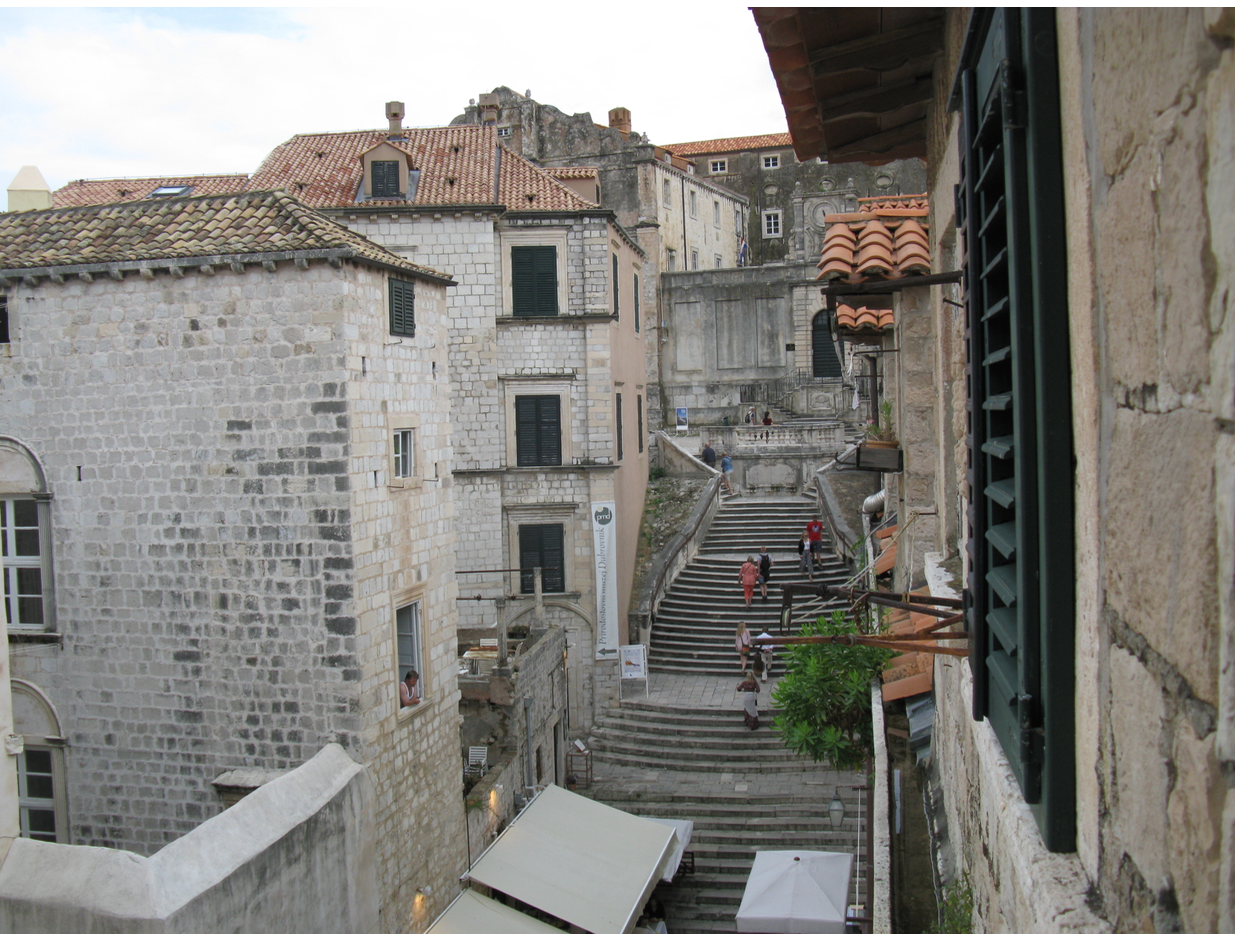
Found out that the street where we stayed in Dubrovnik, Croatia in 2014, was one of the sites used in Game of Thrones, a show I have never seen.  In the top photo (taken from the web somewhere) is the scene from the movie.  The middle photo is their comparison of how it looks when it’s not been movie-fied, and the bottom photo is taken by me, leaning out our window, looking back up the street.  I found this out one day when I was reading the NEWSPAPER (yes, I’m that old) and saw the top photo.  I ran upstairs to compare mine with theirs, then found the middle photo on the Internets.Costco macaron

Another eureka moment was when I discovered that Costco sells macarons.  Yes, I have two boxes in my freezer right now, but I gave away the coffee-flavored cookies to a neighbor (I hate the taste and smell of mocha/coffee).  I’ve also gotten three bids on a new HVAC system, and one guy is wandering around my house right now, taking mea$urement$.biscotti

In the cooking department, I made biscotti to take to my son, who lives in Normal Heights, in San Diego, California. My recipe is *here.*

Normal Heights Fabrics

Found out there is a fabric store in Normal Heights, in a former movie theater, which had some silk shantung, perfect for working on my Four-in-Art project for the May reveal.  I’ve also been to the doctor’s twice, but the patient — like Mayor Shinn’s wife in the movie The Music Man — will recover.

4-in-art_3

Coming soon to a blog near you, on May 1st.Design Wall April 2016

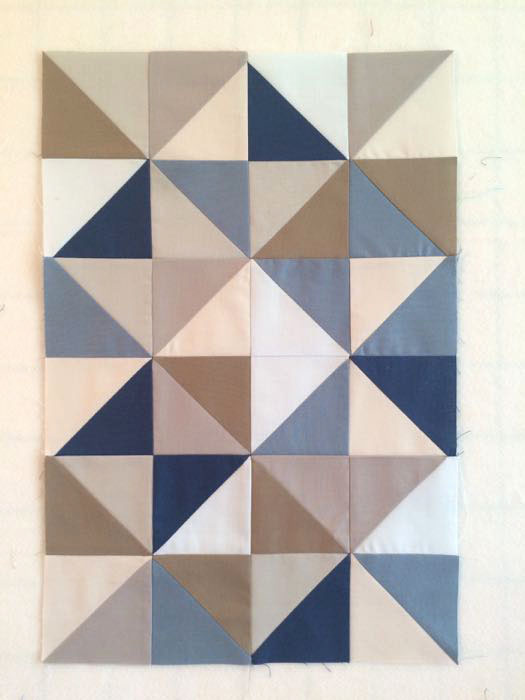
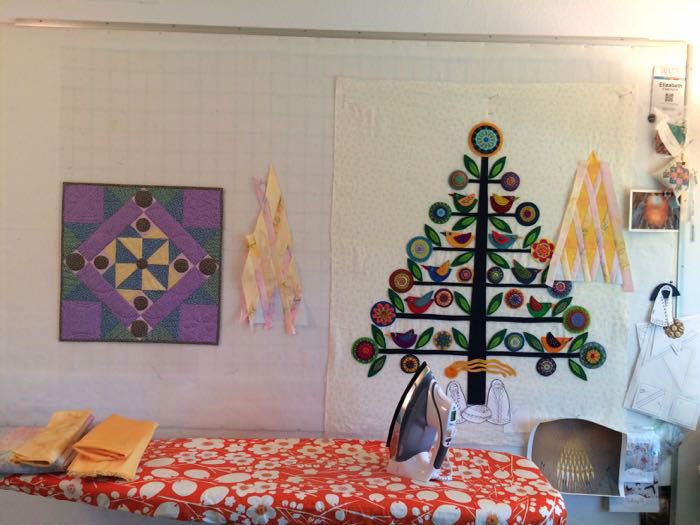
And my design wall last week, as I was figuring out a scene for under the Christmas Tree (next step is coming May 2nd), working on my Four-in-Art art quilt, and enjoyed a completed mini–a sample to check on how my pattern worked for some more market sewing, which I’ll show you very soon.  (You know the game.)  Now back to the sewing.

Quilts

New Quilting Machine

HQ Sweet 16_1 HQ Sweet 16_2 HQ Sweet 16_3

So here’s a short story:  This all started two years ago when I test drove a Bernina FancyPants Machine during one of my Road to California classes.  That thing could do everything but cook dinner, and I pined about it for a year.  I love my current Husqvarna Quilt Designer machine, but it is coming up on it’s 14 year-old birthday and one morning, I woke up with an unhappy touch screen.  Horrors! and so the intensity of my search increased, or at least the anxiety of wondering when my machine would conk out on me.  Then I took a domestic free motion quilting class with David Taylor this year at Road to California and at first, I was unhappy that we were working on Handi Quilter’s Sweet Sixteen machine–what?  No teensy weensy harp space of my regular domestic?  But the techniques are the same, so I took to this machine like a duck to water.

HQ Sweet 16_4

Now I needed TWO machines: one to replace my aging Husqvarna and this new Sweet Sixteen quilting machine.  But I only had resources for one.  After some time to think about it, I decided I could prolong the life of my Quilt Designer if I took the quilting tasks off its back.  One afternoon last week, Richard of Quilter’s Cocoon toted this up to my guest bedroom, set it up for me, gave me my first lesson (so happy I’d had the day with David Taylor to augment what Richard was teaching me), and I was up and running.

Except I wasn’t.

I didn’t touch if for two days.  Scared? Excited? Thinking I was out of my mind?  All of the above?  But I finally put together a mini quilt sandwich and went to town, trying out new stitches, using the two rulers I’d purchased, taking it out for a test drive. Notice how all four corner blocks are different; I was having fun.  No, I don’t name my machines (but know a lot of people do, and invariably it’s always my childhood nickname of Betsy — which explains why I don’t do it) but we do refer to it as the “quilting machine,” to keep it distinguished from my “regular machine.”  (By the way, the pattern for this quilt — Ribbon Star Beauty — will be up on Craftsy later on this week.  It’s a fun little mini that sews up quickly.)HQ Sweet 16_5

My daughter has a new shop in her small town of Kingman Arizona, The Farmhouse Kingman.  I plan to send this to her so she can use/sell it in her shop.  If you drive through Kingman on your way to somewhere else, stop by and see her.  She’s in the old section of town, with a cute shop of fun farmhouse decor items.

And that’s the whole story.  Now back to quilting.