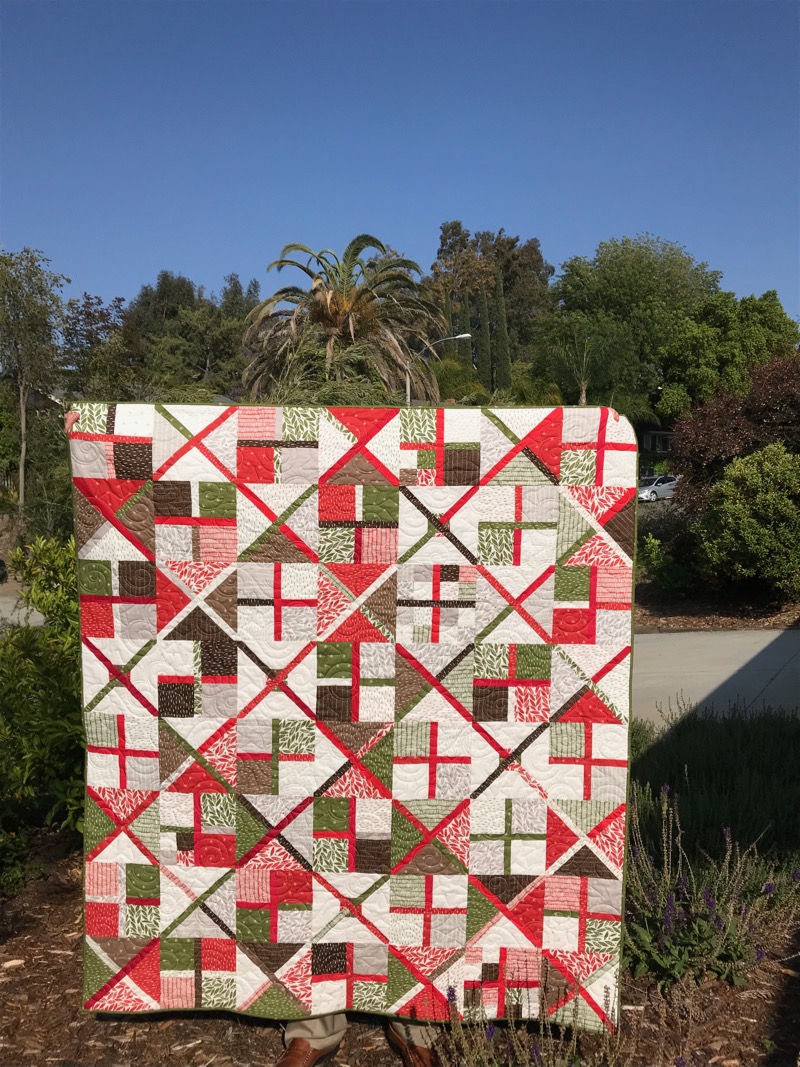
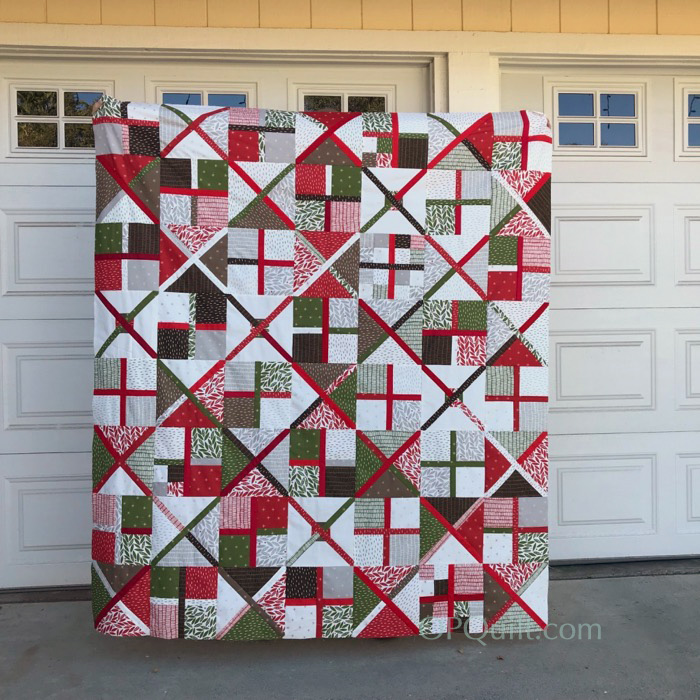
Criss-Cross Christmas Quilt, top finished December 2017
59 ” by 68″
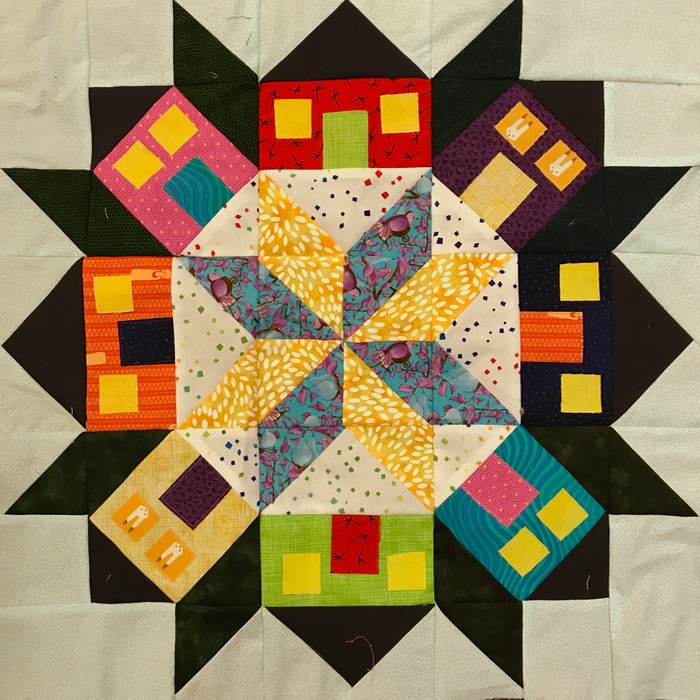
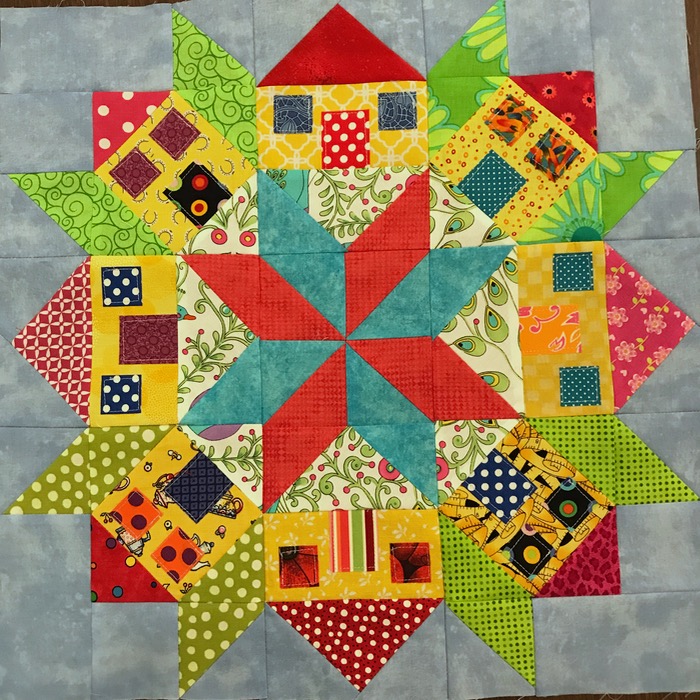
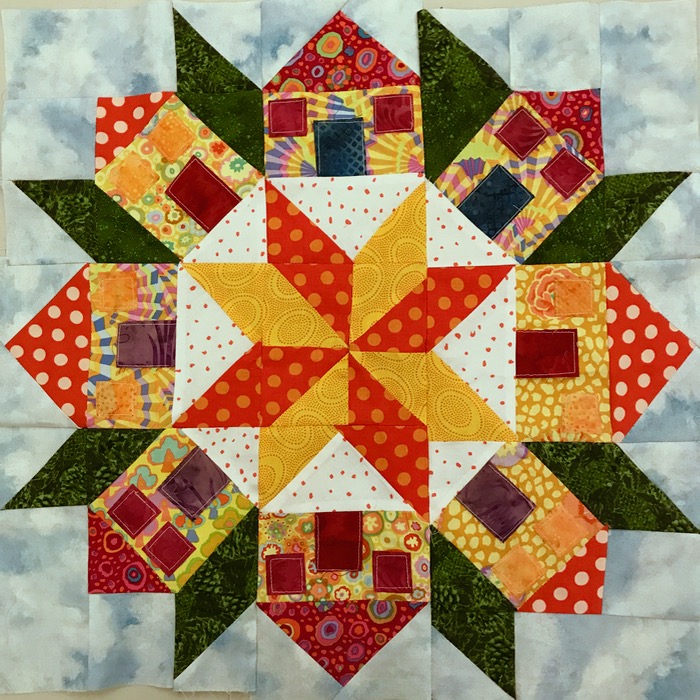
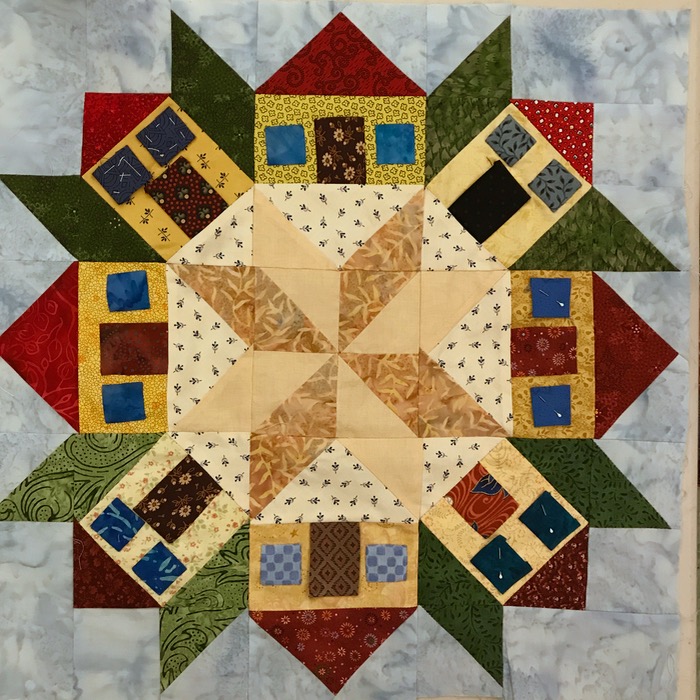
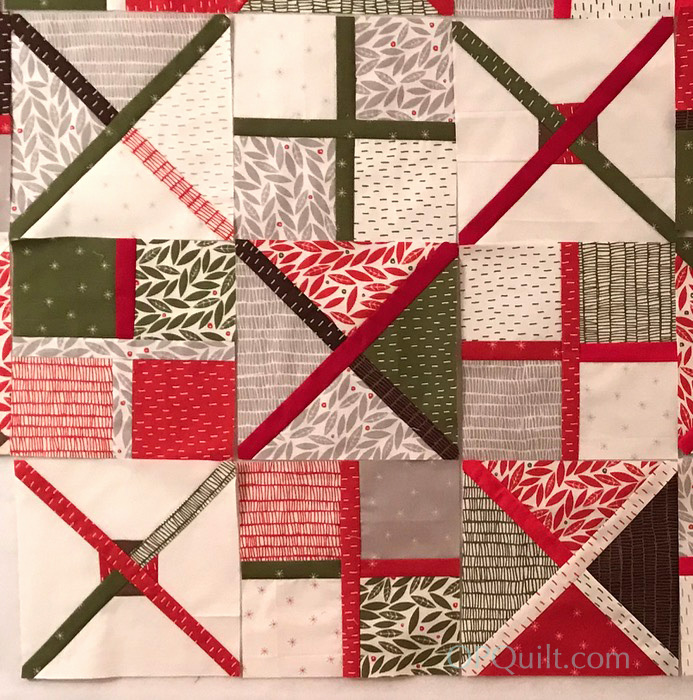
It all started when my friend Leisa gave me a mini-charm pack of Merrily fabrics by Gingiber. Then the Fat Quarter Shop had the fat-eighth stack, and then when my making dictated more, I scooped up a layer cake of the line, and I was set (and I still have some left). I added Kona Snow, and got creative.
I just started making…and putting them up..and making…and deciding to enlarge it…
Then I moved around the blocks, making sure the light of the mini-charm-square blocks were balanced against the heavier “filled-in” blocks. At some point I decided I was done.
I sewed them together, stopping mid-way to celebrate Christmas and get the flu. Because the flu shot is only partially effective this year, more people will probably get the bug. The good news, though, that by having had the flu shot, the duration and intensity will be lessened. I hope so.
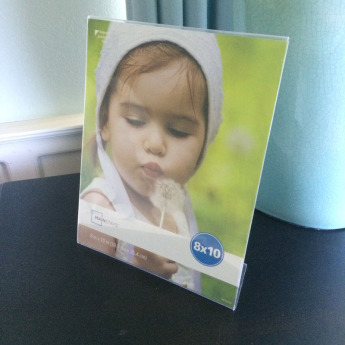
I’m decorating for Christmas and wanted to change out my Tiny Quilt from Autumn to Christmas, but then got wondering how a teeny-weeny quilt would look, so got busy. These little quilts fit onto plastic picture frames:
I have two free patterns for you here, but please remember the drill: Don’t print off umpteen for your next class, or guild meeting swap or your mother. Please send them here to get their own pattern.
As you can see from the samples I made up, I play fast and loose with some of the placement of pieces, really using them more as a guideline for cutting, than anything else (although I did cut out the tree exactly).
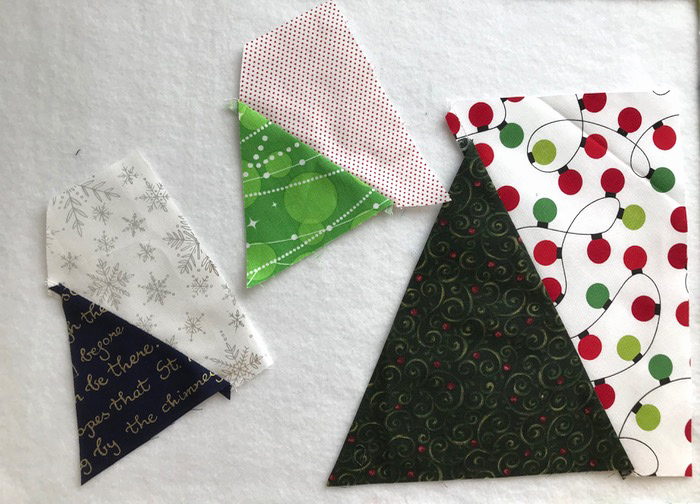
Cut out all the pieces for the pattern you’ve chosen. As I noted above, sometimes I used the pattern (shown here before I added the labels) as sort of a general guidelines. You need an accurate tree, and a nice straight edge where you’ll sew it to the tree (the diagonal line in the photo, above).
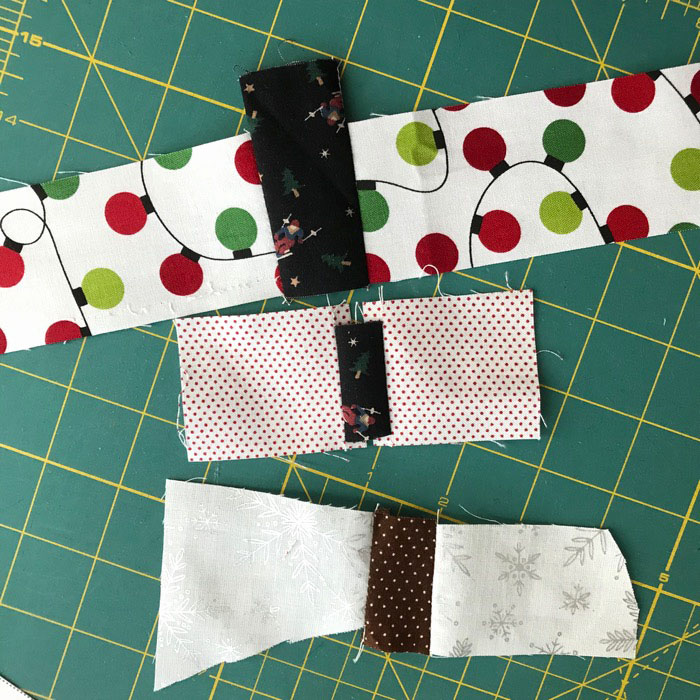
I sewed the “sky” pieces to the sides of the trunks then trimmed the edge that would attach to the tree. More detailed tutorial is also on my OTHER Christmas Tree block tutorial, which is sized somewhere in between these two tree sizes. (I should open up a Christmas Tree lot with all these patterns.)
Sew the “right” side onto the tree. Make sure you keep the marked top triangle point pointing upwards.
Trim any stray areas (above), then add the other side.
Straighten out the bottom of the tree assembly. Center, then sew on the tree-trunk unit, pressing seam towards tree (so it looks like the trunk is under the tree).
Now to add the snowdrifts on the little tree. On the left, I sort of place that wedge-shaped piece, determine the angle but flipping it up and down (on the right). When I have the angle I like, flip it back up so right sides are together, and stitch along the upper edge. Trim.
Repeat for lower snowdrift. Trim excess.
For the bigger tree, I added on 2″ strips to frame the tree. It needed something to jazz it up, so I got rid of the bottom strip on the pattern and just used strips all around.
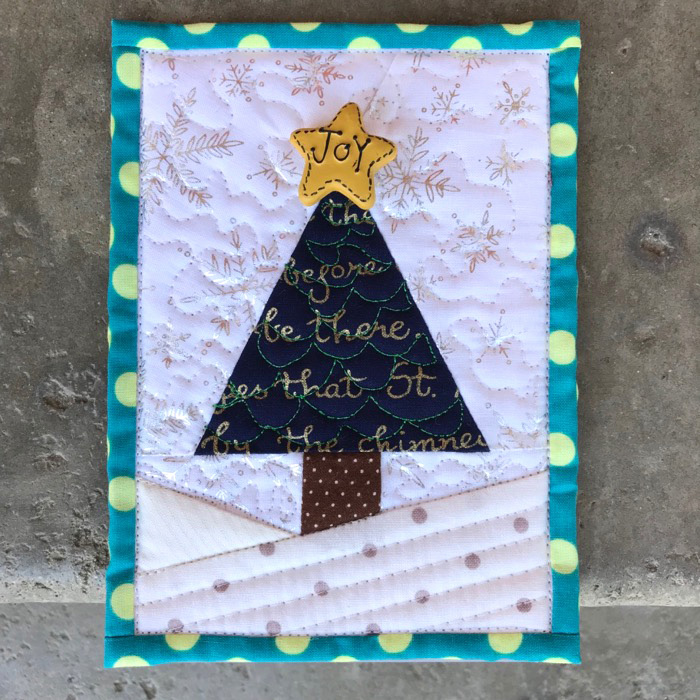
Layer with batting and backing and quilt. I did a meander in the sky area around the trees, then some straight lines in the snowdrift on the teeny tree, and some straight lines in the frame around the bigger tree:
I also quilted some swirls in the center of the tree.
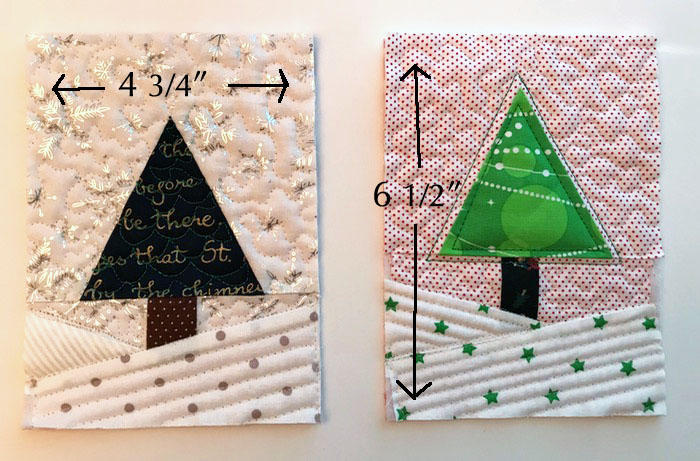
Time to trim. The teeny trees trim to 4-3/4″ by 6-1/2″ and the larger tree is trimmed to 8-3/4″ by 10-1/2.”
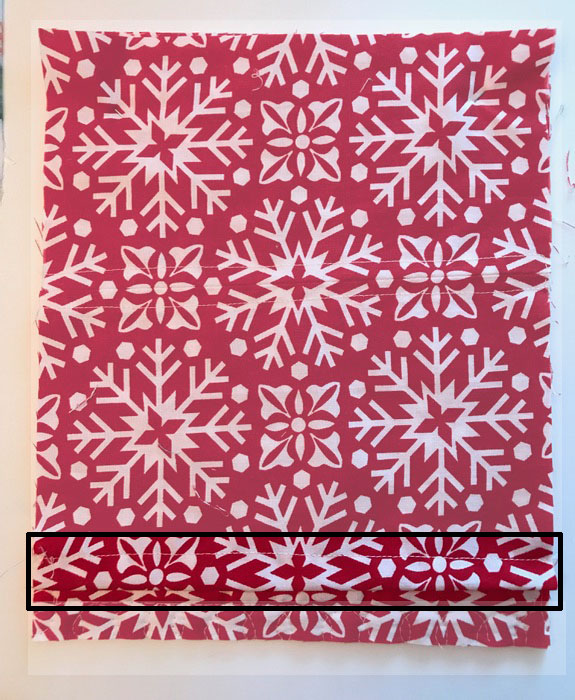
Make a sleeve for the back by cutting a piece the same size as the quilt top, but then hem the lower edge, turning it up twice and top-stitching. I know it’s hard to see in this print, but again, feel free to check out the other tutorials of tiny quilts.
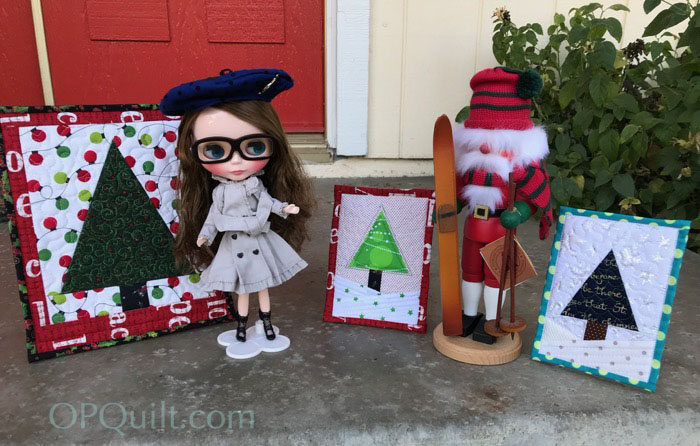
I brought out my Blythe doll and one of my husband’s nutcrackers to pose by the quilts.
Looks like Blythe has the hots for the Santa skier. And here I thought she’d go for the more traditional guy:
He does look a little formal. Hmmm. Evidently not her type.
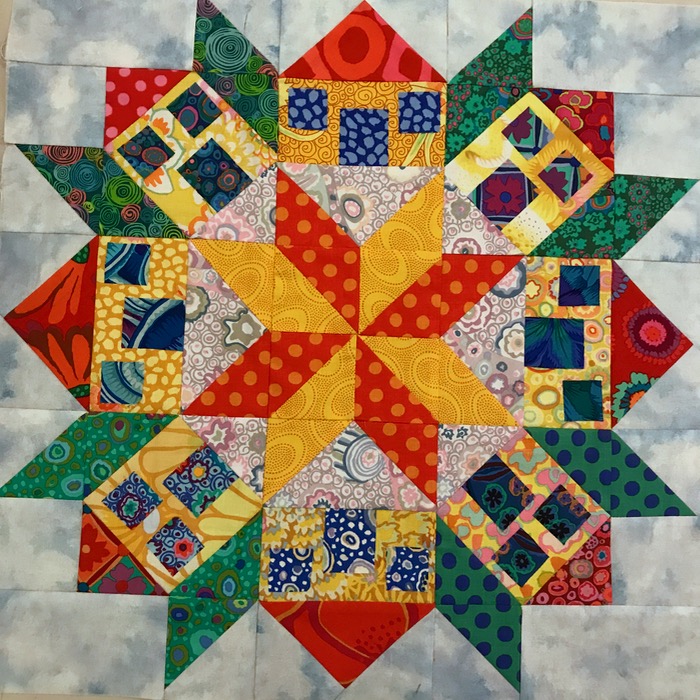
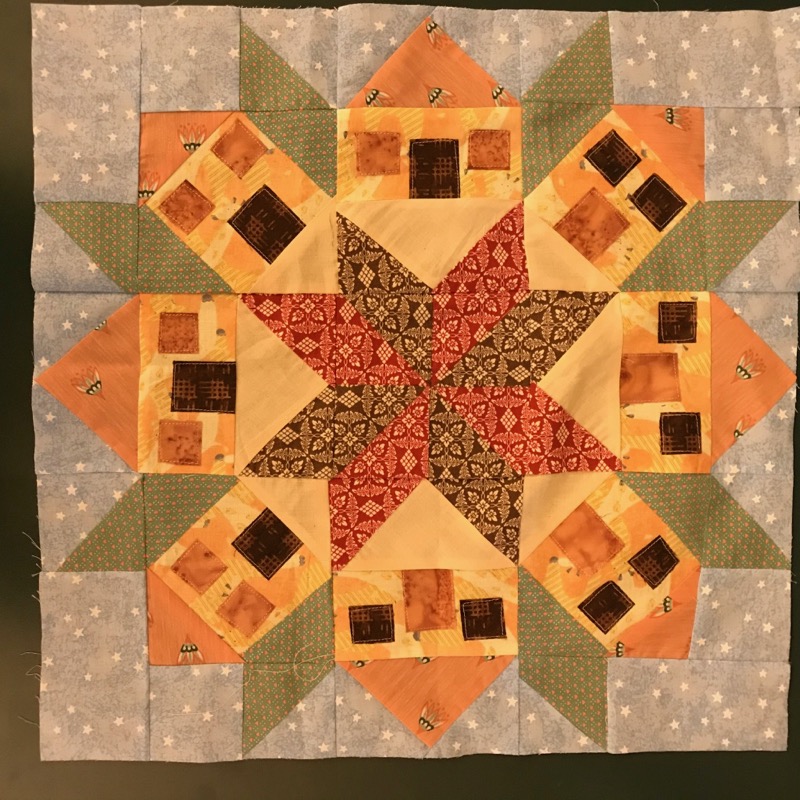
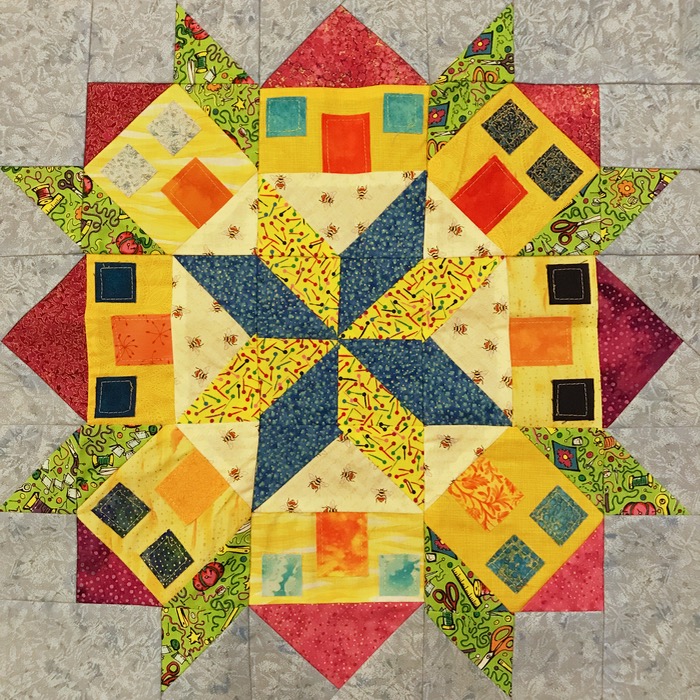
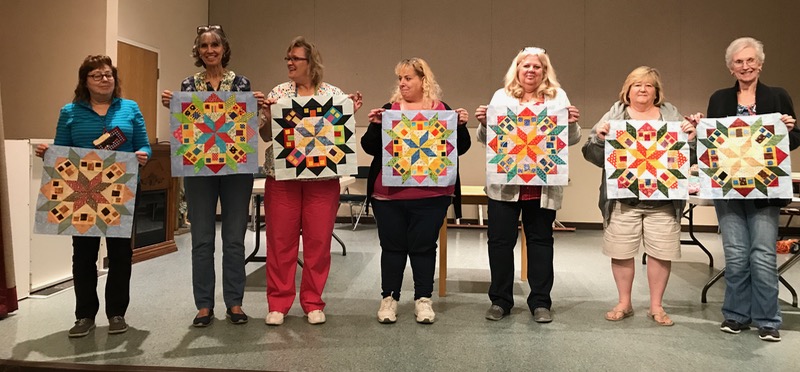
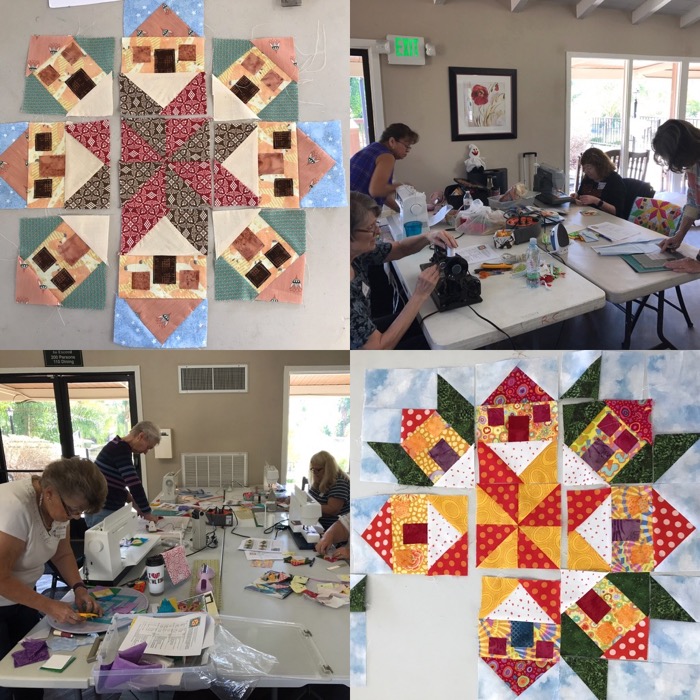
Recently I taught a class for my Home, Sweet, Home mini quilt. I snapped these photos as they were working; they’d all mostly prepped up their pieces before coming, and it made the class go quite smoothly. I loved all the different ways that people did their blocks (shown here at our Guild Meeting):
Here are most of them (some didn’t bring them to Guild):
It wasn’t until posting these up that I found two errors in these quilts. Isn’t it funny that you don’t see things…until you do? (Hint: it’s in the bushes.) I love the rainbow quilt made by my friend Lisa. I may have to make one for myself.












 Recently I taught a class for my