While I titled this Bee Happy in April 2020, part of that is a statement: I’m working on my Bee Happy Quilt, started at least a year ago. But part of that is also a question: is it possible to be happy in April 2020? Let’s tackle the first, wander through the second and I promise I’ll leave you with something funny.
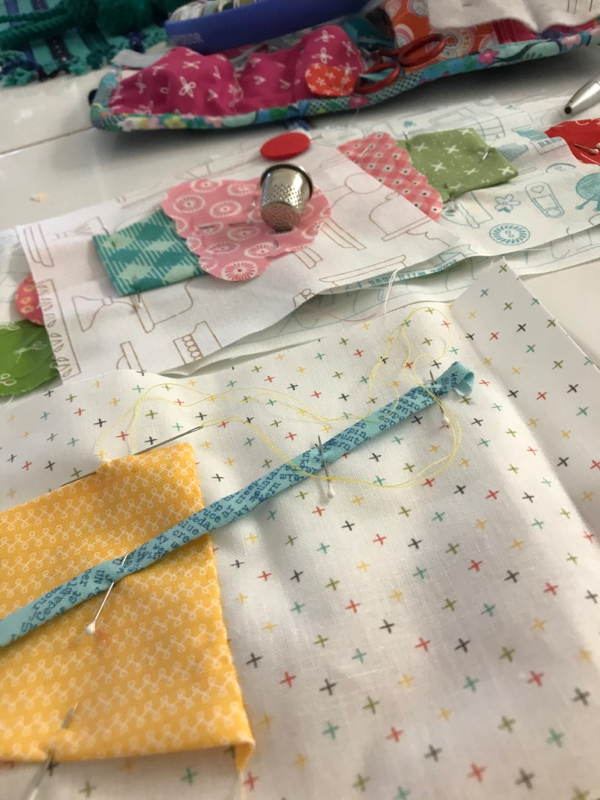
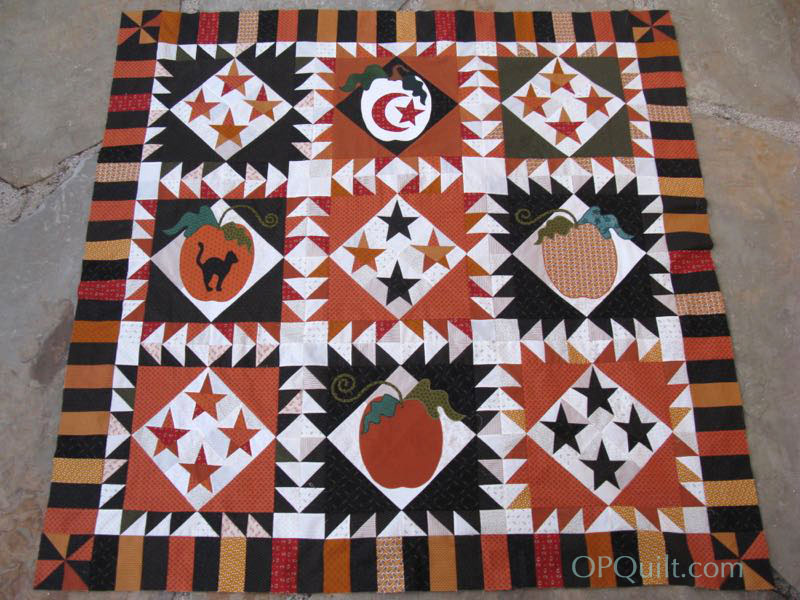
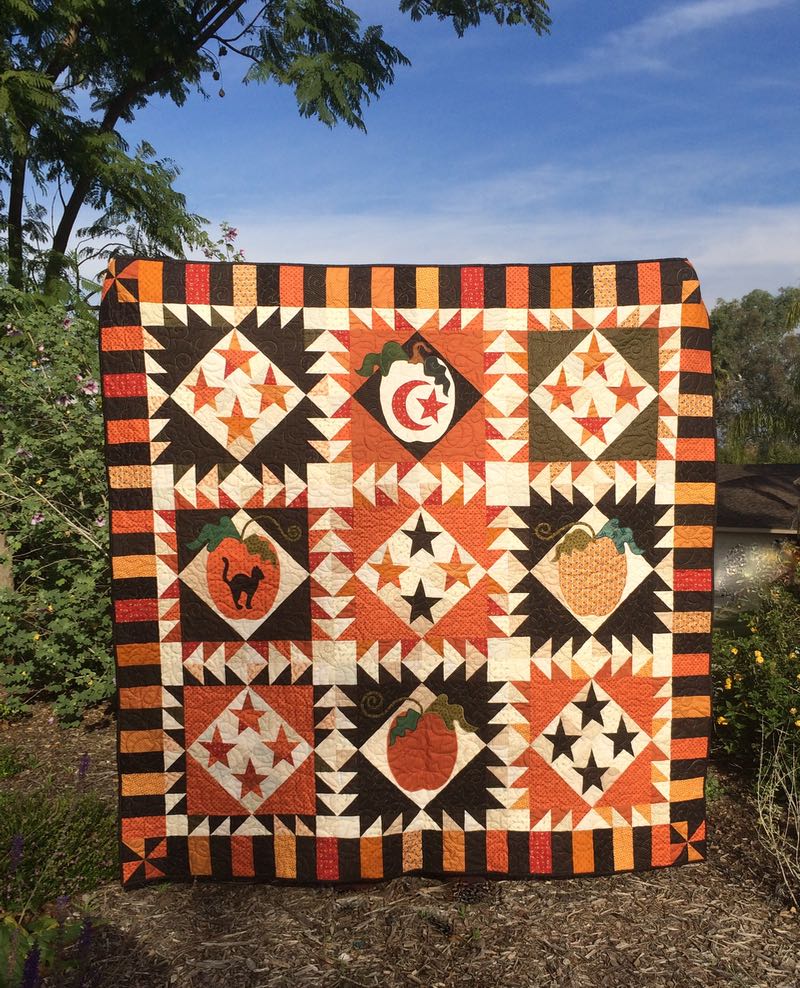
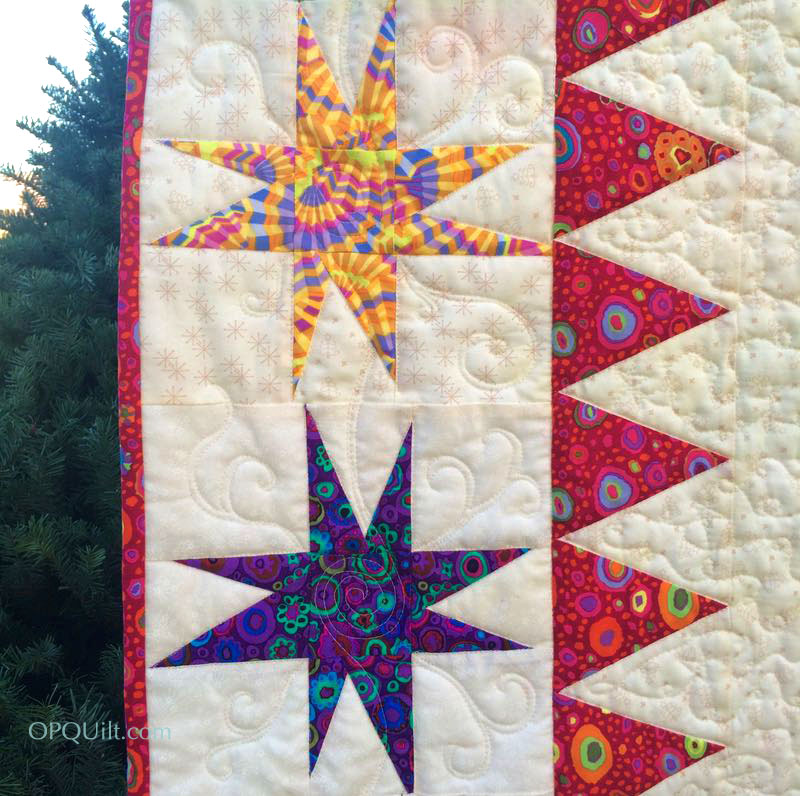
Like many of you I’ve been reading — no, gorging — on the news at this time, and one article about how nature is taking back the canals of Venice, the meadows of Yosemite and how we are seeing less pollution in our skies also commented on the amount of bird songs available now to us in our own backyards. So one mopey day, I pulled out my Lori Holt Bee Happy quilt (!) and started anew. I sat at the kitchen table, stitching, listening to the avian calls, and took a break from the chatter.
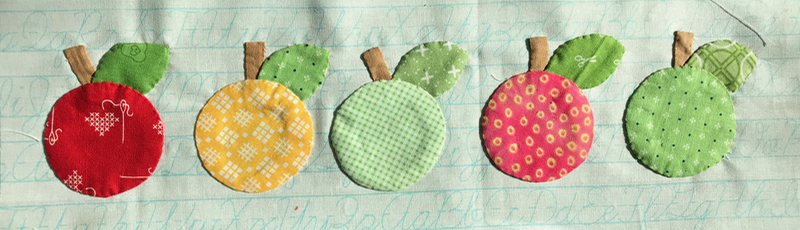


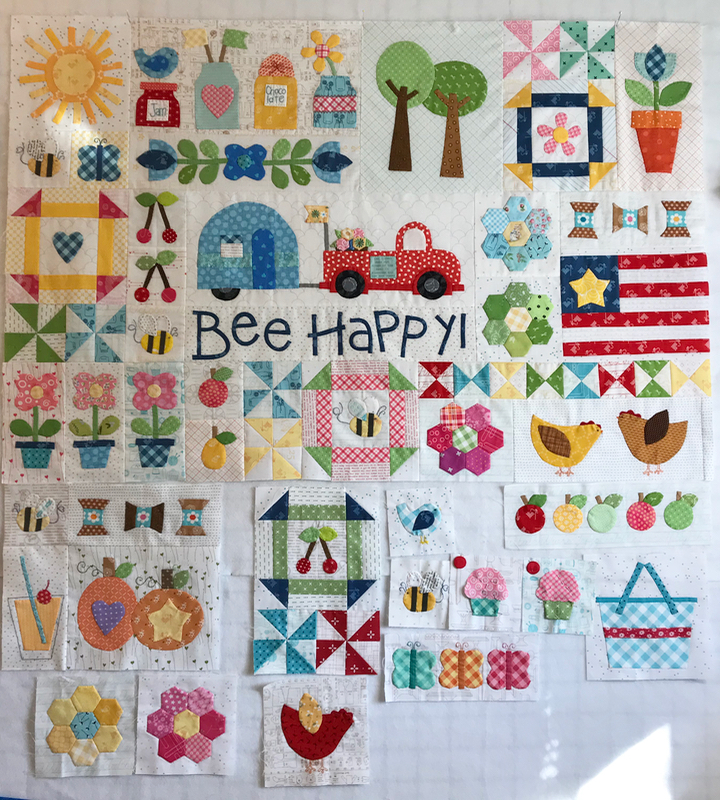
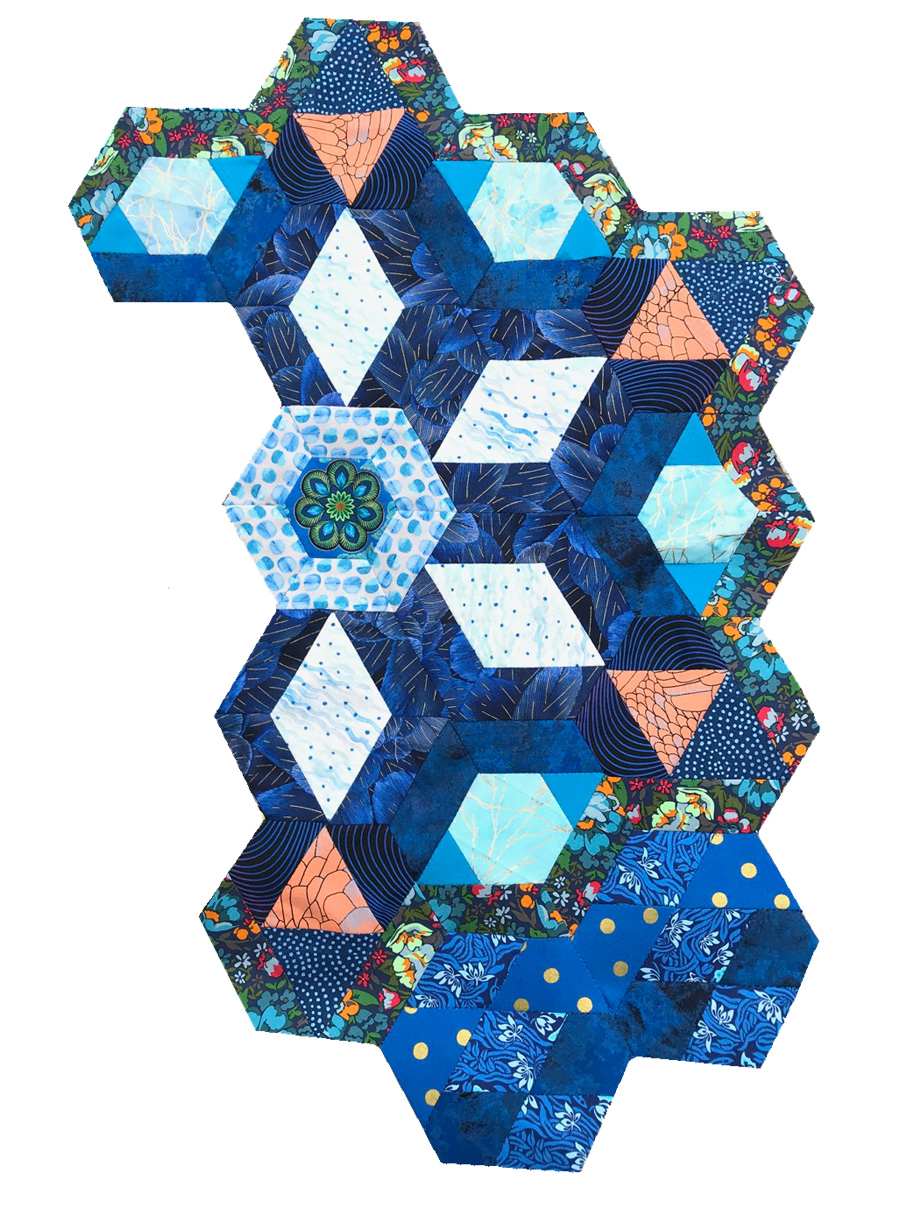
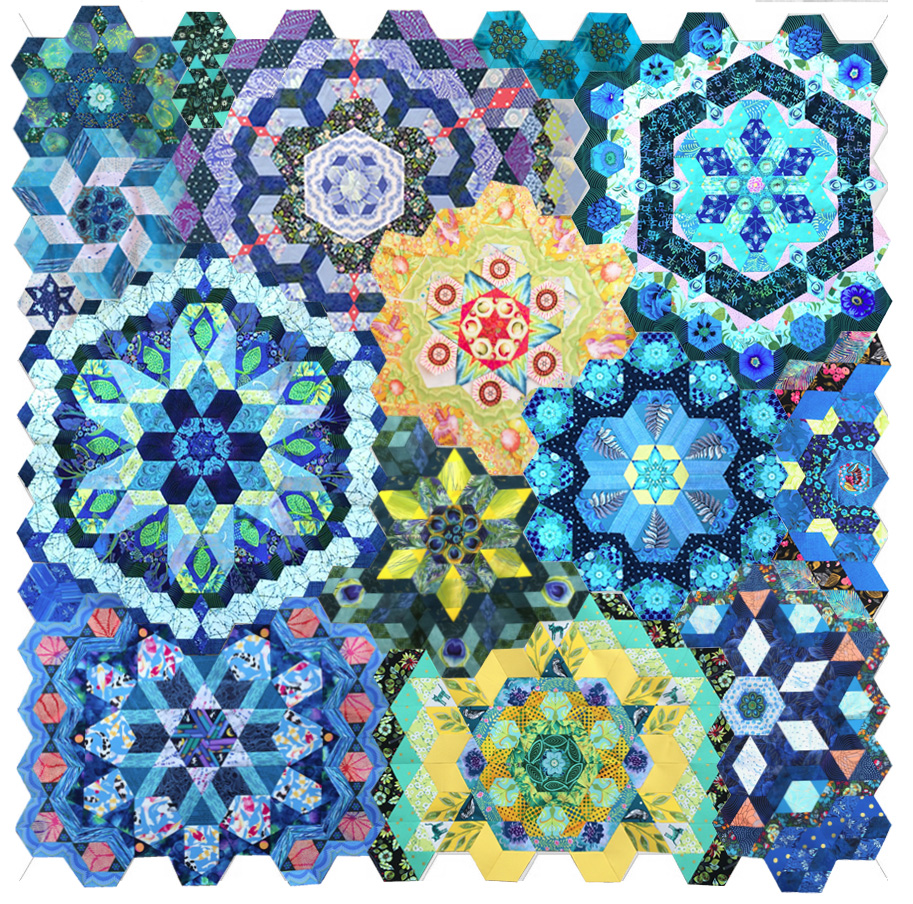
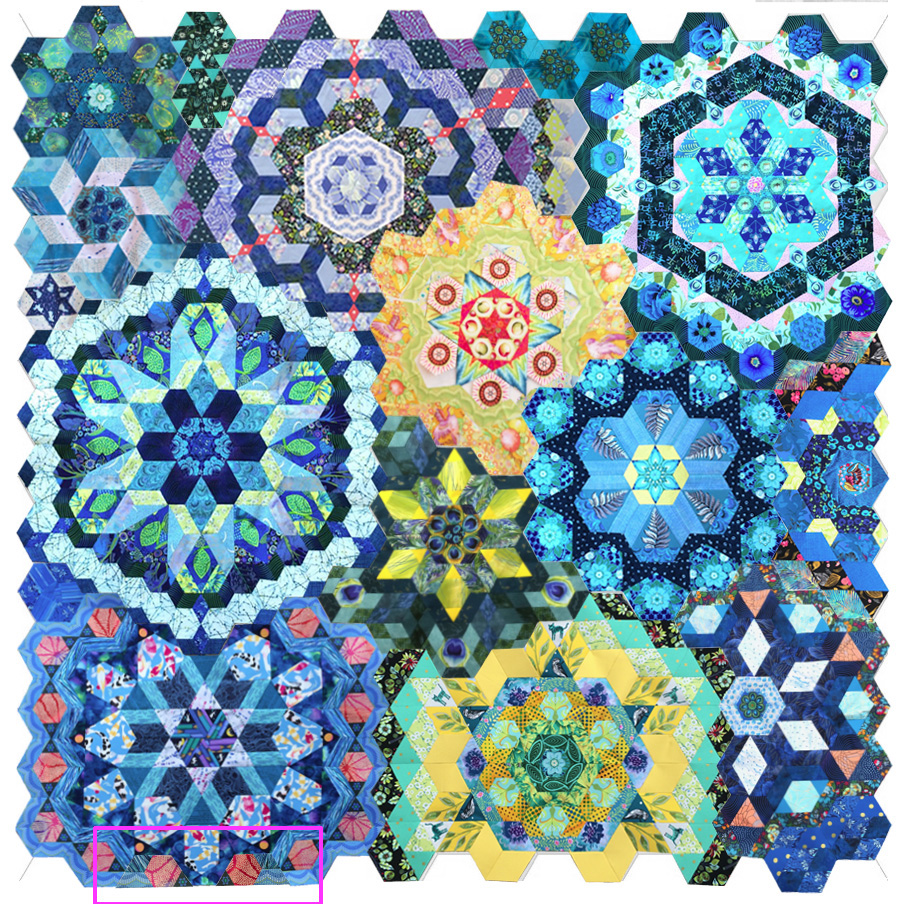
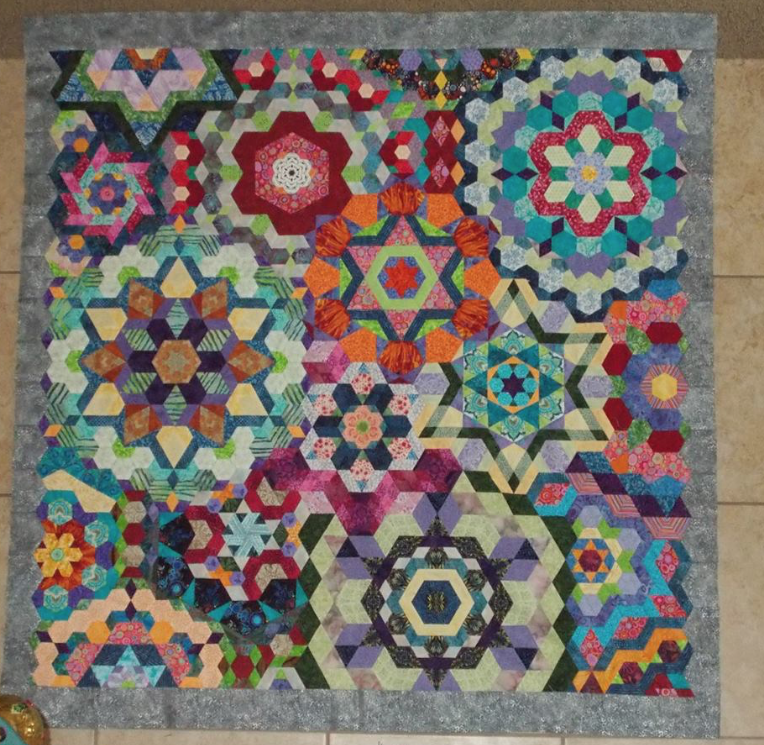
Hens stitched, blocks sewn and what I’ve finished is all smoothed out onto my design wall, a sort of vertical storage these days. Three of her rows are finished, ending with the clucking hen sisters. I numbered how many I have left: 13 blocks.
I’ve been making a little tip sheet to go along with all the weeks on Lori Holt’s blog, where she has all her photos and pictures. However, sometimes the info is not arranged as easily as I would like, and so I offer these as an adjunct to those working on the quilt who also need a bit more. Click to download the PDF files. They are found on a page up in the tab section, under 2020 Projects, if you need to find them again.

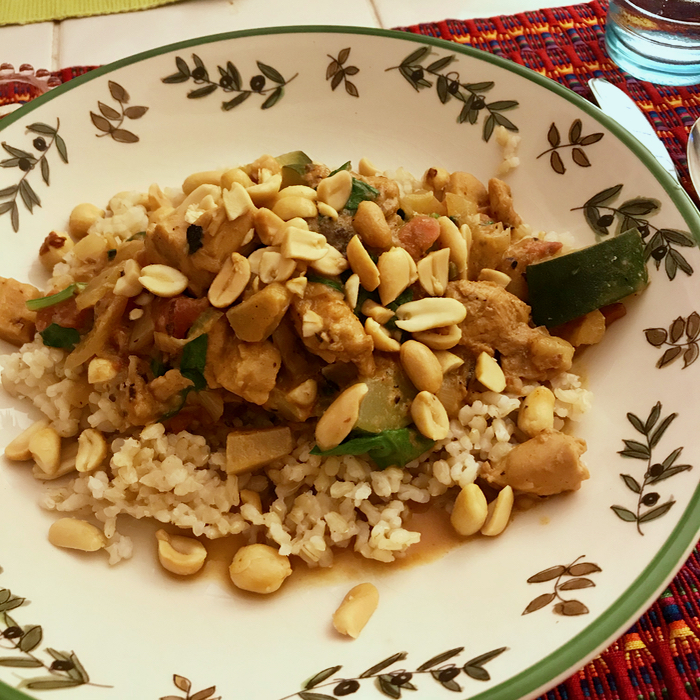
I laugh at those COVID-19 memes that list a full menu for dinner on the first three days then devolve down to cereal and soda by Day 20. I alternate between complete angst at dinner time and diving in to make a cool meal. Here are two of my successes: bibimbap (top) and African Peanut Stew (bottom, recipe on ElizabethCooks.com). My daughter, who lives too far away, has been baking these:
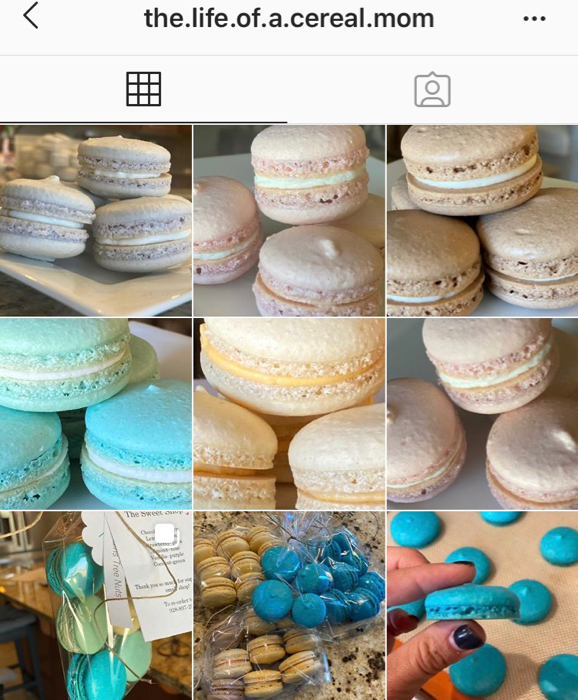
Baking and selling them. She’s really mastered this treat.
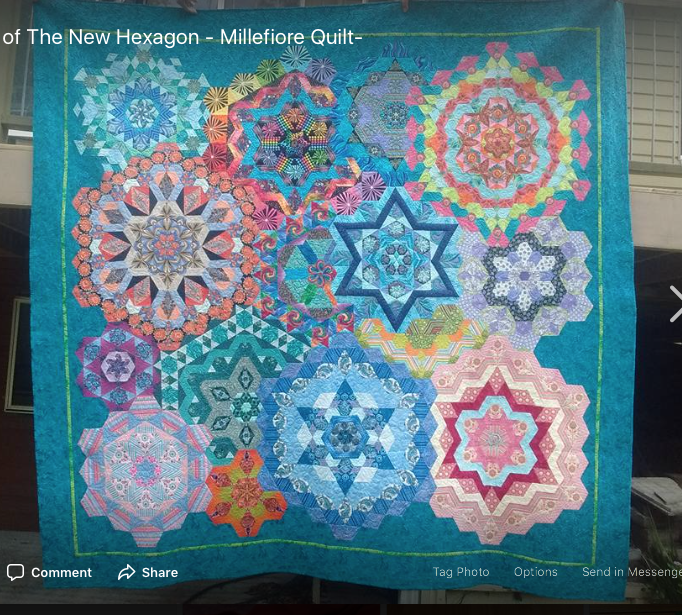
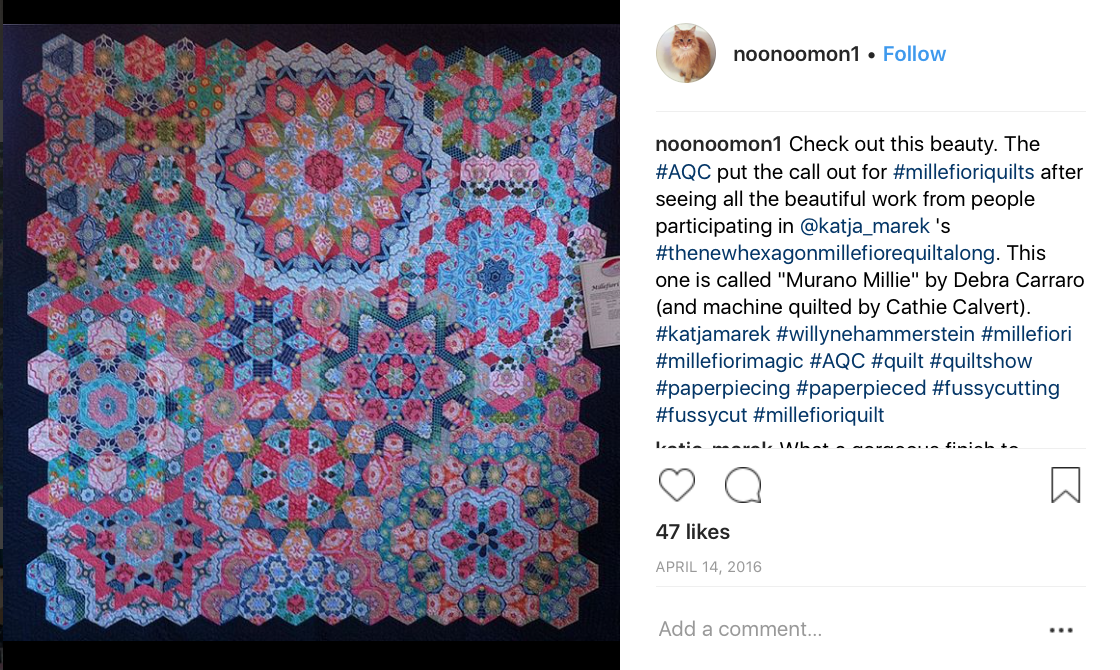
Like the rest of you, I spend far too much time scrolling on my phone, I’ve been happy to see the contests sponsored by major museums across the world to have those of us keeping quarantine to mimic famous works of art.


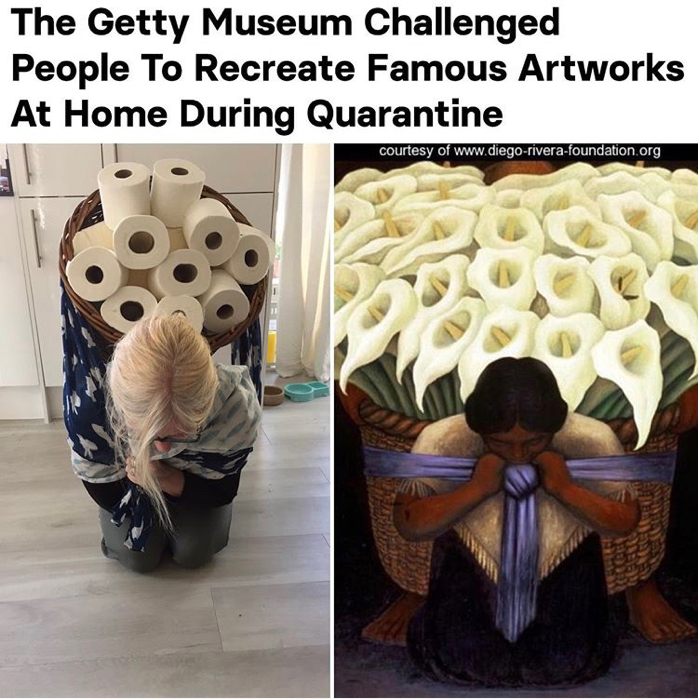

I also follow the hashtag #quarantineart to break up the quilty quality of my IG feed, where I found this image.


Other components of our COVID-19 lives: Zoom conferences (this time with my brothers and sisters and my two elderly parents highly quarantined in their senior living building), memes, walks around our neighborhood in the morning, and finally, peering into the homes of TV newscasters, where I spotted a quilt on the back of a sofa. Hey! A quilter lives there…or at least they appreciate a quilt.
So, can we be happy in April 2020? Possibly. Probably. Often. Sometimes. Always. Occasionally.
In January 2020, way back in another time and place, my local quilt shop asked us to nominate someone who could use a sewing machine in their lives, along with some sewing helps from Olfa and fabric from the store. I wrote about my friend Hayley, a young mom who is in my First Monday Sew-day group, who has really taken to quilting. She’s the wife a medical student, and has a sweet young daughter. I then waited…and waited…and finally heard this week that she had been chosen!

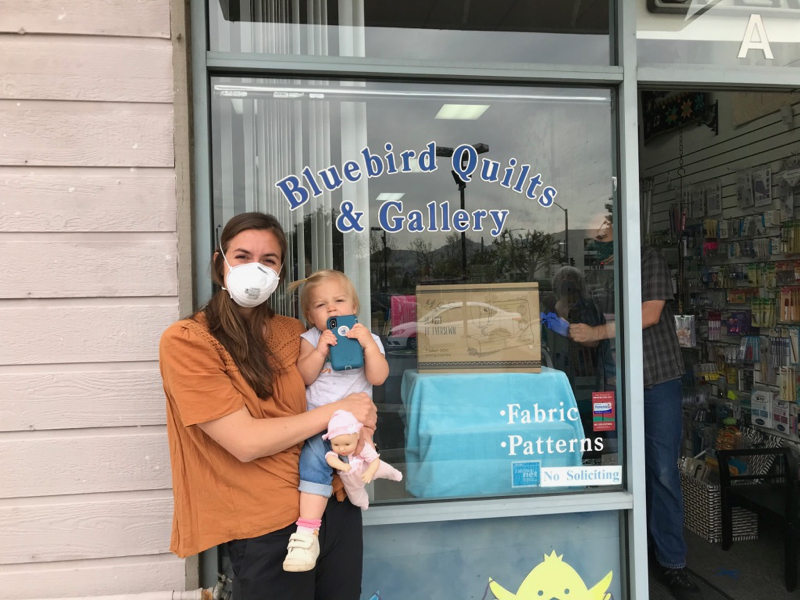
We all wore our masks, kept our social distance, and Janet, the shop owner read from a prepared paper, thanking all those responsible for giving this award. Then the curtains parted to reveal a sewing machine–Hayley started to cry, I started to cry, Janet started to get emotional. I was so happy that someone who is starting to love quilting could get her own machine. Here’s the video on Facebook.

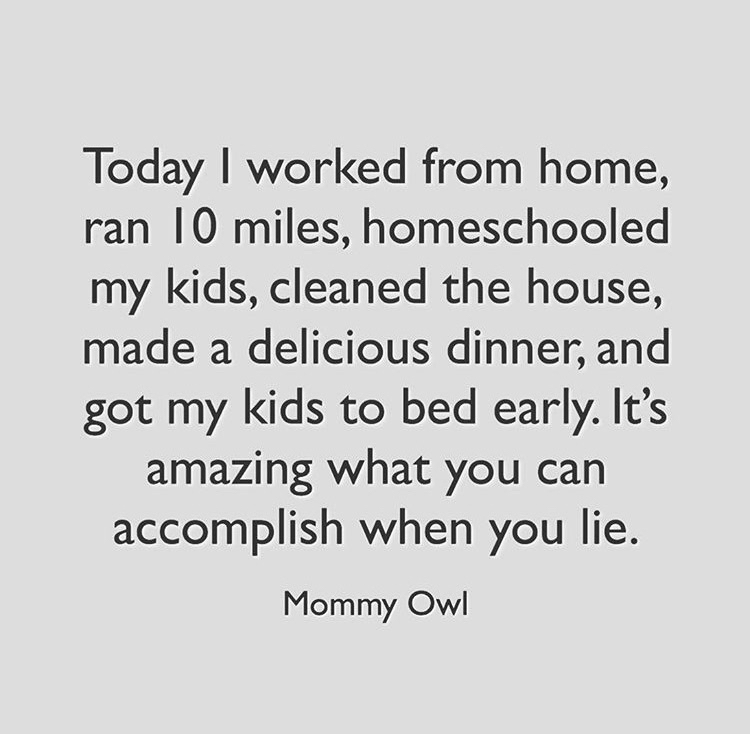
Now a funny video about how to sew a mask.
Here’s hoping you’ll Bee Happy/be happy in April 2020!


 Now press those seams away from the quilt top, towards the border. You are done!