300 Quilts · New York Beauties · Patterns by Elizabeth of OPQuilt

New York Beauties: Old Friend

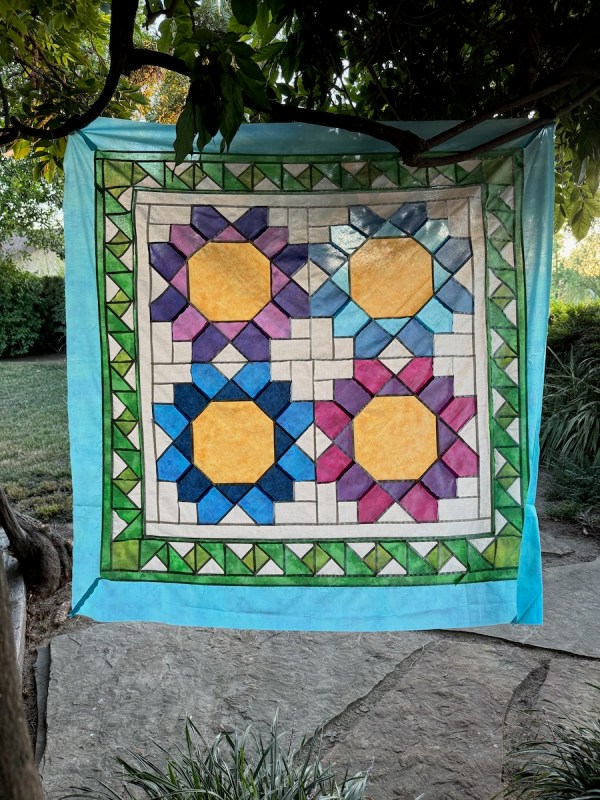
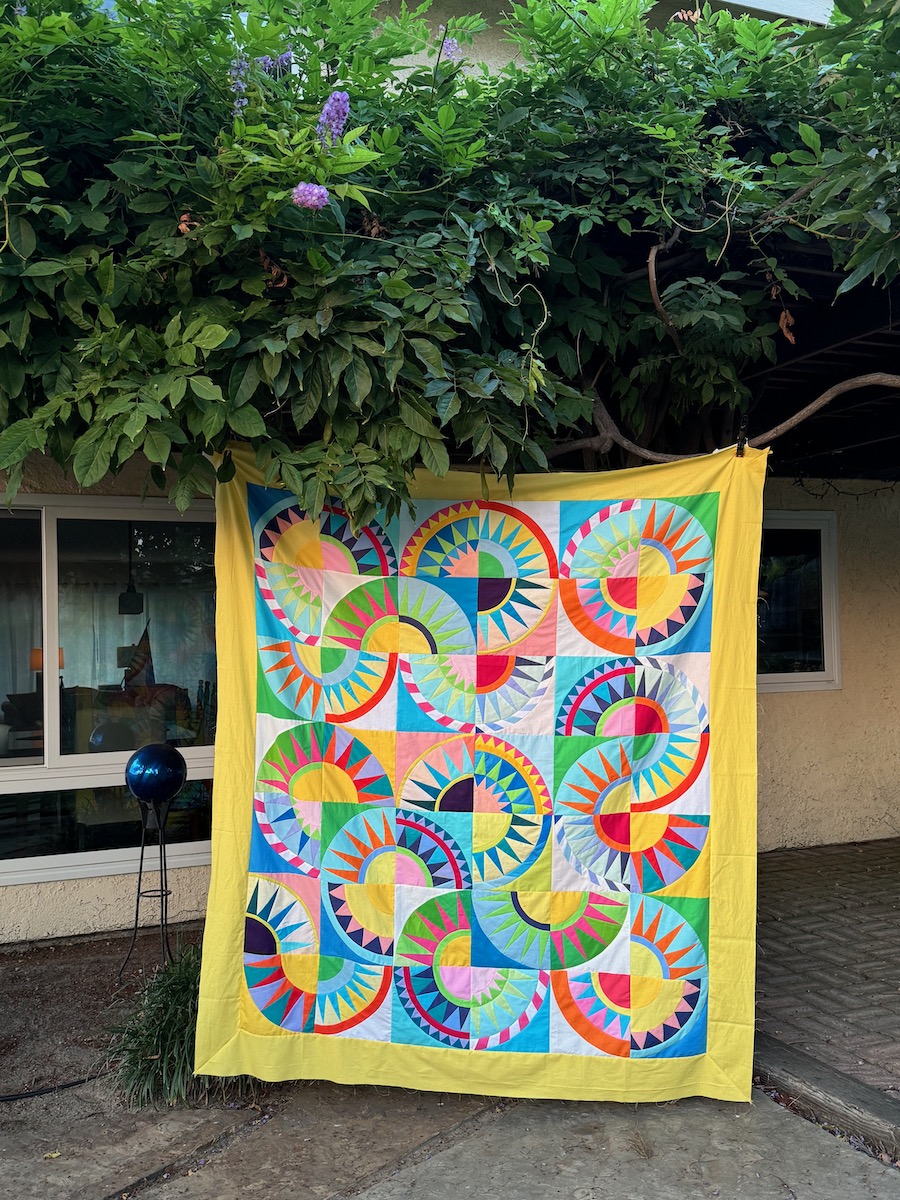
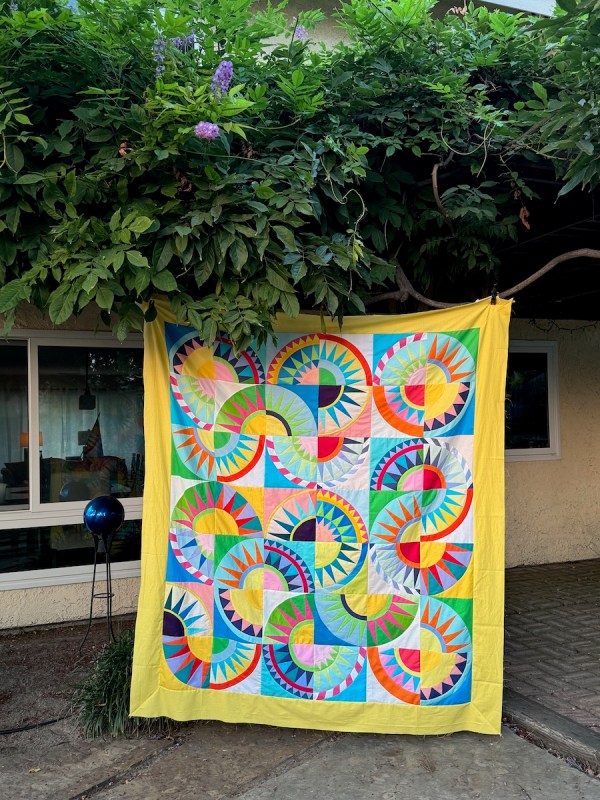
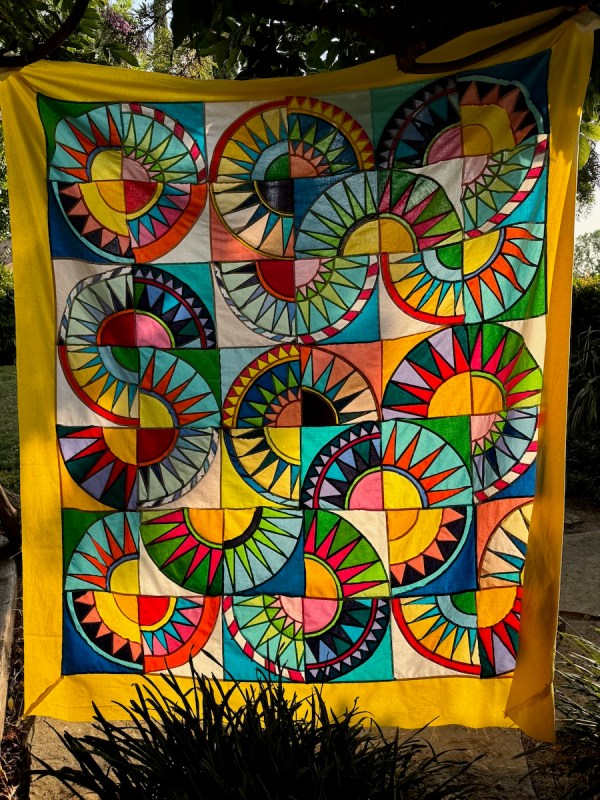
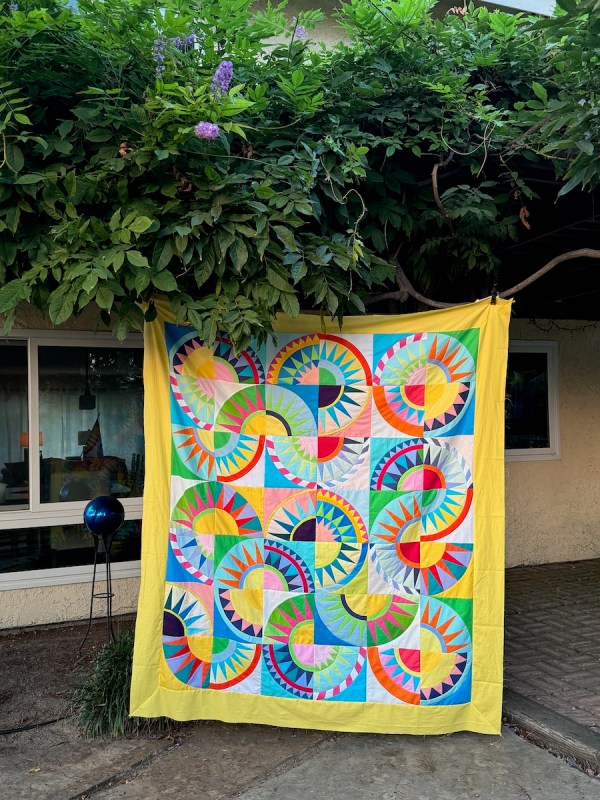
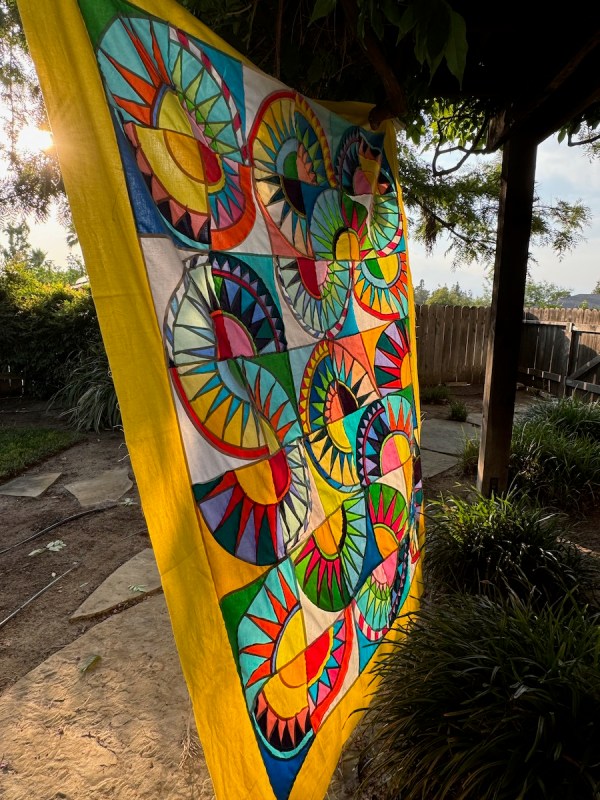
New York Beauties is like an old friend: we’ve hung out together, we’ve been sad together, happy together, goofed off together, and are now celebrating together a milestone: this flimsy is finished.

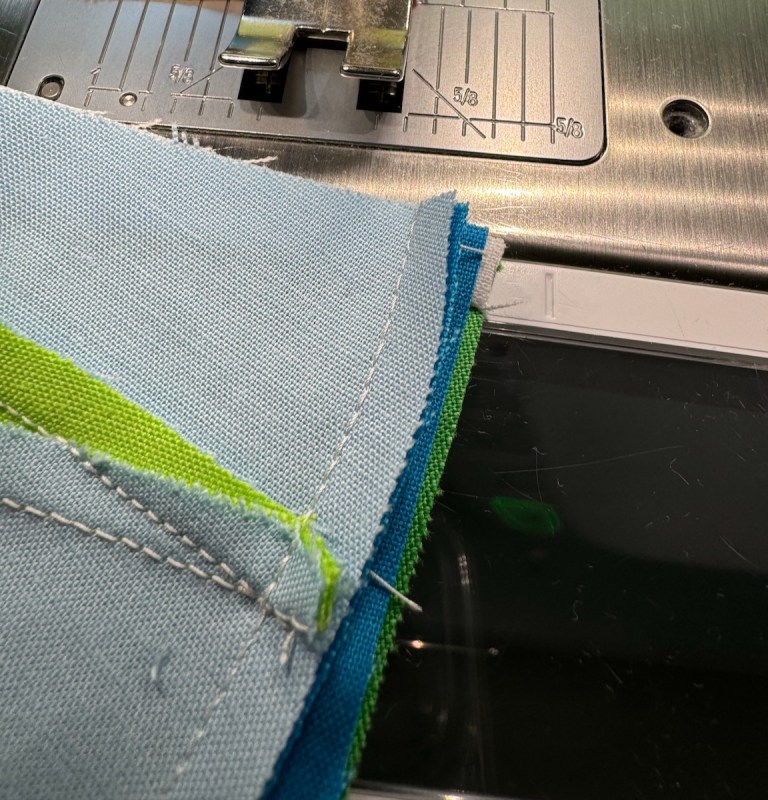
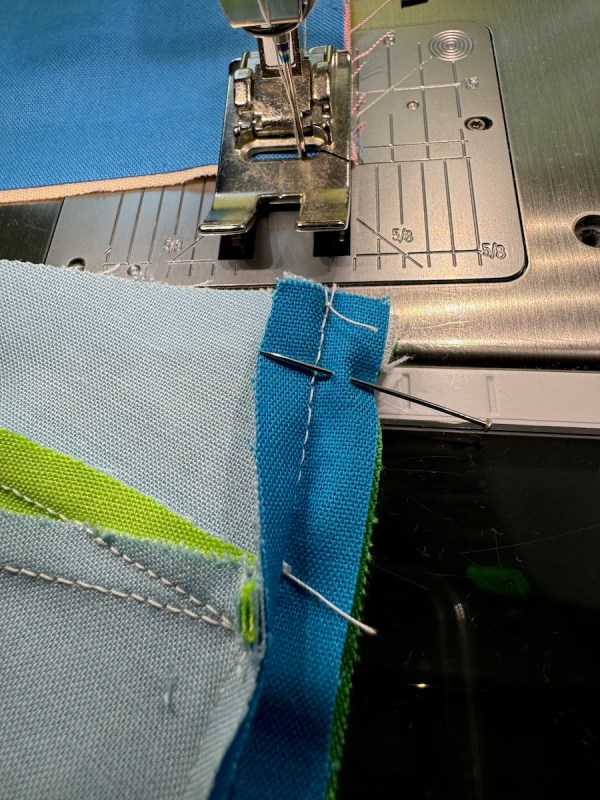
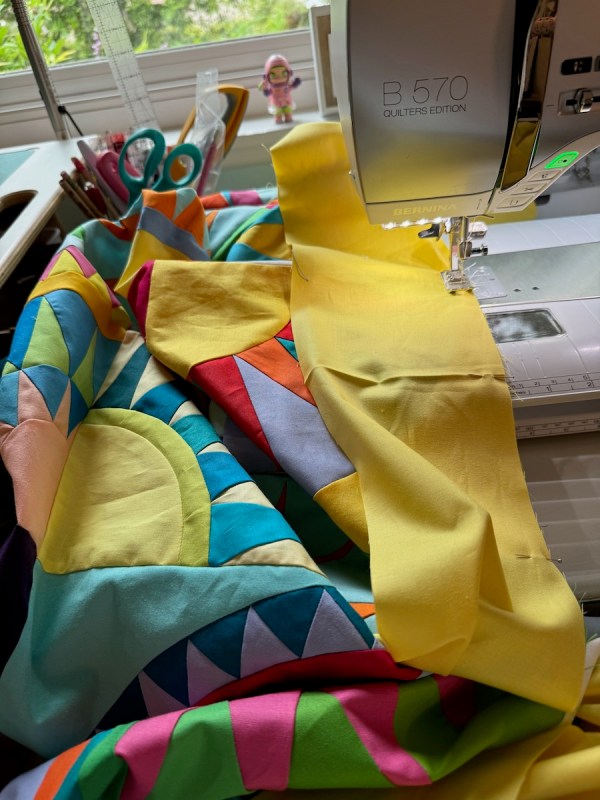
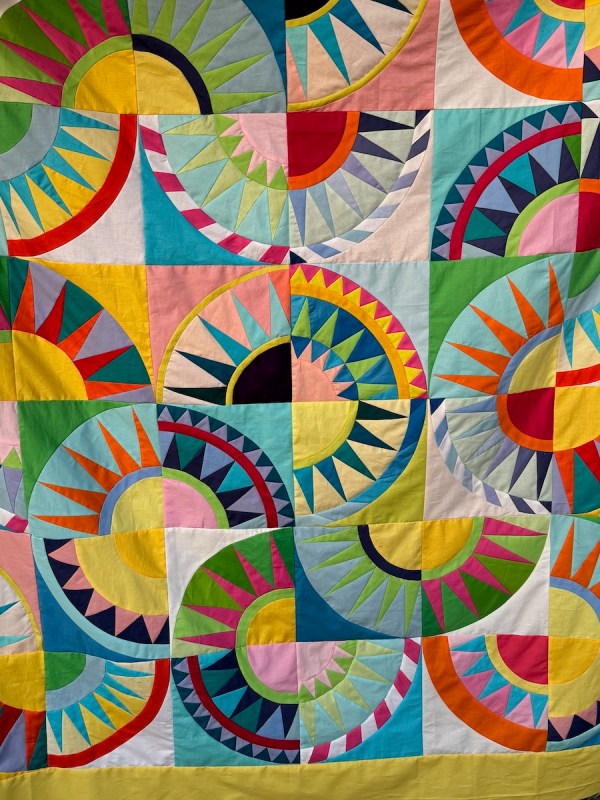
I cut the yellow borders 5 1/4″ because I couldn’t decide between 5″ or 5-and-a-half-inches. So many seams! I found it easier to lift up the seams on the outside curves, and not sew those down. When I couldn’t do that, oh well.

This view always appeals to me: New York Beauties stained-glass. I put it up after our dinner, and waited for the sun to go down, for that golden hour.

Now it will go away for a while to quilting purgatory, as I’ve decided to quilt it myself and I’ve got two in line ahead of it.

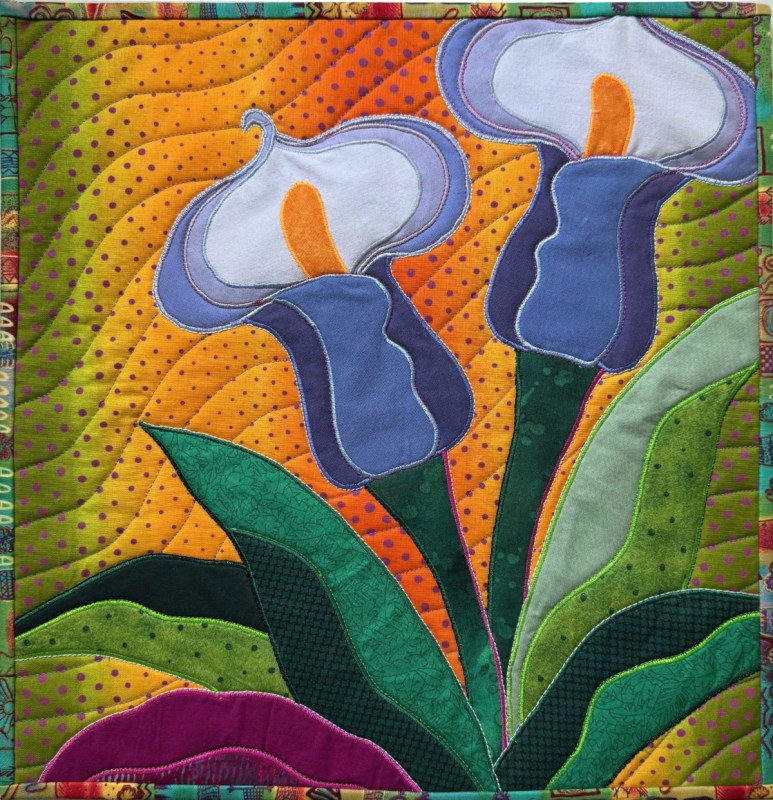
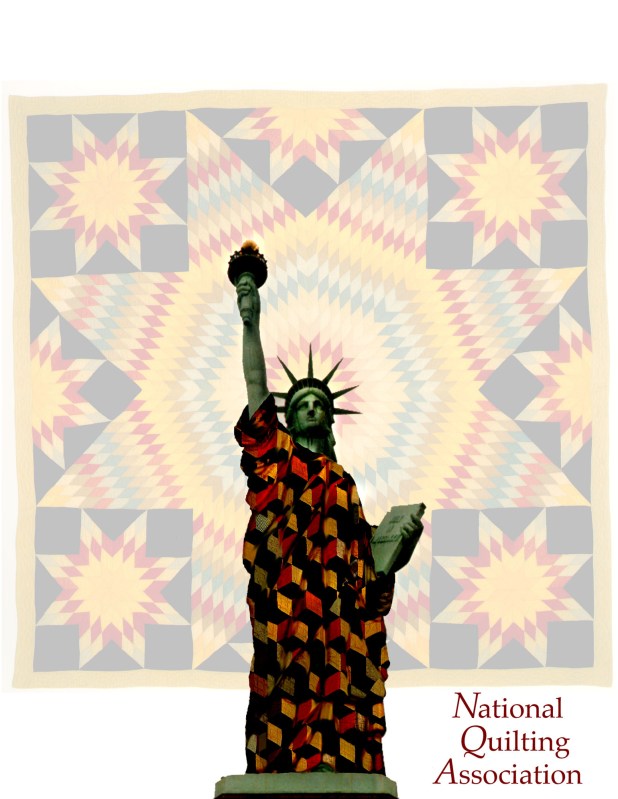
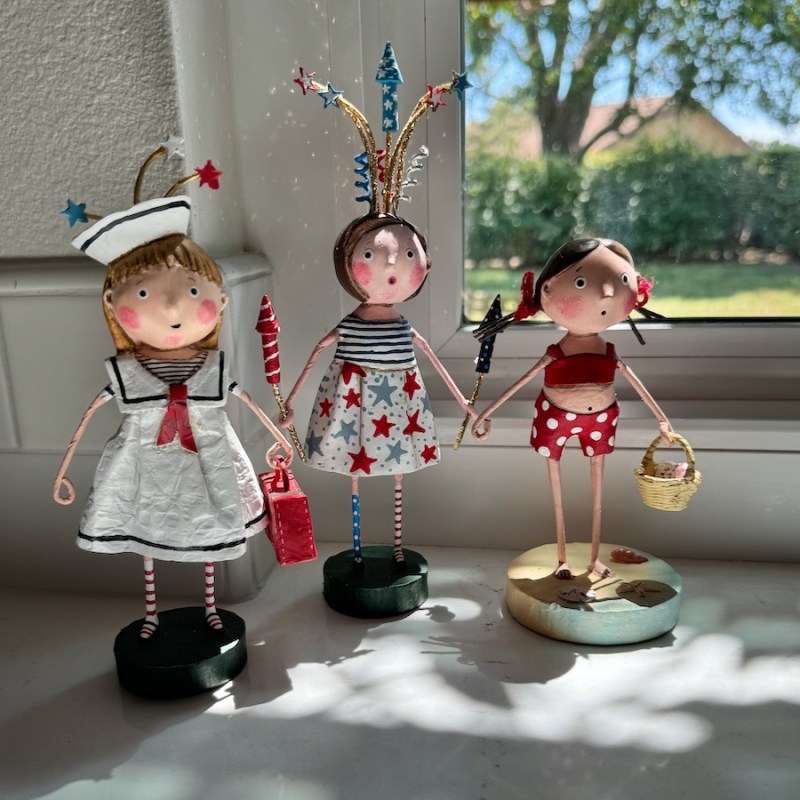
As it has hung up on my design wall for the last little bit, I’m kind of in love with it. Yes, I can see all the flaws, but I can also see all the beauty. My sister posits that the spikey part of the design might have been inspired by this lady:

This, from a project in my very first digital art class, long long ago. I looked up the block origins and the sources are crickets on where it started, but, that crown! I’m going to go with my sister’s idea, I think.

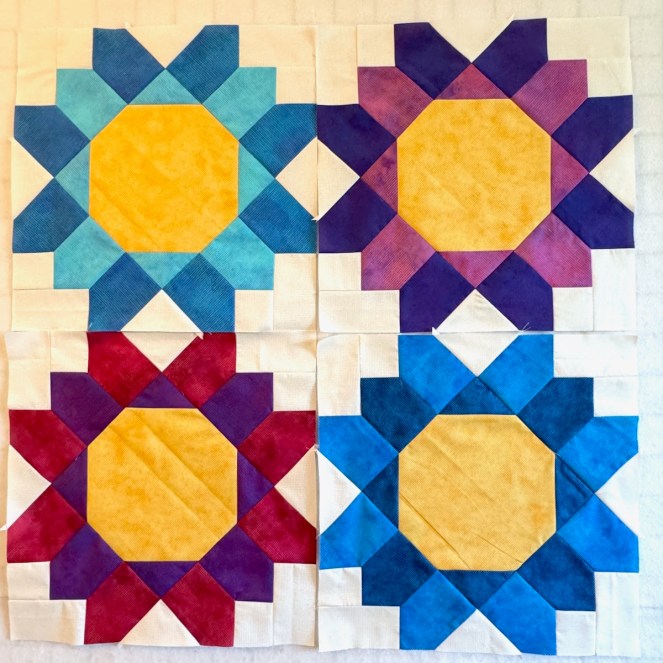
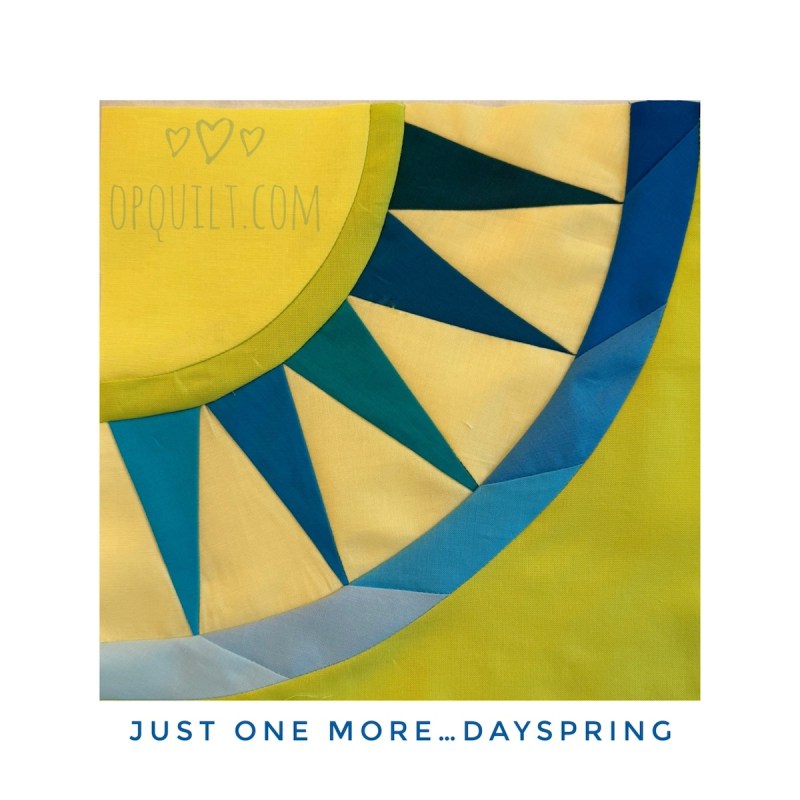
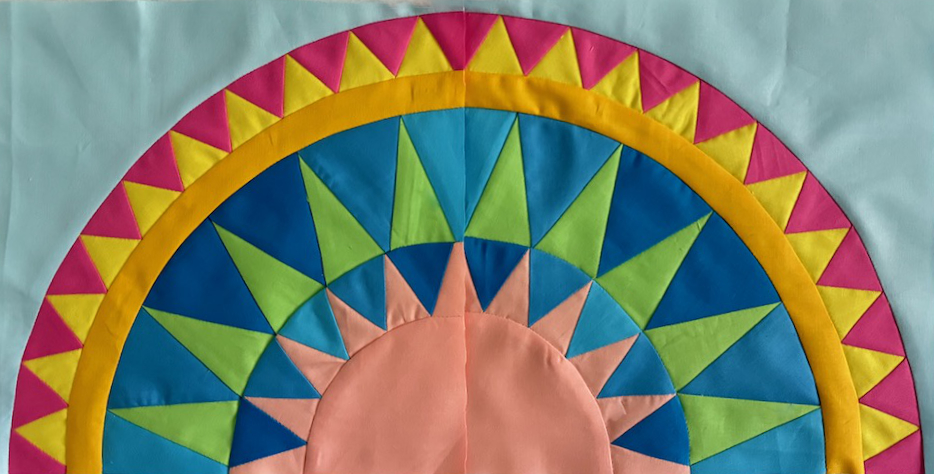
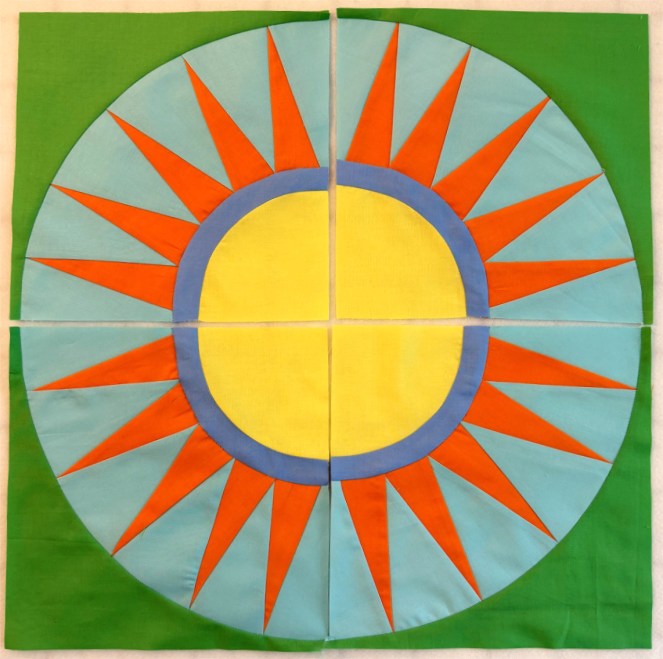
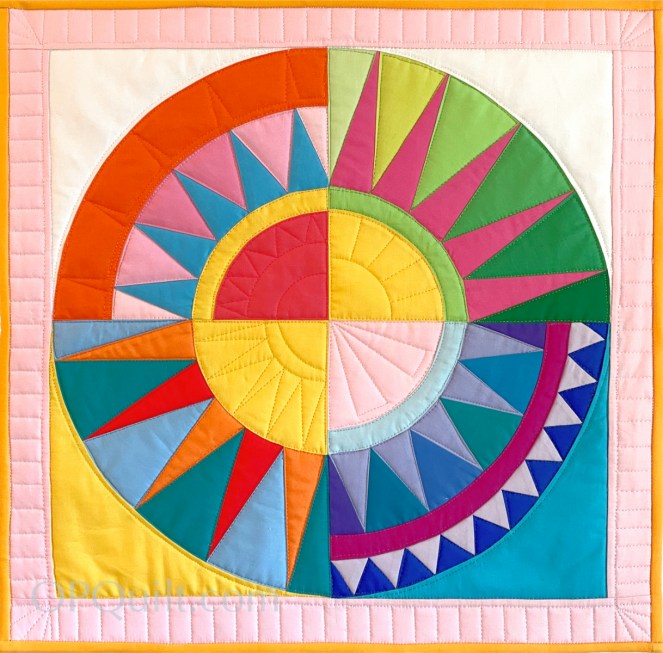
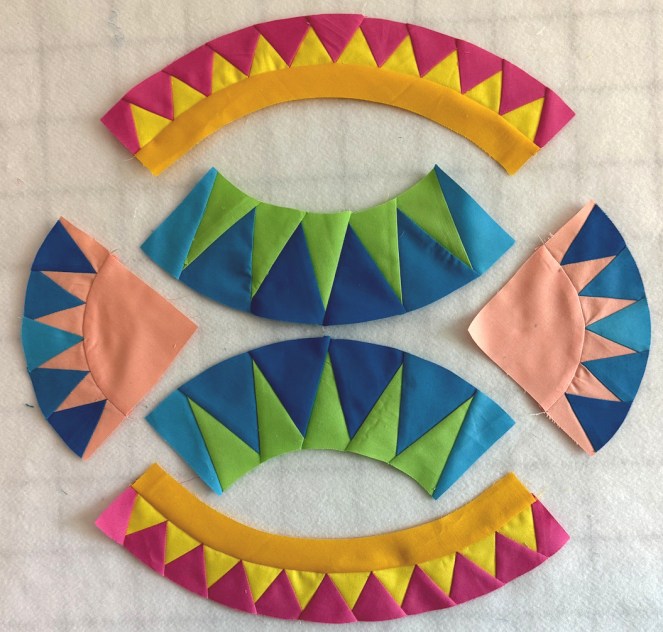
I had to design/make one more block to get this quilt top to gel. Here it is, a freebie:

You’ll need to download the other free block, Wild Sunflower, to get that outer corner piece. I just couldn’t cram one more piece in here, and I knew you are all resourceful and can figure out how to go to the Main New York Beauties page, or if that fails, head to my pattern shop where I sell the full pattern, if you want to start a relationship with your New York Beauties quilt. But take it slowly at first, while you get your sea legs. For it was Shakespeare himself who noted that “To climb steep hills / Requires slow pace at first” (Henry VIII, Act I, Scene 2, Line 128). On that New York Beauties tab are lots of posts, with lots of tips and hints. One a month might be a good rhythm at first, but towards the end you may want to speed it up. You know how it goes.

There were times I didn’t think I’d ever finish this. Learning how to make it with freezer paper speeded up the process, but so many seams. So many pieces. But what a lovely outcome, hanging from my wisteria vines on a sultry summer evening. This photo shoot took a while, and I savored every minute. I’ve worked with this quilt for a long while, and we’ve become companionable. As I’ve read other people’s blogs, I have noticed this feeling with their long-term quilts. Yes, fast quilts are fun, but there’s something about spending time with one project over many months, savoring the stitches.

Happy Summer’s Eve, everyone.

300 Quilts · New York Beauties · Patterns by Elizabeth of OPQuilt

Double Header for New York Beauties: Remembrance (6) and Waking (7)

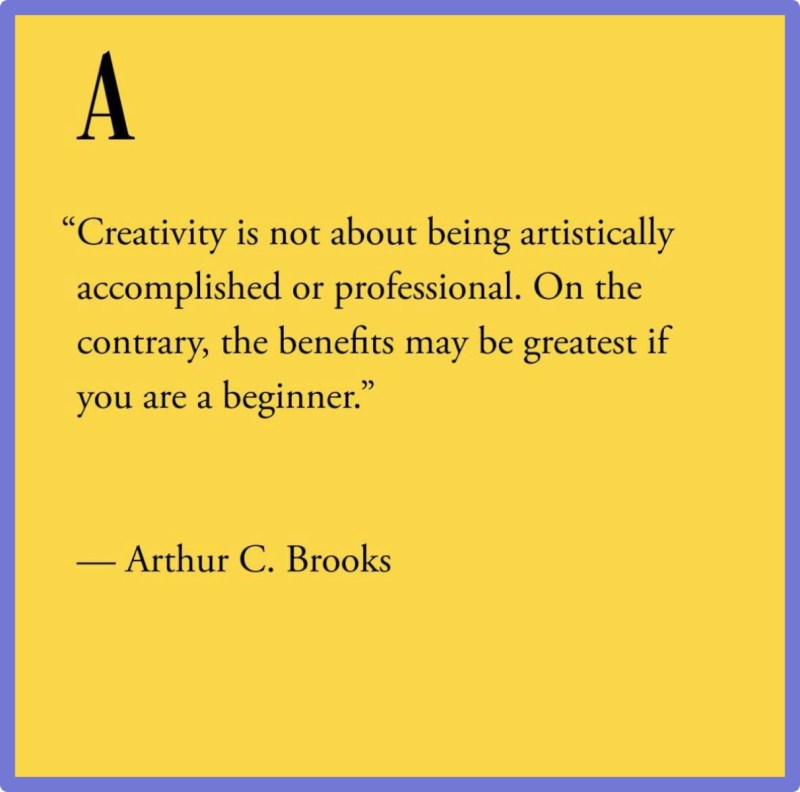
Okay, think on that quote for a while. Found while doomscrolling (is that one word, or two?) on Instagram, I wanted to read the whole article, but then I’d have to buy a subscription to the Atlantic. Which may still be worth it, since I have an “open” slot for subscriptions since the QuiltMania magazines sadly left us.

I opened with this because I’ve been a beginner all the way along on these New York Beauties. I mean, since I been sewing for about a bazillion years, I feel like I can tackle most anything except upholstering sofas, especially since I’ve watched *those* videos, too, and while they make it look easy, it’s a whole different set of tools.

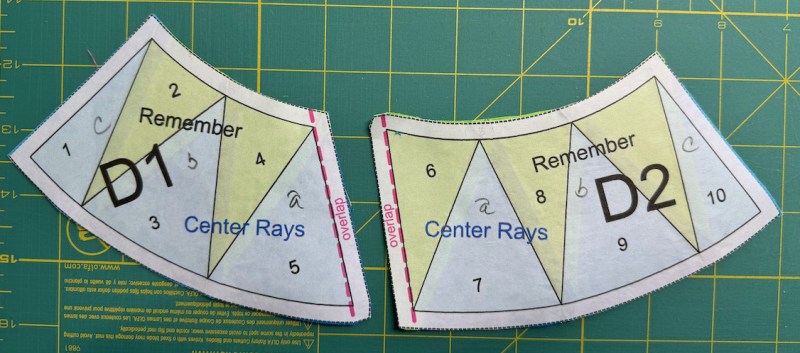
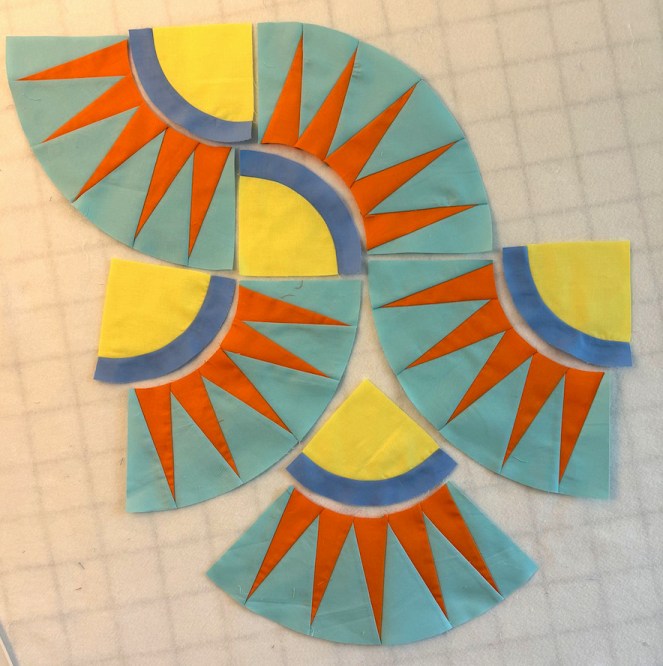
But I have had fun with all twelve blocks. I did four blocks as a free giveaway a couple of years ago, then decided that THIS WAS THE YEAR to finally finish them all. As of today, in this moment, I have completed them. Since I have loaded up the beginning posts with scads of photos, and I don’t need to teach the freezer paper method anymore, here are the last two blocks in one post: Block #6, Remembrance, and Block #7, Waking.

Block 6: Remembrance

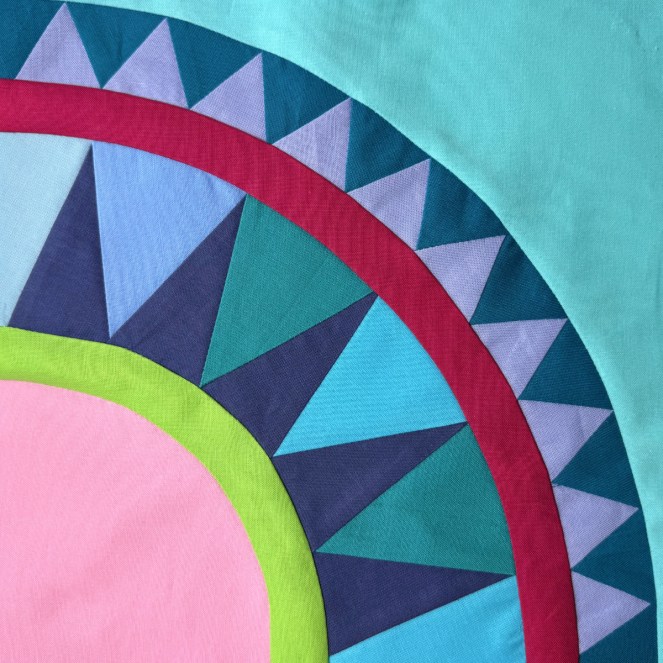
I colored and re-colored the block #6, as I wasn’t really too fond of what I’d done in the past.

I ended up with this one: a little ombre effect through the wedges (background) on the first two sets of rays, and then a jolt at the outside with that bright lemon-yellow. All the colors are identified in Painter’s Palette solids from Paintbrush Studios (and I purchase them from Keepsake Quilting, to just give you all the info.) You can download the color sheet for free, on the pattern. Look for Preview just under the title/buttons.

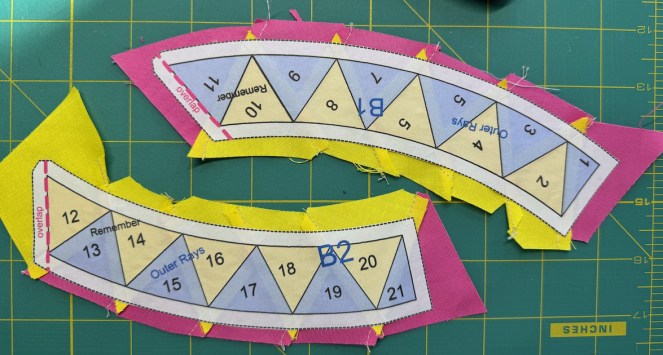
I started with the outside, one night (which explains the lighting on these photos). I’m showing how I press to the dark, when freezer paper-piecing. In photo 1, I pull the paper back, only slightly. Smack that seam with the iron (2), then smooth the freezer paper back into place (3). In (4) I’ve pressed down the next section, ready to go.

Block 2, in the Master Page of New York Beauties, gives really concrete directions on how to use freezer paper, if you are interested.

Happy little things, aren’t they? And happily you only have to make TWO of this block, but it’s the most complex, with three rows of rays/wedges. Do one set a day, and don’t wear yourself out.

I know in the basic pattern I tell you to tape together the two-part rays of this enterprise before sewing, but really, you don’t need to. Just make them separately, then sew them together at the end (moving the paper out of the way, of course).

Oh, if you can’t play around with the shapes, what fun is this anyway? The ombré background for the smallest set goes dark-light-dark, which is the opposite of the middle rays (light-dark-light). You can see how I marked a-b-c in the photos just above (trying to keep myself on track — I only had to unpick it once).

For a fun photo, I overlapped the two blocks. This feels EPIC!

Block 7: Waking

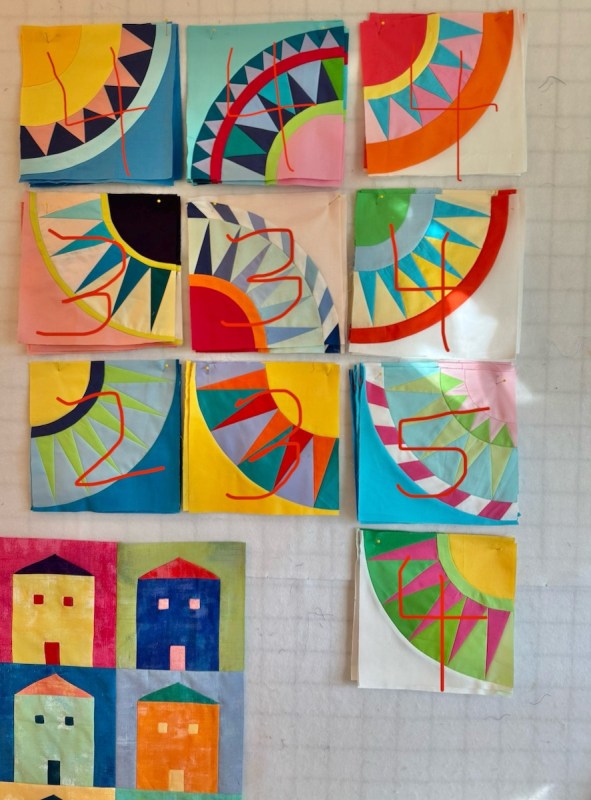
Here we go. I saved one of the easier ones for last. Make five of this block. I became nervous last night: did I count correctly? Here’s my cheat sheet:

I’m okay, in fact I made an extra somewhere…

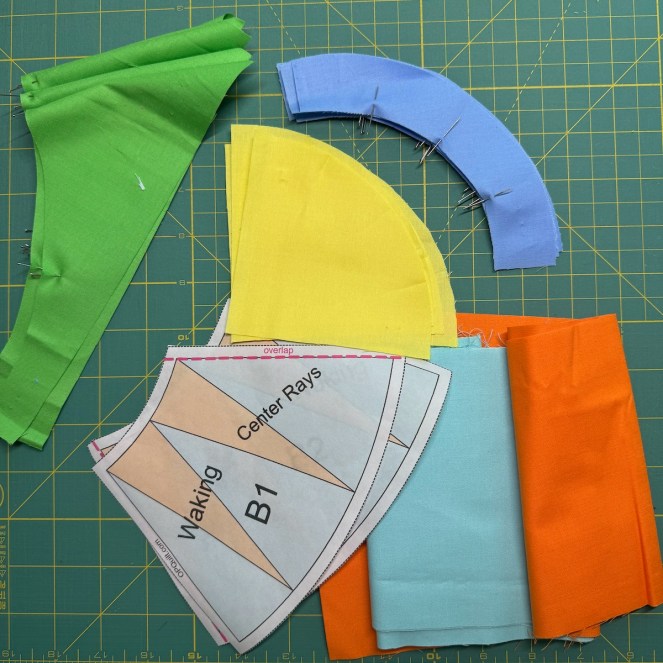
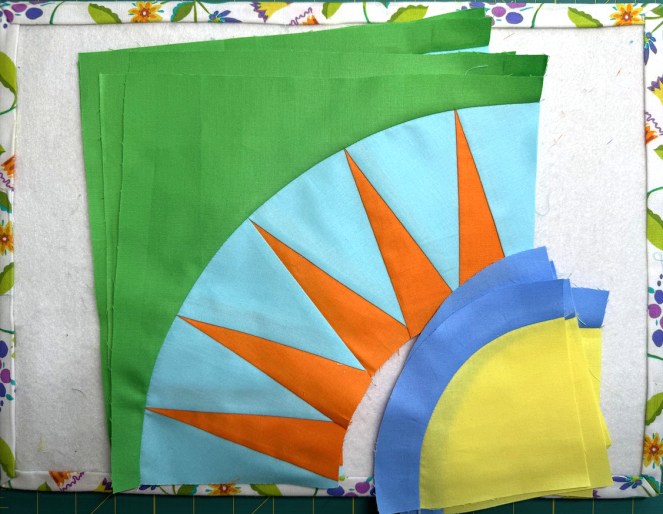
I cut out and marked the quarters of the bands, center and outside corner.

I sewed the band on the center. (I love the colors periwinkle and lemon yellow together.)

This is to remind you to crease on the lines one way, then the other way (reverse fold) (forwards-backwards) (I don’t know how to describe this, but every line gets creased twice).

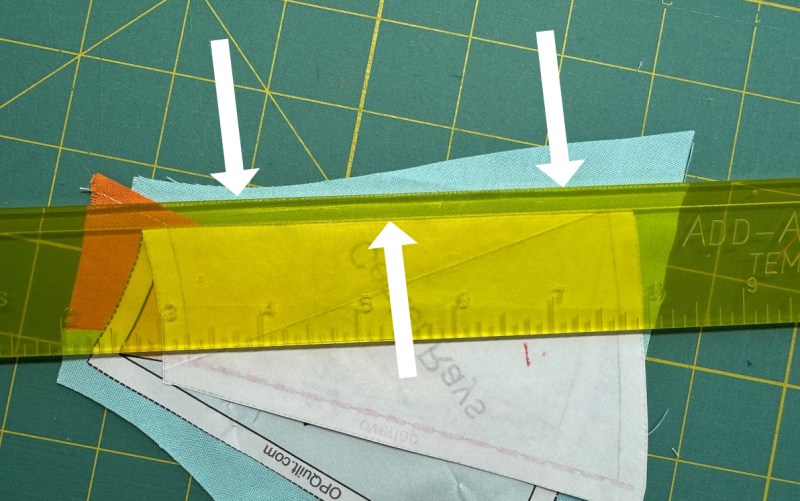
In the first photo, I am trimming the full 1/4-inch past the folded freezer paper to set myself up for the next step. I add the next piece behind the assembly (see the link above for more detailed instructions), stitch alongside the freezer paper fold, then I trim that one to a scant 1/4-inch. I like a little less bulk.

Trim. Trim. Then play:

Now get to sewing those parts together.

Mega Space Molly keeps watch from the windowsill.

Press, then trim down to 9 1/2″ square.

Maybe you didn’t catch the other new kid on the block: Ocean Gleam, Block four.

I simply updated the blog post for that one from a couple of years ago. Those of you who aren’t making New York Beauties might be saying, okay, enough, what else do you have in that messy sewing room of yours? So I didn’t make a separate post.

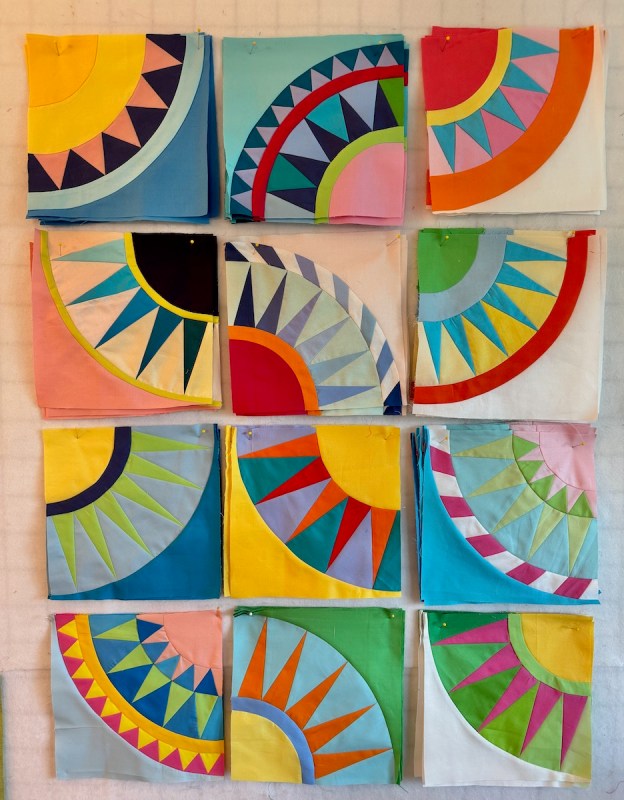
All twelve, pasted in. There is a Bonus Block in the pattern, but I’m happy with these. I’m going to celebrate the 4th of July holiday, then maybe I’ll start figuring out how I want to sew these all together. But for now, they’ll rest easy, eye candy all around.

Here was the original pillow cover, from long ago. Now there will be a quilt!

Creating · Patterns by Elizabeth of OPQuilt

Invention/Re-invention

I received the sweetest letter this week from Laurie, who makes regular quilts as well as paints barn quilts. She chose my Home, Sweet Home pattern to make her design, and thoughtfully included a photo of her barnquilt, featuring the local councilwoman, Ruby. Ruby, according to Laurie, “has made it her mission in life to spearhead a Community Outreach program to bring residents together for the betterment of our community.” This barn quilt was presented to her on her birthday. The website for Laurie’s group is Chatt Hills Barn Quilt Trail, if you are interested. Click on Tour the Trail to see them all. Can’t wait until mine is up there with all the others–thank you, Laurie!

Here’s a rendition of the front of the pattern, with all its variations. I usually just make one, and oh, maybe another, and every once in a while I’ll go back into a pattern and rework the clockworks at the center to either improve the pattern, or make it into a more comprehensive pattern.

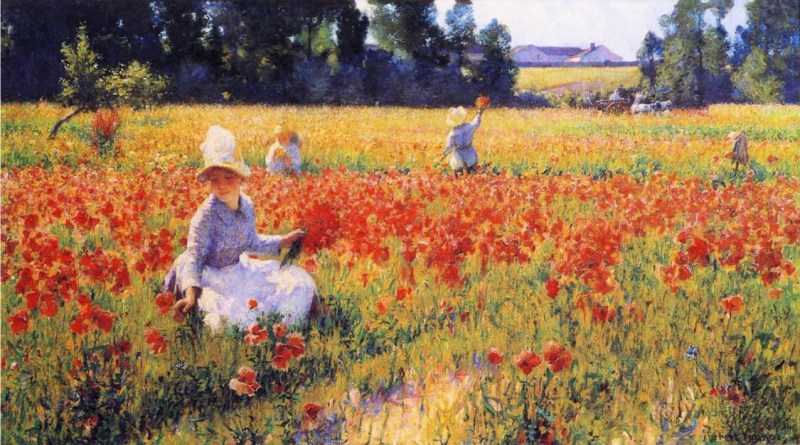
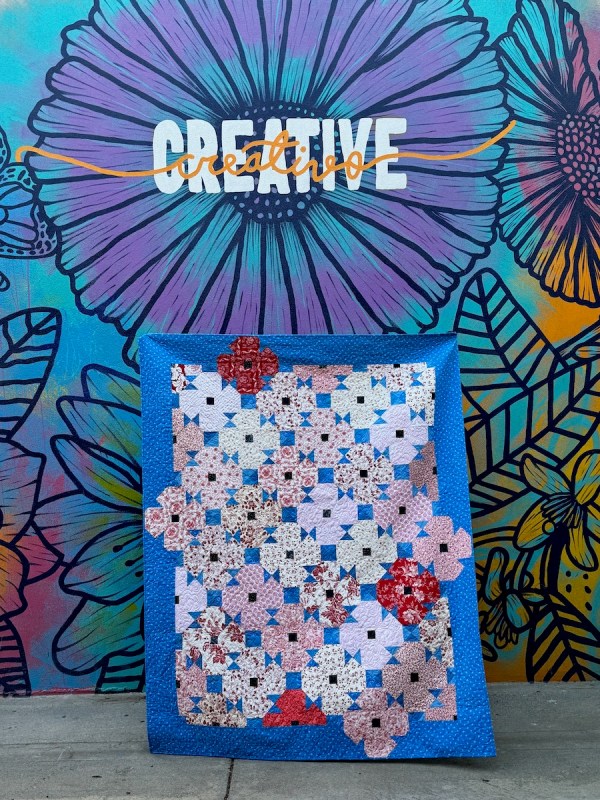
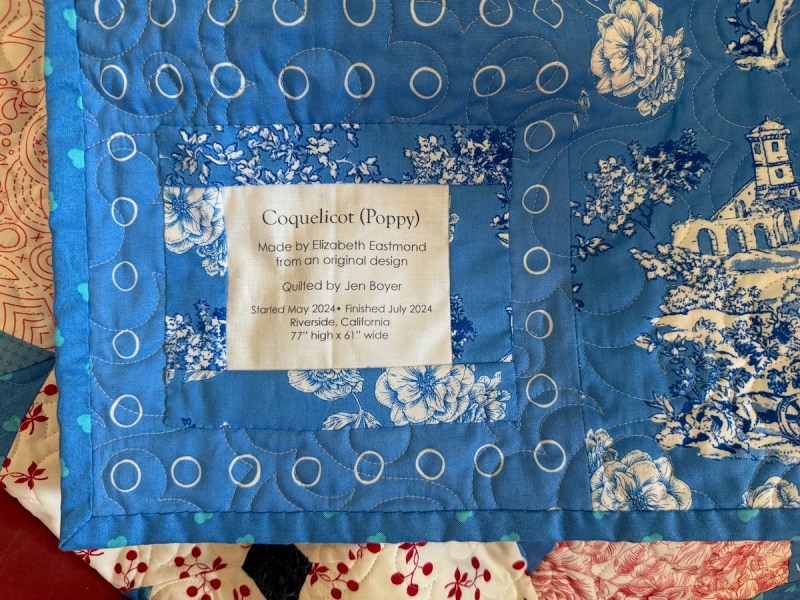
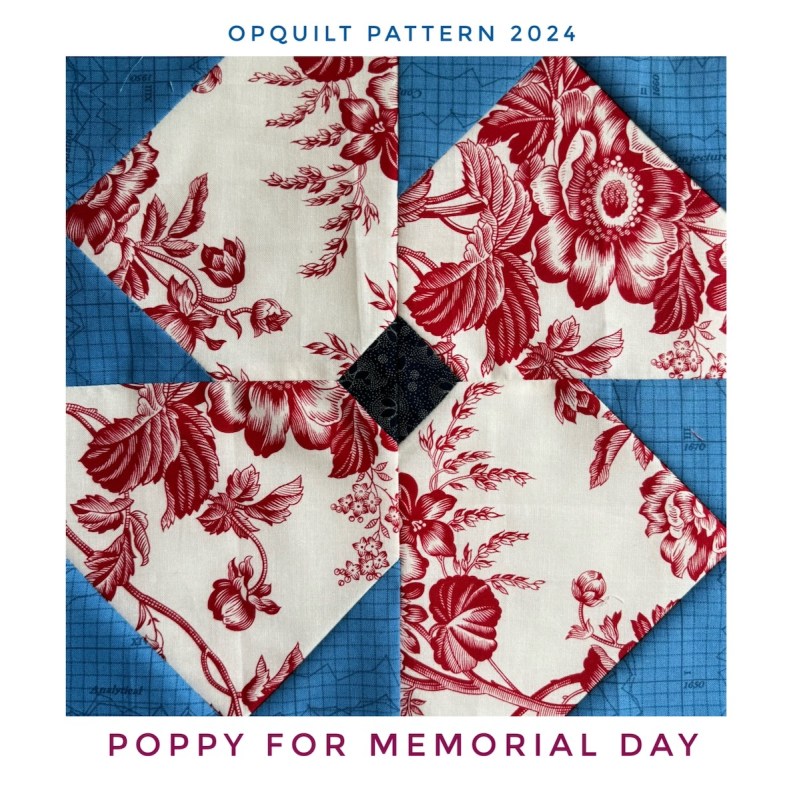
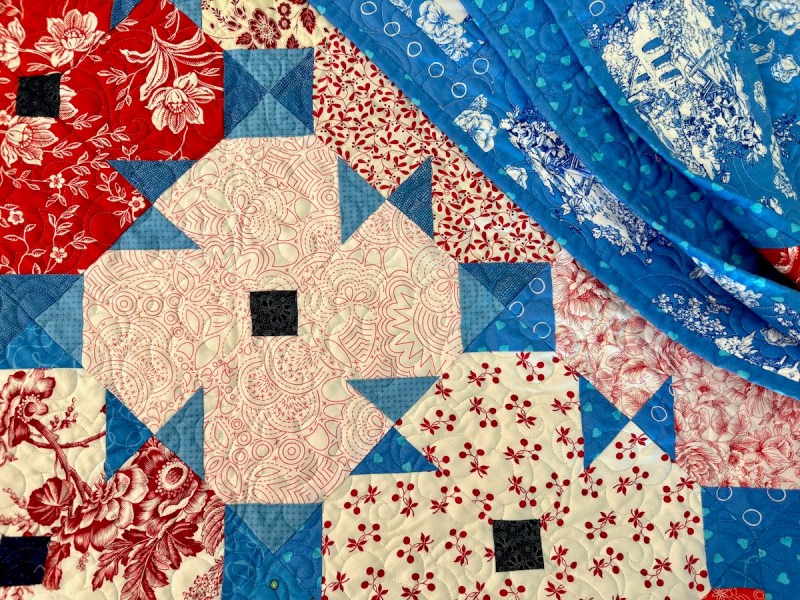
This is the one I’m working on now. For ages, it’s been a simple pattern/block, but when Anne sent me a photo of her Poppies quilt, I knew the potential was much much greater for this little block:

My sketch:

The software I use, Affinity Designer, added a few new tools so I could color in the blocks with “fabrics,” helping me visualize what it might look like. I woke up one morning, thinking of a fat-quarter short stack of red/white toiles I had, as well as stack of French blue fabrics, and spent some time drawing this out.

I have been struggling with this, though, because how do I draft a pattern out of this idea?

A block with several parts, cut in half on the diagonal, with seam allowance added on one side?

The quarter block was even messier.

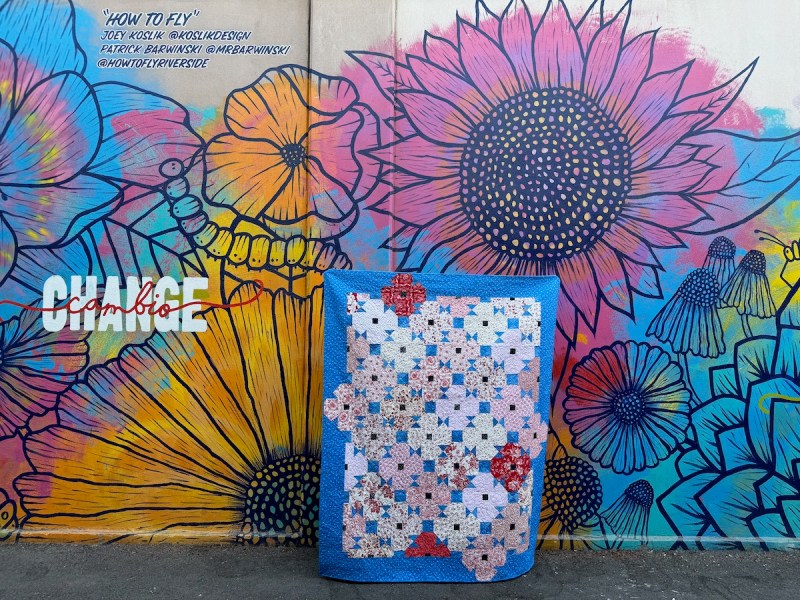
So I have resigned myself to just making a stack of blocks and then cutting them. I finished this week and am now playing the take-a-photo-rearrange-the-blocks game.

I have a small space for sewing, but it works for me, even though it can get a bit out of control on occasion.

I can already see I need to make one more to replace one that just isn’t going to work. I put these here so you can see I’m just like everyone you know: I stay up later at night, cut fabric, make a mess, try to herd cats (so to speak) while trying to put it together, all the while wondering– do I really want to re-do this pattern? It’s just that Anne’s is so inspiring. Sigh. You can find more of her brilliant work here: SpringLeaf Studios on ETSY.

Finally satisfied — or just ready to be done — I started sewing the blocks together. Anne has already warned me about those borders.

Another pattern that started out just a pattern for a block, then morphed:

And another:

Is it because re-invention is sometimes easier than invention? I love all the traditional blocks, but think some could lend themselves to new treatments, just like when we replace the window coverings. Or choose a new hairdo, which I’m currently struggling with now.

Hot Tip: It’s easier to search in DuckDuckGo for a new haircut than in Google. Google’s search engines have some infamy now in techie circles as being too bogged down, too tied to ads and AI murkiness to deliver decent search results. I agree. There are some other tricks to getting past the inundation of ads on Google, but we are all still battling with the greed of our Digital Overlords on social media (which is why I still write a blog, and why I don’t have ads).

Today I read in a Washington Post article (link should allow you to read) about how our Master Overlord Google is training its Artificial Intelligence (AI) on any and all artists’ works online. Many artists are taking them down from Instagram, because the Master Overlord Meta (formerly Facebook) is also training its AI on what’s on Facebook, Instagram and other social media. Cara, the app, seems to be the landing site for many. Here’s WordPress’ statement on their AI policy, which is the software I use to write this website: clear as mud for non-techies.

Okay, that’s all pretty depressing: I guess eventually we’ll have AI fabrics and AI quilts and there will be nothing original or new. And all our designs (that take days to convert into a pattern) will be subsumed in the Great Quilt AI.

Sigh. Time to download Cara?

In other, hopefully happier, news, I received my latest batch of Painter’s Palette Solids in the mail, so I can proceed with another block of the New York Beauties. And I’m working on some reverse appliqué for this one, made out of Grunge fabrics:

This reminds me of Italy ‘s color-drenched houses. But back in Southern California, the summer heat has arrived, the air conditioner will soon be pressed into service, and maybe, just maybe, we’ll get some decent tomatoes this year before they all burn up.

Happy Summer Sewing!

Gridsters · Patterns by Elizabeth of OPQuilt

Mercato Square • new pattern

Mercato = market = me thinking about Italy, and really how fun the market squares are wherever you are, but especially in Italy. Okay, and maybe in France. Couple this with needing a block for my turn in the Gridster Bee, and after some searching and trying different ideas out (I think I wrote and erased a few bee Google Spreadsheets) but now! Finally! I’ve settled on this:

As always when I try out a new pattern, I try for different looks:

How about Christmas?

How about colorful?

And then I tried merging some pieces, for Blues, a smaller 24″ quilt with a pop. There are a few more options on the pattern. But I wanted to get back to trying freezer paper-piecing on this one. But then I thought, what if someone doesn’t want to try that? So in the main pattern there are three different ways to make the block: paper-pieced (I used freezer paper), traditional templates, and then rotary cutting. In Blues, there are two ways to get it together. We aim to please.

But first, fabric.

I wrote this about a gazillion times, working to get all the info in there. Like, should be pattern pieces be right-side up? Or did it matter? (It matters if you are using print fabrics, but not solids.)
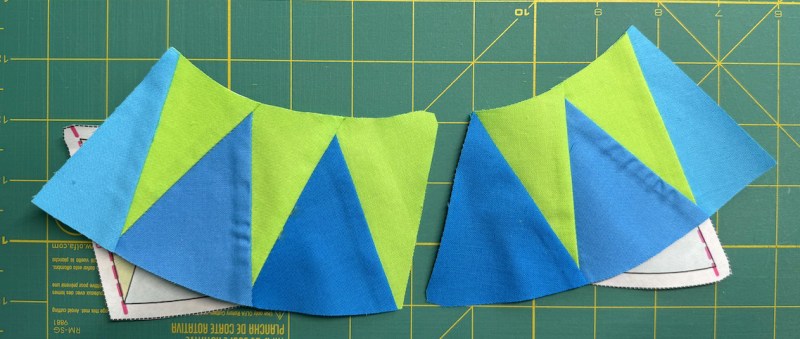
I also tried it with freezer-paper again, as I’m really liking this method. I took about a quadrillion photos to illustrate this post, then decided your eyes would glaze over, if they haven’t already. So here’s the basics in a free PDF handout:

Click on the button to download. Click on the title to get a sneak peek.

There are places I press the seams to the dark, making it easier to put them together (as they will nestle).

There are times I think the seams should be pressed open, so there is no see-through. (Doesn’t that look fancy?)

I believe in pinning.

And there are times you should not sew the seam at all, like taking a little break right at the center, moving the seam allowances to the front as you approach that center, and then lifting the needle/presser foot, hopping over the center by one or two stitches. Sweep the seam allowances to the back, then continue. When you are finished sewing the seam, clip the loop of sewing thread at that place.

Mrs. Quinn kept me company. I heartily recommend this book.

I made these in quadrants, trimming them up as I went. One done.

BIG HEADS UP! If you are making this for the Gridster Bee, make sure your outside reds are “pointing” the right direction. In my version the outside edge red pieces point counter-clockwise. It might be easy to get them going the wrong way.

Two done, this one in a different method (templates), and fabric.

Overall, I still prefer the freezer paper method.
The first time I tried that method, I was quite wobbly.
Second time, just sorta’ wobbly.
Third time, breezed through it.
This time? So easy: I loved it.
I have other posts on using freezer paper for foundation paper-piecing, but for this one, don’t forget to download the handout (above).

Cousins. I thought I wanted my bee-mates to make it scrappy, but then a package arrived and my Past Self had ordered 4 1/2 yards of Painters Palette Solids in Poppy Red from Keepsake Quilting.

Guess I’m doing Solids.

And this is why I like Painters Palette: I washed all four-and-a-half yards of the red in the washer with one color catcher sheet, and you can see the barest, faintest shimmer in a couple of places. I pre-washed because I was curious; generally I don’t pre-wash my Painters Palette solids, as I know they are pretty colorfast.

Gridster Beemates, keep reading after the end as I’ll have some tips for you.

There are 25 blocks in the larger quilt, so my bee-mates will make two each and I’ll get started on the rest. And a note to my bee-mates: I’ll send out the fabric a couple of months early.

Look for it, and have fun making!

To the members of the Gridster Bee: I’m sending you each a quarter yard of Poppy Red and White.

I worked out the layouts using the dimensions of the fabric, so you can get TWO blocks out of what I’m sending. (I marked the fold of the fabric on the right.)

Admittedly this is a layout for templates. If you want to use the Foundation Paper Piecing (freezer paper, or otherwise), it might be helpful to think in terms of strips:

Remember that because this is a solid fabric, and there is no right or wrong side, you can flip the fabric around as is needed. No, there is not TONS of fabric, but there is plenty. If you can’t get the two blocks out of what I’ve sent, send me back the scraps, if you wouldn’t mind, and I’ll combine and get them all finished. I’m trying to get all the blocks out of one dye lot of Poppy Red, which is why I’m calculating this all out.

And if you are a newbie quilter, take it one step at a time. I’ve tried to provide lots of materials and handouts. If you are just *done* after one block, that is fine. Send it, along with your signature block and the scraps, and I’ll take it from there.
Thank you so much for making for me in September–